
Articles
How To Store Bread Dough In Fridge
Modified: February 23, 2024
Learn how to store bread dough in the fridge to keep it fresh for longer. Read our informative articles on the best methods and tips to maintain the quality and taste of your dough.
(Many of the links in this article redirect to a specific reviewed product. Your purchase of these products through affiliate links helps to generate commission for Storables.com, at no extra cost. Learn more)
Introduction
Storing bread dough in the fridge is a practice that has gained popularity among home bakers in recent years. While it may seem unconventional, refrigerating bread dough can actually yield several benefits, including improved flavor, convenience, and the ability to control the fermentation process.
Traditionally, bread dough is left to rise at room temperature until it has doubled in size. However, this process can be time-consuming, especially for those with busy schedules. By storing bread dough in the fridge, you can slow down the fermentation process, allowing the dough to develop complex flavors over an extended period of time.
Not only does refrigerating bread dough save time, but it also offers greater flexibility. Instead of having to bake all the bread at once, you can portion out the dough and bake fresh loaves whenever you need them. This is particularly useful for households with smaller families or for those who prefer freshly baked bread on a daily basis.
In this article, we will explore the reasons why storing bread dough in the fridge is beneficial, as well as provide you with helpful tips and guidance on how to successfully store your dough in the refrigerator.
Key Takeaways:
- Storing bread dough in the fridge enhances flavor, offers baking flexibility, and provides better control over fermentation. Follow simple tips to successfully store and enjoy freshly baked bread at your convenience.
- Consider recipe instructions, desired flavor profile, and baking schedule before refrigerating bread dough. Avoid common mistakes like improper sealing and excessive storage time to ensure optimal results. Happy baking!
Read more: How To Store Pizza Dough In Fridge
Why store bread dough in the fridge?
There are several reasons why storing bread dough in the fridge can be advantageous. Here are some of the key benefits:
- Flavor development: When bread dough is refrigerated, the slow fermentation process allows for the development of complex flavors. This results in a bread with a more pronounced taste and aroma. The extended fermentation time also enhances the internal structure and texture of the bread, creating a moist and tender crumb.
- Convenience: Refrigerating bread dough offers greater flexibility in terms of when you can bake. Instead of having to dedicate several hours in one sitting, you can break up the process and bake the bread when it suits your schedule. This is especially helpful for busy individuals who want to enjoy fresh bread without the time commitment.
- Control over fermentation: By storing bread dough in the fridge, you have better control over the fermentation process. The cooler temperature slows down the yeast activity, preventing the dough from overproofing. This is particularly useful if you want to retard the dough overnight or extend the fermentation period for added flavor development.
- Easier handling: Refrigerated dough is generally easier to handle than dough that has been left at room temperature. The chilled dough is firmer and less sticky, making it easier to shape and work with. This is especially beneficial for delicate or enriched doughs that may be more challenging to handle at room temperature.
Overall, storing bread dough in the fridge can significantly enhance the flavor, convenience, and control over the fermentation process. It allows you to create delicious homemade bread with a nuanced taste and provides flexibility in your baking schedule. With these benefits in mind, let’s dive into some helpful tips for successful bread dough storage in the refrigerator.
Tips for storing bread dough in the fridge
Storing bread dough in the fridge requires some special considerations to ensure optimal results. Follow these tips to make the most out of your refrigerated dough:
- Choose the right container: Use a lidded container or bowl that is large enough to accommodate the dough as it rises. Make sure the container has enough room for the dough to double in size. You can also use plastic wrap or a reusable silicone cover to seal the container tightly.
- Grease the container: Before placing the dough in the container, lightly grease it to prevent sticking. This will make it easier to remove the dough when you are ready to shape and bake it.
- Label the container: To avoid any confusion, label the container with the date and type of dough. This will help you keep track of how long the dough has been in the fridge.
- Allow for proper airflow: Make sure the container has some ventilation to allow the dough to breathe. You can place a plastic wrap or leave a small opening in the lid to prevent excessive moisture buildup.
- Be mindful of strong odors: Bread dough can absorb strong odors from other foods in the fridge. To prevent this, store the dough in a separate section or use an airtight container to minimize any unwanted flavors.
- Monitor the dough: Check on the dough periodically to ensure that it is rising properly. If the dough is not rising, it might be too cold. Allow it to sit at room temperature for a short while to warm up and continue rising.
- Use the refrigerator’s temperature to your advantage: Adjust the temperature of your refrigerator based on the desired fermentation time. A slightly warmer temperature (around 40-45°F or 4-7°C) will encourage a slower rise and more flavor development.
- Plan for baking: When you are ready to bake, remove the dough from the fridge and let it come to room temperature for about 30 minutes to an hour. This will make the dough easier to shape and will ensure more even baking.
By following these tips, you can store your bread dough in the fridge with confidence, knowing that you are setting yourself up for success. Now, let’s dive into a step-by-step guide on how to store bread dough in the refrigerator.
Step-by-step guide to storing bread dough in the fridge
Storing bread dough in the fridge is a simple process that can be done in just a few steps. Follow this step-by-step guide to ensure proper storage of your dough:
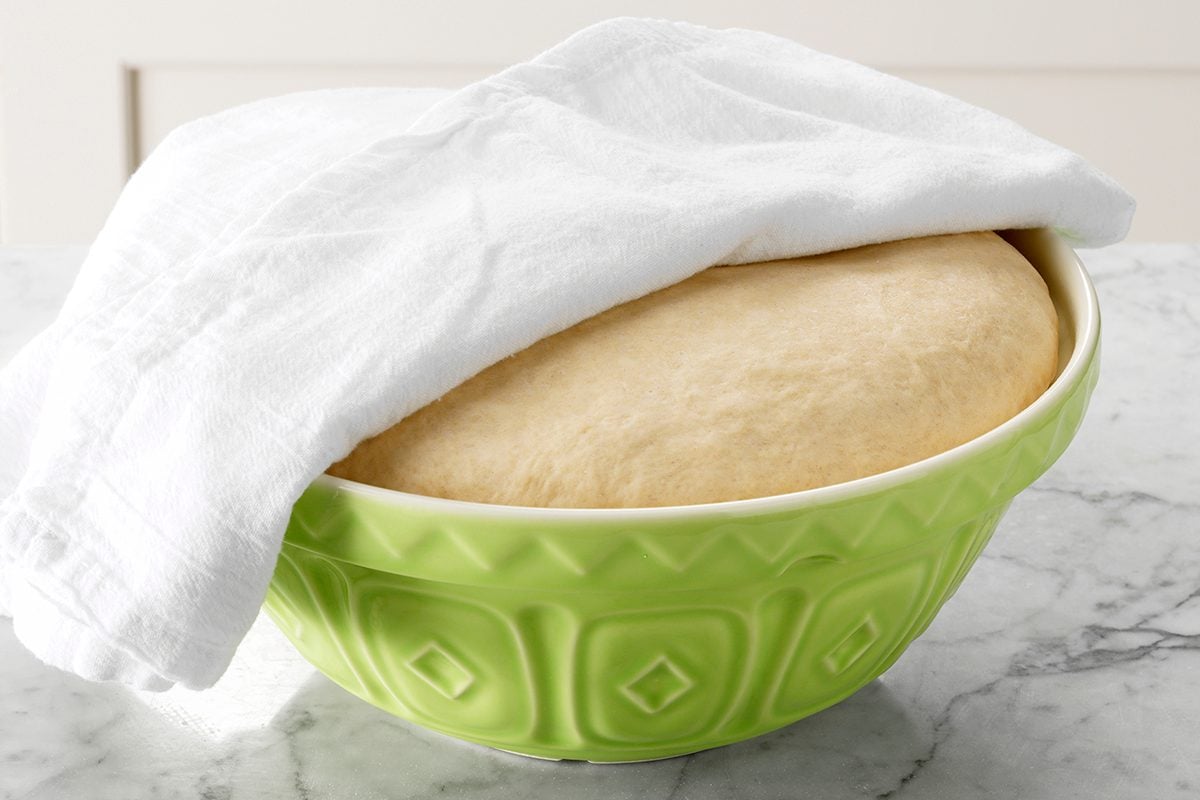
- Prepare the dough: Prepare your bread dough according to your chosen recipe. Mix and knead the dough until it reaches the desired consistency and elasticity. Allow the dough to go through its initial rise, following the recipe’s instructions.
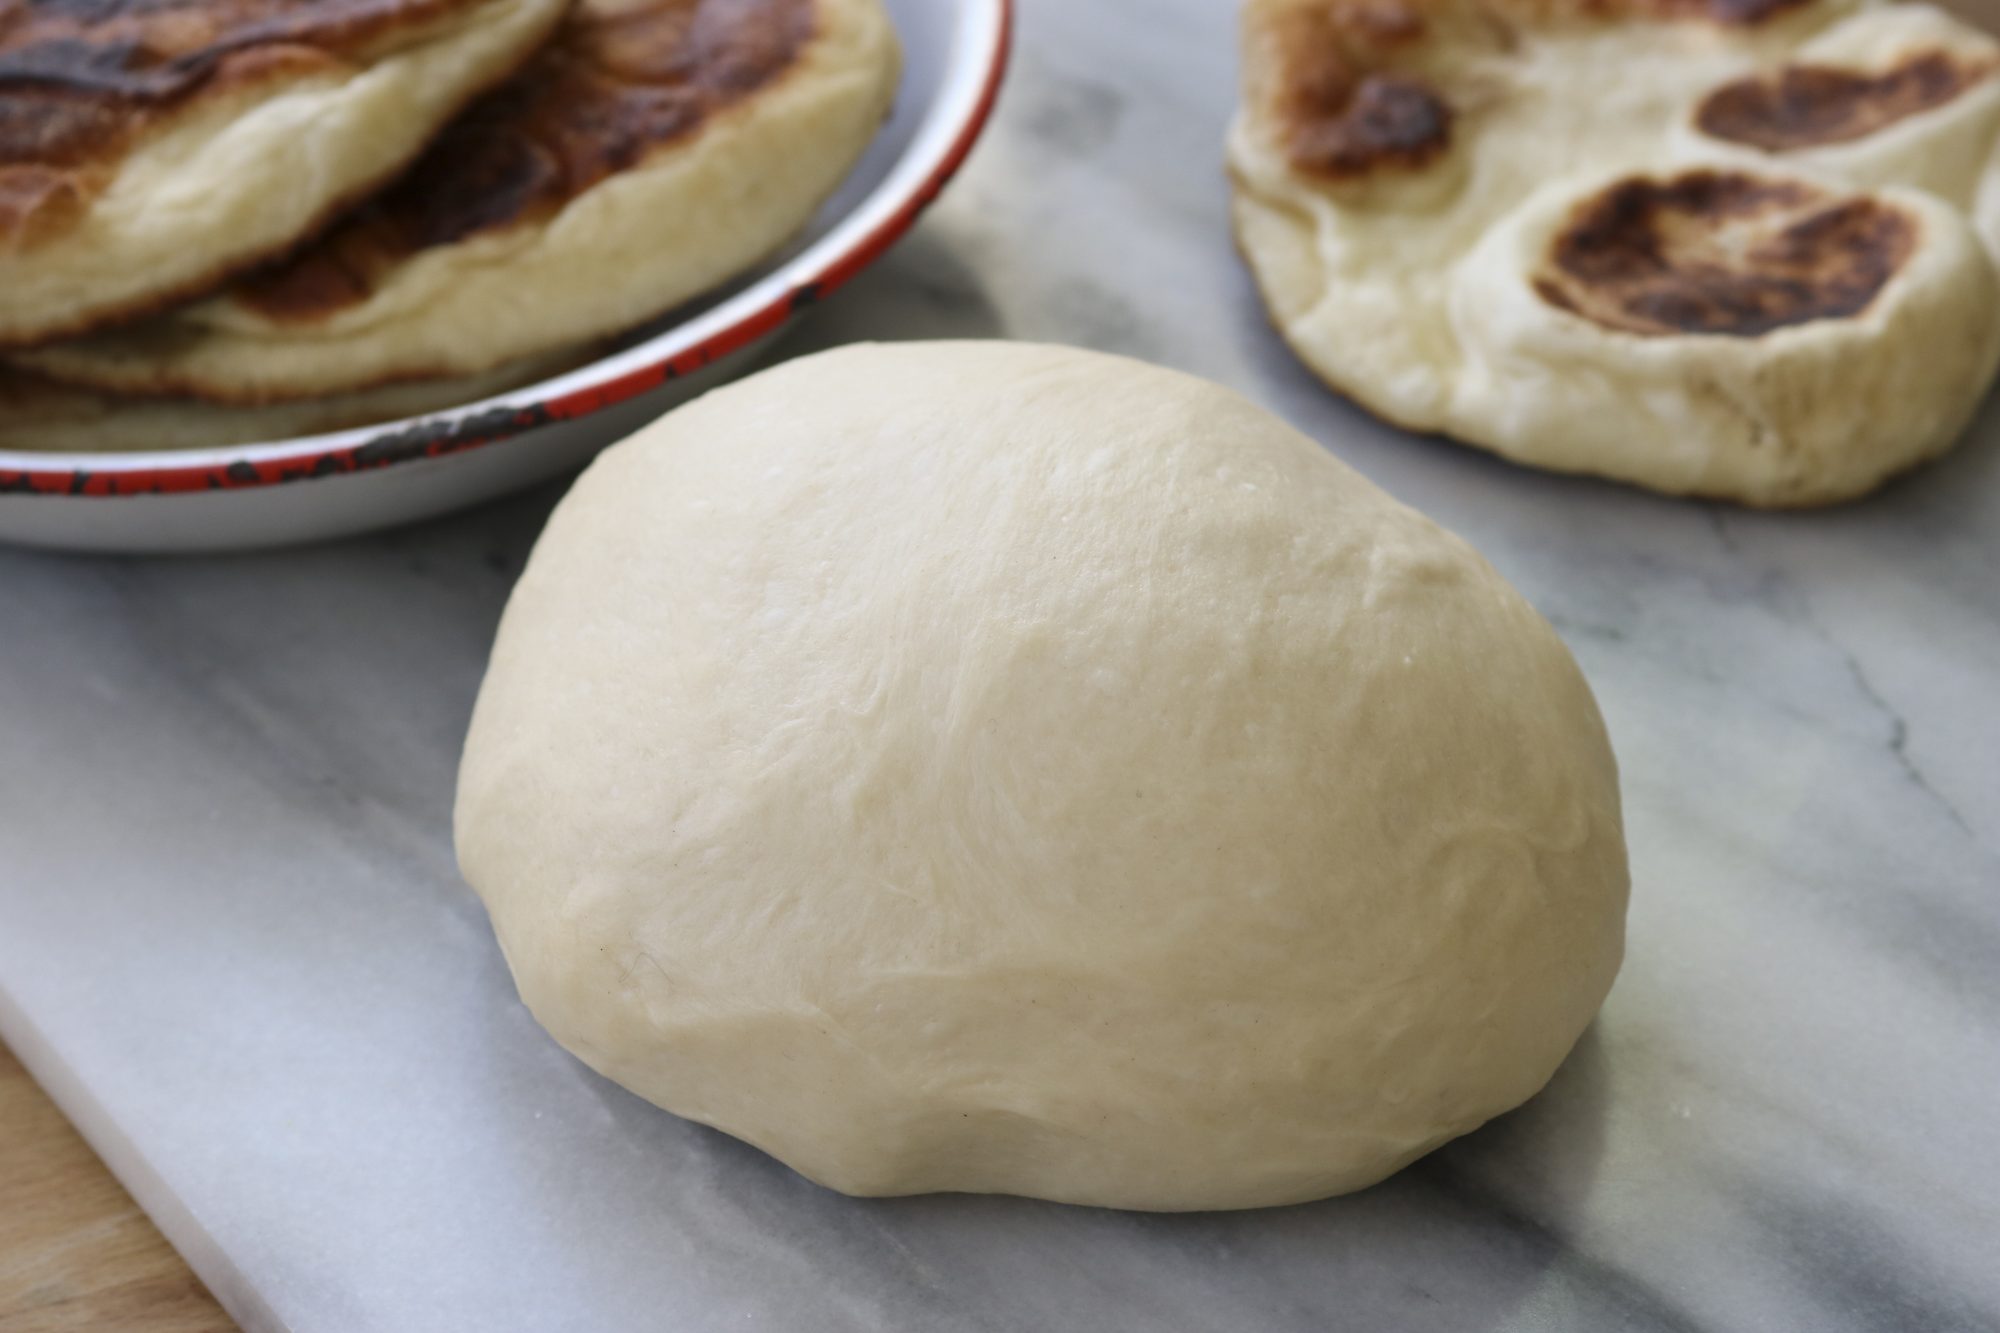
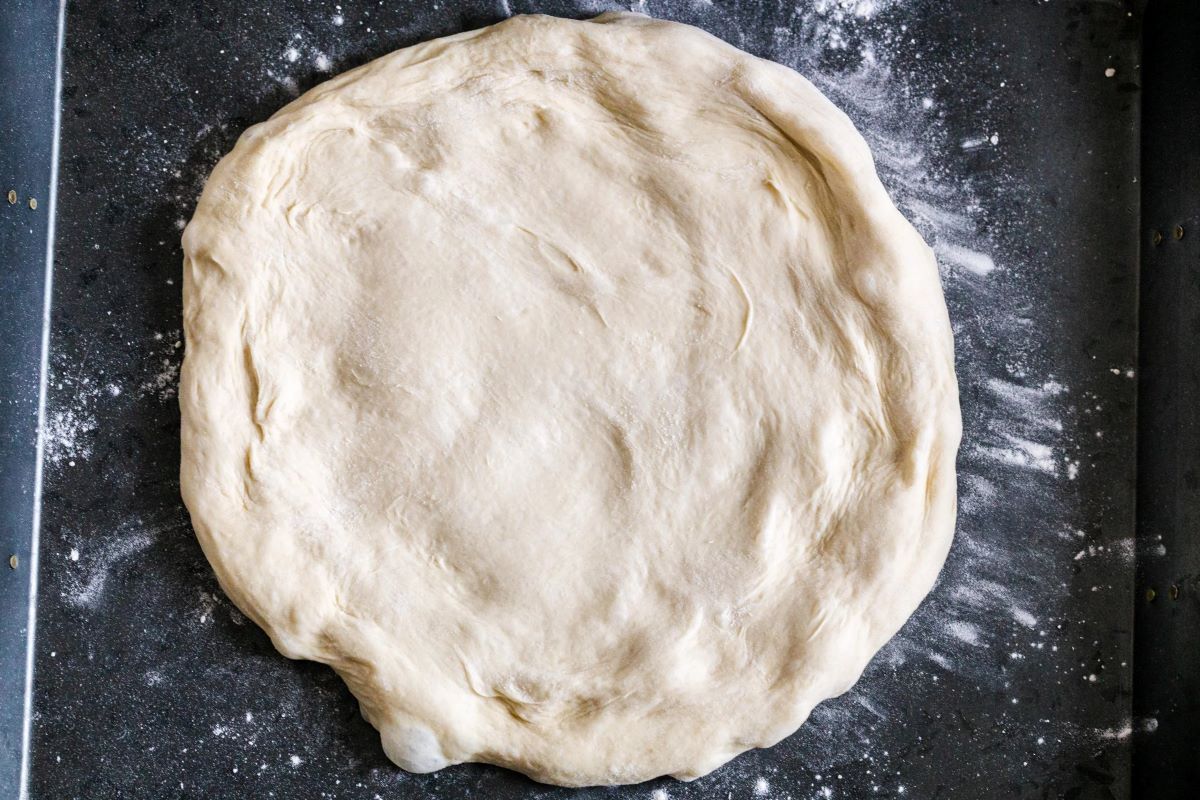
- Shape the dough: Once the dough has risen, gently punch it down to release any excess air. Shape the dough into a round or a desired shape, ensuring it is smooth and tight. This step will help the dough retain its shape during the refrigeration process.
- Grease and transfer: Lightly grease a container or bowl large enough to accommodate the dough as it rises. Place the shaped dough in the container, making sure it is evenly coated with the grease to prevent sticking.
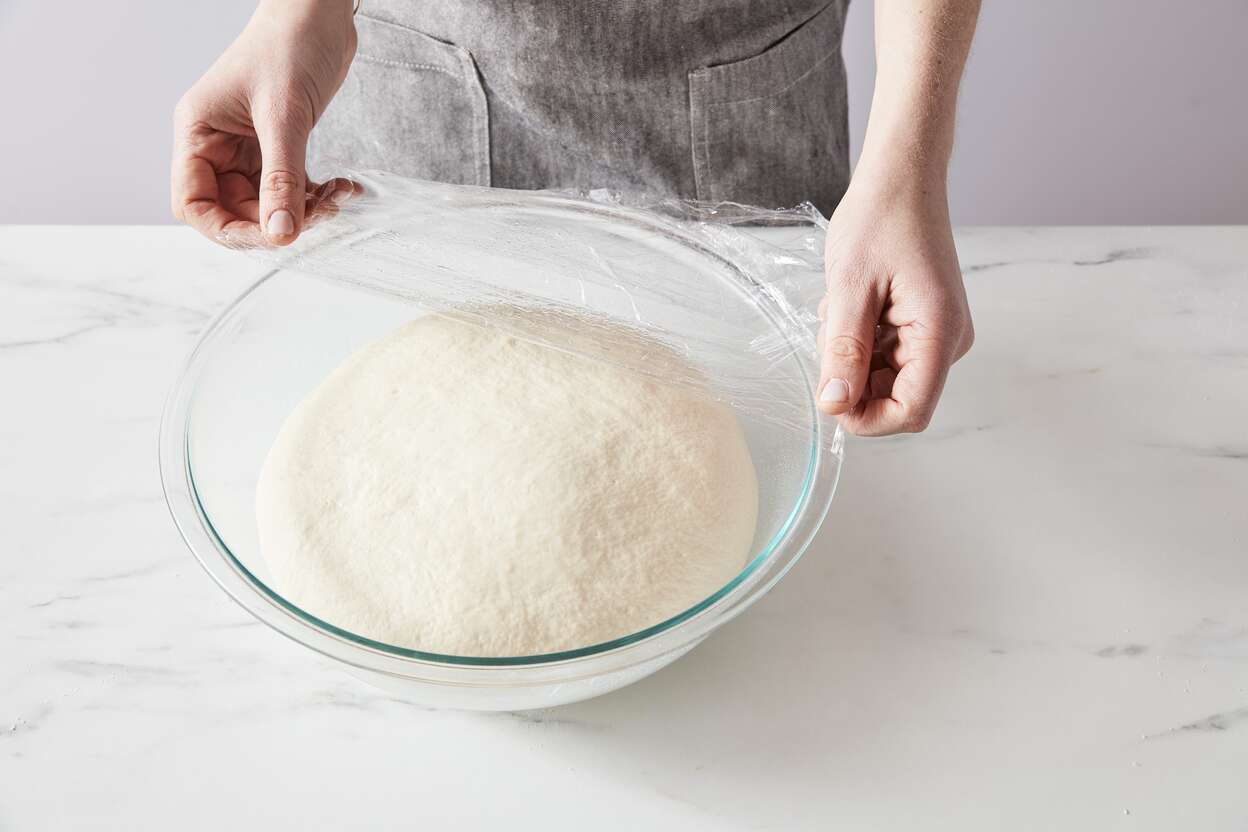
- Cover and refrigerate: Cover the container tightly with a lid or plastic wrap to create a seal. Place the container in the refrigerator and let the dough rest and rise slowly over time. Refrigeration time will vary depending on the recipe and desired flavor development. Typically, you can store the dough in the fridge for 8 to 72 hours.
- Monitor the dough: Periodically check on the dough to ensure it is rising properly. You should notice some growth, although it will be slower than if it were left at room temperature. If the dough is not rising, allow it to sit at room temperature for a short while to warm up and continue rising.
- Prepare for baking: When you are ready to bake, remove the dough from the fridge and let it sit at room temperature for about 30 minutes to an hour. This will allow the dough to soften and become more pliable, making it easier to shape and bake.
- Bake as directed: Once the dough has come to room temperature, preheat your oven and proceed to shape and bake the bread according to your recipe’s instructions. Bake until the crust is golden brown and the bread sounds hollow when tapped on the bottom.
By following these steps, you can successfully store bread dough in the fridge and enjoy freshly baked bread whenever you desire. Now let’s explore how long you can store bread dough in the refrigerator and the factors to consider before refrigerating it.
When storing bread dough in the fridge, place it in a lightly oiled bowl, cover with plastic wrap, and store for up to 24 hours. Allow the dough to come to room temperature before shaping and baking.
How long can you store bread dough in the fridge?
The length of time you can store bread dough in the fridge depends on several factors, including the type of dough and the desired flavor development. Here are some general guidelines:
- Standard bread dough: If you are making a basic bread dough without any enrichments or additives, you can typically store it in the fridge for 8 to 72 hours. This range allows for a slow fermentation process, resulting in better flavor development.
- Enriched dough: Enriched doughs, such as those containing eggs, butter, or sugar, can be stored in the fridge for a slightly shorter period of time, typically 24 to 48 hours. The added fat and sugar can affect the fermentation process, so it’s best to bake these doughs sooner rather than later.
- Sourdough dough: Sourdough bread dough can be stored in the fridge for longer periods, ranging from a few days to a week or more. The extended fermentation time allows for more complex flavors to develop and results in a tangy and flavorful loaf.
It’s important to note that while refrigeration slows down the fermentation process, it does not completely halt it. Over time, the dough will continue to ferment, albeit at a much slower pace. This is why it’s important to monitor the dough and bake it within the recommended time frame.
It’s also worth mentioning that the longer you store the dough in the fridge, the stronger and more pronounced the flavor will be. However, there is a limit to how long you can store the dough before the flavor becomes overly sour or the dough loses its rising power.
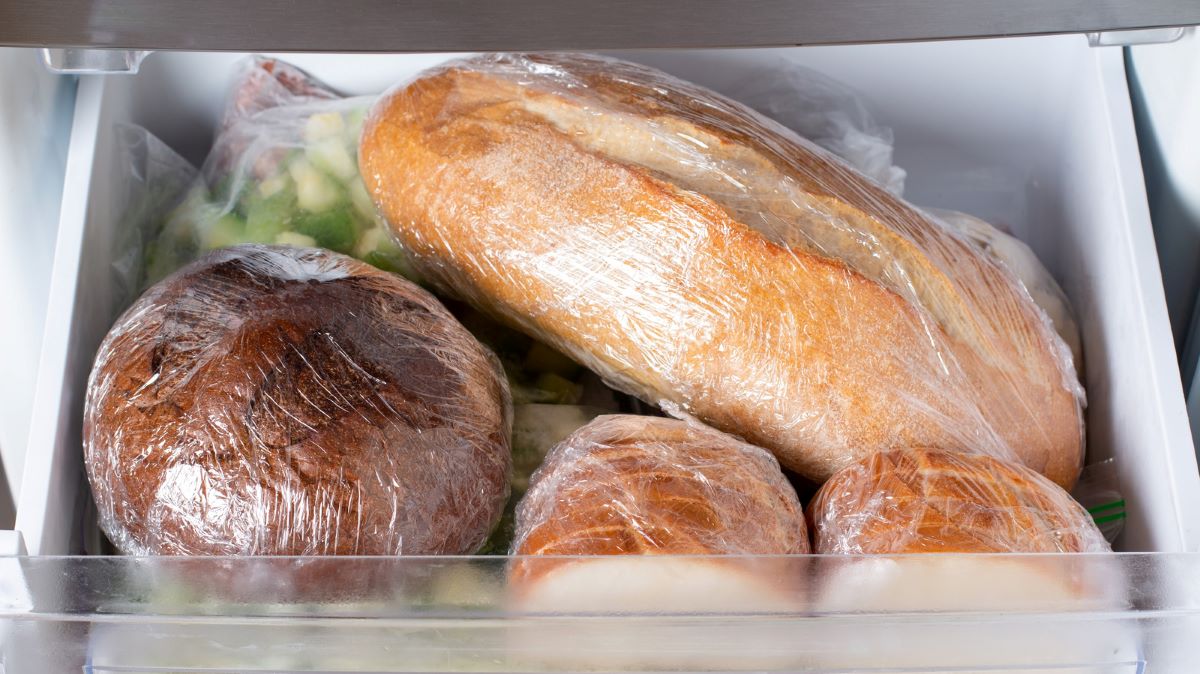
As a general rule, it’s best to bake the dough within the specified time frame mentioned in your recipe. If you need to store it for longer, you can consider freezing the dough instead, which can extend its shelf life for a few weeks or even months.
Now that you know how long you can store bread dough in the fridge, let’s discuss some important factors to consider before refrigerating your dough.
Read more: How To Store Homemade Dough
Factors to consider before refrigerating bread dough
Before refrigerating your bread dough, there are several factors to consider to ensure the best results. These will help you determine if refrigeration is suitable for your specific recipe and baking needs:
- Recipe instructions: Follow the instructions in your recipe to determine if refrigeration is recommended. Some recipes may specifically call for storing the dough in the fridge, while others are best baked immediately. Adhering to the recipe guidelines will help you achieve the desired outcome.
- Desired flavor development: Consider the flavor profile you want to achieve in your bread. Refrigerating the dough allows for a longer fermentation process, which can lead to a more complex and developed flavor. This is particularly beneficial for sourdough bread or doughs with minimal yeast content.
- Baking schedule: Assess your baking schedule and determine if it aligns with the time required for refrigeration. If you need fresh bread within a short timeframe, it may be better to skip refrigeration and proceed with the standard rise and bake method.
- Quantity of dough: If you are working with a large batch of dough, refrigeration can be a convenient option. It allows you to portion out the dough and bake smaller amounts at a time, ensuring that each loaf is fresh when consumed.
- Type of dough: Consider the type of dough you are working with. While many bread doughs can be successfully refrigerated, there are some that may not yield the best results. Delicate doughs, such as those for soft, enriched breads, may not retain their texture and structure as well after refrigeration.
- Yeast content: Doughs with higher yeast content may not benefit as much from long refrigeration periods. The yeast can become sluggish in colder temperatures, leading to slower rises and potentially denser loaves. Adjust the yeast amount accordingly or opt for shorter refrigeration times.
- Room temperature rises: If you have the time and prefer the traditional bread-making method, allowing the dough to rise at room temperature can still yield great results. This method provides a quicker rise, allowing you to bake the bread sooner.
Considering these factors before refrigerating your bread dough will help you make an informed decision and achieve the best possible outcome. Now that we’ve addressed the key considerations, let’s turn our attention to some common mistakes to avoid when storing bread dough in the fridge.
Common mistakes to avoid when storing bread dough in the fridge
While storing bread dough in the fridge can be a convenient and effective method, there are some common mistakes that can negatively impact the quality and outcome of your bread. By being aware of these mistakes, you can ensure that your dough remains in optimal condition. Here are some common mistakes to avoid:
- Not properly sealing the container: One of the most important steps in storing bread dough in the fridge is to ensure a tight seal on the container. Inadequate sealing can result in moisture loss, causing the dough to dry out and develop a hard crust.
- Storing the dough for too long: While refrigeration can extend the shelf life of bread dough, it is still important to adhere to the recommended time frames. Storing the dough for too long can result in an overly acidic taste, loss of rising power, and a dense texture.
- Using an airtight container: While proper sealing is important, using an airtight container can lead to excessive moisture buildup and condensation, resulting in a sticky and wet dough. It’s best to use a container with some ventilation or leave a small opening in the lid.
- Not greasing the container: Failing to lightly grease the container before placing the dough can cause sticking, making it difficult to remove the dough when you are ready to shape and bake it.
- Storing the dough near strong odors: Bread dough is susceptible to absorbing odors from other foods in the fridge. Avoid storing the dough near strong-scented ingredients or foods that can transfer undesirable flavors.
- Skipping the rest period after removing from the fridge: Once you take the dough out of the fridge, allow it to rest at room temperature for about 30 minutes to an hour. This relaxes the gluten and makes it easier to shape the dough before baking.
- Not monitoring the dough: It’s essential to keep an eye on the dough during the refrigeration period. If the dough is not rising properly, it may need some time at room temperature to warm up and continue fermenting.
- Freezing dough that has been refrigerated too long: While freezing dough can extend its shelf life, it’s best to freeze it within the recommended refrigeration time frame. Freezing dough that has been left in the fridge for too long may result in compromised texture and a loss of quality once thawed.
By avoiding these common mistakes, you can ensure that your bread dough stays fresh, flavorful, and ready for baking. With these tips in mind, you are now well-equipped to successfully store bread dough in the fridge.
Conclusion
Storing bread dough in the fridge is a wonderful technique that offers numerous benefits for home bakers. It allows for enhanced flavor development, provides convenience in terms of baking flexibility, and grants greater control over the fermentation process. By following a few simple tips, you can successfully store your bread dough in the fridge and enjoy freshly baked bread whenever you desire.
Remember to choose the right container, grease it lightly, and label it properly before refrigerating your dough. Allow for proper airflow, be mindful of strong odors, and monitor the dough’s rising progress periodically. When you’re ready to bake, bring the dough to room temperature before shaping and baking the bread.
While the length of time you can store bread dough in the fridge depends on factors such as the type of dough and desired flavor development, it’s generally recommended to refrigerate it for 8 to 72 hours. Enriched doughs and sourdoughs can be stored for slightly shorter or longer periods, respectively.
Before refrigerating your dough, consider the recipe instructions, your baking schedule, the type of dough you’re working with, and the desired flavor profile. Avoid common mistakes such as improper sealing, excessive storage time, using airtight containers, and not greasing the container.
By understanding the factors to consider and avoiding common mistakes, you can successfully store bread dough in the fridge and enjoy the benefits of a prolonged fermentation process. Whether you’re a beginner or an experienced baker, refrigerating your dough offers greater flexibility and control over your baking routine.
So why not give it a try? Experiment with different dough recipes, adjust the fermentation time, and enjoy the delicious aroma and taste of freshly baked bread that results from storing your dough in the fridge.
Happy baking!
Frequently Asked Questions about How To Store Bread Dough In Fridge
Was this page helpful?
At Storables.com, we guarantee accurate and reliable information. Our content, validated by Expert Board Contributors, is crafted following stringent Editorial Policies. We're committed to providing you with well-researched, expert-backed insights for all your informational needs.


0 thoughts on “How To Store Bread Dough In Fridge”