Articles
How To Store Your Camelbak
Modified: February 22, 2024
Learn the best way to store your Camelbak articles and keep them in ideal condition for your next adventure. Find out the top tips and tricks here.
(Many of the links in this article redirect to a specific reviewed product. Your purchase of these products through affiliate links helps to generate commission for Storables.com, at no extra cost. Learn more)
Introduction
Welcome to the world of outdoor adventures! Whether you’re a hiker, cyclist, or avid runner, having a Camelbak is essential for staying hydrated on the go. Camelbak is known for its high-quality hydration packs that have revolutionized the way we carry water during outdoor activities.
However, owning a Camelbak is only half the battle. Properly storing your Camelbak is equally important to ensure its longevity and functionality. In this article, we will explore the importance of proper storage and provide you with valuable tips on how to store your Camelbak effectively.
By following these guidelines, you will not only extend the lifespan of your Camelbak but also ensure a clean and hygienic drinking experience every time you use it. So let’s dive in!
Key Takeaways:
- Properly storing your Camelbak is crucial for maintaining its longevity, functionality, and hygiene. Choose the right location, clean and dry it regularly, and follow manufacturer’s guidelines for optimal performance and enjoyment.
- When storing your Camelbak for an extended period, consider removing the bladder, inspecting and cleaning before use, and following additional tips such as storing in a breathable container and keeping it away from pests. By implementing these practices, you can prolong the life of your Camelbak and enjoy a clean and reliable hydration system for all your outdoor activities.
Read more: How To Store A Camelbak
Why Proper Storage is Important
Proper storage of your Camelbak is crucial for several reasons. First and foremost, it helps maintain the performance and functionality of the hydration pack. Storing your Camelbak incorrectly can result in a loss of shape, deformation, or damage to the bladder, tubing, or other components.
Furthermore, proper storage prevents the growth of mold, mildew, and bacteria in the bladder and pack. When water and moisture are left stagnant in your Camelbak, it creates a breeding ground for these microorganisms. Not only can they affect the taste and quality of your water, but they can also pose health risks if consumed.
An additional benefit of proper storage is that it helps to preserve the integrity of the materials used in the Camelbak. Exposing the pack to extreme temperatures, direct sunlight, or harsh chemicals can deteriorate the fabric, straps, and seals over time. By storing your Camelbak correctly, you can extend its lifespan and maintain its overall quality.
Lastly, storing your Camelbak properly ensures that it’s ready for your next outdoor adventure. Imagine grabbing your pack, only to find that it’s dirty, smelly, or damaged. By following the recommended storage practices, you’ll always have a clean and functional Camelbak on hand whenever you need it.
Now that we understand the importance of proper storage, let’s move on to the next section and discuss how to choose the right location for storing your Camelbak.
Choosing the Right Location
When it comes to storing your Camelbak, selecting the right location is crucial. Here are a few factors to consider:
- Avoid direct sunlight: Direct exposure to sunlight can fade and weaken the fabric of your Camelbak. Choose a storage spot away from windows or any other sources of direct sunlight. This will help maintain the pack’s color and prevent it from deteriorating prematurely.
- Maintain moderate temperatures: Extreme temperatures can affect the integrity of your Camelbak. Avoid storing it in areas that are too hot or too cold. Opt for a location with stable and moderate temperatures. A temperature-controlled room or closet is ideal.
- Keep it dry: Moisture is the enemy of your Camelbak. Ensure your storage location is dry and free from any dampness. Moisture can lead to the growth of mold and mildew, which can be difficult to remove and potentially harmful to your health.
- Consider ventilation: Proper ventilation is important to prevent the buildup of odors and ensure air circulation. Choose a storage spot that allows for some airflow. This can help keep your Camelbak fresh and prevent any unpleasant smells from developing.
- Keep it away from sharp objects: Avoid storing your Camelbak near sharp objects or rough surfaces that could potentially puncture or damage the pack. Find a location where it can be safely stored without the risk of accidental damage.
By considering these factors and choosing the right location for your Camelbak, you can ensure that it remains in optimal condition and is ready for your next adventure.
Cleaning and Drying Your Camelbak
Regular cleaning and drying of your Camelbak is essential to maintain its hygiene and functionality. Here’s a step-by-step guide on how to clean and dry your Camelbak:
- Empty and rinse: Start by emptying any remaining water from the bladder and removing any accessories attached to it. Rinse the bladder and drinking tube with warm water to remove any residue.
- Use cleaning solution: Fill the bladder with warm water and add a Camelbak-approved cleaning solution or a mixture of mild soap and warm water. Use a brush or sponge to scrub the inside of the bladder, paying attention to the corners and crevices. Rinsing thoroughly to remove all traces of the cleaning solution.
- Clean the drinking tube: Use a flexible brush or a specially designed tube-cleaning brush to clean the drinking tube. Insert the brush into the tube and scrub the inside while running warm water through it. This helps to remove any dirt or residue that may have accumulated.
- Drying the bladder: After cleaning, it’s important to thoroughly dry the bladder before storage. Hang the bladder upside down to allow any excess water to drain out. You can also use a drying rack or prop it open to allow for better airflow. Ensure that the bladder is completely dry before storing it.
- Cleaning the pack: While the bladder is drying, clean the pack itself. Use a damp cloth or sponge to wipe down the interior and exterior of the pack, removing any dirt or stains. Pay special attention to the straps and zippers, ensuring they are clean and free from any debris.
- Reassemble and store: Once everything is clean and dry, reassemble the Camelbak by attaching the bladder to the pack. Make sure all connections are secure. Store the Camelbak in the chosen location, following the storage guidelines we discussed earlier.
By regularly cleaning and drying your Camelbak, you’ll prevent the buildup of bacteria and extend its lifespan. A clean and hygienic hydration pack ensures that you’ll have a refreshing and enjoyable drinking experience every time you use it.
Removing the Bladder from the Pack
In order to clean and store your Camelbak properly, it’s important to know how to remove the bladder from the pack. Here’s a step-by-step guide on how to do it:
- Empty the bladder: Before removing the bladder, empty it completely by turning it upside down and allowing the water to flow out. Be sure to detach any accessories or attachments from the bladder before proceeding.
- Locate the access point: Most Camelbak packs have a designated access point to remove the bladder. This access point is usually located at the top of the pack, near the shoulder straps. Look for a zipper, hook-and-loop closure, or a buckle.
- Open the access point: Once you’ve located the access point, open it according to the pack’s design. If it’s a zipper, unzip it fully. If it’s a hook-and-loop closure, carefully peel it back. If it’s a buckle, release it by pressing or sliding it open.
- Detach the bladder: With the access point open, gently slide or pull the bladder out of the pack. Be cautious not to force or tug on any connections or tubes that are still attached. Slowly and carefully remove the bladder so as not to damage any components.
- Disconnect the drinking tube: If the drinking tube is still attached to the bladder, disconnect it by releasing any quick-release connectors or squeezing the tabs, depending on the model. Ensure that the tube is detached completely before proceeding.
By following these steps, you can easily remove the bladder from your Camelbak pack. This allows for thorough cleaning and drying of the bladder, as well as easier storage of both the bladder and the pack.
When storing a Camelbak, make sure to clean and dry it thoroughly before storing it in a cool, dry place. Avoid storing it with any lingering moisture to prevent mold and mildew growth.
Read more: How To Store Your Shopkins
Storing the Camelbak Bladder
Properly storing the Camelbak bladder is essential to maintain its cleanliness and functionality. Here are some tips on how to store the bladder:
- Ensure it is completely dry: Before storing the bladder, it is crucial to make sure it is completely dry. Allow it to air dry thoroughly by hanging it upside down or using a drying rack. Moisture can lead to the growth of mold and bacteria, so ensure that the bladder is free from any dampness.
- Close the bladder: Ensure that the bladder is closed tightly to prevent any air or moisture from entering. Make sure all openings, such as the screw cap or slide closure, are securely fastened. This will help maintain the bladder’s cleanliness during storage.
- Avoid folding or creasing: When storing the bladder, avoid folding or creasing it, as this can damage the material over time. Instead, try to store it in a position where it can lie flat or maintain its natural shape. This will help prevent any unnecessary strain on the bladder.
- Use a dedicated storage bag: Consider using a dedicated storage bag or pouch to protect the bladder from dust, dirt, and potential damage. These bags are typically made of breathable material and provide an additional layer of protection during storage.
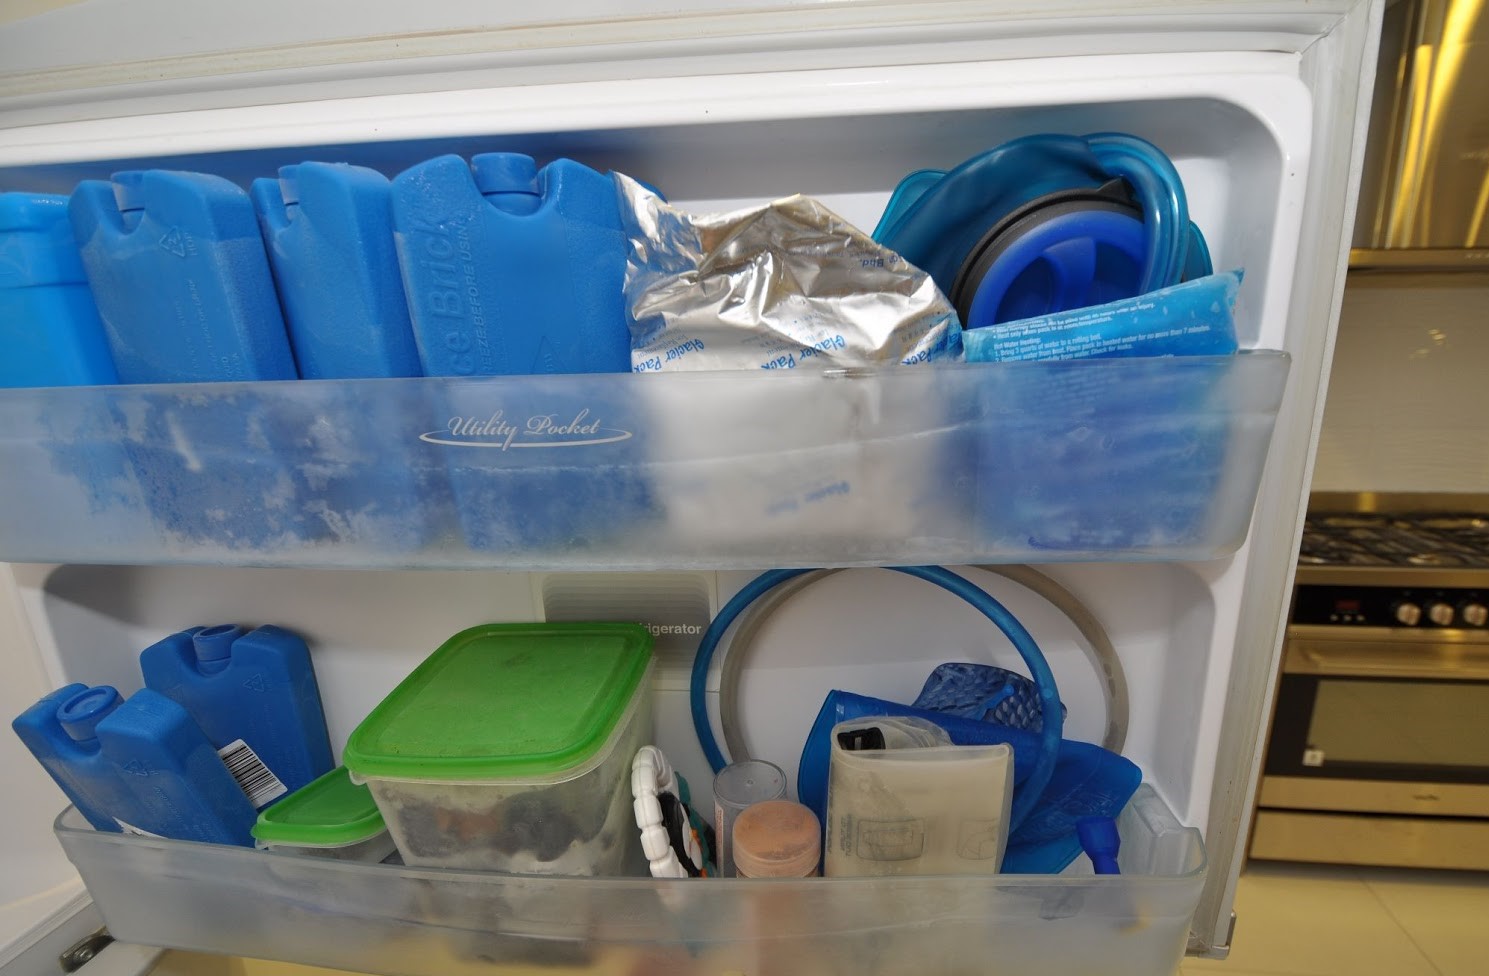
- Find a cool and dry location: Store the bladder in a cool, dry, and well-ventilated location. Avoid areas with extreme temperatures or high humidity, as these conditions can damage the bladder and compromise its longevity. A temperature-controlled room or closet is ideal for storage.
- Regularly check for leaks: Periodically inspect the bladder for any signs of leakage, such as dampness or discoloration. If you notice any leaks, address them promptly to avoid further damage. Repair kits are typically available for Camelbak bladders, or you may need to consider replacing it if the damage is severe.
By following these storage tips, you can ensure that your Camelbak bladder remains clean, dry, and ready for your next adventure. Proper storage will help extend the lifespan of the bladder and maintain its performance over time.
Storing the Camelbak Pack
Properly storing your Camelbak pack is essential to maintain its shape, integrity, and functionality. Here are some tips on how to store the pack:
- Empty and clean the pack: Before storing the Camelbak pack, ensure that it is empty and free from any debris. Clean the interior and exterior of the pack using a damp cloth or sponge to remove any dirt or stains. Pay special attention to straps, zippers, and pockets.
- Ensure it is completely dry: Just like the bladder, it’s crucial to make sure the pack is completely dry before storage. Allow it to air dry thoroughly in a cool, well-ventilated area. Ensure that all pockets and compartments are open to allow air circulation and prevent mold or mildew from forming.
- Organize the contents: Before storing, organize the contents of the pack. Remove any loose items and put them in their designated places or separate storage containers. This will help maintain the shape of the pack and prevent any unnecessary stress or strain on the fabric and straps.
- Fasten all straps and closures: Ensure that all straps, buckles, and closures on the pack are fastened securely. This will help maintain the pack’s shape and prevent any unnecessary stress on the straps.
- Store in an upright position: The Camelbak pack should be stored in an upright position to maintain its shape and prevent any deformation. If possible, avoid stacking heavy objects on top of the pack, as this can compress the padding and affect its overall structure.
- Choose a cool and dry location: Store the Camelbak pack in a cool, dry, and well-ventilated area. Exposure to extreme temperatures and high humidity can damage the fabric and weaken the seams over time. Avoid storing it in areas prone to moisture or fluctuations in temperature.
- Regularly inspect for any issues: Periodically check the pack for any signs of wear and tear, such as frayed stitching, damaged zippers, or worn-out straps. Address any issues promptly to prevent further damage and ensure that the pack is ready for your next adventure.
By following these storage tips, you can ensure that your Camelbak pack remains in excellent condition and ready for your outdoor activities. Proper storage will help extend the lifespan of the pack, maintain its functionality, and enhance your overall experience.
Additional Tips for Long-Term Storage
If you plan to store your Camelbak for an extended period of time, here are some additional tips to keep in mind:
- Remove the bladder: If you won’t be using your Camelbak for an extended period, consider removing the bladder from the pack. This will prevent any potential damage that could be caused by long-term storage and help maintain the bladder’s longevity.
- Inspect and clean before use: Before using your Camelbak after long-term storage, thoroughly inspect and clean both the bladder and the pack. Check for any signs of damage or wear, and clean the bladder and pack according to the recommended cleaning instructions provided by Camelbak.
- Store in a breathable container: If you choose to store your Camelbak in a container or bag, make sure it is made of breathable material. This will allow air circulation and prevent moisture buildup, which can lead to mold and mildew growth.
- Keep it away from pests: Store your Camelbak in a location that is unlikely to attract pests or insects. Ensure the storage area is clean and free from food sources that may attract unwanted visitors. Consider using natural pest deterrents such as lavender sachets or cedar blocks to help keep pests away.
- Check for warranty coverage: If you encounter any issues with your Camelbak during storage or when bringing it out for use, check if it is covered under warranty. Camelbak offers warranties for their products, and you may be eligible for repairs or replacements.
- Rotate the bladder periodically: If storing the bladder long-term, it can be beneficial to rotate the bladder periodically. This helps prevent any potential damage from prolonged pressure on one specific area of the bladder.
- Follow manufacturer’s guidelines: Lastly, always refer to the manufacturer’s guidelines and recommendations for storing your specific Camelbak model. They may provide specific instructions or tips that are tailored to your pack’s design and materials.
By following these additional tips, you can ensure that your Camelbak remains in excellent condition during long-term storage and is ready for your next adventure when you need it.
Conclusion
Properly storing your Camelbak is essential to maintain its longevity, functionality, and overall hygiene. By following the guidelines outlined in this article, you can ensure that your Camelbak stays in excellent condition, ready for your next outdoor adventure.
Remember to choose the right location for storage, keeping it away from direct sunlight, maintaining moderate temperatures, and ensuring a dry and well-ventilated area. Cleaning and drying your Camelbak regularly helps prevent the growth of mold, mildew, and bacteria, ensuring a clean and refreshing drinking experience every time.
When it comes to storing the Camelbak bladder, make sure it is completely dry, securely closed, and stored in a cool and dry location. Avoid folding or creasing the bladder to maintain its shape, and consider using a dedicated storage bag for added protection.
For the Camelbak pack, empty and clean it before storage, ensuring it is completely dry and organized. Fasten all straps and closures and store it in an upright position, choosing a cool and dry location to prevent damage to the fabric and structure.
If you plan to store your Camelbak for an extended period, consider removing the bladder, inspecting and cleaning before use, and following additional tips such as storing in a breathable container and keeping it away from pests. Remember to check for warranty coverage and periodically rotate the bladder if necessary.
By implementing these storage practices, you can prolong the life of your Camelbak and enjoy a clean and reliable hydration system for all your outdoor activities.
So, take care of your Camelbak, store it properly, and embark on your adventures fully hydrated and ready to conquer the outdoors!
Frequently Asked Questions about How To Store Your Camelbak
Was this page helpful?
At Storables.com, we guarantee accurate and reliable information. Our content, validated by Expert Board Contributors, is crafted following stringent Editorial Policies. We're committed to providing you with well-researched, expert-backed insights for all your informational needs.


0 thoughts on “How To Store Your Camelbak”