Articles
How To Store Your Own Blood
Modified: December 7, 2023
Learn how to store your own blood properly with these informative articles. Find out the benefits and precautions of self-blood storage.
(Many of the links in this article redirect to a specific reviewed product. Your purchase of these products through affiliate links helps to generate commission for Storables.com, at no extra cost. Learn more)
Introduction
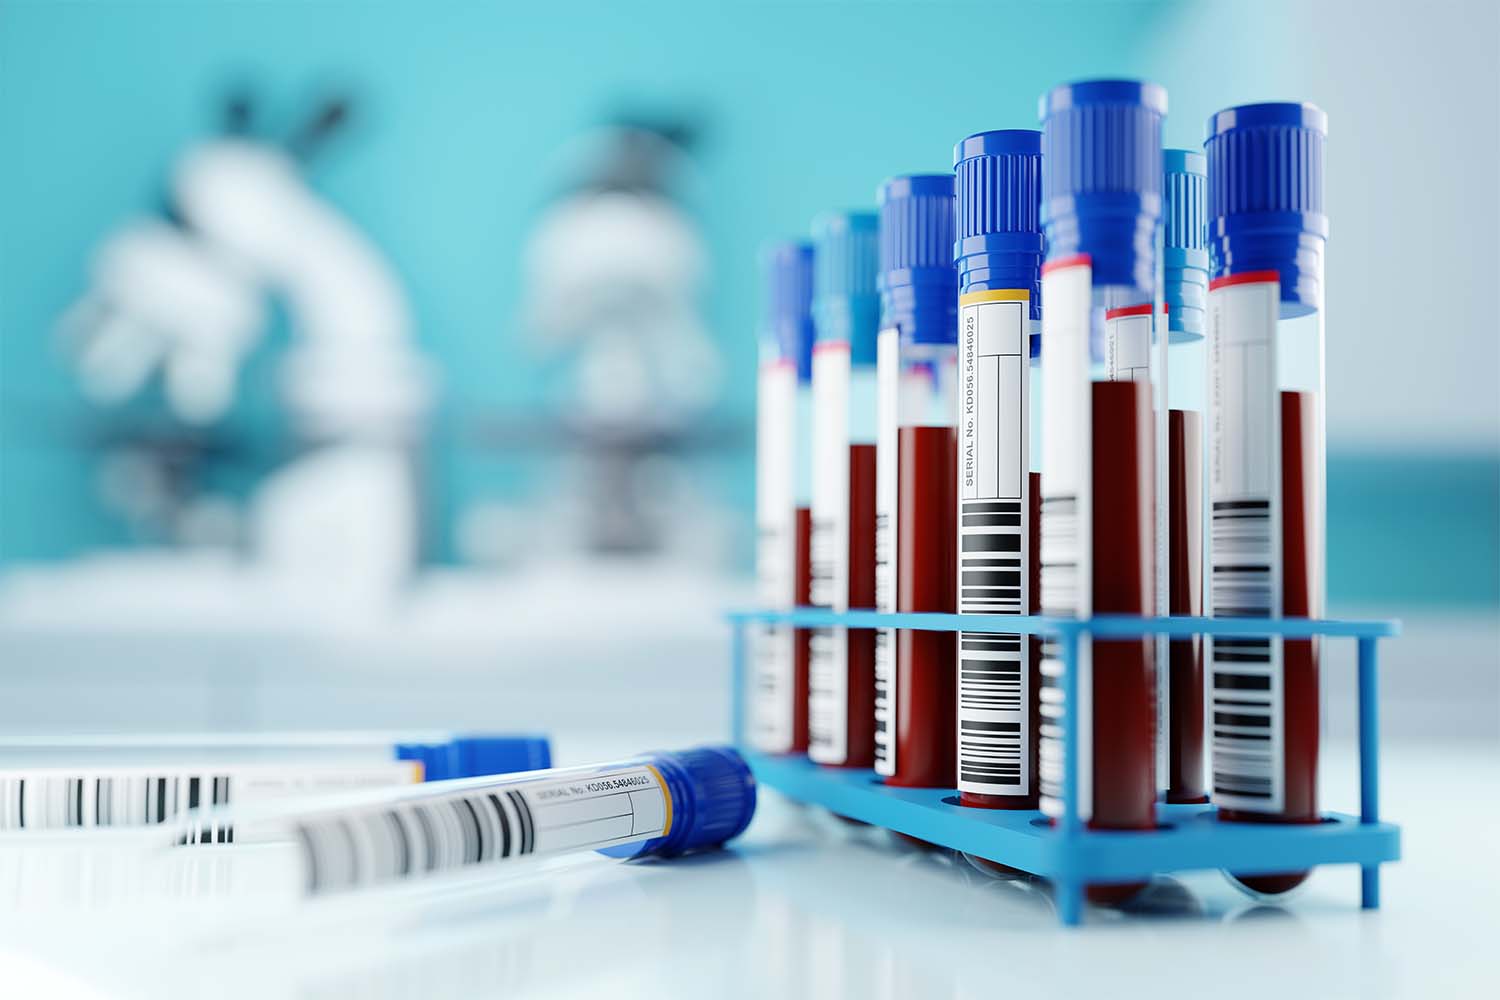
Welcome to the fascinating world of blood storage! Storing your own blood can have various benefits, whether you’re seeking medical treatment or simply want to take control of your health. This article will guide you through the process of safely storing your own blood, providing you with valuable information and step-by-step instructions.
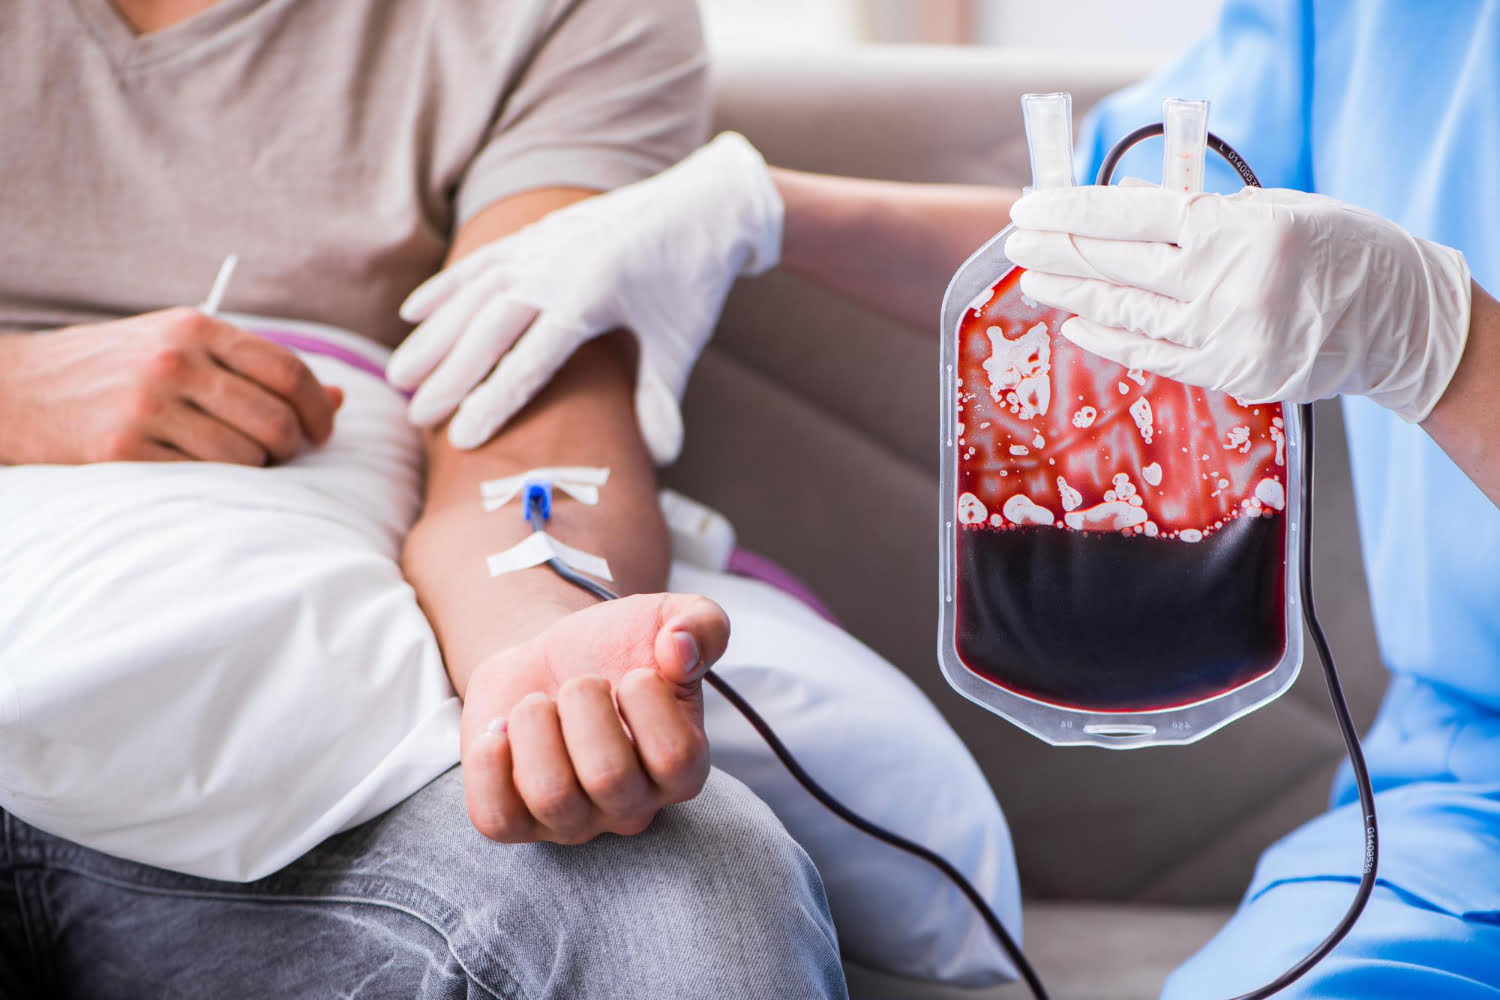
Why would someone want to store their own blood, you might ask? Well, there are several reasons. One common scenario is when an individual anticipates the need for a future medical procedure, such as surgery, where blood transfusion might be required. Storing your own blood allows you to have a ready supply of compatible blood on hand, reducing the risk of complications or transfusion reactions.
Additionally, some people choose to store their blood as a precautionary measure, for emergency situations or for potential use by family members. This can be especially useful in cases where a person has rare blood type or specific antibodies that are difficult to find in the general blood supply.
Before we dive into the details, it’s important to note that storing your own blood should not be done without consultation with a healthcare professional. They can assess your specific situation and advise you on whether it is safe and appropriate for you to store your blood.
Now that we understand the reasons behind blood storage and the importance of medical guidance, let’s move on to the first step: gathering the necessary equipment.
Key Takeaways:
- Takeaway 1: Safely storing your own blood requires meticulous preparation, from gathering sterile equipment to choosing a clean environment. Proper labeling, storage, and regular monitoring are essential for maintaining the integrity of the blood samples.
- Takeaway 2: Disposing of unused blood responsibly is crucial for public health and safety. Consulting with healthcare professionals and adhering to disposal regulations ensures a safe and healthy environment.
Read more: How To Store Blood
Step 1: Gather the necessary equipment
Before you begin the process of storing your own blood, it’s important to make sure you have all the necessary equipment on hand. Here’s a list of items you will need:
- Clean and sterile blood collection tubes or bags: These are specifically designed for collecting and storing blood. It’s crucial to ensure that the containers are sterile to prevent contamination.
- Alcohol swabs or disinfectant wipes: These are used to clean the area where the blood will be drawn from, ensuring it is free from any bacteria or germs.
- Tourniquet or elastic band: This is used to apply pressure to the arm, causing the veins to swell and making it easier to locate a suitable vein for the blood draw.
- Needles: You will need a needle and a syringe or a needle attached to a blood collection tube for drawing the blood.
- Gloves: It’s important to wear disposable gloves to maintain a sterile environment and to protect yourself from any potential bloodborne pathogens.
- Labels and markers: These will be used to properly identify and label the blood samples to ensure accurate tracking and identification.
- A sharps container: This is a secure container designed for the safe disposal of used needles and other sharp objects.
- Cooler or refrigerator: Once the blood samples are collected, they need to be stored at a specific temperature. Depending on the length of storage, you may need a portable cooler with ice packs or a dedicated refrigerator.
It’s crucial to ensure that all the equipment is clean, sterile, and in good working condition before proceeding with the blood draw. Failure to do so may compromise the integrity of the blood samples and pose potential health risks.
Now that you have gathered all the necessary equipment, we can move on to the next step: choosing a clean and sterile environment for the blood collection process.
Step 2: Choose a clean and sterile environment
Creating a clean and sterile environment is essential when it comes to storing your own blood. This step ensures that your blood samples remain free from contamination, guaranteeing their safety and efficacy. Here’s how you can choose the ideal environment for the blood collection process:
- Select a well-lit area: Choose a location with ample lighting to facilitate proper visibility during the blood draw. This will help you accurately locate veins and minimize the risk of errors.
- Ensure proper ventilation: It’s crucial to have good airflow in the room to minimize the buildup of bacteria or other pathogens. If possible, open windows or use fans to improve ventilation.
- Clean the area: Thoroughly clean the surface where the blood draw will take place. Use a disinfectant solution to wipe down the table or countertop, ensuring it is free from any contaminants.
- Avoid areas prone to contamination: Stay away from areas where there is a higher chance of exposure to dust, dirt, or other potential contaminants. This includes areas near pets, food preparation areas, or areas with excessive foot traffic.
- Maintain a clutter-free environment: Clear any unnecessary items or clutter from the workspace. This will not only streamline the process but also minimize the risk of contamination.
- Consider a medical setting: If possible, choose a room or area that emulates a medical setting. Medical facilities have strict protocols in place to maintain cleanliness, making it an ideal choice for blood storage.
By selecting a clean and sterile environment, you minimize the chances of introducing any contaminants into your blood samples. Remember, maintaining aseptic conditions is crucial when it comes to storing blood for future use.
Once you have chosen the appropriate environment, you can proceed to step 3: preparing for the blood draw.
Step 3: Prepare for the blood draw
Preparing for the blood draw is a crucial step in ensuring a successful and safe collection process. By taking the time to properly prepare, you can minimize the risk of complications and ensure the integrity of the blood samples. Here’s what you need to do:
- Wash your hands: Before starting the procedure, thoroughly wash your hands with soap and water. This helps eliminate any potential germs and maintains a clean environment.
- Put on gloves: Once your hands are clean, put on disposable gloves to prevent any contamination from your hands to the blood samples.
- Set up the equipment: Arrange all the necessary equipment in an organized manner within arm’s reach. This includes the blood collection tubes, alcohol swabs, tourniquet or elastic band, and needles.
- Check expiration dates: Ensure that all the equipment, such as blood collection tubes and needles, are in date and have not expired. Using expired products can compromise the quality of the blood samples.
- Double-check identification: Before proceeding, confirm the identity of the person from whom you’ll be drawing blood. Verify their identity by cross-referencing their identification bracelet or asking for their full name and date of birth.
- Explain the procedure: If you’re drawing blood from someone else, take the time to explain the process and address any concerns or questions they may have. This helps alleviate anxiety and ensures cooperation.
- Prepare the area: Clean the site where the blood will be drawn from using an alcohol swab. Start at the center and move outward in a circular motion to disinfect the area.
- Apply the tourniquet: Place the tourniquet or elastic band around the upper arm, approximately two to three inches above the intended puncture site. This helps to locate and enlarge the veins for easier access.
By properly preparing for the blood draw, you create a conducive environment for a successful procedure. This step sets the foundation for accurate collection and ensures the safety of both the person providing the blood and the samples themselves.
With the preparation complete, you’re now ready to move on to Step 4: performing the blood draw.
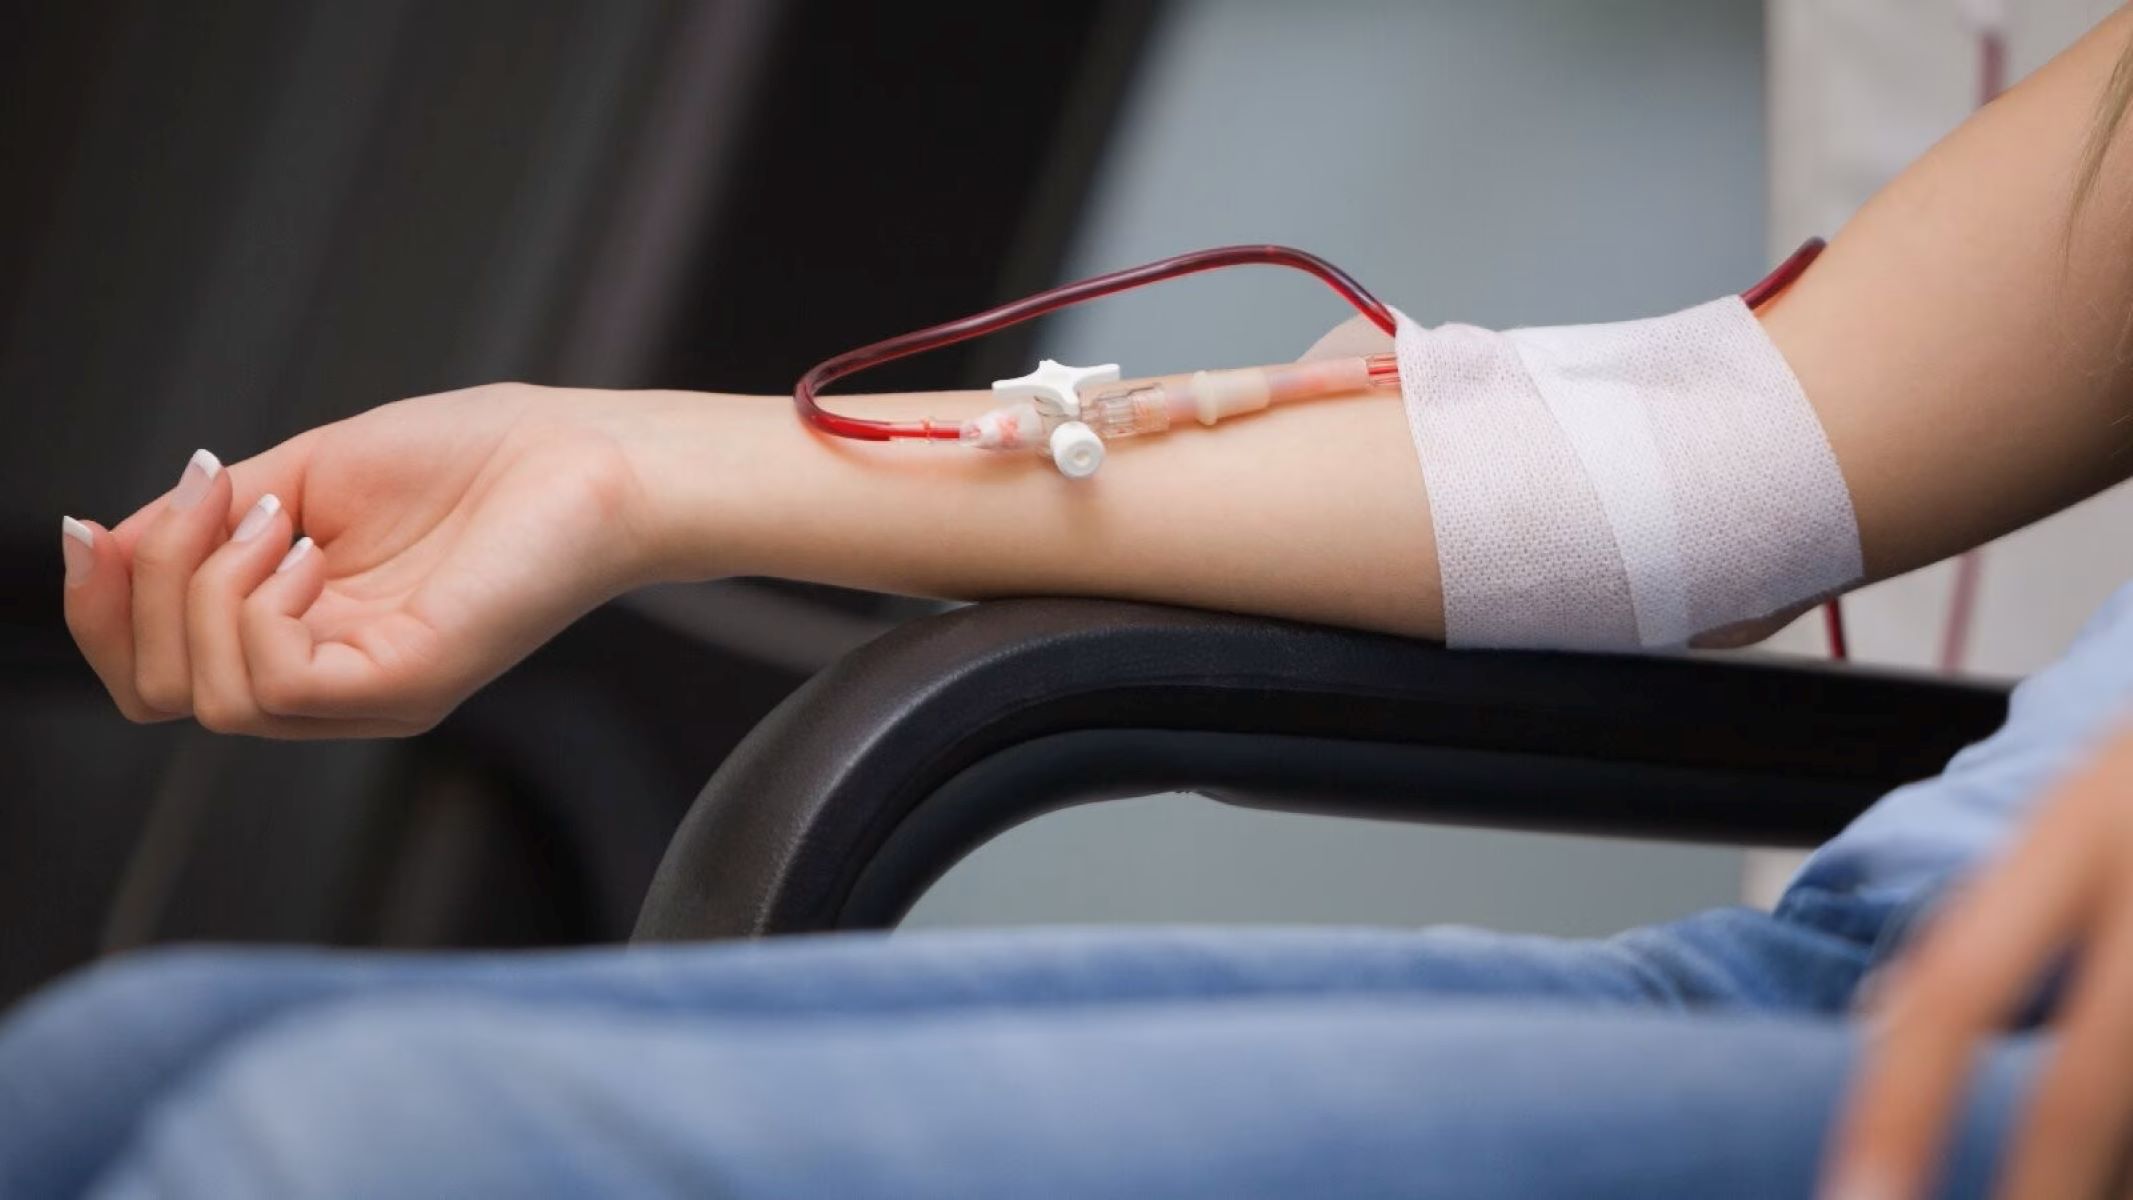
Step 4: Perform the blood draw
The blood draw is a critical step in the process of storing your own blood. It requires careful attention to detail and proper technique to ensure accurate collection and minimize discomfort. Follow these steps to successfully perform the blood draw:
- Select a suitable vein: Identify a visible and accessible vein in the arm. Common sites for venipuncture include the inner elbow, back of the hand, or forearm. Palpate the area to locate a vein that feels firm and bouncy.
- Apply gentle pressure: With the person’s arm extended and the tourniquet in place, ask them to clench and release their fist. This helps dilate the veins and make them easier to access.
- Prepare the needle: Attach the needle to the blood collection tube or syringe. Ensure that the needle is securely in place before proceeding.
- Stabilize the vein: Use your non-dominant hand to anchor the area below the selected vein to keep it steady during the blood draw.
- Insert the needle: Holding the needle with your dominant hand at a shallow angle, gently and smoothly insert the needle into the vein. Be mindful of the person’s comfort and go slowly to minimize any discomfort.
- Collect the blood sample: Once the needle is successfully in the vein, blood should start flowing into the collection tube or syringe. Follow the instructions provided with the specific collection system to ensure the correct amount of blood is collected.
- Release the tourniquet: After collecting the desired amount of blood, release the tourniquet to restore circulation in the arm.
- Remove the needle: Withdraw the needle gently but swiftly, maintaining pressure on the puncture site with a sterile gauze pad or cotton ball to prevent excessive bleeding.
Remember to handle the collected blood samples with care to avoid any spills or contamination. Place them in the appropriate labeled collection tubes or bags, making sure to note the date and time of collection.
Once you have successfully performed the blood draw, proceed to the next step: labeling and storing the blood samples.
Tip: Store your own blood by using a blood bag and anticoagulant to prevent clotting. Keep it in a refrigerator at 2-6°C for up to 42 days, or freeze it at -18°C for long-term storage.
Read more: How To Own Your Own Construction Company
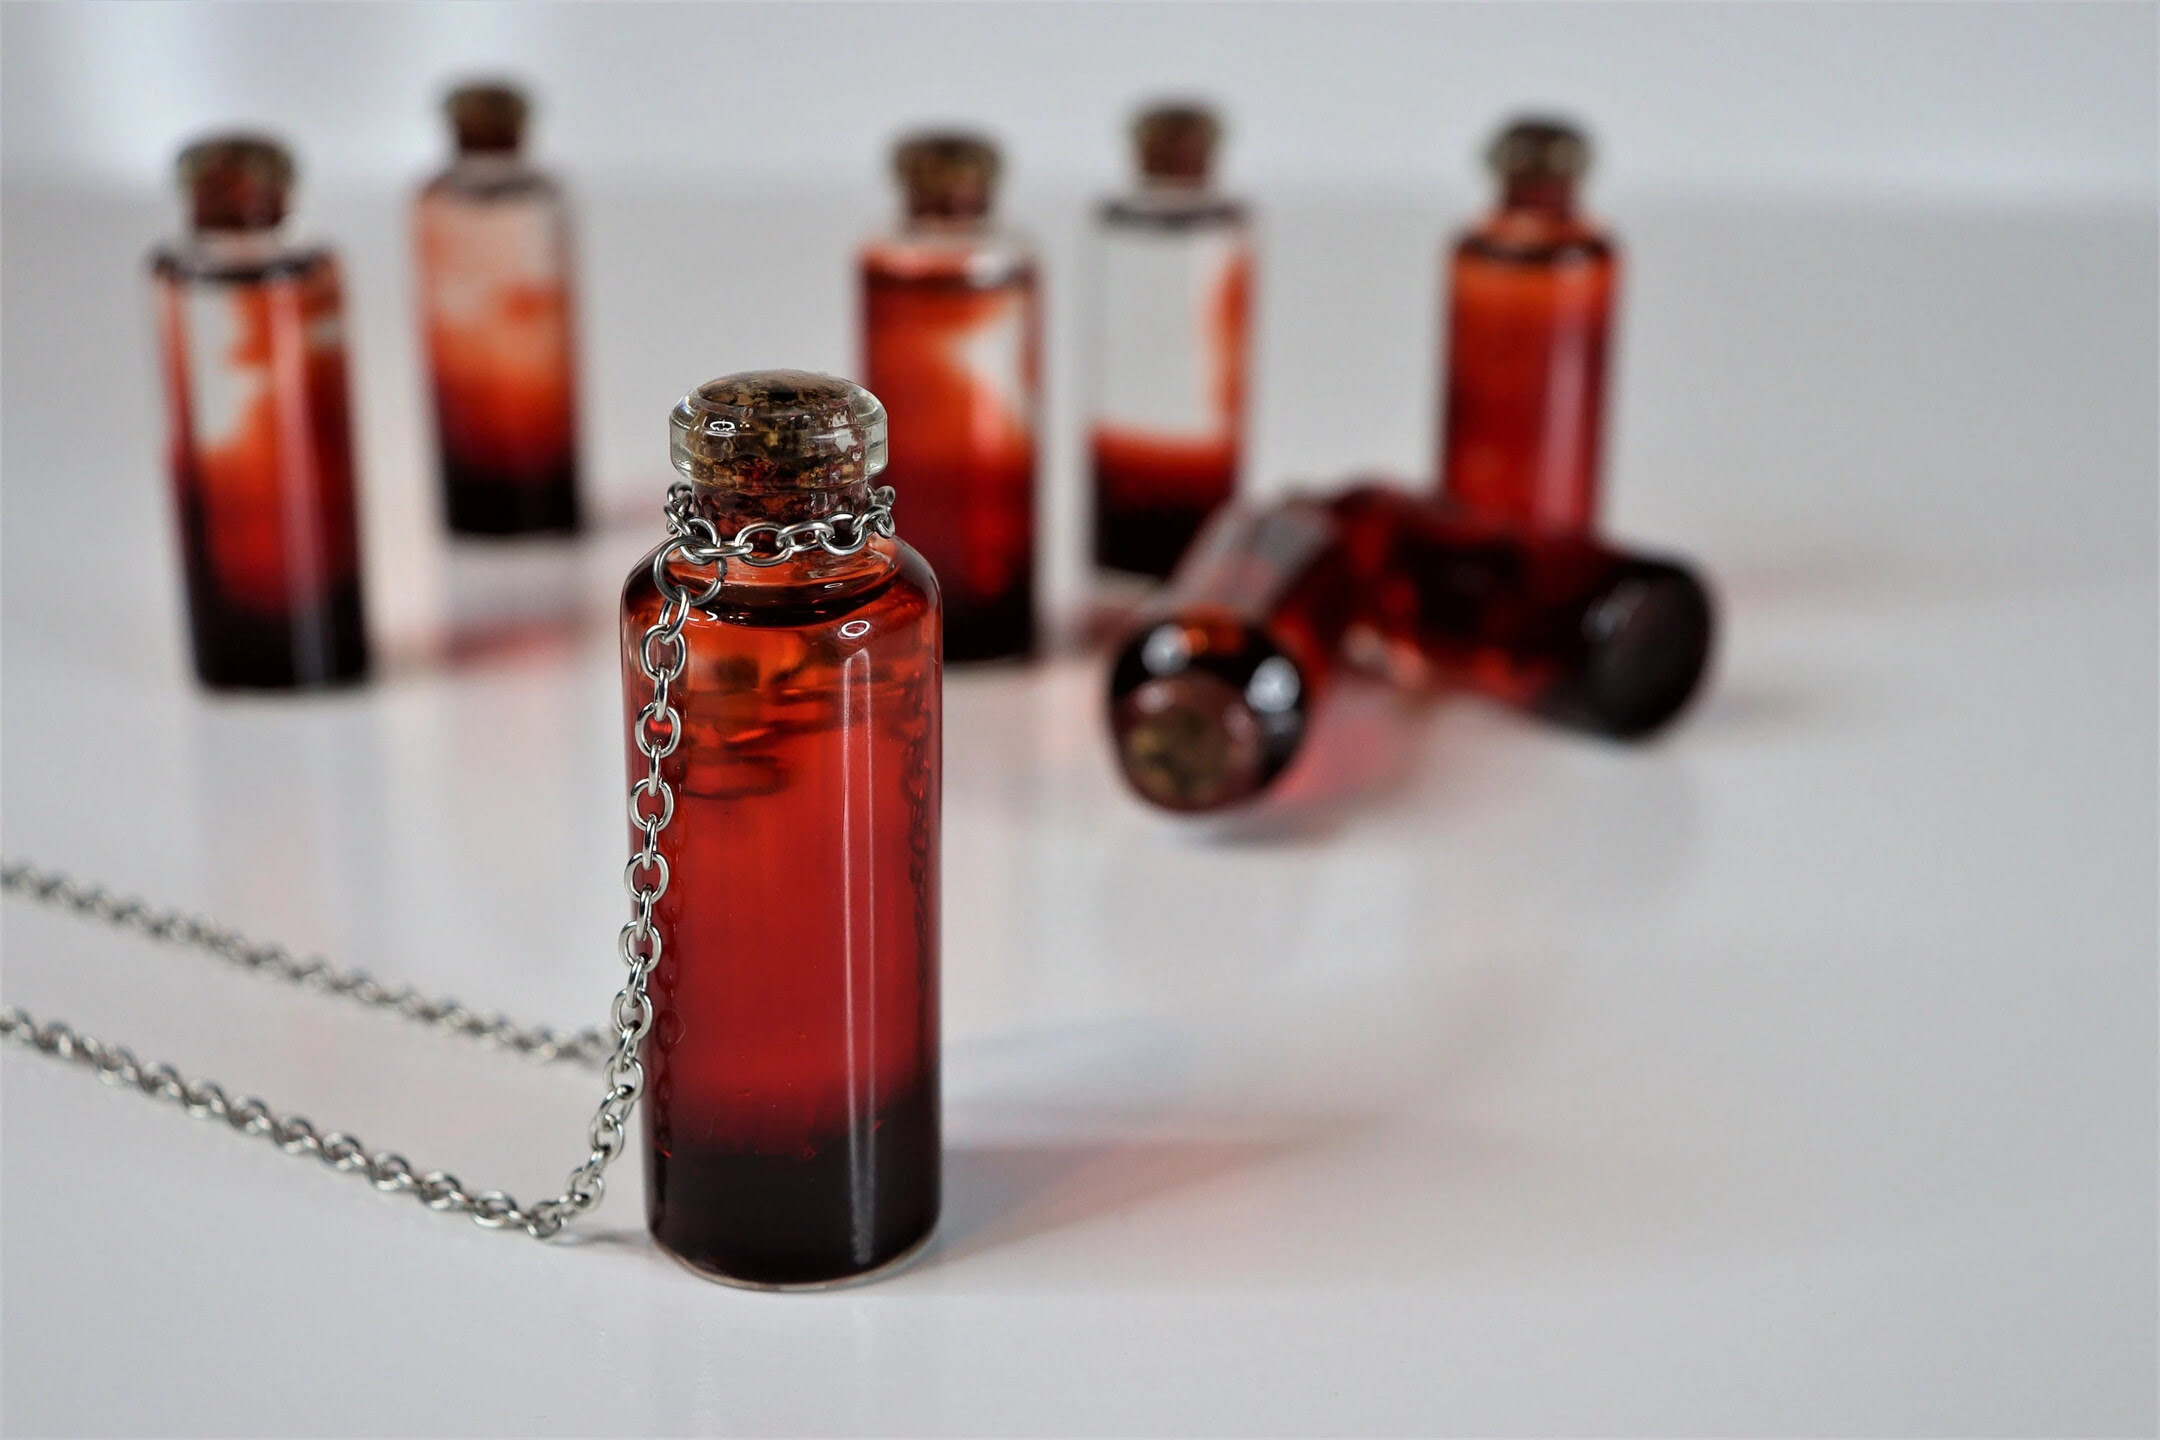
Step 5: Label and store the blood samples
Properly labeling and storing the blood samples is crucial to maintain their integrity and ensure accurate tracking. This step involves carefully documenting the details of each sample and storing them in suitable containers. Follow these guidelines to effectively label and store your blood samples:
- Labeling the samples: Using a permanent marker, clearly label each blood sample container with the necessary information. Include the person’s name, date of collection, and any additional identifiers required by your healthcare provider.
- Record the details: Create a log or spreadsheet to record the details of each blood sample. This should include the identifying information, date and time of collection, and any additional notes or observations that may be relevant.
- Store in appropriate containers: Depending on the storage duration, use suitable containers such as blood collection tubes or bags designed for long-term storage. Make sure the containers are properly sealed to prevent any leakage or contamination.
- Maintain consistent temperature: Blood samples should be stored at the appropriate temperature to ensure their stability. If using a refrigerator, ensure it maintains a temperature between 1 to 6 degrees Celsius. For portable storage, use a cooler with ice packs to maintain a cooler temperature range.
- Keep samples upright: Store the blood samples in an upright position to prevent any mixing or cross-contamination between tubes or bags. This can be achieved by using racks or holders specifically designed for blood sample storage.
Remember to handle the blood samples with caution, treating them as potentially infectious materials. Wear disposable gloves when handling the samples and always wash your hands thoroughly after coming into contact with blood.
Regularly monitor the storage conditions, checking for any signs of deterioration, leakage, or improper temperature. It’s important to adhere to the recommended storage duration guidelines provided by your healthcare professional or blood bank.
With your blood samples properly labeled and stored, you can move on to Step 6: maintaining proper storage conditions for long-term preservation.
Step 6: Maintain proper storage conditions
Maintaining proper storage conditions is essential for the long-term preservation of your stored blood samples. By ensuring the samples are stored in the optimal environment, you can maximize their viability and usefulness. Follow these guidelines to maintain the proper storage conditions:
- Temperature control: The temperature at which you store your blood samples is crucial. If using a refrigerator, maintain a temperature between 1 to 6 degrees Celsius (34 to 43 degrees Fahrenheit). Avoid freezing the samples, as it can damage the cells and render them unusable. If using a portable cooler, regularly monitor the temperature to ensure it stays within the appropriate range.
- Light protection: Blood samples are sensitive to light, so it’s important to store them in a dark or opaque container. Light exposure can degrade certain components of the blood, affecting its quality and usability. If storing in a refrigerator, ensure the container is not transparent to prevent light exposure.
- Protection from microbial contamination: Blood samples are susceptible to microbial growth, which can compromise the integrity of the sample. Make sure the storage container is properly sealed to prevent entry of bacteria or other microorganisms. Regularly clean and disinfect the storage area to minimize the risk of contamination.
- Prevent cross-contamination: Keep the blood samples isolated from other substances to avoid cross-contamination. Store them away from food items or any potentially hazardous materials. If using a refrigerator, designate a specific area for blood sample storage, separate from other items.
- Regular monitoring: Monitor the storage conditions regularly to ensure they remain stable. Check the temperature, inspect the containers for any signs of damage or leakage, and verify the labels and records to ensure accuracy. Any deviations from the recommended storage conditions should be addressed immediately.
By maintaining the proper storage conditions, you can preserve the quality and usability of your blood samples for an extended period. Remember to consult your healthcare professional or follow any specific guidelines provided by your blood bank for the recommended storage duration.
With the proper storage conditions in place, you can move on to Step 7: monitoring the blood samples regularly to ensure their ongoing viability and quality.
Step 7: Monitor the blood samples regularly
Regular monitoring of your stored blood samples is crucial to ensure their ongoing viability and quality. By conducting periodic checks, you can identify any potential issues or changes that may affect the integrity of the samples. Follow these guidelines to effectively monitor your blood samples:
- Check for signs of degradation: Regularly inspect the blood samples for any signs of deterioration, such as changes in color, odor, or consistency. Any unusual or unexpected changes may indicate that the samples have been compromised and are no longer suitable for use.
- Verify the labels and records: Double-check the labels on the blood sample containers to ensure they match the accompanying records. This helps maintain accurate tracking and identification of the samples.
- Monitor storage conditions: Continuously monitor the storage conditions of the blood samples, including temperature and light exposure. Ensure that the storage containers are properly sealed and that the recommended temperature range is maintained.
- Review storage duration guidelines: Refer to the recommended storage duration guidelines provided by your healthcare professional or blood bank. Regularly review these guidelines to ensure that you are not keeping the samples beyond their recommended storage period.
- Maintain a log: Keep a log or spreadsheet to document the monitoring activities, including date, time, and any observations made. This can help track any patterns or changes over time.
- Consult a healthcare professional: If you notice any significant changes or are unsure about the viability of the blood samples, consult with a healthcare professional. They can provide guidance and recommend appropriate actions based on their expertise.
Regular monitoring helps in identifying any potential issues early on, allowing you to take necessary actions to preserve the quality of the blood samples. By staying vigilant and proactive, you can maximize the usability of the stored blood for its intended purposes.
With regular monitoring practices in place, you can move on to Step 8: the proper disposal of any unused blood or expired samples.
Step 8: Proper disposal of unused blood
Proper disposal of unused blood is essential to ensure the safety of individuals and prevent the risk of contamination. Whether you have collected more blood than needed or have expired blood samples, it’s important to follow appropriate disposal procedures. Here’s how to dispose of unused blood properly:
- Consult with a healthcare professional: Before disposing of any unused blood, consult with a healthcare professional. They can provide guidance on the specific disposal regulations and requirements in your area.
- Identify proper disposal methods: Research and identify the approved methods for disposing of blood in your region. This may include options such as incineration, chemical treatment, or utilizing professional medical waste disposal services.
- Follow regulations and guidelines: Adhere to any local or national regulations regarding the disposal of biological waste, including blood products. These regulations are in place to maintain public health and safety.
- Use appropriate containers: Collect any unused blood in leak-proof, puncture-resistant containers specifically designated for biohazardous waste. Label the containers clearly with biohazard symbols and follow any additional requirements, such as sealing the containers.
- Schedule disposal pickup or drop-off: Arrange for the proper disposal of the unused blood by scheduling a pickup with a regulated medical waste disposal provider or utilizing designated drop-off locations.
- Document disposal activities: Keep a record of the disposal process, including dates, methods used, and any required documentation. This helps ensure compliance and provides a clear audit trail if needed.
Disposing of unused blood responsibly is vital to protect public health and prevent environmental contamination. By following the appropriate disposal methods and regulations, you can contribute to a safe and healthy environment.
With Step 8 complete, you have successfully learned how to store your own blood, from gathering the necessary equipment to proper disposal. Following these steps, along with guidance from healthcare professionals, ensures the effectiveness and safety of your stored blood samples.
Remember, this article is designed to provide general guidance and information. It’s important to consult with a healthcare professional for specific instructions and advice tailored to your individual circumstances.
Best of luck with your blood storage journey!
Now, go forth and take control of your health with the knowledge you have gained!
Read more: How To Store Period Blood
Conclusion
Congratulations! You have reached the end of this comprehensive guide on storing your own blood. Throughout this article, we have explored the steps involved in safely and effectively storing blood samples for various purposes. By following proper procedures and guidelines, you can take control of your health and be prepared for future medical needs.
From gathering the necessary equipment to selecting a clean and sterile environment, preparing for the blood draw, and performing the collection process, you have learned the importance of attention to detail and maintaining aseptic conditions. Labeling and properly storing the blood samples at the correct temperature were highlighted as key steps to ensure their usability and longevity.
Regularly monitoring the blood samples helps in identifying any potential issues and maintaining their quality over time. It’s essential to adhere to recommended storage durations and consult with healthcare professionals when in doubt. Lastly, proper disposal of unused blood must be done according to local regulations and guidelines to ensure the safety of individuals and the environment.
Remember that storing your blood should always be done under the guidance of a healthcare professional who can provide specific instructions based on your unique situation. It’s important to consult with them to ensure that storing your blood is appropriate and safe for you.
By taking the initiative to store your own blood, you empower yourself with a valuable resource that can be used for potential medical procedures, emergency situations, or even to assist family members. However, it’s important to understand that storing blood requires specialized knowledge and should not be undertaken without proper guidance.
Thank you for joining us on this journey to learn about blood storage. We hope that this guide has been informative and helpful to you. Remember to always prioritize your safety and consult with healthcare professionals for personalized advice. Take control of your health, and may your blood storage endeavors be successful!
Frequently Asked Questions about How To Store Your Own Blood
Was this page helpful?
At Storables.com, we guarantee accurate and reliable information. Our content, validated by Expert Board Contributors, is crafted following stringent Editorial Policies. We're committed to providing you with well-researched, expert-backed insights for all your informational needs.


0 thoughts on “How To Store Your Own Blood”