Articles
How To Store Cherry Plums
Modified: February 24, 2024
Discover the best way to store cherry plums with our informative articles. Learn how to keep them fresh and tasty for longer periods.
(Many of the links in this article redirect to a specific reviewed product. Your purchase of these products through affiliate links helps to generate commission for Storables.com, at no extra cost. Learn more)
Introduction
Welcome to our guide on how to store cherry plums! Whether you have an abundance of these delicious fruits from your garden or a recent trip to the local farmer’s market, learning how to properly store cherry plums is essential to extend their shelf life and enjoy them for longer periods. In this article, we will provide you with useful tips and techniques to keep your cherry plums fresh and tasty.
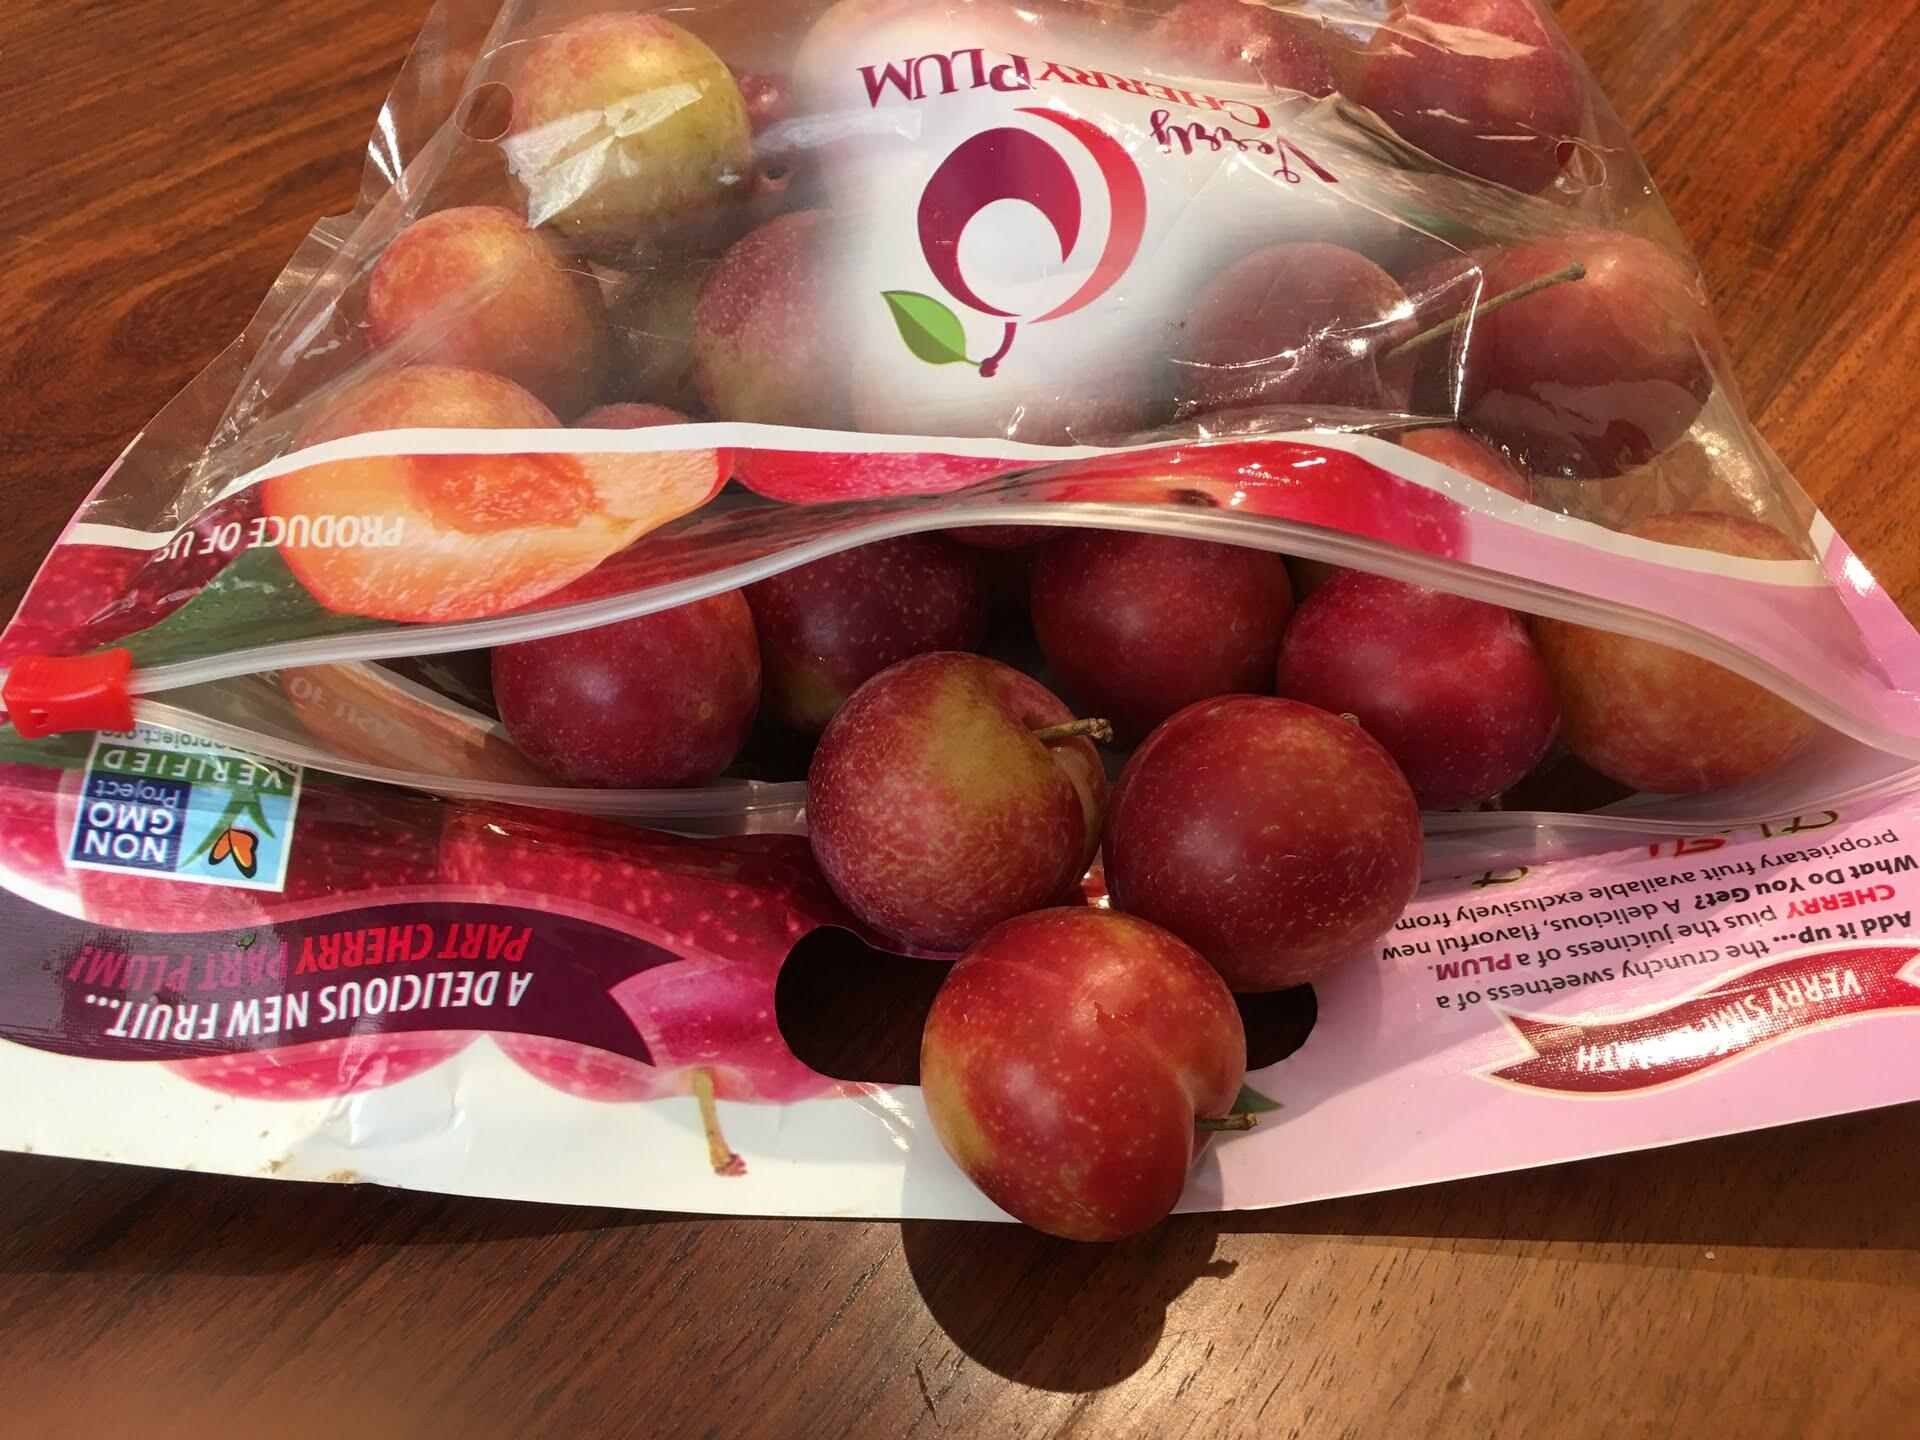
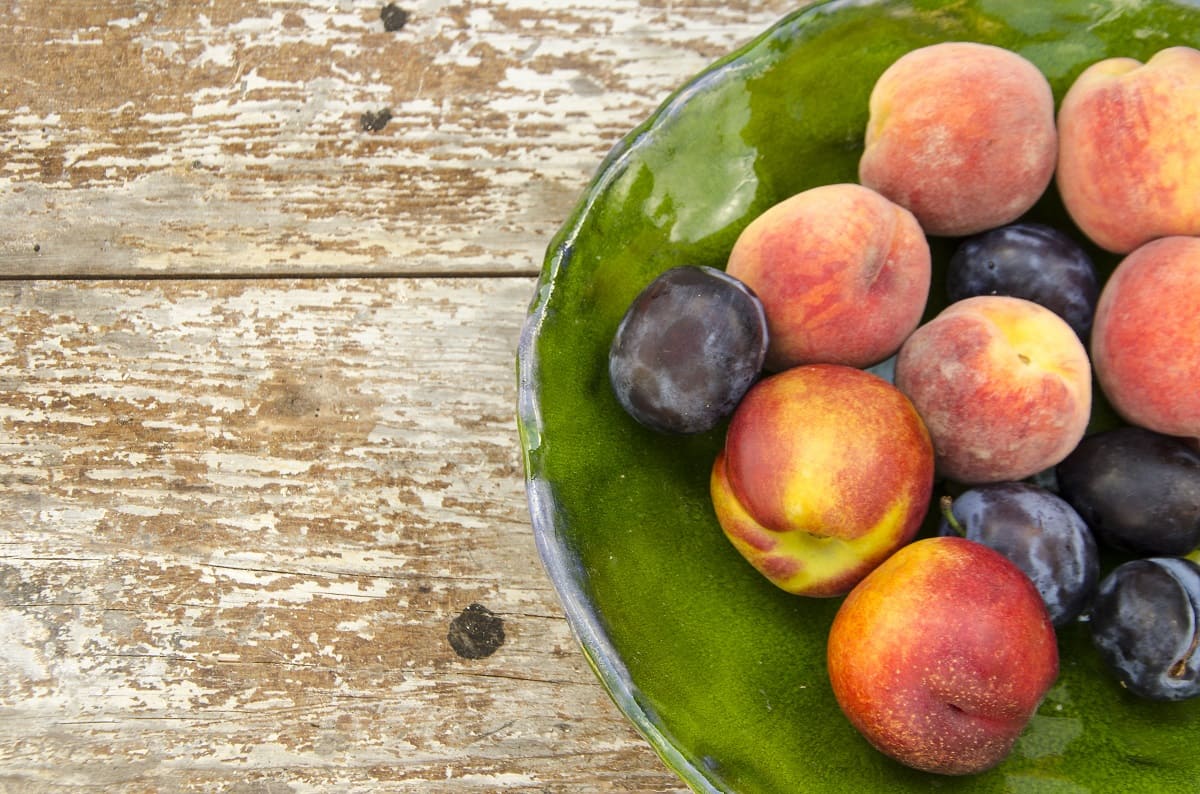
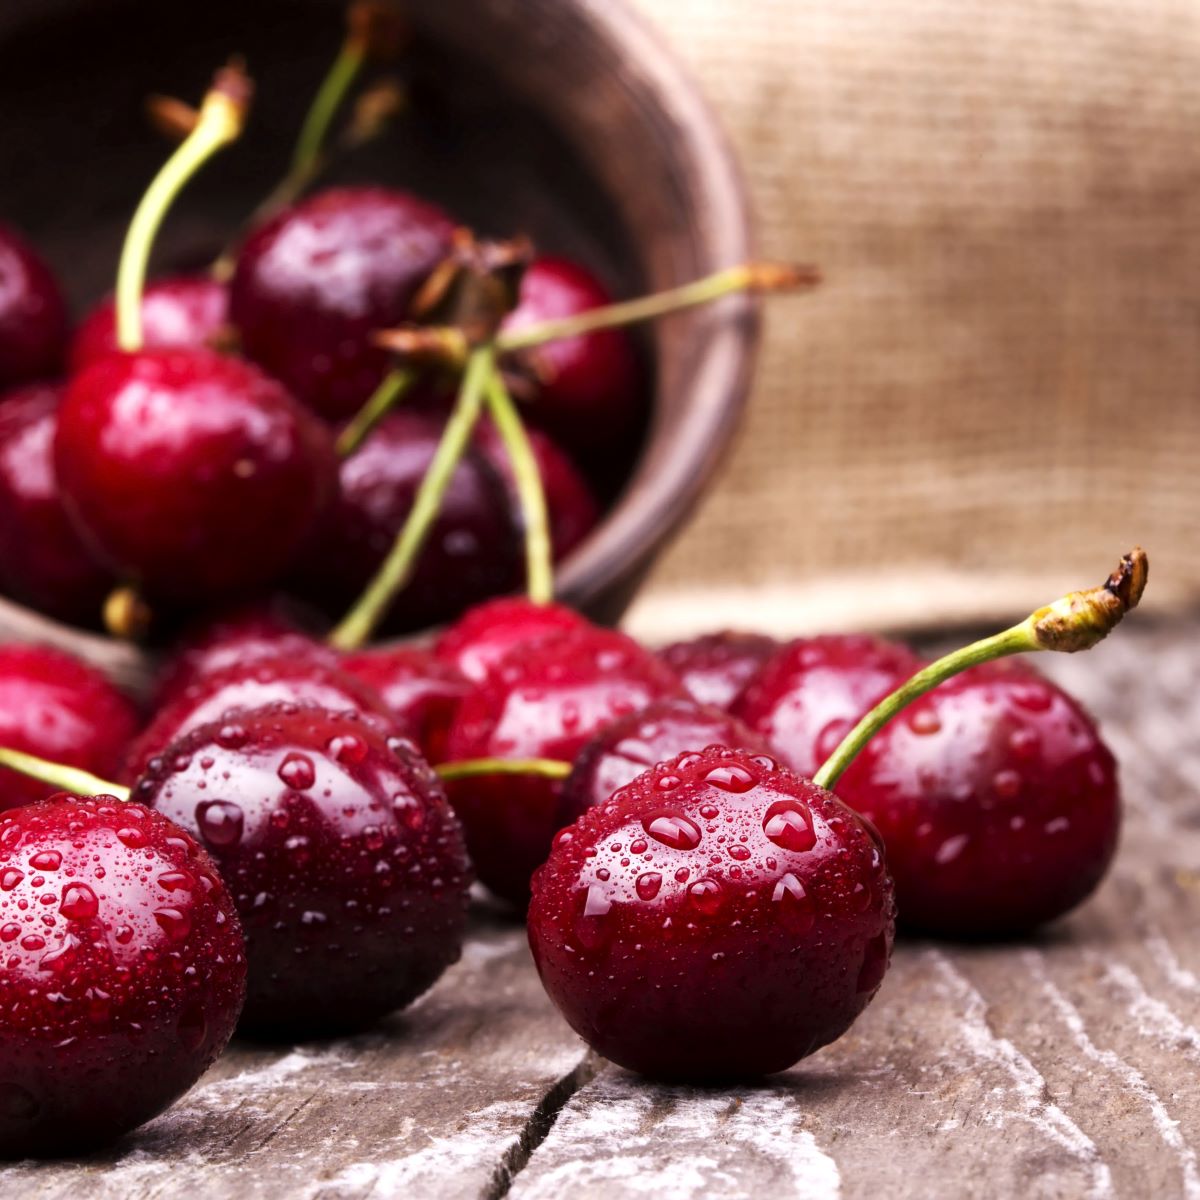
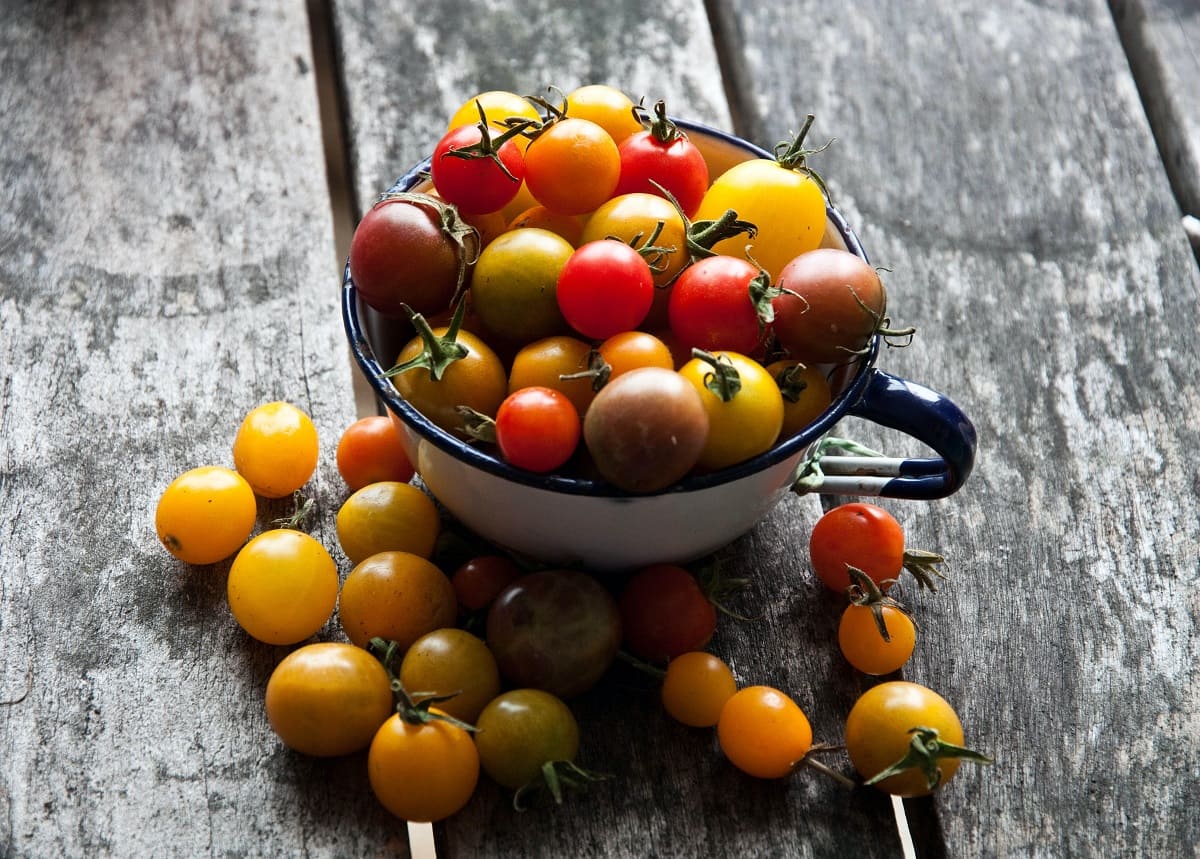
Cherry plums, also known as mirabelle plums or cherry plums, are small, round fruits that are a cross between cherries and plums. They have a sweet and slightly tangy flavor, making them perfect for snacking, baking, or adding to jams and preserves.
When it comes to storing cherry plums, it’s important to choose the right ones and handle them with care. Quality and freshness are key factors in preserving the flavor and texture of these juicy fruits.
So, let’s dive into the details of selecting the best cherry plums and preparing them for storage.
Key Takeaways:
- Choose vibrant, firm, and fragrant cherry plums for optimal storage. Properly prepare and store them in the refrigerator or freezer to enjoy their sweet and tangy flavor for up to a year.
- Transform cherry plums into delightful jam, chewy dried snacks, or versatile canned ingredients. Follow proper guidelines to preserve their freshness and savor their incredible taste year-round.
Read more: How To Store Cherries
Choosing the Right Cherry Plums
Before you start thinking about storing cherry plums, it’s essential to select the right ones. Here are some tips to help you pick the best cherry plums:
- Appearance: Look for cherry plums that are vibrant in color, with smooth and undamaged skin. Avoid fruits that have bruises, blemishes, or signs of mold.
- Size: Cherry plums come in different sizes, ranging from small to medium. Choose plums that are firm and plump, indicating that they are ripe and full of flavor.
- Fragrance: Give the cherry plums a gentle sniff. They should have a sweet and fragrant aroma, indicating their ripeness. If they have little to no fragrance, they may be underripe.
- Taste: If possible, taste a cherry plum before purchasing a large quantity. It should have a nice balance of sweetness and acidity. Avoid plums that taste overly sour or have a mealy texture.
- Season: Cherry plums are in season during the summer months, usually from June to August. Try to buy them when they are at their peak freshness to ensure the best flavor and quality.
By taking these factors into consideration, you can ensure that you are selecting cherry plums that are at their best and will store well.
Now that you know how to choose the right cherry plums, let’s move on to preparing them for storage.
Preparing Cherry Plums for Storage
Once you have chosen the perfect cherry plums, it’s time to prepare them for storage. Follow these steps to ensure your cherry plums stay fresh and flavorful:
- Inspect and Sort: Inspect each cherry plum carefully, discarding any damaged or overripe fruits. Sorting them will help prevent any spoiled ones from affecting the others in storage.
- Wash: Give the cherry plums a gentle rinse under cool water to remove any dirt or debris. Avoid using soap or any harsh cleaning agents, as they can strip away the natural protective waxy coating on the plums.
- Dry: Pat the cherry plums dry with a clean kitchen towel. Excess moisture can lead to spoilage, so it’s important to remove any remaining water droplets.
- Remove Stems: Twist off the stems from each cherry plum. Leaving the stems attached can increase the chance of mold growth and spoilage.
- Optional: Prune/Freshen Up: If you notice any blemishes or spots on the cherry plums’ skin, you can use a small paring knife to carefully trim away the affected areas. This step is optional but can help improve the overall appearance and longevity of the fruits.
By following these steps, you are preparing your cherry plums for optimal storage conditions. Now, let’s explore different storage methods to keep your cherry plums fresh and delicious.
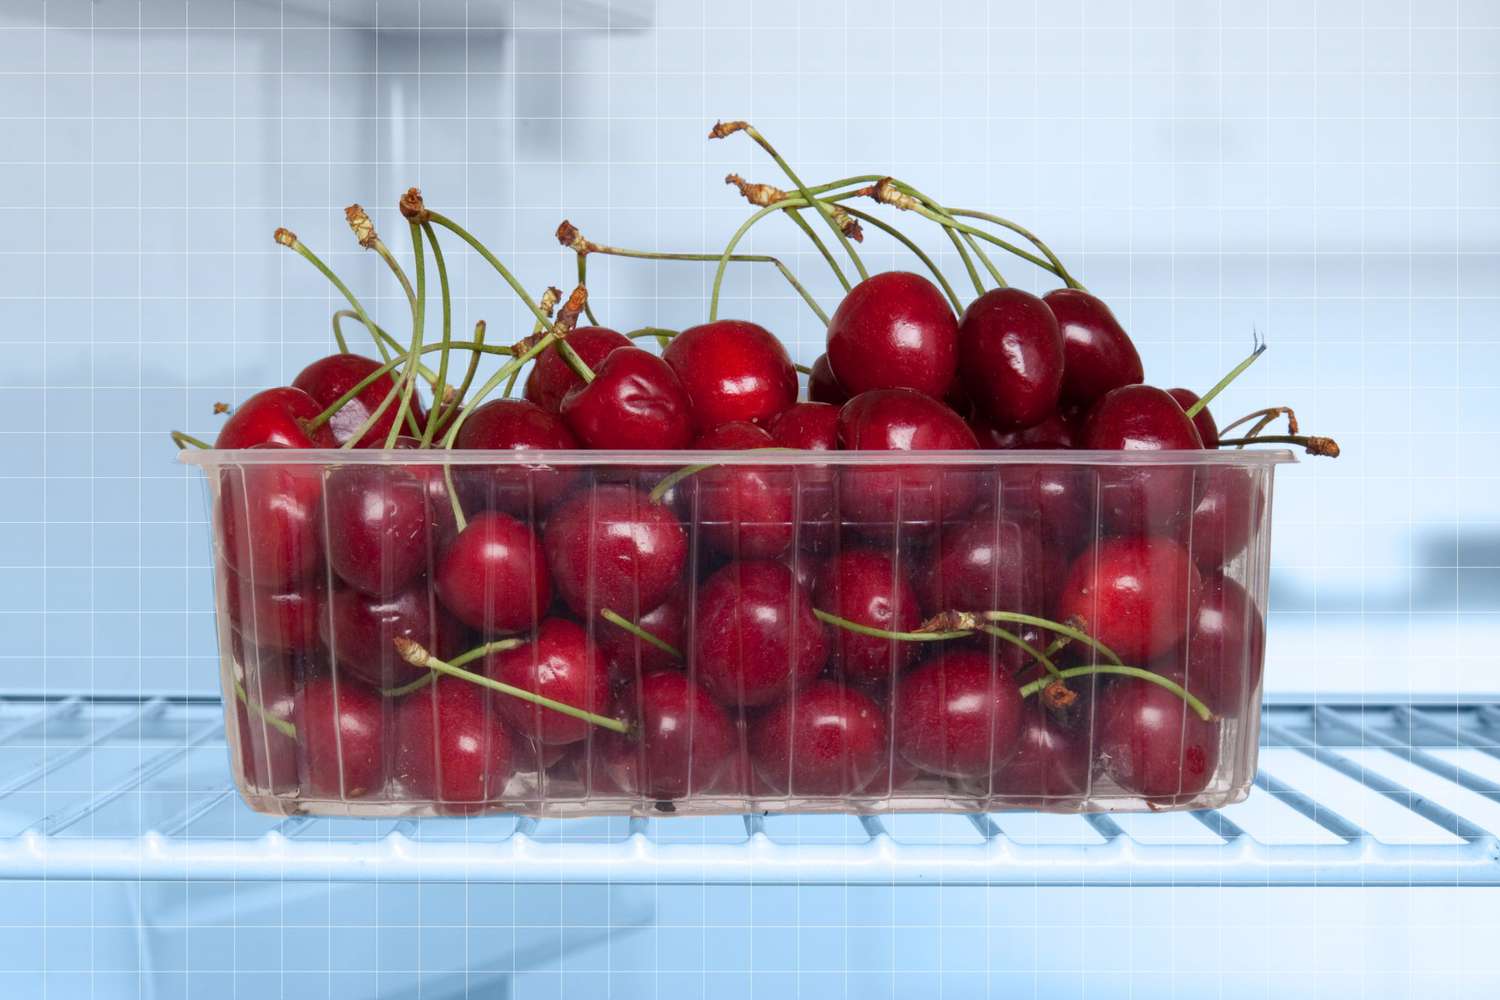
Storing Cherry Plums in the Refrigerator
The refrigerator is an excellent option for storing cherry plums, as it helps slow down the ripening process and prolongs their shelf life. Follow these steps to store cherry plums in the refrigerator:
- Place in a Container: Transfer the cherry plums into a shallow container or a perforated plastic bag. This allows air to circulate around the fruits and prevents them from getting overly moist.
- Avoid Crowding: Arrange the cherry plums in a single layer, without overcrowding them. Overlapping plums can lead to bruising and spoilage.
- Store in the Crisper Drawer: Place the container of cherry plums in the crisper drawer of your refrigerator. This section typically has adjustable humidity levels, which can help maintain the fruits’ freshness.
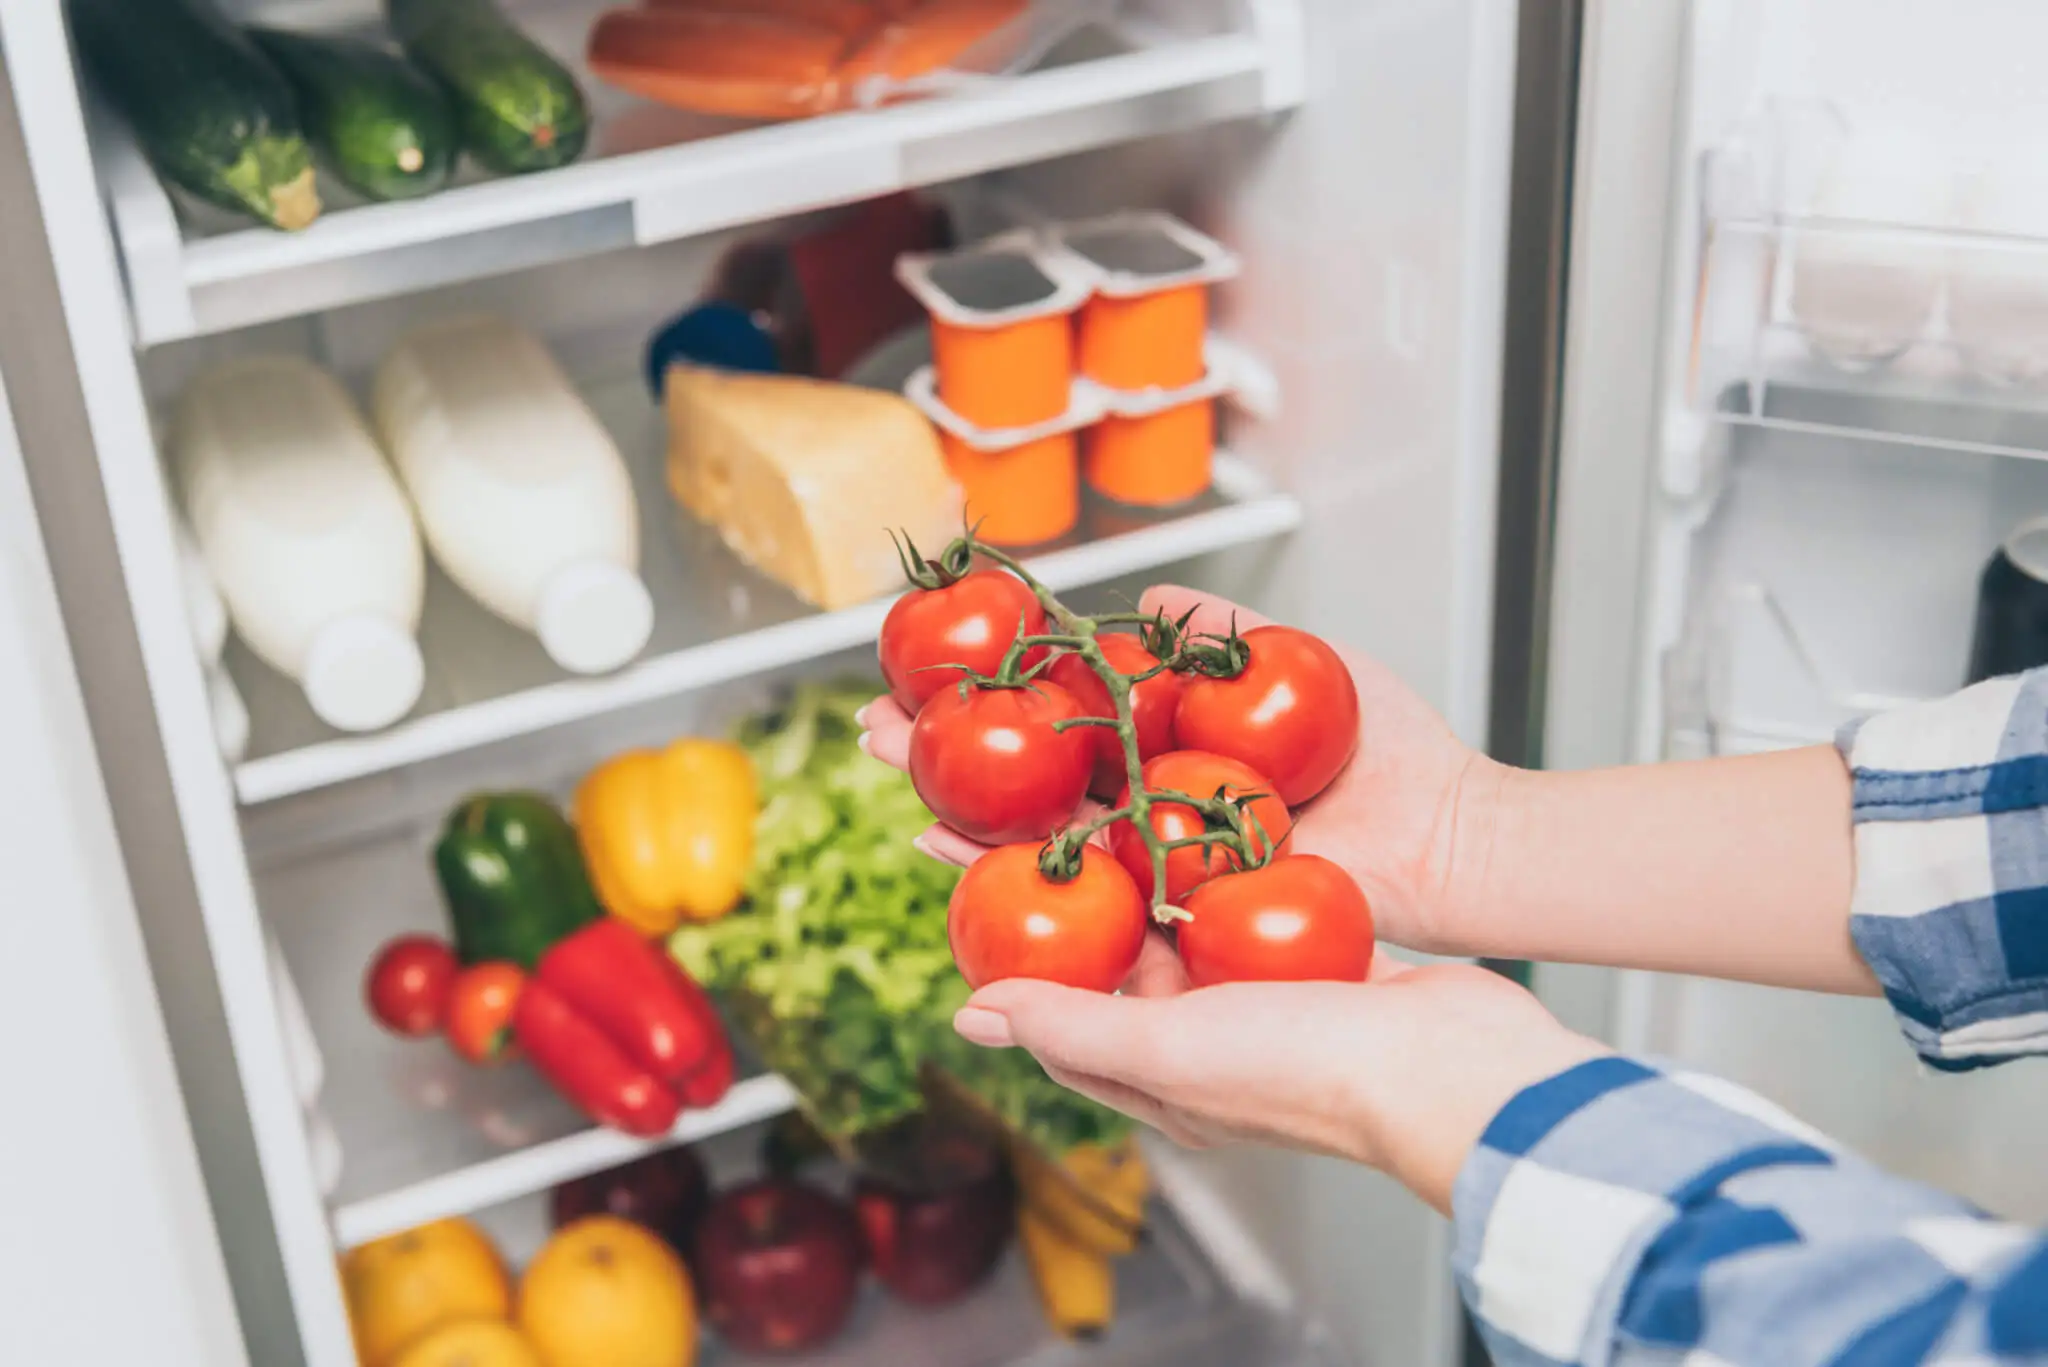
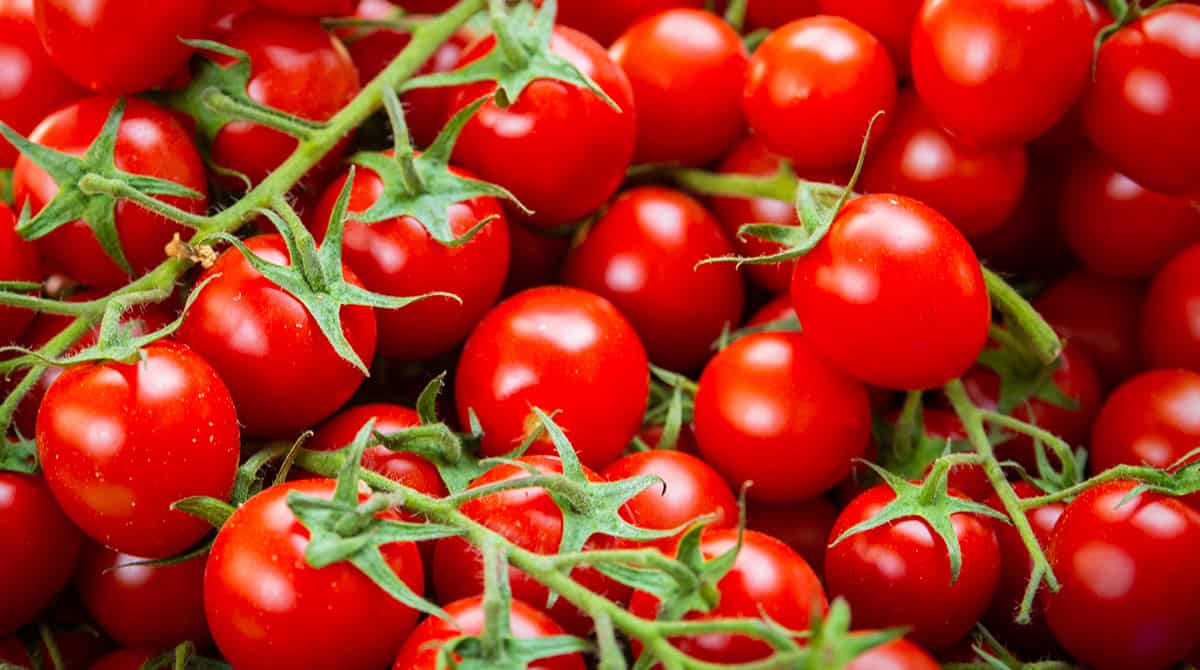
- Keep Away from Ethylene-Producing Produce: Cherry plums are sensitive to ethylene, a ripening hormone produced by some fruits and vegetables. Keep them away from ethylene-producing produce, such as apples, bananas, and tomatoes, as it can accelerate the ripening process and lead to spoilage.
- Check Regularly: Periodically check on your stored cherry plums to remove any that show signs of spoilage. This will help prevent the spread of mold and ensure that the remaining plums stay fresh.
When stored properly in the refrigerator, cherry plums can last for up to two weeks. However, it’s important to note that their texture might change slightly over time. They may become softer, but they will still be flavorful and suitable for eating or using in culinary creations.
Now that you know how to store cherry plums in the refrigerator, let’s explore another popular method for preserving them: freezing.
Freezing Cherry Plums
Freezing cherry plums is a convenient method to preserve their freshness and enjoy them throughout the year. Here’s how you can freeze cherry plums:
- Wash and Dry: Start by washing the cherry plums under cool water to remove any dirt or debris. Pat them dry with a clean kitchen towel.
- Pit the Plums: Cut each cherry plum in half and remove the pit. This step is optional, but removing the pits makes it easier to use the plums in various recipes later on.
- Slice or Leave Whole: Decide whether you want to freeze the cherry plums whole or slice them into smaller pieces. Sliced plums are ideal for smoothies, baked goods, or as toppings, while keeping them whole preserves their shape for other uses.
- Pack and Seal: Place the prepared cherry plums into airtight freezer bags or containers, removing as much air as possible. Leave some headspace to allow for expansion during freezing.
- Label and Date: Don’t forget to label the freezer bags or containers with the contents and the date of freezing. This will help you keep track of their freshness.
- Freeze: Transfer the packed cherry plums to the freezer and lay them flat to freeze. This allows for easier stacking and storage.
Frozen cherry plums can be stored in the freezer for up to 10-12 months. When using them, you can thaw them in the refrigerator overnight or use them directly from the freezer in certain recipes, such as smoothies or jams.
Freezing is a great option when you have a surplus of cherry plums or want to enjoy their goodness throughout the year. However, if you prefer to savor the taste of cherry plums in a different form, making jam might be the perfect choice.
Store cherry plums in the refrigerator in a perforated plastic bag to allow for air circulation. They will stay fresh for up to a week.
Read more: How To Store Plums
Making Cherry Plum Jam
Turning your fresh cherry plums into a delicious homemade jam is a wonderful way to preserve their flavor and enjoy them for months to come. Follow these steps to make cherry plum jam:
- Prepare the Cherry Plums: Wash the cherry plums thoroughly and remove the pits. Cut them into smaller pieces, removing any bruised or damaged parts.
- Cook the Cherry Plums: In a large saucepan, combine the prepared cherry plums with sugar and a splash of lemon juice. Cook the mixture over medium heat, stirring occasionally until the plums soften and release their juices.
- Add Pectin: If desired, you can add pectin to help thicken the jam. Follow the instructions on the pectin package and stir it into the simmering fruit mixture.
- Simmer and Stir: Continue to cook the cherry plum mixture over low heat, stirring frequently to prevent it from sticking to the bottom of the saucepan. Cook until the jam thickens to your desired consistency.
- Test for Doneness: To check if the jam is done, place a small amount on a chilled plate and let it cool for a few seconds. If it thickens and wrinkles slightly when touched, it’s ready.
- Jar and Preserve: Once the jam reaches the desired consistency, remove it from the heat. Pour the hot jam into sterilized jars, leaving a small amount of headspace. Seal the jars tightly and process them in a water bath canner according to proper canning guidelines.
- Cool and Store: Allow the jars of cherry plum jam to cool completely before storing them in a cool, dark place. Properly sealed and processed jars can be stored for up to a year.
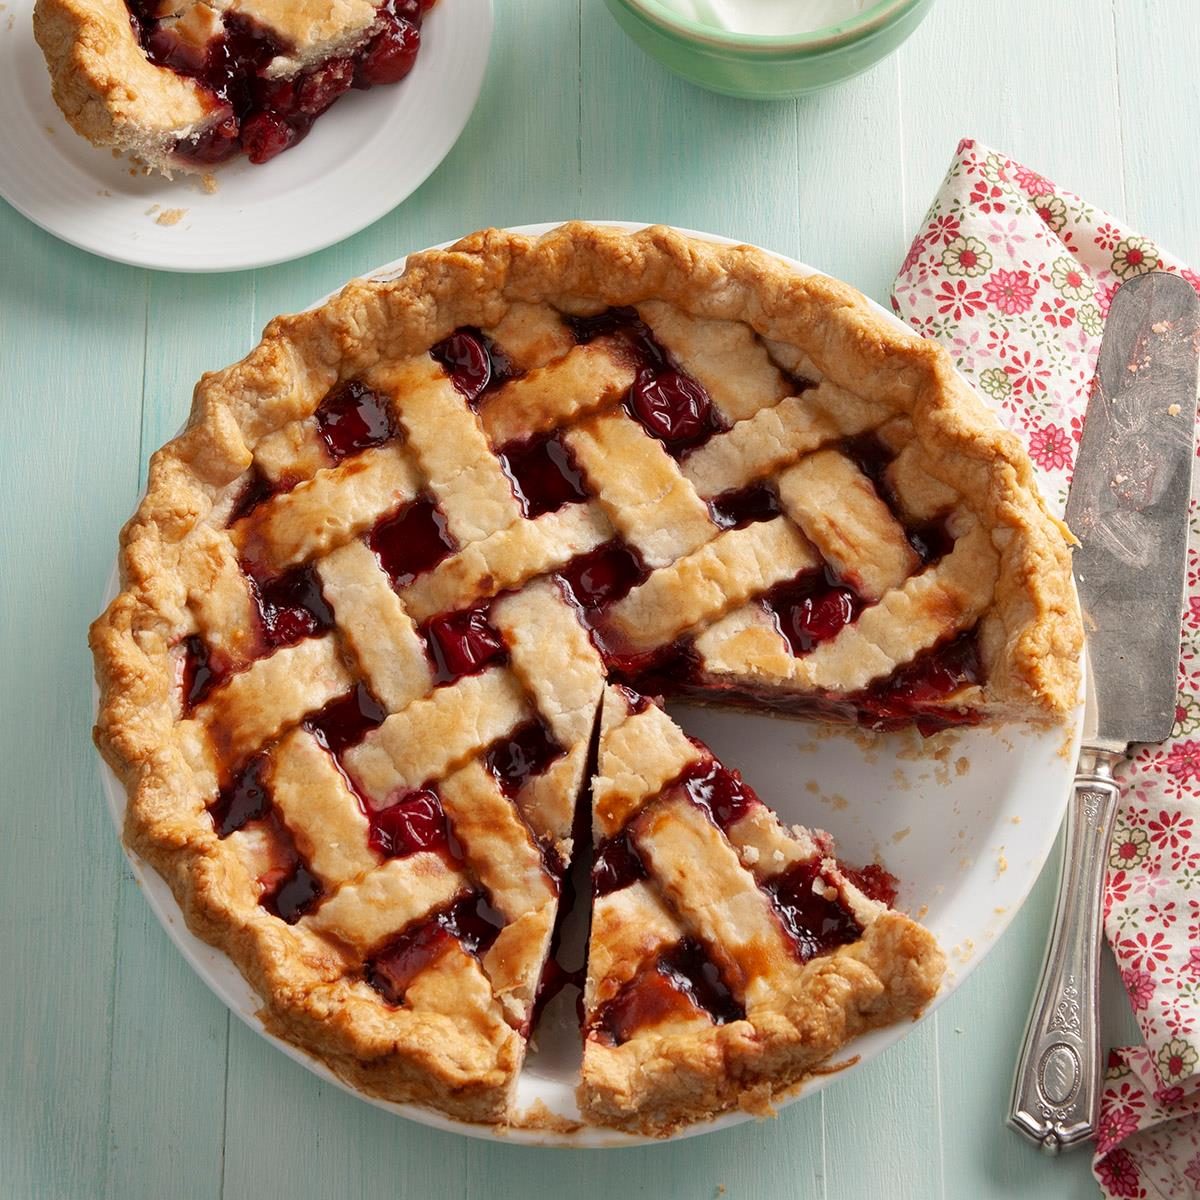
Homemade cherry plum jam is perfect for spreading on toast, scones, or using as a filling for pastries. It also makes a delightful gift for friends and family.
If you’re looking for another way to preserve your cherry plums that doesn’t require canning, consider drying them.
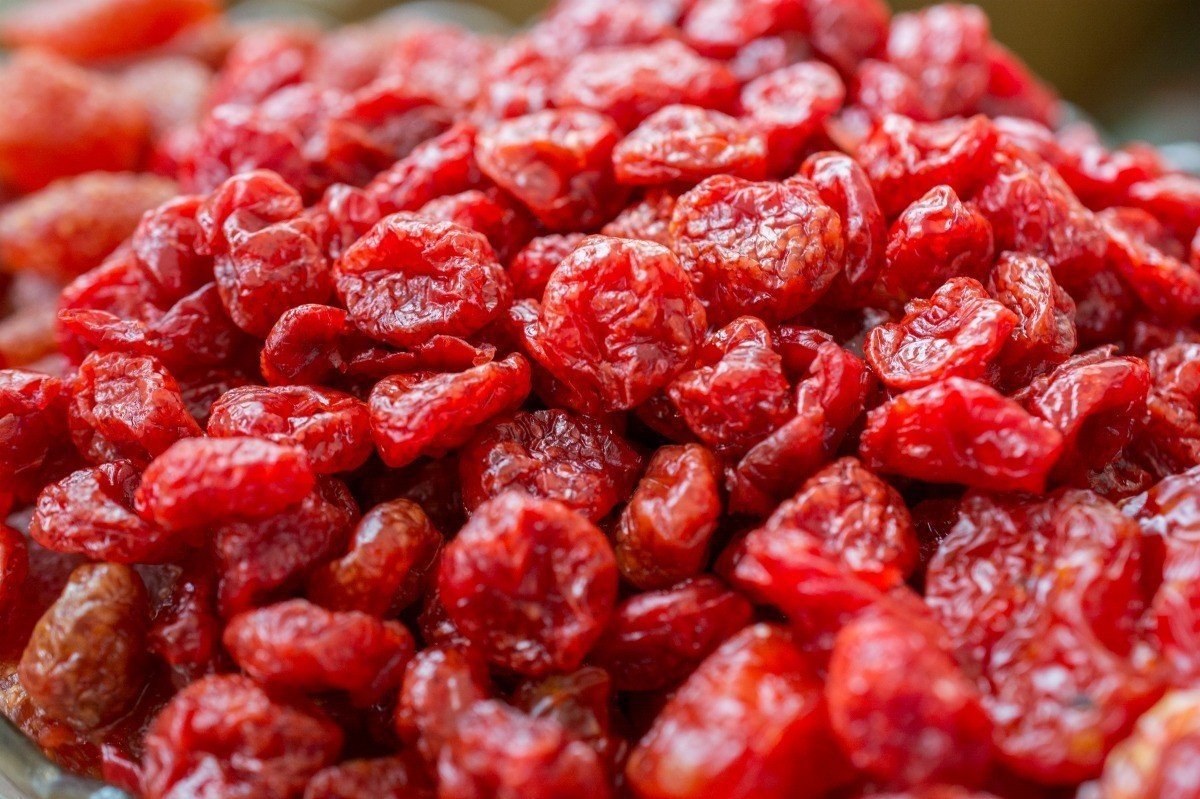
Drying Cherry Plums
Drying cherry plums is a fantastic method to create a sweet and tangy snack that can be enjoyed on its own or used in various recipes. Follow these steps to dry your cherry plums:
- Prep the Cherry Plums: Wash the cherry plums thoroughly and pat them dry with a clean kitchen towel.
- Pit and Slice: Cut each cherry plum in half and remove the pits. Slice the plums into thin, even pieces. You can choose to leave the skin on or peel it off, depending on your preference.
- Prevent Browning: To prevent the cut cherry plums from browning, you can dip them in a solution of water and lemon juice or sprinkle them with ascorbic acid (vitamin C) powder.
- Arrange on Drying Rack: Place the sliced cherry plums in a single layer on a drying rack. Make sure there is enough space between the slices for air circulation.
- Set the Temperature: Set your dehydrator or oven to a low temperature, around 120°F (49°C). It’s important to dry the cherry plums at a low temperature to preserve their flavor and nutrients.
- Dry Until Plump and Chewy: Place the drying rack with the cherry plums in the dehydrator or oven and leave them to dry for 10-12 hours. Check their progress occasionally. The cherry plums are ready when they are plump and slightly chewy.
- Cool and Store: Allow the dried cherry plums to cool completely before transferring them to airtight containers or glass jars. Store them in a cool, dry place away from moisture and heat.
Dried cherry plums make a delicious, flavorful snack that can be enjoyed on its own or added to granola, trail mix, or baked goods. They are also a great addition to savory dishes like salads.
If you prefer a different preservation method or want to explore additional options, consider canning your cherry plums.
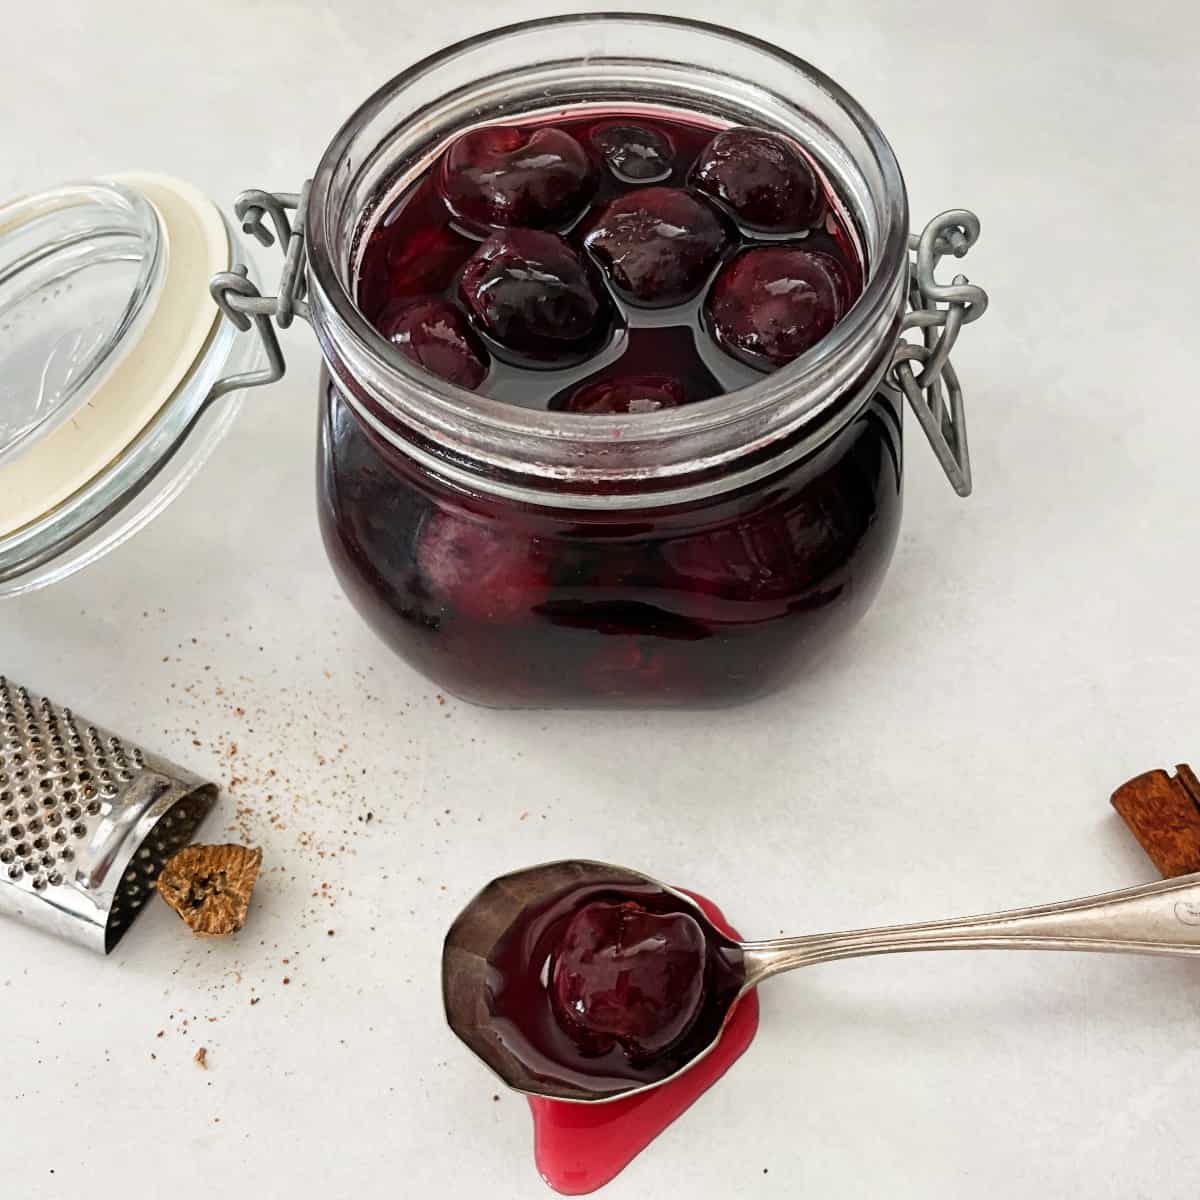
Canning Cherry Plums
Canning cherry plums is a wonderful way to preserve their freshness and enjoy them throughout the year. Canned cherry plums can be used in pies, tarts, sauces, and other culinary creations. Follow these steps to can your cherry plums:
- Prepare the Cherry Plums: Wash the cherry plums thoroughly and remove the pits. You can choose to leave the skins on or peel them off, depending on your preference.
- Sterilize the Jars: Wash the canning jars and lids in hot, soapy water, then rinse them well. Place the jars in a large pot, cover them with water, and bring the water to a boil. Let the jars boil for about 10 minutes to sterilize them. In a separate pot, submerge the lids and simmer them for a few minutes.
- Make the Syrup: In a separate pot, prepare a light syrup by combining water and sugar. Bring the mixture to a boil, stirring until the sugar is completely dissolved. You can adjust the sweetness of the syrup according to your preference.
- Fill the Jars: Carefully remove the sterilized jars from the boiling water and place them on a clean towel. Pack the prepared cherry plums into the jars, leaving adequate headspace. Pour the hot syrup over the plums, ensuring they are fully covered.
- Remove Air Bubbles: Use a non-metallic utensil, such as a plastic spatula or chopstick, to remove any trapped air bubbles from the jars. This helps prevent spoilage and ensures a proper seal.
- Seal the Jars: Wipe the rims of the jars with a clean, damp cloth to remove any residue or syrup. Place the boiled lids on the jars and screw on the bands until they are fingertip tight.
- Process the Jars: Carefully place the filled and sealed jars in a water bath canner, ensuring they are fully submerged. Process the jars according to proper canning guidelines and the specific processing time for cherry plums.
- Cool and Store: Once the processing time is completed, remove the jars from the canner and place them on a towel-lined countertop. Allow the jars to cool completely, undisturbed, for several hours or overnight. Check that the jars have properly sealed before storing them in a cool, dark place.
Canned cherry plums can be stored for up to a year. They are a fantastic addition to your pantry and can be used in a wide range of recipes whenever you desire a taste of summer.
Now that you know how to can cherry plums, you are ready to enjoy their delectable flavor all year round.
Conclusion
Preserving cherry plums allows you to extend their enjoyment beyond their short growing season and ensures that you have a supply of these sweet and tangy fruits throughout the year. Whether you choose to store cherry plums in the refrigerator, freeze them, make jam, dry them, or can them, each method has its own unique benefits and culinary applications.
When selecting cherry plums, choose ones that are vibrant in color, firm, and have a sweet fragrance. Properly preparing the plums for storage, such as washing, drying, and removing stems or blemishes, ensures that they stay in the best condition for longer periods.
Storing cherry plums in the refrigerator helps to slow down the ripening process, giving you a couple of extra weeks to enjoy their juicy goodness. Freezing cherry plums is a convenient option that allows you to preserve their flavor and texture for up to a year. Making cherry plum jam is a delightful way to savor the taste of these fruits spread on toast or incorporated in various recipes.
If you prefer a preserved snack, drying cherry plums turns them into a chewy and nutritious treat. Alternatively, canning cherry plums not only extends their shelf life but also provides you with a versatile ingredient that can be used in a variety of dishes throughout the year.
Regardless of the method you choose, ensure that you follow the proper guidelines for each preservation technique to maintain the safety and quality of your stored cherry plums.
So, the next time you find yourself with an abundance of cherry plums, don’t let them go to waste. Use the information and techniques provided in this guide to store them properly and continue enjoying their incredible taste and versatility long after the harvest season has ended.
Happy preserving!
Frequently Asked Questions about How To Store Cherry Plums
Was this page helpful?
At Storables.com, we guarantee accurate and reliable information. Our content, validated by Expert Board Contributors, is crafted following stringent Editorial Policies. We're committed to providing you with well-researched, expert-backed insights for all your informational needs.


0 thoughts on “How To Store Cherry Plums”