Articles
How To Store Luxardo Cherries
Modified: December 7, 2023
Learn the best methods and tips for storing Luxardo cherries in this comprehensive guide. Discover the ideal conditions and containers to keep your cherries fresh and delicious.
(Many of the links in this article redirect to a specific reviewed product. Your purchase of these products through affiliate links helps to generate commission for Storables.com, at no extra cost. Learn more)
Introduction
Welcome to this guide on how to store Luxardo cherries, the beloved cocktail garnish that adds a touch of sweetness to your favorite drinks. Luxardo cherries, made from Marasca cherries soaked in a syrup made from the same fruit, are a versatile and delicious addition to any bar or kitchen. However, to ensure their longevity and maintain their quality, it’s essential to store them properly.
In this article, we will take you through the step-by-step process of storing Luxardo cherries, from choosing the right container to properly sealing and storing the jars. By following these guidelines, you can extend the shelf life of your Luxardo cherries and continue to enjoy their delectable flavor for an extended period.
So, let’s dive into the details and learn how to store these delightful cherries to keep them fresh and ready to elevate your favorite cocktails, ice cream sundaes, and even baked goods.
Key Takeaways:
- Properly storing Luxardo cherries involves choosing airtight containers, preparing the cherries and selecting the right syrup, sealing the jars, and keeping track of expiry dates. Following these steps ensures long-lasting, flavorful cherries for your cocktails and desserts.
- By carefully packing and sealing Luxardo cherries in airtight jars, labeling them with preservation dates, and tracking expiry dates, you can enjoy their sweet, tangy taste for an extended period. Remember to use the “first in, first out” principle to savor the freshest cherries first.
Read more: How To Store A Cherry Pie
Step 1: Choosing the Right Container
The first step in properly storing Luxardo cherries is selecting the right container. You’ll want a container that is airtight and can keep the cherries and their syrup sealed to maintain their freshness.
One popular option for storing Luxardo cherries is using glass jars with tight-fitting lids. Mason jars or other similar jars with a rubber gasket are ideal for creating an airtight seal. Make sure to choose jars that are the appropriate size for the quantity of cherries you plan to store. It’s best to use smaller jars to prevent the cherries from oxidizing once the jar is opened.
If you prefer to store larger quantities of cherries, you can opt for larger glass jars or even plastic containers with airtight seals. Make sure that the containers are food-grade and do not react with the cherries’ syrup.
Additionally, it’s important to consider the acidity of the Luxardo cherries and their syrup. Acidic foods can cause a reaction with certain metals, so it’s best to avoid storing them in metal containers. Stick to glass or food-grade plastic to ensure the cherries remain safe and the quality of the syrup is preserved.
Remember, the key is to choose a container that provides a secure and airtight seal, preserving the cherries’ flavor and preventing any spoilage or contamination. Now that you have your container selected, it’s time to move on to the next step: preparing the cherries.
Step 2: Preparing the Cherries
Before storing Luxardo cherries, it’s important to properly prepare them to ensure their quality and longevity. Here’s how you can do it:
1. Start by rinsing the cherries under cold water to remove any dirt or impurities. Gently pat them dry with a clean towel.
2. Remove the stems from the cherries. You can use a small paring knife or your fingers to do this. Make sure to discard any damaged or bruised cherries.
3. If desired, you can also pit the cherries. This step is optional, as Luxardo cherries are traditionally sold with their pits intact. However, if you prefer pitless cherries, you can use a cherry pitter to remove the pits. Be careful to avoid damaging the cherries while doing so.
4. Once the cherries are prepped, arrange them in a single layer on a baking sheet lined with parchment paper. This will make it easier to transfer them into the jars later.
Now that the cherries are properly prepared, they are ready to be stored in the containers you’ve chosen. The next step will guide you on selecting the right syrup to accompany the cherries.
Step 3: Selecting the Right Syrup
The syrup plays a crucial role in enhancing the flavor and preserving the Luxardo cherries. When choosing the right syrup, it’s important to consider the sweetness and compatibility with the cherries. Here’s how you can select the perfect syrup:
1. Start by selecting a high-quality simple syrup or a suitable fruit-based syrup. Simple syrup is a common choice as it provides a neutral sweetness that allows the natural flavors of the cherries to shine through. However, you can also experiment with flavored syrups to add an extra dimension to your cherries.
2. Consider the sweetness level of the syrup. Luxardo cherries are already sweet, so you may prefer a syrup that is not overly sugary. Aim for a balance between sweetness and tartness to complement the cherries without overpowering their natural taste.
3. If you prefer a more complex flavor profile, consider adding a touch of vanilla extract, almond extract, or even a splash of liqueur, such as Amaretto or Kirsch, to the syrup. This can elevate the flavor of the cherries and add depth to your cocktails or desserts.
4. Ensure that the syrup you choose is of good quality and does not contain any artificial flavors or preservatives. You want the syrup to enhance the cherries’ flavor without introducing any unwanted additives.
Once you have selected the perfect syrup for your Luxardo cherries, you’re ready to move on to the next step: sterilizing the jars to ensure proper storage.
Step 4: Sterilizing the Jars
Sterilizing the jars is an essential step in storing Luxardo cherries. This process ensures that the jars are clean and free from any bacteria or contaminants that could affect the cherries’ freshness and quality. Follow these steps to sterilize your jars:
1. Begin by thoroughly washing the jars and their lids with warm, soapy water. Use a bottle brush or sponge to scrub away any residue or dirt on the surfaces. Rinse them well to remove any soap residue.
2. Once the jars are clean, they need to be sterilized. There are a few ways to sterilize jars:
- Boiling Method: Place the jars and their lids in a large pot. Fill the pot with enough water to completely submerge the jars. Bring the water to a boil and let it boil for 10 minutes. Remove the jars carefully using tongs and place them upside down on a clean kitchen towel to drain.
- Oven Method: Preheat your oven to 275°F (135°C). Place the jars and lids on a baking sheet and transfer them to the oven. Let them bake for 20 minutes. Carefully remove them from the oven using oven mitts and place them on a heat-resistant surface.
- Dishwasher Method: If your dishwasher has a sterilization cycle, you can use it to sterilize the jars. Simply load the jars and lids into the dishwasher and select the sterilization cycle.
3. After sterilization, it’s important to handle the jars with clean hands or clean utensils to avoid recontamination. Be careful not to touch the inside surfaces of the jars or lids with your hands, as this can introduce bacteria.
Once your jars are sterilized and ready to go, it’s time to move on to the next step: packing the cherries into the jars.
Read more: How To Store Ground Cherries
Step 5: Packing the Cherries
Now that you have your sterilized jars at the ready, it’s time to pack the Luxardo cherries into them. Follow these steps to ensure a proper and organized packing process:
1. Start by gently placing the prepared cherries into the sterilized jars. You can use a clean spoon or tongs to transfer the cherries, ensuring that they are evenly distributed within the jar.
2. Be mindful not to overcrowd the cherries in the jars. Leave a bit of space at the top, as this will be filled with syrup later. Overcrowding can potentially lead to spoilage or lack of proper preservation.
3. As you pack the cherries, check for any damaged or bruised cherries and remove them. It’s important to only pack the cherries that are in good condition.
4. Continue filling the jars until the cherries are at the desired level, typically leaving around ½ inch of space at the top for the syrup.
5. Once the cherries are packed, you may gently press them down with a spoon to ensure they are compact and there are no air pockets. However, be cautious not to crush the cherries in the process.
Packing the cherries neatly and evenly into the jars will not only make for an appealing presentation but will also ensure that the cherries are well-preserved and properly stored. Now, let’s move on to the next step: adding the syrup to the jars.
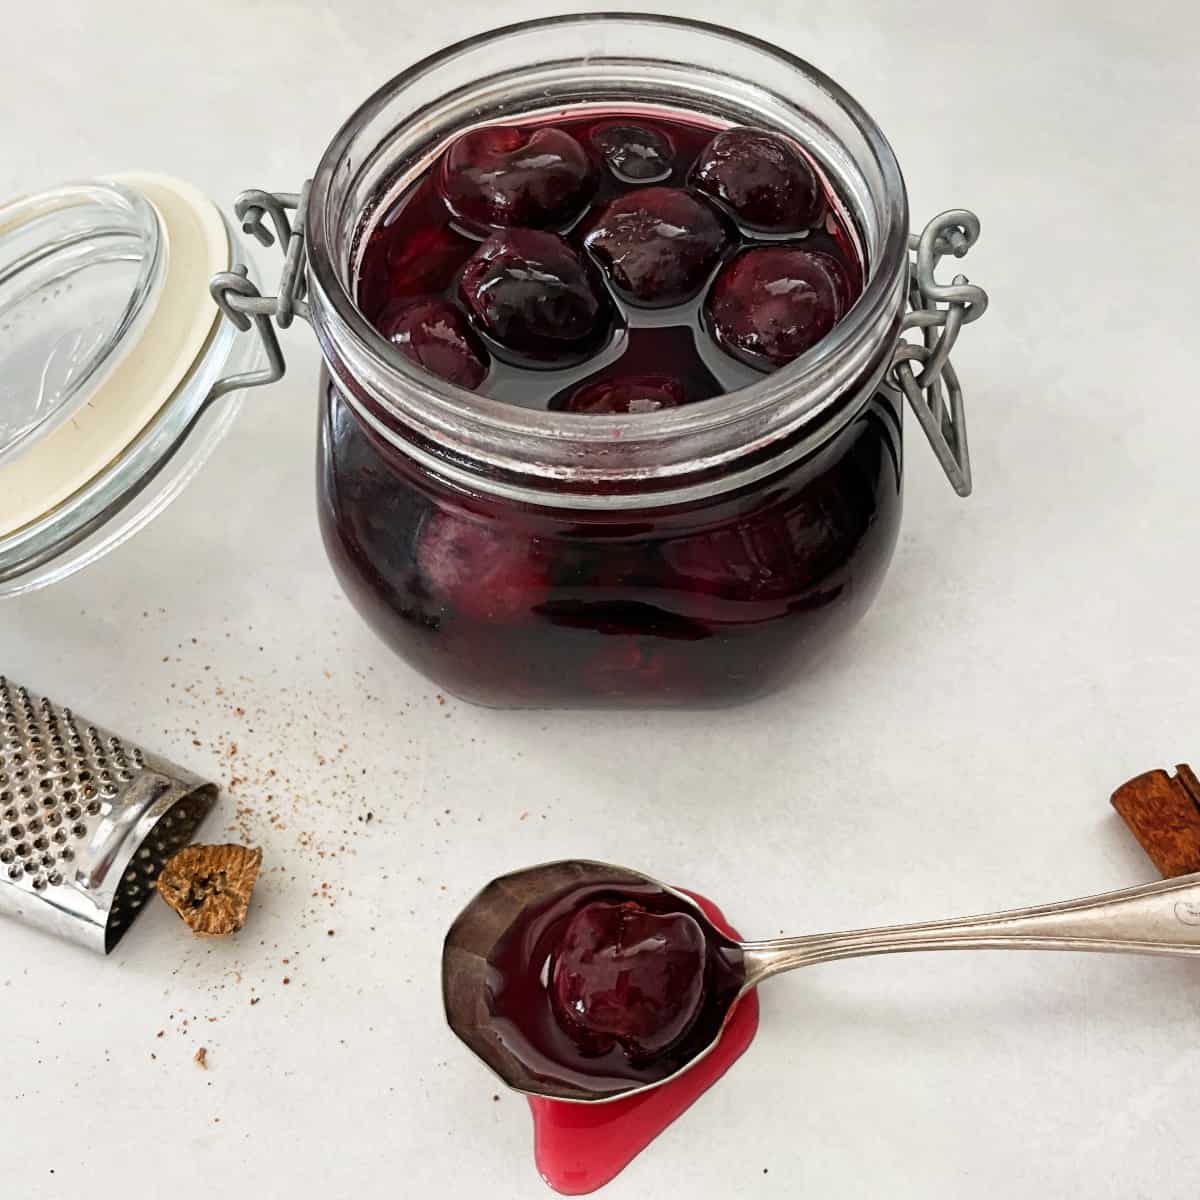
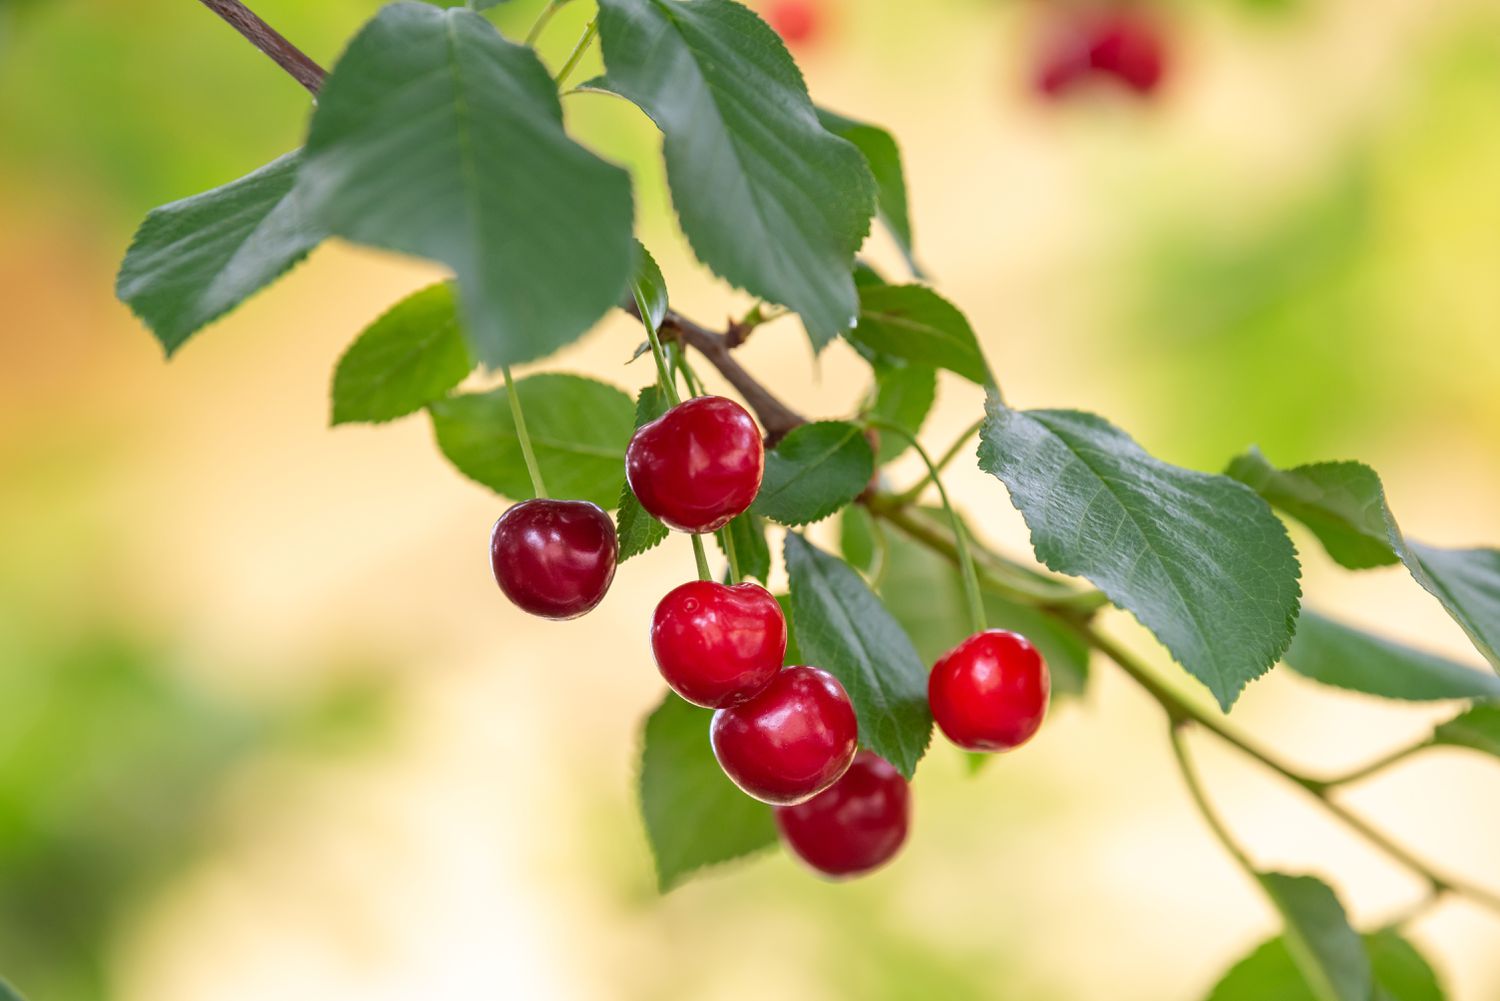
Store Luxardo cherries in their original jar, tightly sealed, and refrigerate after opening. This will help maintain their flavor and texture for a longer period of time.
Step 6: Adding the Syrup
Now that the Luxardo cherries are packed into the jars, it’s time to add the syrup. The syrup will not only enhance the flavor of the cherries but also help preserve their freshness. Follow these steps to add the syrup:
1. Gently pour the prepared syrup into the jars, ensuring that it covers the cherries completely. Start by filling each jar with enough syrup to cover the cherries at the bottom.
2. Use a clean spoon or a chopstick to release any air bubbles trapped within the cherries. Simply run the spoon or chopstick along the sides of the jar to free any air pockets. This step helps prevent spoilage and ensures better preservation.
3. Continue adding the syrup as needed to cover the cherries, leaving a small space at the top of the jar. Ensure that all the cherries are submerged in the syrup to maintain their flavor and moisture.
4. Be cautious not to overfill the jars. Leaving a small amount of headspace allows for expansion and prevents the syrup from overflowing when the jar is sealed.
Pouring the syrup into the jars and making sure the cherries are fully submerged will help maintain their quality and keep them decadently delicious. With the syrup added, it’s time to move on to the next step: sealing and storing the jars.
Step 7: Sealing and Storing the Jars
With the Luxardo cherries packed and the syrup added, it’s time to seal the jars to ensure proper storage. Follow these steps to seal and store your jars of cherries:
1. Wipe the rim of each jar with a clean, damp cloth to remove any syrup or residue. It is crucial to have a clean and dry surface for a proper seal.
2. Place the lids on top of the jars, ensuring that they are centered. Carefully screw on the rings until they are just snug. Avoid overtightening, as this can prevent air from escaping during the preservation process.
3. If using Mason jars or jars with a two-piece lid, make sure the lids are properly sealed by gently testing each lid. Press down on the center of the lid to check for any give. If the lid pops back up, it indicates that the jar is not sealed correctly. In such cases, you can either reseal the jar with a new lid or use the jar immediately.
4. Label each jar with the date of preservation. This will help you keep track of their freshness and ensure you use the oldest cherries first. You can use adhesive labels or write directly on the jar with a marker.
5. Store the sealed jars in a cool, dark place away from direct sunlight and heat. It’s best to keep them in a pantry or cupboard with a consistent temperature. Avoid storing them in the refrigerator, as it can alter the texture and flavor of the cherries.
By properly sealing and storing the jars, you can extend the shelf life of the Luxardo cherries, allowing you to enjoy their sweet and tangy taste for an extended period. Now, let’s proceed to the next step: properly labeling the jars.
Step 8: Properly Labeling the Jars
Labeling the jars of Luxardo cherries is an important step in organizing your storage and ensuring you can easily identify and track the contents. Here’s how to properly label your jars:
1. Prepare adhesive labels or use a marker to write directly on the jar. Make sure the labels or writing utensil you use are waterproof and will not smudge or fade over time.
2. Write the name of the fruit (“Luxardo Cherries”) clearly on the label or jar. This will help you distinguish these cherries from any other homemade preserves or ingredients you may have.
3. Include the date of preservation on the label. This will allow you to keep track of how long the cherries have been stored and ensure you use them within a reasonable timeframe.
4. If desired, you can add any additional information to the label, such as the type of syrup used or any flavor variations. This can be helpful if you have multiple jars with different flavor profiles or if you want to experiment with different combinations.
5. Attach the label to the jar, ensuring that it is securely in place and easily visible. If using a marker, write directly on the jar, making the writing legible and distinct.
Properly labeling the jars will not only help you easily identify the Luxardo cherries but also ensure that you use them within the recommended time frame. Now that your jars are labeled, it’s time to move on to the final step: keeping track of the expiry dates.
Read more: How To Store Dried Cherries
Step 9: Keeping Track of Expiry Dates
Keeping track of the expiry dates of your stored Luxardo cherries is crucial to ensure you use them within their optimal freshness period. Here’s how you can effectively keep track of the expiry dates:
1. Refer to the Luxardo cherries’ packaging or manufacturer guidelines to determine the recommended shelf life. Typically, Luxardo cherries have a shelf life of around 24 to 36 months when stored properly.
2. Calculate the expiry date based on the date of preservation. Add the recommended shelf life (months) to the date of preservation. This will give you the estimated expiry date of the cherries.
3. Create a system to track the expiry dates. One method is to use a marker or sticker to write the expiry date on the jar label. Another option is to maintain a separate inventory or spreadsheet where you can record the preservation date and expiry date of each jar.
4. Regularly check the jars for any signs of spoilage or degradation. Look for changes in color, texture, or any mold formation. If you notice any of these signs, it’s best to discard the cherries, even if they are within the expiry period.
5. Use the “first in, first out” principle when consuming the cherries. Always use the jar with the nearest expiry date first to ensure you enjoy the cherries at their freshest.
By keeping a close eye on the expiry dates and following proper rotation techniques, you can ensure that your Luxardo cherries are consumed within their recommended freshness period, guaranteeing the best taste and quality.
With this, you have now completed all the steps to properly store your Luxardo cherries. Enjoy the deliciousness of your preserved cherries in cocktails, desserts, or even as a delightful snack. Cheers!
Conclusion
Congratulations! You have successfully learned how to store Luxardo cherries and ensure their longevity and freshness. By following the step-by-step process outlined in this guide, you can enjoy these delectable cocktail cherries for an extended period.
From choosing the right container to selecting the perfect syrup and properly labeling the jars, each step plays a vital role in preserving the cherries’ flavor and quality. The careful preparation, packing, and sealing ensure that the cherries remain delicious and ready to enhance your favorite drinks and desserts.
Remember, the key to storing Luxardo cherries is to create an airtight seal and keep them in a cool, dark place away from direct sunlight. It’s important to keep track of the expiry dates and consume the cherries within their recommended freshness period for the best taste and quality.
So go ahead and indulge in the luxurious sweetness of Luxardo cherries. Use them to garnish your cocktails, top your ice cream sundaes, or elevate your baked goods. With your newly acquired knowledge, you can confidently store and savor these delightful cherries for a long time to come.
Enjoy the vibrant flavors and endless possibilities that Luxardo cherries bring to your culinary creations. Cheers to deliciousness!
Frequently Asked Questions about How To Store Luxardo Cherries
Was this page helpful?
At Storables.com, we guarantee accurate and reliable information. Our content, validated by Expert Board Contributors, is crafted following stringent Editorial Policies. We're committed to providing you with well-researched, expert-backed insights for all your informational needs.


0 thoughts on “How To Store Luxardo Cherries”