Articles
How To Store Chocolate Covered Pretzels Rods
Modified: December 7, 2023
Discover expert articles on how to store chocolate covered pretzel rods to keep them fresh and delicious. Learn helpful tips and techniques for preserving their flavor and texture.
(Many of the links in this article redirect to a specific reviewed product. Your purchase of these products through affiliate links helps to generate commission for Storables.com, at no extra cost. Learn more)
Introduction
Chocolate covered pretzel rods are a delicious and versatile treat that can be enjoyed on their own or used as a creative addition to desserts. Whether you are making them for a special occasion or just as a sweet snack, it’s important to know how to store them properly to maintain their freshness and flavor.
In this article, we will guide you through the process of storing your chocolate covered pretzel rods so that they stay fresh and tasty for as long as possible. We will provide you with step-by-step instructions and helpful tips to ensure that your homemade treats maintain their quality and don’t go to waste.
So, let’s dive in and learn how to store those scrumptious chocolate covered pretzel rods!
Key Takeaways:
- Keep pretzel rods fresh by storing them in a cool, dry place in an airtight container, separated by flavor. Avoid refrigeration and check expiration dates for optimal taste and freshness.
- After preparing, dipping, and decorating your chocolate covered pretzel rods, allow the chocolate to harden properly before storing them. Enjoy within the first few days for the best taste and texture.
Read more: How To Store Chocolate Covered Pretzels
Step 1: Gather Your Ingredients
Before you can begin making your chocolate covered pretzel rods, it’s important to gather all the necessary ingredients. Here’s what you’ll need:
- Pretzel rods: Choose pretzel rods that are of high quality and free from any cracks or breakages. You can find them at your local grocery store or specialty food store.
- Chocolate: Opt for high-quality chocolate, whether it’s dark, milk, or white chocolate. You can use chocolate bars, chocolate chips, or melting wafers. Just make sure it’s suitable for melting and coating.
- Toppings (optional): If you want to add some extra flair to your pretzels, consider gathering various toppings such as sprinkles, chopped nuts, crushed candies, or shredded coconut. Get creative and choose toppings that complement your taste preferences.
- Wax paper or parchment paper: You’ll need a non-stick surface to place your chocolate covered pretzel rods on while they harden. Wax paper or parchment paper works perfectly for this purpose.
- Baking sheet or tray: Use a baking sheet or tray to lay out your pretzel rods while you’re working on them.
- Decorating tools (optional): If you plan on drizzling additional chocolate or creating intricate designs, you may want to have some decorating tools on hand, such as a piping bag or a fork.
Once you have all your ingredients ready, you can move on to the next step: preparing the pretzel rods.
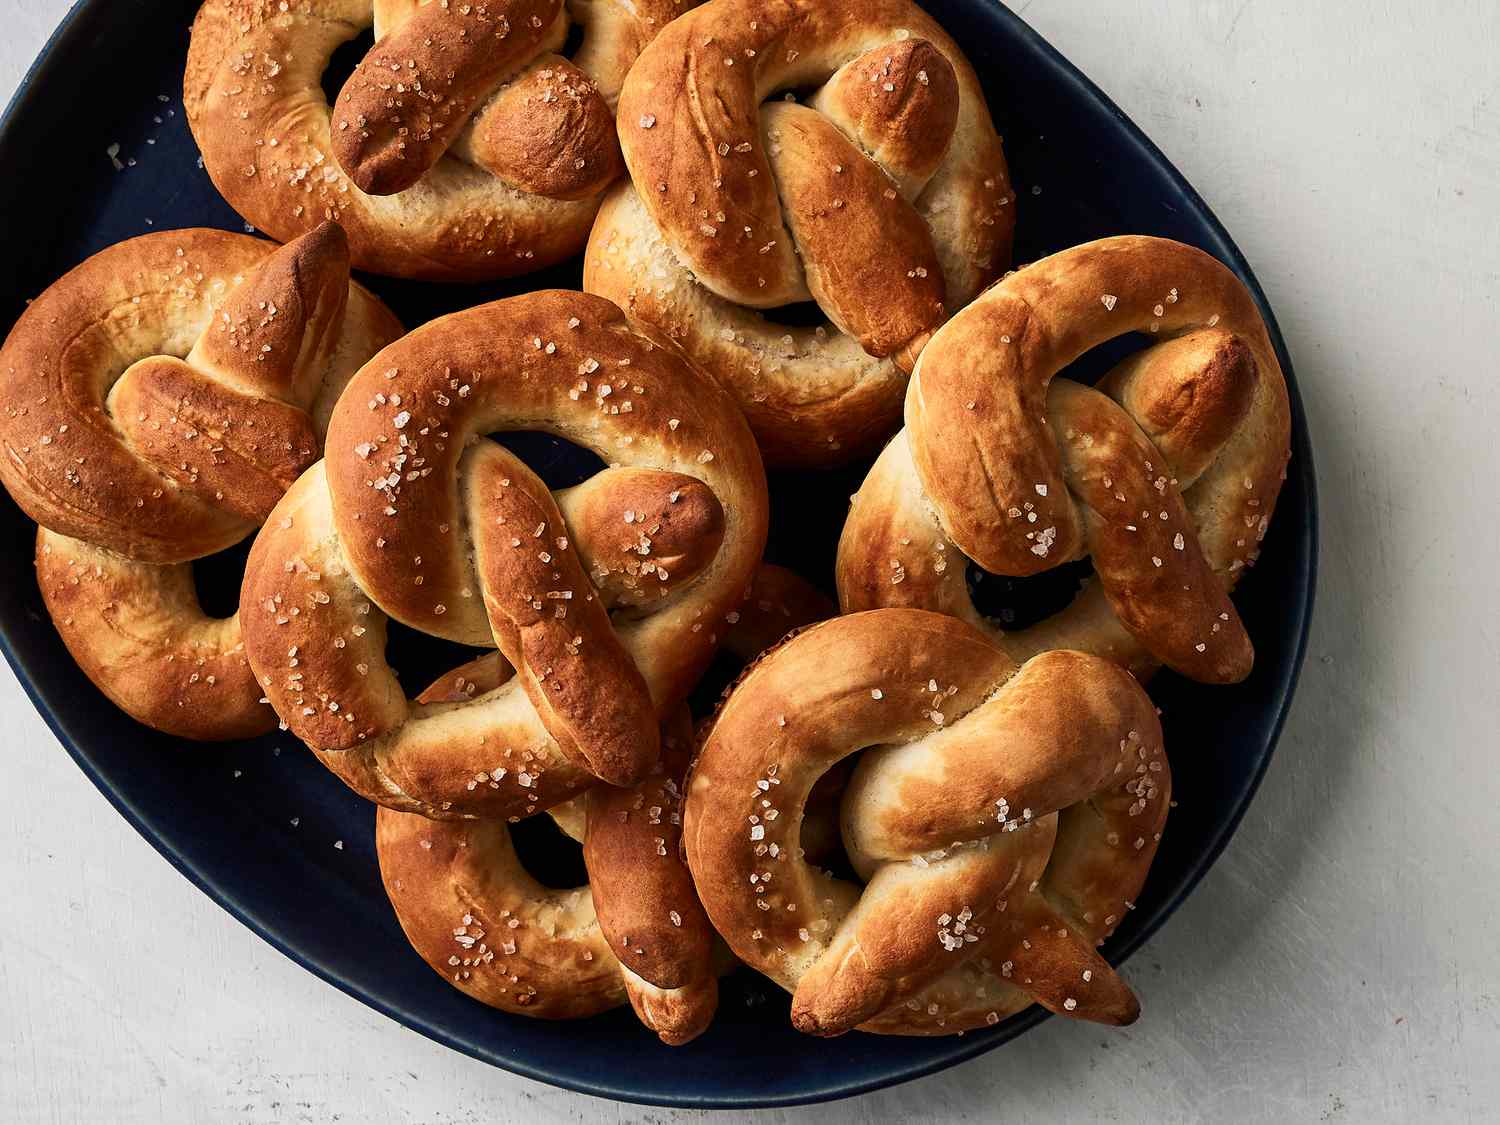
Step 2: Prepare the Pretzel Rods
Before dipping the pretzel rods in chocolate, it’s essential to prepare them properly. Follow these steps to ensure that your pretzels are ready for the chocolate coating:
- Inspect the pretzel rods: Carefully examine each pretzel rod for any cracks or imperfections. Remove any broken or damaged pieces.
- Lay out the pretzel rods: Line a baking sheet or tray with wax paper or parchment paper. Place the pretzel rods in a single layer on the prepared surface.
- Space them out: Make sure to leave enough space between each pretzel rod to allow for easy dipping and coating.
- Prepare your workspace: Set up a clean and organized workspace near your melting station for easy accessibility. This way, you can smoothly move from preparing the pretzels to dipping them in chocolate without any hassle.
Once your pretzel rods are prepared and laid out, it’s time to move on to the next step: melting the chocolate.
Step 3: Melt the Chocolate
Melting the chocolate is a crucial step in creating delicious chocolate covered pretzel rods. Here’s a simple method to melt the chocolate:
- Chop the chocolate: If you’re using chocolate bars, chop them into small, uniform pieces. This will help the chocolate melt evenly and faster.
- Double boiler method: Fill a saucepan with a few inches of water and bring it to a simmer. Place a heatproof bowl on top of the saucepan, ensuring that the bottom of the bowl doesn’t touch the water. Add the chopped chocolate to the bowl.
- Stir consistently: Stir the chocolate occasionally as it melts to prevent it from burning or clumping. Keep a close eye on the chocolate, as it can melt quickly.
- Microwave method: If you prefer using a microwave, place the chopped chocolate in a microwave-safe bowl. Heat it in short intervals (about 30 seconds) and stir in between each interval until the chocolate is smooth and fully melted.
- Be cautious: Whether you’re using the double boiler or microwave method, ensure that no water comes into contact with the chocolate. Even a small amount of water can cause the chocolate to seize and become grainy.
Once your chocolate is melted and smooth, you’re ready to move on to the next step: dipping the pretzel rods in chocolate.
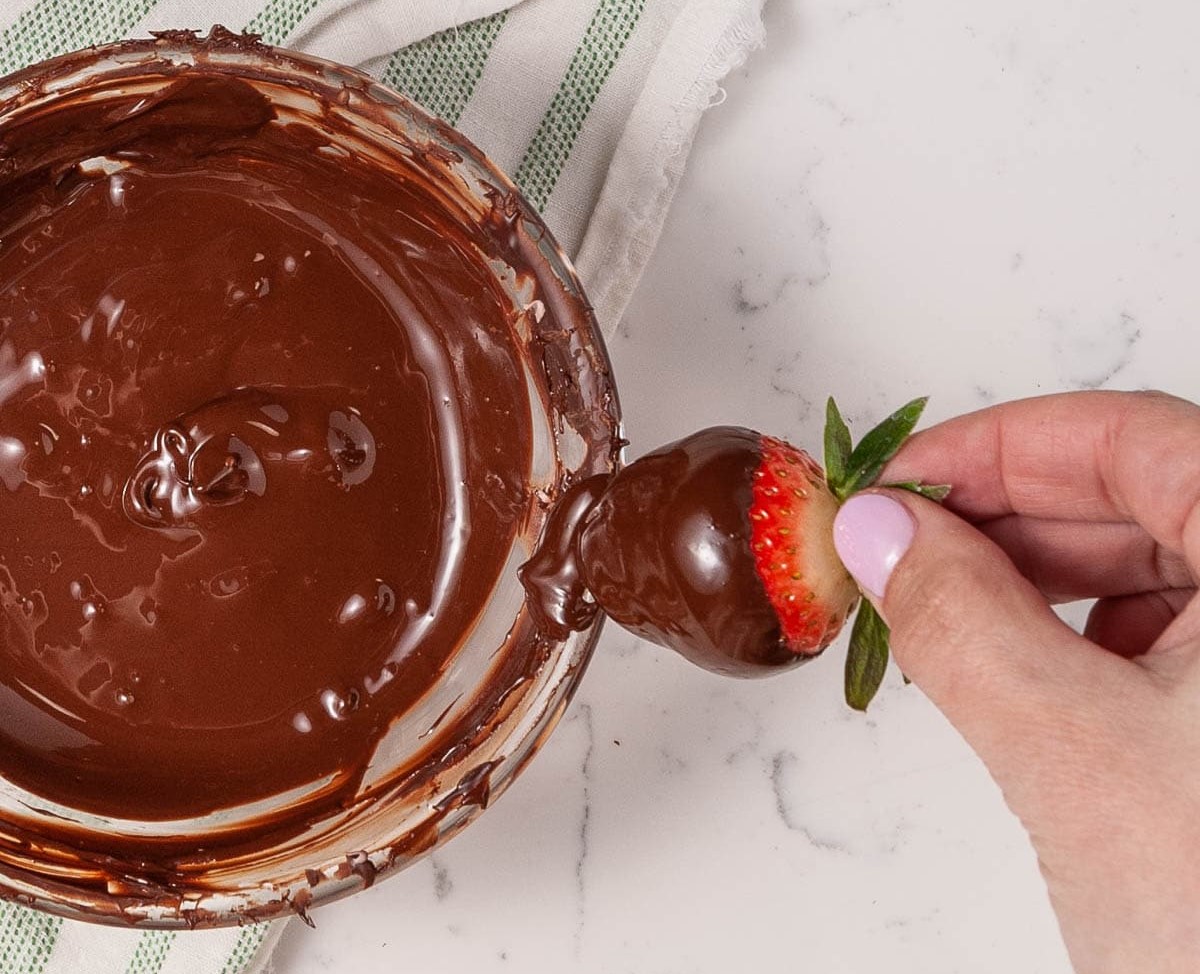
Step 4: Dip the Pretzels in Chocolate
Now that your chocolate is melted, it’s time to dip the pretzel rods and give them a delicious chocolate coating. Follow these steps for perfectly dipped pretzels:
- Hold the pretzel rod: Take a pretzel rod and hold it firmly at one end, either with your fingers or by using a pair of tongs. This will make it easier to dip and coat the pretzel.
- Dip the pretzel: Submerge the pretzel rod into the melted chocolate, making sure to completely coat it. Use a swirling motion to ensure even coverage.
- Tap off excess chocolate: Gently tap the dipped pretzel rod against the side of the bowl or the edge of the container to remove any excess chocolate. This will help prevent the chocolate from pooling at the bottom of the pretzel.
- Place on prepared surface: Carefully transfer the chocolate-coated pretzel rod to the lined baking sheet or tray, making sure it’s evenly spaced from the others. Avoid dragging or sliding the pretzel to prevent any chocolate from smearing or smudging.
- Repeat for remaining pretzels: Continue dipping and coating the remaining pretzel rods in the same manner until all are covered with chocolate.
Once all the pretzel rods are dipped, you can move on to the optional step of decorating them with toppings.
Store chocolate covered pretzel rods in an airtight container at room temperature, away from direct sunlight and heat sources. You can also refrigerate them, but bring them to room temperature before serving to prevent condensation.
Read more: How To Store Dipped Pretzel Rods
Step 5: Decorate the Pretzels (Optional)
If you want to add some extra pizzazz to your chocolate covered pretzel rods, you can take them to the next level by decorating them with toppings. Follow these steps to create beautifully adorned pretzels:
- Prepare your toppings: Prepare any toppings you’d like to use, such as sprinkles, chopped nuts, crushed candies, or shredded coconut. Place them in separate bowls or plates for easy access.
- Apply additional chocolate: If you want to drizzle additional chocolate on top of the pretzel rods, melt a small amount of the same chocolate that you used for dipping. Transfer the melted chocolate into a piping bag or a ziplock bag with a small hole cut in the corner.
- Apply the toppings: While the chocolate coating on the pretzel rods is still wet, gently roll them or sprinkle the desired toppings onto the chocolate. You can also drizzle the additional melted chocolate on top in a zigzag pattern.
- Press lightly: If you’re using larger toppings like nuts or candies, gently press them onto the chocolate so they adhere firmly.
- Let the decorations set: Allow the pretzel rods to sit undisturbed for a few minutes until the chocolate and toppings have set. This will ensure that the decorations stick well to the pretzels.
Once you’re satisfied with the decorations, it’s time to let the chocolate coating harden.
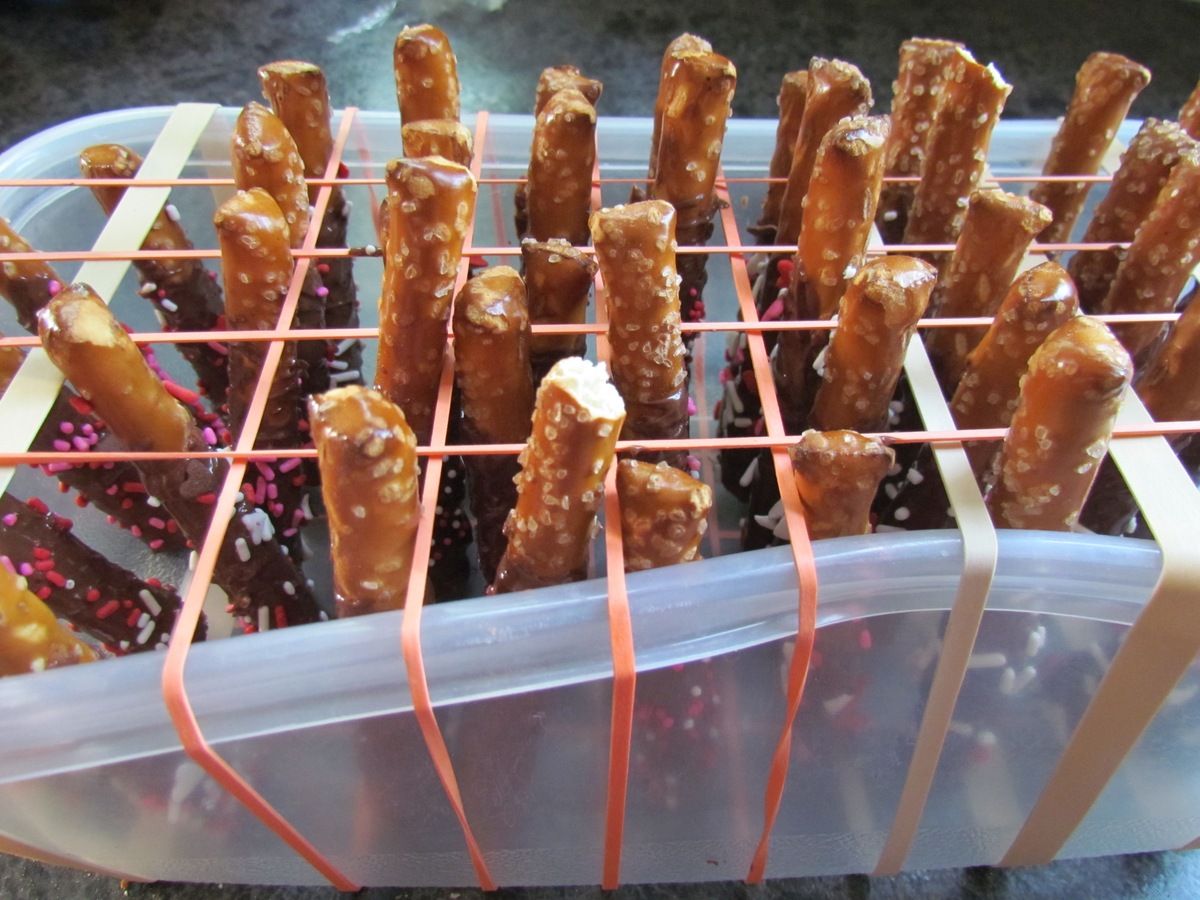
Step 6: Let the Chocolate Harden
After you have dipped and decorated your pretzel rods, it’s important to allow the chocolate coating to harden properly. Follow these steps to ensure that your pretzels have a firm and glossy outer layer:
- Leave them undisturbed: Once you have finished coating and decorating the pretzel rods, let them sit undisturbed on the lined baking sheet or tray. Avoid touching or moving them as this can cause the chocolate to smudge or lose its smooth appearance.
- Room temperature setting: Place the baking sheet or tray in a cool and dry room where the pretzel rods can set at room temperature. Allow sufficient time for the chocolate to harden. This typically takes about 1 to 2 hours, but it can vary depending on the temperature and humidity in your environment.
- Refrigeration (optional): If you’re in a hurry or if your room is warm, you can place the baking sheet or tray in the refrigerator for about 15 to 30 minutes to expedite the hardening process. However, avoid leaving the pretzels in the refrigerator for too long, as the chocolate coating can develop condensation when brought back to room temperature.
- Test for firmness: Once the pretzel rods have cooled and hardened, gently touch the chocolate coating to check for firmness. It should feel solid to the touch and not leave any fingerprints or indentations.
Now that your pretzels are perfectly hardened, it’s time to learn how to store them for optimal freshness.
Step 7: Store the Chocolate Covered Pretzel Rods
Proper storage is essential to keep your chocolate covered pretzel rods fresh and delicious. Follow these guidelines to ensure that they maintain their quality and flavor:
- Cool and dry environment: Store the chocolate covered pretzel rods in a cool and dry place away from heat, moisture, and direct sunlight. Excessive heat can cause the chocolate to melt, while moisture can cause it to become sticky or develop a white film known as “chocolate bloom.”
- Airtight container: Transfer your pretzel rods to an airtight container to protect them from exposure to air. This will help maintain their freshness and prevent them from becoming stale.
- Layer with parchment paper: To prevent the pretzel rods from sticking together or getting damaged, layer them with parchment paper in the airtight container. This will also help maintain their shape and prevent any decorations from smudging.
- Separate flavors: If you have different flavors of chocolate covered pretzel rods or if you decorated them with different toppings, it’s best to store each flavor or variation separately. This will prevent any cross-contamination of flavors or toppings.
- Avoid refrigeration: While refrigeration can help extend the shelf life, it’s best to avoid refrigerating chocolate covered pretzel rods, as the moisture and condensation can affect the texture and taste of the chocolate.
- Check expiration dates: If you used store-bought ingredients, check the expiration dates on the packaging. Consume the pretzel rods before the expiration date to ensure optimal taste and freshness.
When stored properly, chocolate covered pretzel rods can last for up to two weeks. However, they are best enjoyed within the first few days when the chocolate coating is at its prime.
Now that you know how to store your chocolate covered pretzel rods, you can indulge in these delightful treats whenever you please. Enjoy!
Conclusion
Congratulations on learning how to store your homemade chocolate covered pretzel rods! By following these steps and guidelines, you can ensure that your pretzels remain fresh, flavorful, and visually appealing for as long as possible.
Remember to gather all your ingredients, prepare the pretzel rods, melt the chocolate, dip them in a smooth coating, and decorate them with your favorite toppings. Allow the chocolate to harden properly before transferring the pretzels to an airtight container for storage. Keep them in a cool, dry place and separate different flavors or variations to maintain their unique tastes.
Whether you enjoy these chocolate covered pretzel rods as a snack, a party treat, or as a decorative element in your desserts, you can now confidently create and store them with ease. Share them with friends and family or indulge in them yourself, knowing that you’ve mastered the art of storing these delectable and addictive treats.
So go ahead and make a batch of chocolate covered pretzel rods for your next special occasion or simply as a delightful treat for yourself. With the proper storage methods, you can enjoy their irresistible combination of sweet and salty flavors for as long as they last.
Happy snacking!
Frequently Asked Questions about How To Store Chocolate Covered Pretzels Rods
Was this page helpful?
At Storables.com, we guarantee accurate and reliable information. Our content, validated by Expert Board Contributors, is crafted following stringent Editorial Policies. We're committed to providing you with well-researched, expert-backed insights for all your informational needs.


0 thoughts on “How To Store Chocolate Covered Pretzels Rods”