
Articles
How To Store Christmas Village Houses
Modified: January 18, 2024
Discover helpful articles on how to properly store your Christmas village houses, ensuring their quality and longevity.
(Many of the links in this article redirect to a specific reviewed product. Your purchase of these products through affiliate links helps to generate commission for Storables.com, at no extra cost. Learn more)
Introduction
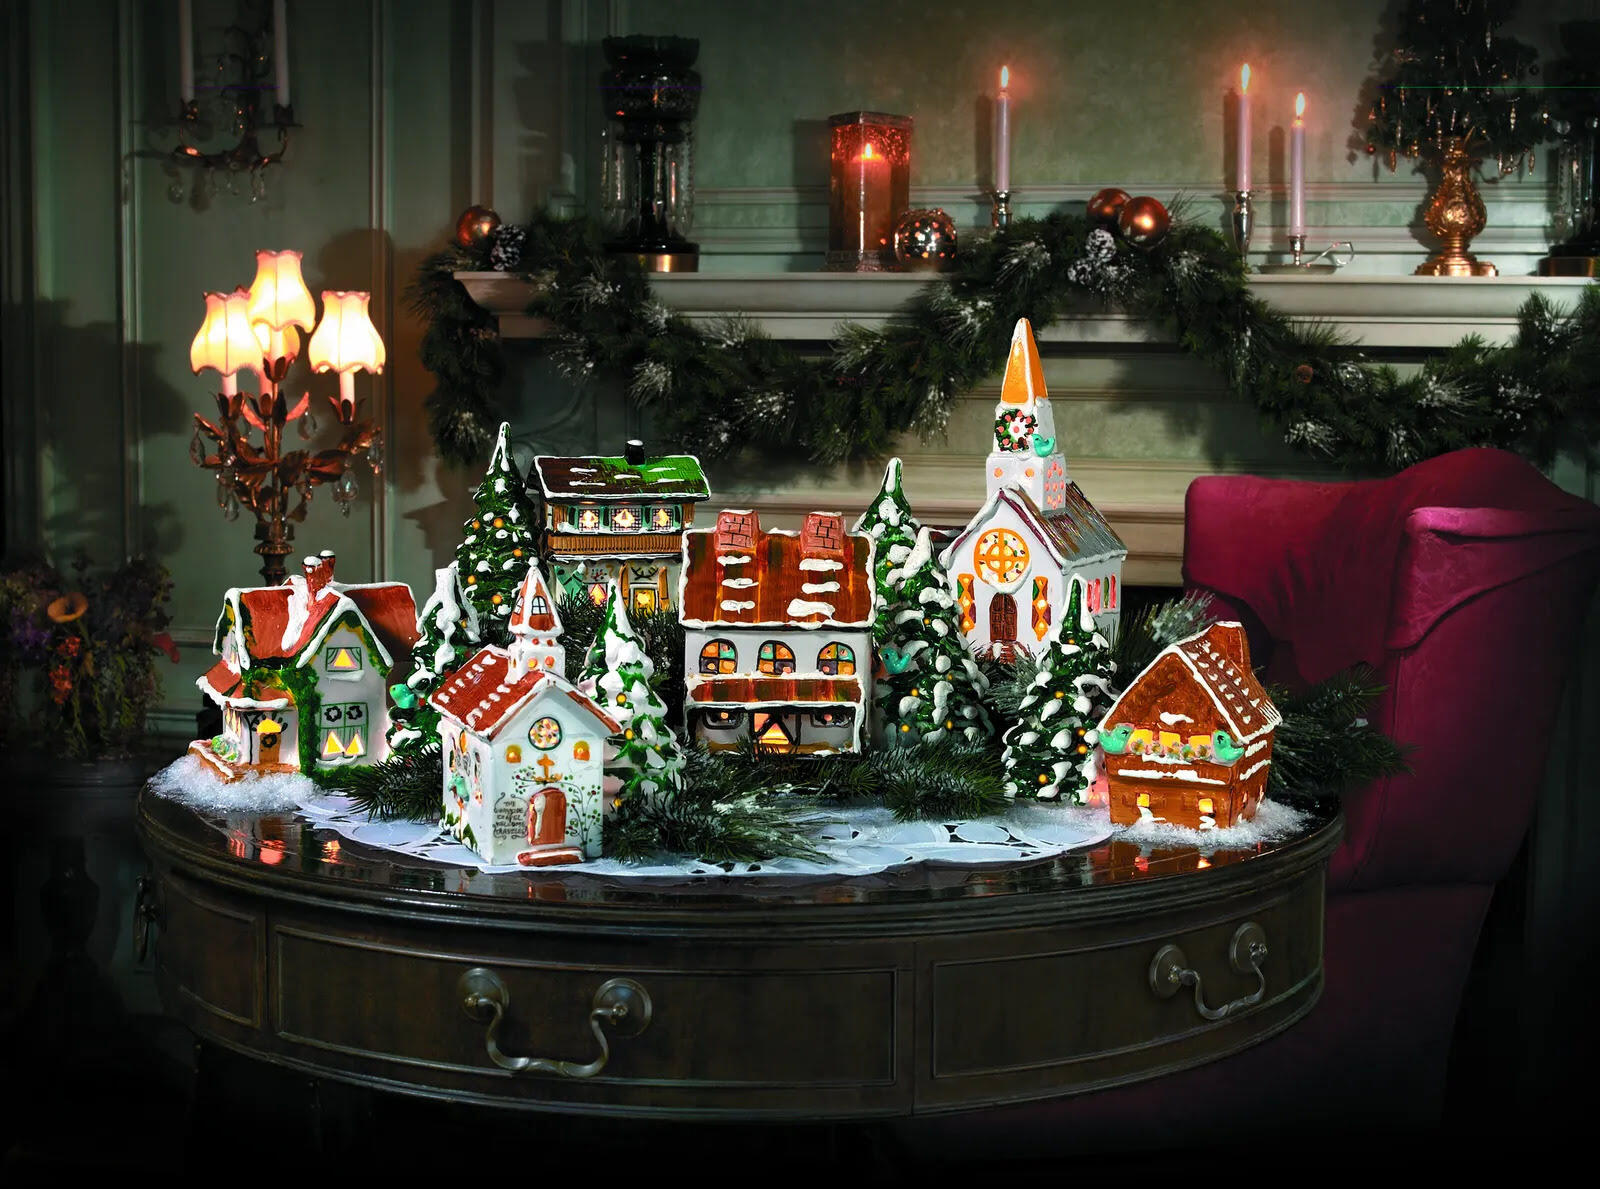
Christmas village houses are a beloved part of many holiday decorations. Whether you have a small collection or an expansive display, storing these delicate houses properly is crucial to ensuring they remain in pristine condition and ready for use year after year. Proper storage not only protects your investment but also saves you time and frustration when it’s time to set up your Christmas village again.
In this article, we will guide you through the process of storing your Christmas village houses, from choosing the right storage solution to packing and organizing everything securely. By following these tips and techniques, you’ll be able to keep your cherished Christmas village houses safe and undamaged until the next holiday season.
Key Takeaways:
- Protect your Christmas village houses by choosing the right storage solution, cleaning and preparing them, and using appropriate packing materials to ensure their safety and preservation for future holiday seasons.
- Organize and label your Christmas village houses and accessories, find the perfect storage space, and follow long-term storage tips to maintain their beauty and enjoy the magic of your festive display year after year.
Read more: How To Store Christmas Village
Choosing the Right Storage Solution
Before you start packing your Christmas village houses, it’s important to choose the right storage solution that will protect them from dust, moisture, and potential damage. Here are a few options to consider:
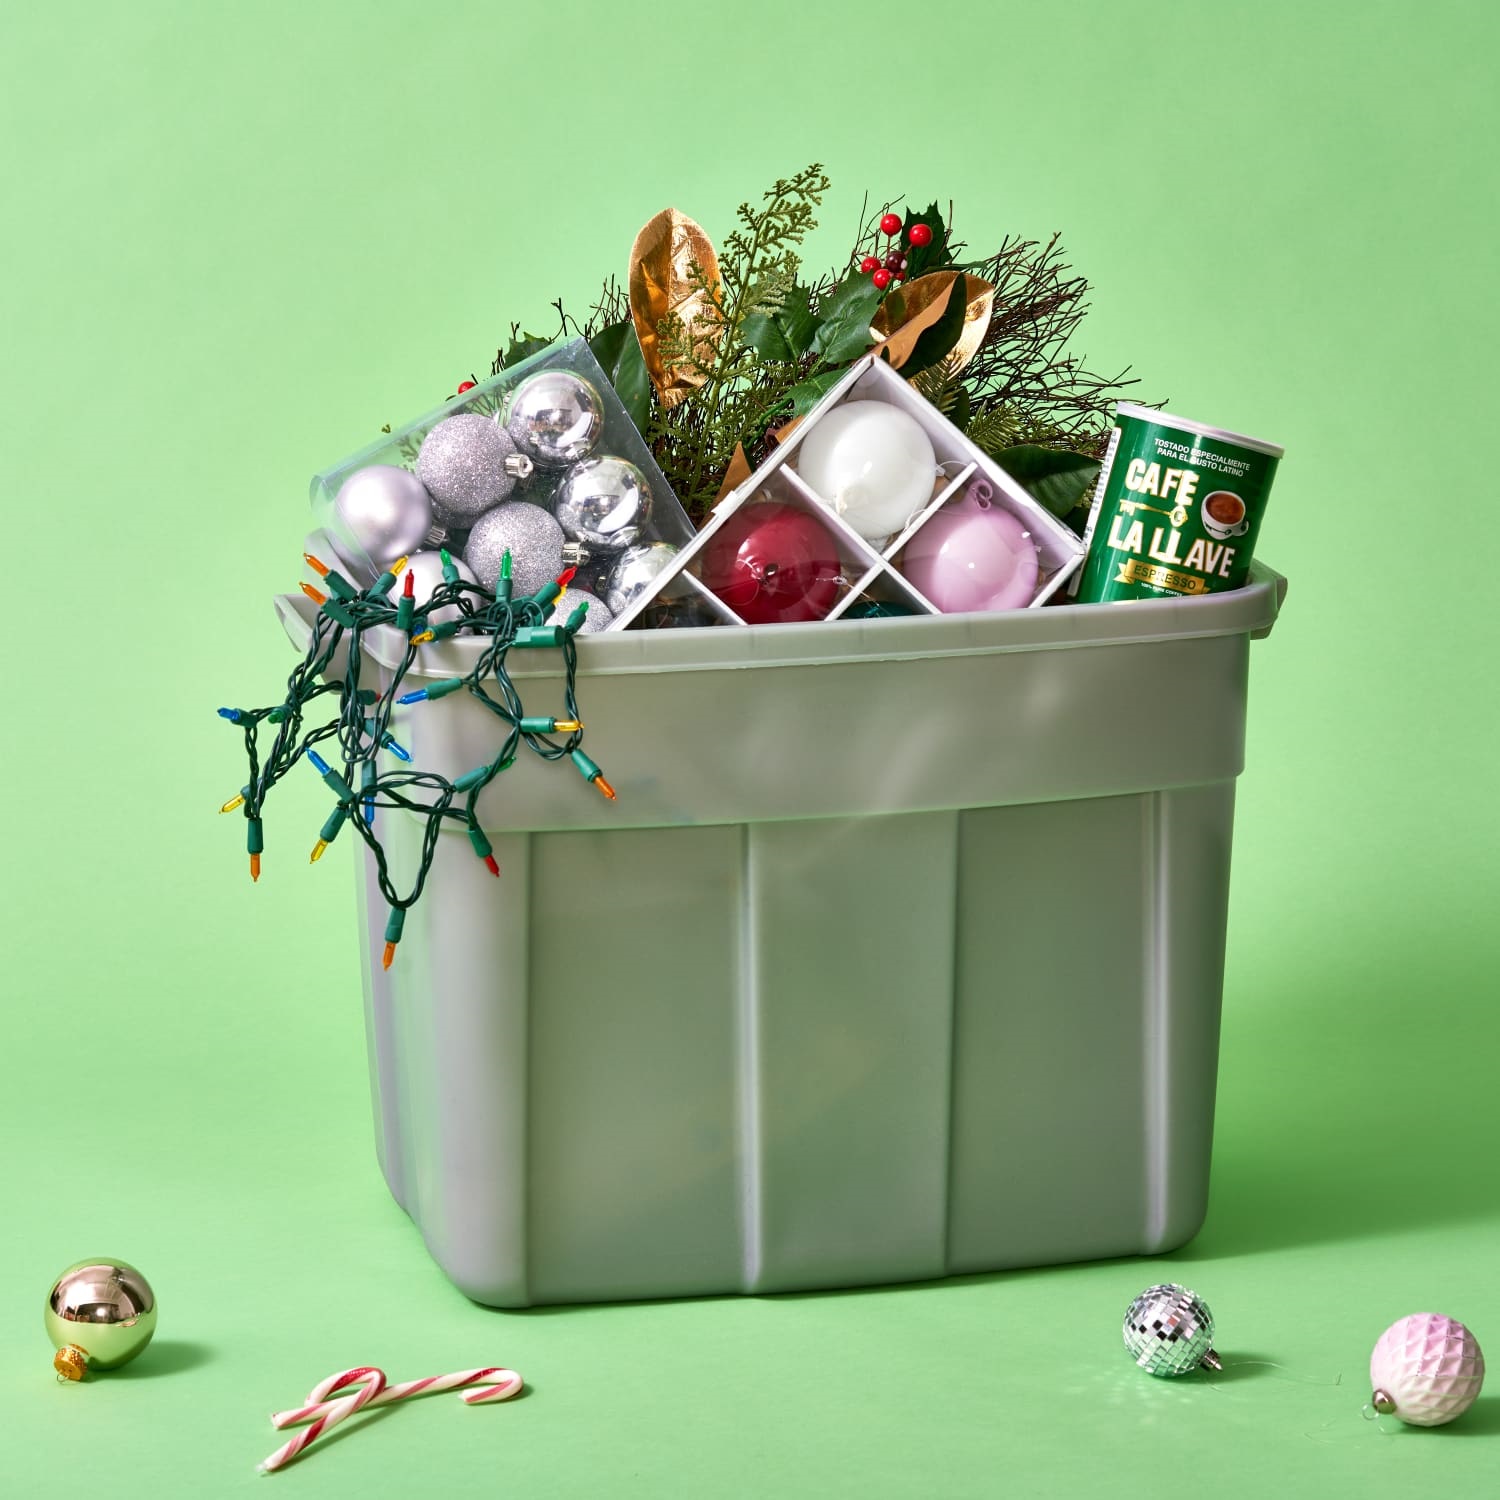
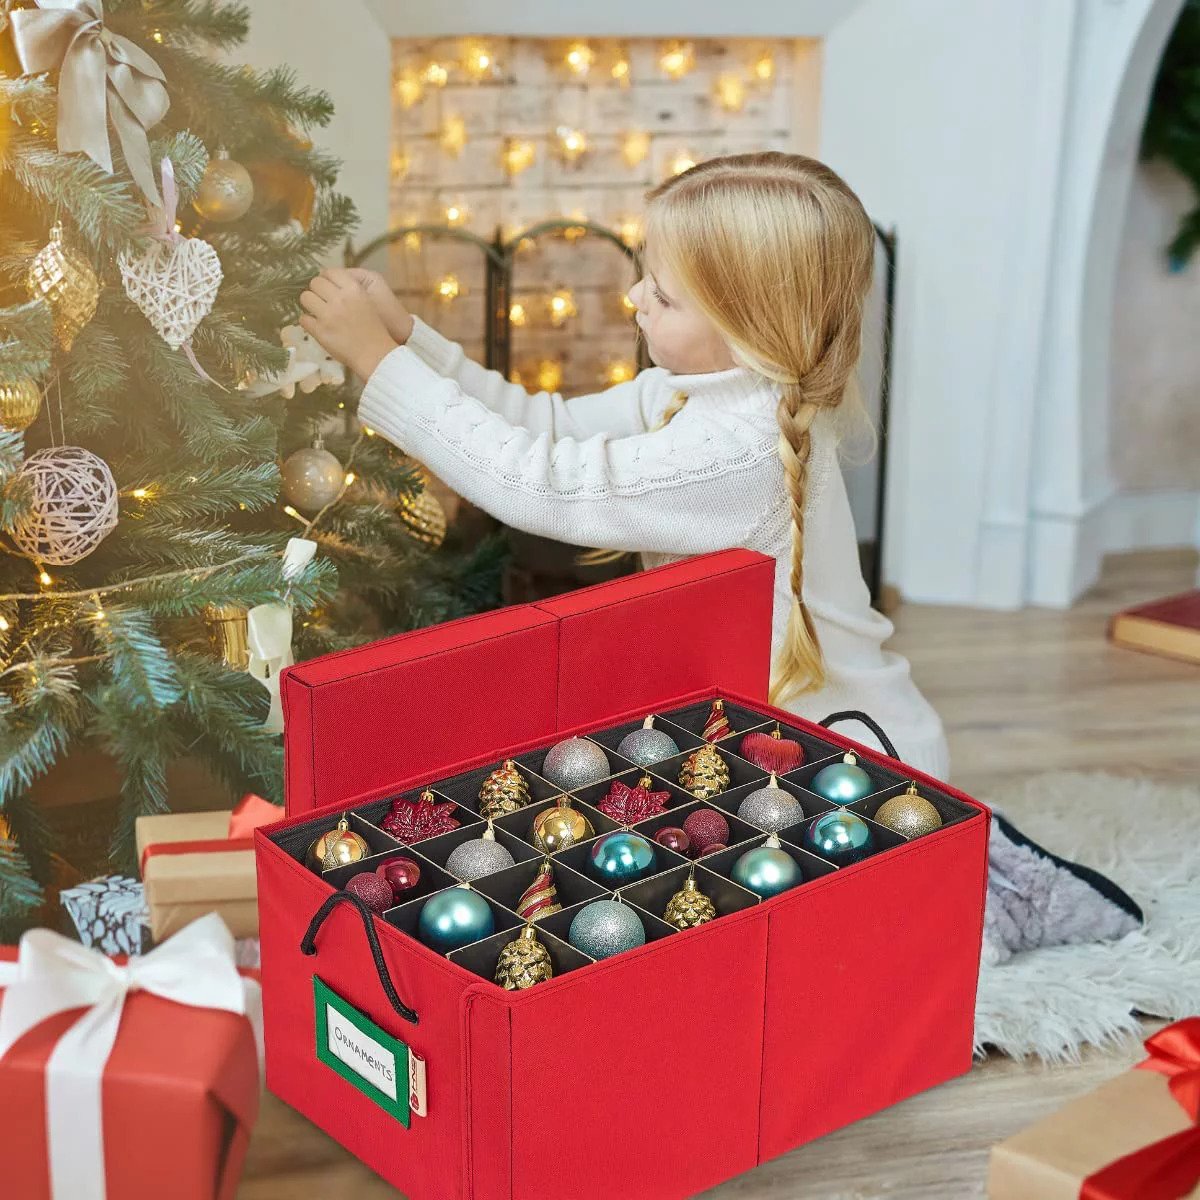
- Storage boxes: Invest in sturdy, plastic storage boxes with secure lids. These boxes are available in various sizes, allowing you to accommodate houses of different heights and widths. Look for boxes with dividers or compartments to keep the houses separated and prevent them from rubbing against each other.
- Storage containers: Another option is to use stackable plastic storage containers with individual drawers. These containers often have adjustable dividers, allowing you to customize the size of each compartment to fit the houses perfectly. The drawers make it easy to access individual houses without disturbing the rest of the collection.
- Specialized storage systems: Some companies offer specialized storage systems designed specifically for Christmas village houses. These systems include foam inserts or customizable compartments that provide optimal protection and organization. While these options may be more expensive, they offer superior protection for your delicate village houses.
When selecting a storage solution, consider the size of your collection, the available storage space, and your budget. Whichever option you choose, make sure it provides ample protection from dust, moisture, and potential damage during storage.
Cleaning and Preparing the Houses
Before packing your Christmas village houses for storage, it’s important to give them a thorough cleaning to remove any dust, dirt, or residue that may have accumulated over time. Here are some steps to follow:
- Inspect for damage: Before cleaning, carefully inspect each house for any signs of damage, such as loose parts, chipped paint, or broken windows. Take note of any repairs that need to be made before storing the houses.
- Dust removal: Use a soft-bristled brush or a can of compressed air to gently remove dust and debris from the surfaces of the houses. Pay attention to intricate details and hard-to-reach areas.
- Washing: If the houses are made of non-porous materials like ceramic or plastic, you can wash them with mild soap and water. Use a soft cloth or sponge to clean the surface, being careful not to scrub too vigorously or use abrasive cleaners that can damage the paint or finishes.
- Drying: After washing, allow the houses to air dry completely before packing them. Placing them on a clean towel or using a hairdryer on a low heat setting can help speed up the drying process.
- Maintenance and repairs: Take this opportunity to perform any necessary repairs. Glue loose parts back in place, touch up chipped paint with matching colors, and replace any broken windows or accessories. This will ensure that the houses are in top condition for the next holiday season.
By cleaning and preparing your Christmas village houses before storage, you not only keep them looking their best but also prevent any dirt or damage from worsening during the storage period.
Disassembling the Christmas Village
Before you can begin packing your Christmas village houses, you’ll need to disassemble the display. Follow these steps to ensure a smooth and organized disassembly process:
- Take photos: Before removing any houses or accessories, take photos of your fully assembled Christmas village. These photos will serve as a reference when you’re ready to set up the display again next year.
- Remove power sources: Unplug any lights, cords, or accessories that are connected to your Christmas village. Safely detach and pack away any batteries or power adapters that are powering your village houses or accessories.
- Start with the largest pieces: Begin by removing the largest houses or structures in your display. Carefully lift and set them aside in a safe location. Take note of any detachable elements, such as roofs or chimneys, and remove them to prevent breakage during storage.
- Remove smaller houses and accessories: Continue disassembling your Christmas village by removing the smaller houses, figurines, and other accessories. Carefully lift and pack them separately to prevent any damage or breakage.
- Label and organize: As you remove each house or accessory, place them in separate labeled containers or compartments. This will make it easier to locate specific items when you’re ready to set up your Christmas village next year.
- Wrap delicate pieces: For particularly fragile houses or intricate accessories, consider wrapping them individually with tissue paper or bubble wrap to provide extra protection during storage.
By carefully disassembling your Christmas village and organizing the pieces as you go, you’ll save time and frustration when it’s time to set up your display again. Taking photographs and labeling containers will also ensure that you can recreate the look of your Christmas village accurately next year.
Packing Materials
When packing your Christmas village houses, it’s essential to use appropriate materials that will protect them from potential damage. Here are some packing materials to consider:
- Packing paper: Use plain packing paper to wrap individual houses or accessories. This helps to cushion them and prevent any scratches or dings during transportation and storage.
- Bubble wrap: For extra protection, consider wrapping delicate or fragile pieces in bubble wrap. This provides an additional layer of cushioning to safeguard against impact.
- Packing peanuts: If you’re using storage boxes, consider filling empty spaces with packing peanuts. This helps to prevent any movement of the houses or accessories during transit, reducing the risk of damage.
- Plastic bags: Place small accessories or loose parts in individual plastic bags before packing them. This prevents them from getting lost or tangled with other pieces.
- Dividers or inserts: If your storage solution doesn’t come with dividers or inserts, you can use cardboard or foam to create compartments within the boxes. This prevents the houses from shifting or rubbing against each other.
Remember to use packing materials sparingly, as excessive padding can lead to a lack of airflow and potential moisture buildup. It’s best to strike a balance between providing adequate protection and maintaining proper ventilation within the storage containers.
By utilizing appropriate packing materials, you can ensure that your Christmas village houses remain safe and secure during storage, ready to be enjoyed for many holiday seasons to come.
Wrapping Individual Houses
When it comes to storing your Christmas village houses, wrapping each one individually is crucial to protect them from scratches and other damage. Follow these steps to properly wrap your houses:
- Start with clean hands: Before handling your houses, wash your hands to remove any oils or dirt that could potentially transfer to the surfaces.
- Use packing paper: Place a sheet of packing paper on a flat surface and gently place the house on top of it.
- Wrap the house: Fold the sides of the packing paper over the house, tucking them underneath to create a secure wrap. If the house has delicate or protruding parts, consider layering additional packing paper or bubble wrap around those areas for added protection.
- Secure with tape: Use clear packing tape to seal the wrapping and prevent it from coming undone during storage.
- Label the wrapped house: Write the name or a brief description of the house on a small label or adhesive tag, and attach it to the wrapped package. This will allow for easy identification when you’re ready to unpack and set up your Christmas village next year.
- Repeat for each house: Repeat the process for each individual house, taking care to wrap them securely and label them accordingly.
By wrapping each house individually, you provide an extra layer of protection against scratches, dust, and potential damage. This method also makes it easier to handle and store the houses without worrying about them bumping into each other.
Remember to handle the wrapped houses with care when placing them in storage containers to ensure their continued safety throughout the storage period.
Layering and Organizing in Storage Containers
Once you have wrapped each individual Christmas village house, it’s time to pack them in storage containers in a way that maximizes space and minimizes the risk of damage. Follow these tips for effective layering and organization:
- Utilize dividers or compartments: If your storage containers have built-in dividers or compartments, take advantage of them to keep the wrapped houses separated and prevent them from bumping into each other.
- Create layers: Start by placing a layer of wrapped houses at the bottom of the container. If possible, arrange them in a flat, even layer to provide a sturdy foundation for the rest of the houses.
- Add additional layers: Stack and layer the wrapped houses on top of each other, ensuring that each layer is padded with packing material or separated with dividers. Avoid overpacking the container, as it may put unnecessary pressure on the houses.
- Protect fragile houses: If you have particularly delicate or intricate houses, consider placing them in the middle of the container, surrounded by softer, less fragile houses for added protection.
- Fill empty spaces: Fill gaps or empty spaces between the wrapped houses with packing peanuts or crumpled packing paper to prevent shifting during transportation or storage.
- Organize accessories separately: Keep smaller accessories, figurines, or loose parts in separate containers or compartments within the storage container. This prevents them from getting lost or damaged and makes it easier to locate them when it’s time to set up your Christmas village again.
Remember to pack the heaviest and sturdiest houses at the bottom of each layer to ensure stability. Additionally, avoid placing heavy objects on top of delicate houses, as they can cause damage.
By layering and organizing your Christmas village houses properly within the storage containers, you’ll optimize space and reduce the risk of breakage or damage during storage.
When storing Christmas village houses, wrap them individually in bubble wrap or tissue paper to prevent damage. Store them in sturdy boxes with padding to keep them safe until next year.
Labeling and Inventory
Labeling and creating an inventory of your Christmas village houses will make it easier to locate specific pieces and ensure that nothing goes missing during storage. Follow these steps to effectively label and inventory your collection:
- Create a labeling system: Develop a labeling system that works for you. You can use color-coded labels, numbered tags, or simply write the names of the houses on adhesive labels. Choose a method that is clear and easy to understand.
- Attach labels to storage containers: Place the appropriate label on each storage container or drawer where the houses are stored. This will help you quickly identify the contents of each container without having to open them.
- Record inventory: Create an inventory list of all the Christmas village houses in your collection. Include important details such as the name of each house, the manufacturer, and any special notes or descriptions.
- Take photographs: Alongside your inventory list, consider taking photographs of each house. This visual reference will come in handy when setting up your Christmas village next year and can serve as a reminder of the original placement and arrangement.
- Update the inventory each year: As you unpack and set up your Christmas village each year, make note of any damages, repairs, or additions to your collection. Update your inventory list and photographs accordingly to keep an accurate record of your houses.
Having a well-organized inventory and labeling system ensures that you can easily keep track of your Christmas village houses and accessories. It also helps prevent any pieces from being misplaced or forgotten during the storage period.
By investing a little time in labeling and creating an inventory, you’ll save yourself the hassle of searching for specific houses and enhance your overall storage and organization process.
Storing the Largest Pieces
When it comes to storing the largest Christmas village houses, extra care and attention should be given to ensure their safety and prevent any damage. Here are some tips for storing the largest pieces effectively:
- Select an appropriate storage space: Find a storage area that provides enough room and protection for the large houses. This could be a large storage container, a dedicated shelf, or even a separate storage room.
- Disassemble if necessary: If the largest houses can be disassembled, take them apart before storing. This reduces the risk of breakage and makes them easier to handle and transport.
- Wrap with protective material: Wrap each disassembled piece with bubble wrap or packing paper to provide cushioning and protection against scratches. Pay extra attention to fragile components, such as delicate roofs or chimneys.
- Use appropriate containers: Place the wrapped pieces into sturdy, larger-sized storage containers. Consider containers with dividers or compartments to keep the disassembled parts organized and separate.
- Label the containers: Clearly label each container with the name of the house or a brief description to easily identify its contents. This will save you time and effort when you’re ready to retrieve or set up the largest pieces.
- Store horizontally if possible: If the largest houses cannot be disassembled, store them horizontally instead of vertically. This helps distribute the weight evenly and prevents any undue strain on the structures.
- Avoid placing heavy objects on top: When storing the larger pieces, refrain from stacking heavy items on top of them. The added weight could lead to damage or distortion.
- Protect against moisture: If storing in an area prone to moisture or humidity, consider using moisture-absorbing packets or placing a dehumidifier near the storage space to ensure the houses remain dry.
By taking these precautions and storing your largest Christmas village houses properly, you can preserve their integrity and ensure their longevity for future holiday seasons.
Read more: How To Design Your House For Christmas
Storing Accessories and Figurines
Aside from the Christmas village houses themselves, there are likely various accessories and figurines that complete your holiday display. Proper storage of these smaller items is important to ensure their protection and ease of retrieval. Here are some tips for storing accessories and figurines:
- Sort and categorize: Group similar accessories and figurines together based on category or theme. This makes it easier to find specific pieces when you’re ready to set up your Christmas village again.
- Use smaller containers: Opt for smaller storage containers or compartments to keep accessories and figurines separated and organized. Consider using clear containers to easily see the contents without having to open each one.
- Wrap individually: Wrap delicate or breakable items individually with tissue paper or bubble wrap to provide extra protection. This helps to prevent scratches and minimize the risk of damage during storage.
- Label containers: Clearly label each container or compartment with the contents inside. Use descriptive labels or create a numbering system to easily identify and locate specific accessories and figurines.
- Stack or nest smaller items: If space allows, stack smaller containers or nest them within larger ones to maximize storage efficiency. Ensure that delicate pieces are not placed under heavy objects to avoid damage.
- Consider using dividers or compartments: Utilize dividers or adjustable compartments within storage containers to keep accessories and figurines separated and prevent them from shifting or tangling with each other.
- Protect against moisture: If storing in an area prone to moisture or humidity, consider placing desiccant packets or using a moisture-absorbing product within the storage containers to prevent damage from dampness.
- Take inventory and photographs: As you pack away the accessories and figurines, make notes in your inventory list and take photographs. This will help you remember the placement of the items and any changes or additions you may make in the future.
By taking the time to properly store your accessories and figurines, you’ll ensure their longevity and keep them in excellent condition for future use in your Christmas village display.
Finding the Perfect Storage Space
Selecting the right storage space for your Christmas village houses and accessories is crucial to ensure their safety and preservation during the off-season. Here are some tips to help you find the perfect storage space:
- Consider temperature and humidity: Choose a storage area that maintains a moderate and consistent temperature, ideally between 50 to 70 degrees Fahrenheit (10 to 21 degrees Celsius). Avoid areas prone to extreme temperature fluctuations or excess humidity, as these conditions can damage the houses and accessories.
- Protect from sunlight: Sunlight can cause fading and discoloration of your Christmas village houses and accessories over time. Keep them away from direct sunlight by selecting a storage space that is shielded from natural light.
- Avoid damp areas: Moisture can lead to mold, mildew, and degradation of the houses and accessories. Choose a storage space that is dry and well-ventilated to prevent any damage caused by dampness.
- Consider accessibility: Store your Christmas village in a location that is easily accessible when it’s time to retrieve or set up your display. This will save you time and effort and make the process more enjoyable.
- Space availability: Ensure that the storage space you choose has enough room to accommodate your entire Christmas village collection, including the houses, accessories, and any additional decorative elements you may have.
- Shelving or storage units: Utilize sturdy shelving units or storage cabinets to keep your Christmas village houses organized and off the ground. This will prevent potential damage from any accidental bumps or water exposure.
- Consider security: If your storage space is not within your home, ensure that it has proper security measures in place, such as locks or surveillance systems, to protect your valued Christmas village collection.
- Clear labeling: Make sure to label your storage containers or shelves clearly with the contents inside. This will make it easier to locate specific items and keep your storage area well-organized.
By selecting the perfect storage space for your Christmas village houses and accessories, you’ll ensure their safety, longevity, and easy retrieval when it’s time to bring them out again for the holiday season.
Tips for Long-Term Storage
Long-term storage of your Christmas village houses and accessories requires extra precautions to ensure their preservation and prevent any deterioration. Follow these tips for successful long-term storage:
- Choose the right storage containers: Opt for durable, airtight containers that provide protection against dust, moisture, and pests. Make sure the containers are large enough to accommodate your entire Christmas village collection without overcrowding.
- Use acid-free tissue paper: Wrap delicate or fragile items, such as ceramic houses or figurines, in acid-free tissue paper. This special paper helps to prevent discoloration and deterioration over time.
- Avoid plastic bags: While they may seem convenient, plastic bags can trap moisture, leading to mold or mildew growth. Instead, use breathable materials like cloth or acid-free paper to store smaller accessories and parts.
- Store in a cool, dry place: Choose a storage area that maintains a consistent temperature and humidity level. Fluctuations in temperature and excessive moisture can cause damage, so avoid storing your Christmas village in basements, attics, or uninsulated areas.
- Inspect periodically: Check on your stored Christmas village houses and accessories periodically to ensure they remain in good condition. Look for any signs of moisture, pests, or damage, and address any issues promptly.
- Store in an upright position: When storing larger houses or structures that cannot be disassembled, keep them in an upright position to maintain their shape and prevent warping. Consider using sturdy dividers or supports to keep them stable.
- Keep them away from direct light: Prolonged exposure to sunlight can cause fading and damage to your Christmas village houses and accessories. Store them in a dark area or cover them with a light-blocking material to prevent any potential harm.
- Avoid overcrowding: Ensure that there is enough space in the storage containers and shelves to prevent items from being crushed or damaged. Overcrowding can lead to breakage or deformation of the houses and accessories.
- Label all containers: Clearly label each storage container with its contents. This will help you easily locate specific items when you need them and maintain an organized storage system.
- Keep an inventory: Maintain an up-to-date inventory of your Christmas village collection. This will help you keep track of your items, note any changes or additions, and prevent any pieces from getting lost or forgotten.
By following these tips, you can ensure that your Christmas village houses and accessories are well-preserved and ready to be enjoyed for many holiday seasons to come.
Conclusion
Storing your Christmas village houses and accessories properly is vital to maintaining their beauty and ensuring their longevity. By investing time and effort into organizing and protecting your collection, you can enjoy the magic of your Christmas village year after year. Here’s a summary of the key points discussed in this article:
- Choose the right storage solution, such as sturdy storage boxes or specialized storage systems, to protect your Christmas village houses from dust and potential damage.
- Clean and prepare the houses before storage, ensuring they are free from dust and any damage is addressed.
- When disassembling the Christmas village, take photos for reference and remove power sources to safely disconnect lights and accessories.
- Use appropriate packing materials, including packing paper, bubble wrap, and dividers, to wrap and separate the houses for added protection.
- Layer and organize the wrapped houses in storage containers, labeling and creating an inventory for easy retrieval later.
- Give special attention to storing the largest pieces, disassembling if necessary and protecting them with proper wrapping and storage containers.
- Store accessories and figurines separately, using smaller containers and dividers to keep them organized and prevent damage.
- Find a suitable storage space that maintains consistent temperature, protects from sunlight and dampness, and provides easy accessibility.
- Follow tips for long-term storage, including using acid-free tissue paper, inspecting periodically, and avoiding overcrowding.
Properly storing your Christmas village houses and accessories not only preserves their beauty but also saves you time and frustration when it’s time to set up your festive display again. By implementing the tips and techniques outlined in this article, you can ensure that your Christmas village remains a treasured part of your holiday traditions for years to come. Happy storing and happy decorating!
Frequently Asked Questions about How To Store Christmas Village Houses
Was this page helpful?
At Storables.com, we guarantee accurate and reliable information. Our content, validated by Expert Board Contributors, is crafted following stringent Editorial Policies. We're committed to providing you with well-researched, expert-backed insights for all your informational needs.



0 thoughts on “How To Store Christmas Village Houses”