Articles
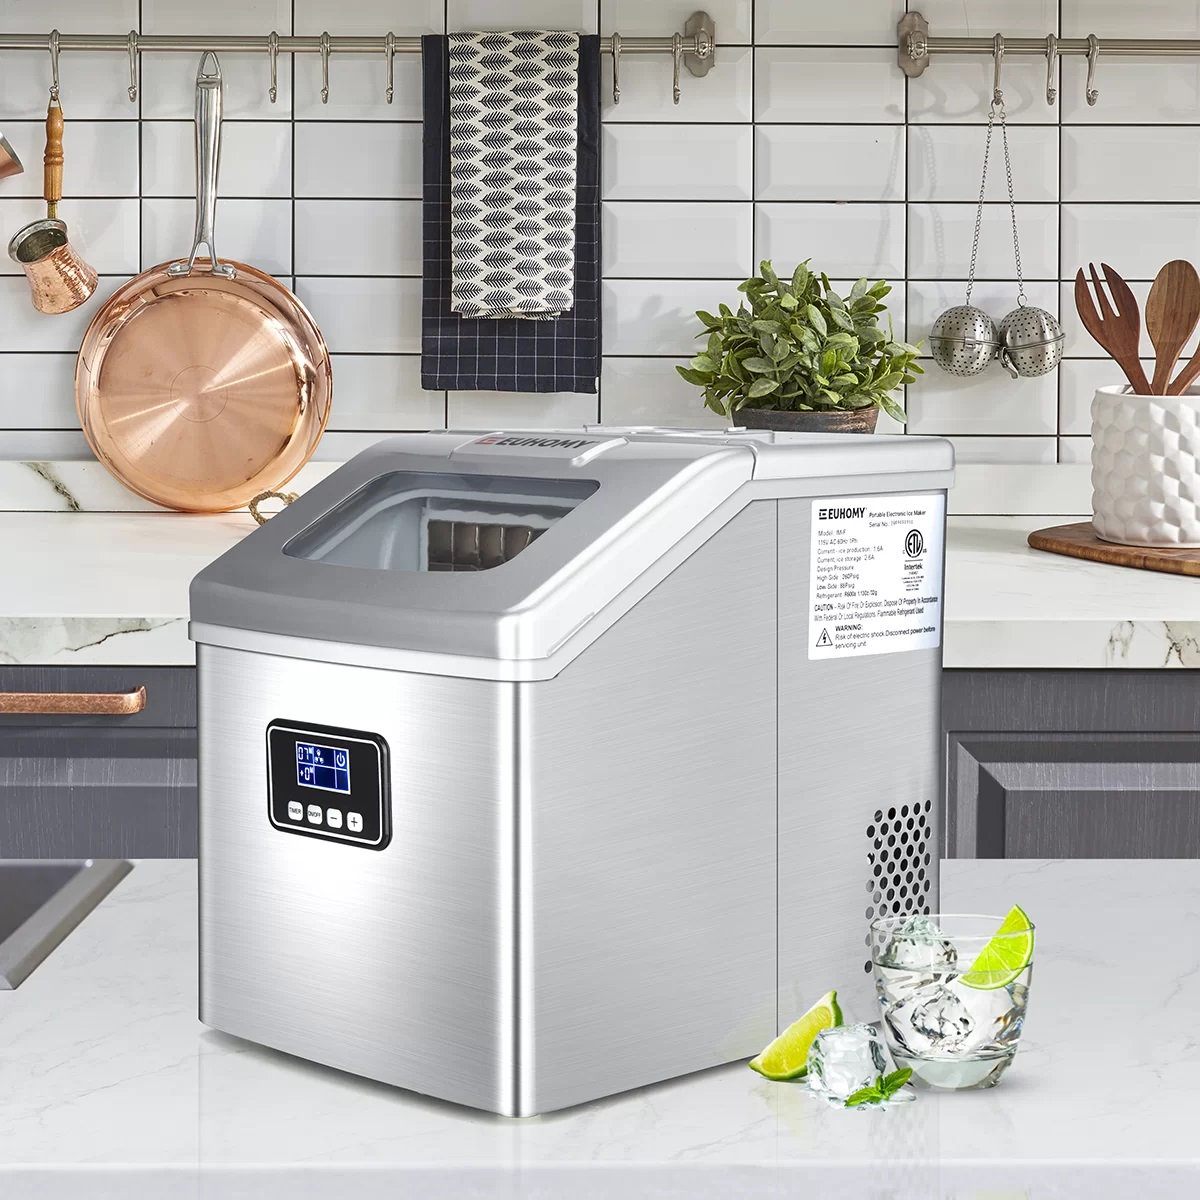
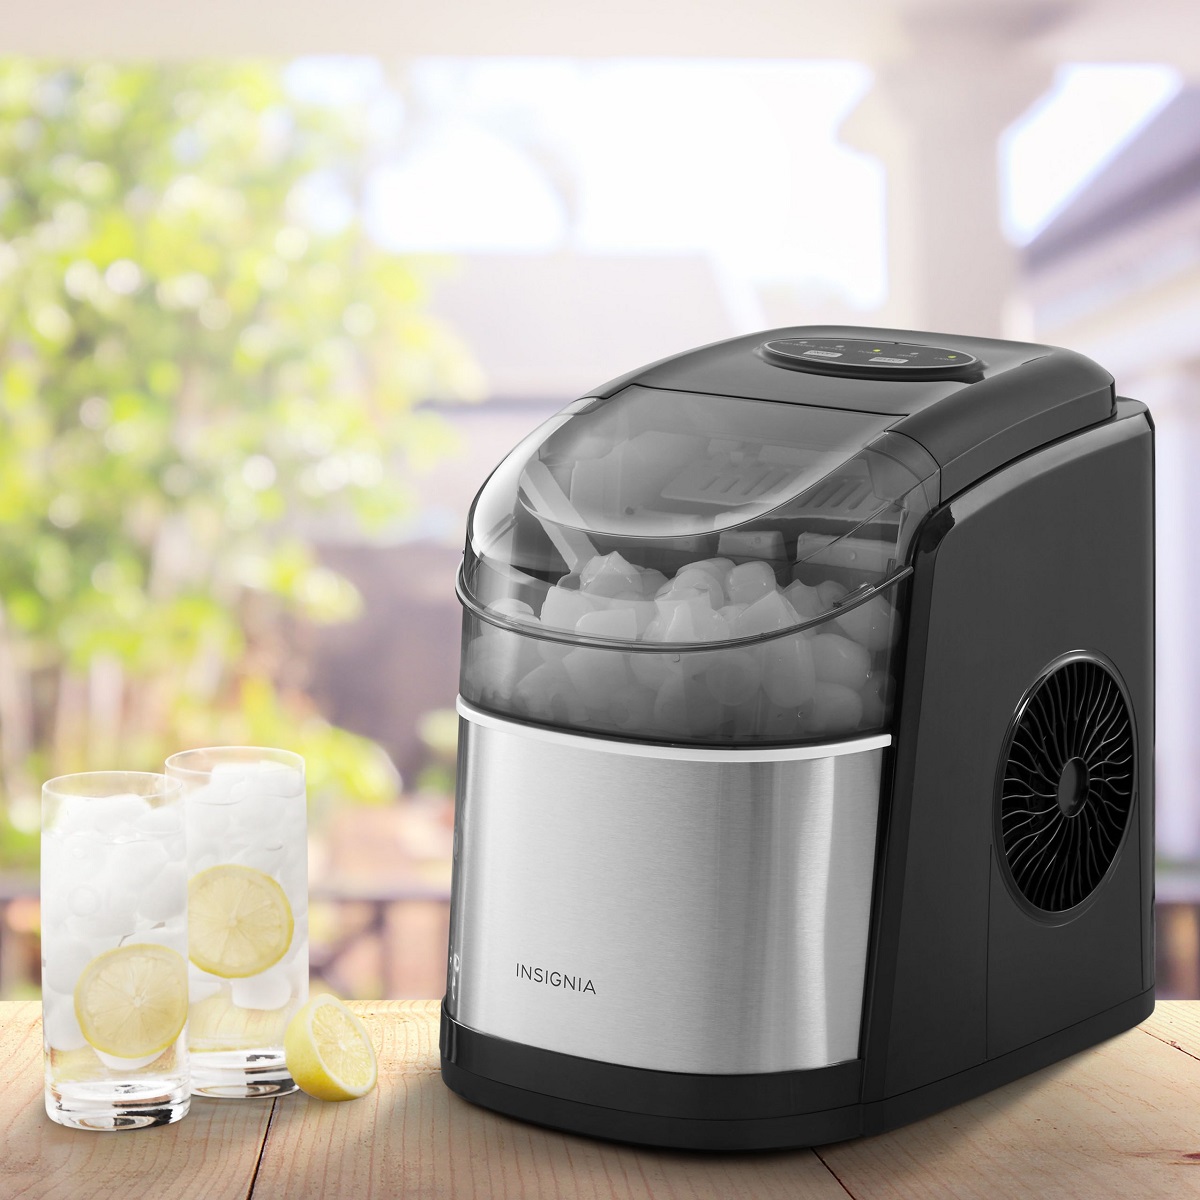
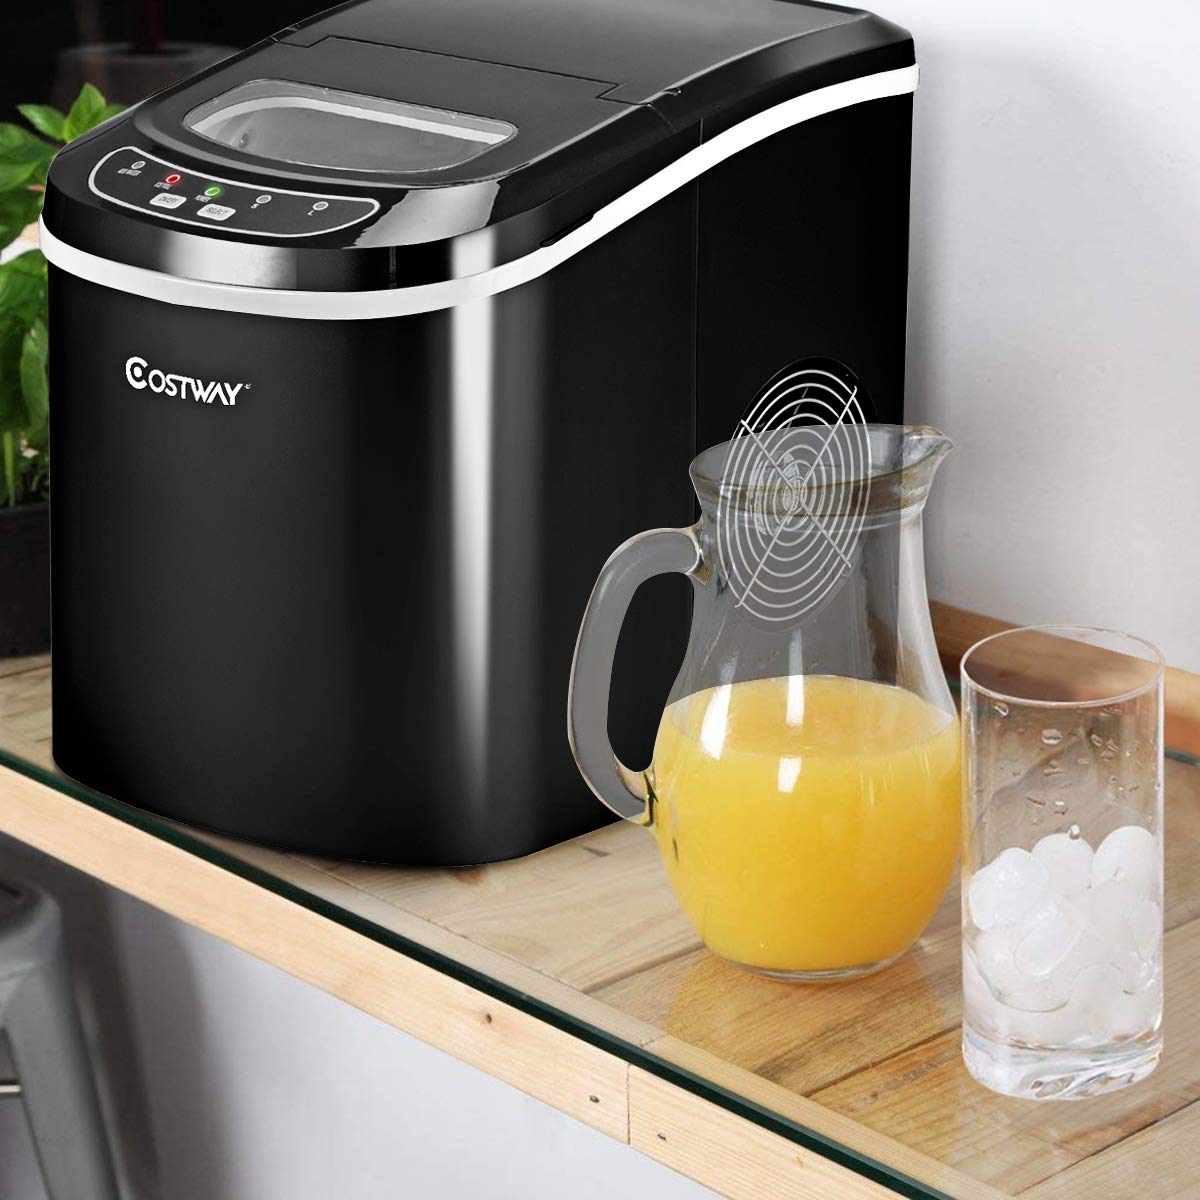
How To Clean Free Village Ice Maker
Modified: October 19, 2024
Learn how to clean your free village ice maker with these helpful articles. Keep your ice maker running smoothly and efficiently!
(Many of the links in this article redirect to a specific reviewed product. Your purchase of these products through affiliate links helps to generate commission for Storables.com, at no extra cost. Learn more)
Introduction:
Having a free-standing ice maker in your village can be a convenient way to keep your residents refreshed during the hot summer months. However, over time, your ice maker may accumulate dirt, bacteria, and other contaminants that can affect the quality and taste of the ice it produces. To keep your ice maker functioning efficiently and producing clean, fresh ice, regular cleaning is essential.
In this article, we will guide you through the steps to clean a free-standing ice maker in your village. By following this simple process, you can ensure that your ice maker continues to deliver high-quality ice that meets the hygiene standards of your community.
Key Takeaways:
- Regularly cleaning your village’s free-standing ice maker is crucial for maintaining high-quality, hygienic ice production and ensuring the satisfaction of your residents.
- By following the step-by-step guide provided, you can effectively clean and sanitize your ice maker, promoting optimal performance and reducing the risk of potential malfunctions.
Read more: How To Clean A Igloo Ice Maker
Step 1: Gather the necessary materials:
Before you start cleaning your free-standing ice maker, it’s important to gather all the necessary materials. Having everything you need on hand will make the cleaning process more efficient. Here are the materials you will need:
- Warm water
- Mild dish soap or ice maker cleaner
- Soft cloth or sponge
- Bristle brush or toothbrush
- Vinegar (optional)
- Essential oils for fragrance (optional)
The warm water will be used to clean the interior and exterior of the ice maker, while the mild dish soap or ice maker cleaner will help remove stubborn stains and bacteria. A soft cloth or sponge is ideal for gentle cleaning, while a bristle brush or toothbrush can be used for harder-to-reach areas.
Additionally, vinegar can be used as a natural cleaner and disinfectant. If you prefer a pleasant fragrance, you can also add a few drops of essential oils to the cleaning solution.
By having these materials ready, you’ll be well-prepared to tackle the cleaning process and ensure that your ice maker is thoroughly sanitized.
Step 2: Turn off and unplug the ice maker:
Before you begin cleaning your free-standing ice maker, it’s crucial to turn off and unplug the unit. This step is essential for safety reasons and to prevent any damage to the machine during the cleaning process.
Locate the power switch on your ice maker and turn it off. If your ice maker is connected to an electrical outlet, unplug it from the power source. This will ensure that there is no electricity running through the appliance while you are cleaning it.
Turning off and unplugging the ice maker is important to avoid any accidents or injuries. It also prevents the motor from running during the cleaning process, allowing you to clean the machine more effectively.
Remember to always follow manufacturer’s guidelines when turning off and unplugging your ice maker. Some models may have specific instructions or additional steps that you need to take before cleaning. Refer to the user manual or contact the manufacturer if you have any doubts or questions.
Once the ice maker is turned off and unplugged, you can proceed to the next step of the cleaning process, which involves removing the ice storage bin.
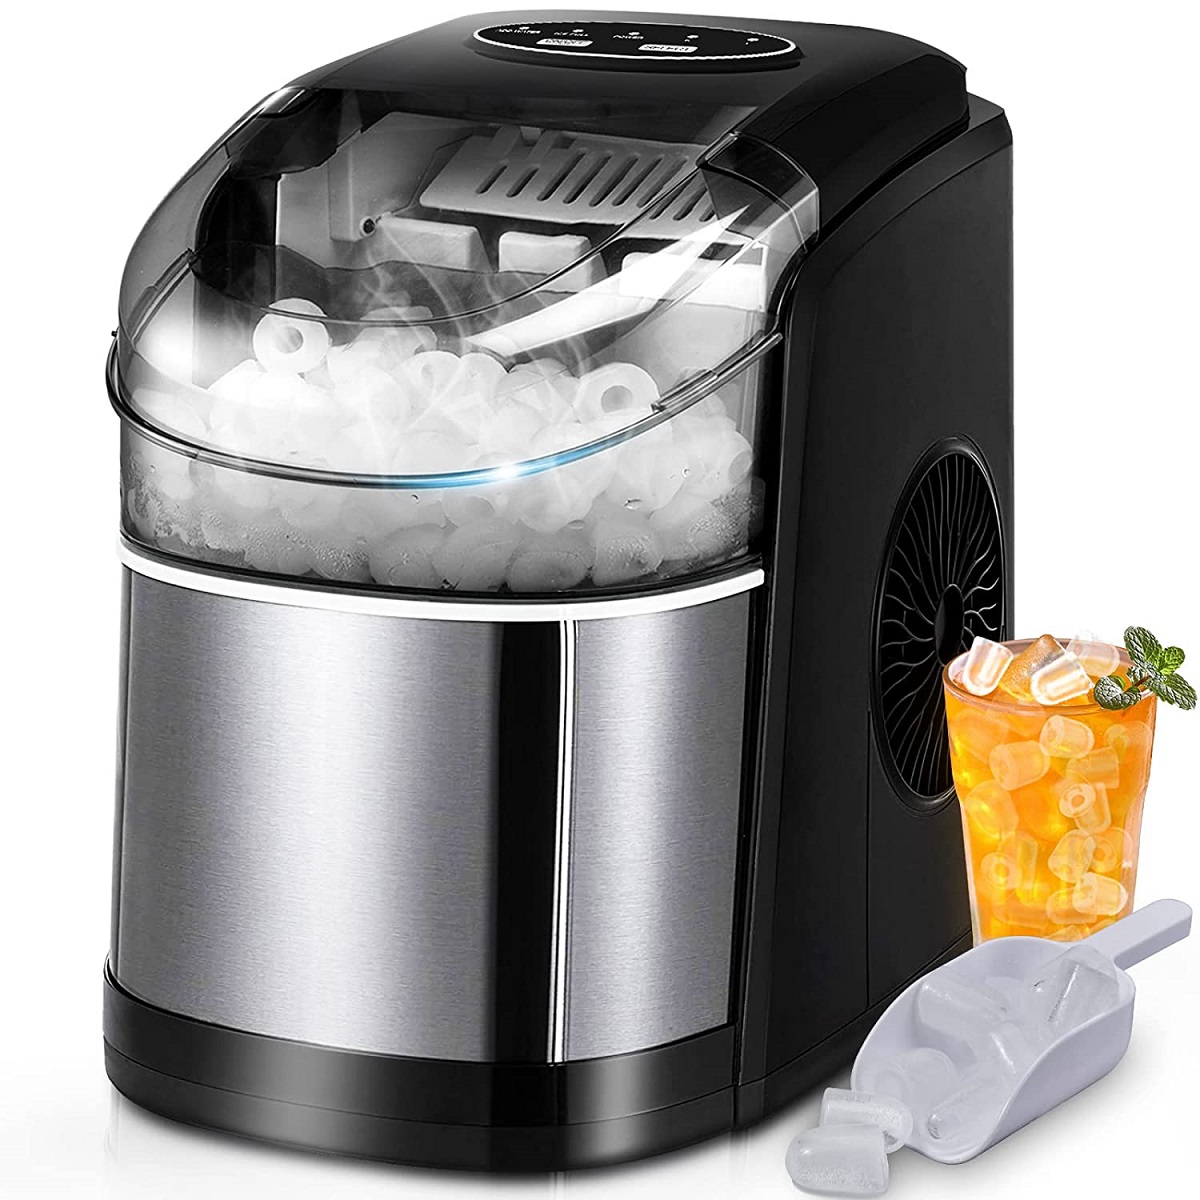
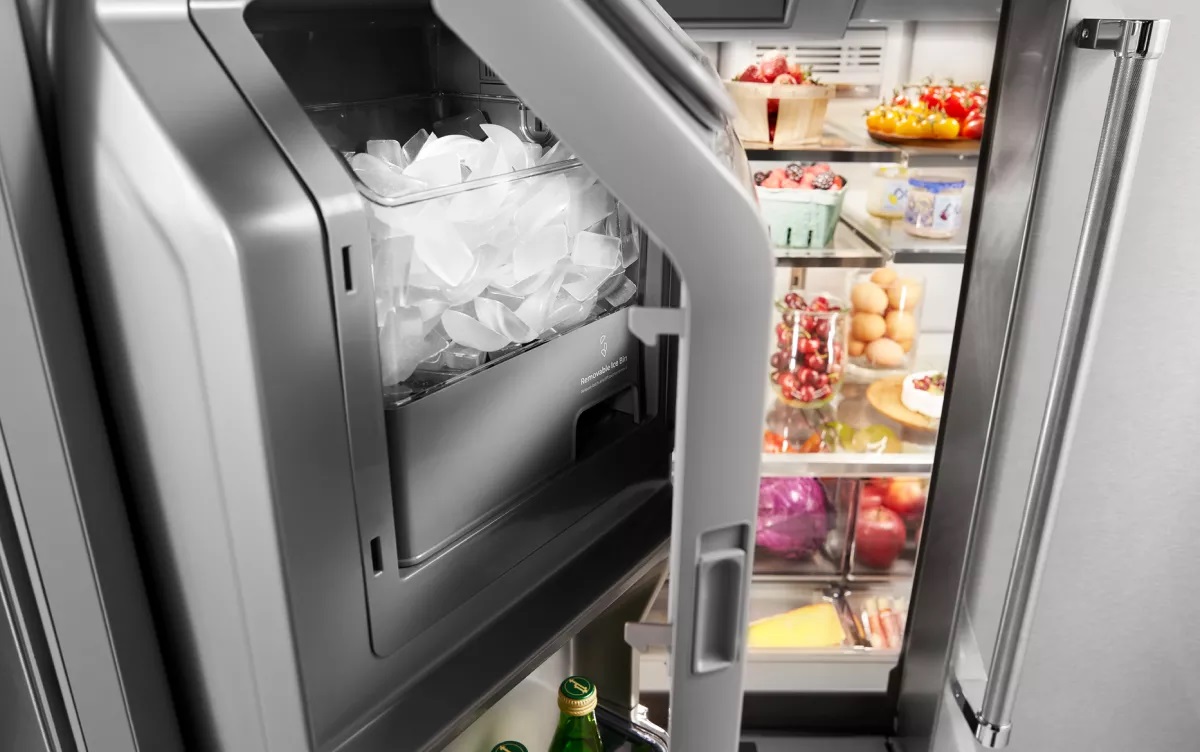
Step 3: Remove the ice storage bin:
With the ice maker turned off and unplugged, it’s time to remove the ice storage bin. This step will allow you to access the interior of the ice maker and clean it thoroughly.
Start by locating the release mechanism or tabs on the ice storage bin. Different ice maker models may have different methods for removing the bin, so consult the user manual if you’re unsure. Press or release the tabs to unlock the ice storage bin from the ice maker unit.
Gently pull out the ice storage bin from the ice maker. Be careful not to spill any ice or water during this process. If there is still ice in the bin, you can transfer it to another container for temporary storage or discard it.
Once the ice storage bin is removed, you can set it aside and proceed to clean it separately. Cleaning the ice storage bin is crucial for maintaining the quality and hygiene of the ice it produces. It may accumulate residue, mold, or bacteria over time, so cleaning it regularly is important for your residents’ health and safety.
Place the ice storage bin in a sink or large basin and proceed to the next step to clean it thoroughly.
Before cleaning the ice storage bin, make sure to read the manufacturer’s guidelines for proper cleaning instructions. Some ice maker models may require specific cleaning solutions or methods to maintain their warranty.
Step 4: Clean the ice storage bin:
Now that you have removed the ice storage bin from the ice maker, it’s time to give it a thorough cleaning. This step will ensure that any residue, mold, or bacteria is eliminated, guaranteeing clean and safe ice production.
Start by emptying any remaining ice from the storage bin. Discard the ice or transfer it to another container if you plan to use it later. Rinse out the bin with warm water to remove any loose debris.
Next, create a cleaning solution by mixing warm water with a mild dish soap or ice maker cleaner. Follow the manufacturer’s instructions for the appropriate dilution ratio if you’re using a specific ice maker cleaner.
Dip a soft cloth or sponge into the cleaning solution and wring it out to remove excess liquid. Use the damp cloth or sponge to wipe the interior surfaces of the ice storage bin, including the sides, bottom, and lid. Pay close attention to any stubborn stains or residue and scrub gently to remove them.
If there are areas that are difficult to reach with a cloth or sponge, use a bristle brush or toothbrush. Ensure that the brush is clean and has soft bristles to avoid scratching the surfaces of the ice storage bin.
Rinse the ice storage bin thoroughly with clean water to remove any soap residue. Ensure that no cleaning solution or debris is left behind.
If you prefer a natural cleaning method, you can use a mixture of warm water and vinegar as an alternative to a mild dish soap. Simply mix equal parts water and vinegar, and use this solution to clean the ice storage bin. Vinegar has natural cleaning and disinfecting properties that can help eliminate bacteria and odors.
After cleaning and rinsing the ice storage bin, allow it to dry completely before returning it to the ice maker. Place it on a clean towel or rack and let it air dry. This will prevent any moisture buildup that can lead to mold or bacteria growth.
Once the ice storage bin is thoroughly dry, you can proceed to clean the interior of the ice maker in the next step.
To clean a Free Village ice maker, mix equal parts of water and white vinegar and run the solution through the machine. Then, run a few cycles of plain water to rinse it out. Wipe down the exterior with a damp cloth.
Read more: How To Clean Out An Ice Maker
Step 5: Clean the interior of the ice maker:
Now that you have cleaned the ice storage bin, it’s time to focus on cleaning the interior of the ice maker itself. This step is crucial for removing any residue, mineral deposits, or bacteria that may have accumulated over time.
Start by inspecting the interior of the ice maker for any visible debris, mold, or mineral buildup. Use a soft cloth or sponge dampened with warm water to wipe down the interior surfaces, including the ice mold, ice chute, and any visible components.
If you notice any stubborn stains or mineral deposits, you can create a cleaning solution using equal parts warm water and vinegar. Dip a cloth or sponge into the solution and gently scrub the affected areas.
For hard-to-reach areas, such as narrow crevices or tiny holes, use a bristle brush or toothbrush. Gently scrub these areas to dislodge any debris or buildup.
Once you have cleaned the interior of the ice maker, rinse it thoroughly with clean water to remove any cleaning solution or residue. Ensure that all surfaces are well-rinsed and free from any cleaning agents.
After rinsing, use a soft, dry cloth to wipe down the interior surfaces and remove any excess moisture. This step is important to prevent any water from staying trapped inside the ice maker and causing mold or bacteria growth.
As you clean, it’s worth checking the ice maker’s water supply line and filter (if applicable). Consult your user manual or manufacturer’s instructions for guidance on cleaning these components specific to your ice maker model.
By thoroughly cleaning the interior of your ice maker, you can ensure that it produces clean and fresh ice for your village residents to enjoy.
Proceed to the next step to clean the exterior of the ice maker.
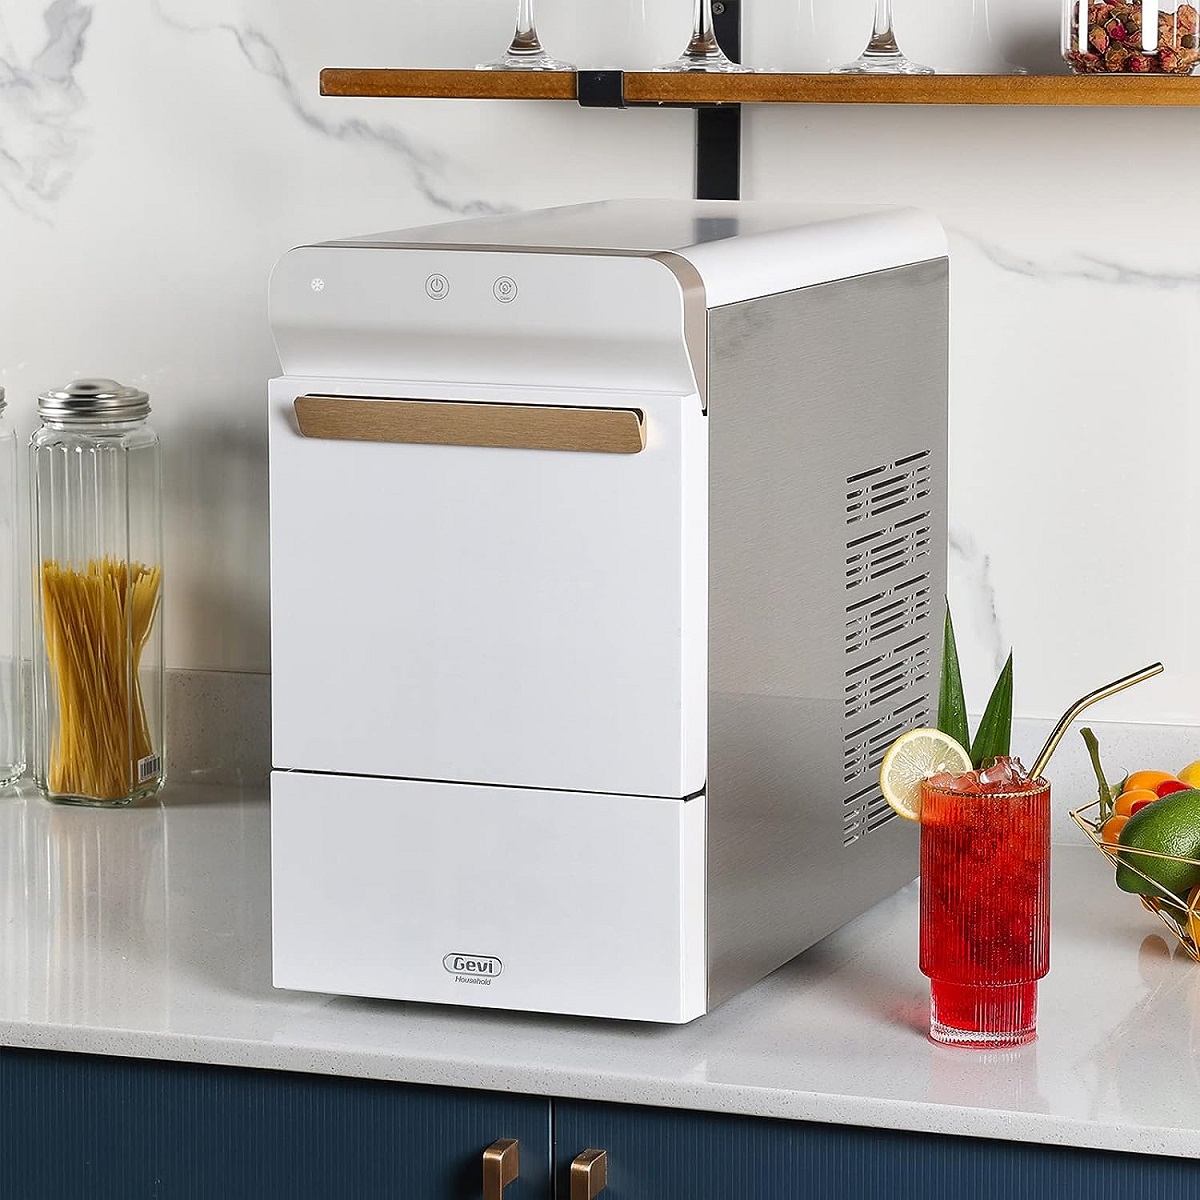
Step 6: Clean the exterior of the ice maker:
Now that you have cleaned the interior of your ice maker, it’s time to focus on the exterior. Cleaning the exterior of the ice maker will not only enhance its appearance but also remove any dirt or grime that may have accumulated over time.
Start by dampening a soft cloth or sponge with warm water. Wring out any excess liquid to avoid dripping water onto the ice maker. Use the damp cloth or sponge to gently wipe down the exterior surfaces of the ice maker, including the sides, top, and front panel.
If there are any stubborn stains or sticky residue, you can add a small amount of mild dish soap to the cloth or sponge. Scrub the affected areas gently to remove the stains or residue. Avoid using abrasive cleaners or harsh chemicals, as they may damage the surface of the ice maker.
For stainless steel exteriors, you can use a stainless steel cleaner specifically designed for appliances. Follow the instructions provided with the cleaner and use a soft cloth to buff the surface and remove any fingerprints or smudges.
Pay attention to any buttons or control panels on the ice maker. Use a cotton swab or toothpick to clean around the buttons and remove any dirt or debris that may have accumulated in the crevices.
Once you have thoroughly wiped down the exterior surfaces, rinse the cloth or sponge with clean water and go over the surfaces again to remove any soap residue. This step is important to ensure that no cleaning agents are left behind.
After cleaning, use a dry and clean cloth to gently dry the exterior of the ice maker. This will help prevent any water spots or streaks from forming on the surface.
Take the opportunity to inspect the power cord for any damage or fraying. If you notice any issues, it’s important to have a professional repair or replace the cord to ensure safe operation.
With the exterior of your ice maker clean and shining, you can move on to the next step to clean the water line and filter (if applicable).
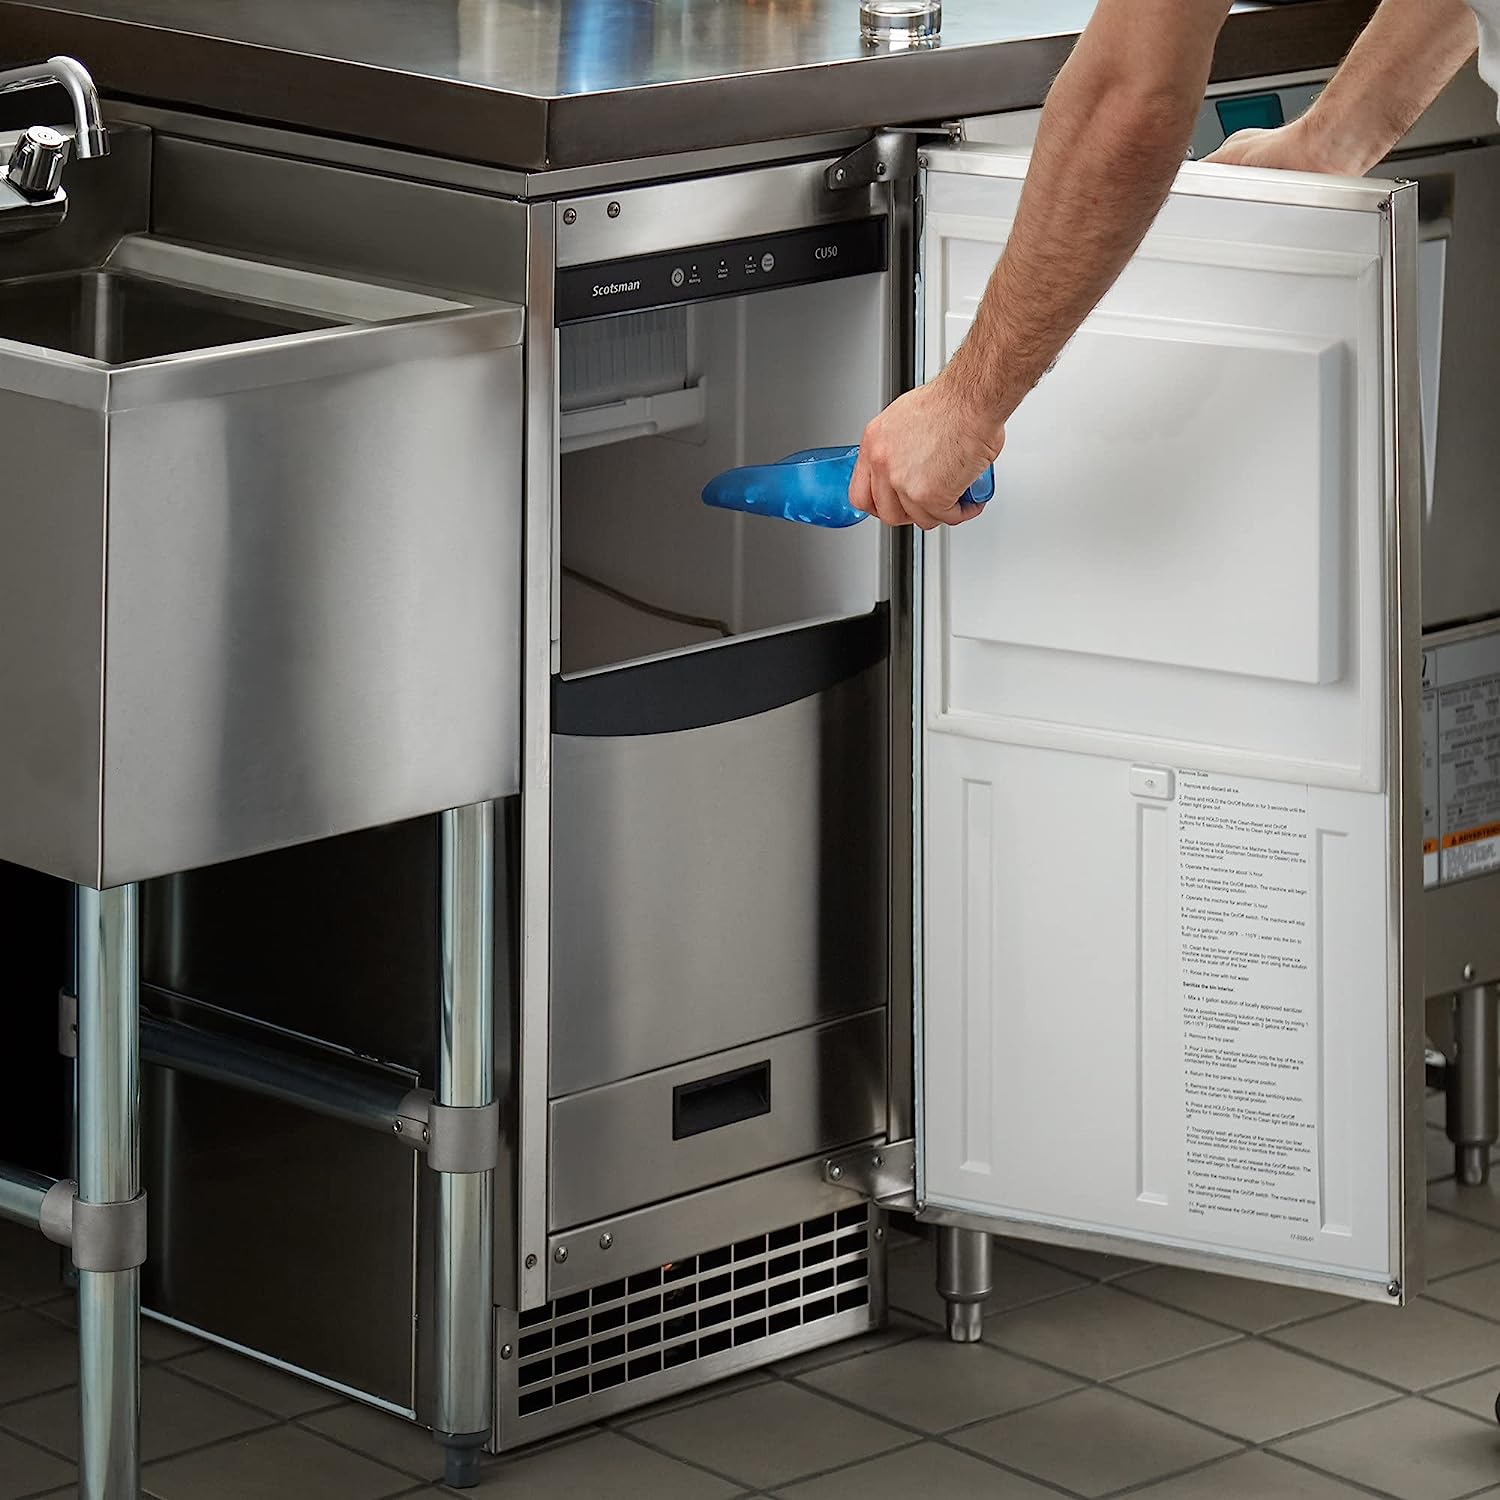
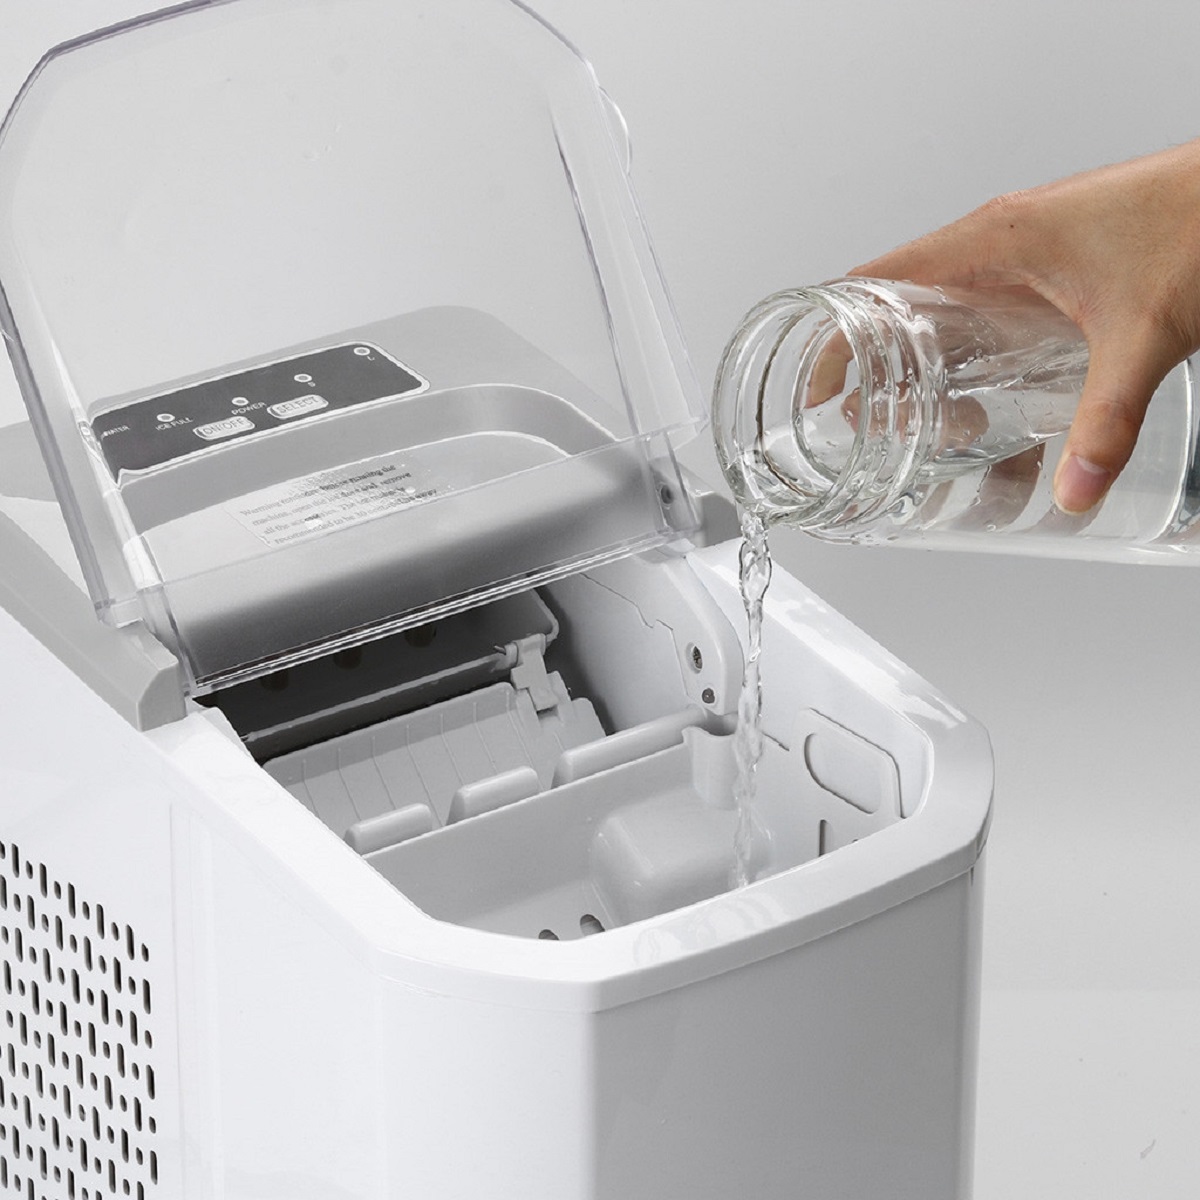
Step 7: Clean the water line and filter (if applicable):
Depending on the type of ice maker you have in your village, it may be equipped with a water line and filter. Cleaning these components is crucial for ensuring the delivery of clean and filtered water to your ice maker and eventually producing high-quality ice.
If your ice maker has a water line connected to a water source, start by turning off the water supply. Locate the shut-off valve near the ice maker or at the main water line and turn it clockwise to shut off the water flow.
Once the water supply is turned off, inspect the water line for any visible dirt or debris. If you notice any buildup or sediment, you can flush the water line with clean water to remove it.
To flush the water line, detach it from the ice maker and place the end in a bucket or sink. Turn on the water supply briefly to allow water to flow through the line and flush out any contaminants. Dispose of the flushed water and repeat the process until the water appears clear.
If your ice maker is equipped with a water filter, it’s essential to replace it according to the manufacturer’s recommendations. Regularly replacing the water filter ensures that your ice maker continues to produce clean and fresh-tasting ice.
Removing and replacing the water filter will vary depending on the ice maker model. Refer to your user manual for specific instructions on how to remove and install the filter. Some ice makers may require you to twist or unlock the filter cartridge, while others may have a push-button release.
Once you have removed the water filter, run it under warm water to rinse off any sediment or debris. If the filter is reusable, follow the manufacturer’s instructions on how to clean and maintain it.
If you are replacing the water filter, locate a compatible new filter and follow the instructions for installation. Ensure that the filter is securely in place and properly aligned before turning on the water supply.
After cleaning or replacing the water line and filter, turn on the water supply and allow the water to flow through the line for a few moments to ensure any air is purged. Check for any leaks or issues with the water flow, and address them accordingly.
With the water line and filter in optimal condition, you are ready to move on to the final step of the cleaning process: reassembling and plugging in the ice maker.
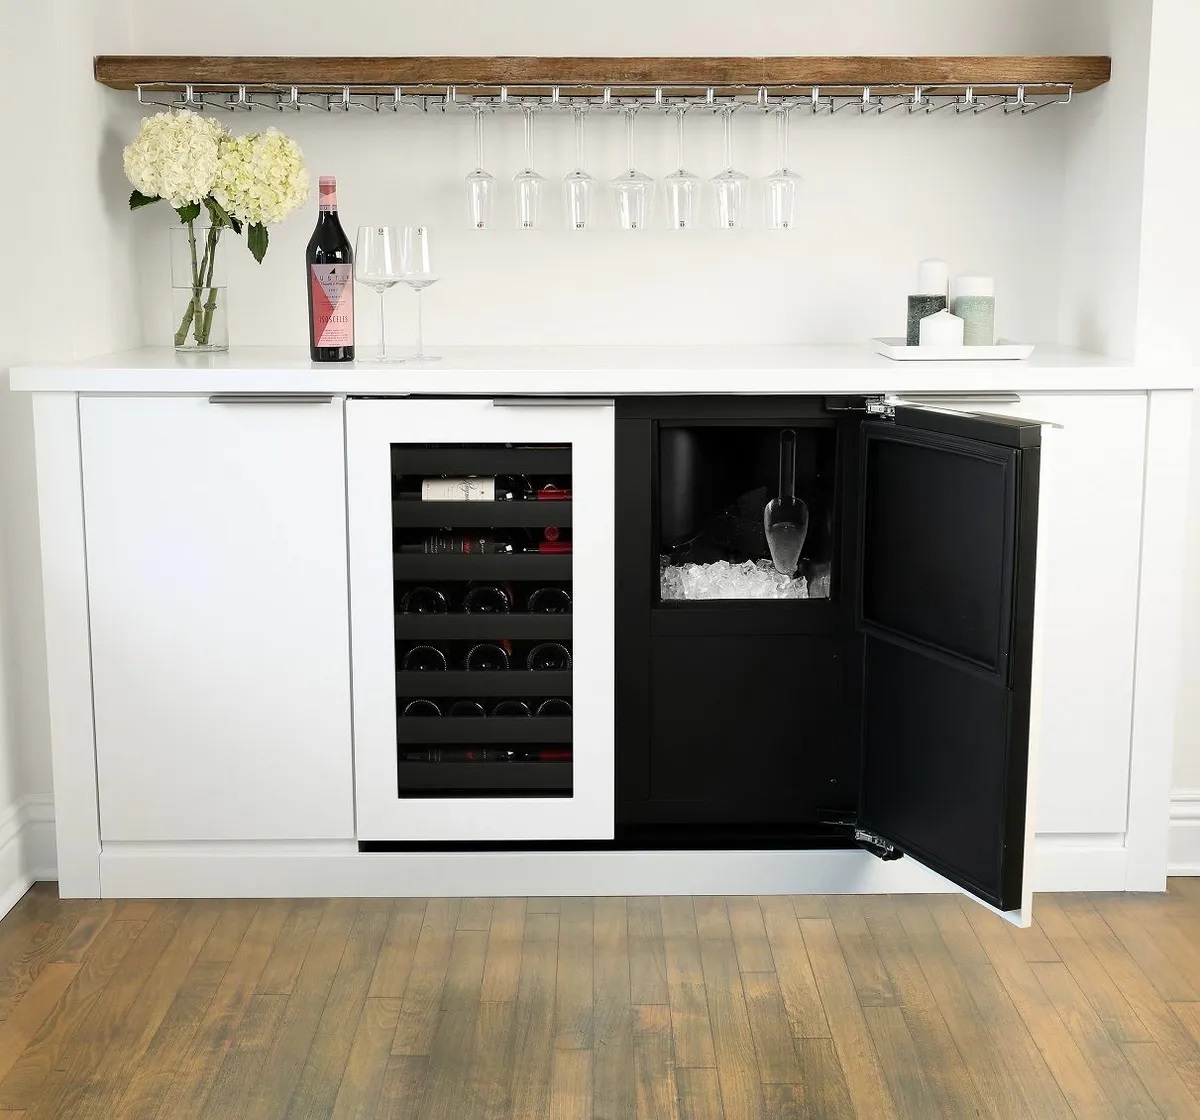
Step 8: Reassemble and plug in the ice maker:
After completing all the necessary cleaning steps for your free-standing ice maker, it’s time to reassemble the unit and get it ready for operation again. Follow these final steps to ensure a smooth and successful reassembly process.
Start by placing the cleaned and fully dried ice storage bin back into its designated spot in the ice maker. Make sure it is properly aligned and securely locked into place according to the manufacturer’s instructions.
Check that all the components of the ice maker, including the ice tray, water line (if applicable), and any removable parts, are securely attached and in their correct positions.
If your ice maker has a removable ice scoop or scoop holder, make sure these are clean and dry before returning them to the ice maker. This will ensure that your residents have a hygienic and convenient way to access the ice.
Once everything is properly reassembled, plug the ice maker back into the electrical outlet. Ensure that the power switch is in the “on” position to activate the ice maker. The unit should start the ice-making process and begin to make ice within a few minutes.
Allow the ice maker to run for a cycle or two before using the ice. This will ensure that any remaining cleaning solution or residue is flushed out, and the ice produced is of the highest quality.
It’s important to note that the initial ice produced after cleaning may have a slight taste or odor due to cleaning agents or residual water. Discard the first batch of ice to ensure that you are serving fresh and clean ice to your residents.
Once the ice maker is up and running, remember to periodically clean and maintain it to prevent the buildup of dirt, mold, or bacteria. Regular cleaning will help ensure the longevity and optimal performance of your ice maker.
By following these cleaning steps and reassembling the ice maker correctly, you can enjoy a well-maintained, efficient, and hygienic ice maker in your village.
Read more: How To Clean A Silonn Ice Maker
Conclusion:
Cleaning your free-standing ice maker in the village is an essential task to maintain its performance, ensure the production of clean ice, and prioritize the health and satisfaction of your residents.
By following the step-by-step guide outlined in this article, you can effectively clean and sanitize your ice maker. Remember to gather all the necessary materials, turn off and unplug the ice maker, remove the ice storage bin, clean the interior and exterior surfaces, address the water line and filter (if applicable), and finally, reassemble and plug in the ice maker.
Regularly cleaning your ice maker not only promotes clean and hygienic ice production but also extends the lifespan of the unit. Regular maintenance helps prevent the buildup of mold, bacteria, and mineral deposits, ensuring optimal performance and reducing the risk of potential malfunctions.
Additionally, maintaining a clean ice maker contributes to the overall satisfaction of your residents. They can enjoy fresh and high-quality ice that enhances their refreshing beverages while minimizing the risk of contamination or unpleasant odors.
Remember to consult the user manual for your specific ice maker model and follow any manufacturer’s guidelines to ensure proper cleaning and maintenance. Each ice maker may have specific instructions or additional steps that should be followed to maintain warranty coverage.
By putting in the time and effort to clean your free-standing ice maker regularly, you can provide your village with a reliable source of refreshing ice, maintaining a high standard of hygiene, and ensuring the satisfaction of your residents throughout the year.
Frequently Asked Questions about How To Clean Free Village Ice Maker
Was this page helpful?
At Storables.com, we guarantee accurate and reliable information. Our content, validated by Expert Board Contributors, is crafted following stringent Editorial Policies. We're committed to providing you with well-researched, expert-backed insights for all your informational needs.
0 thoughts on “How To Clean Free Village Ice Maker”