Articles
How To Store African Black Soap
Modified: February 23, 2024
Discover the best practices for storing African black soap to keep it fresh and long-lasting. Read our informative articles on proper storage techniques and maximize the benefits of this natural beauty product.
(Many of the links in this article redirect to a specific reviewed product. Your purchase of these products through affiliate links helps to generate commission for Storables.com, at no extra cost. Learn more)
Introduction
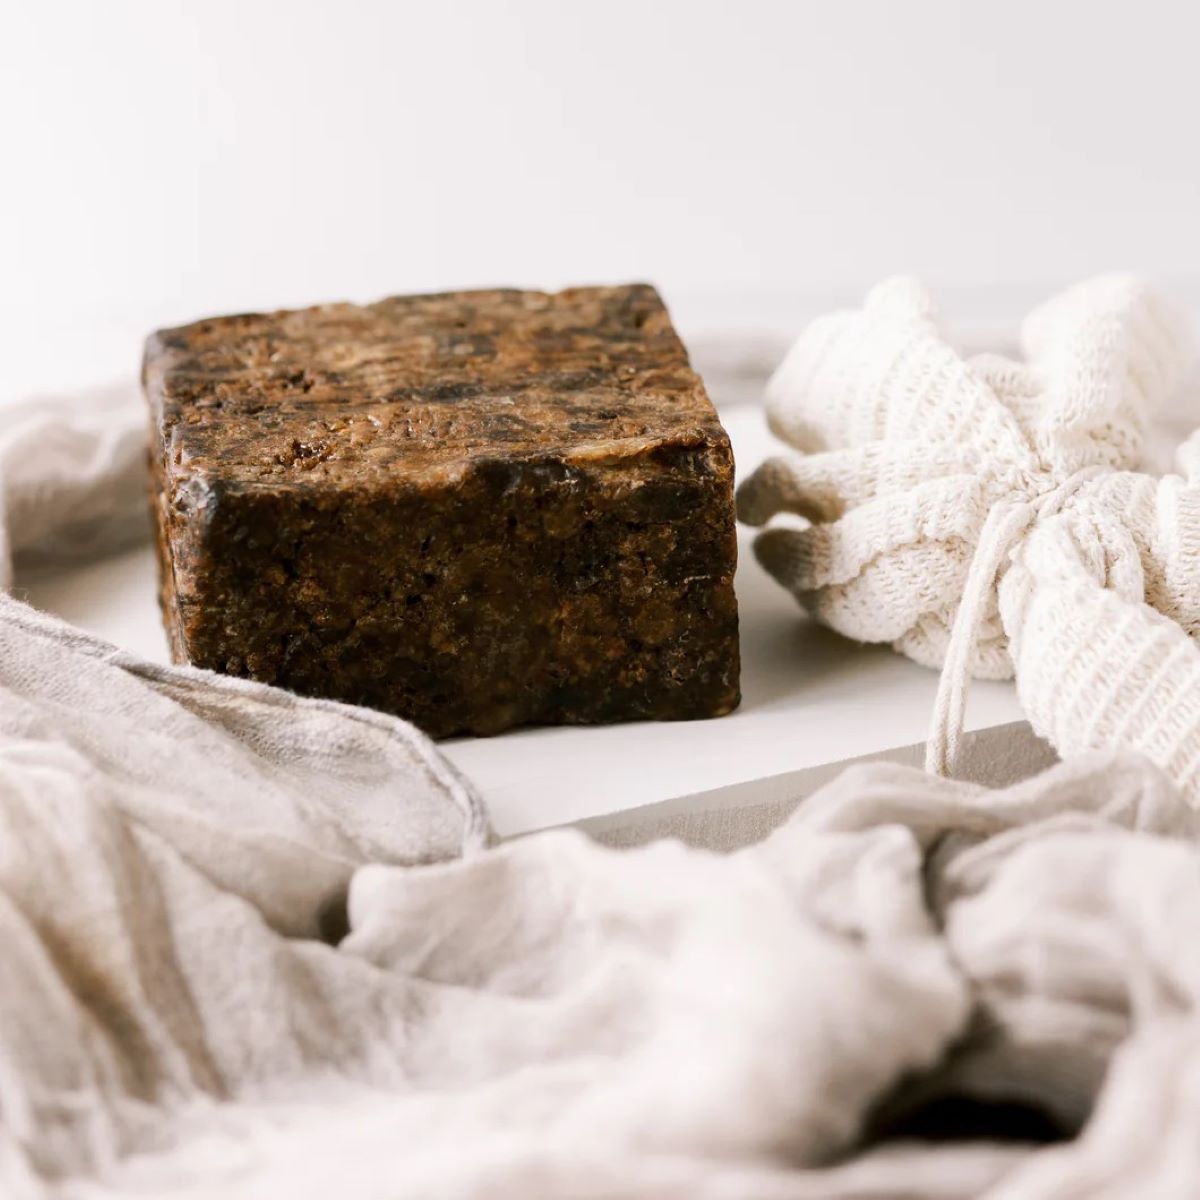
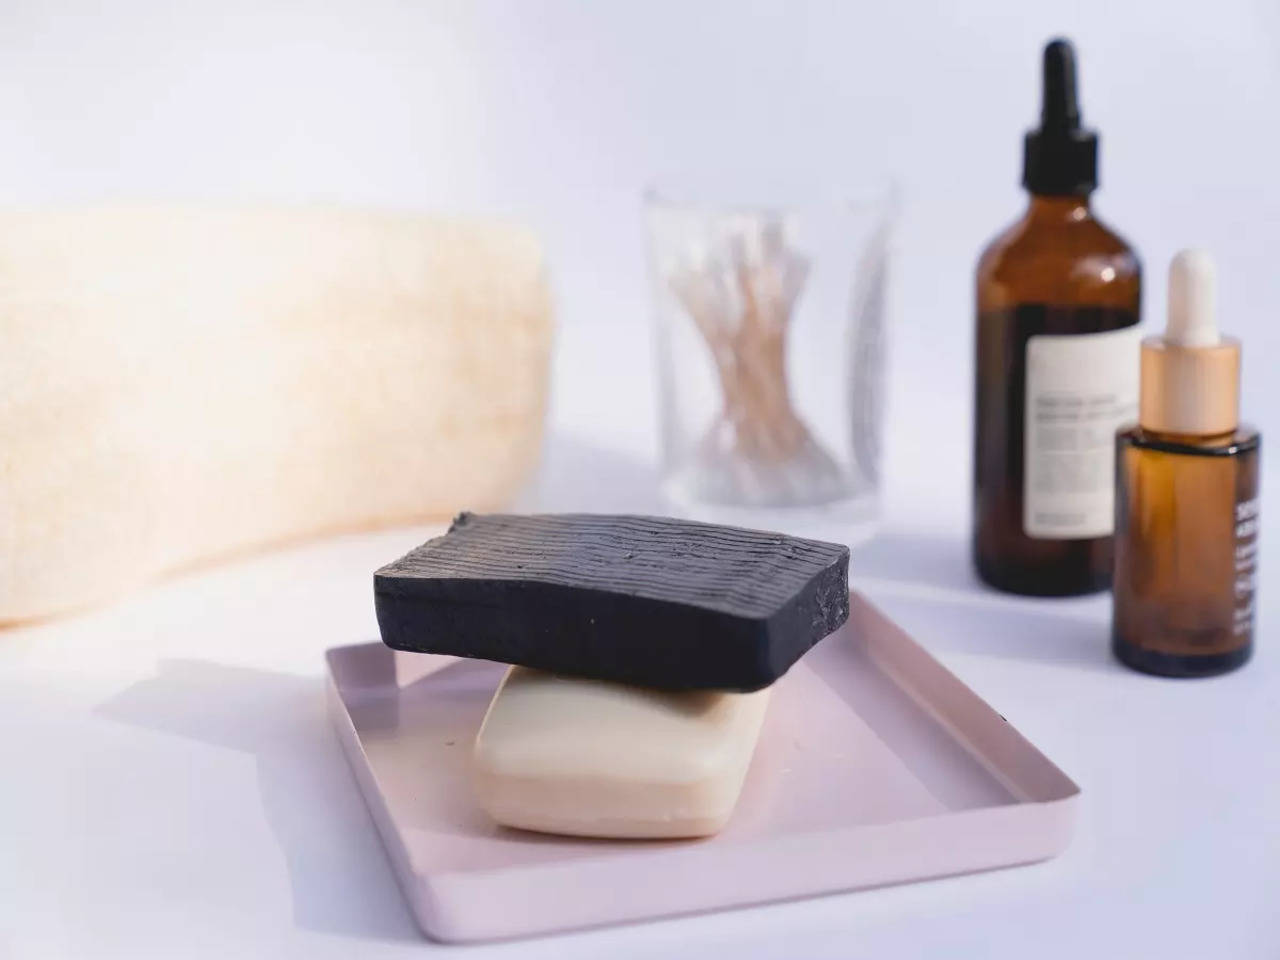
African Black Soap, also known as Ose Dudu or Anago Soap, is a traditional soap originating from West Africa. It is made from natural ingredients such as plantain skins, cocoa pods, palm kernel oil, and shea butter. This soap has gained popularity worldwide due to its numerous skin benefits, including its ability to moisturize, cleanse, and soothe the skin.
While African Black Soap offers many advantages, proper storage is essential to ensure its longevity and effectiveness. In this article, we will explore the importance of storing African Black Soap correctly and provide you with a step-by-step guide to help you preserve its quality.
Key Takeaways:
- Proper storage of African Black Soap is crucial to maintain its quality, effectiveness, and longevity. Follow the step-by-step guide and tips to ensure your soap remains in optimal condition for an extended period of time.
- Avoid common mistakes such as storing the soap in a damp environment, leaving it exposed to air, and storing it with strongly scented items to prevent degradation and maintain the quality of your African Black Soap.
Read more: How To Store Breastmilk Soap
What is African Black Soap?
African Black Soap is a traditional soap that has been used for centuries in West Africa. It is made from a blend of natural ingredients, including dried plantain skins, cocoa pods, palm kernel oil, and shea butter. These ingredients are carefully selected for their beneficial properties and combined to create a soap that is highly regarded for its cleansing and moisturizing abilities.
One of the key ingredients in African Black Soap is plantain skins. Plantains are a type of banana that is rich in vitamins A and E, which are essential for healthy skin. The skins are dried and then roasted at a specific temperature to achieve the desired consistency and color.
Cocoa pods, another important component of African Black Soap, are the shell-like structures that house cocoa beans. These pods are naturally high in antioxidants, which help to fight free radicals and protect the skin from damage caused by environmental factors.
Palm kernel oil is extracted from the fruit of the palm tree and is known for its moisturizing properties. It helps to hydrate the skin and prevent dryness, leaving it soft and supple. Shea butter is derived from the nuts of the shea tree and is a rich source of fatty acids and vitamins. It nourishes the skin and helps to improve its elasticity.
When these ingredients are combined and processed using traditional methods, African Black Soap is created. The soap has a distinctive dark brown or black color and a natural earthy scent. It is free from harsh chemicals, fragrances, and artificial additives, making it suitable for all skin types, including sensitive and problematic skin.
African Black Soap has gained popularity worldwide due to its numerous benefits for the skin. It helps to cleanse the skin by removing dirt, oil, and impurities, while also maintaining the skin’s natural moisture balance. It is known to soothe and calm irritated skin, making it a popular choice for those with conditions such as eczema or acne.
Overall, African Black Soap is a natural and nourishing soap that offers a host of skin benefits. Proper storage is crucial to maintain its quality and efficacy, which we will explore in the next section.
Why is Proper Storage Important?
Proper storage of African Black Soap is essential to maintain its quality, effectiveness, and longevity. Here are the key reasons why you should pay attention to how you store this unique soap:
- Prolongs shelf life: Like any other natural soap, African Black Soap has a limited shelf life. By storing it properly, you can extend its lifespan, ensuring that it remains usable for a longer period of time.
- Preserves its beneficial properties: African Black Soap is enriched with natural ingredients that offer numerous skin benefits. Proper storage helps to preserve these beneficial properties, ensuring that the soap retains its moisturizing, cleansing, and healing properties.
- Prevents degradation: Exposure to moisture, heat, and air can cause African Black Soap to degrade over time. By storing it correctly, you can prevent the soap from becoming soft, mushy, or discolored, maintaining its overall quality and consistency.
- Prevents contamination: Proper storage helps to keep the soap free from contaminants such as dust, bacteria, and mold. This is crucial to maintain the hygiene of the soap and prevent any adverse reactions or skin irritations.
- Cost-effective: By storing African Black Soap correctly, you can avoid wastage and the need for frequent repurchasing. This can save you money in the long run, as you can maximize the usage of the soap before it goes bad.
Overall, proper storage of African Black Soap is essential to maintain its quality, effectiveness, and longevity. By following the recommended storage guidelines, you can ensure that you get the most out of this natural and beneficial soap.
Step-by-Step Guide to Storing African Black Soap
Proper storage of African Black Soap is crucial to maintain its quality and effectiveness. Here is a step-by-step guide to help you store your African Black Soap:
- Keep it in a dry place: African Black Soap should be stored in a cool, dry place away from direct sunlight and moisture. Excess moisture can cause the soap to soften and become mushy. Consider placing it in a soap dish or container with drainage holes to allow for proper airflow and drying.
- Avoid contact with water: It is important to keep African Black Soap dry between uses. After each use, make sure to store it in a dry location and keep it away from water sources such as sinks and showers. Water can dissolve the soap quicker and reduce its lifespan.
- Use airtight packaging: If you prefer to store your African Black Soap for an extended period of time or have a large quantity that needs to be stored, consider using an airtight container or ziplock bag. This will help to protect the soap from air exposure and prevent it from absorbing moisture.
- Avoid extreme temperatures: African Black Soap should not be exposed to extreme temperatures. High heat can cause the soap to melt or become soft, while freezing temperatures can lead to cracking and loss of quality. Keep the soap away from heaters, radiators, and windows.
- Label and date your soap: If you have multiple bars or batches of African Black Soap, it is helpful to label them with the date of purchase or the date of making. This will allow you to keep track of the age of the soap and use the older bars first to prevent wastage.
By following these simple steps, you can effectively store your African Black Soap and ensure that it remains in optimal condition for an extended period of time.
After each use, allow the African black soap to dry completely before storing it in a cool, dry place. This will help prevent it from becoming mushy and extend its shelf life.
Tips for Extending the Shelf Life of African Black Soap
While African Black Soap does have a limited shelf life, there are several tips and tricks you can follow to extend its longevity and ensure that it remains usable for as long as possible:
- Keep it dry: As mentioned earlier, moisture is the enemy of African Black Soap. After each use, make sure to pat the soap dry and store it in a dry location away from water sources. This will help to prevent the soap from softening and dissolving too quickly.
- Use a soap dish with drainage: Invest in a soap dish or container with drainage holes. This will allow any excess water to drain away from the soap, promoting faster drying and reducing the chances of mold or bacterial growth.
- Cut the soap into smaller pieces: If you have a large bar of African Black Soap, consider cutting it into smaller, more manageable pieces. This will allow you to use one piece at a time, while the rest of the soap remains safely stored and protected.
- Rotate your bars: If you have multiple bars of African Black Soap, it’s a good idea to rotate their usage. By using one bar at a time and allowing the others to continue drying, you can prevent them from all softening at once. This will extend the overall shelf life of your soap.
- Store in a cool, dark place: Heat and light can cause African Black Soap to degrade more quickly. Choose a cool, dark location for storing your soap, such as a cabinet or drawer. Avoid storing it near sources of heat or in direct sunlight.
- Avoid using wet hands: When using African Black Soap, make sure your hands are dry before touching the soap. Wet hands can introduce moisture to the soap, causing it to dissolve more rapidly.
- Re-wrap if necessary: If you notice that your African Black Soap is becoming too soft or has absorbed moisture, you can re-wrap it in wax paper or plastic wrap. This will help to create a barrier between the soap and the surrounding environment, preserving its quality.
By following these tips, you can maximize the shelf life of your African Black Soap and ensure that it remains usable and effective for a longer period of time.
Read more: How To Plant African Daisy Seeds
Common Mistakes to Avoid When Storing African Black Soap
Proper storage is crucial for maintaining the quality and effectiveness of African Black Soap. To ensure that you store it correctly, here are some common mistakes to avoid:
- Storing in a damp environment: One of the biggest mistakes is storing African Black Soap in a damp or humid environment. Moisture can cause the soap to soften, melt, or become mushy. Avoid storing it in the bathroom, where humidity levels tend to be higher.
- Leaving it exposed to air: African Black Soap can absorb moisture from the air, leading to softening and degradation. Always store it in an airtight container or wrap it in plastic wrap to protect it from exposure to air.
- Using a soap dish without drainage: If you use a soap dish without drainage, the soap can sit in a pool of water, which will soften and dissolve it more quickly. Invest in a soap dish or container with drainage holes to allow excess water to drain away.
- Storing with other strongly scented items: African Black Soap has a natural earthy scent, which can be easily absorbed by other strongly scented items. Avoid storing it with perfumes, essential oils, or heavily scented soaps, as it may result in an unpleasant odor.
- Keeping it in direct sunlight: Sunlight can cause African Black Soap to melt, soften, and lose its beneficial properties. Keep it away from direct sunlight by storing it in a cool, dark place.
- Not using the oldest bars first: African Black Soap has a limited shelf life, so it’s important to use the oldest bars first. Avoid letting your soap sit for too long without using it, as it may become less effective over time.
- Storing it near heat sources: Heat can cause African Black Soap to soften and become mushy. Avoid storing it near heaters, radiators, or any other heat sources to prevent damage to the soap.
By avoiding these common mistakes and following proper storage guidelines, you can ensure that your African Black Soap remains in optimal condition and maintains its effectiveness for a longer period of time.
Conclusion
Proper storage of African Black Soap is crucial to maintain its quality, effectiveness, and longevity. By following the step-by-step guide and implementing the tips mentioned in this article, you can ensure that your African Black Soap remains in optimal condition for an extended period of time.
Remember to keep your African Black Soap in a cool, dry place, away from direct sunlight and moisture. Use a soap dish or container with drainage holes to allow for proper drying between uses. Avoid exposing the soap to extreme temperatures and store it in an airtight container or wrap it in plastic if necessary. Label and date your soap to keep track of its age and use the oldest bars first.
By avoiding common mistakes such as storing the soap in a damp environment, leaving it exposed to air, and storing it with strongly scented items, you can prevent degradation and maintain the quality of your African Black Soap.
Proper storage not only extends the shelf life of African Black Soap but also ensures that it retains its beneficial properties, including moisturizing, cleansing, and soothing the skin. By taking care of your African Black Soap, you can continue to enjoy its numerous skin benefits for months to come.
So, remember to give your African Black Soap the attention it deserves and store it properly to maximize its lifespan. By doing so, you can continue to enjoy the natural goodness of this traditional soap and maintain healthy, nourished skin.
Frequently Asked Questions about How To Store African Black Soap
Was this page helpful?
At Storables.com, we guarantee accurate and reliable information. Our content, validated by Expert Board Contributors, is crafted following stringent Editorial Policies. We're committed to providing you with well-researched, expert-backed insights for all your informational needs.


0 thoughts on “How To Store African Black Soap”