Articles
How To Clean A Soap Dispenser
Modified: August 16, 2024
Learn how to clean a soap dispenser with this informative article. Discover useful tips and tricks to keep your soap dispenser germ-free and functioning properly.
(Many of the links in this article redirect to a specific reviewed product. Your purchase of these products through affiliate links helps to generate commission for Storables.com, at no extra cost. Learn more)
Introduction
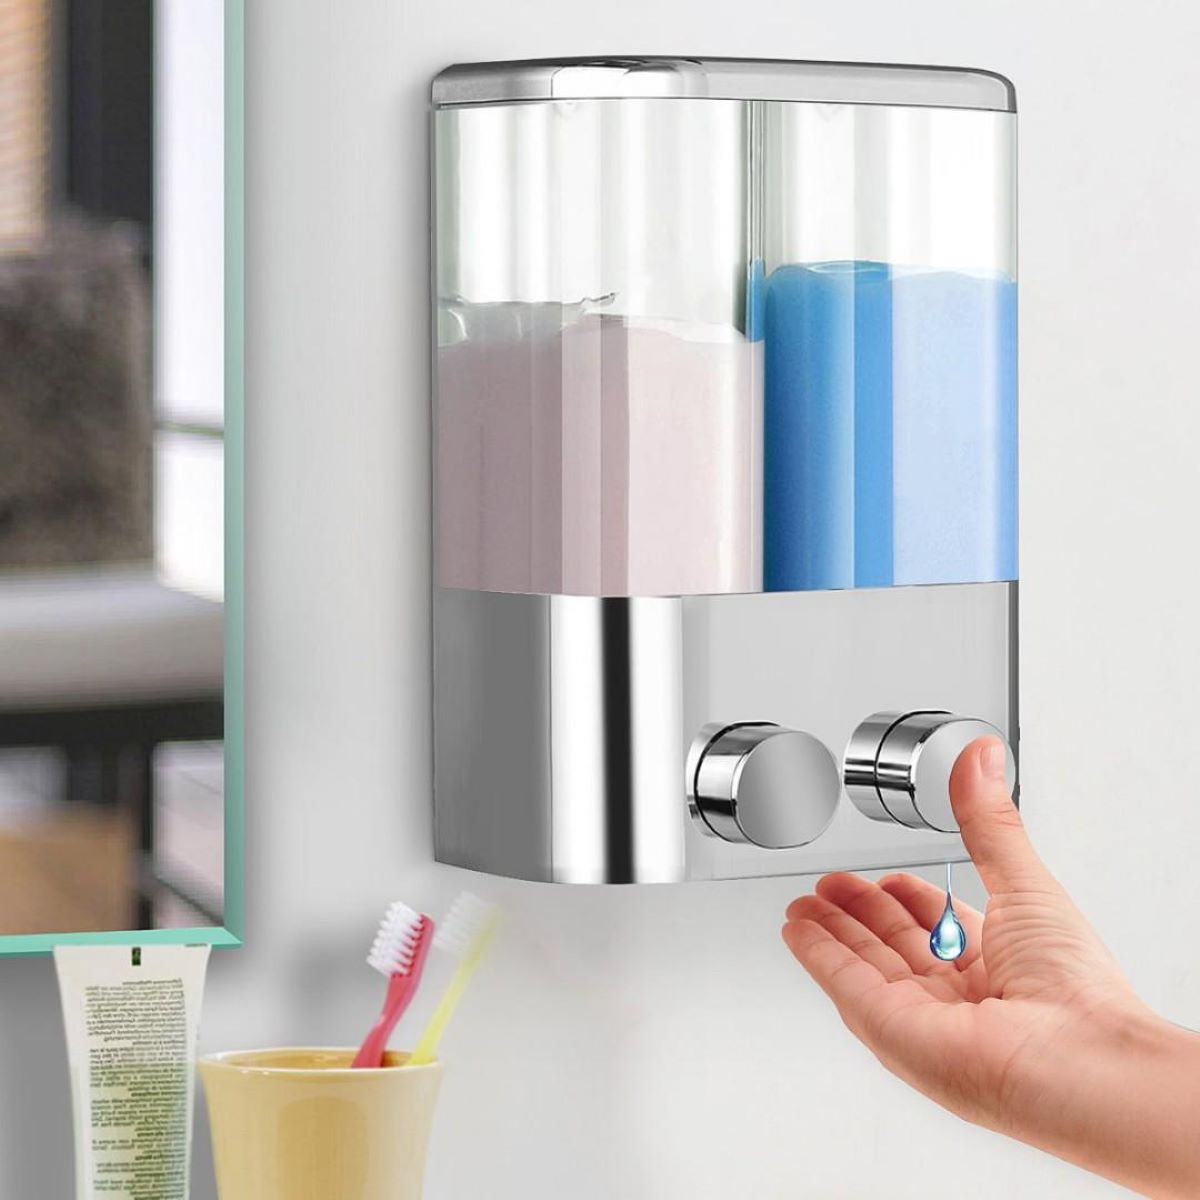
Having a soap dispenser in your home or office is a convenient and hygienic way to keep your hands clean. However, over time, soap residue can build up inside the dispenser, making it less effective and potentially causing it to clog. Regular cleaning of your soap dispenser is essential to ensure its proper functioning and maintain a clean and sanitary environment.
In this article, we will guide you through the step-by-step process of how to clean a soap dispenser effectively. With just a few simple tools and materials, you can easily remove any build-up and keep your soap dispenser in top condition. So, let’s get started!
Key Takeaways:
- Regularly cleaning and maintaining your soap dispenser is crucial to prevent clogs, maintain hygiene, and ensure a convenient and effective handwashing experience.
- Disassembling and cleaning each part of the soap dispenser individually is essential for a thorough and effective cleaning process, ensuring optimal performance and longevity.
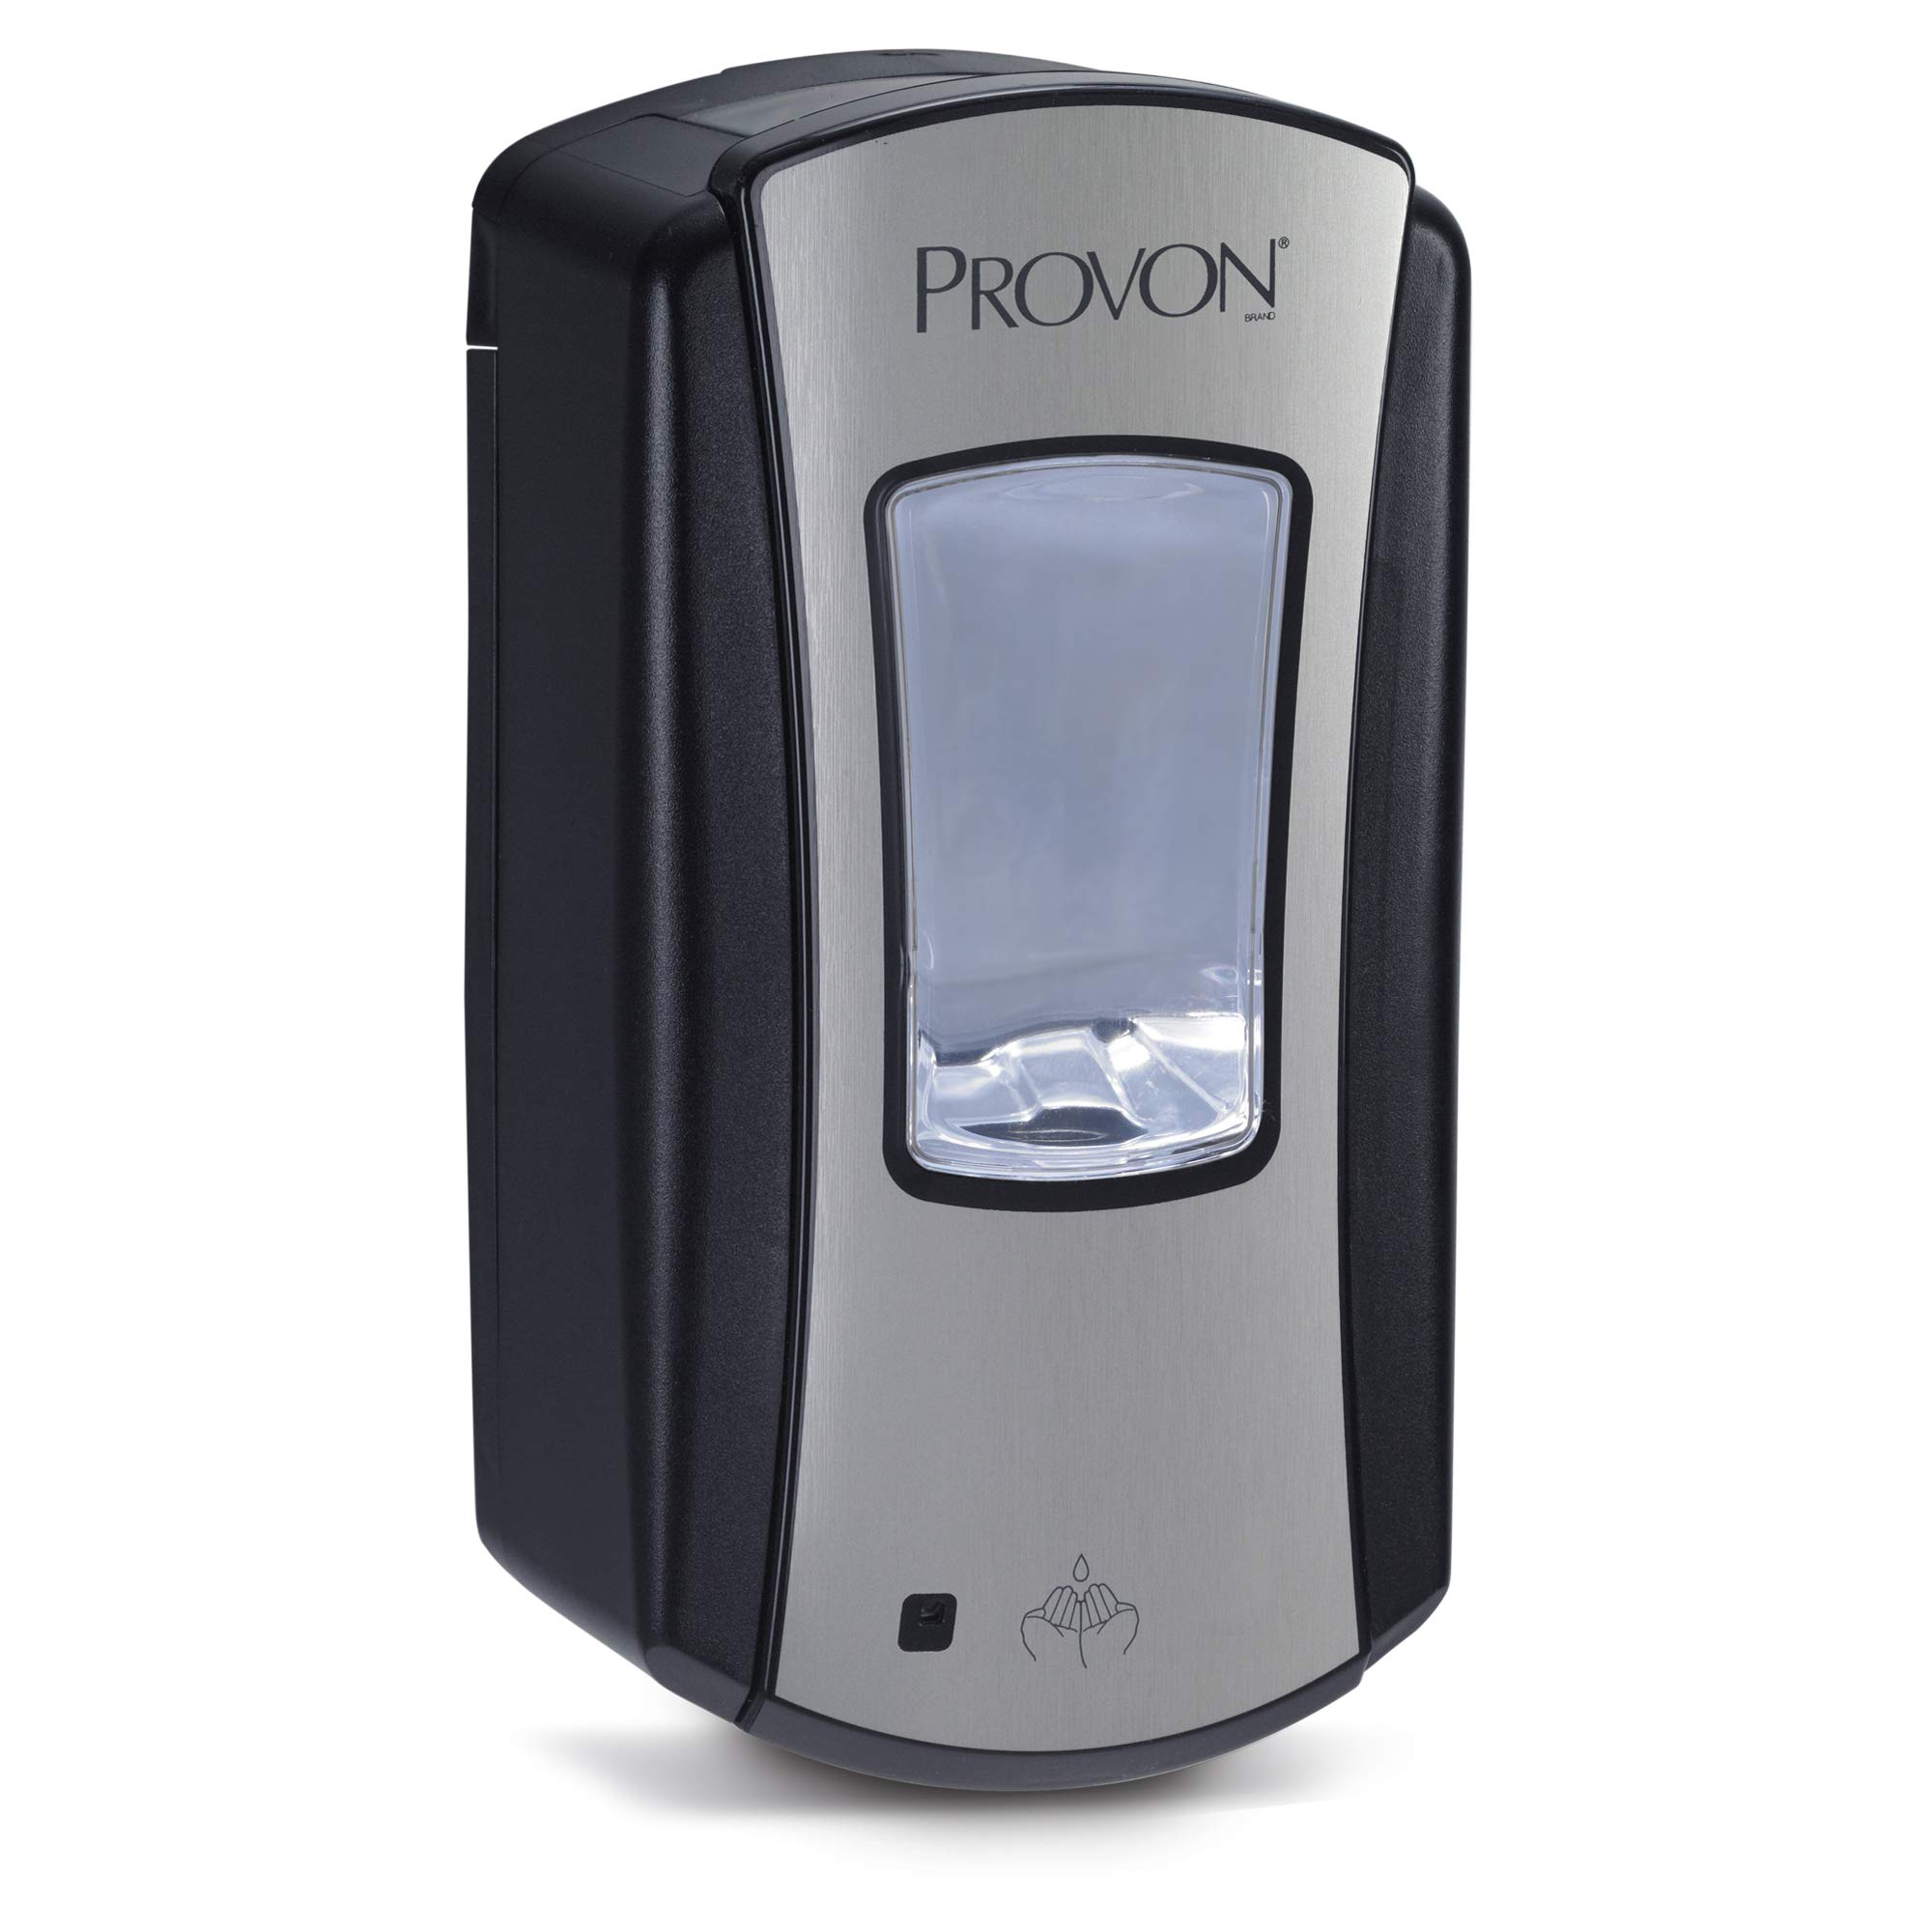
Read more: How To Change Soap In Gojo Soap Dispenser
Tools and Materials Needed
Before you begin cleaning your soap dispenser, gather the following tools and materials:
- Mild dish soap
- Warm water
- Soft sponge or cloth
- Small brush (such as a toothbrush)
- Bowl or sink
- Towel or paper towels
- Optional: vinegar or bleach for stubborn stains
Make sure you have all these items ready before proceeding with the cleaning process.
Step 1: Remove the Soap Residue
The first step in cleaning a soap dispenser is to remove any excess soap residue that may be lingering inside. This will ensure that the cleaning process is more effective.
To remove the soap residue, follow these steps:
- Unscrew or open the soap dispenser to access the soap chamber.
- Empty any remaining soap into a separate container or down the drain.
- Inspect the inside of the dispenser for any visible residue or clogs.
- Using a soft sponge or cloth, wipe away any residue from the soap chamber and dispenser nozzle. Be gentle to avoid damaging any delicate parts.
- If there are stubborn stains or residue, you can use a small brush, such as a toothbrush, to gently scrub the affected areas.
- Rinse the soap chamber and dispenser nozzle thoroughly with warm water to remove any remaining soap residue.
By removing the soap residue, you are ensuring that the cleaning process can effectively remove any build-up and leave your soap dispenser spotless.
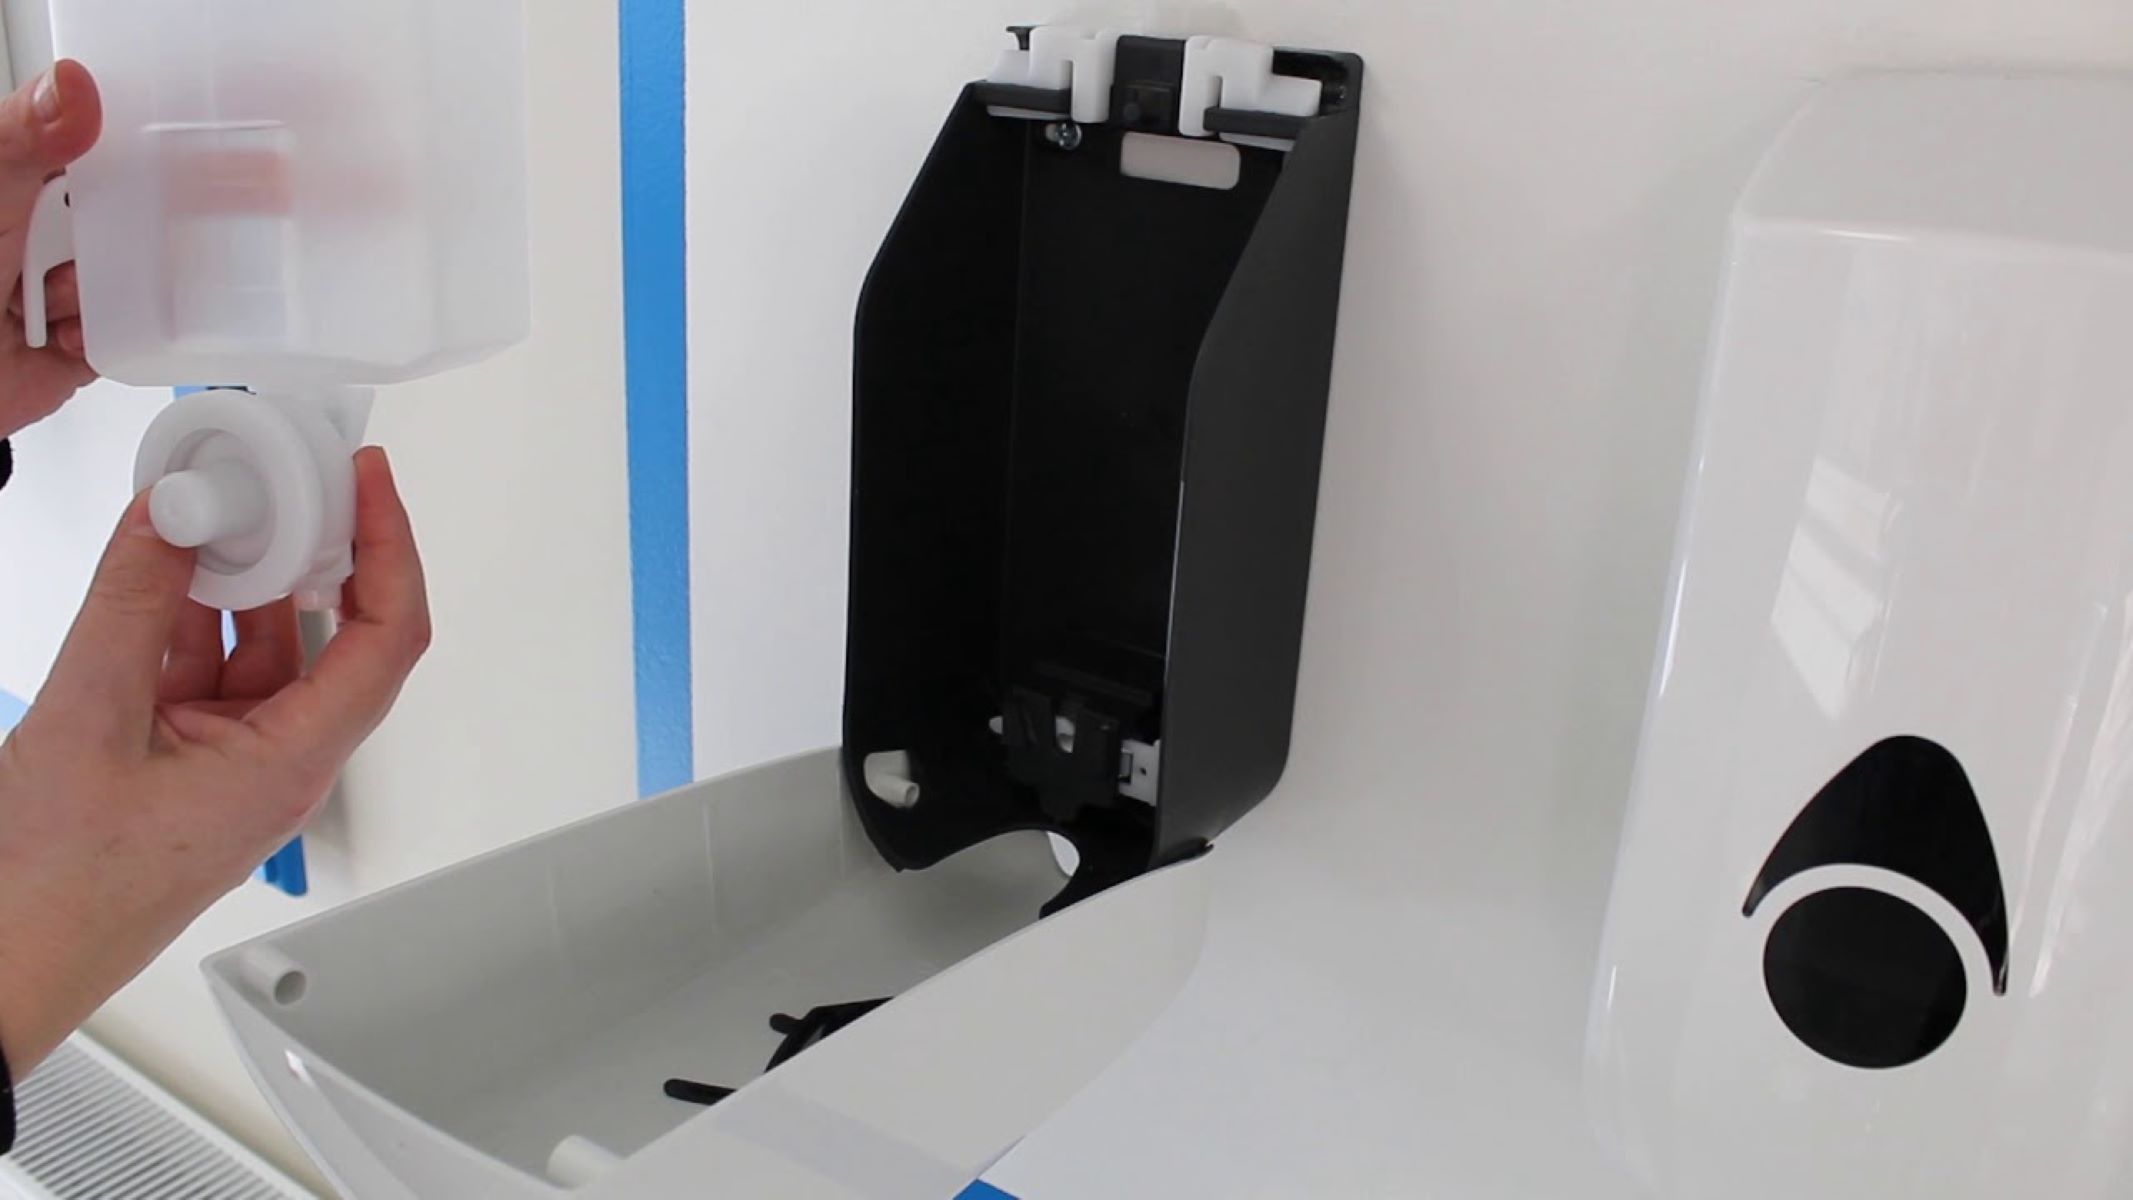
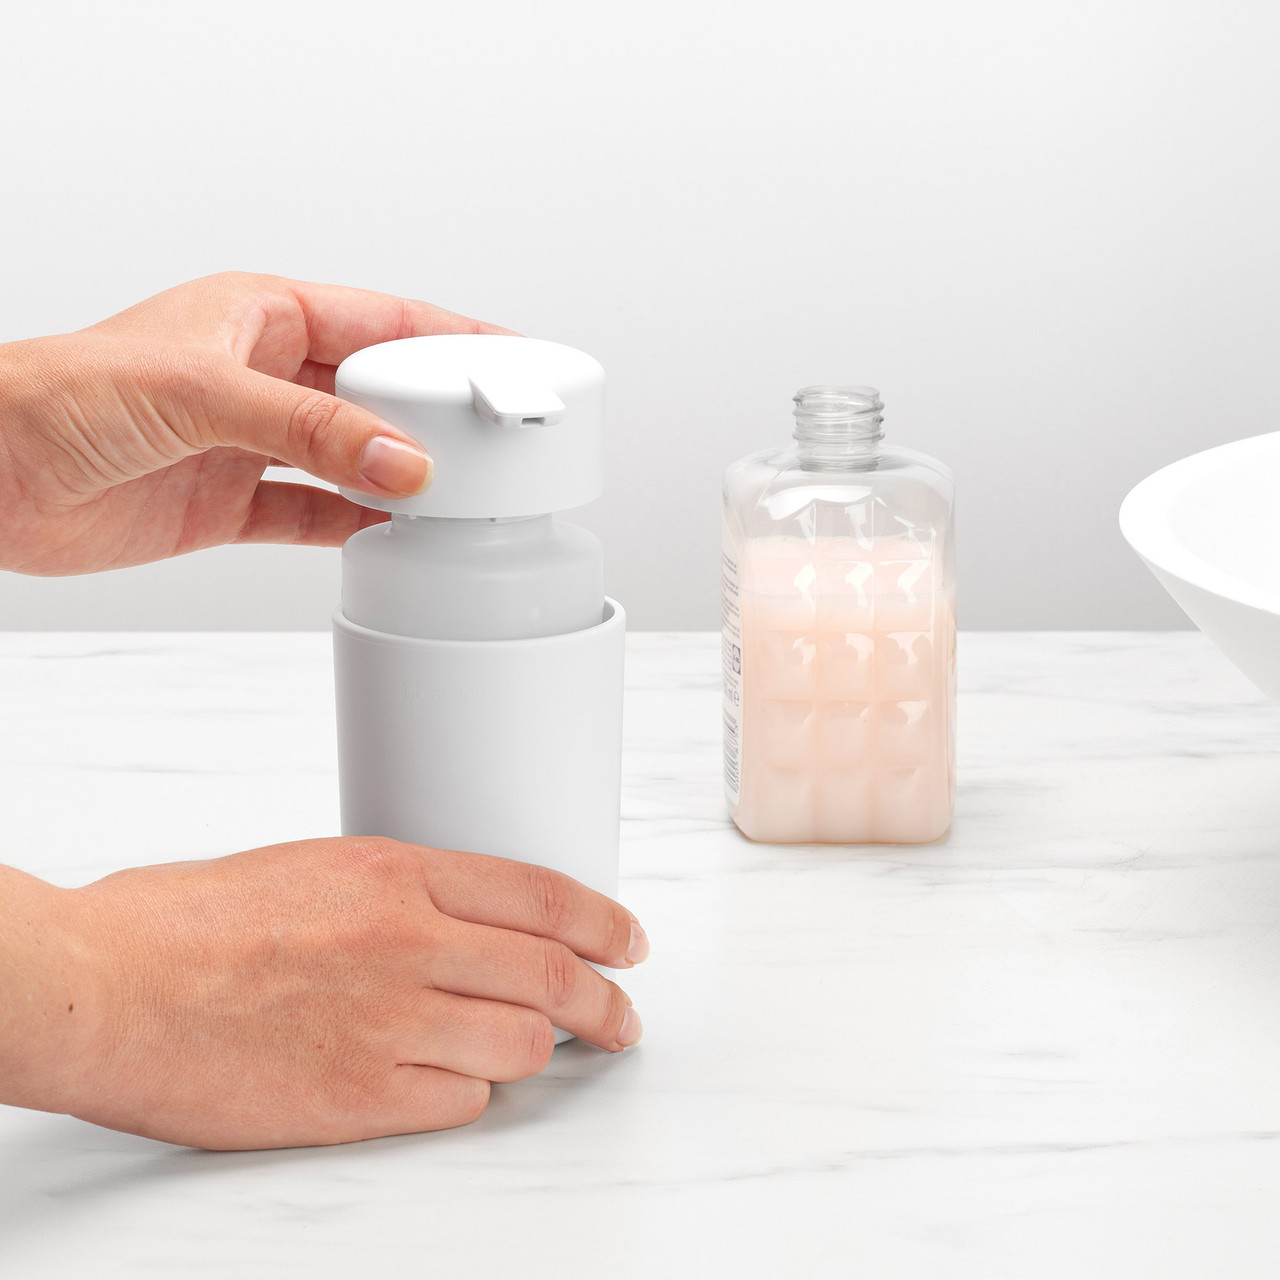
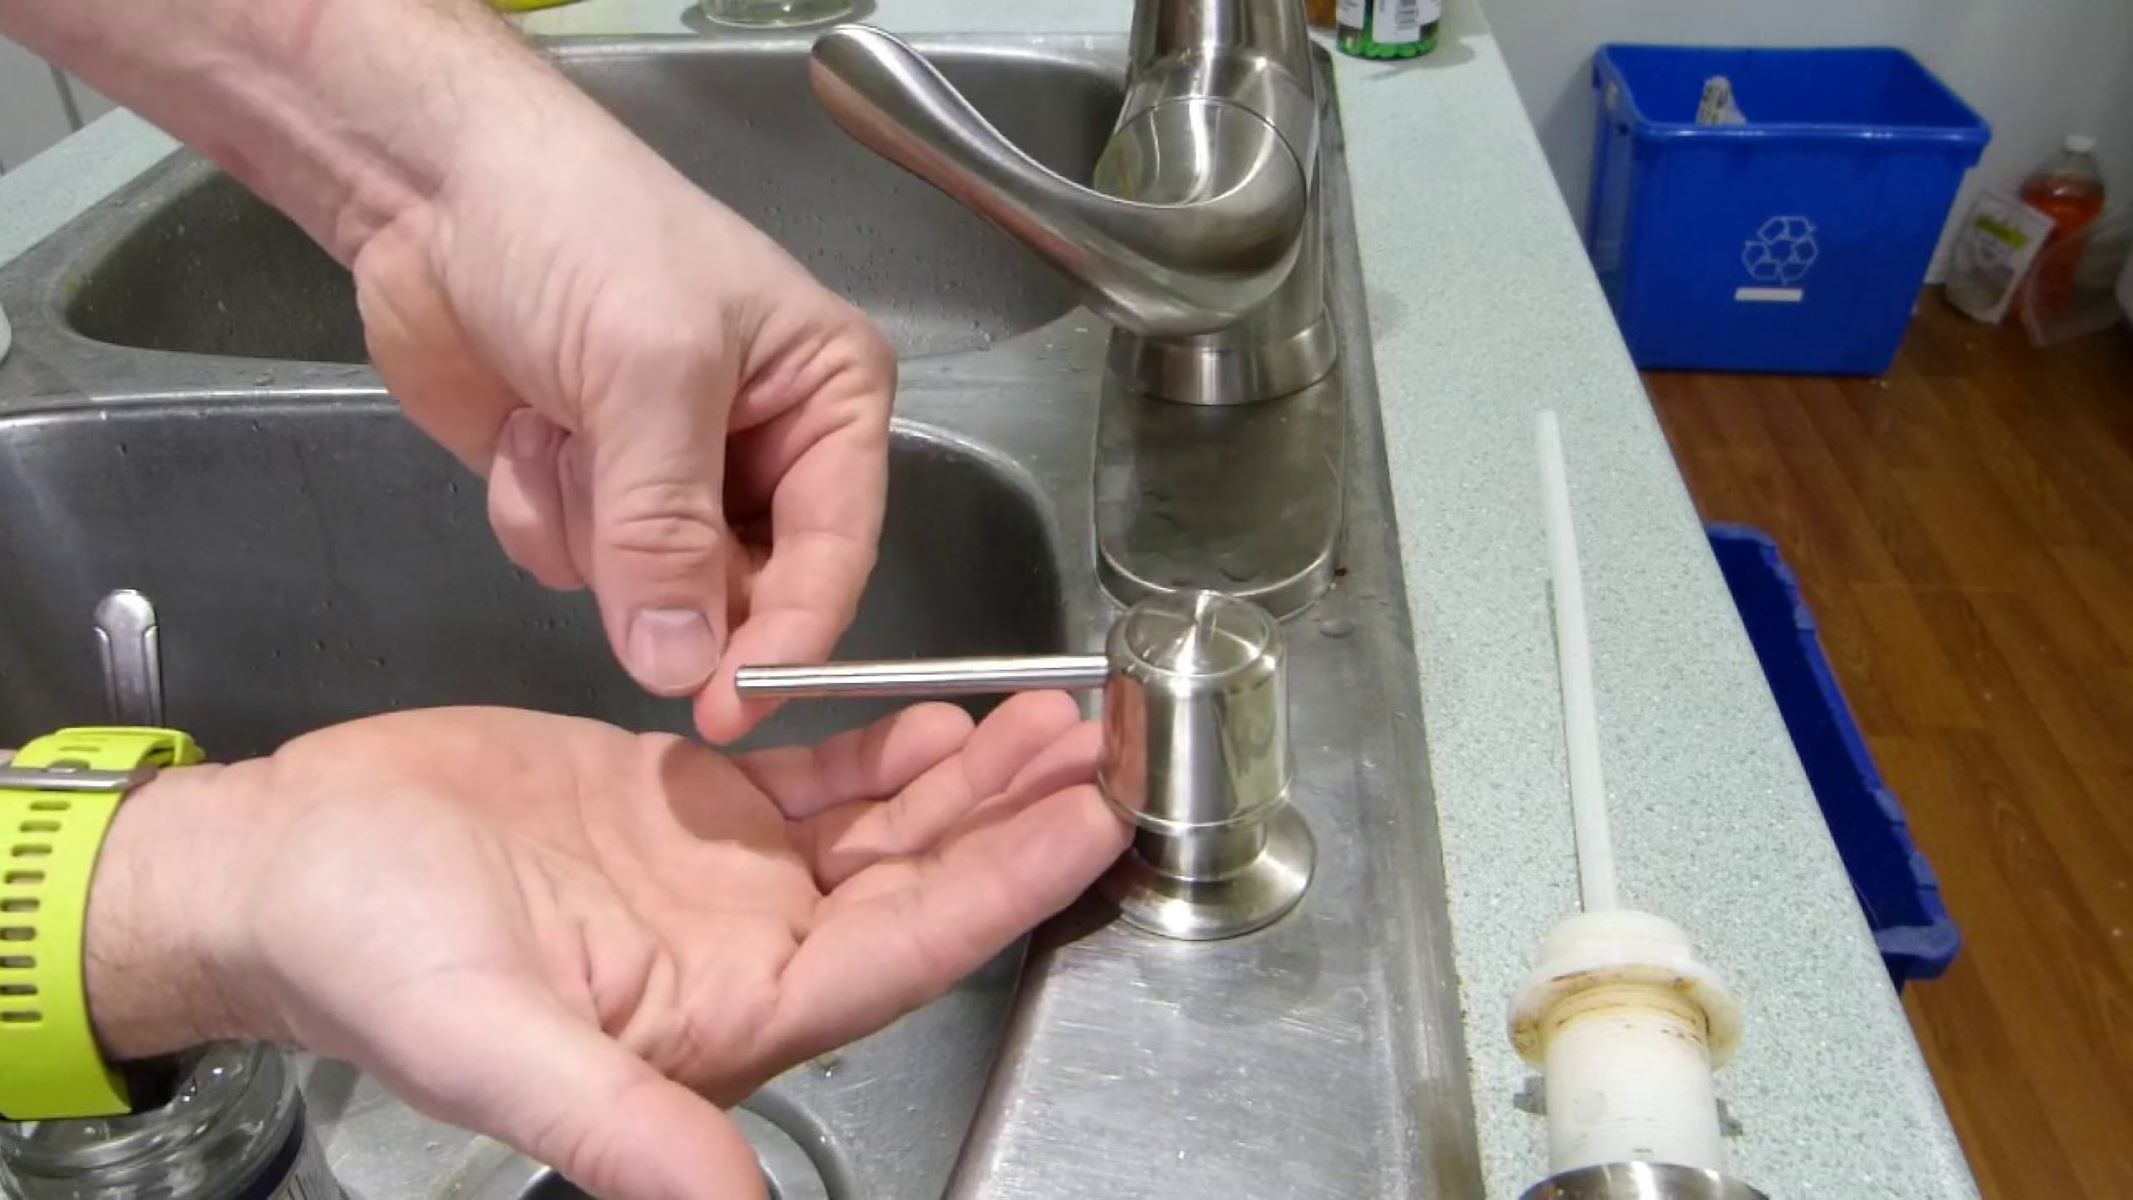
Step 2: Disassemble the Soap Dispenser
In order to thoroughly clean all the parts of the soap dispenser, it’s important to disassemble it. This will allow you to reach every nook and cranny where soap residue may be hiding.
Follow these steps to disassemble the soap dispenser:
- Refer to the manufacturer’s instructions, if available, for guidance on disassembling the dispenser. If not, proceed with the following steps.
- Gently twist or unscrew any removable parts of the soap dispenser, such as the pump or the top cover.
- If there are multiple components, carefully separate them from each other. Take note of the order in which they were assembled, as you will need to reassemble them later.
- Set aside any rubber or silicone seals or gaskets for cleaning separately.
- Inspect each disassembled part for any dirt, residue, or grime. Pay close attention to crevices and hard-to-reach areas.
Disassembling the soap dispenser allows you to clean each part individually, ensuring a thorough and effective cleaning process. So, take your time and make sure to keep track of all the components.
Step 3: Clean the Parts
Now that you have disassembled the soap dispenser, it’s time to clean each part separately. This step will ensure that every component is free from any residue or dirt, allowing for optimal performance of the dispenser.
Follow these steps to clean the parts of the soap dispenser:
- Fill a bowl or sink with warm water and add a small amount of mild dish soap. Mix it gently to create a soapy solution.
- Place the disassembled parts, excluding any rubber or silicone seals or gaskets, into the soapy water solution.
- Using a soft sponge or cloth, gently scrub each part to remove any dirt or residue. Pay special attention to any crevices or hard-to-reach areas.
- If necessary, use a small brush, such as a toothbrush, to scrub away stubborn stains. Be careful not to use any abrasive materials that could damage the parts.
- Rinse each part thoroughly with warm water to remove any soap residue.
It’s important to clean each part individually to ensure a thorough cleaning. Be thorough and pay attention to detail during this step to ensure that all the parts of the soap dispenser are sparkling clean.
To clean a soap dispenser, mix warm water with a few drops of dish soap and vinegar. Pump the solution through the dispenser, then rinse with clean water. Wipe the exterior with a damp cloth.
Read more: How To Put Soap In A Soap Dispenser
Step 4: Rinse and Dry
Once you have cleaned all the parts of the soap dispenser, it’s important to rinse them thoroughly to remove any remaining soap residue. This will ensure that the dispenser operates smoothly and effectively.
Follow these steps to rinse and dry the cleaned parts:
- Rinse each part under running water to remove any soap residue. Make sure to thoroughly rinse all surfaces to ensure there is no residue left behind.
- Inspect each part to ensure there are no traces of dirt or residue. If necessary, repeat the cleaning process on any parts that may still have visible stains or debris.
- Once all the parts are clean and free from residue, gently pat them dry with a towel or paper towels. Ensure that each part is completely dry before reassembling the soap dispenser.
- Set aside any rubber or silicone seals or gaskets to air dry separately. These parts may take longer to dry, so give them sufficient time before reassembling them.
Proper rinsing and drying of the soap dispenser’s parts is crucial to prevent any residue or moisture build-up. By following these steps, you will ensure that your soap dispenser is ready for reassembly and future use.
Step 5: Reassemble the Soap Dispenser
Now that all the parts of the soap dispenser have been cleaned and dried, it’s time to reassemble them. Reassembling the dispenser correctly will ensure its proper functioning and prevent any leaks or malfunctions.
Follow these steps to reassemble the soap dispenser:
- Refer to any manufacturer’s instructions, if available, for guidance on the proper order of reassembly. If not, proceed with the following steps.
- Start by placing any rubber or silicone seals or gaskets back into their respective positions.
- Carefully line up the pump with its opening on the soap dispenser. Gently press it down and twist or screw it into place.
- If there are multiple components, follow the order in which they were originally assembled. Align and connect each part securely.
- Ensure that all parts fit together snugly and there are no gaps or loose connections.
Reassembling the soap dispenser correctly is essential to its proper functioning. Take your time and double-check each step to ensure a secure and leak-free assembly.
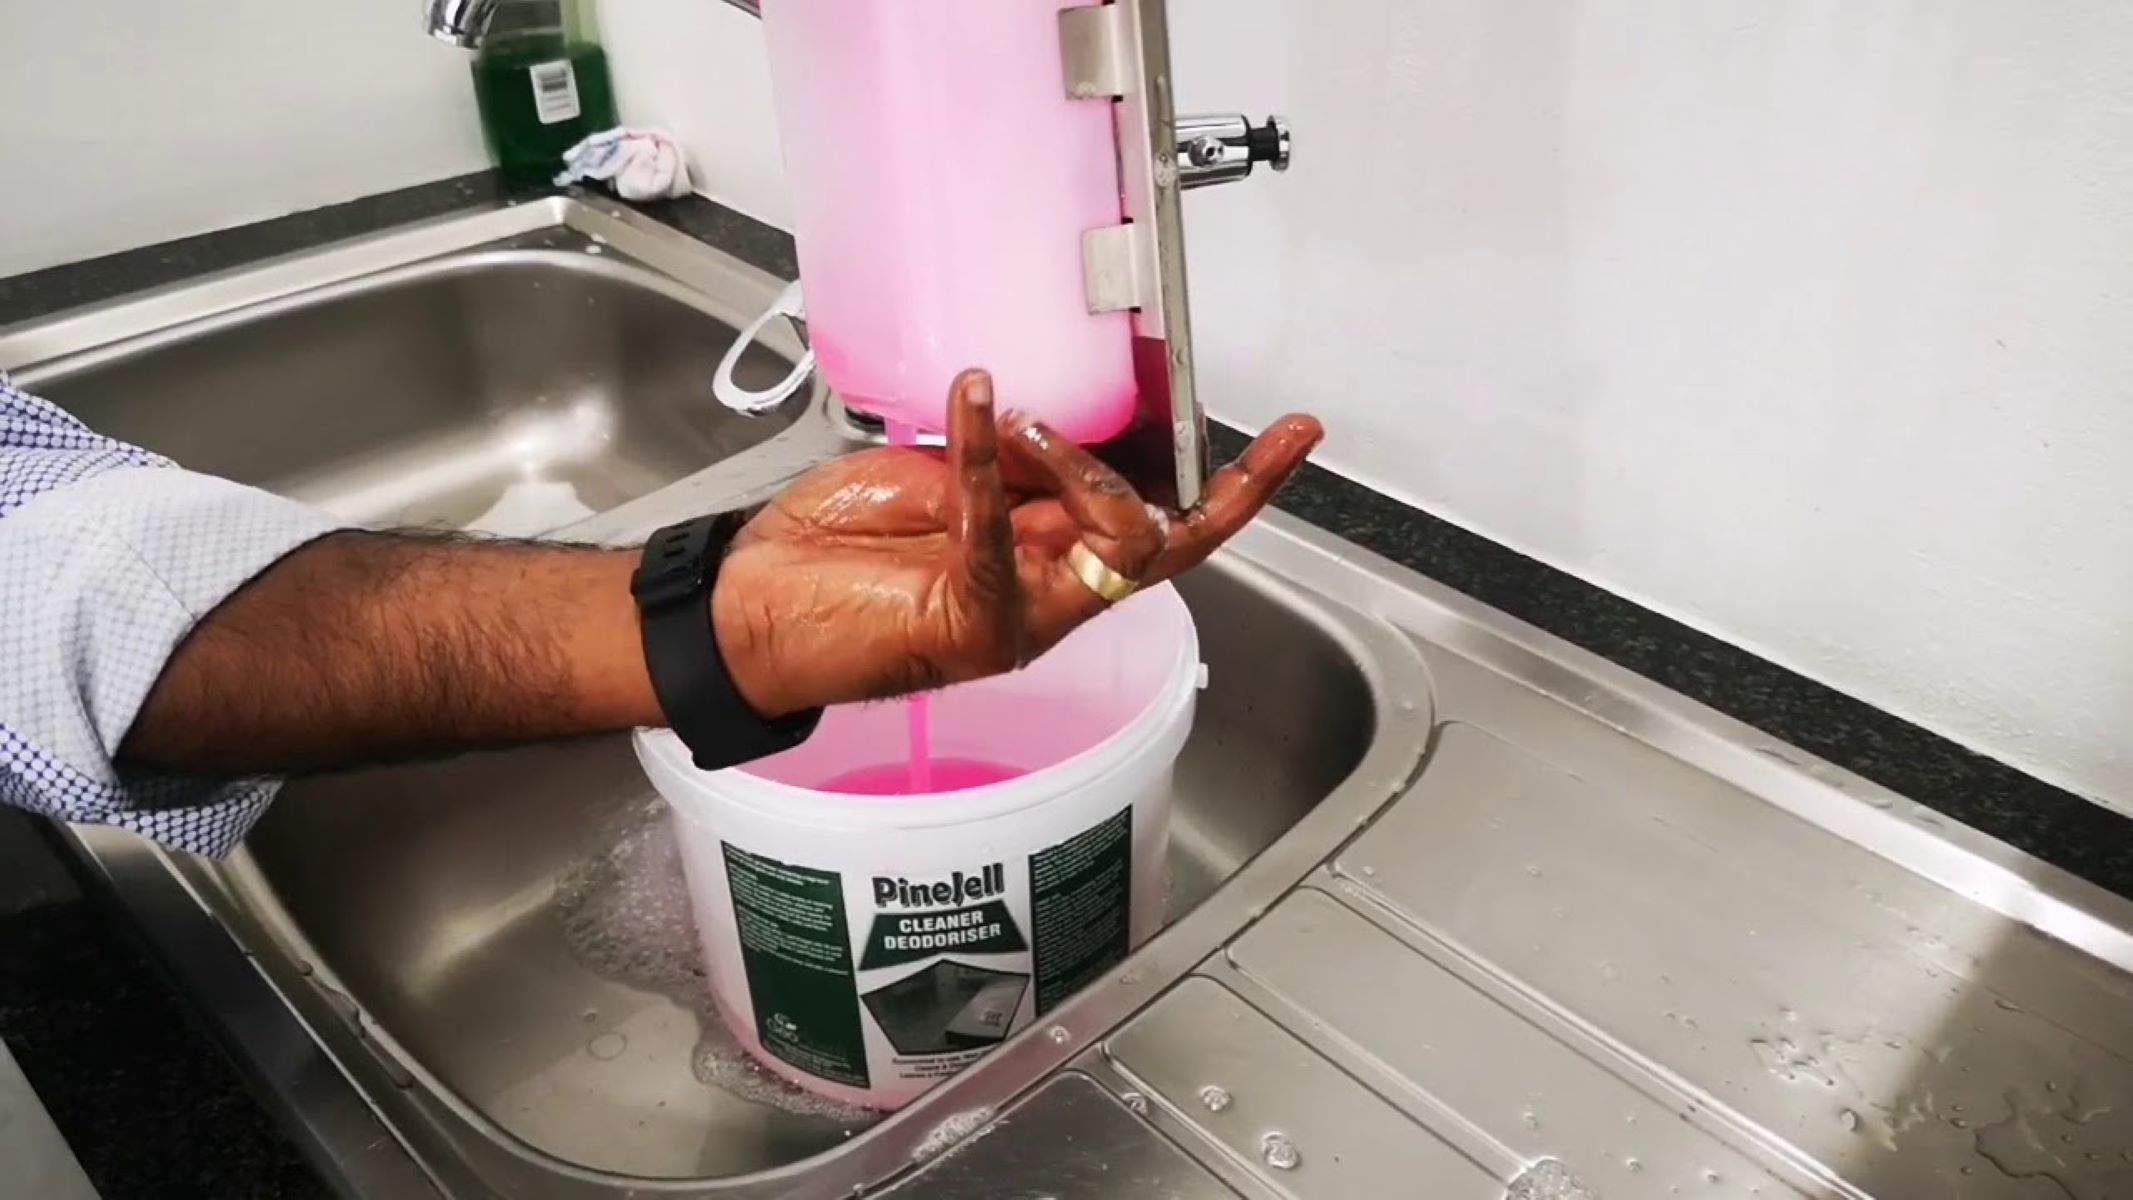
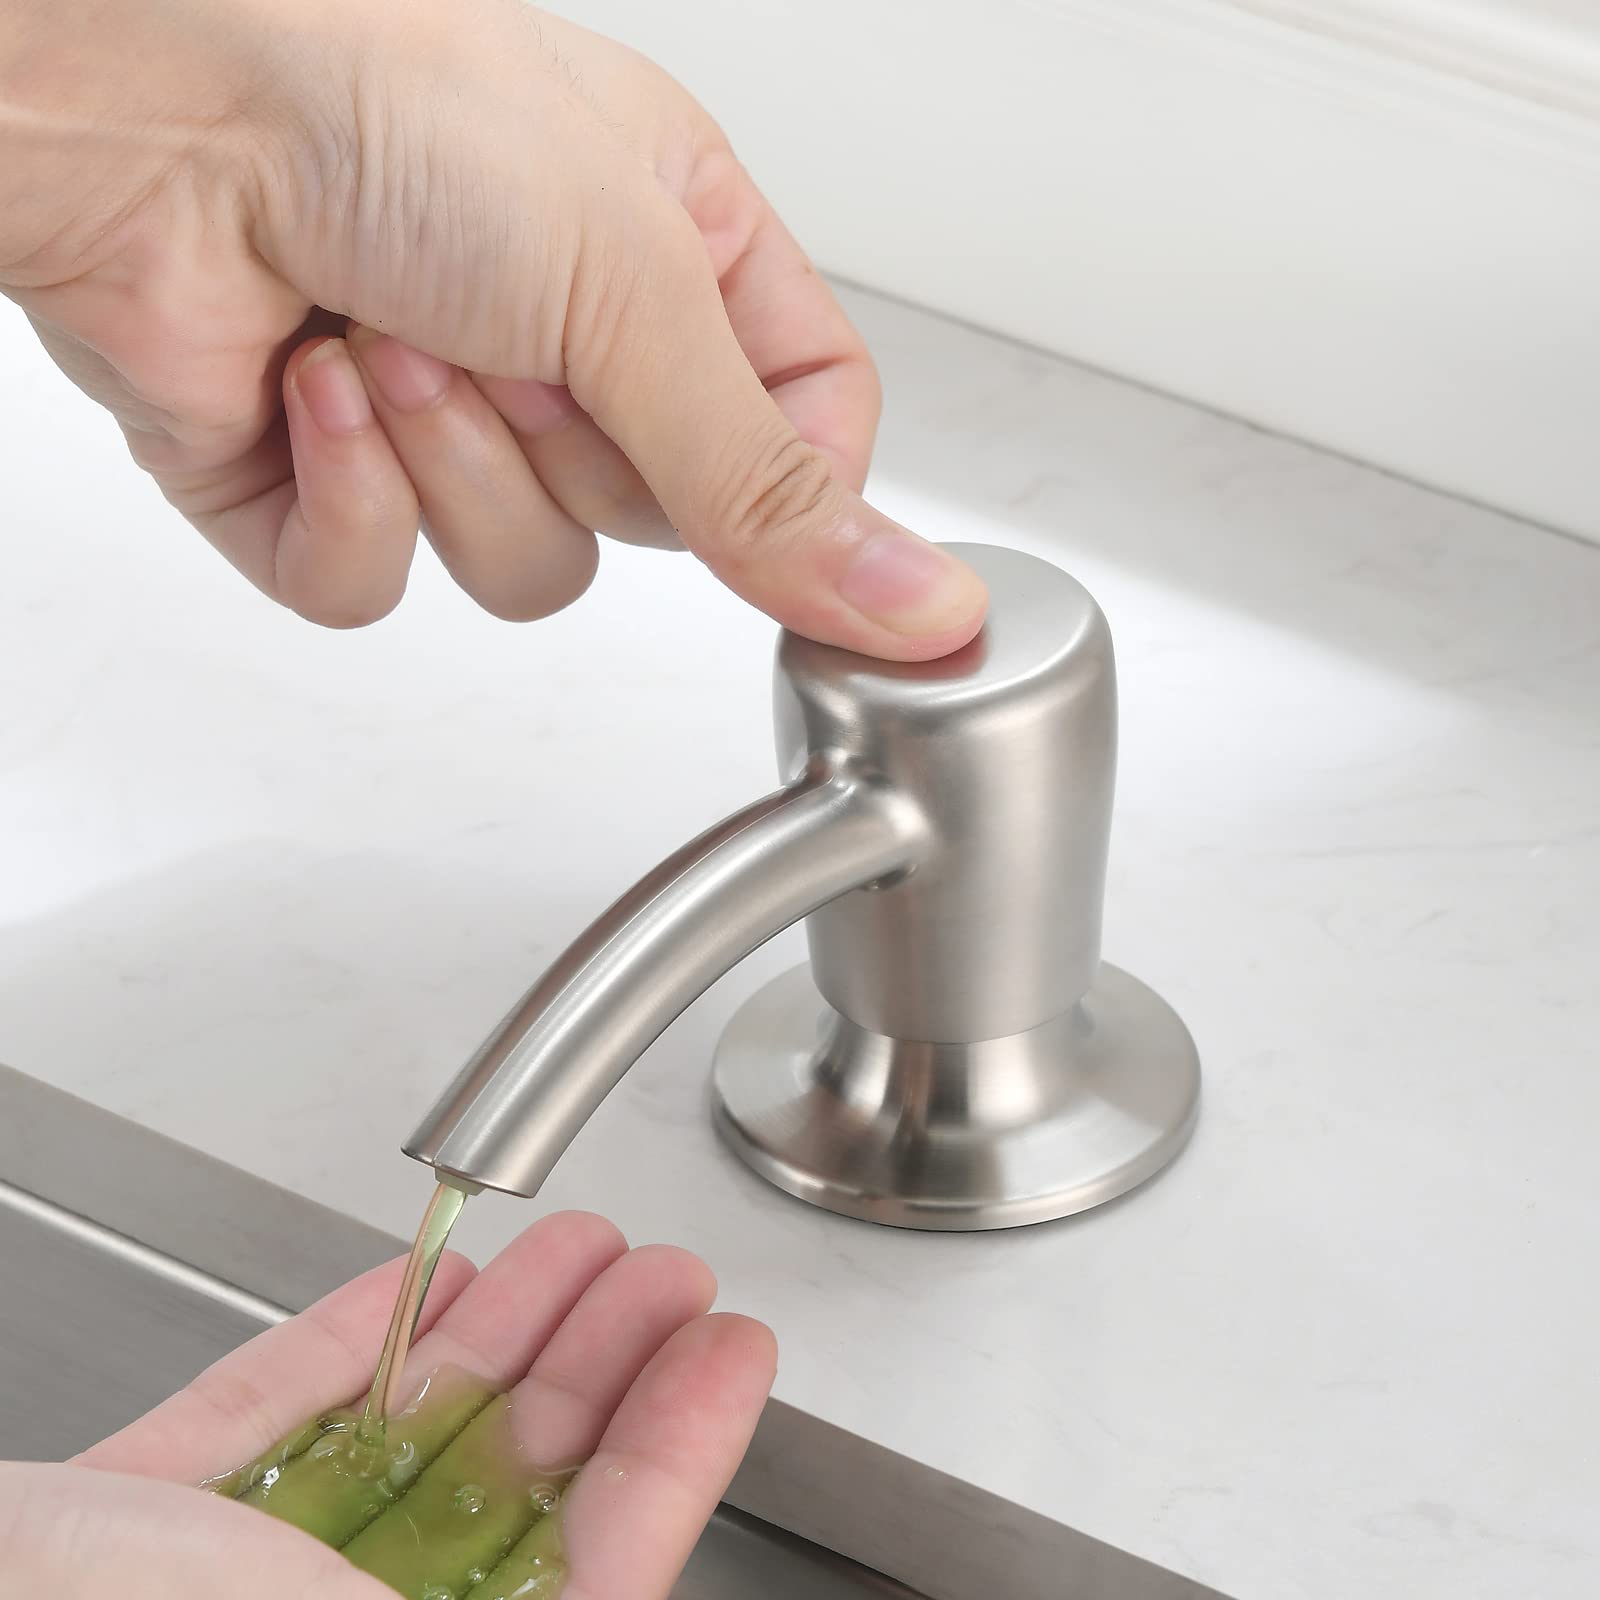
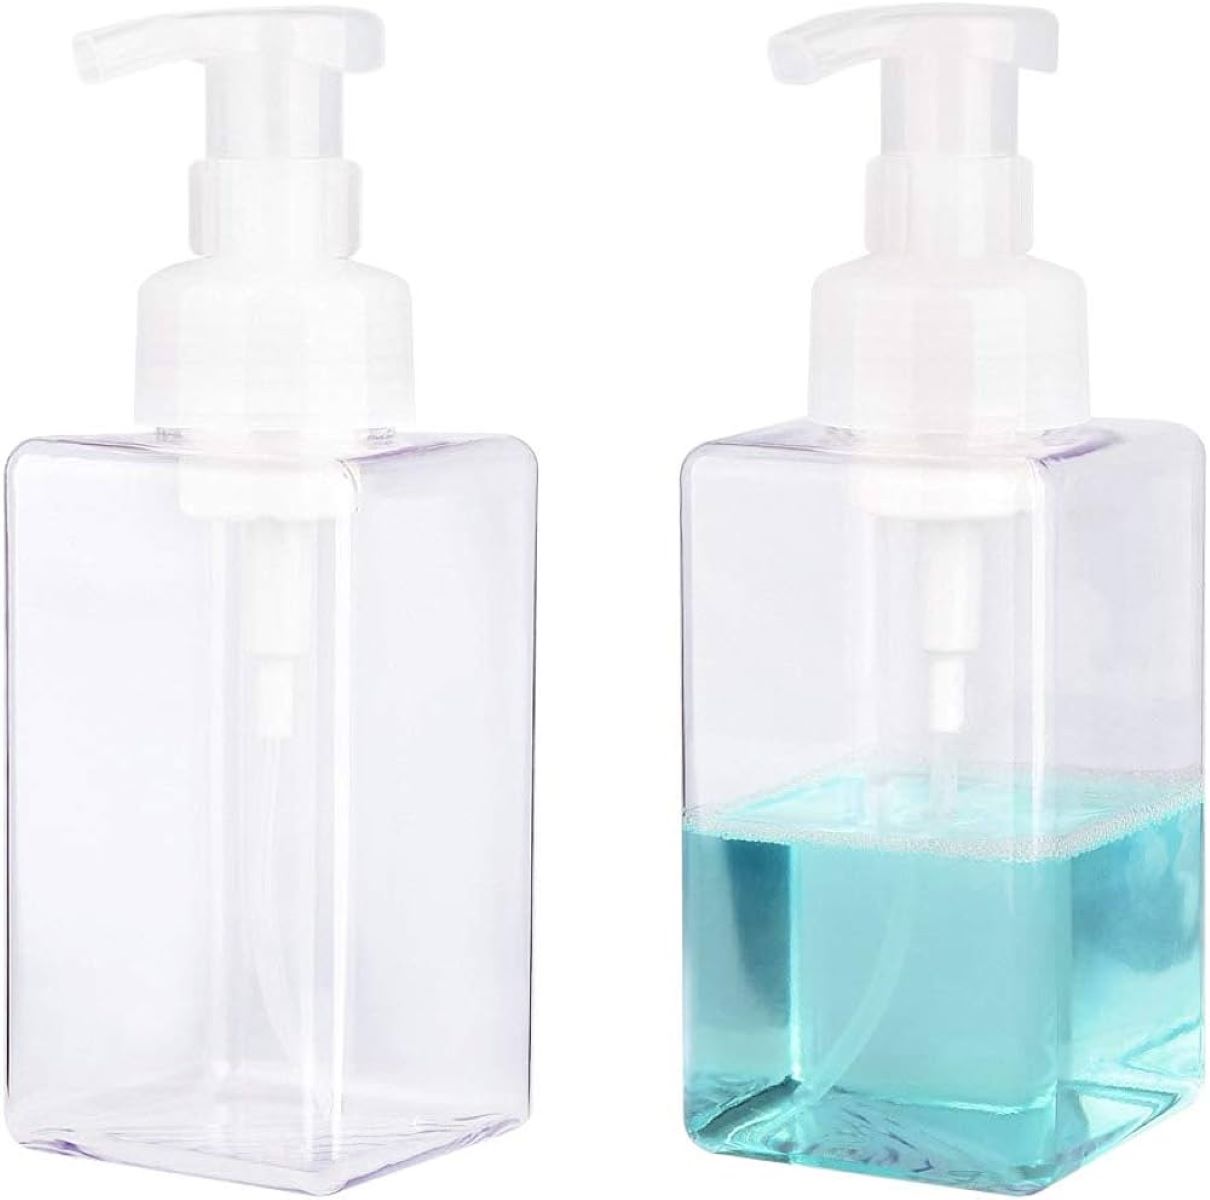
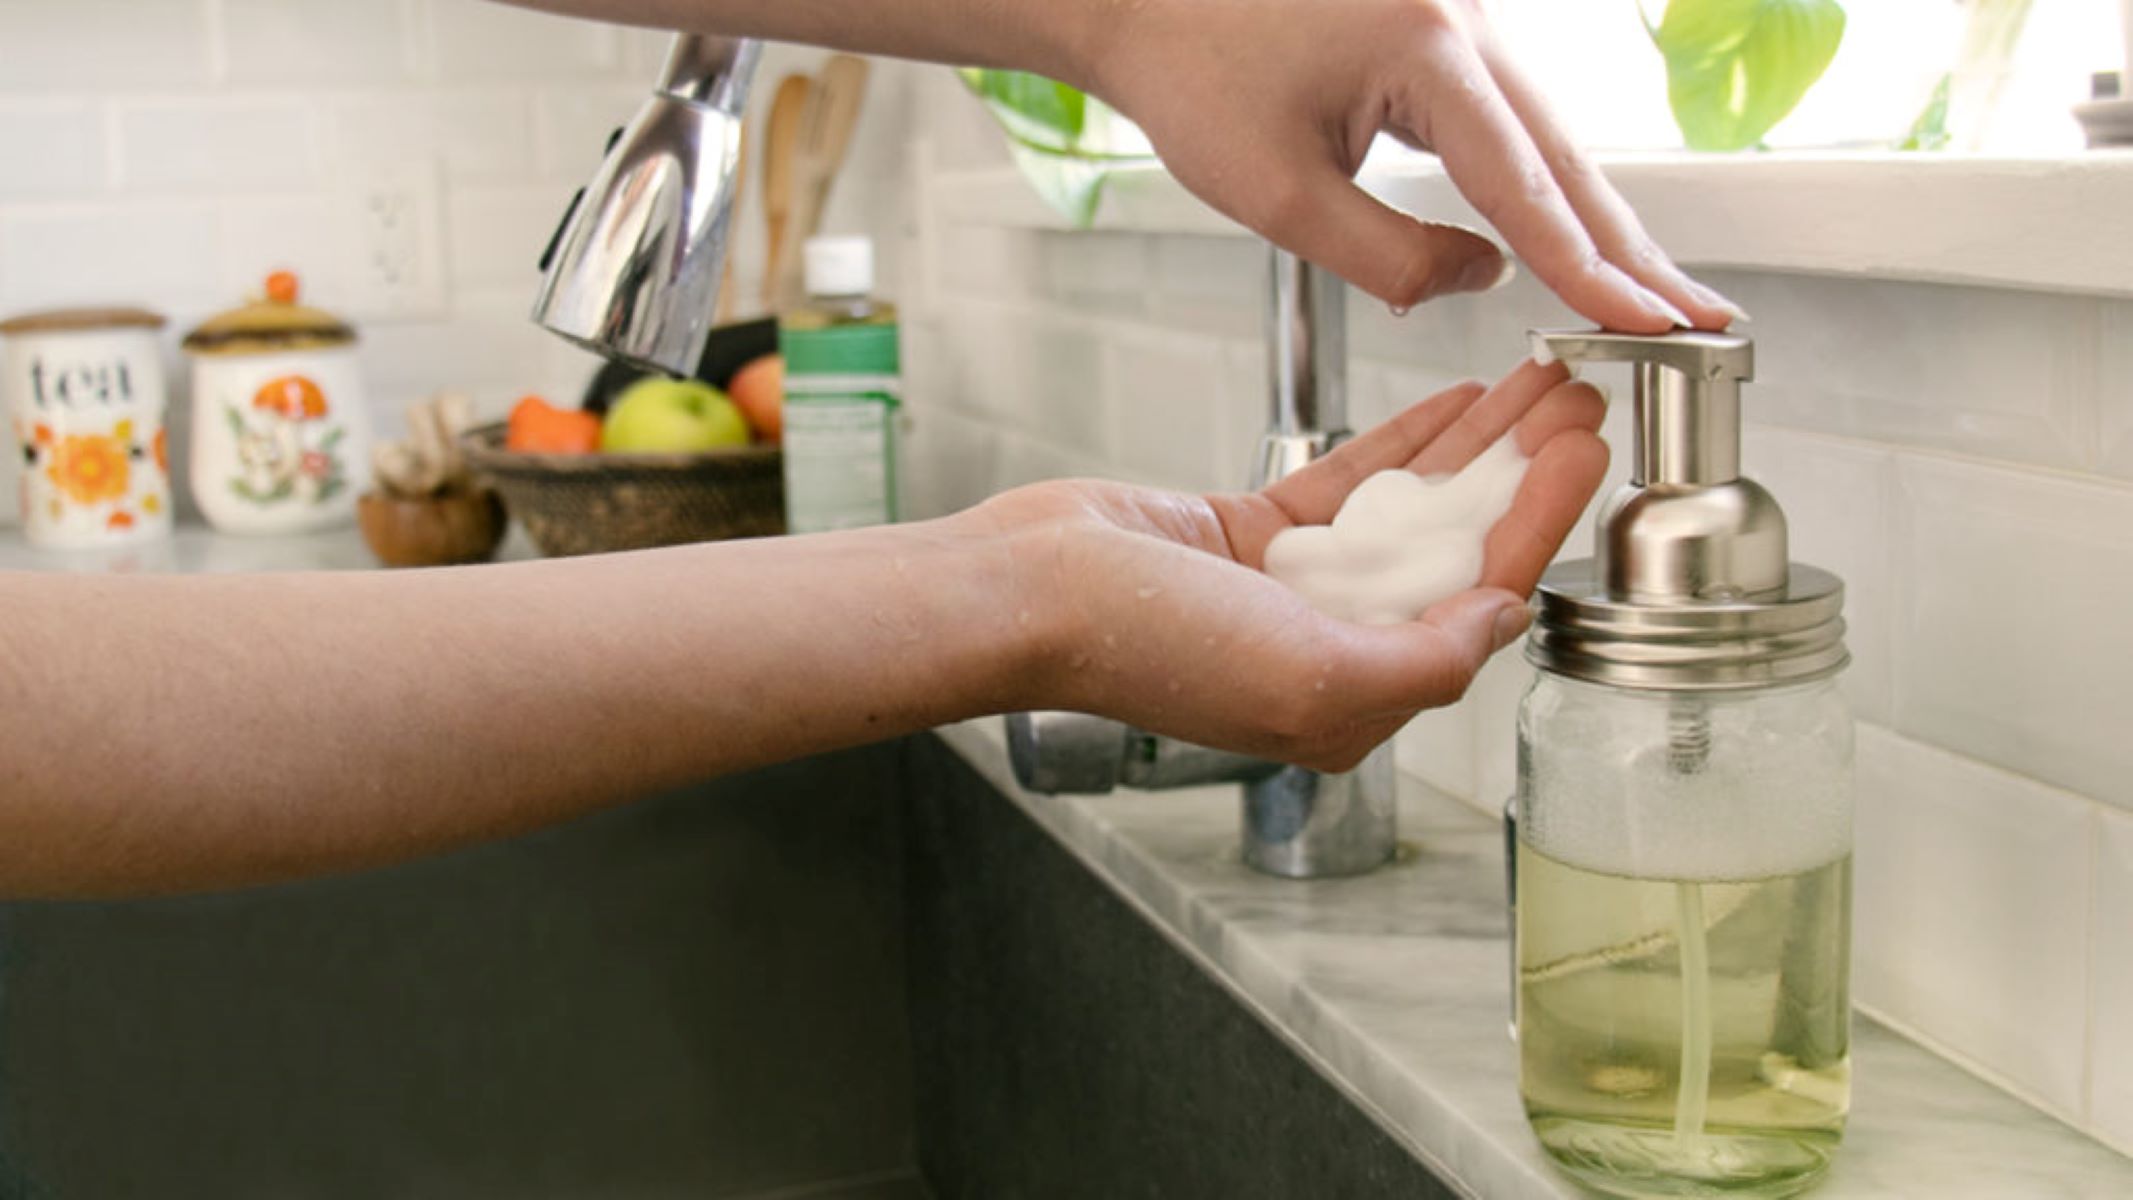
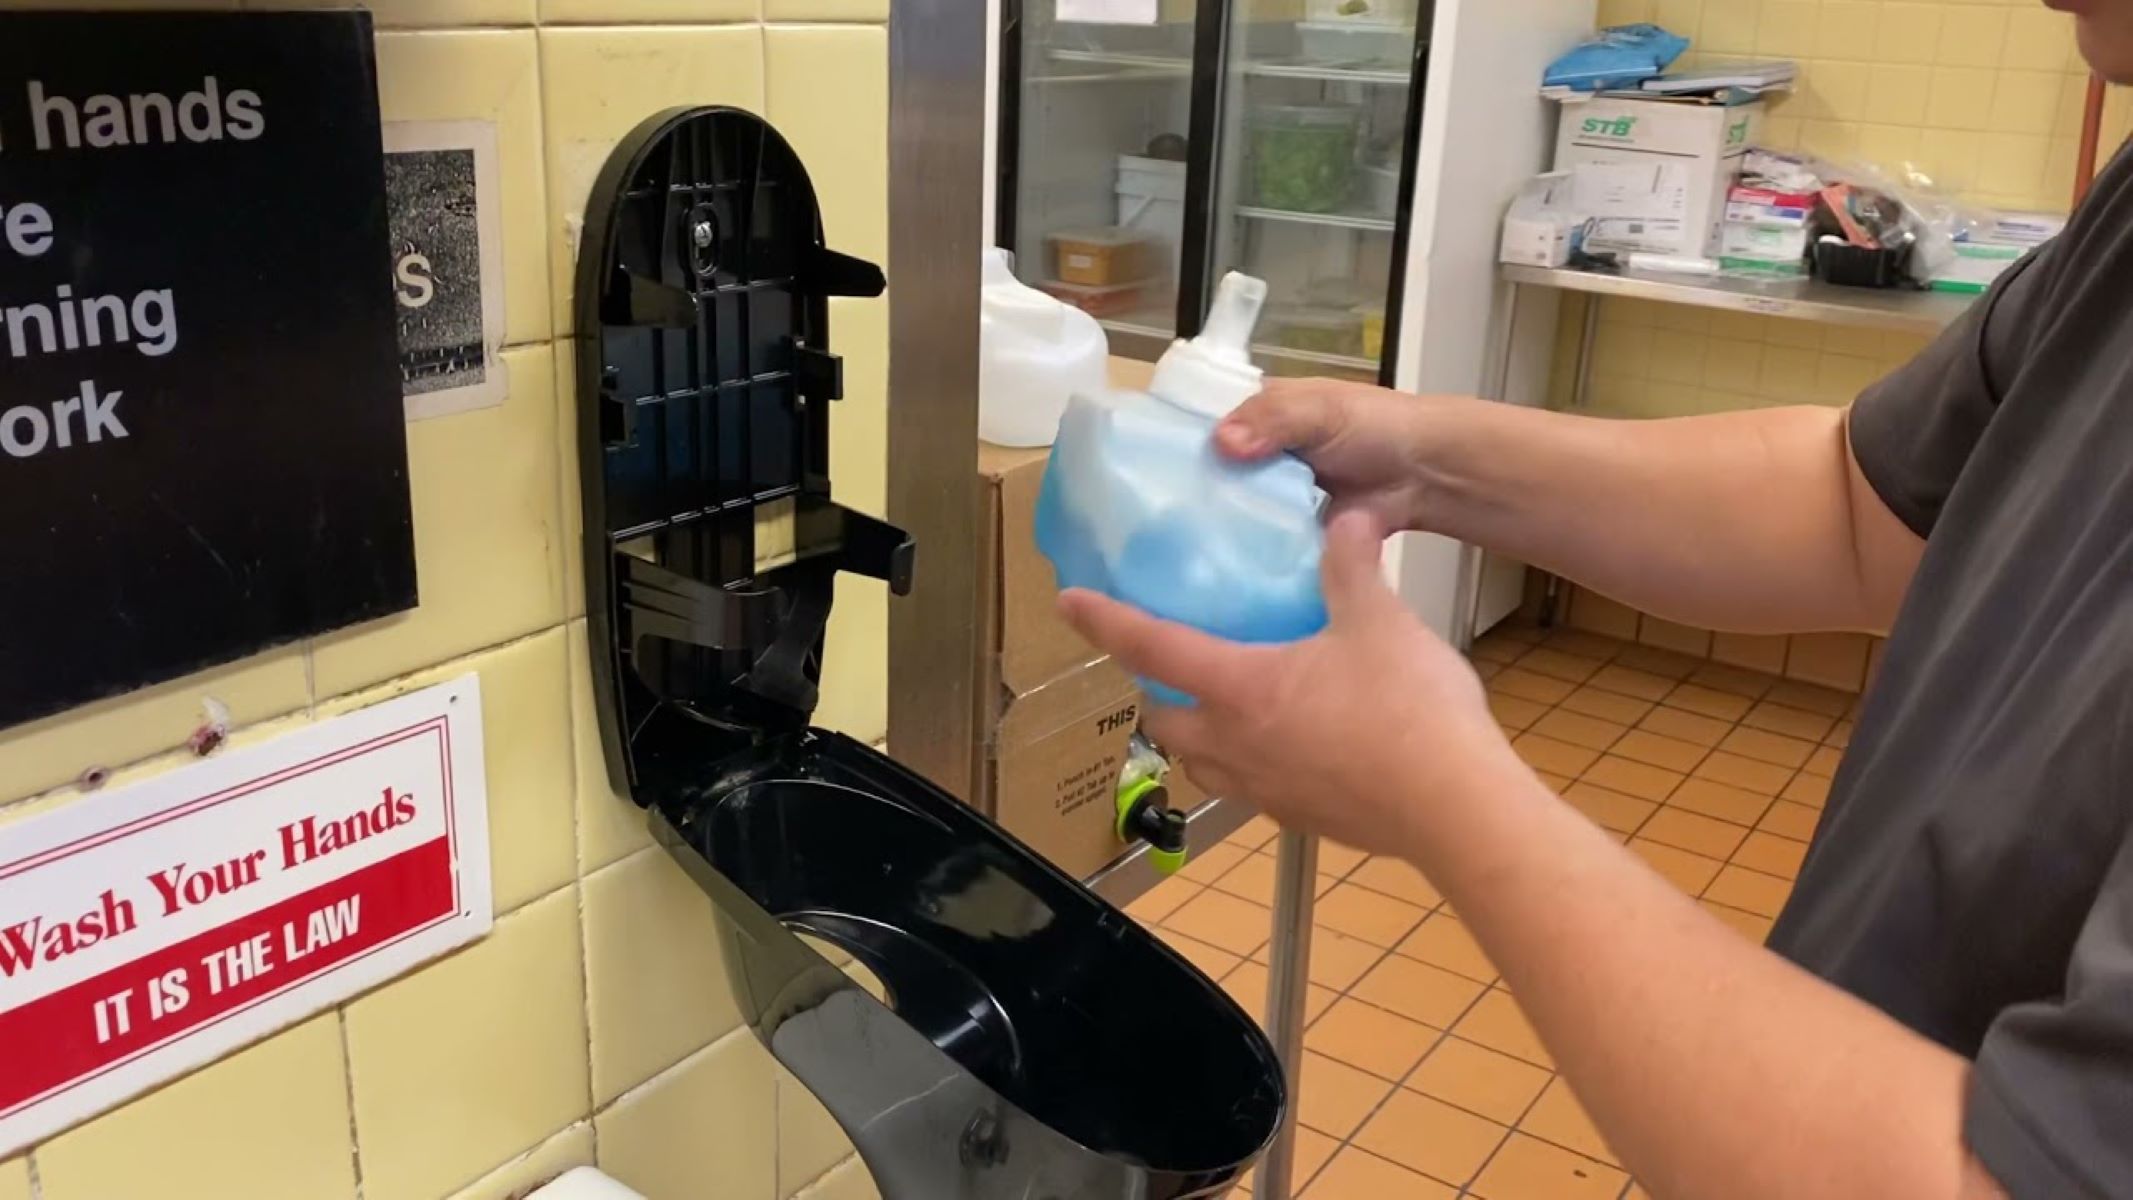
Step 6: Refill with Soap
With the soap dispenser reassembled, it’s now time to refill it with your preferred liquid soap. Properly filling the dispenser will ensure that you have a steady supply of soap for your handwashing needs.
Follow these steps to refill the soap dispenser:
- Locate the soap reservoir or opening on your dispenser.
- Open or remove the cover that provides access to the reservoir.
- Pour your preferred liquid soap into the reservoir. Be mindful not to overfill it, as this can lead to spills or leaks.
- Replace the cover or lid securely to ensure it stays in place.
When refilling the soap dispenser, it’s important to use the appropriate amount of soap to prevent any wastage or mess. Make sure to check the dispenser’s capacity and adjust your refill quantity accordingly.
Once refilled, your soap dispenser is ready for use, providing you with a convenient and hygienic way to keep your hands clean.
Step 7: Regular Maintenance Tips
To keep your soap dispenser in optimal condition and prevent build-up or clogs, it’s essential to follow some regular maintenance tips. These simple practices will help ensure that your dispenser continues to work effectively and provide you with clean and germ-free hands.
Here are some regular maintenance tips for your soap dispenser:
- Regularly clean the exterior of the soap dispenser with a damp cloth to remove any dirt or residue.
- Check the dispenser nozzle regularly for any clogs or blockages. Use a small brush or toothpick to clear any obstructions.
- Periodically check the soap chamber for any residue or build-up. If necessary, repeat the cleaning process outlined in earlier steps.
- Make sure to use a mild dish soap that is compatible with your dispenser. Avoid using thick or lotion-based soaps that may cause clogging.
- If your soap dispenser has a refillable reservoir, clean and disinfect it periodically to maintain hygiene.
- When refilling the soap dispenser, avoid mixing different types of soap as this can result in clumping or ineffective dispensing.
- Keep the area around the soap dispenser clean and dry to prevent any water or soap spillage that may accumulate and cause grime.
- Follow any specific maintenance instructions provided by the manufacturer to ensure the longevity and performance of your soap dispenser.
By incorporating these regular maintenance practices into your routine, you’ll be able to keep your soap dispenser in optimum condition and enjoy clean and hassle-free handwashing.
Read more: What Soap To Use In Automatic Soap Dispenser
Conclusion
Cleaning your soap dispenser is an important task to ensure its proper functioning and maintain a hygienic environment for handwashing. By following the step-by-step guide outlined in this article, you can effectively clean and maintain your soap dispenser.
Remember to gather all the necessary tools and materials before starting the cleaning process. Remove any soap residue, disassemble the dispenser, clean each part thoroughly, rinse and dry them, reassemble the dispenser correctly, refill it with soap, and follow regular maintenance tips to ensure its longevity.
Regularly cleaning and maintaining your soap dispenser will not only prevent clogs and build-up but also contribute to the overall cleanliness and hygiene of your surroundings. So, take the time to clean your soap dispenser regularly and enjoy the convenience and cleanliness it provides.
By following these simple steps and incorporating regular maintenance into your routine, you can keep your soap dispenser in top condition and ensure that you always have a reliable and efficient way to keep your hands clean.
Frequently Asked Questions about How To Clean A Soap Dispenser
Was this page helpful?
At Storables.com, we guarantee accurate and reliable information. Our content, validated by Expert Board Contributors, is crafted following stringent Editorial Policies. We're committed to providing you with well-researched, expert-backed insights for all your informational needs.

0 thoughts on “How To Clean A Soap Dispenser”