Home>Garden Essentials>How To Plant African Daisy Seeds
Garden Essentials
How To Plant African Daisy Seeds
Modified: March 16, 2024
Learn how to plant African daisy seeds in your garden and create a vibrant and colorful display that will enhance your outdoor space.
(Many of the links in this article redirect to a specific reviewed product. Your purchase of these products through affiliate links helps to generate commission for Storables.com, at no extra cost. Learn more)
Introduction
African daisies, also known as osteospermums, are beautiful flowering plants that can add a burst of color and vibrancy to any garden. These daisy-like flowers are native to South Africa and are well-suited for growing in various climates around the world. One of the easiest ways to grow African daisies is by planting their seeds.
In this article, we will guide you through the process of planting African daisy seeds and provide you with valuable tips to ensure their successful growth. Whether you’re a novice gardener or a seasoned expert, these steps will help you cultivate a stunning display of African daisies in your garden.
So, let’s get started and learn how to plant African daisy seeds!
Key Takeaways:
- Choose a sunny spot with well-draining soil to plant African daisy seeds in spring or early summer. Provide moderate watering, proper drainage, and weed control for healthy growth.
- After sowing the seeds, ensure adequate sunlight, fertilize as needed, and protect from pests and diseases. Prune and deadhead for continuous blooming and enjoy the vibrant flowers in your garden.
Read more: How To Plant Gerbera Daisies Seeds
Step 1: Choosing the Right Time and Location
Choosing the right time and location for planting African daisy seeds is crucial for their successful germination and growth. Here are some important factors to consider:
- Timing: African daisies prefer to be planted in spring or early summer when the soil is warm and the risk of frost has passed. This will give the seeds the best chance to germinate and establish themselves before the hot summer months.
- Location: African daisies thrive in full sun, so choose a location that receives at least 6-8 hours of direct sunlight per day. Avoid areas that are shaded or receive partial sunlight, as this can result in weak and leggy plants with fewer flowers. It’s also important to select a well-drained site to prevent waterlogging, which can lead to root rot.
- Soil Type: African daisies prefer well-draining soil with a pH level between 6.0 and 7.5. They can tolerate a wide range of soil types, but sandy or loamy soil with good drainage is ideal. Before planting, it’s a good idea to amend the soil with organic matter like compost to improve its fertility and drainage.
By selecting the right time and location for planting, you can provide the optimal growing conditions for your African daisy seeds and ensure their healthy development. Next, let’s move on to step 2: selecting the soil and preparing the bed.
Step 2: Selecting the Soil and Preparing the Bed
Choosing the right soil and preparing the bed properly are important steps in ensuring the successful growth of your African daisies. Here is what you need to do:
- Soil Selection: African daisies thrive in well-drained soil. They prefer sandy or loamy soil that is rich in organic matter. If your garden soil is heavy or clayey, you can improve its drainage by adding compost, perlite, or sand to create a looser texture.
- Bed Preparation: Start by clearing the area of any weeds or grass. Use a garden fork or spade to loosen the soil to a depth of about 8-10 inches. Remove any rocks, roots, or debris that may obstruct the growth of the plants.
- Amending the Soil: If the soil is lacking in nutrients, you can add organic matter like compost or aged manure to enrich it. Incorporate the organic matter into the top few inches of soil using a garden rake or tiller. This will improve the soil’s fertility and structure, providing a favorable environment for the growing African daisies.
Once the soil is prepared, make sure to level the bed using a rake, removing any clumps or bumps. This will help ensure even water distribution and prevent pooling or runoff.
Now that you have selected the right soil and prepared the bed, you are ready for the next step: sowing the African daisy seeds.
Step 3: Sowing African Daisy Seeds
Now that your soil bed is prepared, it’s time to sow the African daisy seeds. Follow these steps for successful germination and growth:
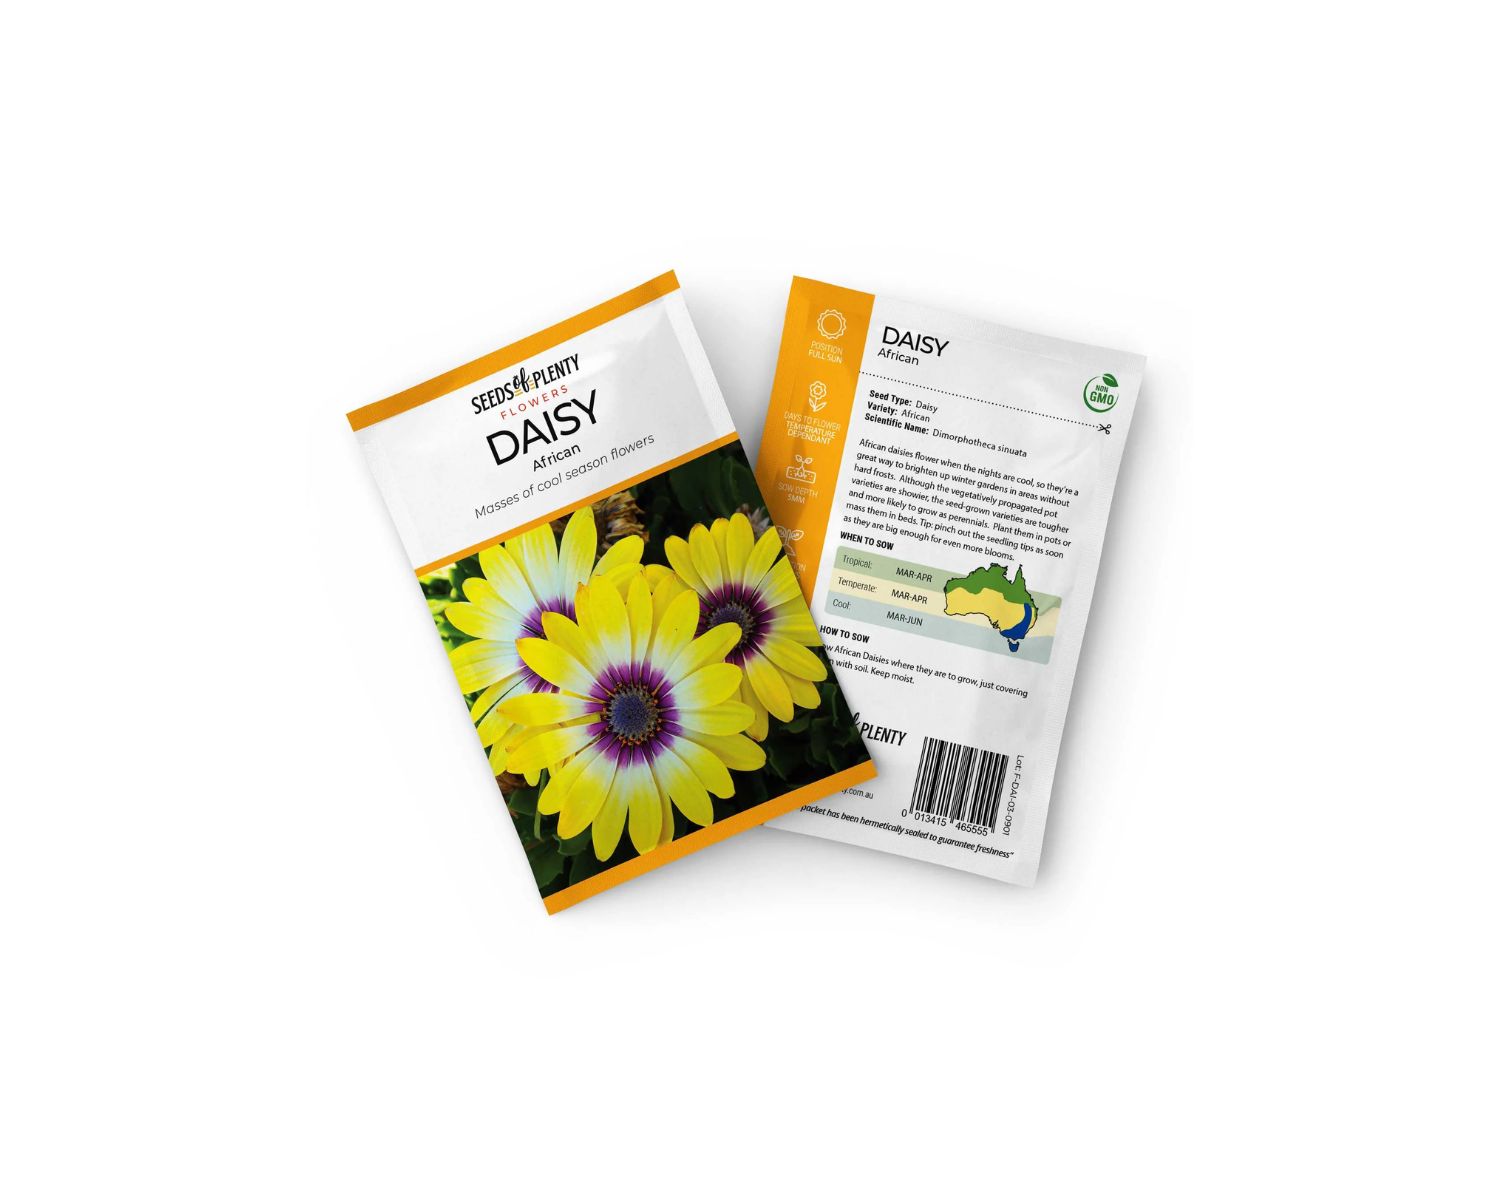
- Seed Selection: Choose high-quality, fresh African daisy seeds from a reputable seed supplier. Look for seeds that are plump, firm, and free from any signs of damage or deformities.
- Sowing Method: African daisy seeds can be sown directly into the prepared soil bed or started indoors in seed trays or pots. If you choose to start them indoors, sow the seeds in a well-drained seed-starting mix, following the instructions provided by the supplier.
- Seed Depth and Spacing: African daisy seeds are tiny, so they should be sown close to the soil surface. Gently press the seeds into the soil or cover them with a thin layer of soil, about ¼ inch deep. Space the seeds about 6-12 inches apart to allow for proper growth and airflow.
- Watering: After sowing the seeds, lightly water the soil bed to ensure proper moisture. Avoid overwatering, as excessive moisture can lead to rotting or fungal diseases. Maintain a moderate level of moisture throughout the germination period.
- Germination: African daisy seeds typically take about 7-21 days to germinate, depending on the variety and growing conditions. Keep the soil consistently moist but not waterlogged during this time. Once the seedlings emerge, you can reduce watering, allowing the top inch of soil to dry out slightly between waterings.
Remember to label the area where you sow the seeds, especially if you have sown different varieties. This will help you keep track of their growth and differentiate them from other plants in your garden.
With the seeds sown, it’s time to move on to step 4: providing proper watering and drainage for your African daisies.
Step 4: Providing Proper Watering and Drainage
Proper watering and drainage are crucial for the healthy growth of African daisies. Here are some important tips to keep in mind:
- Watering Needs: African daisies prefer moderate watering. While they can tolerate some drought, it’s important to keep the soil consistently moist during their active growth phase. Water deeply at the base of the plants, avoiding overhead watering, which can lead to fungal diseases.
- Watering Frequency: The frequency of watering will depend on several factors, including the climate, soil conditions, and stage of growth. Generally, it’s recommended to water African daisies once or twice a week, providing enough moisture to reach the root zone without saturating the soil.
- Drainage: Well-draining soil is essential for African daisies. Excess water retention can lead to root rot and other fungal diseases. If you notice that the soil is not draining well, consider amending it with organic matter, such as compost or perlite, to improve its drainage capacity.
- Mulching: Applying a layer of organic mulch around the base of the plants can help conserve moisture, regulate soil temperature, and suppress weed growth. Use a layer of mulch that is 1-2 inches thick, ensuring not to mound it against the stems of the African daisies.
It’s important to monitor the moisture levels in the soil throughout the growing season. Check the soil regularly to determine if it needs watering, and adjust the frequency based on the specific requirements of your African daisies.
Now that you have learned about proper watering and drainage, let’s move on to step 5: implementing weed control measures for your African daisies.
Read more: When To Plant Gerbera Daisy Seeds
Step 5: Implementing Weed Control Measures
Weeds can compete with African daisies for nutrients, water, and sunlight, hindering their growth and overall health. Implementing weed control measures is essential to ensure that your African daisies thrive. Here’s what you can do:
- Mulching: Applying a layer of organic mulch around the base of your African daisies can help suppress weed growth. Mulch acts as a natural barrier, preventing weed seeds from germinating and emerging. Make sure to use a mulch layer that is around 1-2 inches thick, taking care not to pile it against the stems of the plants.
- Hand Pulling: Regularly inspect your African daisy bed and manually remove any weeds that make their way through the mulch. Be careful not to disturb the roots of the daisies while doing so. Hand pulling is particularly effective for larger and more established weeds.
- Herbicides: If the weed infestation is severe or persistent, you may consider using herbicides specifically formulated for weed control in flower beds. Make sure to choose a herbicide that is safe for use around ornamental plants like African daisies, and carefully follow the instructions provided by the manufacturer.
- Regular Maintenance: Consistent and regular maintenance of your African daisy bed is important to keep weed growth under control. By staying on top of the weeding process, pulling weeds as soon as they appear, you can prevent them from spreading and competing with your daisies.
Remember, organic weed control methods are always preferable, as they are safer for the environment and for beneficial insects that visit your garden. By implementing these weed control measures, you will create a clean and weed-free environment for your African daisies to thrive.
Now, let’s move on to step 6: taking care of the seedlings as they begin to grow.
Step 6: Taking Care of the Seedlings
Once the African daisy seedlings begin to emerge, it’s important to provide them with proper care to ensure their healthy growth and development. Follow these steps to nurture your seedlings:
- Thinning: If you have sown the seeds densely, it is advisable to thin out the seedlings once they have grown a few inches tall. This will allow each plant to have sufficient space to grow and receive adequate sunlight and nutrients. Gently remove the weaker seedlings, leaving the strongest ones to flourish.
- Watering: Continue to water the seedlings regularly, keeping the soil evenly moist. Water at the base of the plants to avoid wetting their foliage, as damp leaves can lead to fungal diseases. Avoid over-watering, as excessive moisture can cause root rot.
- Fertilization: African daisies are relatively low-maintenance plants, but you can give them a boost by applying a balanced liquid fertilizer once a month. Follow the manufacturer’s instructions for application rates and dilution. Alternatively, you can use a slow-release granular fertilizer according to the recommended dosage.
- Provide Support: As the seedlings grow, they may benefit from gentle support. Insert small stakes or use plant supports near the base of the plants to provide stability against strong winds or heavy rainfall. This can prevent the stems from bending or breaking.
Regularly monitor the seedlings for any signs of pests or diseases. Early detection allows for timely intervention, preventing any potential damage to your African daisies. Remove any damaged or infected foliage promptly to prevent the spread of diseases.
With proper care and attention, your African daisy seedlings will grow strong and healthy. In the next step, we will discuss transplanting or thinning the seedlings to ensure optimal growth.
Plant African daisy seeds in well-draining soil in a sunny spot. Sow the seeds on the surface of the soil and lightly press them in. Keep the soil moist until the seeds germinate.
Step 7: Transplanting or Thinning the Seedlings
As your African daisy seedlings continue to grow, it may become necessary to transplant them or thin them out to ensure proper spacing and healthy development. Here’s what you need to do:
- Transplanting Seedlings: If you started your seeds indoors or in seed trays, you may need to transplant them into their final growing location once they have developed a few sets of true leaves. Choose a day when the weather is mild and the soil is moist to minimize transplant shock. Dig a hole slightly larger than the root ball of the seedling and gently transfer it, making sure to cover the roots with soil. Space the transplanted seedlings according to the recommended spacing for the specific variety.
- Thinning Seedlings: If you sowed the seeds directly into the soil bed, you may find that they have germinated densely. Thin out the seedlings to provide enough room for each plant to grow and receive adequate sunlight. Gently remove the weaker seedlings, leaving the strongest and healthiest ones to thrive. Aim for a spacing of 6-12 inches between the remaining seedlings.
When transplanting or thinning your African daisy seedlings, handle them with care to avoid damaging the roots. Water the transplanted or thinned seedlings well to help them settle into their new locations or the adjusted spacing in the soil bed.
Throughout the transplanting or thinning process, keep a watchful eye on the seedlings’ growth and adapt your care routine as needed. With proper spacing and attention, your African daisy seedlings will continue to flourish and prepare for the next stage of growth.
In the next step, we will discuss the importance of providing adequate sunlight and temperature for your African daisies.
Step 8: Providing Adequate Sunlight and Temperature
African daisies require ample sunlight and favorable temperatures to thrive and produce an abundance of vibrant flowers. Here’s how you can ensure their light and temperature needs are met:
- Sunlight: African daisies thrive in full sun. Ensure that your plants receive at least 6-8 hours of direct sunlight each day. Choose a location in your garden that is not shaded by trees, buildings, or other tall plants. If you notice your daisies stretching or leaning towards the light, it may be an indication that they are not receiving enough sun. Consider relocating them to a sunnier spot.
- Temperature: African daisies prefer moderate temperatures. They can tolerate heat but may struggle in extremely high temperatures. Provide them with some afternoon shade or use shade cloth during hot summer months to protect them from scorching sun rays. On the other hand, if you are growing African daisies in cooler climates, ensure that they are protected from frosts or cold winds that can damage the plants.
- Microclimate: Be aware of the microclimate within your garden. Sun exposure and temperature can vary in different areas of your yard. Observe how the sun moves across your garden throughout the day and consider planting your African daisies in spots that receive the optimal amount of sunlight and are sheltered from extreme temperature fluctuations.
- Container Planting: If you are growing African daisies in containers, ensure that you can easily move them to follow the sun’s arc throughout the day. This will help maximize their sun exposure and ensure they receive the right amount of light and warmth.
By providing your African daisies with adequate sunlight and maintaining optimal temperatures, you will promote healthy growth and encourage abundant flower production. In the next step, we will discuss the importance of fertilizing your African daisies.
Read more: How To Make African Violet Soil Mix
Step 9: Fertilizing the African Daisies
Fertilizing is an important step in promoting the growth and blooming of your African daisies. These plants benefit from regular feeding to ensure they receive the necessary nutrients for healthy development. Follow these guidelines for fertilizing your African daisies:
- Soil Preparation: Before planting the African daisy seeds or seedlings, amend the soil with organic matter like compost. This will provide a good base of nutrients for the plants.
- Slow-Release Fertilizer: Consider using a slow-release granular fertilizer formulated for flowering plants. Apply the fertilizer following the manufacturer’s instructions, taking care not to over-fertilize. Slow-release fertilizers provide a steady supply of nutrients over an extended period, reducing the risk of nutrient burn or leaching.
- Liquid Fertilizer: Another option is to use a balanced liquid fertilizer. Dilute the fertilizer according to the package instructions and apply it to the soil around the base of the plants. Liquid fertilizers provide a quick nutrient boost and can be applied every few weeks during the growing season.
- Organic Alternatives: If you prefer to use organic fertilizers, options like fish emulsion or compost tea can be applied to provide nutrients to your African daisies. These organic fertilizers are gentle and work well for promoting healthy growth.
- Timing: Start fertilizing your African daisies when they begin to actively grow and continue throughout the growing season. Avoid fertilizing during periods of dormancy or when the plants are stressed due to extreme temperatures.
Remember to water the plants before and after applying fertilizer to prevent any potential burn to the roots. Regular fertilization will help your African daisies produce larger, more vibrant flowers and maintain strong, healthy foliage.
In the next step, we will discuss the importance of pruning and deadheading your African daisies.
Step 10: Pruning and Deadheading
Pruning and deadheading are essential practices for maintaining the health, shape, and flowering performance of your African daisies. By following these steps, you’ll encourage continuous bloom and keep your plants looking tidy and attractive:
- Deadheading: Regularly remove spent flowers by cutting them back to the nearest leaf node or stem junction. Deadheading not only enhances the plant’s appearance but also redirects the plant’s energy towards producing new blooms instead of seed production. This process promotes continuous flowering throughout the growing season.
- Pruning: Pruning African daisies helps maintain their shape and compactness. Pinch back the tips of young plants when they reach 4-6 inches in height to encourage bushier growth. Additionally, if your plants become leggy or develop unattractive growth, you can trim them back lightly to promote denser foliage and better flowering.
- Removing Diseased or Damaged Foliage: Regularly inspect your African daisies and remove any yellowed, spotted, or diseased foliage. This prevents the spread of diseases and helps maintain the overall health of the plants. Removing damaged or unsightly foliage also improves the aesthetic appeal of your garden.
- Timing: It’s best to deadhead and prune your African daisies after each bloom cycle or as needed throughout the growing season. Regular maintenance will keep your plants looking neat and encourage them to produce fresh blooms continuously.
- Tool Sterilization: To prevent the spread of diseases, sterilize your pruning tools before using them on your African daisies. Wiping the blades with rubbing alcohol or a solution of one part bleach to nine parts water helps eliminate pathogens.
Pruning and deadheading your African daisies will help them maintain a compact and bushy shape, encourage continuous blooming, and promote overall plant health. Plus, it’s a satisfying way to interact with your garden and keep it looking its best.
In the next step, we will discuss how to protect your African daisies from common pests and diseases.
Step 11: Protecting the Plants from Pests and Diseases
Protecting your African daisies from pests and diseases is crucial to ensure their optimal growth and longevity. By implementing preventive measures and promptly addressing any issues, you can keep your plants healthy and thriving. Follow these steps to protect your African daisies:
- Monitor Regularly: Regularly inspect your plants for any signs of pests or diseases. Look for abnormalities such as yellowing leaves, spots, holes, or wilting foliage. Early detection allows for timely intervention and prevents the spread of pests and diseases.
- Provide Good Air Circulation: Good air circulation is important in preventing the development and spread of fungal diseases. Avoid overcrowding your African daisies by maintaining adequate spacing between plants.
- Practice Proper Watering: Overwatering can promote the growth of fungal diseases, while underwatering can stress the plants, making them more susceptible to pests and diseases. Water at the base of the plants, keeping the foliage as dry as possible.
- Remove Debris: Remove any fallen leaves, spent flowers, or other plant debris from the area around your African daisies. These can harbor pests and diseases and create an environment conducive to their development.
- Use Organic Pest Control Methods: For common pests like aphids, spider mites, or whiteflies, consider using organic pest control methods such as insecticidal soap, neem oil, or homemade sprays. Follow the instructions carefully and apply them according to the recommended frequency.
- Address Disease Issues: If you notice signs of fungal diseases such as powdery mildew or leaf spot, promptly remove affected leaves or plants to prevent the spread of the infection. Consider applying fungicides specifically designed for the identified disease, following the manufacturer’s instructions.
By regularly monitoring your plants and implementing preventive measures, you can minimize the risk of pests and diseases affecting your African daisies. Remember, early intervention is key in controlling and managing potential problems.
Congratulations! You have now completed all the necessary steps to successfully plant and care for African daisies in your garden. Enjoy the beauty and vibrancy these flowers bring to your outdoor space.
Conclusion
Congratulations on successfully learning how to plant and care for African daisies! By following the steps outlined in this guide, you are well on your way to cultivating a stunning garden filled with vibrant and flourishing African daisies.
From choosing the right time and location to sowing the seeds, providing proper watering and drainage, implementing weed control measures, and taking care of the seedlings, you have gained the knowledge and skills necessary for successful growth. Additionally, you have learned about the importance of providing adequate sunlight and temperature, fertilizing the plants, pruning and deadheading, and protecting them from pests and diseases.
Remember, gardening is not just about following a set of steps but also about connecting with nature and allowing your creativity to flourish. Experiment with different varieties, colors, and arrangements to create a unique and personalized garden that brings joy to both yourself and others.
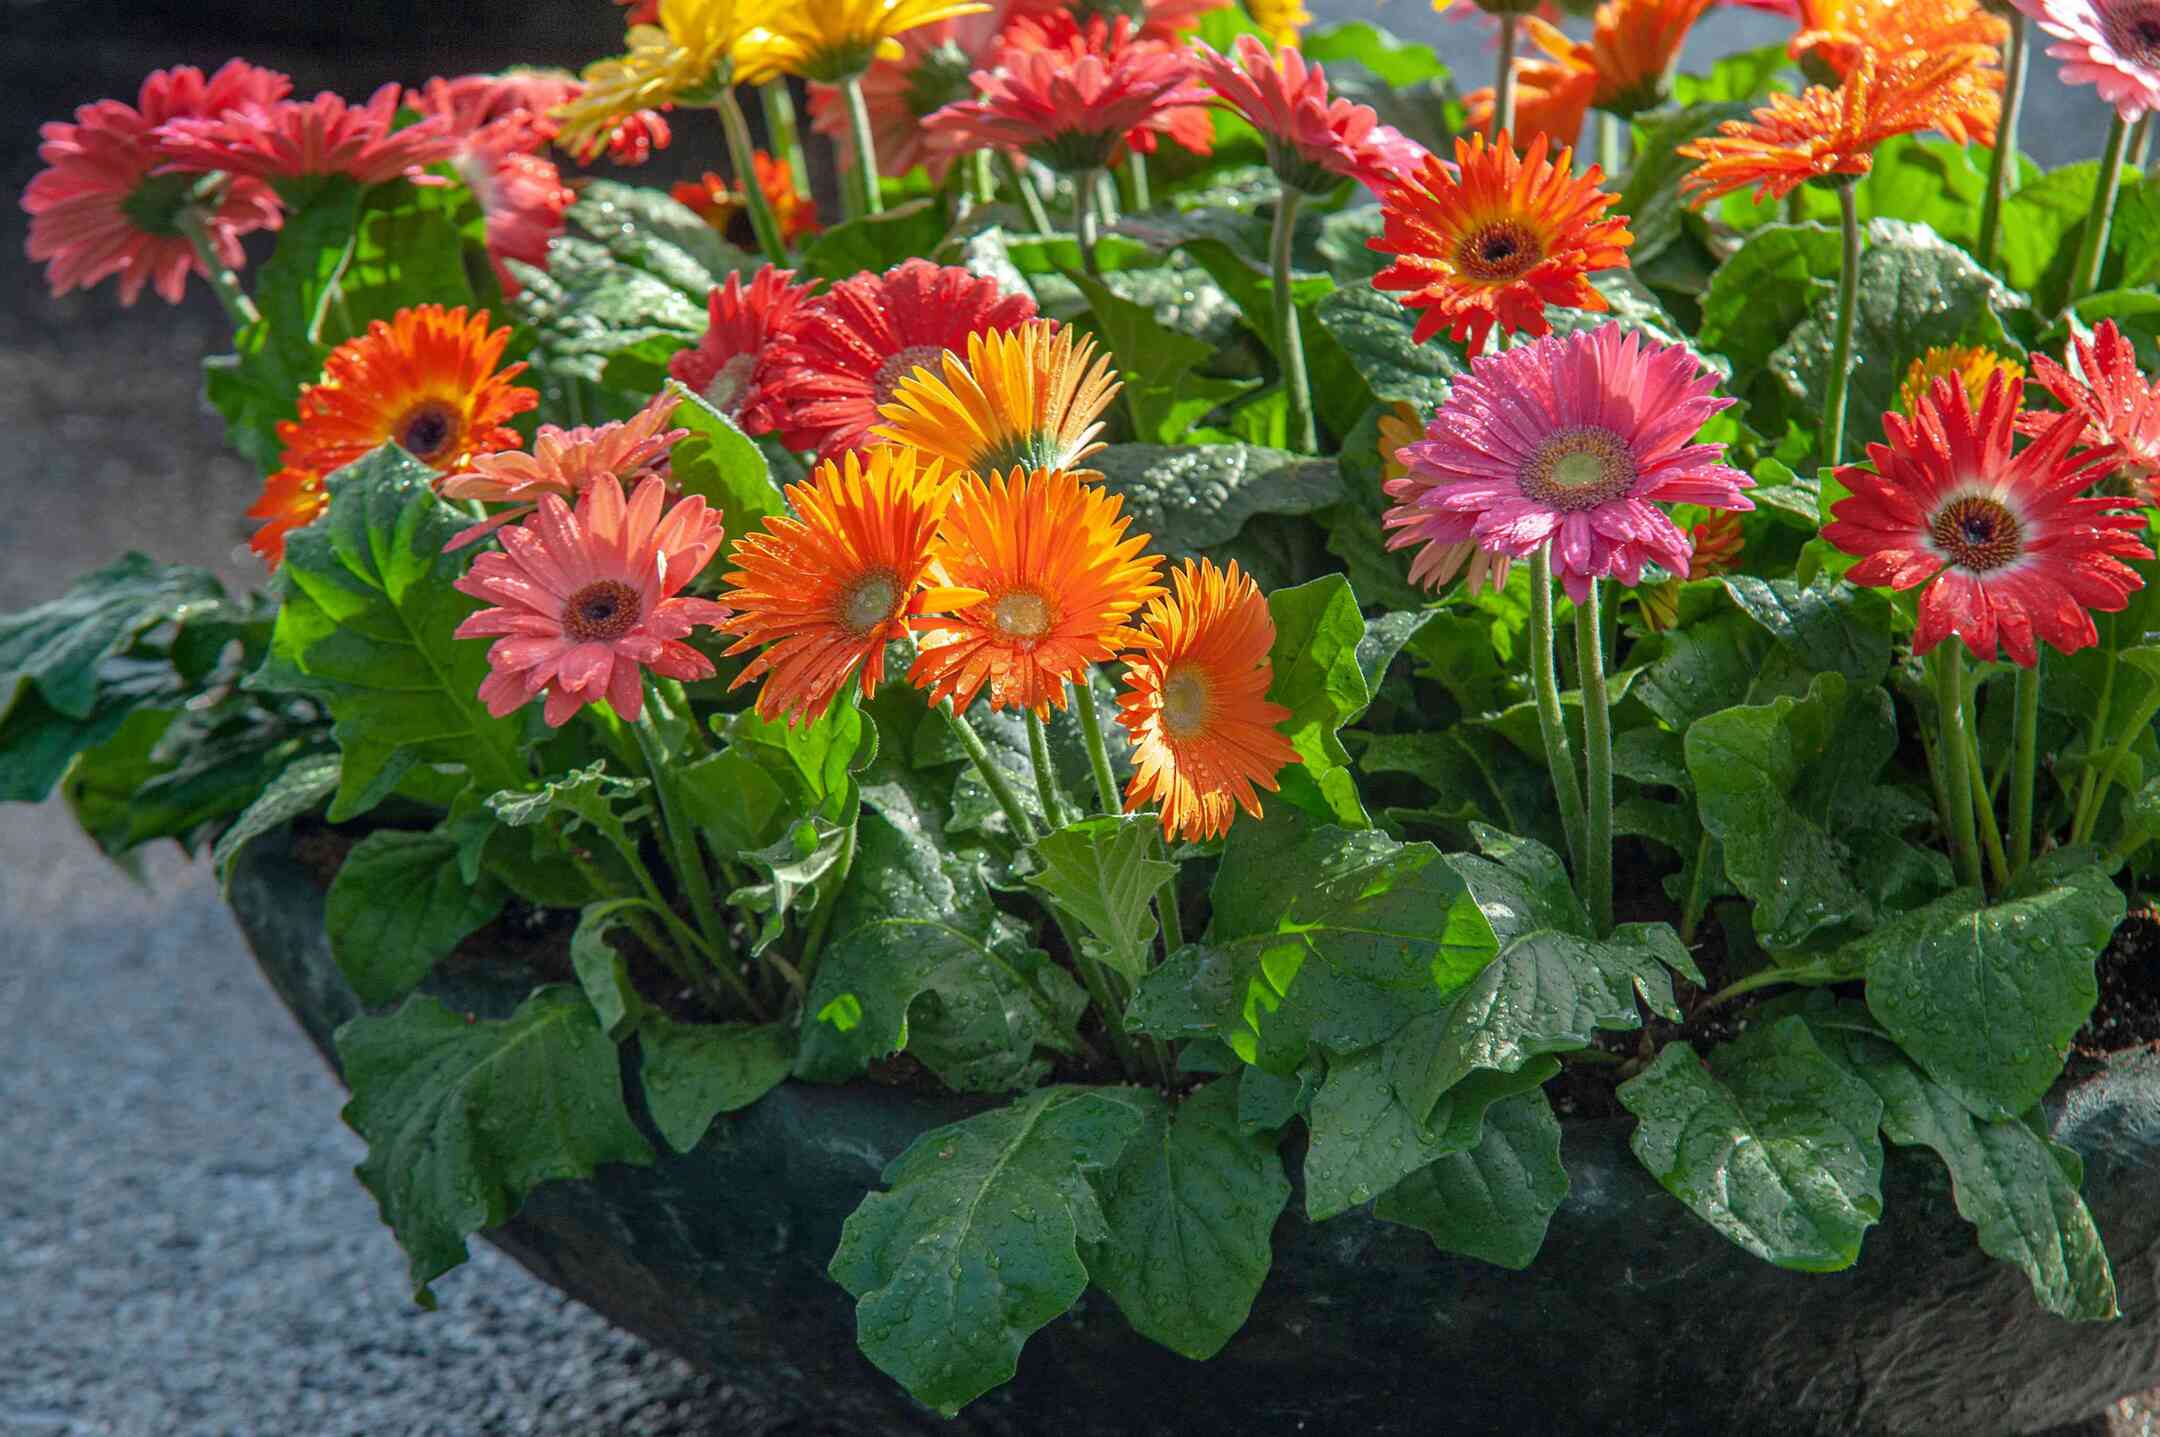
As you enjoy your blooming African daisies, take time to appreciate the beauty they bring to your outdoor space. Whether you plant them in flower beds, containers, or as part of a mixed garden, African daisies are sure to captivate with their stunning blooms and vibrant colors.
Continue to care for your African daisies by regular watering, fertilizing, and monitoring for pests and diseases. With a little love and attention, these beautiful flowers will continue to reward you with their natural beauty and charm throughout the growing season.
Now, armed with your newfound knowledge, go forth and create a garden that showcases the splendor of African daisies. Enjoy the process, and may your garden bloom with vibrant colors and fill your surroundings with joy and tranquility.
Frequently Asked Questions about How To Plant African Daisy Seeds
Was this page helpful?
At Storables.com, we guarantee accurate and reliable information. Our content, validated by Expert Board Contributors, is crafted following stringent Editorial Policies. We're committed to providing you with well-researched, expert-backed insights for all your informational needs.


0 thoughts on “How To Plant African Daisy Seeds”