
Articles
How To Store Black Olives
Modified: October 28, 2024
Learn how to properly store black olives with our informative articles. Discover the best methods to keep your olives fresh and flavorful.
(Many of the links in this article redirect to a specific reviewed product. Your purchase of these products through affiliate links helps to generate commission for Storables.com, at no extra cost. Learn more)
Introduction
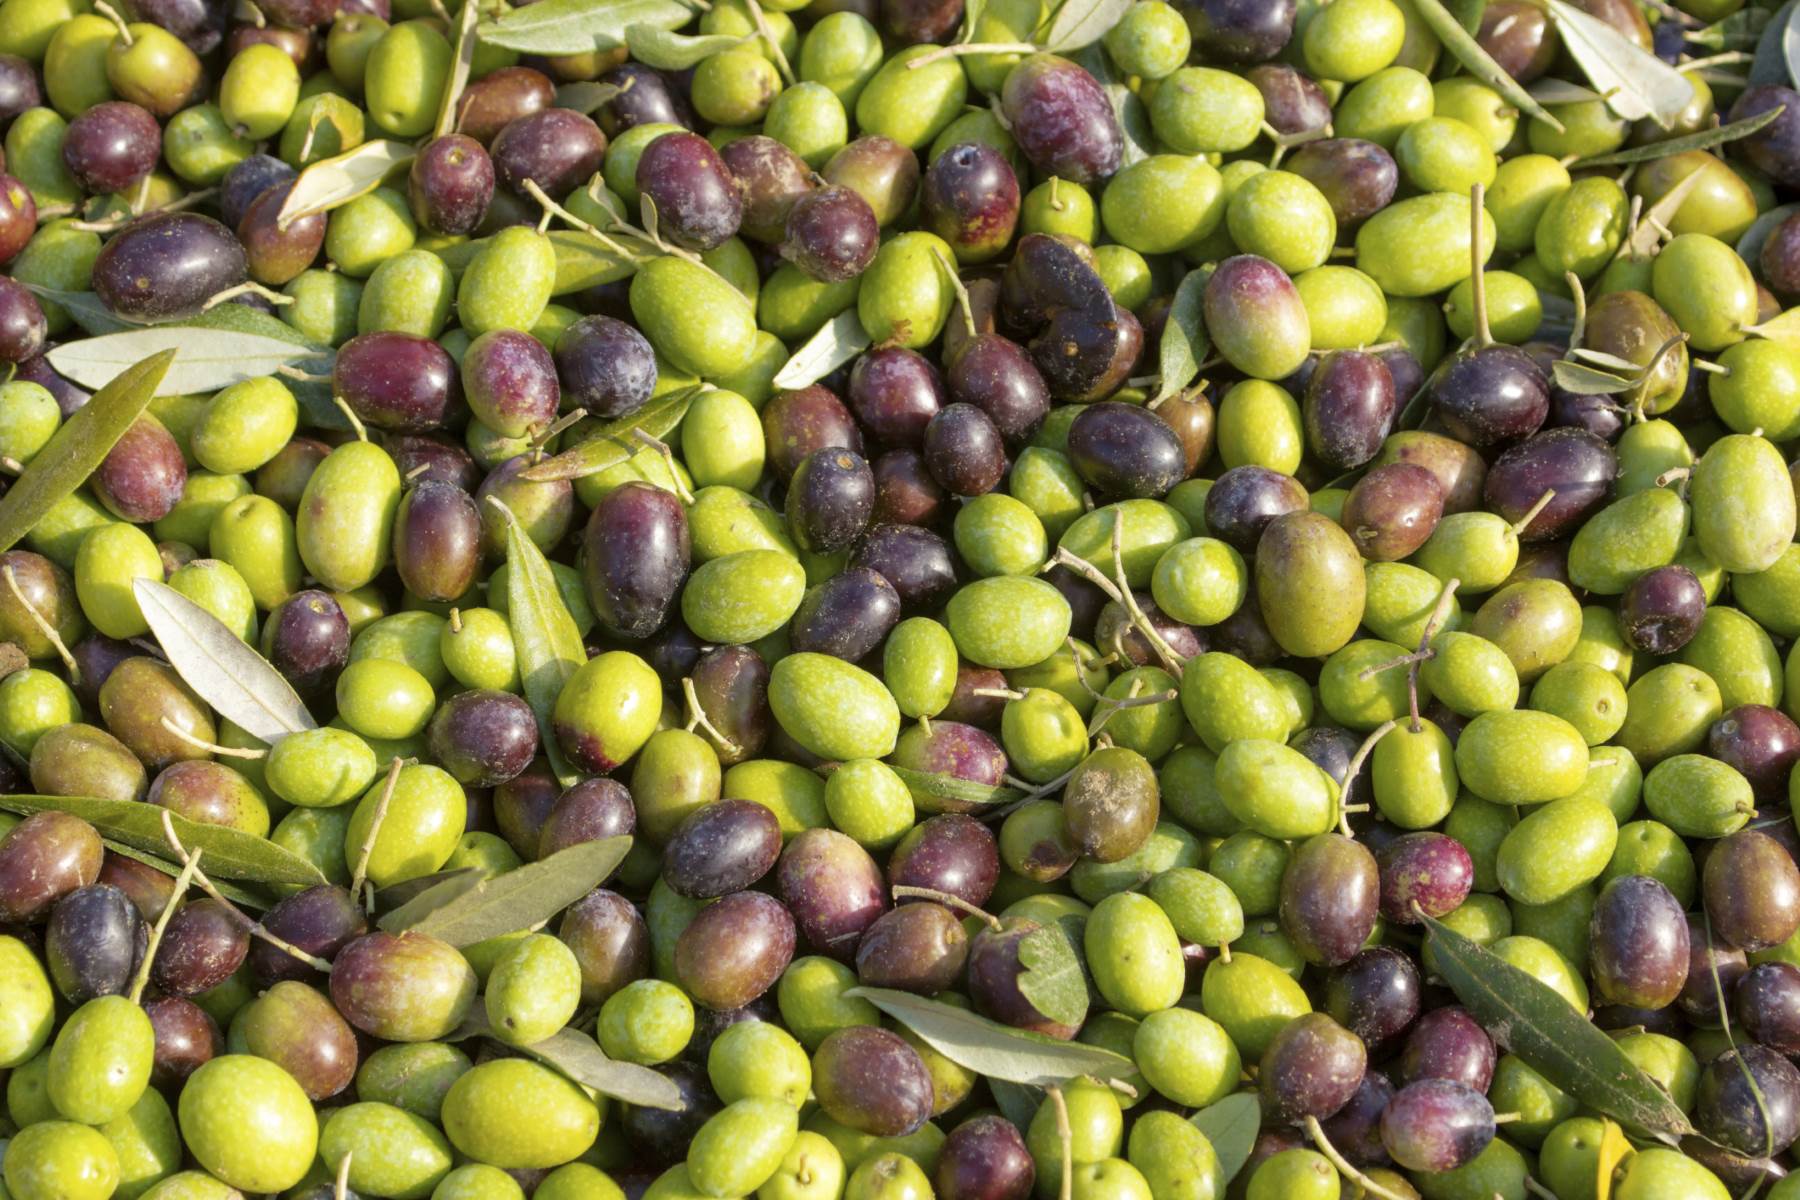
Black olives are a delicious and versatile ingredient commonly used in various Mediterranean and Middle Eastern cuisines. Whether you’ve harvested your own olives or want to preserve store-bought ones, knowing how to store black olives properly can help ensure their freshness and flavor for an extended period of time. This article will guide you through the steps of choosing the right container, preparing the olives for storage, and various methods of storing black olives.
Proper storage is essential to maintain the quality of black olives. By following the right techniques, you can prevent spoilage, maintain their texture, and preserve their unique taste. Whether you plan to use them in salads, pasta dishes, or as a flavorful topping, storing black olives correctly will ensure that they retain their original flavor and remain a delightful addition to your culinary creations.
So, if you’re ready to discover the secrets of black olive storage, let’s dive into the process and explore the best methods to keep these little black gems fresh and delicious.
Key Takeaways:
- Properly storing black olives in airtight containers, whether in brine, oil, the refrigerator, or the freezer, ensures their freshness and flavor, allowing for versatile use in various culinary creations.
- Choosing the right container, preparing olives for storage, and following proper storage methods are essential for maintaining the quality and flavor of black olives, providing convenience and cost savings.
Read more: How To Store Infused Olive Oil
Why Store Black Olives?
Storing black olives properly is essential to maintain their quality and prolong their shelf life. Here are a few reasons why you should consider storing black olives:
- Prolong Shelf Life: Black olives have a limited shelf life, especially if they are fresh or packed in brine. By storing them properly, you can extend their shelf life and enjoy them over a more extended period.
- Convenience: By having a stash of stored black olives, you ensure that you always have this versatile ingredient readily available in your pantry. This saves you time and effort when it comes to preparing meals and adds a flavorful touch to your dishes.
- Preserve Their Flavor: Proper storage ensures that black olives retain their distinct flavor. Storing them correctly helps maintain their texture and flavor characteristics, allowing you to enjoy their full potential in various recipes.
- Cost Savings: Buying olives in bulk or when they are in season and then properly storing them can help you save money in the long run. You can take advantage of sales or discounts and stock up on olives, avoiding the need to purchase them at higher prices later.
- Flexibility in Recipes: Having stored black olives on hand provides you with the flexibility to add them to a wide range of dishes whenever you desire. Whether it’s for salads, pasta sauces, or even unique olive-based spreads, stored black olives can elevate the flavor of many recipes.
Now that you understand the benefits of storing black olives, let’s move on to the next section and learn about choosing the right container for storage.
Choosing the Right Container
When it comes to storing black olives, choosing the right container is crucial to maintain their quality and prevent spoilage. Here are some factors to consider when selecting a container:
- Materia: It’s important to choose a container made of a non-reactive material to prevent any possible chemical reactions that may alter the taste and quality of the olives. Glass jars or food-grade plastic containers are excellent options.
- Airtight Seal: Ensure that the container has a tight-sealing lid or closure to create an airtight environment. This helps to preserve the olives and prevent air exposure, which can lead to spoilage and loss of flavor.
- Size: The size of the container will depend on the quantity of black olives you plan to store. Consider how often you’ll use the olives and choose a container that can accommodate the desired amount while leaving some headspace for the storage medium.
- Dark and Cool: Opt for a container that is dark in color or opaque. This helps protect the olives from light exposure, which can cause them to deteriorate and lose flavor. Also, store the container in a cool and dry place, away from direct sunlight or heat sources.
- Easy to Access: Consider the convenience of accessing the olives when choosing a container. It should be easy to open and close to allow for frequent use without compromising the seal.
By keeping these factors in mind, you can select the perfect container to ensure the longevity and quality of your stored black olives. The next step is preparing the olives for storage, which we will discuss in the following section.
Preparing the Olives for Storage
Before storing black olives, it’s important to properly prepare them to ensure their quality and flavor. Here are the steps to follow:
- Rinse the Olives: Start by rinsing the black olives under cold running water to remove any dirt or debris. Gently rub the olives to remove any surface impurities.
- Remove Any Bruised or Damaged Olives: Inspect the olives and remove any that are bruised, discolored, or damaged. These olives can affect the quality of the others and lead to spoilage.
- Leach the Bitterness: If the olives are fresh or have a bitter taste, they may need to be leached to remove the bitterness. This can be done by soaking them in water for several days, changing the water daily. Taste a small piece after a few days to see if the bitterness has reduced.
- Pit or Leave Whole: Decide whether you want to store the olives with or without the pits. Pitting the olives can be a time-consuming process, but it can also be more convenient when using them in recipes. If you choose to pit them, use a sharp knife or olive pitter to remove the pits.
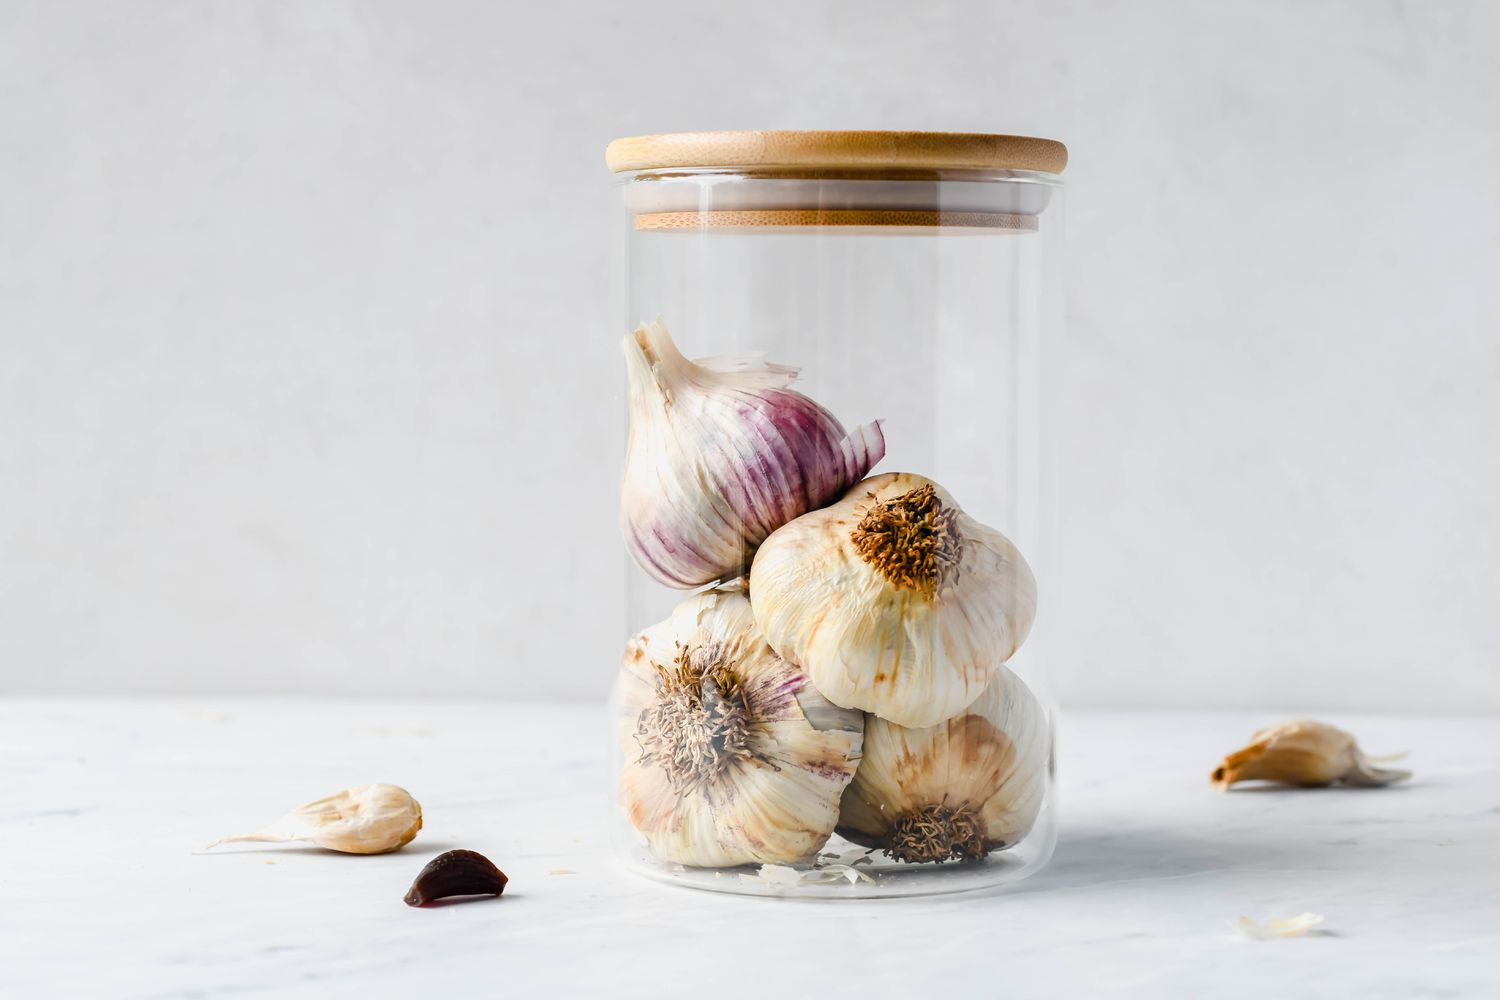
- Optional Seasoning: If desired, you can add flavor to the olives before storing them. Consider adding herbs, spices, or garlic cloves to infuse the olives with additional taste. This can enhance their flavor and make them even more enjoyable when used in cooking.
By following these steps, you will ensure that your black olives are clean, free from any damaged or bitter olives, and ready to be stored. Now let’s explore the various methods of storing black olives in the next section.
Methods of Storing Black Olives
There are several methods you can use to store black olives, depending on your preferences and the desired shelf life. Here are some common methods:
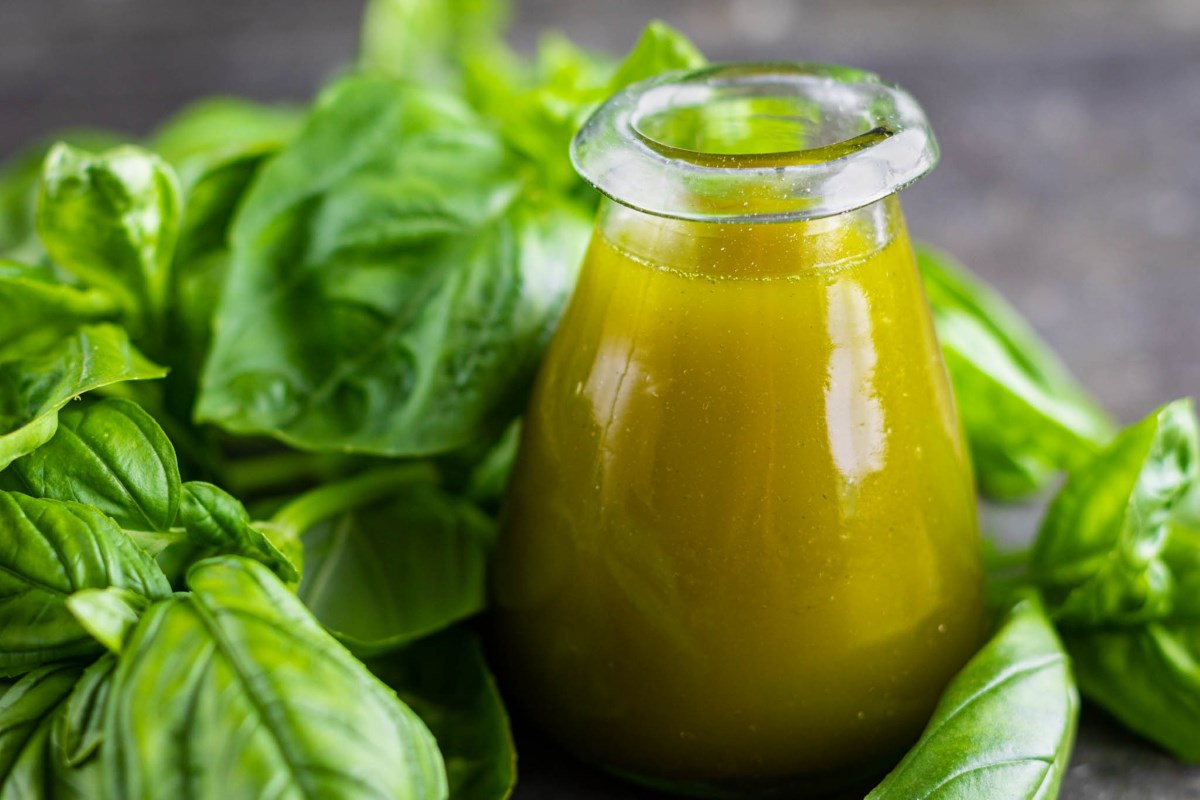
- Storing Black Olives in Brine Solution: This traditional method involves storing olives in a brine solution made with water and salt. The brine helps preserve the olives and enhances their flavor. Simply place the prepared olives in a container and cover them with the brine solution. Make sure the olives are fully submerged. Seal the container and store it in a cool, dark place.
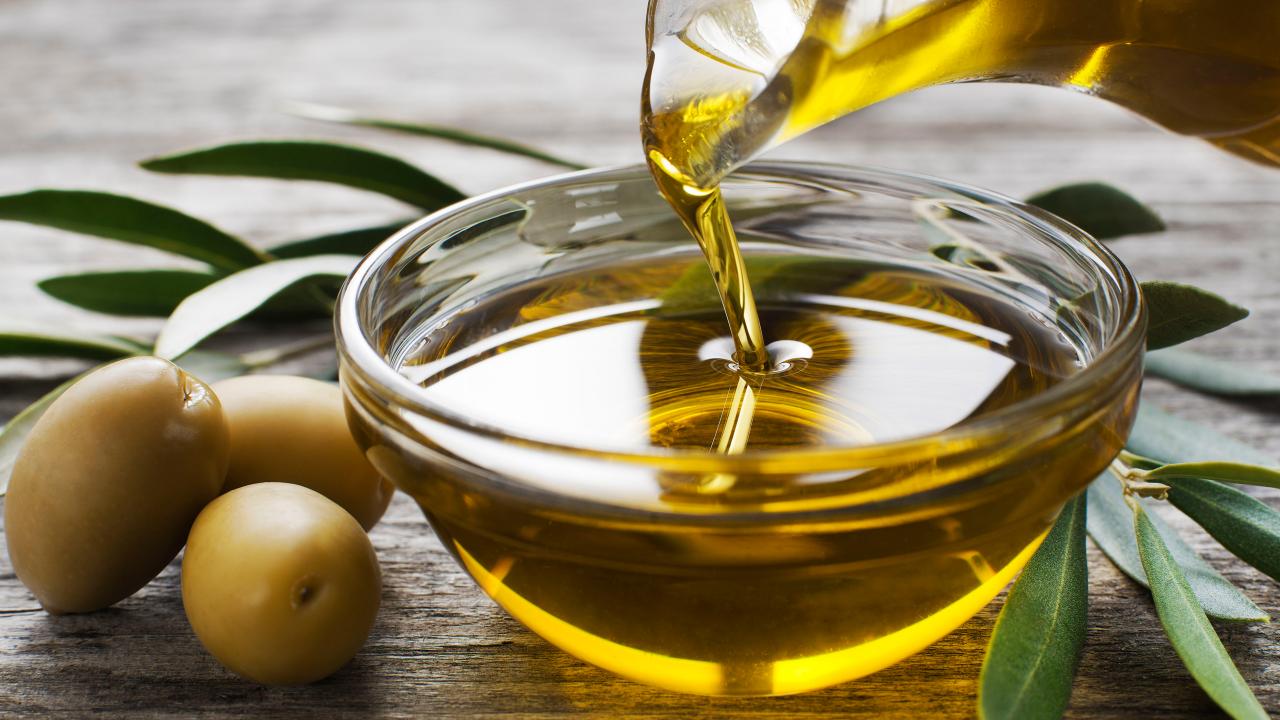
- Storing Black Olives in Oil: Another popular method is storing olives in oil. Choose a high-quality oil, such as extra virgin olive oil, and completely submerge the olives in the oil. This creates a protective barrier that helps prevent spoilage. Store the container in a cool place away from direct sunlight.
- Storing Black Olives in the Refrigerator: If you prefer a shorter shelf life and easy access to your olives, storing them in the refrigerator is a good option. Place the olives in an airtight container or resealable bag and store them in the refrigerator. This method keeps the olives fresh for a few weeks.
- Storing Black Olives in the Freezer: Freezing black olives is a great method for long-term storage. Place the prepared olives in a freezer-safe container or bag and remove as much air as possible before sealing. Frozen olives can be stored for several months, and you can thaw them as needed for cooking or snacking.
- Storing Black Olives in Airtight Containers: Regardless of the method you choose, storing the olives in airtight containers is essential. This helps maintain their freshness and prevents exposure to air, which can cause spoilage. Make sure the lids or closures of the containers create a tight seal to minimize air contact.
Consider your storage needs and desired shelf life when choosing the method for storing your black olives. Ensure you label the containers with the date of storage for easy reference. Now let’s delve deeper into each method of storing black olives in the following sections.
Read more: How To Store Olive Oil Cake
Storing Black Olives in Brine Solution
Storing black olives in a brine solution is a traditional method that helps preserve the olives’ flavor and texture. Here’s how you can do it:
- Prepare the Brine Solution: To make the brine solution, mix water and salt in a ratio of 1 cup of salt to 4 cups of water. You can adjust the quantity based on the amount of olives you have and the size of your container. Dissolve the salt completely to ensure a well-balanced brine.
- Prepare the Olives: Rinse the black olives under cold running water to remove any dirt or debris. Remove any bruised or damaged olives. If desired, you can also pit the olives at this stage.
- Place in a Container: Transfer the washed and prepared olives into a clean and sterilized container. Make sure the container is large enough to hold the olives with some extra space for the brine solution.
- Add the Brine Solution: Pour the prepared brine solution over the olives, ensuring they are fully submerged. The level of the brine should be about 1 inch above the top layer of olives to prevent air exposure. If needed, prepare additional brine solution to cover the olives.
- Seal the Container: Ensure the container is tightly sealed to create an airtight environment. This helps prevent spoilage and maintains the quality of the olives.
- Store in a Cool, Dark Place: Place the container in a cool, dark place, such as a cellar or a pantry. Avoid exposing the olives to direct sunlight or heat, as this can affect their quality. The stored olives will gradually absorb the brine, which enhances their flavor over time.
- Wait for Fermentation: Allow the olives to ferment in the brine solution for at least a few weeks to develop their flavors fully. You can sample the olives occasionally to determine the desired taste and texture.
- Enjoy and Maintain: Once the olives have reached the desired flavor, they are ready to be enjoyed. Keep the container tightly sealed when not in use and store it in the refrigerator to prolong their shelf life.
Storing black olives in brine solution is a traditional method that provides great flavor and texture. Just make sure to choose the right container and follow the proper storage conditions to maintain the quality of the olives. In the next section, we’ll explore the method of storing black olives in oil.
Store black olives in an airtight container, covered with olive oil to keep them from drying out. Keep them in the refrigerator for up to 2 weeks for best quality.
Storing Black Olives in Oil
Storing black olives in oil is another popular method that not only helps preserve the olives but also adds a richness of flavor. Here’s how you can store black olives in oil:
- Prepare the Olives: Start by rinsing the black olives under cold running water to remove any dirt or debris. Remove any damaged olives and pat them dry using a clean towel.
- Choose the Right Oil: Select a high-quality oil for the storage, such as extra virgin olive oil. The oil should have a neutral or complementary flavor to enhance the taste of the olives. Avoid using oils with strong flavors that may overpower the olives.
- Add the Olives to the Container: Place the prepared olives in a clean and sterilized container. Make sure the container is large enough to comfortably hold the olives and allow for the addition of oil.
- Completely Submerge the Olives: Pour the chosen oil over the olives, making sure they are completely submerged. The oil acts as a protective layer, preventing air exposure and extending the shelf life of the olives. Ensure there is enough oil to cover all the olives.
- Seal the Container: Seal the container tightly with a lid or airtight closure to maintain the freshness of the olives and prevent any air from entering.
- Store in a Cool Place: Place the container in a cool, dark place away from direct sunlight or heat sources. The cool temperature helps to preserve the quality of both the olives and the oil.
- Allow for Infusion: Over time, the olives will absorb some of the oil and develop a richer flavor. For the best results, allow the olives to infuse for at least a few weeks before consuming.
- Use as Needed: Stored olives in oil can be used directly from the container. When removing olives, make sure to use a clean utensil to maintain the oil’s quality and prevent cross-contamination.
- Replenish the Oil: As you use the olives, it’s essential to replenish the container with additional oil to keep the olives fully submerged. This helps maintain their freshness and prevents oxidation.
Storing black olives in oil not only preserves their shelf life but also adds a layer of flavor that enhances their taste. Remember to use high-quality oil, keep the container sealed, and store it in a cool place for optimal results. In the next section, we’ll explore storing black olives in the refrigerator.
Storing Black Olives in the Refrigerator
If you prefer a shorter-term storage option with easy access to your black olives, storing them in the refrigerator is a convenient choice. Follow these steps to store black olives in the refrigerator:
- Prepare the Olives: Rinse the black olives under cold running water to remove any dirt or debris. Pat them dry using a clean kitchen towel.
- Select an Airtight Container: Choose a clean and airtight container to store the olives in the refrigerator. This can be a glass jar or a plastic container with a tight-sealing lid.
- Place the Olives in the Container: Place the prepared black olives in the container. Ensure they are packed tightly to minimize air exposure.
- Seal the Container: Make sure the lid or closure of the container creates a tight seal to prevent air from entering and affecting the olives’ quality.
- Label and Date: It’s helpful to label the container with the date of storage to track the olives’ freshness. This will also help you easily identify them among other refrigerated items.
- Store in the Refrigerator: Place the container of olives in the refrigerator, ideally in one of the colder sections, such as the lower shelf. Keeping them at a consistently cold temperature helps maintain their quality.
- Keeps for a Few Weeks: Stored in the refrigerator, black olives can typically stay fresh for a few weeks. However, always rely on your senses to determine whether the olives are still good to consume.
- Bring to Room Temperature: Before consuming or using the olives, it’s best to let them come to room temperature. This allows the flavors to fully develop and enhances the olives’ taste.
- Use as Desired: Stored black olives in the refrigerator can be used in a variety of dishes, such as salads, pizzas, or pasta. Enjoy them at your convenience and add a burst of flavor to your culinary creations.
- Properly Close the Container: Whenever you finish using the olives, be sure to tightly close the container to maintain their freshness. This will help prevent them from drying out or absorbing odors from other refrigerated items.
Storing black olives in the refrigerator offers a convenient option for shorter-term storage. Just make sure to use a properly sealed container and keep an eye on the olives’ freshness. In the next section, we’ll explore the option of storing black olives in the freezer.
Storing Black Olives in the Freezer
If you want to store black olives for an extended period, the freezer is an excellent option. Freezing black olives helps preserve their taste and texture. Here’s how you can store black olives in the freezer:
- Prepare the Olives: Rinse the black olives under cold running water to remove any dirt or debris. Pat them dry using a clean kitchen towel.
- Choose a Freezer-Safe Container: Select a container or freezer bag that is suitable for freezing. Ensure it is made of a material that can withstand low temperatures without cracking or breaking.
- Place the Olives in the Container: Put the prepared black olives into the container or freezer bag. Leave some space at the top to allow for expansion during freezing.
- Remove Air and Seal: If using a freezer bag, remove as much air as possible before sealing it. If using a container, press plastic wrap directly against the surface of the olives to minimize air exposure, then seal the container tightly with a lid.
- Label and Date: It’s important to label the container or bag with the date of storage. This way, you can keep track of how long the olives have been frozen and maintain their freshness.
- Place in the Freezer: Put the container of olives in the freezer, ideally on a flat surface to ensure they freeze evenly. Make sure the temperature of your freezer is set at 0°F (-18°C) or lower.
- Thaw as Needed: When you want to use the frozen olives, remove the container from the freezer and thaw them in the refrigerator. This gradual thawing helps retain their texture and flavor.
- Consume within a Few Months: Properly stored black olives can stay in the freezer for several months without significant loss of quality. However, for the best flavor and texture, it’s recommended to consume them within 3 to 6 months.
- Use in Your Favorite Dishes: Thawed black olives are ready to be used in a variety of recipes. Add them to salads, pasta dishes, pizzas, or any other dish that calls for the flavorful addition of olives.
- Re-Seal and Return to the Freezer: After each use, make sure to re-seal the container tightly or resealable bag and return the olives to the freezer for long-term storage.
Storing black olives in the freezer allows you to enjoy their taste and texture over an extended period. Just remember to properly label and date the container and thaw the olives in the refrigerator when ready to consume. In the next section, we’ll explore storing black olives in airtight containers.
Read more: How To Store Olive Garden Breadsticks
Storing Black Olives in Airtight Containers
Regardless of the method you choose – be it storing black olives in brine solution, oil, the refrigerator, or the freezer – using airtight containers is essential. Airtight containers help maintain the freshness and flavor of the olives. Here’s how you can store black olives in airtight containers:
- Select the Right Container: Choose a container that is made of a non-reactive material, such as glass or food-grade plastic. Make sure the container has a tight-sealing lid or closure that creates an airtight environment.
- Prepare the Olives: Rinse the black olives under cold running water to remove any dirt or debris. Remove any damaged olives or pits, if desired.
- Place the Olives in the Container: Put the prepared olives into the airtight container. Ensure they are packed tightly, leaving a bit of headspace at the top to accommodate the storage medium.
- Add the Storage Medium: Depending on the method you choose, add the appropriate storage medium, such as brine solution or oil (if applicable), to cover the olives. Ensure the olives are fully submerged to prevent air exposure.
- Seal the Container Tightly: Close the container with the lid or sealing mechanism securely. Double-check to ensure there are no gaps or openings that can allow air to enter.
- Label and Date: It’s important to label the container with the date of storage. This way, you can keep track of how long the olives have been stored and maintain their freshness.
- Store in Optimal Conditions: Place the airtight container in the appropriate storage location based on the chosen method. This could be a cool, dark place for brine or oil-stored olives, the refrigerator for shorter-term storage, or the freezer for long-term storage.
- Maintain Sealed and Protected: Whenever you open the container to use the olives, make sure to seal it tightly afterward. Store the container away from any strong odors that can transfer to the olives, and protect it from direct sunlight or heat.
- Regularly Check the Olives: It’s a good practice to periodically check the olives for any signs of spoilage, such as unusual odor, mold growth, or significant changes in texture or flavor. Discard any olives that show signs of deterioration.
- Consume Within the Recommended Time: While properly stored black olives can last for a significant period, it’s best to consume them within the recommended storage time for the specific method you’ve chosen. This ensures the best quality and flavor.
Storing black olives in airtight containers is a reliable way to maintain their freshness and protect them from air exposure. Follow these guidelines, and you’ll be able to enjoy flavorful olives in your dishes whenever you desire. In the next section, we’ll share some tips to help you further optimize the storage of black olives.
Tips for Storing Black Olives
To ensure the best storage and preservation of black olives, here are some helpful tips to keep in mind:
- Choose Fresh and Quality Olives: When purchasing or harvesting olives, select ones that are fresh and of high quality. This will ensure better storage results and overall flavor.
- Properly Rinse and Dry the Olives: Before storing, thoroughly rinse the olives under cold running water to remove any dirt or impurities. Patted them dry with a clean kitchen towel to prevent excess moisture.
- Use Non-Reactive Containers: When storing olives, choose containers made of non-reactive materials such as glass or food-grade plastic. This prevents any chemical reactions that could alter the taste or quality of the olives.
- Label and Date the Storage Containers: Always label the storage containers with the date of storage. This helps keep track of the olives’ freshness and ensures that you consume them within the recommended timeframe.
- Maintain a Cool and Dark Storage Environment: Store the olives in a cool and dark place, away from direct sunlight or heat sources. The ideal temperature range for storage is between 40°F (4°C) and 60°F (15°C).
- Ensure Proper Seal and Airtight Closure: For all storage methods, make sure the containers have airtight seals and closures. This prevents air exposure and helps maintain the quality and freshness of the olives.
- Regularly Check for Spoilage: Periodically check the olives for any signs of spoilage, such as an off odor, mold growth, or changes in texture or color. Discard any olives that show signs of deterioration.
- Rotate and Use Oldest Olives First: When using the stored olives, it’s best to follow the “first in, first out” principle. Consume the oldest olives first to ensure that none go past their prime.
- Replenish Storage Medium: If storing olives in brine solution or oil, check the container periodically and replenish the storage medium if necessary. This helps maintain the desired flavor and prevent air exposure.
- Experiment with Flavors: Don’t be afraid to try different flavor combinations when storing olives. Add spices, herbs, or even citrus peels to the storage medium to infuse the olives with unique flavors.
By following these tips, you can optimize the storage of black olives and enjoy their freshness and flavor for an extended period. Remember to consider the specific storage method you choose and the recommended shelf life for best results. Now you’re equipped with the knowledge to store black olives like a pro!
As a final note, while the tips provided are general guidelines, always trust your sensory judgment and discard any olives that appear spoiled or have an off odor. Enjoy the versatile nature of black olives in your favorite recipes and savor their delicious taste.
Conclusion
Storing black olives properly is essential to maintain their quality and prolong their shelf life. Whether you choose to store them in brine solution, oil, the refrigerator, or the freezer, using the right containers, following proper preparation techniques, and ensuring airtight seals are crucial steps for successful storage.
By storing black olives correctly, you can enjoy their unique flavor and versatility in a variety of dishes. Whether it’s a tangy addition to salads, a savory ingredient in pasta sauces, or a delicious topping on pizzas, properly stored black olives can elevate the taste of your culinary creations.
Remember to consider your storage needs, desired shelf life, and preferred method when storing black olives. Label and date your containers to keep track of their freshness, and always check for any signs of spoilage before consuming.
With the knowledge and tips provided in this article, you are now equipped to store black olives like a pro. So, go ahead and stock up on these delightful gems, preserving their flavor and ensuring they are always on hand to enhance your meals.
Whether you have harvested fresh olives or want to store store-bought ones, following the proper storage techniques will ensure that your black olives stay fresh and delicious for as long as possible. So, go ahead and experiment with different methods, flavors, and storage conditions. With a little care and attention to detail, you can enjoy the delightful taste of black olives in your favorite recipes any time of the year.
Remember, when it comes to storing black olives, it’s important to strike a balance between proper preservation techniques and enjoying their rich flavor. So, follow these guidelines, get creative, and savor the deliciousness of black olives in your meals!
Frequently Asked Questions about How To Store Black Olives
Was this page helpful?
At Storables.com, we guarantee accurate and reliable information. Our content, validated by Expert Board Contributors, is crafted following stringent Editorial Policies. We're committed to providing you with well-researched, expert-backed insights for all your informational needs.


0 thoughts on “How To Store Black Olives”