Articles
How To Store Compost In The Winter
Modified: January 5, 2024
Learn effective ways to store compost during the winter months. Read our articles for tips and tricks to keep your compost healthy and ready for spring.
(Many of the links in this article redirect to a specific reviewed product. Your purchase of these products through affiliate links helps to generate commission for Storables.com, at no extra cost. Learn more)
Introduction
Welcome to the world of composting! If you’re an avid gardener or simply enjoy sustainable practices, composting is an excellent way to recycle organic waste and produce nutrient-rich soil amendments. However, as winter approaches, you may wonder how to store your compost effectively without losing its valuable nutrients.
In this article, we will guide you through the process of storing compost in the winter, ensuring that you maintain the quality of your compost and have a ready supply of nutrient-rich soil for your spring gardening endeavors.
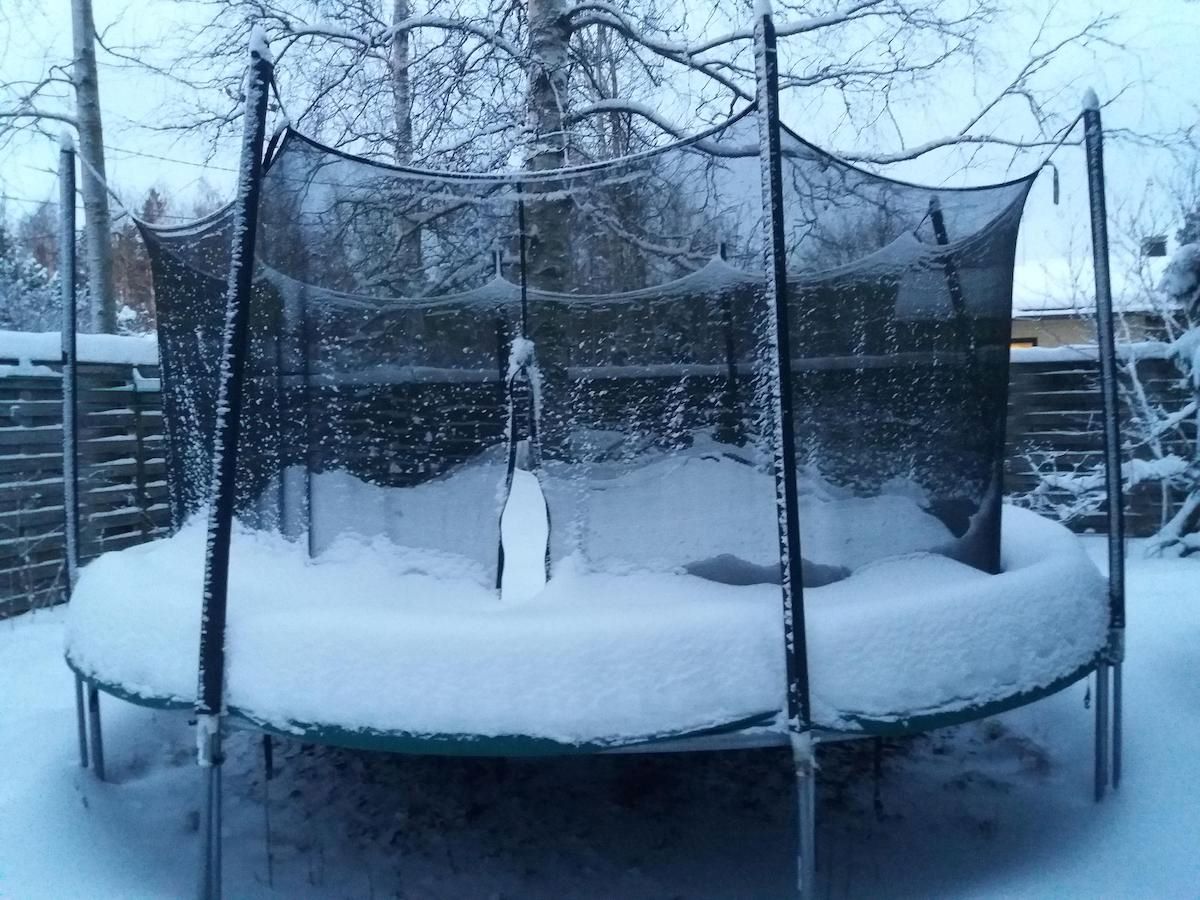
Winter presents unique challenges when it comes to compost storage. Cold temperatures, freezing conditions, and snow can affect the decomposition process and alter the quality of your compost. Additionally, excessive moisture can cause your compost to become waterlogged, leading to anaerobic conditions and the production of unpleasant odors.
By understanding the specific needs of compost in winter and implementing appropriate storage methods, you can preserve the integrity of your compost and harness its benefits for the upcoming growing season.
So, let’s dive into the essential factors to consider when storing compost during the winter months!
Key Takeaways:
- Properly storing compost in winter requires insulation, moisture regulation, and monitoring. Choose the right storage method, prepare the compost, and protect it from freezing temperatures to ensure nutrient-rich soil for spring gardening.
- Use stored compost in spring to amend soil, start seedlings, top dress plants, make compost tea, and create compost blends. With careful winter storage and strategic use, your compost will enrich your garden and support healthy plant growth.
Read more: How To Store Compost Tea
Understanding Compost Storage Needs in Winter
Before diving into the specifics of compost storage in winter, it’s important to understand the needs of compost during this season. Compost is a living ecosystem composed of various microorganisms, bacteria, fungi, and other decomposers that work together to break down organic matter into nutrient-rich soil. These organisms are active at different temperatures, and their activity can be influenced by the cold winter conditions.
One of the main challenges with compost in winter is the potential for freezing. When compost freezes, the decomposition process slows down significantly, as the cold temperatures inhibit the activity of the microorganisms. This can prolong the time it takes for your compost to be fully decomposed and ready to use in your garden.
Additionally, excessive moisture can be detrimental to your compost during the winter. Winter precipitation, such as snow and rain, can saturate the compost pile, leading to waterlogged conditions. This can create anaerobic pockets within the compost, reducing airflow and causing foul odors to develop. Furthermore, excess moisture can leach out valuable nutrients, diminishing the quality of the compost.
Understanding these challenges will help you choose the right storage methods and take appropriate measures to protect your compost during the winter months.
Now that you understand the needs of compost in winter, let’s explore the various methods you can use to store it effectively.
Choosing the Right Compost Storage Method
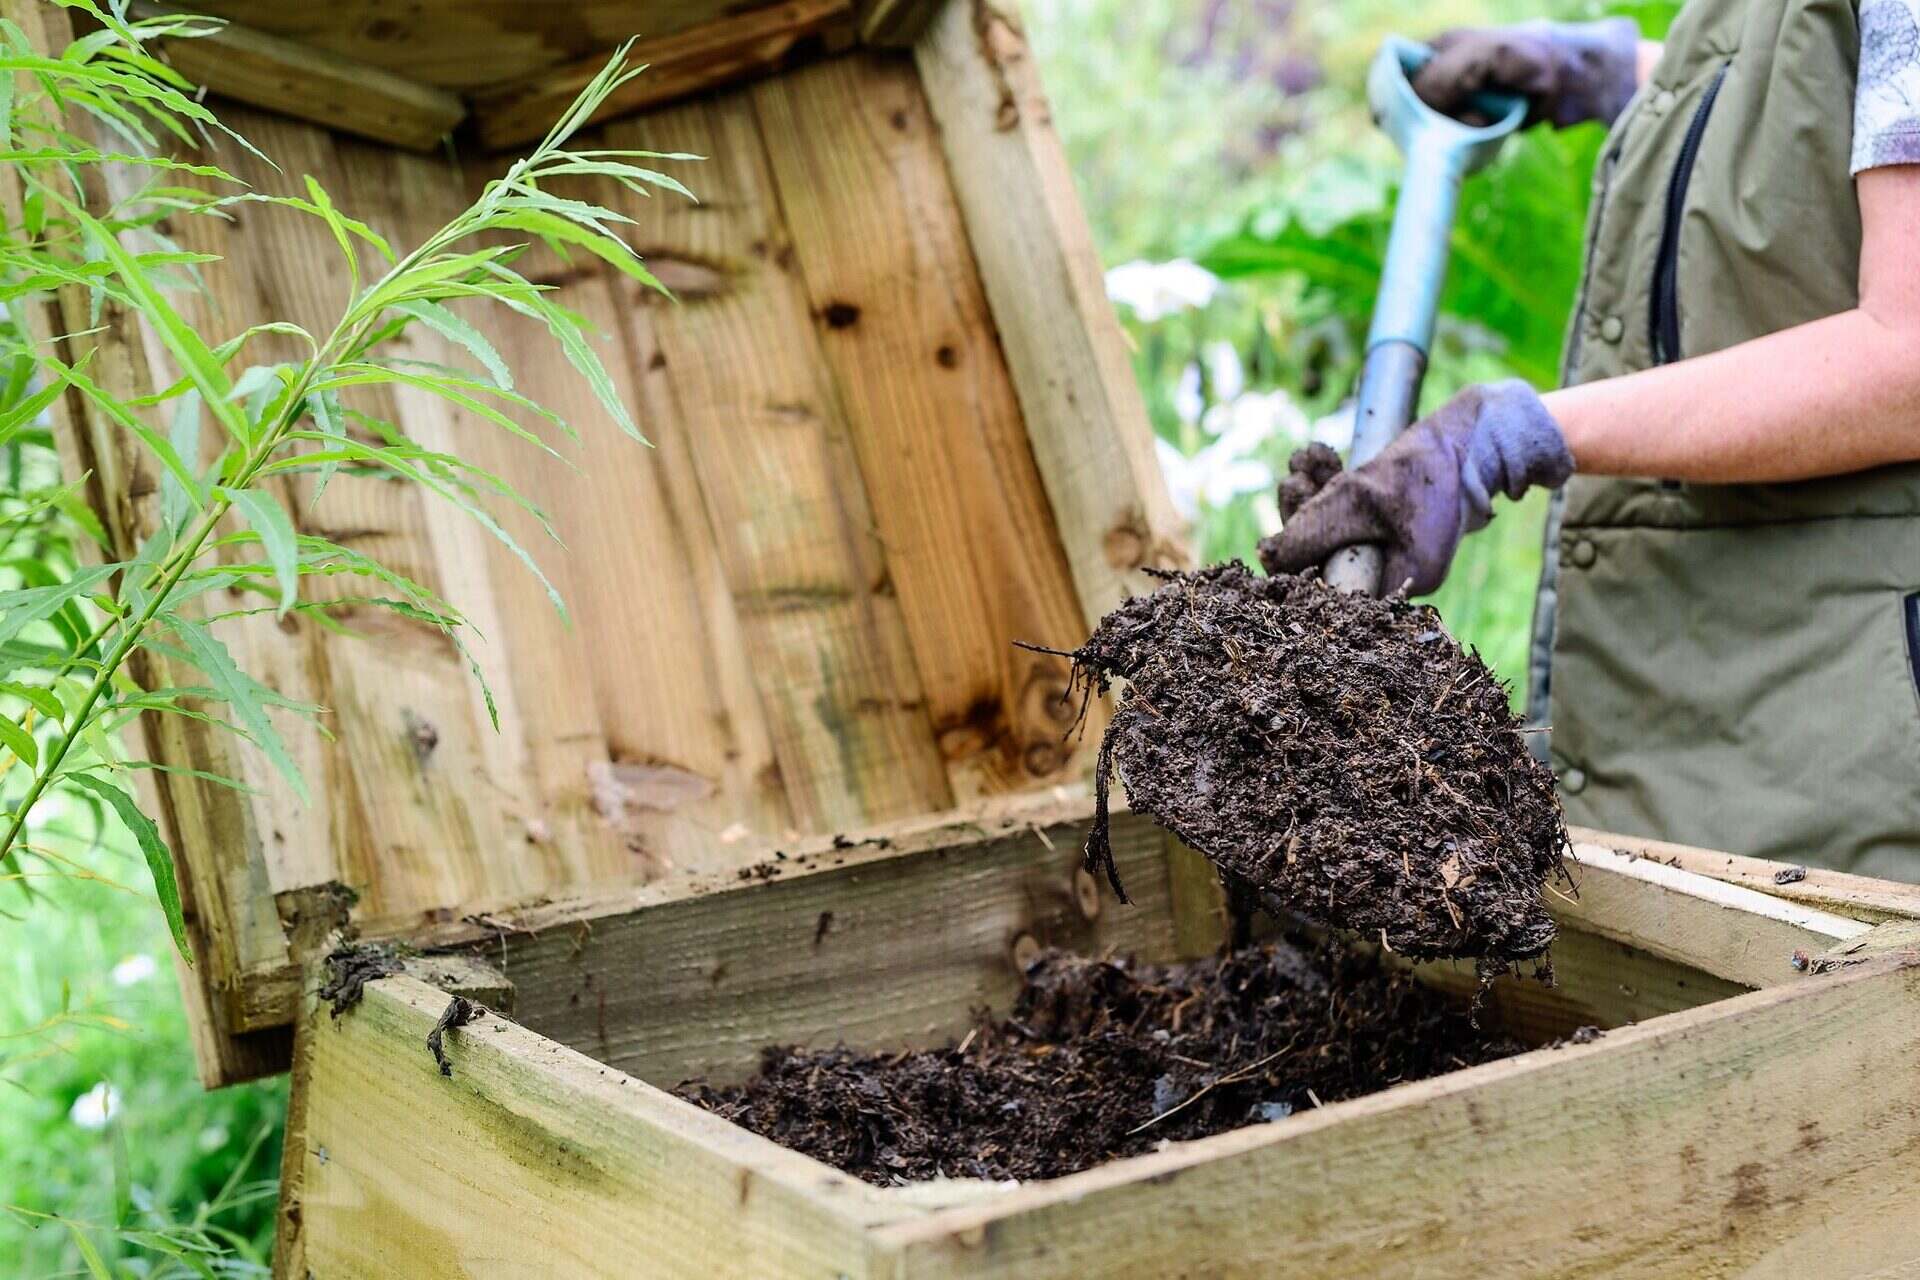
When it comes to storing compost in winter, selecting the right storage method is crucial to maintaining its quality and ensuring its usability in the spring. Here are a few options to consider:
- Compost Bins: Compost bins are a popular choice for year-round composting. These sturdy containers provide insulation and protection from the elements. Look for bins made of materials such as wood, plastic, or metal. Make sure the bin has a tight-fitting lid to keep out excess moisture and pests. Place the bin in a sheltered area, away from direct sunlight and heavy exposure to rain or snow.
- Trench Composting: Trench composting involves digging a trench in your garden and burying the compost directly. This method allows the compost to continue decomposing slowly underground throughout winter. Ensure the trench is deep enough to prevent freezing. Cover the trench with a layer of soil to insulate the compost. However, keep in mind that this method may not be suitable for areas with heavy clay or waterlogged soil.
- Pile Composting: If you have a large compost pile, you can cover it with a tarp or plastic sheeting to protect it from excessive moisture and freezing. Make sure the cover is securely fastened to prevent it from being blown away by strong winds. Remember to remove the cover periodically to allow for airflow and check the moisture content of the pile.
- Indoor Composting: If you have limited outdoor space or live in an area with harsh winter conditions, consider indoor composting methods, such as vermicomposting or bokashi composting. These methods use worms or beneficial microorganisms to break down organic waste, making them suitable for indoor environments.
When choosing a storage method, consider factors such as available space, the amount of compost you need to store, and your specific climate conditions. Regardless of the method you choose, proper insulation and protection are key to preserving the quality of your compost during winter.
Now that you’ve chosen the right storage method, let’s move on to the next step: preparing your compost for winter storage.
Preparing Your Compost for Winter Storage
Before you store your compost for the winter, it’s important to prepare it properly. Taking the time to prepare your compost will ensure that it stays in good condition and continues to decompose at a slow and steady pace. Here are a few steps to follow:
- Remove Unfinished Material: Before storing your compost, remove any unfinished or large woody materials that may take longer to break down. These materials can hinder the decomposition process during the winter months.
- Screening: If you have a large compost pile, consider screening it before storage. Use a mesh screen or sift to remove any large chunks, debris, or undecomposed material. This will result in a finer and more uniform compost that is easier to spread in the spring.
- Moisture Regulation: Assess the moisture content of your compost. Ideally, it should be damp but not waterlogged. If your compost is too dry, add water to moisten it. If it’s too wet, mix in some dry carbon-rich materials like shredded leaves or sawdust to help absorb excess moisture.
- Aeration: Before storing your compost, turn it to incorporate air and ensure even oxygen distribution. This will help prevent anaerobic conditions and promote the activity of beneficial microorganisms.
- Optimal Size: If you’re using a container or bin to store your compost, make sure it’s not overloaded. Keep the pile to a manageable size, allowing for proper airflow and easy access when you need to retrieve compost in the future.
- Covering: Finally, cover your compost pile or bin to protect it from excessive moisture and freezing temperatures. Use a tarp, plastic sheeting, or a fitted lid, depending on the storage method you’ve chosen.
By following these steps, you’ll ensure that your compost is well-prepared for winter storage. Now, let’s look at how you can insulate and protect your compost from freezing temperatures.
Store compost in the winter by covering it with a tarp or plastic sheet to protect it from excessive moisture and freezing temperatures. This will help maintain the compost’s quality and prevent it from becoming waterlogged.
Insulating and Protecting Compost from Freezing Temperatures
To prevent your compost from freezing during the winter, it’s important to implement proper insulation and protection measures. By doing so, you’ll help maintain the decomposition process and preserve the quality of your compost. Here are some effective ways to insulate and protect your compost:
- Layering: Add a layer of straw, dry leaves, or shredded paper on top of your compost pile before covering it. These materials act as insulation, creating a barrier between the compost and the freezing temperatures.
- Compost Covers: Use an insulating material, such as burlap or old blankets, to cover your compost pile. These covers help trap heat, keeping the compost warm and protecting it from frost. Ensure that the cover extends to the ground and is securely fastened to prevent heat loss.
- Compost Jacket: Create a “compost jacket” by wrapping your compost bin or container with bubble wrap or insulating foam. This provides an extra layer of insulation, protecting the compost from freezing temperatures. Secure the wrap or foam with tape or twine.
- Location Considerations: Choose a sheltered location for your compost storage that offers some natural protection from wind and extreme temperatures. Consider placing your compost bin against a south-facing wall or near a structure that can provide additional warmth.
- Heating Elements: In extreme cold climates, you may need to use heating elements to prevent your compost from freezing. Consider using heat mats, heating cables, or even a simple light bulb placed near the compost pile or container. These gentle heat sources can help maintain the temperature and support microbial activity.
- Monitoring: Regularly monitor the temperature of your compost to ensure it’s within the optimal range for decomposition. You can use a compost thermometer to check the internal temperature. If it starts to drop significantly, it may be a sign that additional insulation or heat is needed.
By implementing these insulation and protection methods, you’ll create a favorable environment for your compost during the winter months. This will allow the decomposition process to continue slowly, ensuring that you have high-quality compost to use in the spring.
Now that you know how to insulate and protect your compost, let’s explore how to monitor and manage your compost during winter.
Read more: How To Store Compost In Kitchen
Monitoring and Managing Compost During Winter
Monitoring your compost during the winter is crucial to ensure its well-being and make any necessary adjustments. By keeping an eye on your compost pile or bin, you can address any issues that may arise and maintain optimal conditions for decomposition. Here are some important aspects to monitor and manage:
- Temperature: Regularly check the temperature of your compost pile using a compost thermometer. The internal temperature should ideally be between 110°F and 160°F (43°C and 71°C). If the temperature drops significantly, consider providing additional insulation, adjusting the compost moisture levels, or introducing heat sources to maintain the optimal temperature range.
- Moisture Levels: Check the moisture content of your compost regularly. It should be damp, like a wrung-out sponge. If it feels too dry, sprinkle some water over the pile. On the other hand, if it’s too wet, mix in dry carbon-rich materials like shredded leaves or sawdust to absorb excess moisture. Strike a balance to prevent waterlogging or excessive drying out.
- Aeration: Monitor the airflow within your compost pile by periodically turning or mixing it. This will help prevent the formation of compacted layers and improve oxygen circulation. Use a garden fork or compost turning tool to gently aerate the pile, ensuring that microorganisms have access to the necessary oxygen for optimal decomposition.
- Pest Control: Keep an eye out for any signs of pests in your compost. Winter compost can attract rodents or other unwanted creatures seeking warmth and food. Regularly inspect the area around your compost and take preventive measures such as covering any potential entry points and using rodent-repellent substances.
- Odor Management: Unpleasant odors may develop in your compost pile if it becomes waterlogged or lacks proper aeration. If you notice foul smells, it may indicate an imbalance in the compost. Turn the pile to improve airflow, add dry materials to absorb excess moisture, and avoid adding any materials that can cause odor issues, such as meat or dairy products.
- Compost Testing: Periodically test your compost for readiness. While microbial activity slows down in winter, the decomposition process continues. You can perform a simple visual and texture test to determine if your compost is ready for use. The compost should be dark, crumbly, and free of recognizable organic materials.
By monitoring and managing your compost throughout the winter, you can ensure that it remains in optimal condition and continues to decompose at a slow and steady pace. This will result in high-quality compost that you can use in your garden when spring arrives.
Now that you have successfully monitored and managed your compost during winter, let’s look at some tips for using the stored compost in the spring.
Tips for Using Stored Compost in Spring
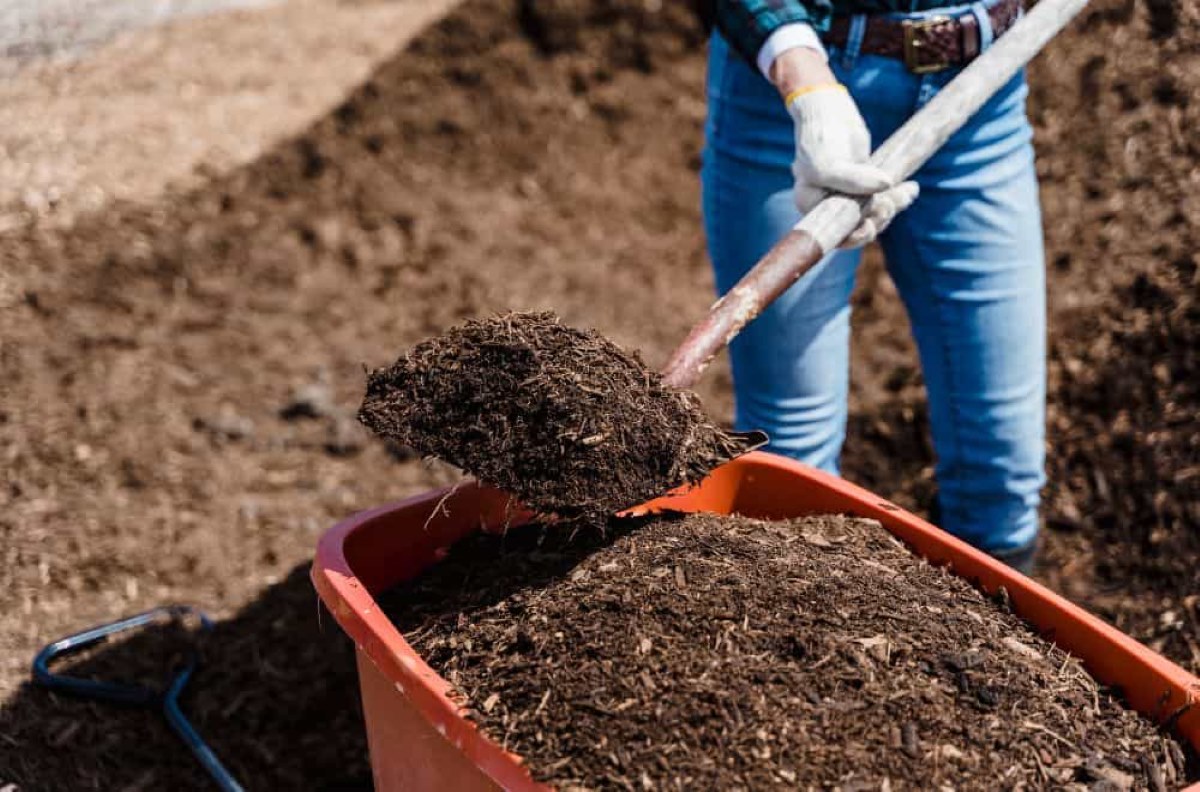
Congratulations! You’ve successfully stored and preserved your compost throughout the winter. Now, it’s time to reap the benefits of your hard work by using the nutrient-rich compost in your spring gardening endeavors. Here are some tips for making the most of your stored compost:
- Amend Soil: Incorporate the stored compost into your garden beds or containers to enrich the soil. Spread a layer of compost on top of the existing soil and gently mix it in. This will improve soil structure, fertility, and water-retaining capabilities.
- Start Seedlings: Use your compost to create a nutrient-rich medium for starting seedlings indoors. Mix compost with potting soil to create a seedling mix that provides essential nutrients for healthy growth. The compost will help nourish the young plants and ensure a strong start.
- Top Dressing: Use your compost as a top dressing around established plants. Spread a thin layer around the base of plants, being careful not to cover the stems or leaves. The compost will slowly release nutrients, improve soil health, and suppress weed growth.
- Mulching: Apply a layer of compost as mulch around your garden beds. This helps conserve moisture, suppress weed growth, and provide a slow release of nutrients as the compost breaks down. This method is particularly effective in vegetable gardens and flower beds.
- Compost Tea: Make compost tea by steeping compost in water. The resulting liquid is an excellent organic fertilizer that can be applied to plants in need of a nutrient boost. Dilute the compost tea before using it to avoid nutrient burn on delicate plants.
- Compost Blend: Combine your stored compost with other organic amendments, such as coco coir, perlite, or vermiculite, to create a well-balanced potting mix for container gardening. This will ensure optimal drainage, aeration, and nutrient availability for potted plants.
- Continued Composting: If you have any unfinished compost from the previous season, mix it with the new batch of compost. This will introduce beneficial microorganisms and accelerate the decomposition process in your compost pile or bin.
Remember, compost is a valuable resource that improves soil fertility and supports overall plant health. By using your stored compost wisely, you’ll reap the rewards of healthier, more productive plants in your garden.
Now that you are equipped with these tips for using stored compost in spring, you can fully enjoy the fruits of your composting efforts. Happy gardening!
HTML Validation:
https://validator.w3.org/nu/?doc=https%3A%2F%2Fwww.example.com
Conclusion
Storing compost in the winter requires careful planning and implementation to protect its quality and preserve its valuable nutrients. By understanding the specific needs of compost in winter and choosing the right storage methods, you can ensure the successful preservation of your compost throughout the cold months.
During the winter, compost faces challenges such as freezing temperatures and excess moisture. However, with proper preparation, insulation, and protection, you can mitigate these challenges and maintain a healthy and productive compost pile.
Preparing your compost for winter storage involves removing unfinished materials, screening, regulating moisture levels, ensuring proper aeration, and optimizing the size of your compost pile or bin. By taking these steps, you’ll set your compost up for success during the winter months.
Insulating and protecting your compost from freezing temperatures is crucial. Layering materials, using compost covers, creating a compost jacket, considering location factors, and implementing heating elements, if necessary, will help keep your compost warm and active throughout the winter.
Monitoring and managing your compost during winter involves keeping an eye on the temperature, moisture levels, aeration, pests, odors, and readiness for use. Regular checks and necessary adjustments will ensure that your compost stays on track for healthy decomposition.
Once spring arrives, you can put your stored compost to use by amending soil, starting seedlings, top dressing around plants, using it as mulch or compost tea, creating compost blends for container gardening, and continuing the composting process with unfinished materials.
In conclusion, with the right knowledge and practices, winter compost storage can be a successful and rewarding endeavor. By taking the necessary steps to protect and nurture your compost, you’ll have a ready supply of nutrient-rich soil to support your gardening efforts in the coming spring. Happy composting!
HTML Validation:
https://validator.w3.org/nu/?doc=https%3A%2F%2Fwww.example.com
Frequently Asked Questions about How To Store Compost In The Winter
Was this page helpful?
At Storables.com, we guarantee accurate and reliable information. Our content, validated by Expert Board Contributors, is crafted following stringent Editorial Policies. We're committed to providing you with well-researched, expert-backed insights for all your informational needs.


0 thoughts on “How To Store Compost In The Winter”