Articles
How To Store Compost Outside
Modified: January 7, 2024
Learn the best methods for storing compost outdoors with our informative articles. Find out how to maintain nutrient-rich soil for your garden and reduce waste.
(Many of the links in this article redirect to a specific reviewed product. Your purchase of these products through affiliate links helps to generate commission for Storables.com, at no extra cost. Learn more)
Introduction
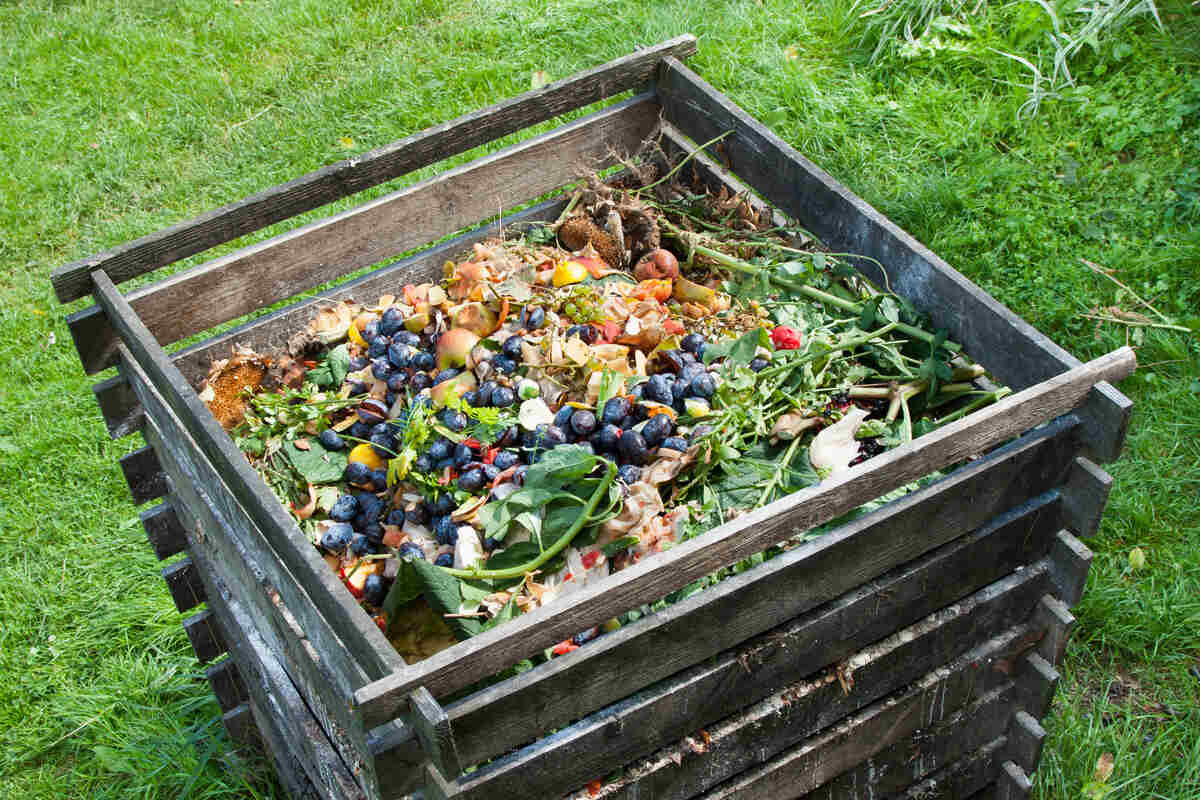
Welcome to the world of composting! Composting is a natural and sustainable way to transform your kitchen scraps and garden waste into nutrient-rich compost that can nourish your plants and improve soil health. While there are various methods of composting, one popular option is outdoor compost storage. In this article, we will explore the benefits of storing compost outdoors, give you tips on choosing the right location, guide you through the process of preparing and maintaining your compost bin, troubleshoot common issues, and provide tips on harvesting and using your compost.
Outdoor compost storage offers several advantages over other methods. Firstly, it allows for larger compost piles, which means you can handle a higher volume of organic waste. Secondly, the outdoor environment provides optimal conditions for the decomposition process, as it benefits from natural air circulation, sunlight, and beneficial microorganisms. Lastly, storing compost outdoors helps reduce kitchen odors and keeps pests away from your home.
Before you begin, it’s important to consider the location for your compost bin. Ideally, you want to place it in a spot that receives ample sunlight, as the heat aids in the decomposition process. However, if you live in a particularly hot climate, you may want to choose a partially shaded area to prevent the compost from drying out too quickly. Additionally, pick a location that is easily accessible so that adding and turning the compost is convenient for you.
Now that we’ve covered the basics, let’s dive into the steps needed to prepare your compost bin. Whether you choose to purchase a pre-made compost bin or build your own, make sure it has a lid or cover to keep rainwater out and prevent excessive moisture. This is important because too much moisture can lead to anaerobic decomposition and unpleasant odors. Ventilation is also essential, so ensure that your bin has ample air circulation.
When it comes to composting techniques for outdoor storage, there are a few key factors to keep in mind. First, the right balance of materials is crucial. Aim for a mix of “green” materials, like fruit and vegetable scraps, grass clippings, and coffee grounds, and “brown” materials, such as dry leaves, straw, and shredded newspaper. The ideal ratio is roughly three parts brown to one part green to maintain a healthy balance of carbon and nitrogen in your compost.
Key Takeaways:
- Embrace outdoor compost storage to handle larger volumes of organic waste, reduce kitchen odors, deter pests, and create nutrient-rich compost for a healthier garden and a more sustainable lifestyle.
- Select the ideal location, prepare a well-ventilated compost bin, and maintain a balanced mix of materials to ensure successful outdoor compost storage and maximize the benefits for your garden and the environment.
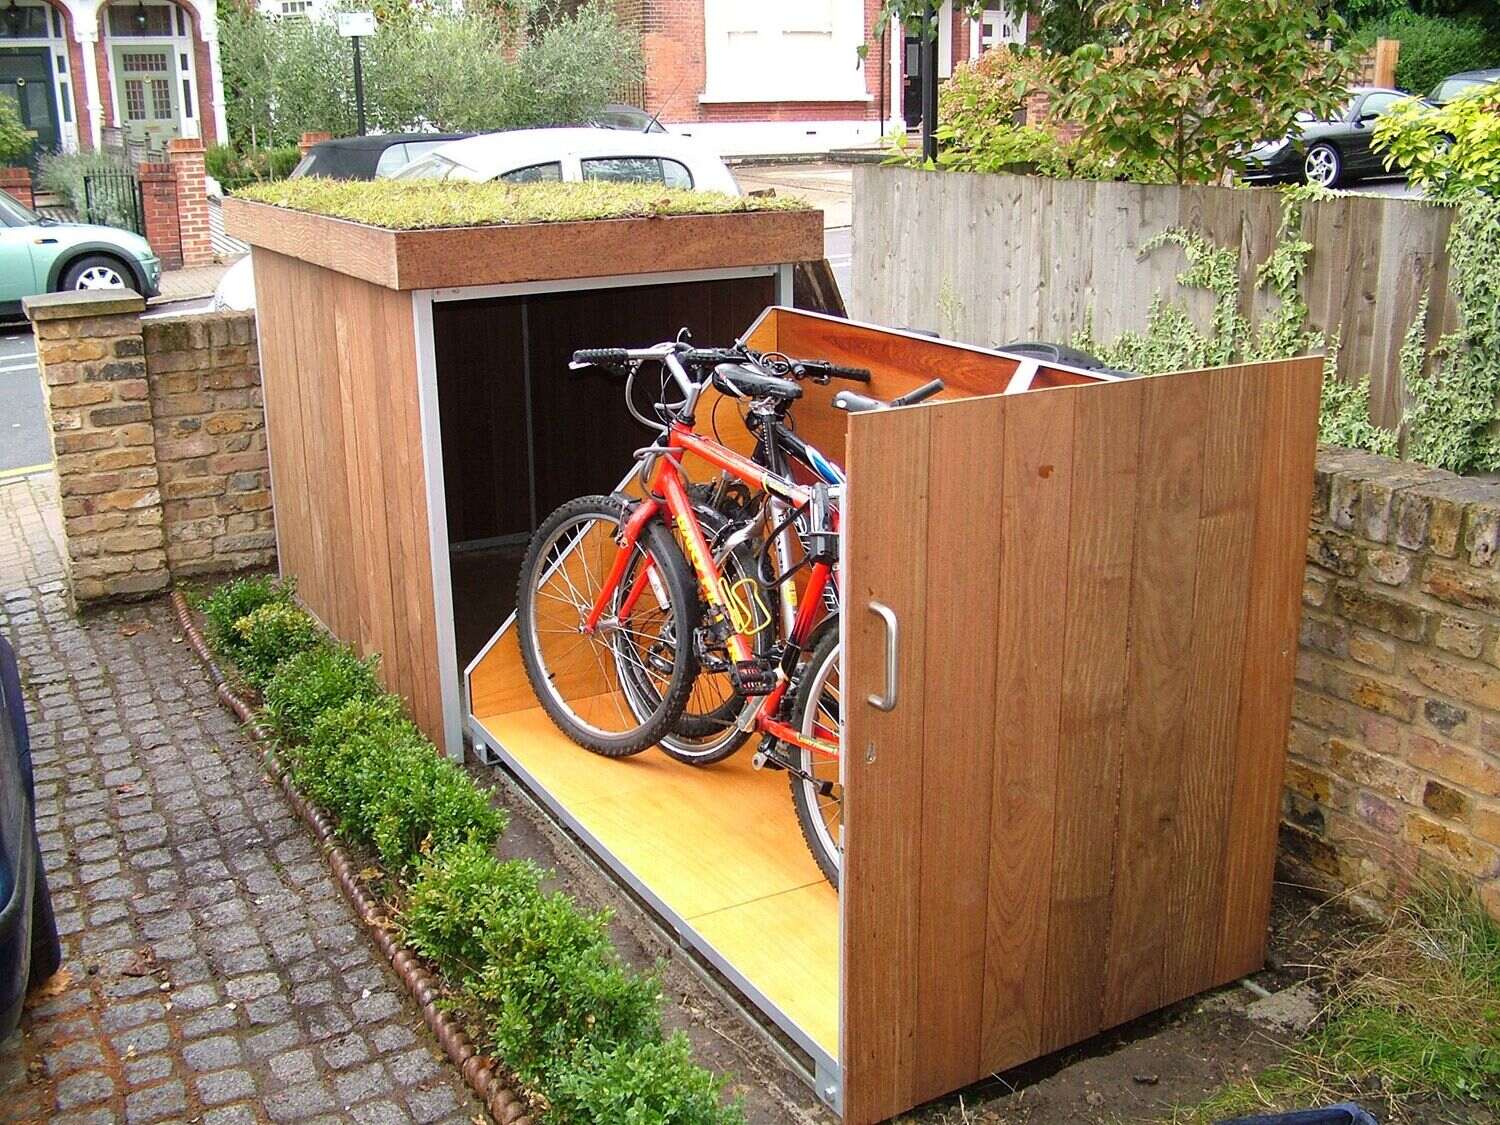
Read more: How To Store A Snowblower Outside
Benefits of Outdoor Compost Storage
Storing your compost outdoors offers a range of benefits that can enhance your composting experience and contribute to a more sustainable lifestyle. Let’s explore some of these benefits:
- Larger compost capacity: When you store your compost outdoors, you have the freedom to create larger compost piles. This means you can handle a higher volume of organic waste, including kitchen scraps and yard trimmings. Having a larger compost capacity allows you to compost on a bigger scale and potentially produce more compost to use in your garden.
- Optimal decomposition conditions: The outdoor environment provides ideal conditions for the decomposition process. Outdoor compost piles benefit from natural air circulation, sunlight, and beneficial microorganisms that aid in breaking down organic matter. These factors contribute to faster decomposition and the production of high-quality compost.
- Reduced kitchen odors: By storing your compost outside, you can minimize or eliminate unpleasant odors associated with decomposing organic waste. This is particularly beneficial if you have a limited space indoors or live in an apartment where kitchen odors can quickly become problematic.
- Pest control: Storing compost outdoors helps deter pests from your home. Many common household pests, such as fruit flies and ants, are attracted to the smell of decomposing organic matter. By keeping your compost pile outside, you reduce the likelihood of these pests invading your home.
- Nutrient-rich compost: When you store your compost outdoors, the natural environment helps create nutrient-rich compost. Outdoor compost piles have access to a wide range of microorganisms and beneficial bacteria that aid in the breakdown of organic matter. This results in compost that is rich in essential nutrients, such as nitrogen, phosphorus, and potassium, which are vital for healthy plant growth.
- Environmental benefits: Composting is an eco-friendly practice that reduces waste sent to landfills and lowers greenhouse gas emissions. By storing your compost outdoors, you contribute to the reduction of organic waste and help divert it from the waste stream. This, in turn, reduces methane emissions from landfills and supports a more sustainable approach to waste management.
By taking advantage of outdoor compost storage, you can maximize your composting efforts and create nutrient-rich compost that will benefit your garden and the environment. The benefits of storing compost outdoors, such as increased capacity, optimal decomposition conditions, reduced odors, and pest control, make it an excellent option for composting enthusiasts of all levels. So, get started with outdoor compost storage and reap the rewards of this sustainable and rewarding practice.
Choosing the Right Location
When it comes to outdoor compost storage, selecting the right location is crucial for the success of your composting efforts. Here are some factors to consider when choosing where to place your compost bin:
- Sunlight: Choose a location that receives ample sunlight. Sunlight helps generate heat, which is beneficial for the decomposition process. Aim for a spot that gets at least 4-6 hours of direct sunlight each day. If you live in a hot climate, consider a partially shaded area to prevent the compost from drying out too quickly.
- Accessibility: Pick a location that is easily accessible and convenient for you. Consider factors such as distance from your kitchen and garden, as well as ease of adding materials, turning the compost, and harvesting the finished compost. Having a location that is easily accessible will make it more likely that you will regularly tend to your compost pile.
- Drainage: Ensure that the chosen location has good drainage. You don’t want your compost bin to become waterlogged, as excessive moisture can lead to anaerobic decomposition and unpleasant odors. If the area tends to get waterlogged after heavy rain, consider elevating your compost bin or improving the drainage around it.
- Proximity to neighbors: Take into account the proximity of your compost bin to your neighbors’ properties. While composting is generally an odor-free process when done correctly, some people may be sensitive to the smells associated with decomposing organic matter. Placing your compost bin away from neighboring properties can help prevent any potential complaints or conflicts.
- Wind protection: Consider the wind patterns in your area. Strong winds can dry out your compost pile and disturb the decomposition process. If you live in a windy location, try to choose a spot that offers some natural wind protection, such as a fence or a row of shrubs, to minimize the impact of wind on your compost pile.
- Space availability: Evaluate the space available for your compost bin. Depending on the size of your composting needs, you may require a larger area to accommodate a larger compost pile. Make sure the location chosen can accommodate the size of your compost bin and leaves room for easy access and maintenance.
By considering these factors, you can select the ideal location for your compost bin. Remember, the right location will contribute to the success of your composting efforts by providing optimal conditions for decomposition, ease of access, and a more enjoyable composting experience overall.
Preparing the Compost Bin
Once you’ve chosen the perfect location for your outdoor compost storage, it’s time to prepare your compost bin. Whether you decide to purchase a pre-made compost bin or build one yourself, here are some important steps to follow:
- Select the right bin: Choose a compost bin that suits your needs and budget. There are various options available, including plastic bins, wooden bins, wire mesh bins, or even DIY bins made from recycled materials. Consider factors such as capacity, durability, ventilation, and ease of access when selecting the bin that is right for you.
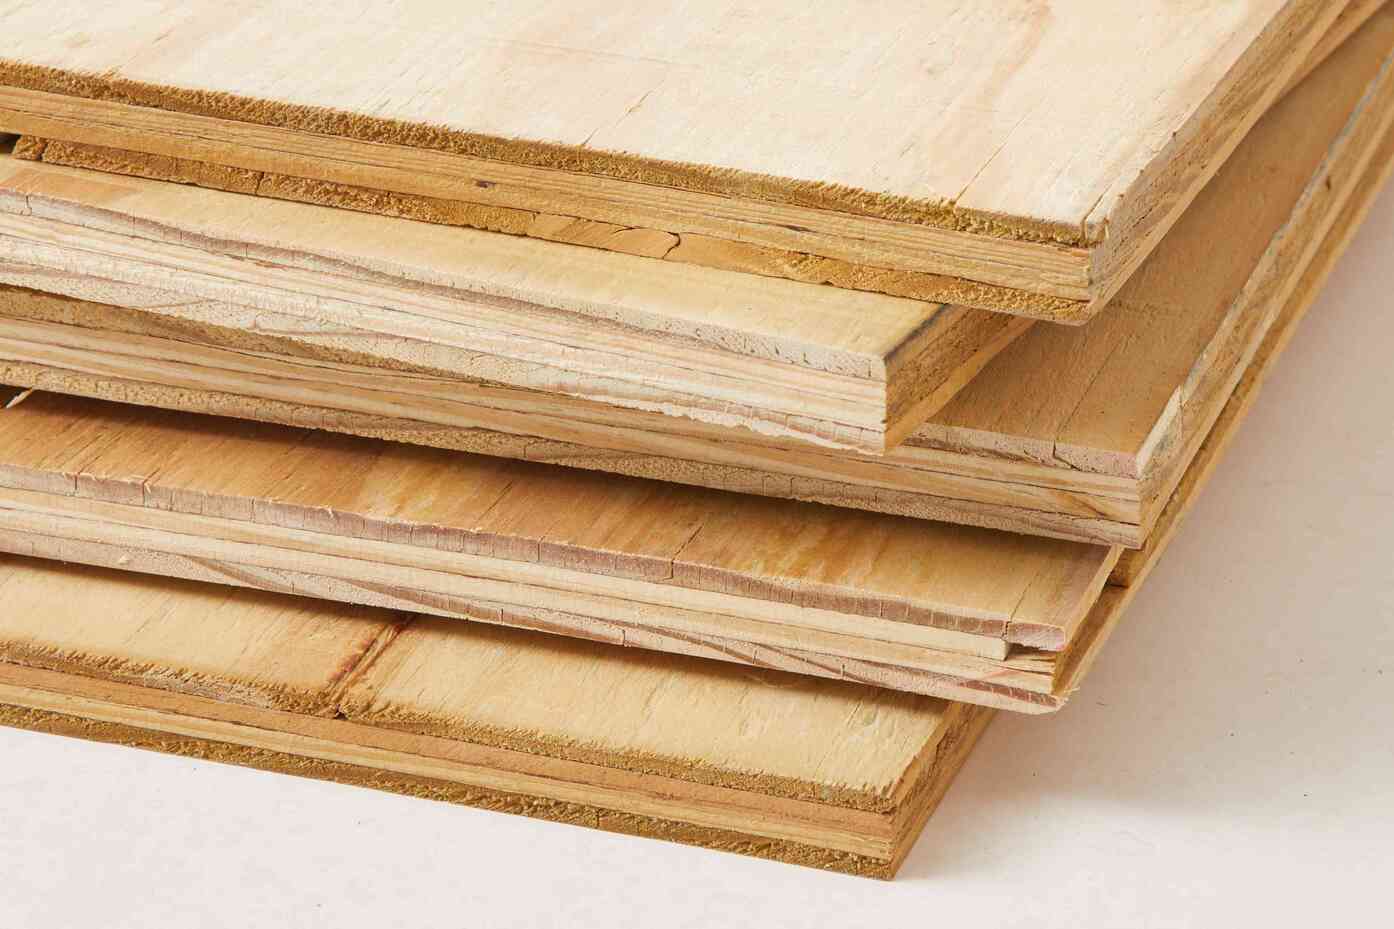
- Add a lid or cover: Ensure your compost bin has a lid or cover. This will help keep rainwater out of the compost and prevent excessive moisture content. It will also help regulate the temperature and keep pests away. If your bin does not come with a lid, you can easily create one using a piece of plywood or other suitable materials.
- Create ventilation: Ventilation is essential to maintain the aerobic conditions needed for successful composting. Make sure your compost bin has sufficient airflow to allow oxygen to reach the decomposing organic matter. This can be done by adding holes or slots to the sides and bottom of the bin or using a bin design that allows for natural airflow.
- Layer your materials: Start by adding a layer of “brown” materials, such as dry leaves, straw, or shredded newspaper, to the bottom of your compost bin. This provides a base for your compost pile and helps with airflow. Then, add a layer of “green” materials, such as fruit and vegetable scraps, grass clippings, or coffee grounds. Repeat this layering process as you add more organic waste to your compost bin.
- Keep a balanced mix: Maintain a balanced ratio of “green” and “brown” materials in your compost bin. Aim for roughly three parts brown to one part green. This balance helps create the ideal carbon-to-nitrogen ratio for efficient decomposition. If your compost appears too dry, add more green materials. If it appears too wet and smelly, add more brown materials.
- Moisten the compost: Ensure that your compost pile is moist, but not soaking wet. The ideal moisture level is similar to a wrung-out sponge. If your compost becomes too dry, particularly during hot weather, water it to maintain the right moisture content. Avoid overwatering, as excessive moisture can lead to anaerobic conditions and unpleasant odors.
- Turn the compost: Regularly turn your compost pile to aid in the decomposition process. Turning the compost helps mix the materials, adds oxygen, and facilitates the breakdown of organic matter. Use a garden fork or compost turning tool to gently mix the contents of your compost bin. Aim to turn the compost every few weeks or whenever you notice it becoming compacted or waterlogged.
By following these steps, you will ensure that your compost bin is properly prepared and set up for successful composting. Remember to regularly monitor the moisture level, turn the compost, and maintain a balanced mix of materials to facilitate optimal decomposition. With a well-prepared compost bin, you’re on your way to creating nutrient-rich compost for your garden and reducing waste in an environmentally friendly way.
Composting Techniques for Outdoor Storage
Composting is a natural process that converts organic materials into nutrient-rich compost. When it comes to outdoor compost storage, there are several techniques you can employ to ensure successful composting. Here are some key practices to consider:
- Layering: One technique to promote efficient decomposition is layering your organic materials. Start with a layer of “brown” materials, such as dry leaves or straw, followed by a layer of “green” materials, such as kitchen scraps or grass clippings. Alternate between these layers as you add organic waste to your compost bin. This layering technique helps create a balanced mix of carbon and nitrogen, which is necessary for decomposition.
- Chopping or shredding: To speed up the decomposition process, consider chopping or shredding your organic materials into smaller pieces before adding them to the compost bin. By breaking down the materials into smaller fragments, you provide a larger surface area for microbes to work on, expediting the decomposition process.
- Mixing: Regularly mix or turn your compost pile to promote aeration and even distribution of materials. Mixing helps incorporate oxygen, which is essential for aerobic decomposition, and prevents the pile from becoming too compacted. Use a garden fork or compost turning tool to gently mix the contents of your compost bin, ensuring that oxygen reaches all areas of the pile.
- Monitoring moisture: Proper moisture content is crucial for successful composting. Your compost pile should be damp, like a wrung-out sponge. Regularly check the moisture level of your compost by squeezing a handful of the mixture. If it feels too dry, add water to moisten it. If it feels too wet, add more “brown” materials to absorb excess moisture. Maintaining the right moisture balance will facilitate microbial activity and decomposition.
- Avoiding meat and dairy products: While many organic materials can be composted, it is generally best to avoid adding meat, fish, dairy products, and oily foods to your compost pile. These materials can attract pests and may not decompose effectively in a home composting system. Stick to plant-based materials, such as fruit and vegetable scraps, yard trimmings, and coffee grounds, for optimal results.
- Avoiding invasive or diseased plants: It is recommended to avoid composting invasive plants or plant materials that may carry diseases. This helps prevent the spread of invasive species or plant pathogens through your compost. Instead, dispose of these materials in a designated waste receptacle or consult your local municipality for proper disposal methods.
- Avoiding chemical contaminants: Ideally, you want to compost organic materials that are free from chemical contaminants, such as pesticides or herbicides. These substances can potentially harm beneficial microorganisms or contaminate your compost. If you must compost materials that have been treated with chemicals, ensure they have fully decomposed before using the compost in your garden.
By implementing these composting techniques for outdoor storage, you can create an optimal environment for decomposition and produce nutrient-rich compost for your garden. Remember to layer your materials, chop or shred when possible, mix or turn the compost regularly, monitor moisture levels, and be mindful of what materials you add to your compost pile. With time, patience, and proper composting techniques, you’ll achieve a successful composting process and reap the rewards of nutrient-rich compost for your plants.
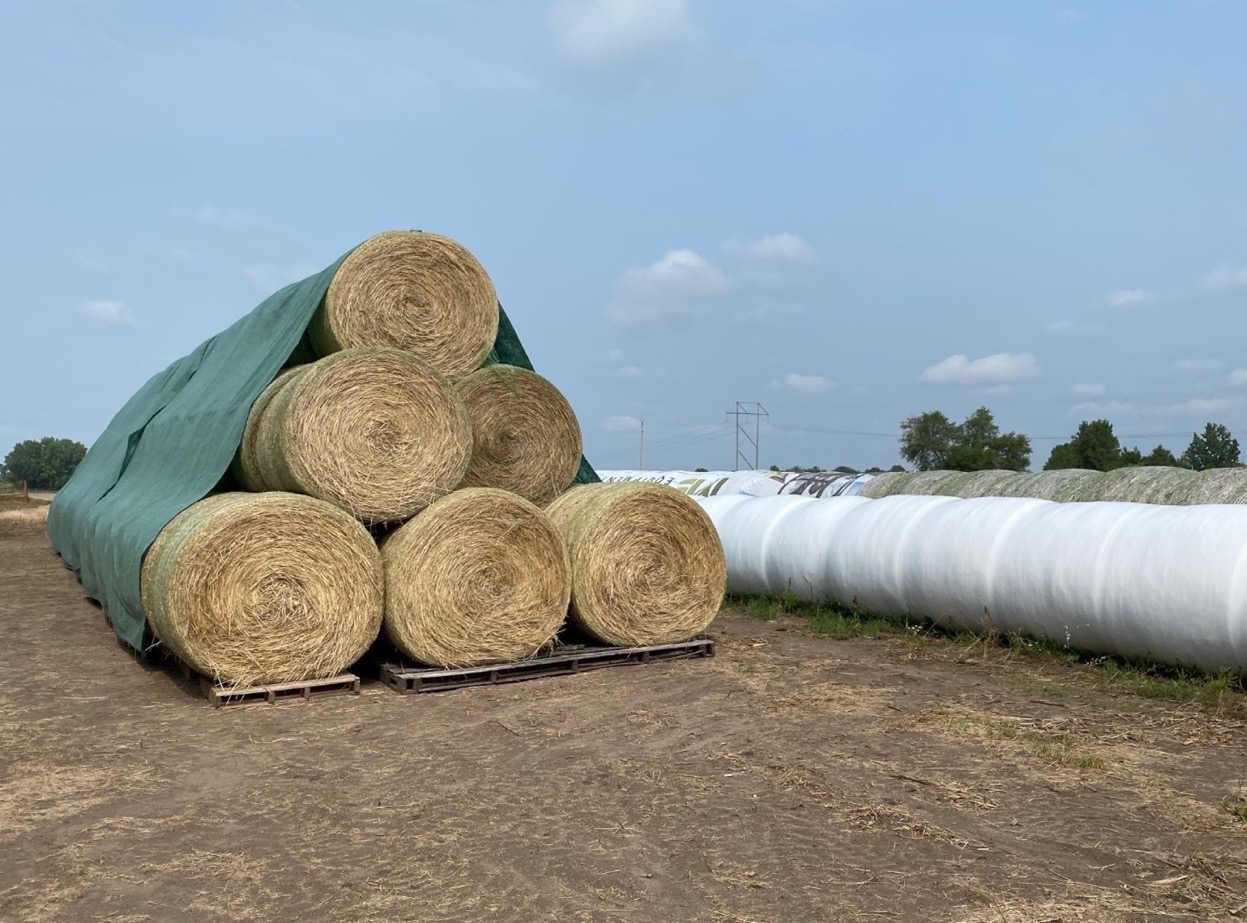
Cover your outdoor compost pile with a tarp or lid to keep it from getting too wet or too dry, and to prevent pests from getting into it. This will help maintain the right balance of moisture and air for the composting process.
Read more: How To Store Tires Outside
Maintaining the Compost Pile
Maintaining your compost pile is essential for successful composting and ensuring that the decomposition process runs smoothly. By following these maintenance tips, you can help create a healthy and productive compost pile:
- Regular turning: Turning or mixing your compost pile helps incorporate oxygen, which is vital for aerobic decomposition. Aim to turn your compost pile every few weeks, or whenever you notice it becoming compacted or waterlogged. Use a garden fork or compost turning tool to gently mix the contents of your compost bin, ensuring that oxygen reaches all areas of the pile.
- Monitoring moisture: Proper moisture content is crucial for composting. Regularly check the moisture level of your compost pile by squeezing a handful of the mixture. It should feel damp, like a wrung-out sponge. If it’s too dry, add water to moisten it. If it’s too wet, add more “brown” materials to absorb excess moisture. Maintaining the right moisture balance will facilitate microbial activity and decomposition.
- Avoiding compaction: Avoid compacting the compost pile, as this reduces airflow and slows down decomposition. Be gentle when turning or mixing the compost, and avoid using heavy machinery or excessive force that may compress the materials. Maintain a loose and fluffy texture to encourage proper airflow and microbial activity.
- Adding organic materials: Continuously add organic materials to your compost pile to keep it active and balanced. Add a mix of “green” and “brown” materials as you accumulate them, maintaining the proper carbon-to-nitrogen ratio. Aim for approximately three parts brown to one part green to ensure a healthy composting process. This will provide a steady supply of nutrients for your compost pile and maximize decomposition.
- Avoiding large woody materials: Large woody materials, such as branches or tree trunks, take much longer to decompose compared to smaller organic matter. While they can eventually break down in a compost pile, it is best to avoid adding them or chop them into smaller pieces to speed up the decomposition process. If you have a large quantity of woody materials, consider using them for other purposes, such as mulch or wood chips.
- Patience: Composting is a natural process that takes time. It is important to be patient and allow the microbes and organisms to do their work. Depending on the conditions and materials used, the composting process can take several months to a year. Regularly monitor and tend to your compost pile, but also understand that it takes time for the organic matter to break down and transform into nutrient-rich compost.
By maintaining your compost pile with regular turning, monitoring moisture levels, and adding organic materials, you will create an environment that supports decomposition and produces high-quality compost. Remember to be patient, as composting is a gradual process that requires time and attention. With proper maintenance, you’ll soon have nutrient-rich compost that can be used to enhance the health and fertility of your garden.
Troubleshooting Common Issues
Composting is a natural process, but occasionally, you may encounter some issues along the way. Don’t worry – many common composting problems can be easily resolved with a little troubleshooting. Here are some common issues you may come across and how to address them:
- Bad odor: If your compost pile has a foul smell, it may be an indication of anaerobic decomposition. This can occur if the pile is too wet or lacks sufficient airflow. To fix this issue, ensure proper moisture levels by adding more “brown” materials if it’s too wet or watering it if it’s too dry. Additionally, turn the compost pile to introduce more oxygen and improve airflow. Avoid adding meat, dairy products, or oily foods, as these can contribute to unpleasant odors.
- Too dry: If your compost pile is too dry, it can slow down the decomposition process. To remedy this, add water to moisten the pile. Use a garden hose or sprinkle water evenly over the compost. Be cautious not to overwater, as excessive moisture can lead to anaerobic conditions and unpleasant smells. Mix the compost pile to ensure the added water is well-distributed.
- Slow decomposition: If your compost pile is taking longer than expected to decompose, it may be due to an imbalance of carbon and nitrogen, lack of oxygen, or inadequate moisture. Ensure a proper mix of “brown” and “green” materials in your compost pile. Turn the pile regularly to introduce oxygen and promote decomposition. Monitor moisture levels and adjust them accordingly. If necessary, chop or shred larger items to speed up the decomposition process.
- Pests: Pests such as fruit flies, ants, or rodents may be attracted to your compost pile. To discourage pests, avoid adding meat, dairy, or oily foods, as they are more likely to attract pests. Make sure the compost pile is covered with a lid or secure cover to prevent access. Consider placing a layer of wire mesh at the bottom or around the compost bin to deter rodents from burrowing into the pile. If necessary, use natural pest deterrents, such as diatomaceous earth or nematodes, to control the pest population.
- Weed seeds: Sometimes, weed seeds may survive the composting process and end up in your finished compost. To minimize weed seeds, avoid adding weeds that have gone to seed or dispose of them separately. Additionally, ensure that your compost pile reaches and maintains a high enough temperature to kill weed seeds. Regularly turning the compost can help distribute heat evenly and increase the likelihood of weed seed destruction.
- Unpleasant appearance: If your compost pile doesn’t look like the rich, dark compost you were expecting, don’t panic. Composting is a gradual process, and the appearance of the compost may vary at different stages. As long as the materials are breaking down and you can see decomposition occurring, the compost is likely on the right track. Continue to tend to the pile, monitor moisture levels, and turn the compost regularly. Over time, it will transform into the nutrient-rich compost you desire.
Remember, composting requires a balance of carbon and nitrogen, sufficient oxygen, and proper moisture. By troubleshooting these common issues, you can overcome challenges and create a healthy and productive compost pile. With a little patience and adjustment, you’ll soon be rewarded with high-quality compost that can improve your garden soil and contribute to a more sustainable lifestyle.
Harvesting and Using Your Compost
Harvesting your compost is an exciting moment that signals the end of the composting process and the beginning of its usefulness in nourishing your garden. Here are some steps to take when harvesting and using your compost:
- Check for readiness: Before harvesting your compost, ensure that it has fully decomposed and is ready to use. Finished compost should be dark, crumbly, and have a pleasant earthy smell. It should resemble rich soil and no longer contain recognizable pieces of organic matter. If you’re unsure, let the compost sit for a bit longer to ensure complete decomposition.
- Remove uncomposted material: As you harvest, you may come across some material that has not fully decomposed. These pieces can be put back into the compost pile to continue the decomposition process. Removing these materials helps ensure that you have a consistent and finished product to work with.
- Apply compost to your garden: Spread the harvested compost evenly in your garden beds or around your plants. Use a garden rake or hand tools to incorporate the compost into the soil to a depth of a few inches. The nutrients from the compost will gradually be released, improving the soil structure and fertility over time.
- Top-dress your lawn: If you have a lawn, consider top-dressing it with compost. Spread a thin layer of compost over the top of the grass and gently rake it in. The compost will deliver nutrients to the grass roots and improve soil health, leading to a greener and healthier lawn.
- Create compost tea: Compost tea is a liquid fertilizer made from steeping compost in water. To make compost tea, place a few handfuls of compost in a bucket or container, fill it with water, and let it steep for a few days. Strain the liquid and use it to water your plants or as a foliar spray. Compost tea provides a concentrated dose of nutrients and beneficial microorganisms to support plant growth.
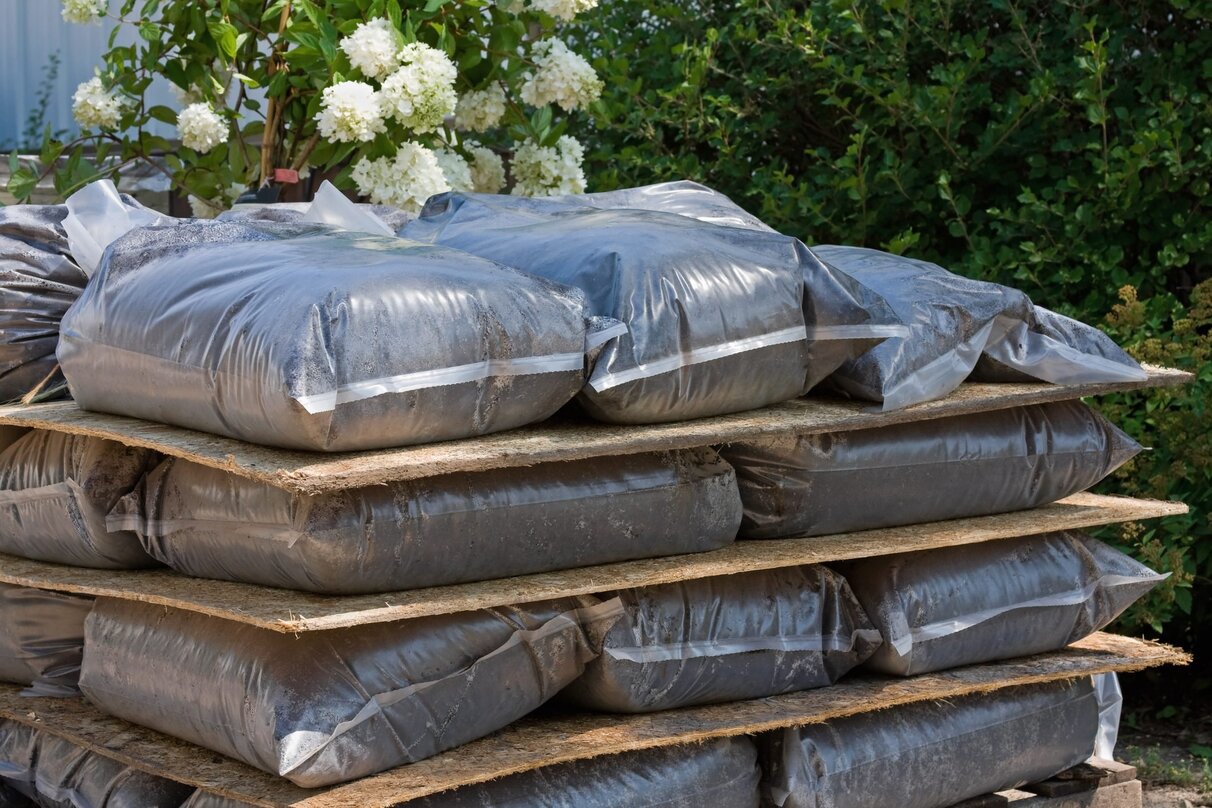
- Store excess compost: If you have harvested more compost than you can use immediately, store it for future use. Place the compost in a covered container or store it in sturdy bags in a cool and dry area. This will help preserve its quality until you are ready to use it in your garden.
- Continued composting: Once you have harvested your compost, you can start the process again by establishing a new compost pile. Use any remaining organic waste and continue layering and maintaining the compost pile as you did before. This ensures a continuous cycle of composting and allows you to consistently benefit from nutrient-rich compost.
By following these steps, you can successfully harvest and utilize your compost to nurture your garden. Whether you apply it to your garden beds, top-dress your lawn, create compost tea, or store it for later use, the nutrient-rich compost will improve soil fertility, enhance plant growth, and contribute to a healthier and more productive garden ecosystem.
Conclusion
Congratulations on your journey into outdoor compost storage! Composting is a rewarding and sustainable practice that allows you to transform kitchen scraps and garden waste into nutrient-rich compost. By following the steps and techniques outlined in this article, you can create a thriving composting system in your own backyard.
We explored the benefits of storing compost outdoors, including the ability to handle larger volumes of organic waste, optimal decomposition conditions, odor reduction, and pest control. Choosing the right location is essential, considering factors like sunlight, accessibility, drainage, and wind protection.
Preparing your compost bin involves selecting the right bin, adding a lid or cover to control moisture, creating ventilation, layering organic materials, and maintaining a balanced mix of “green” and “brown” materials. Regular turning, monitoring moisture levels, and troubleshooting common issues are important for maintaining a healthy compost pile.
When it’s time to harvest your compost, ensure its readiness by checking for a dark and crumbly texture. Remove any uncomposted materials before spreading the compost in your garden beds, top-dressing your lawn, or creating compost tea. Store excess compost for future use, and continue composting to maintain a sustainable cycle.
Remember, composting is a gradual process that requires patience and attention, but the rewards are worth it. By diverting organic waste from landfills and producing nutrient-rich compost, you are making a positive impact on the environment and nurturing the health of your plants and soil.
So, go ahead and embrace outdoor compost storage. Enjoy the benefits of nutrient-rich compost, a healthier garden, and the satisfaction of reducing waste and practicing sustainable living. Happy composting!
Frequently Asked Questions about How To Store Compost Outside
Was this page helpful?
At Storables.com, we guarantee accurate and reliable information. Our content, validated by Expert Board Contributors, is crafted following stringent Editorial Policies. We're committed to providing you with well-researched, expert-backed insights for all your informational needs.


0 thoughts on “How To Store Compost Outside”