
Articles
How To Store Icicle Christmas Lights
Modified: October 20, 2024
Discover the best way to store icicle Christmas lights with these helpful articles. Keep your lights tangle-free and ready for next year's festive season.
(Many of the links in this article redirect to a specific reviewed product. Your purchase of these products through affiliate links helps to generate commission for Storables.com, at no extra cost. Learn more)
Introduction
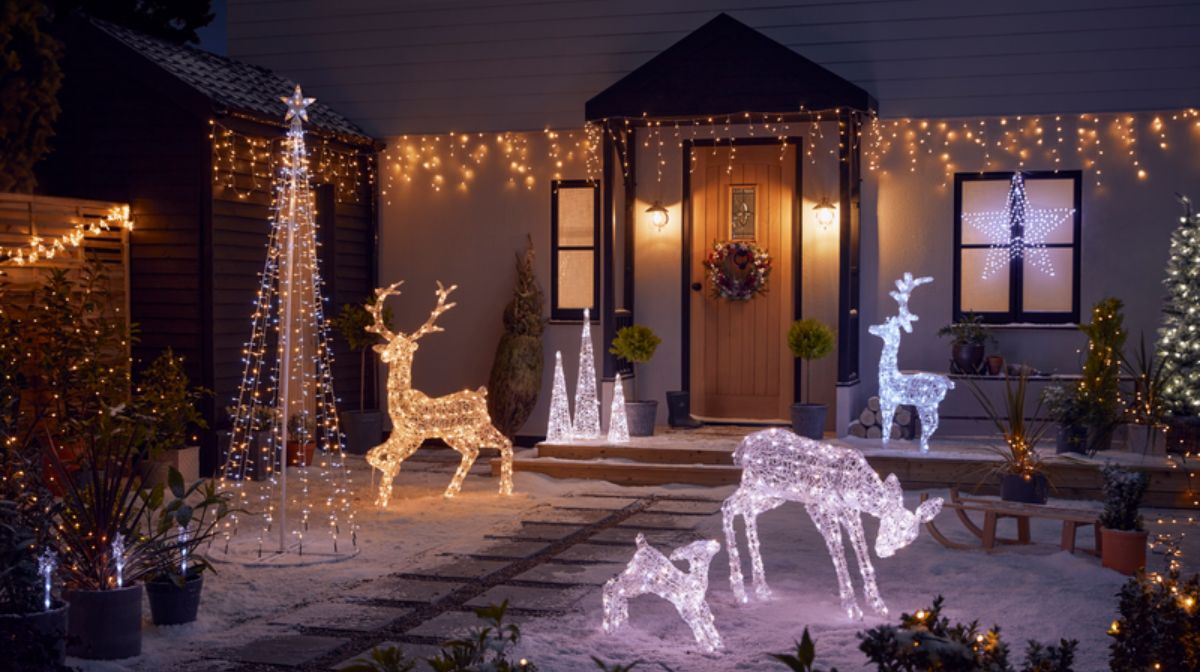
As the holiday season comes to an end, it’s time to pack up and put away all the festive decorations, including the beautiful icicle Christmas lights. Storing icicle lights properly ensures that they stay tangle-free and in good condition for the next year. Whether you have traditional plug-in icicle lights or modern LED ones, this article will guide you through the steps of storing icicle Christmas lights in the most effective way.
Properly stored icicle lights not only save you time and frustration when it’s time to decorate again, but it also prolongs the lifespan of the lights, saving you money in the long run. With a little organization and the right materials, you can easily preserve your icicle lights until it’s time to bring them out again for the next holiday season.
In this article, we will discuss the step-by-step process of storing icicle Christmas lights, including gathering the necessary materials, removing the lights from the display area, untangling and straightening them, securing them with tape or zip ties, coiling them properly, and storing them in a cool, dry place. We will also touch on labeling the storage container and using specialized storage solutions for added convenience.
So let’s dive in and learn how to store icicle Christmas lights the right way, ensuring they remain in great condition and ready to shine brightly for many more holiday seasons to come!
Key Takeaways:
- Properly storing icicle Christmas lights ensures they remain tangle-free and in good condition for the next holiday season, saving time and money in the long run.
- Gathering the necessary materials, untangling and straightening the lights, and using specialized storage solutions are key steps to effectively store icicle Christmas lights for future use.
Read more: How To Store Outdoor Christmas Lights
Step 1: Gather the necessary materials
Before you begin the process of storing your icicle Christmas lights, it’s important to gather all the necessary materials. Having everything you need on hand will make the process smoother and more efficient. Here’s a list of the materials you’ll need:
- Storage container: Choose a durable and waterproof storage container that is large enough to accommodate the length of your icicle lights. A plastic bin with a lid works well for this purpose.
- Labels and marker: Having labels and a marker handy will help you keep track of the contents of each storage container. This will make it easier to find specific items when you need them.
- Tape or zip ties: You’ll need tape or zip ties to secure the lights and keep them from tangling during storage.
- Old newspapers or bubble wrap: These materials will provide extra cushioning and protection for your icicle lights, preventing any damage during storage.
- Gloves: Wearing gloves will protect your hands from any sharp edges or tangles while handling the lights.
Once you have gathered all these materials, you’re ready to move on to the next step of storing your icicle Christmas lights. Making sure you have everything you need in advance will save you time and ensure a smooth transition from decoration to storage.
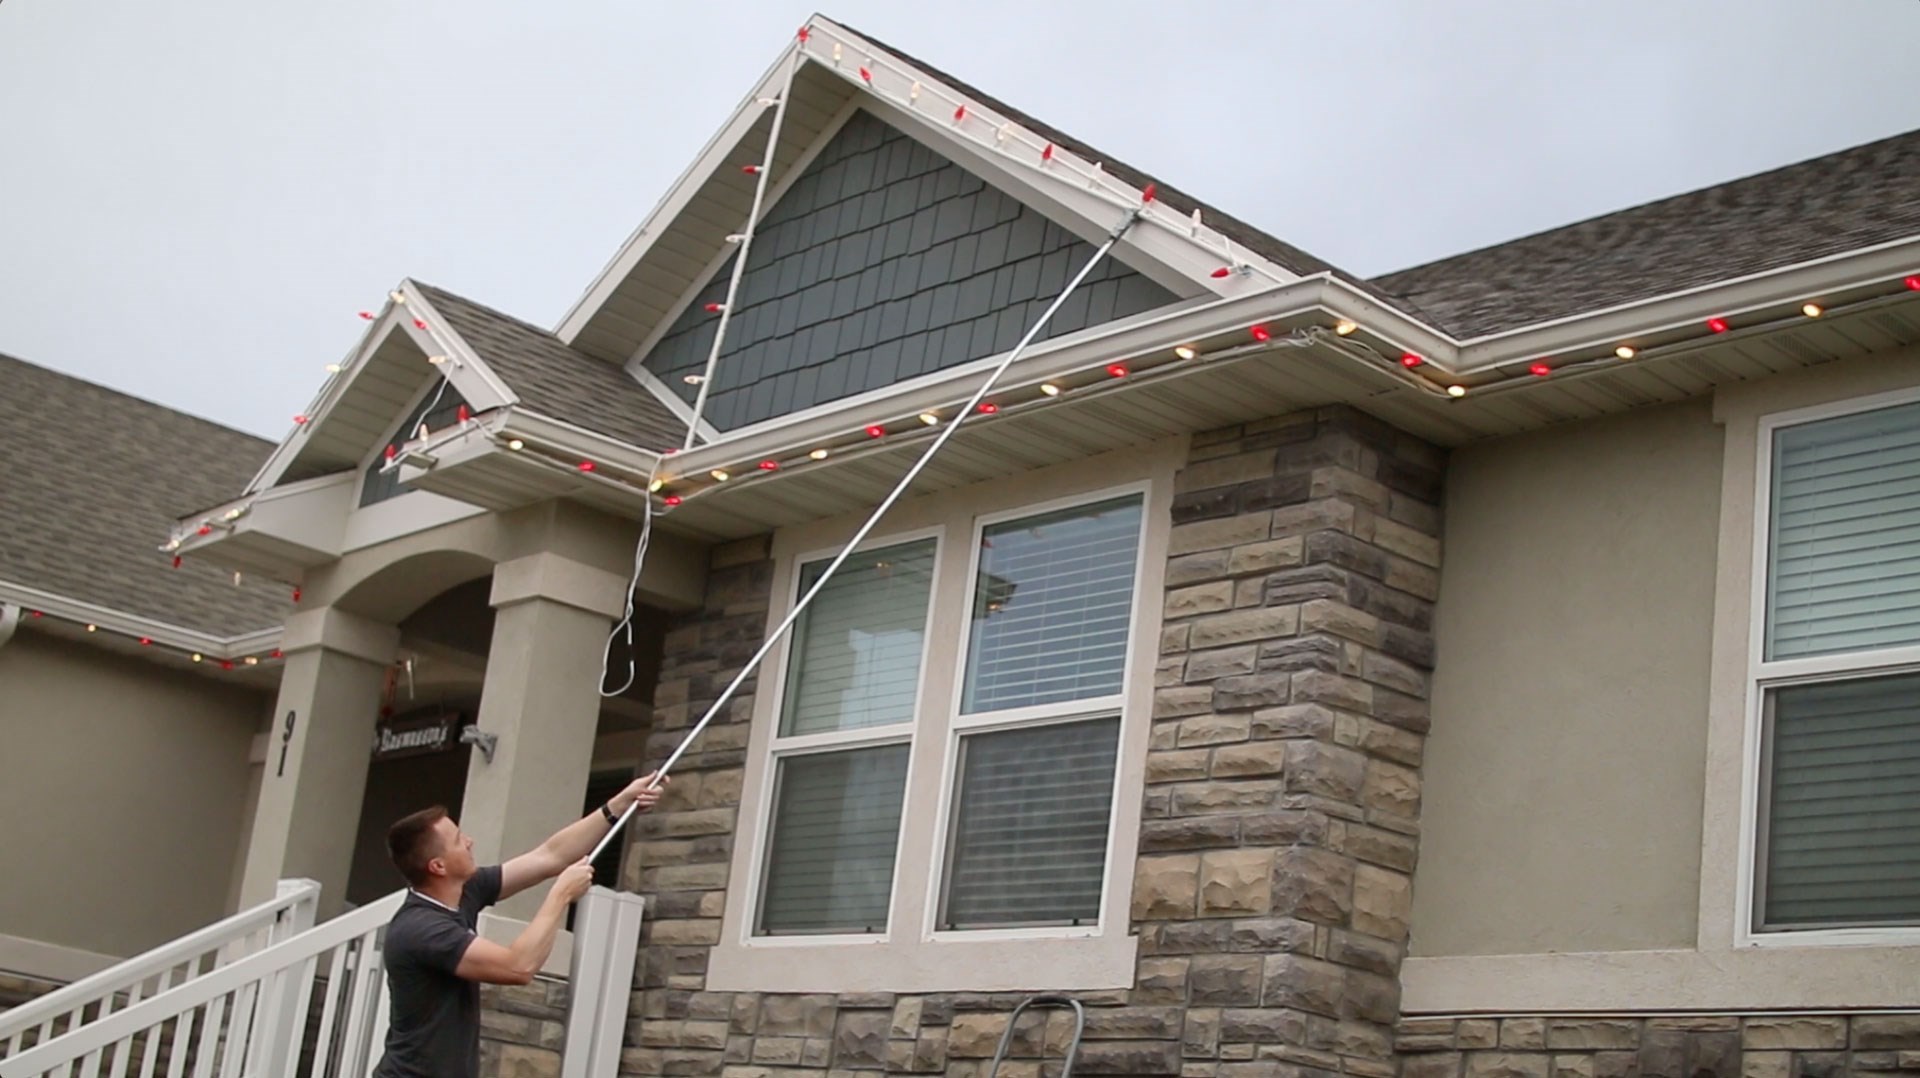
Step 2: Remove the icicle lights from the display area
Now that you have gathered all the necessary materials, it’s time to start the process of storing your icicle Christmas lights. The first step is to carefully remove the lights from the display area. Here’s how to do it:
- Ensure that the lights are unplugged and turned off before you begin. Safety is important when handling electrical items.
- If the lights are attached to any hooks or clips, gently remove them one by one. Take your time to avoid any damage to the lights or the surrounding area.
- As you remove the lights, untangle them from any nearby branches, bushes, or other decorations. Be patient and gentle to prevent any tangling or breakage.
- If your icicle lights are connected together with plugs, carefully detach each plug. If they are connected with built-in connectors, gently separate the strands.
- Place the removed icicle lights on a clean and flat surface, such as a table or a sheet of old newspaper. This will make it easier to untangle and straighten them in the next step.
By taking the time to carefully remove the icicle lights from the display area, you ensure that they remain in good condition and ready to be stored properly. Avoid rushing the process and handle the lights with care to prevent any damage or excessive tangling.
Step 3: Untangle and straighten the lights
Now that you have removed the icicle lights from the display area, it’s time to untangle and straighten them before storing. This step is crucial to ensure that the lights are properly preserved and ready to use for the next holiday season. Here’s how to untangle and straighten your icicle lights:
- Lay out the icicle lights on a clean and flat surface, allowing them to unravel naturally. Avoid pulling or yanking on the lights, as this can lead to further tangling.
- Start by identifying any areas where the lights are tangled. Gently work through those areas with your fingers, loosening the knots and separating the strands. Patience is key during this process.
- If you encounter stubborn tangles, try using a small comb or your fingers to carefully tease out the knots. Be gentle to avoid damaging the wires or bulbs.
- As you untangle the lights, also take the opportunity to straighten any kinks or bends in the strands. Use your hands to gently guide the wires back into a straight position.
Remember that untangling and straightening the lights may take some time, especially if they were tightly wound or heavily decorated. Avoid rushing the process and handle the lights delicately to prevent any breakage or damage.
By taking the time to untangle and straighten your icicle lights, you ensure that they are in optimal condition for storage. Straightened lights are easier to handle and store, reducing the risk of tangling or damage during the storage period.
Step 4: Secure the lights with tape or zip ties
After untangling and straightening the icicle lights, it’s important to secure them to prevent any tangling or damage during storage. This step will help keep the lights neat and organized, ready to be easily retrieved for the next holiday season. Here’s how to secure your icicle lights:
- Start by locating the beginning and end of the icicle lights. These are usually marked by a plug or connector.
- Using tape or zip ties, secure the beginning and end of the lights to prevent them from unraveling. If using tape, wrap it securely around the plug or connector. If using zip ties, fasten them tightly around the wires.
- If your icicle lights have multiple strands, consider securing each strand individually. This will help maintain their separation and prevent tangles.
- As you secure the lights, also take the opportunity to fold and tape or tie any loose or excess wire. Keeping the wires tidy will make storage easier and prevent any tripping hazards.
By securing the icicle lights with tape or zip ties, you minimize the chances of tangles and make it easier to handle and store them. This step is especially important if your storage container doesn’t have built-in dividers or compartments.
Remember to use tape or zip ties that won’t damage the lights or leave any residue. Avoid using adhesive tape directly on the lights, as it may leave sticky marks or damage the wires or bulbs.
Continue to the next step to learn how to properly coil and store your icicle Christmas lights.
Store icicle Christmas lights by wrapping them around a piece of cardboard to prevent tangling. Place them in a plastic storage container to keep them safe and organized for next year.
Read more: How To Store Christmas Tree Lights
Step 5: Coil the lights properly
Now that you have secured the icicle lights, it’s time to coil them properly. Coiling the lights helps prevent tangling and makes storing them more efficient. Follow these steps to coil your icicle lights:
- Start by holding the beginning of the lights in one hand and extend your arm fully.
- With your other hand, begin to wrap the lights in a circular motion around your elbow and forearm. Keep the wraps tight and smooth to create a neat coil.
- Continue wrapping until you reach the end of the lights. Make sure to leave some excess wire at the end for connecting to a power source in the future.
- Once you have completed the coil, secure it with a tie or twist tie. This will keep the lights in place and prevent them from coming undone during storage.
Note: If you have multiple strands of icicle lights, coil each strand separately to prevent tangling.
Coiling the lights properly not only prevents them from getting tangled, but it also saves space in the storage container. A tightly wound coil ensures that the lights stay organized and easily accessible when it’s time to retrieve them.
Gently place the coiled lights into the storage container, making sure to position them in a way that minimizes any unnecessary strain or pressure on the wires or bulbs. Continue to the next step to learn about storing the lights in the ideal environment.
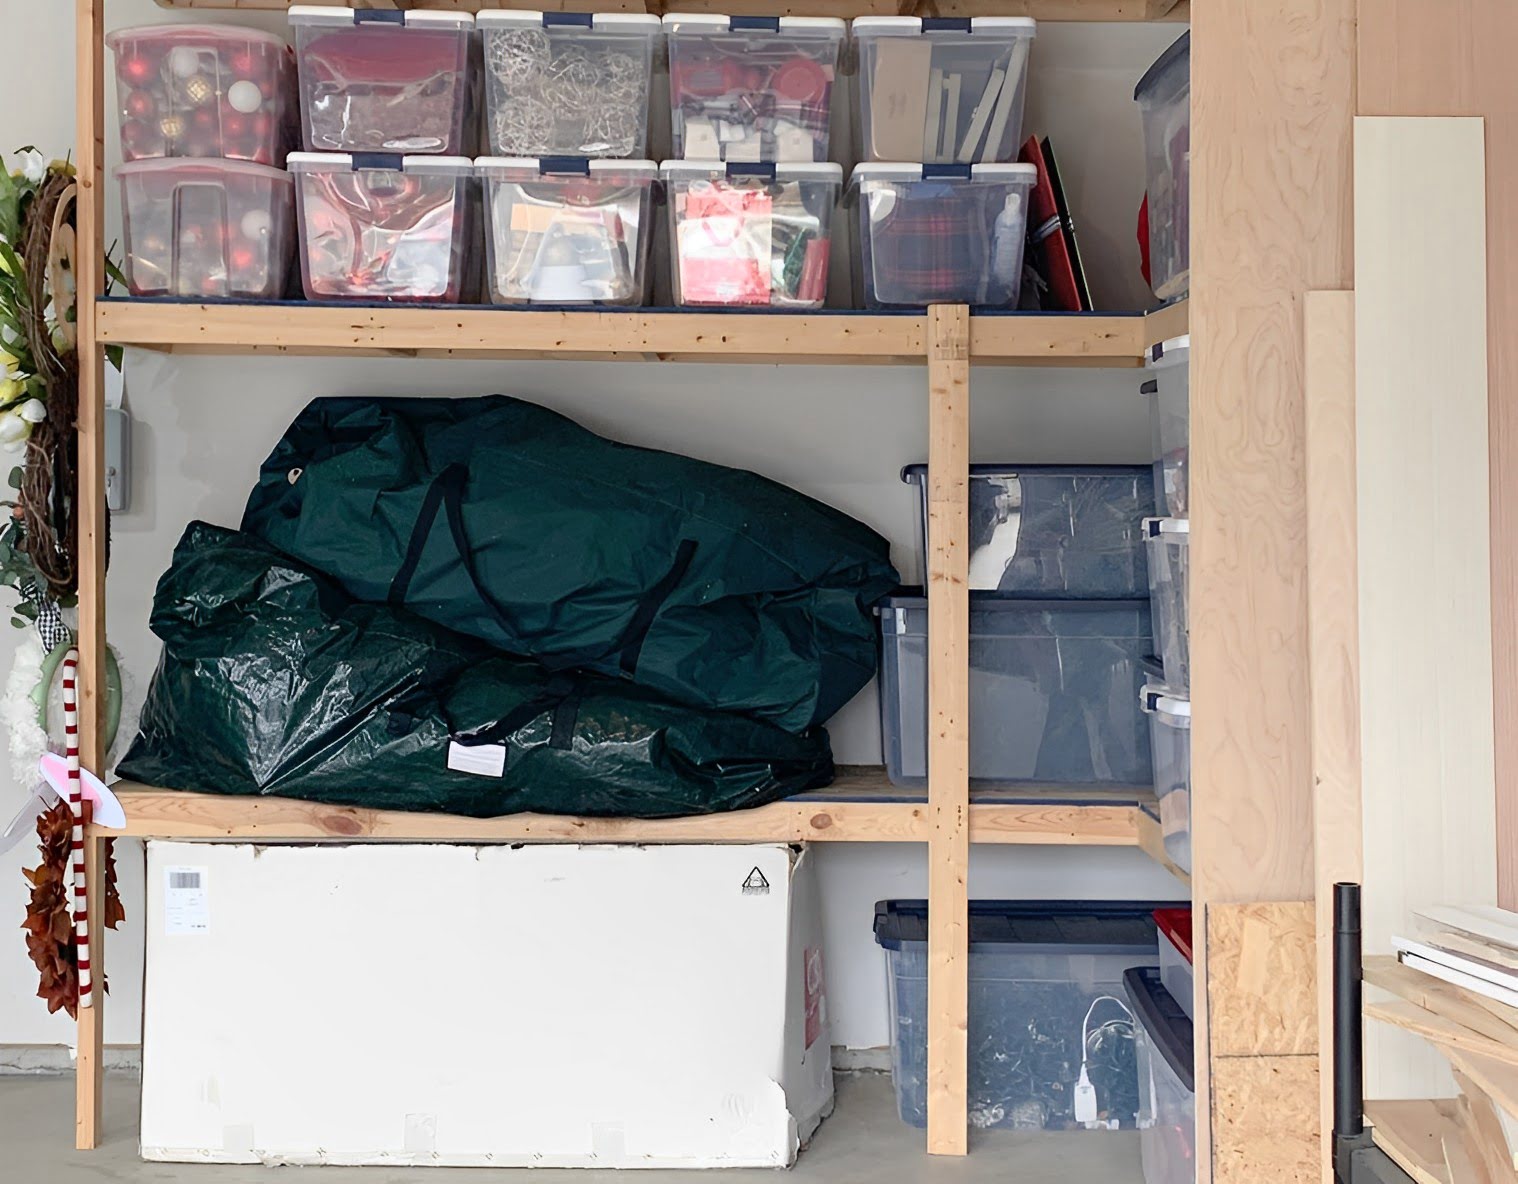
Step 6: Store the lights in a cool, dry place
After properly coiling the icicle lights, it’s important to store them in a suitable environment to ensure their longevity. Choosing the right storage location is crucial in preserving the lights and preventing any damage caused by moisture or extreme temperatures. Here’s how to store your icicle Christmas lights in a cool, dry place:
- Find a storage space that is cool and dry, such as a basement or a closet. Avoid areas that are prone to high humidity, as it can cause damage to the wires and bulbs.
- Ensure that the storage area is clean and free from any potential hazards that could damage the lights, such as sharp objects or pests.
- Place the coiled icicle lights inside a durable and waterproof storage container. This will provide an extra layer of protection and keep them safe from dust or accidental spills.
- If using a plastic bin, consider placing a layer of old newspapers or bubble wrap at the bottom of the container for added cushioning and insulation.
- Avoid storing the lights in direct sunlight or areas with extreme temperature fluctuations. Excessive heat or cold can degrade the wires and cause them to become brittle.
By storing the icicle lights in a cool and dry place, you protect them from potential damage and ensure their longevity. This step is essential in preserving the lights and keeping them in optimal condition for future use.
Next, we will discuss the importance of labeling the storage container for easy identification and offer some additional storage solutions to consider.
Step 7: Label the storage container
Labeling the storage container for your icicle Christmas lights is an essential step in staying organized and easily locating them when needed. By labeling the container, you can quickly identify its contents without having to open each one. Here’s how to label your storage container:
- Using a permanent marker or label maker, write “Icicle Christmas Lights” or a similar description on the top and sides of the storage container. Make the label clear and visible.
- Consider adding additional details to the label, such as the length or color of the lights, to further assist with identification.
- If you are using multiple storage containers for different sets of lights or other decorations, label each container accordingly to avoid confusion.
- Attach a small piece of tape or a label directly onto the coil of lights inside the container. This will make it easy to identify the specific set of lights without having to uncoil them.
Labeling the storage container is a simple yet effective way to stay organized and save time when searching for your icicle lights. It allows you to quickly identify the container and retrieve the specific set of lights you need without any hassle.
Continue to the next step to explore some specialized storage solutions that can further simplify the process of storing your icicle Christmas lights.
Step 8: Consider using specialized storage solutions
While a durable storage container works well for storing your icicle Christmas lights, there are also specialized storage solutions available that can further streamline the organization and protection of your lights. Consider using these options to optimize your storage process:
- Icicle light storage reels: These are specially designed reels that allow you to easily wrap and store your icicle lights. They usually come with built-in handles and dividers to keep each strand separate and tangle-free. Simply wrap the lights around the reel, secure them, and place the reel inside a storage container.
- Light storage bags: Light storage bags are specifically designed to hold and protect your icicle lights. They often have compartments or separate sections to keep each strand organized. These bags are usually made of durable and tear-resistant materials to ensure long-lasting use.
- Zippered storage pouches: Zippered pouches can be a convenient option for storing small sets of icicle lights. They provide a compact and easily accessible storage solution. Make sure the pouches are made of sturdy material and have enough padding to protect the lights.
- Clear storage bins: Clear plastic bins provide visibility of the contents, making it easy to locate specific sets of icicle lights without having to open each container. It’s a simple yet effective way to stay organized and save time.
When considering specialized storage solutions, think about the size and quantity of your icicle lights, as well as your storage space. Choose options that best fit your needs and ensure the safety and organization of your lights.
With these specialized storage solutions, you can easily store your icicle Christmas lights in a more efficient and orderly manner, simplifying the process of decorating for future holiday seasons.
By following these eight steps, you can successfully store your icicle Christmas lights and ensure they remain in excellent condition for use year after year. Proper storage not only protects your lights but also saves you time and frustration when it’s time to decorate again.
So, gather your materials, remove the lights from the display area, untangle and straighten them, secure them with tape or zip ties, coil them properly, store them in a cool, dry place, label the storage container, and consider using specialized storage solutions. With these steps, you’ll be well-prepared to store your icicle Christmas lights and enjoy a stress-free holiday season in the years to come.
Conclusion
Storing icicle Christmas lights properly is essential for preserving their quality and ensuring they stay tangle-free, ready for the next holiday season. By following the eight steps outlined in this article, you can effectively store your lights and simplify the process of decorating year after year.
Begin by gathering all the necessary materials, including a suitable storage container, labels, tape or zip ties, old newspapers or bubble wrap, and gloves. With these items on hand, you’ll be well-prepared to tackle the storage process.
Next, remove the lights from the display area with care, untangle and straighten them to ensure they’re in optimal condition, and secure them with tape or zip ties to prevent any tangling during storage.
Proper coiling is also crucial. Take your time to neatly wrap the lights around your elbow and forearm, making sure to leave enough excess wire for future use. Secure the coil with a tie or twist tie to keep it in place.
Store the lights in a cool, dry place to protect them from moisture and extreme temperatures. Avoid areas with high humidity and direct sunlight, as these can damage the lights over time.
Label the storage container to easily identify the contents and further streamline the process. Consider using specialized storage solutions such as reels, bags, pouches, or clear bins to enhance organization and protection.
By following these steps, you can store your icicle Christmas lights in an organized and efficient manner, ensuring their longevity and making future decorating a breeze.
So, as the holiday season comes to a close, take the time to properly store your icicle Christmas lights. By doing so, you’ll not only extend their lifespan but also make your life easier when it’s time to bring them out and add a touch of festive magic to your home once again.
Frequently Asked Questions about How To Store Icicle Christmas Lights
Was this page helpful?
At Storables.com, we guarantee accurate and reliable information. Our content, validated by Expert Board Contributors, is crafted following stringent Editorial Policies. We're committed to providing you with well-researched, expert-backed insights for all your informational needs.


0 thoughts on “How To Store Icicle Christmas Lights”