Home>Storage Ideas>Storage Cabinets>12 Craft Cabinet Options To Safely Store Your Supplies


Storage Cabinets
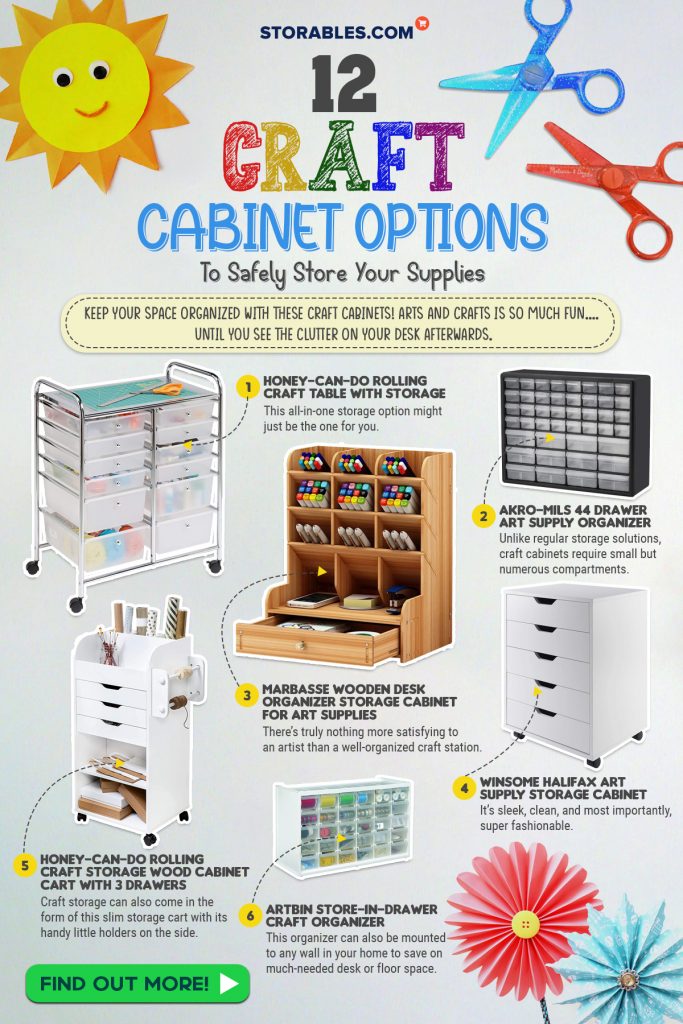
12 Craft Cabinet Options To Safely Store Your Supplies
Modified: December 6, 2023
Keep your space organized with these craft cabinets! Arts and crafts is so much fun.... until you see the clutter on your desk afterwards.
(Many of the links in this article redirect to a specific reviewed product. Your purchase of these products through affiliate links helps to generate commission for Storables.com, at no extra cost. Learn more)
2020 has been a year of discovery where find out more about ourselves and the things that pique our interest. With so many of us spending our time at home today, it’s up to us to find ways to make every minute count. Prior to the pandemic, most of us probably wished we could just spend the entire day chilling at home, just watching our favorite shows and eating a bunch of snacks. Now that it’s actually happened, though, such an “ideal” lifestyle can take its toll as boredom sets in real quick.
People Who Search For Craft Storage Cabinets Also Search For


One way to alleviate boredom is by discovering and trying out new hobbies. Some people have taken up gardening, others have discovered their affinity for cooking and baking, while yet more have discovered the joy of the arts. Creating arts and crafts is a fantastic way to spend your time. Not only does it help pass the day so much faster, but it can also be stimulating and therapeutic for a lot of people. It’s a way to express our subconscious minds and find out more about ourselves in the process.
At the end of the day, though, arts and crafts can be messy and leave a pile of junk that you don’t know where to put. The sizes and shapes of art supplies are so varied that storing them can prove to be quite the challenge. Fortunately, you shouldn’t worry about these things as there are plenty of amazing craft cabinet options for you to incorporate into your home.
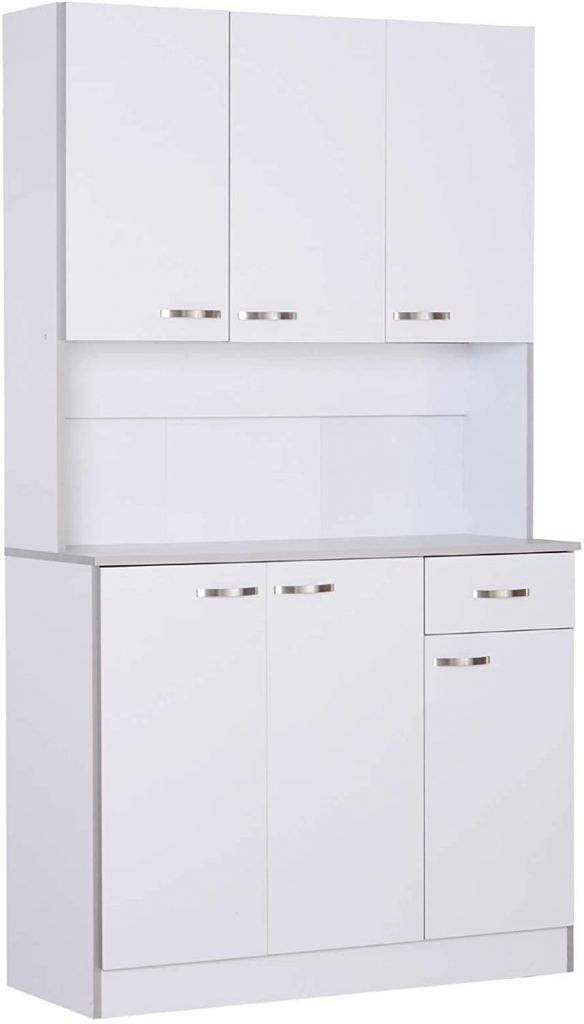
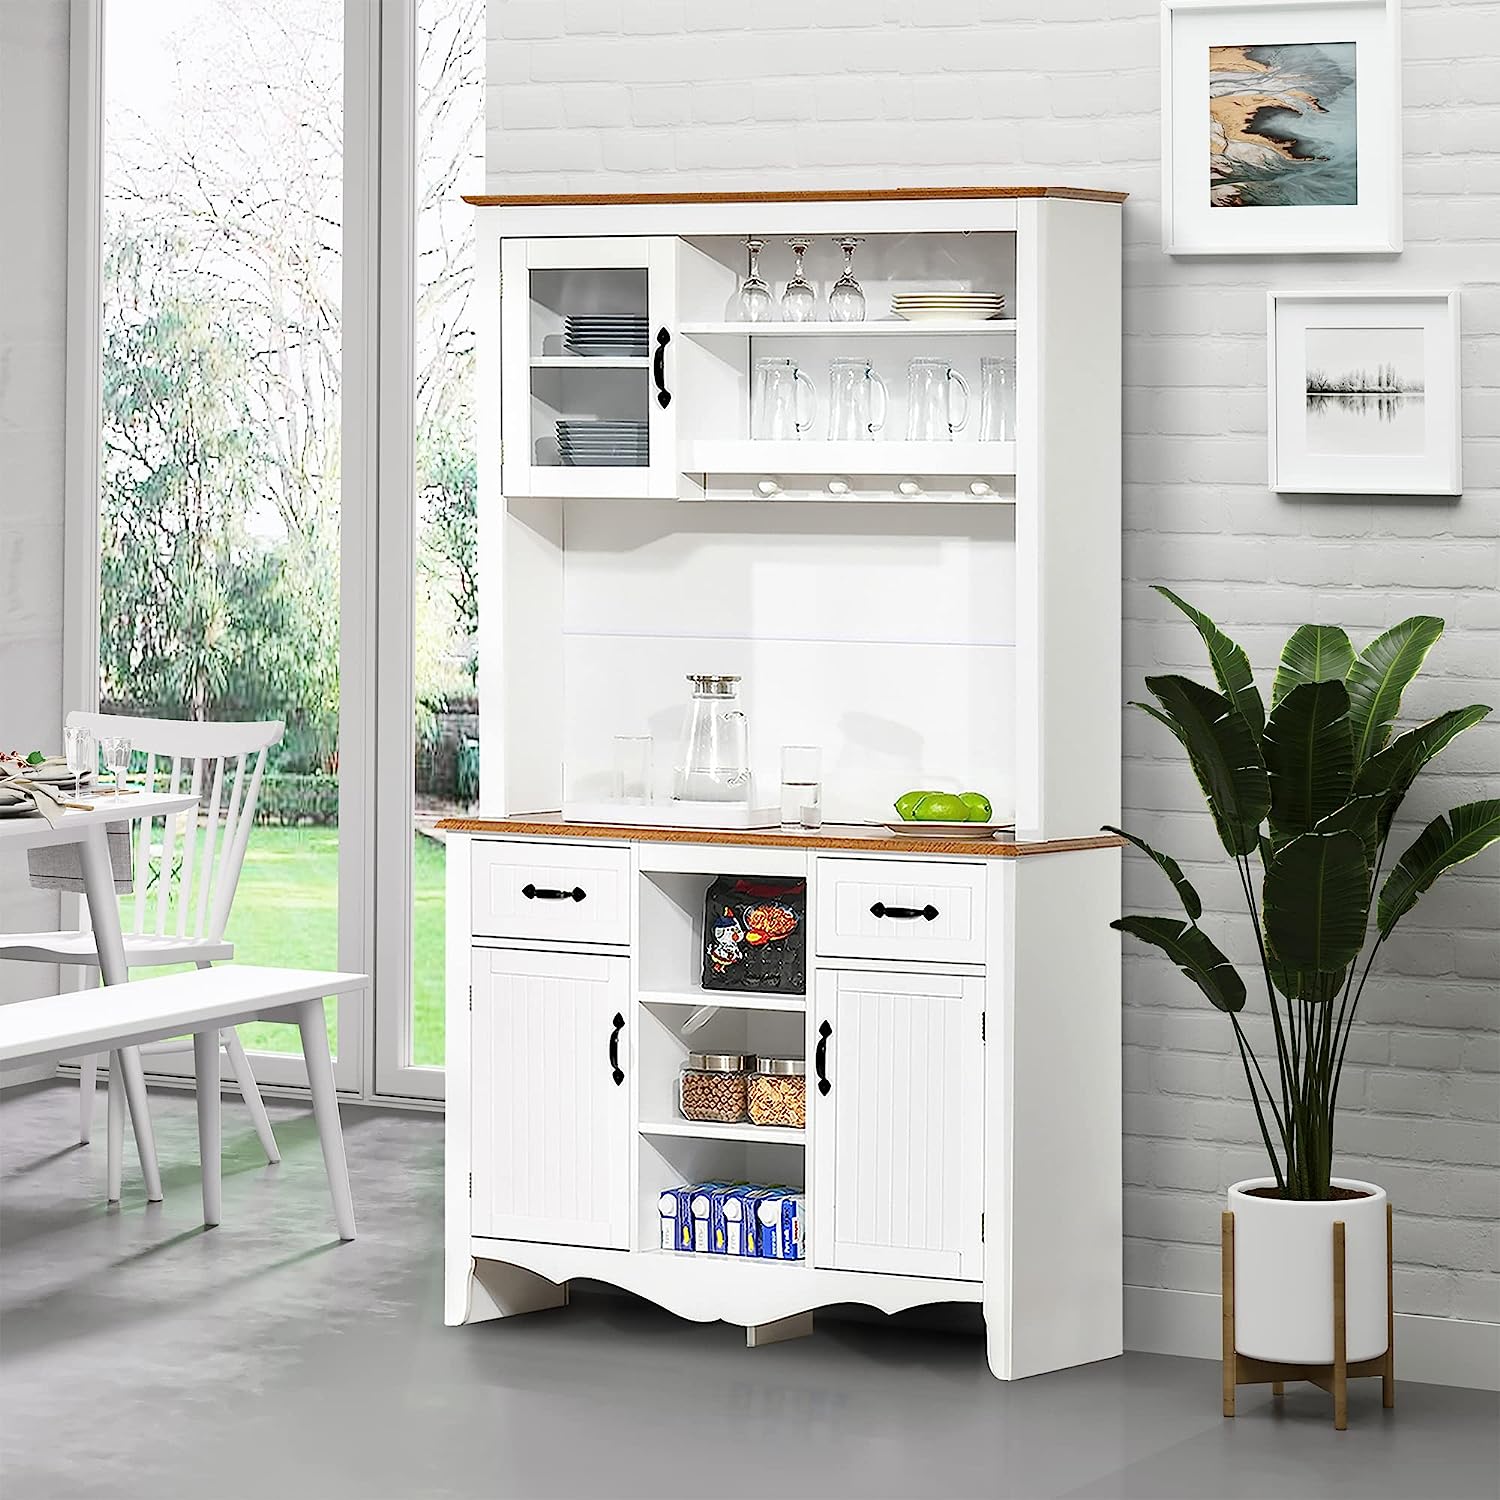
Most of us probably don’t have enough space for a whole craft room, but that problem can be solved by simply getting an entire craft station. This one from HOMCOM, for example, is a great storage facility for your arts and crafts needs. It has overhead cabinets, lower cabinets, and a slide-out drawer to keep all of your tools within reach. You can work on your projects comfortably via its sizable crafting surface.
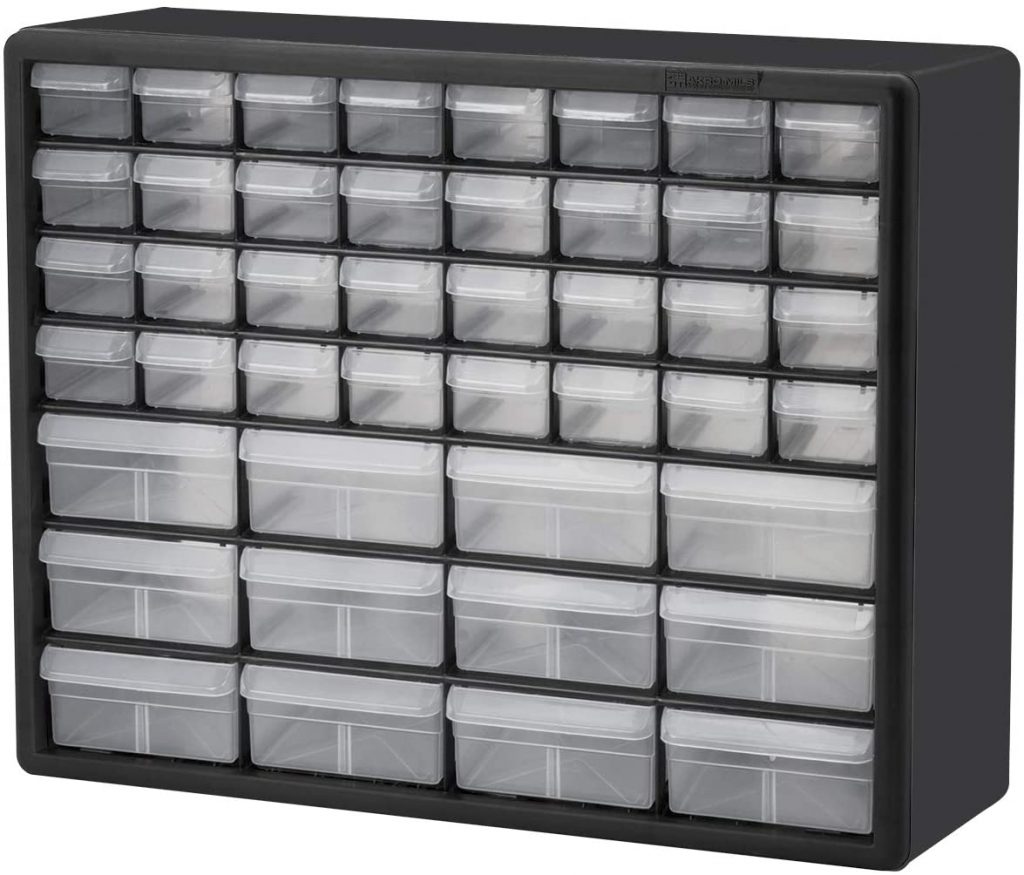
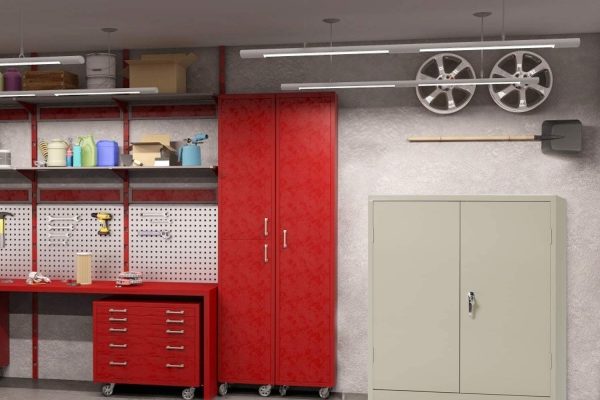
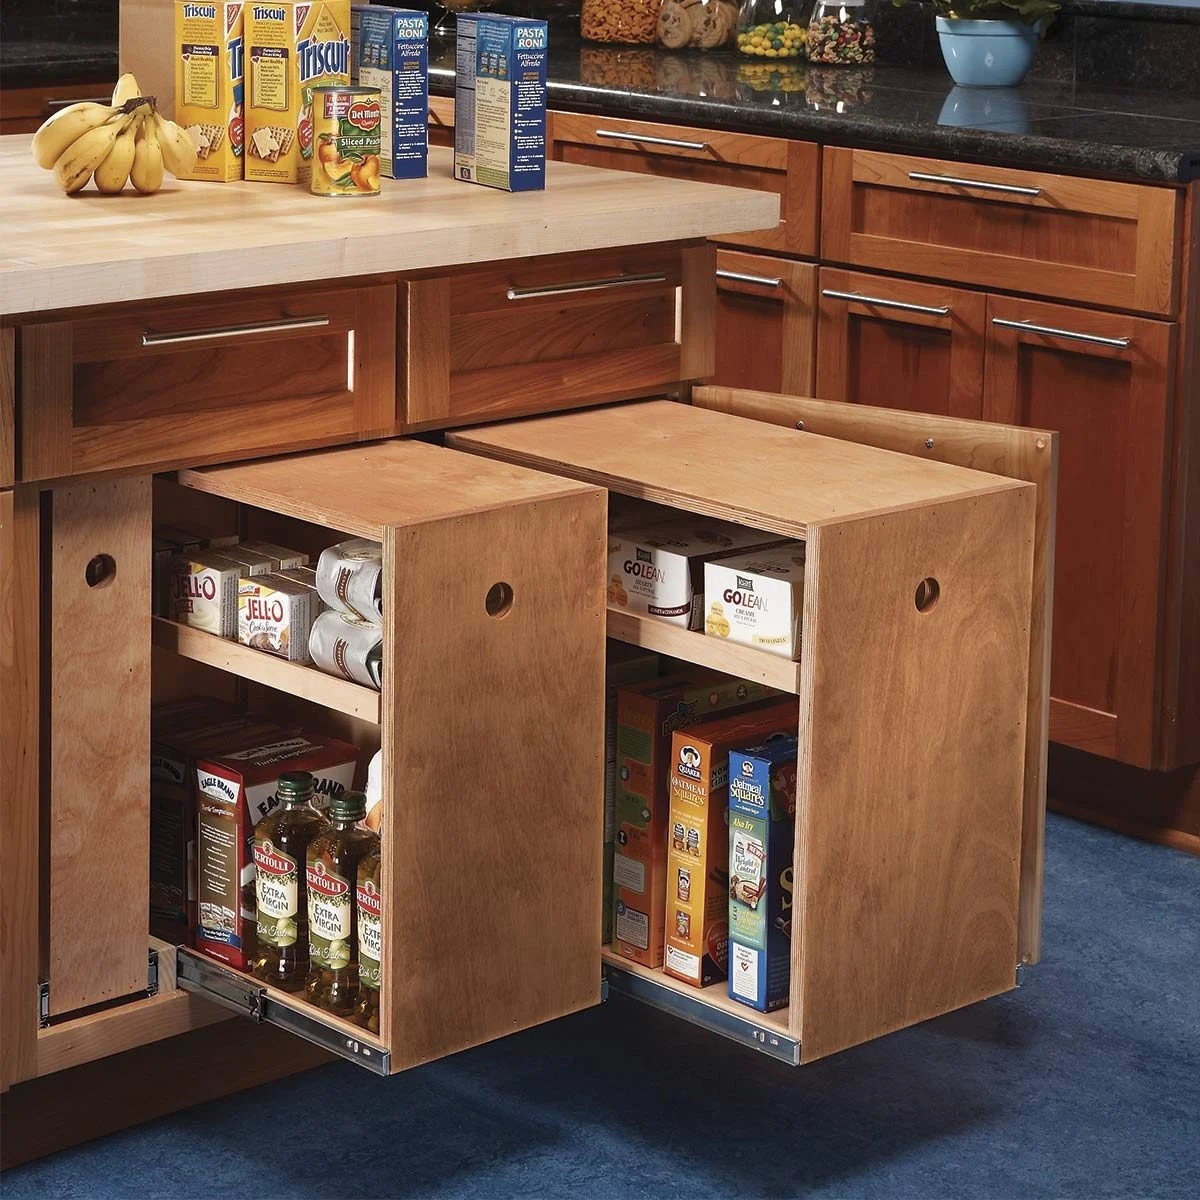
Unlike regular storage solutions, craft cabinets require small but numerous compartments. Art supplies usually come in different shapes and forms. You can’t exactly fold them or roll them to make them smaller; you’d just end up with a messy pile if you put them in a large empty space. With smaller compartments like these, however, you’re guaranteed to be able to neatly segregate and organize your tools.
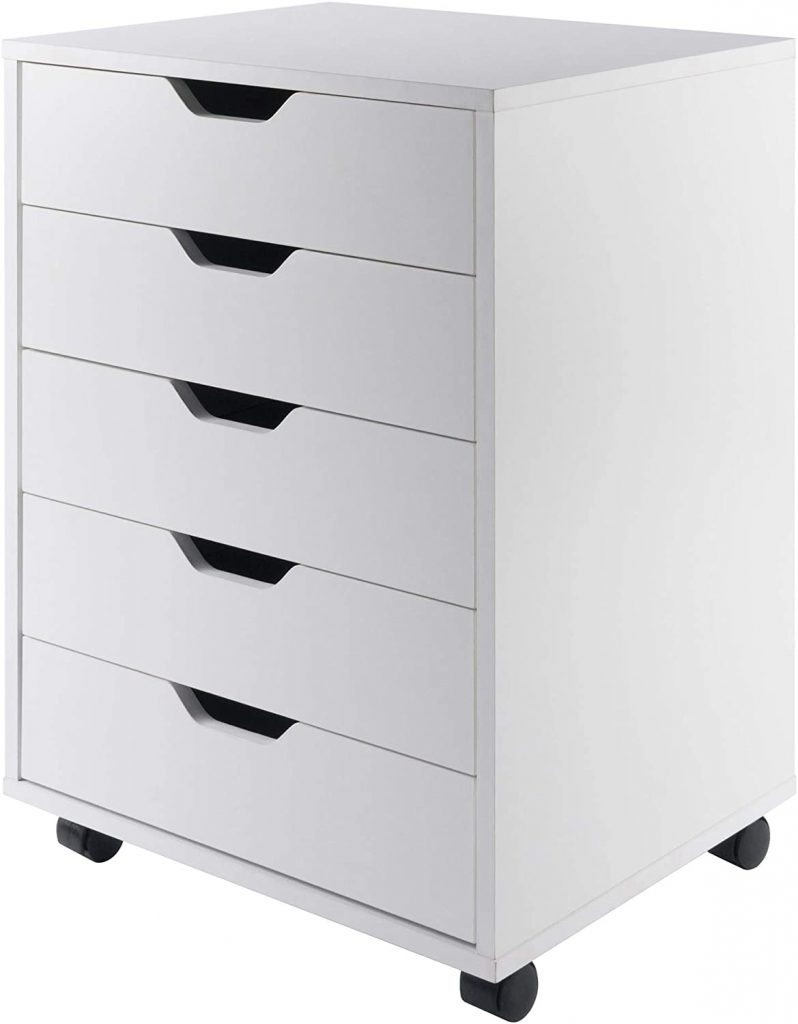
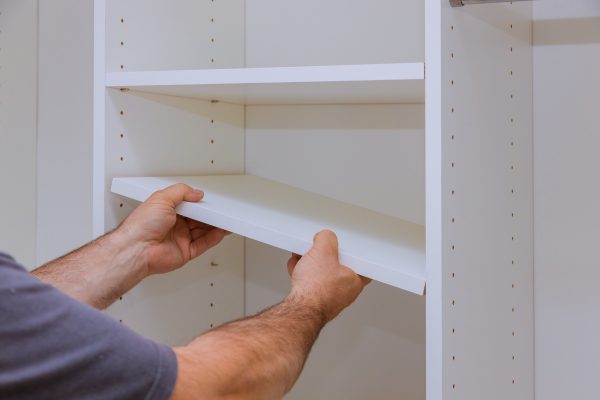
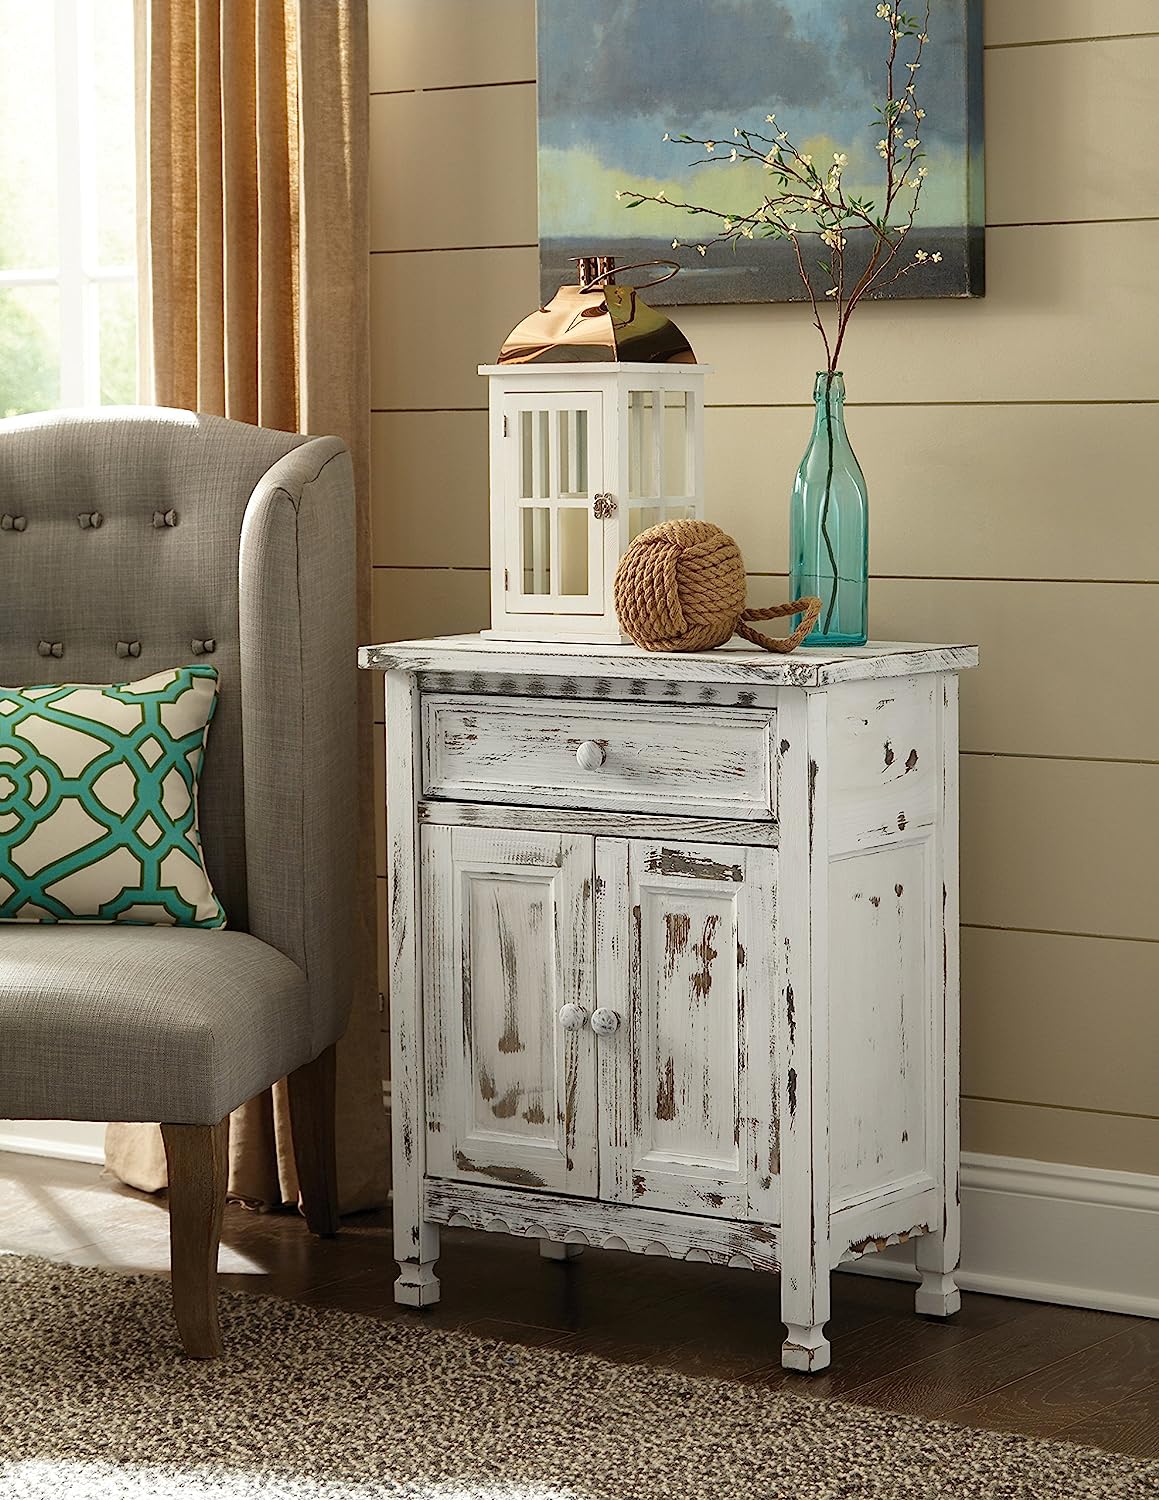
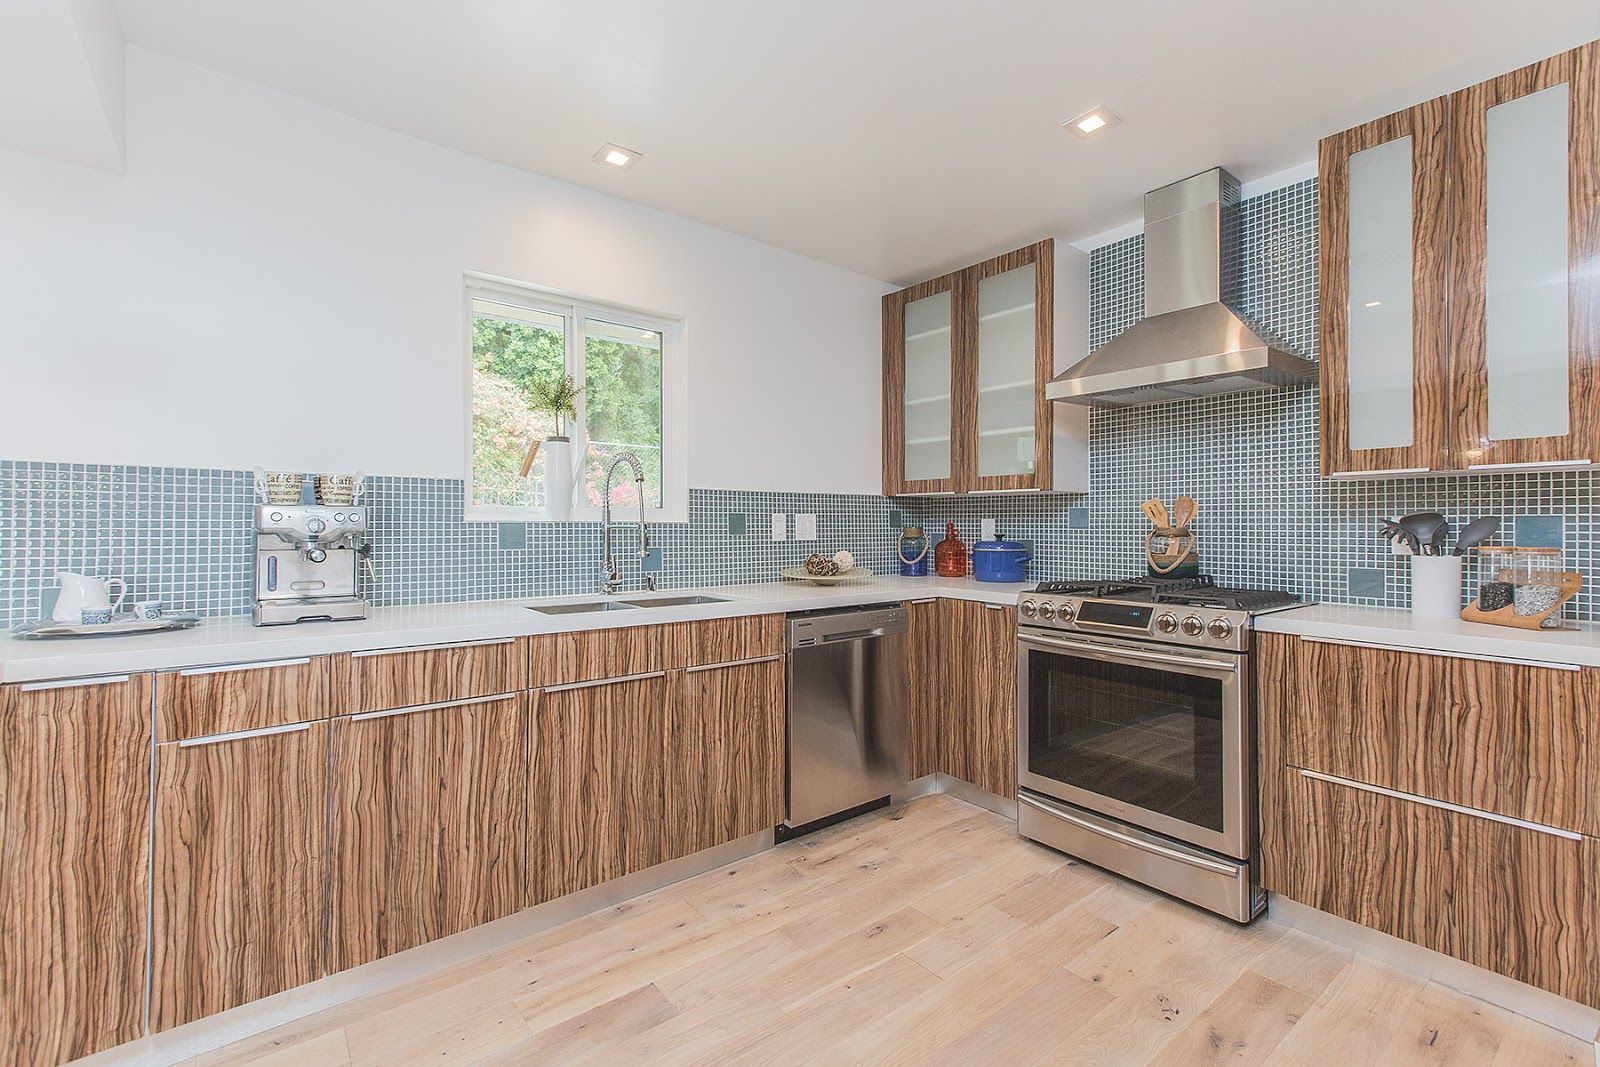
This Scandinavian design made popular by Ikea is still very much favored in terms of cabinet design today. It’s sleek, clean, and most importantly, super fashionable. Its stark white tone will go with quite literally any room, and you can probably find a use for this mobile cabinet anywhere in the house. Additionally, you won’t also have to worry about hardware getting tarnished because this makes use of carved panels instead of a separately attached pull handle.
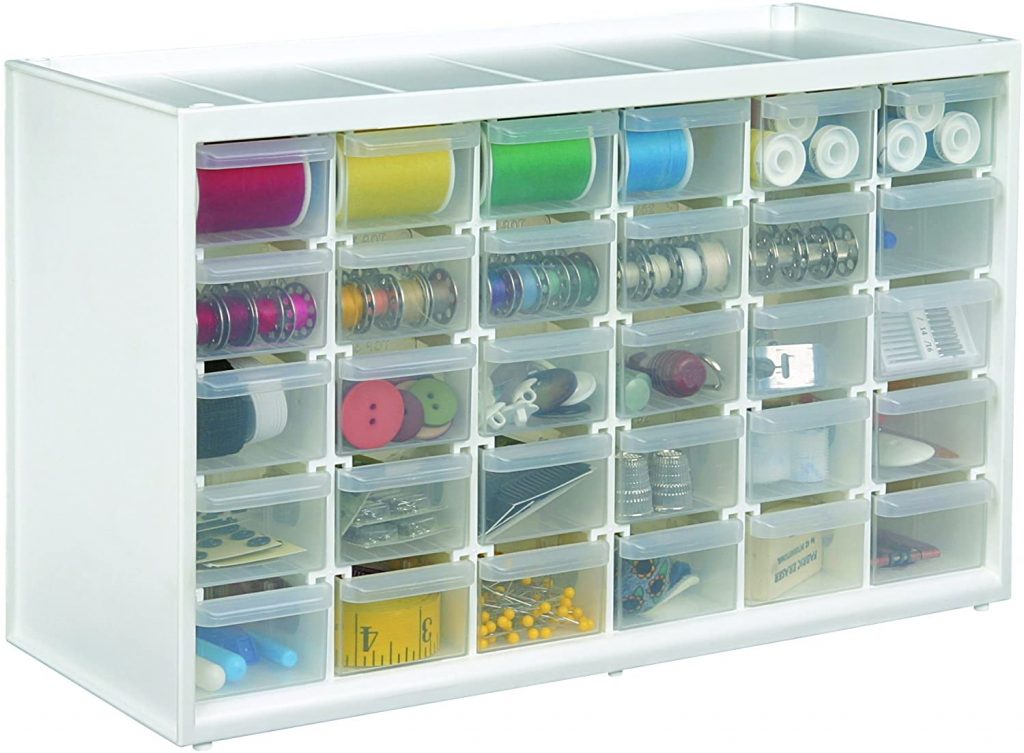
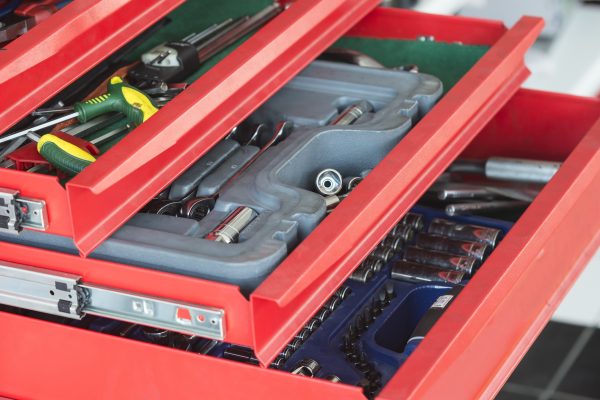
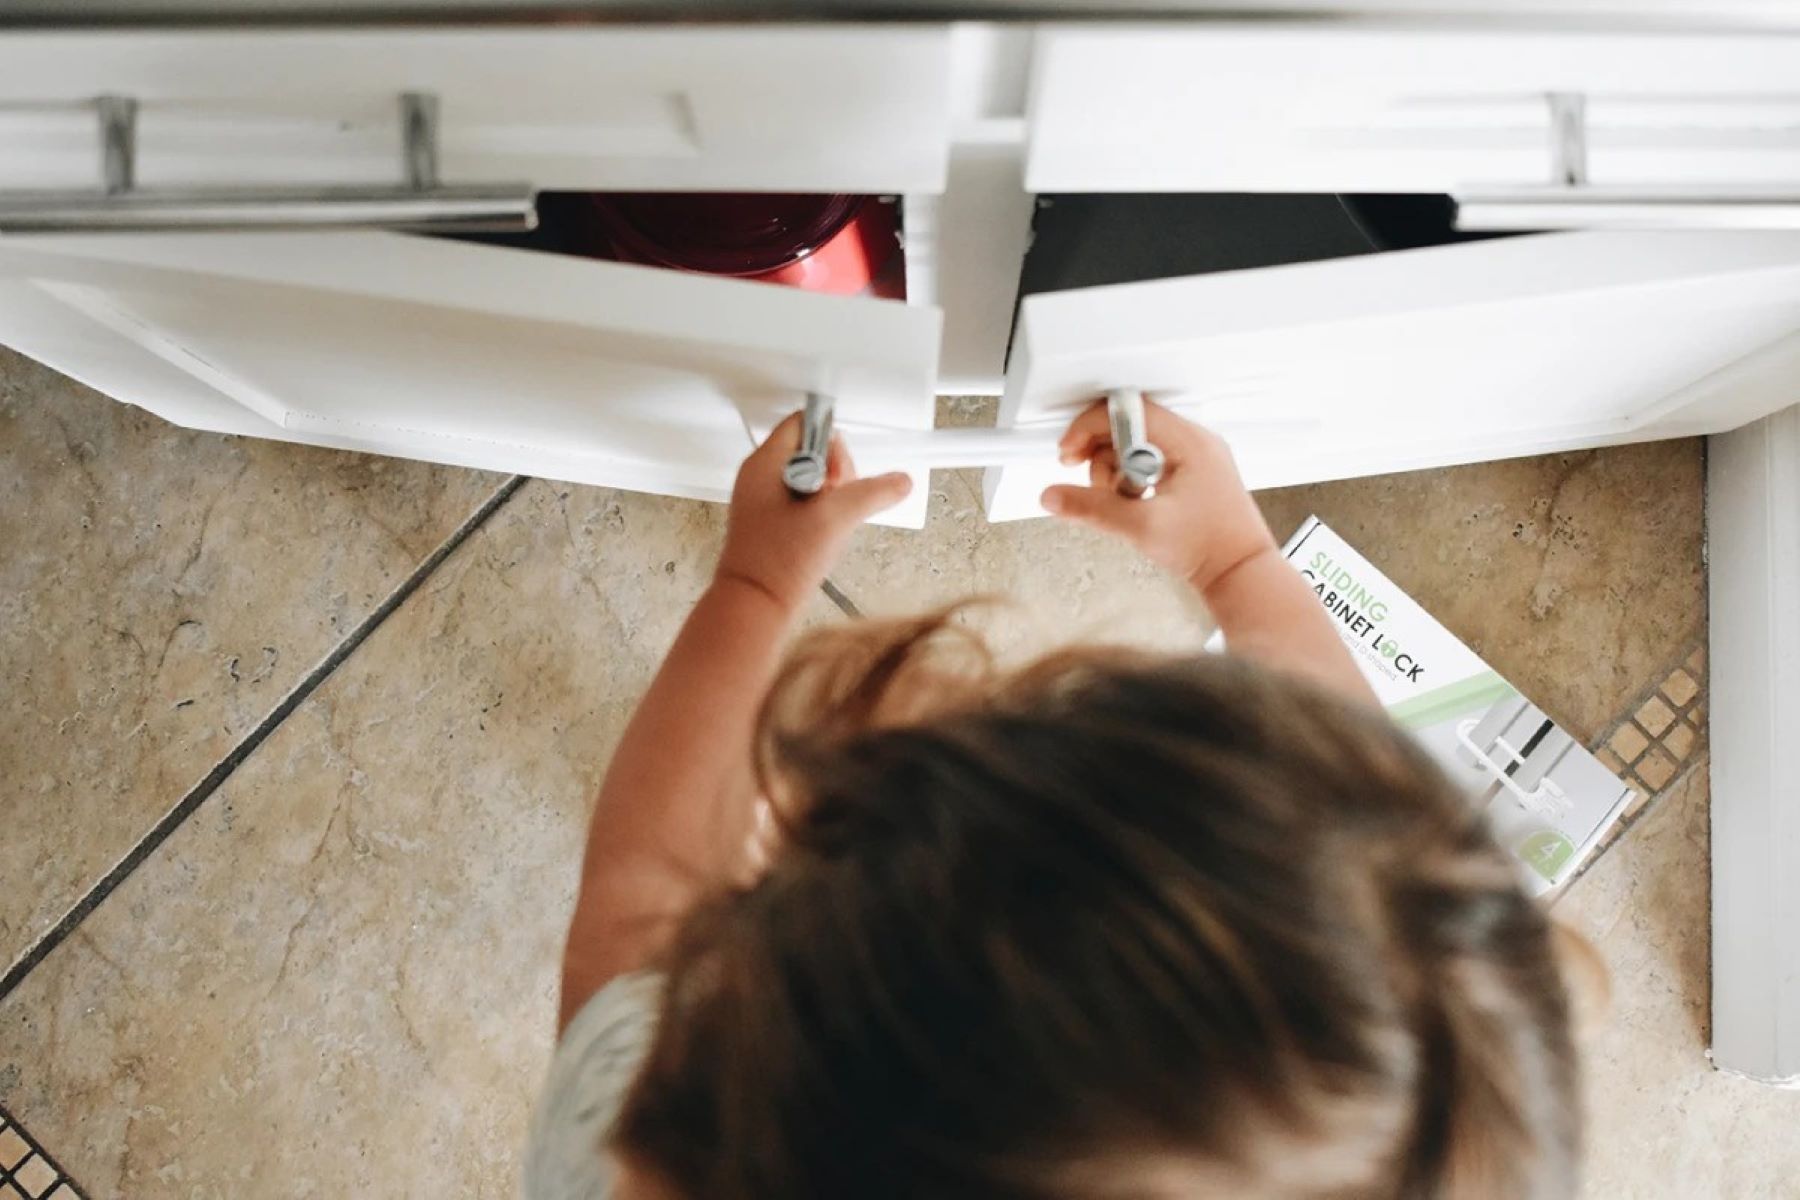
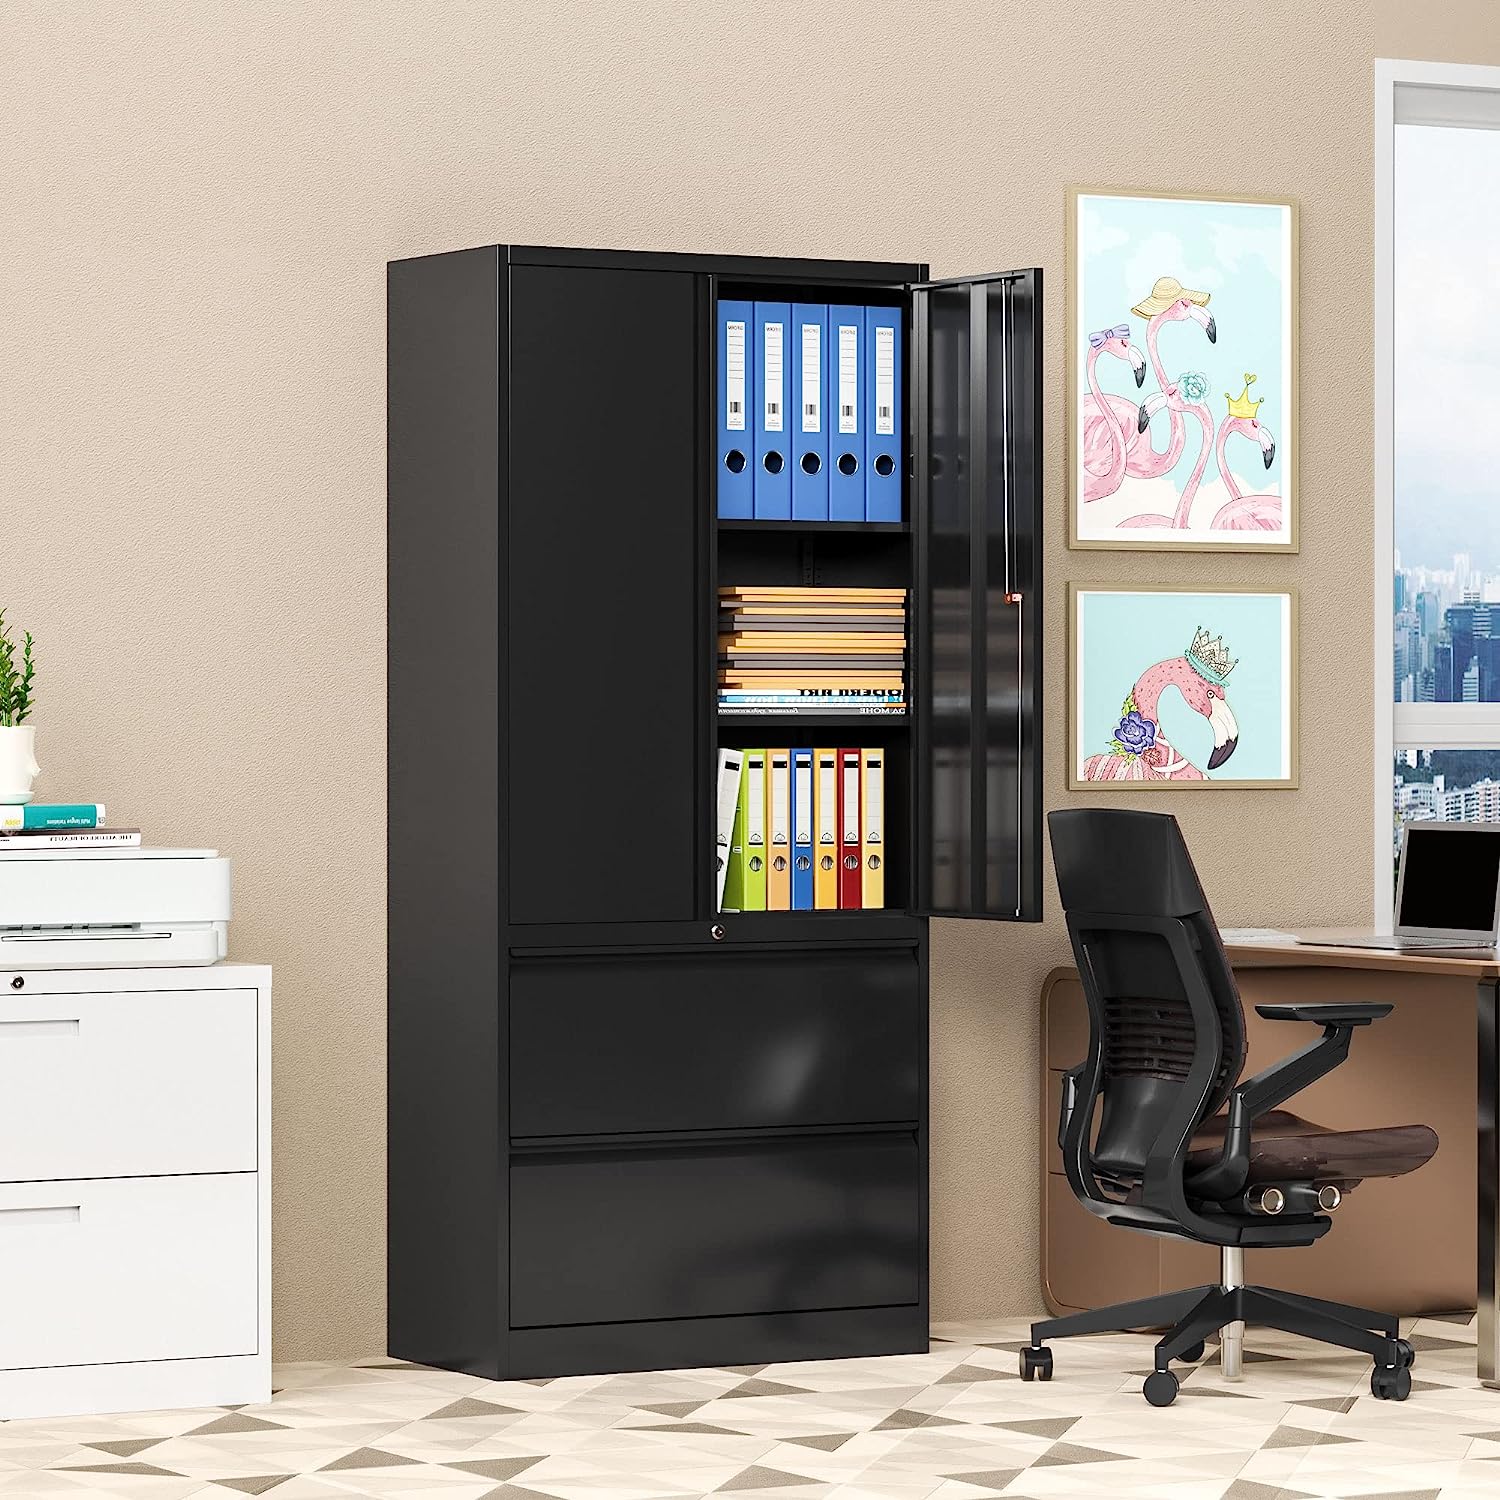
When you’re dealing with small items (e.g. sewing materials), a craft organizer with multiple compartments is the best way to go. Usually, designs come in a variety of drawer sizes for greater flexibility in terms of what you can store, but you’d find a craft cabinet like this (with more drawers but smaller compartments) to be more useful in the case of generally small objects like pins and needs and rolls of measuring tape. This organizer can also be mounted to any wall in your home to save on much-needed desk or floor space.
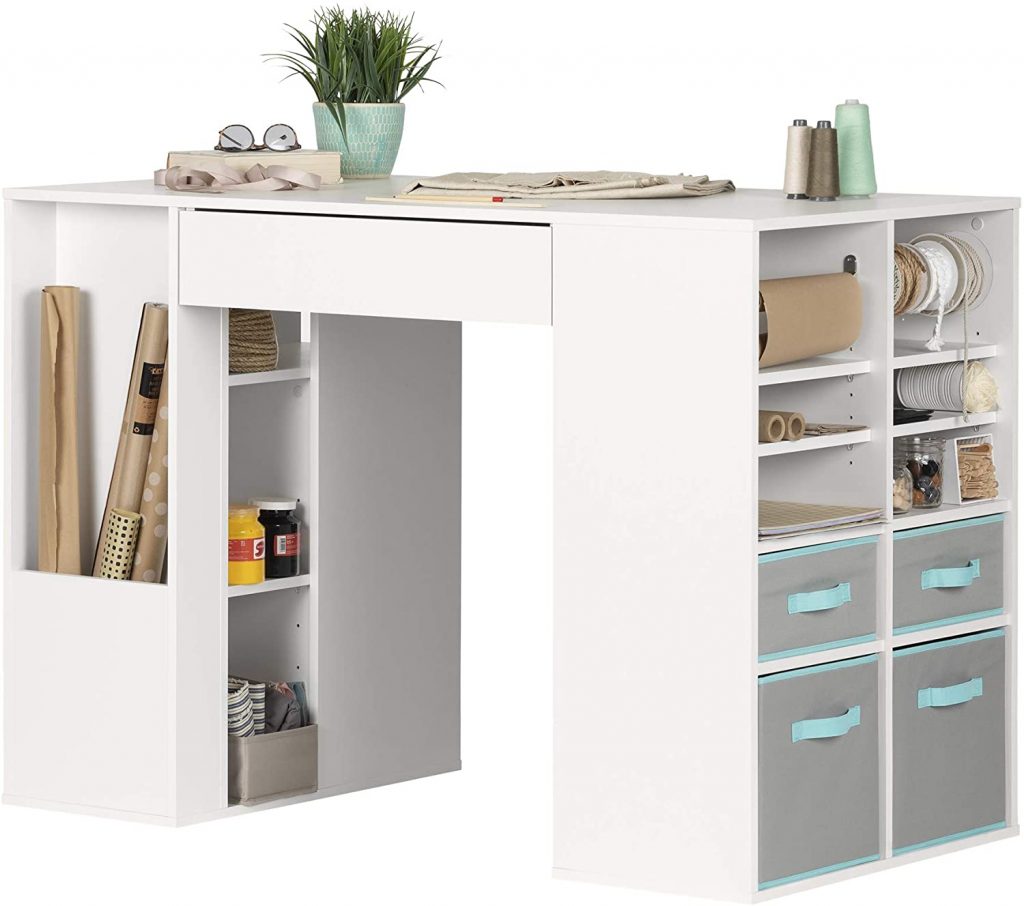
Multi-purpose furniture is the best because it can save you so much space. When you think about it, it makes sense for craft tables to have their own expansive storage area. We’re not just talking about a tiny secret compartment under the desk, but rather comprehensive storage spaces all around the form of the design. With craft tables, more is generally better. This product from South Shore is the perfect example of this. This table has two large storage modules and a wide drawer to hold all of your crafting tools when not in use.
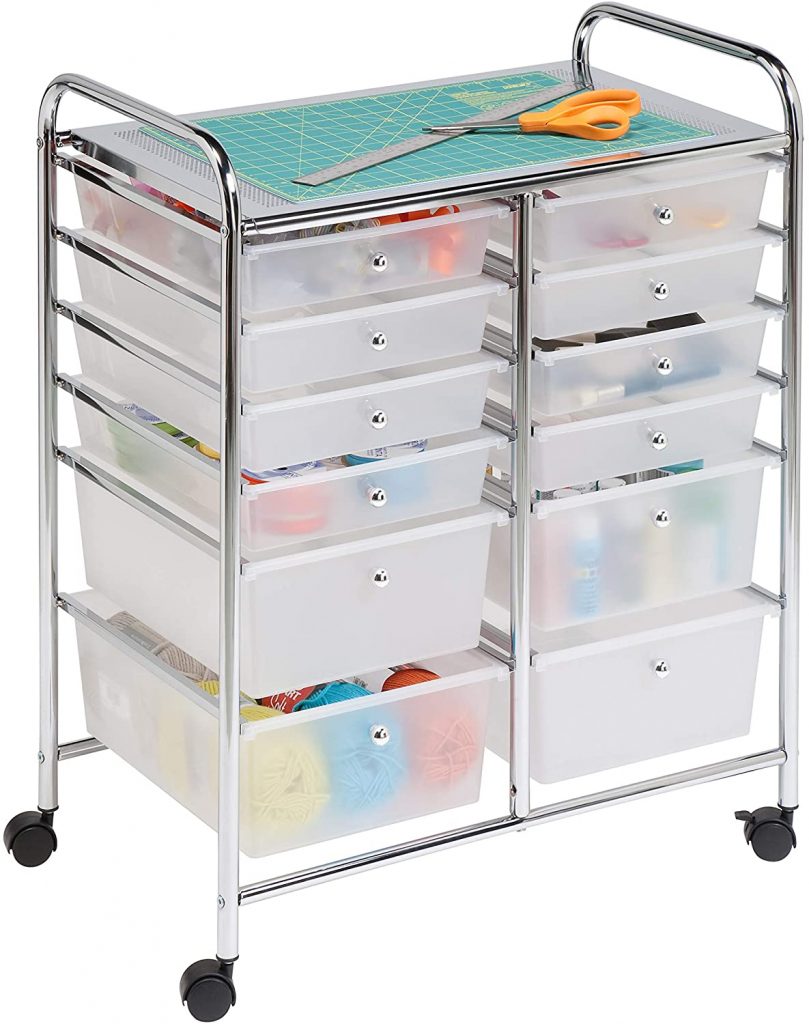
Looking for a lightweight and fuss-free craft cabinet storage solution? This all-in-one storage option might just be the one for you. Getting craft storage with wheels is ideal for working on the move, even if it’s within your own house. For instance, you can’t just sit in one place while sculpting a large figure. Having a crafting station that you can move anywhere will help you focus on your project better. Also, mobile cabinets are very easy to stow away after use. The last thing you want is a crafting table that takes up too much space in the room.
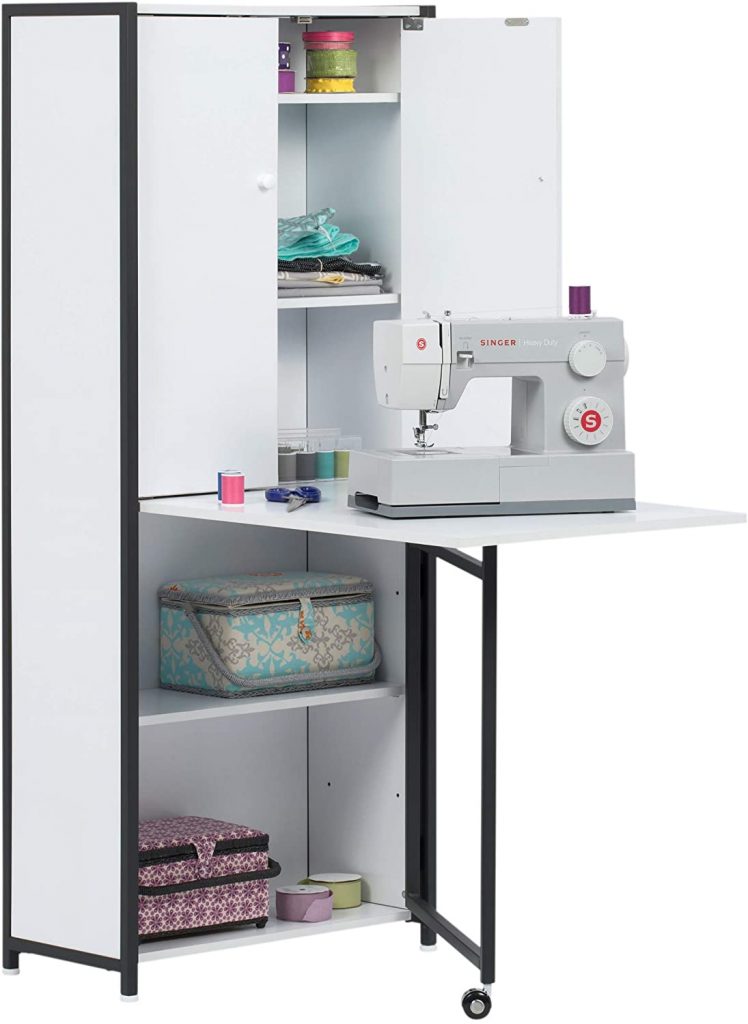
Foldable furniture can be lifesavers when it comes to compact spaces. They can be expanded into large workspaces but also assume more unimposing forms when you’re not working. The risk of incurring physical injuries will be lessened significantly, but you’ll still have a complete workspace waiting for you whenever you need it. This Sew Ready craft table is perfect for small spaces as it offers multiple cabinets and a considerable work space that you can put away whenever you want.
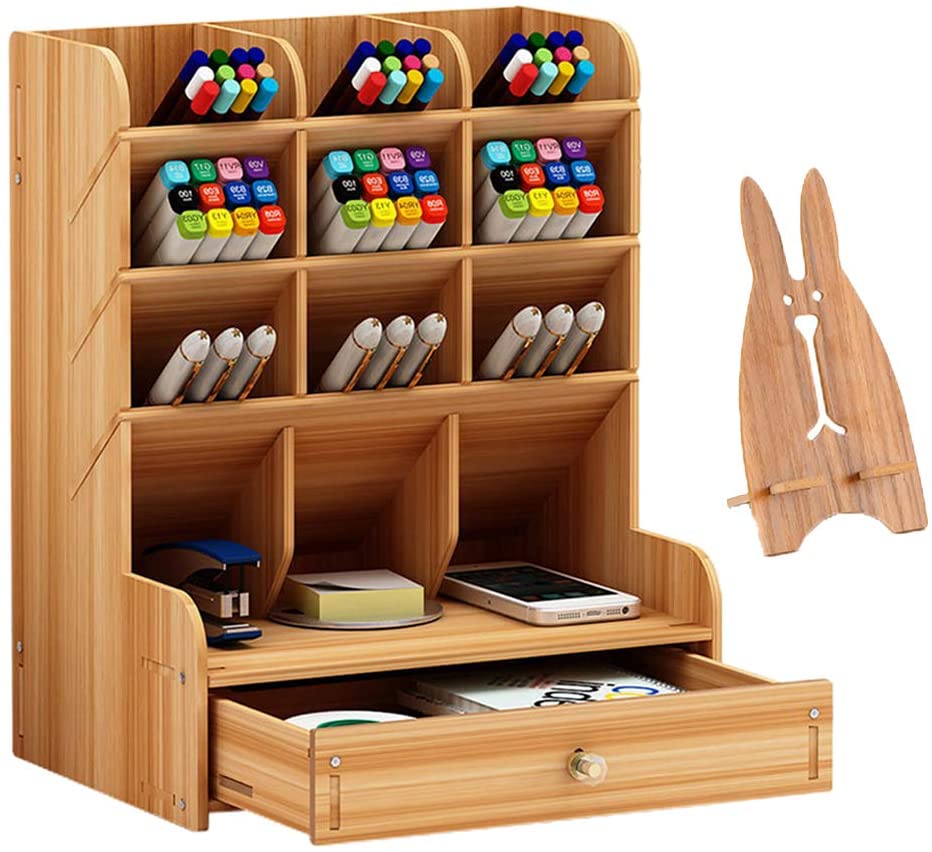
There’s truly nothing more satisfying to an artist than a well-organized craft station. Just looking at it will not only give you feelings of peace and satisfaction, but it can also really inspire you to do some arts and crafts. This wooden desktop organizer is beautiful, warm, and will breathe so much life into your workspace. Plastic is a great material to use for storage, but we reckon nothing beats the sophistication of wood.
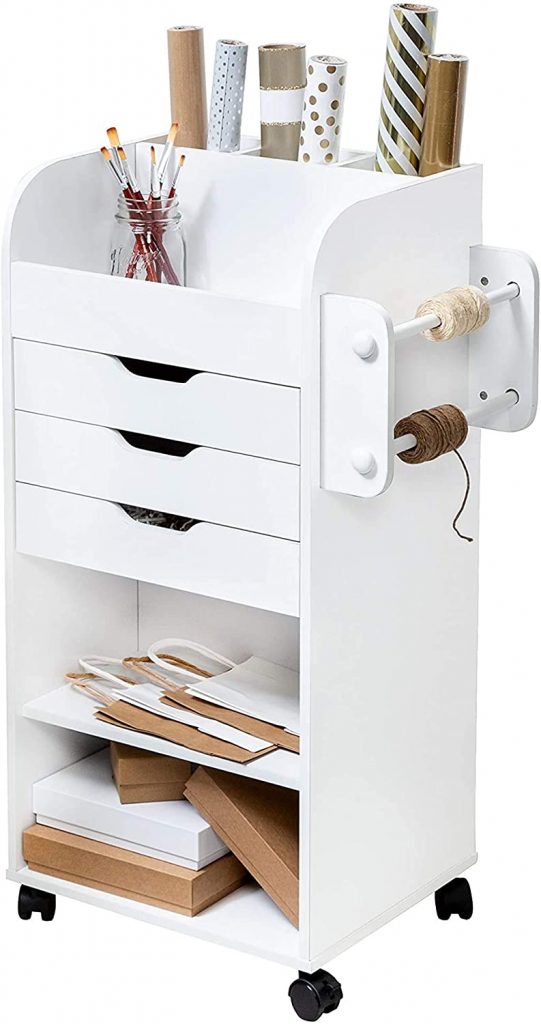
Craft storage can also come in the form of this slim storage cart with its handy little holders on the side. If you do a lot of crafts with paper and twine, this mobile little work station is absolutely perfect for you. It’s also finished in a crisp white coat of paint which will no doubt freshen any room that it goes to. It also offers so much variety in terms of storage flexibility, so you’re sure to get the most out of this crafts storage option.
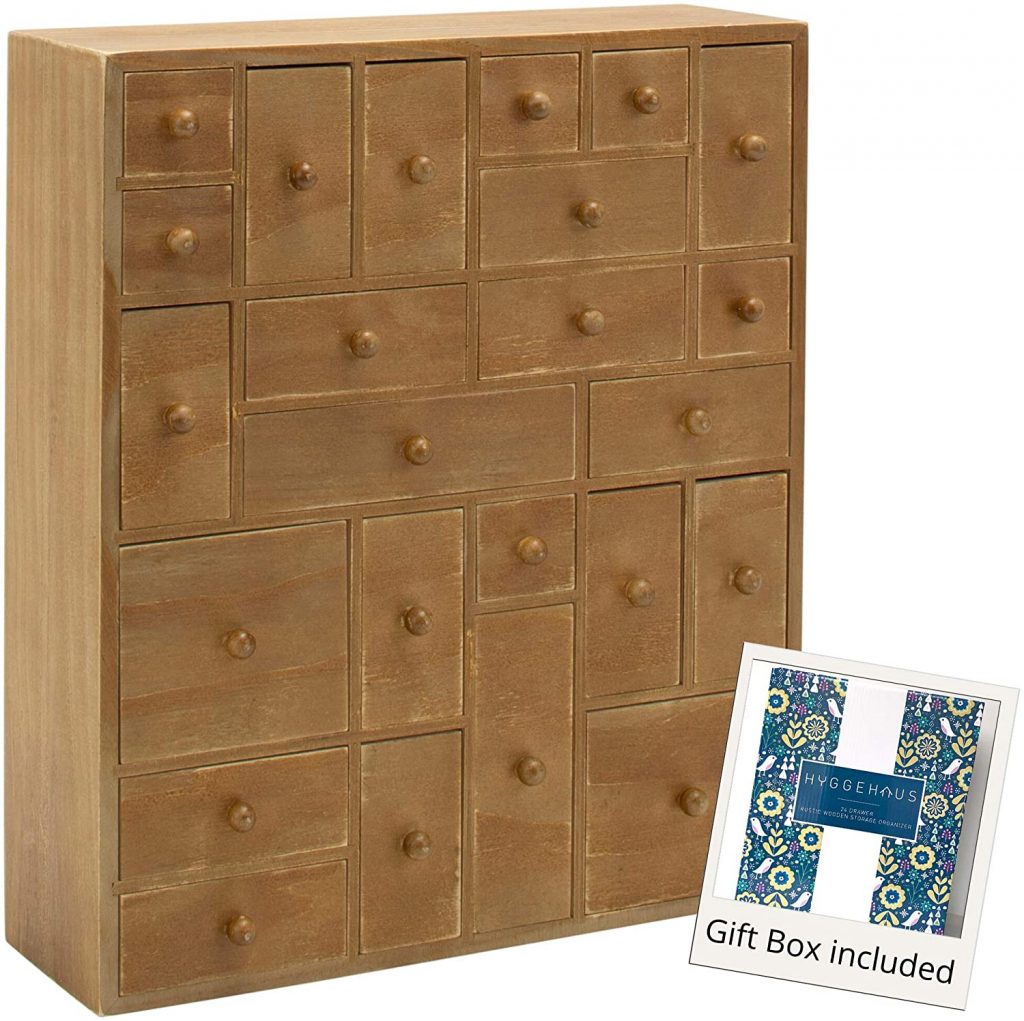
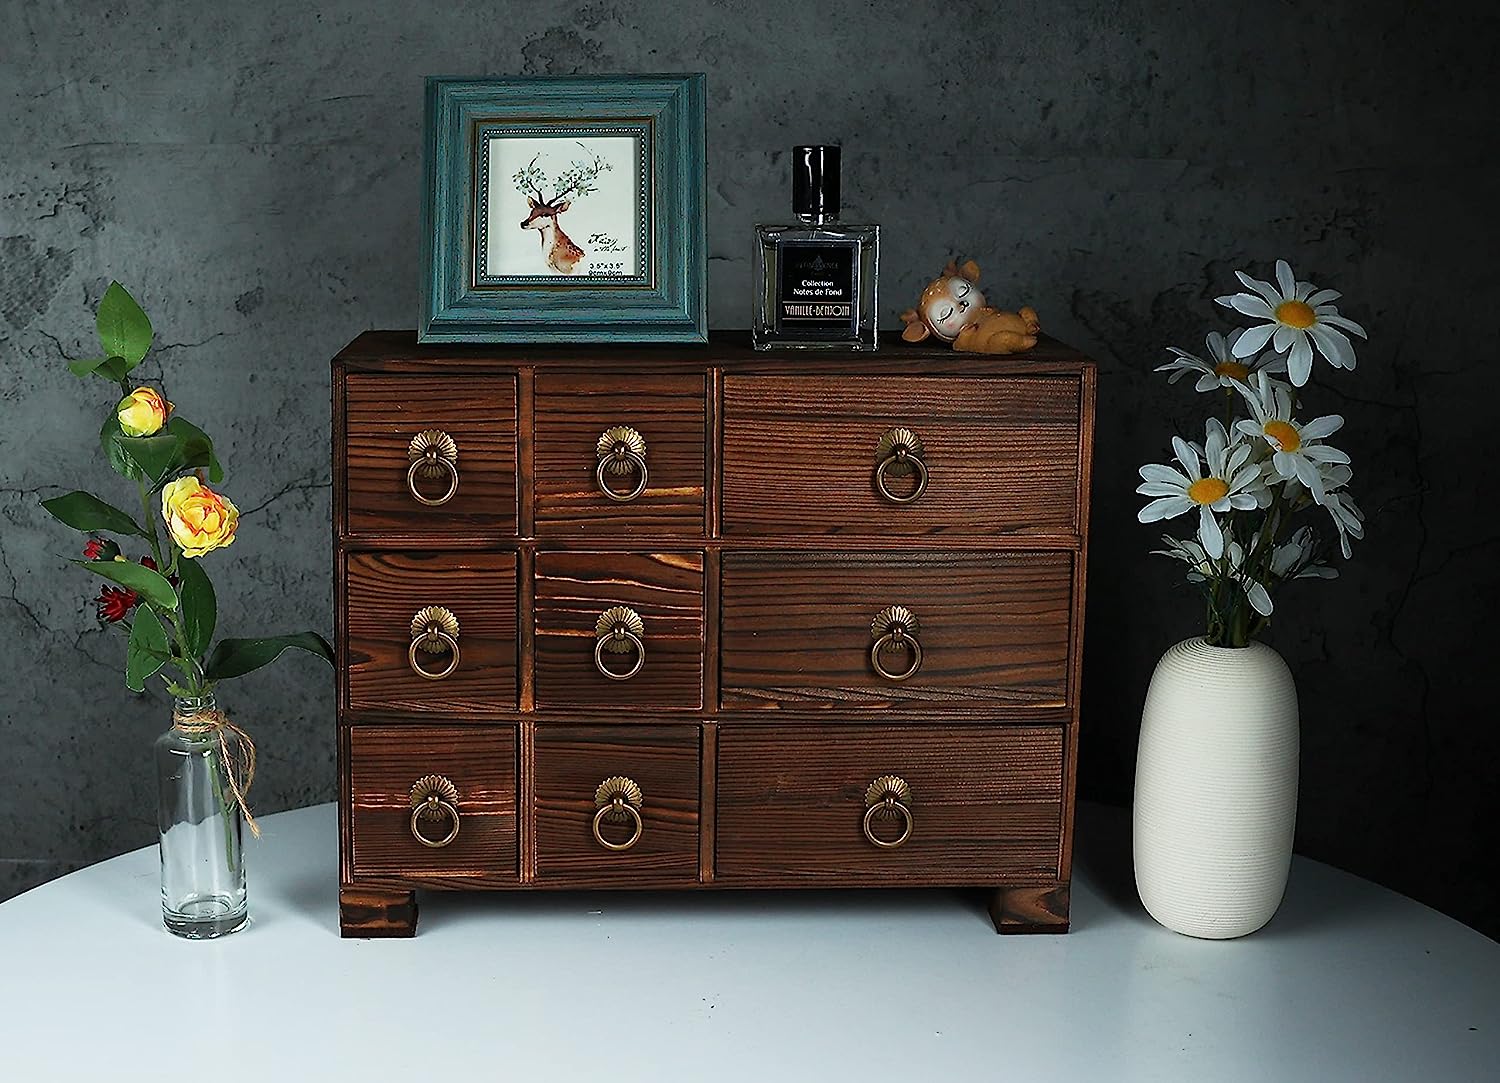
A craft organizer can easily serve as a decorative accent in your room, as proven by this option from Hyggehaus. It’s all about asymmetry and funky details with this cabinet that’s sure to liven up your workspace. Although it looks rather unconventional, the different sizes of drawers can be convenient for storing almost any tool and material you can imagine. This product is a great storage option to have if use plenty of small materials in your projects.
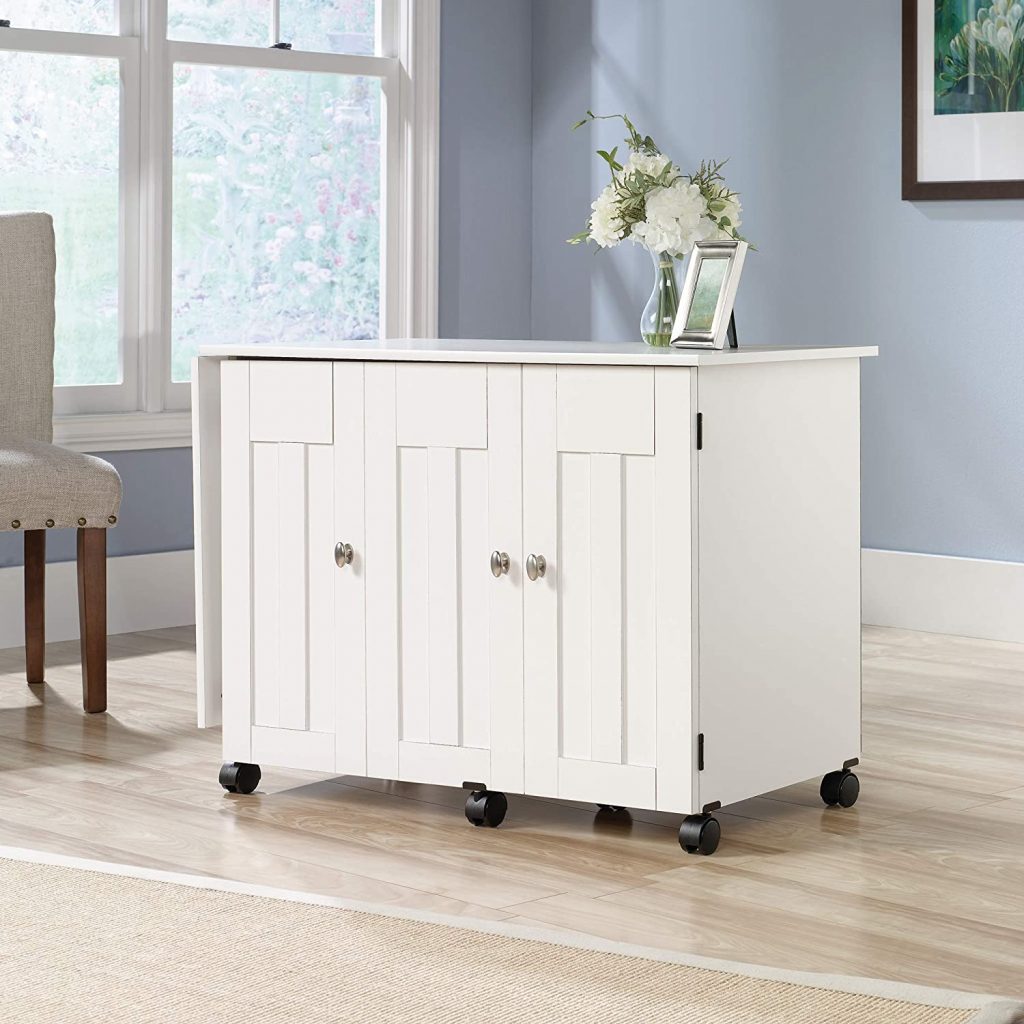
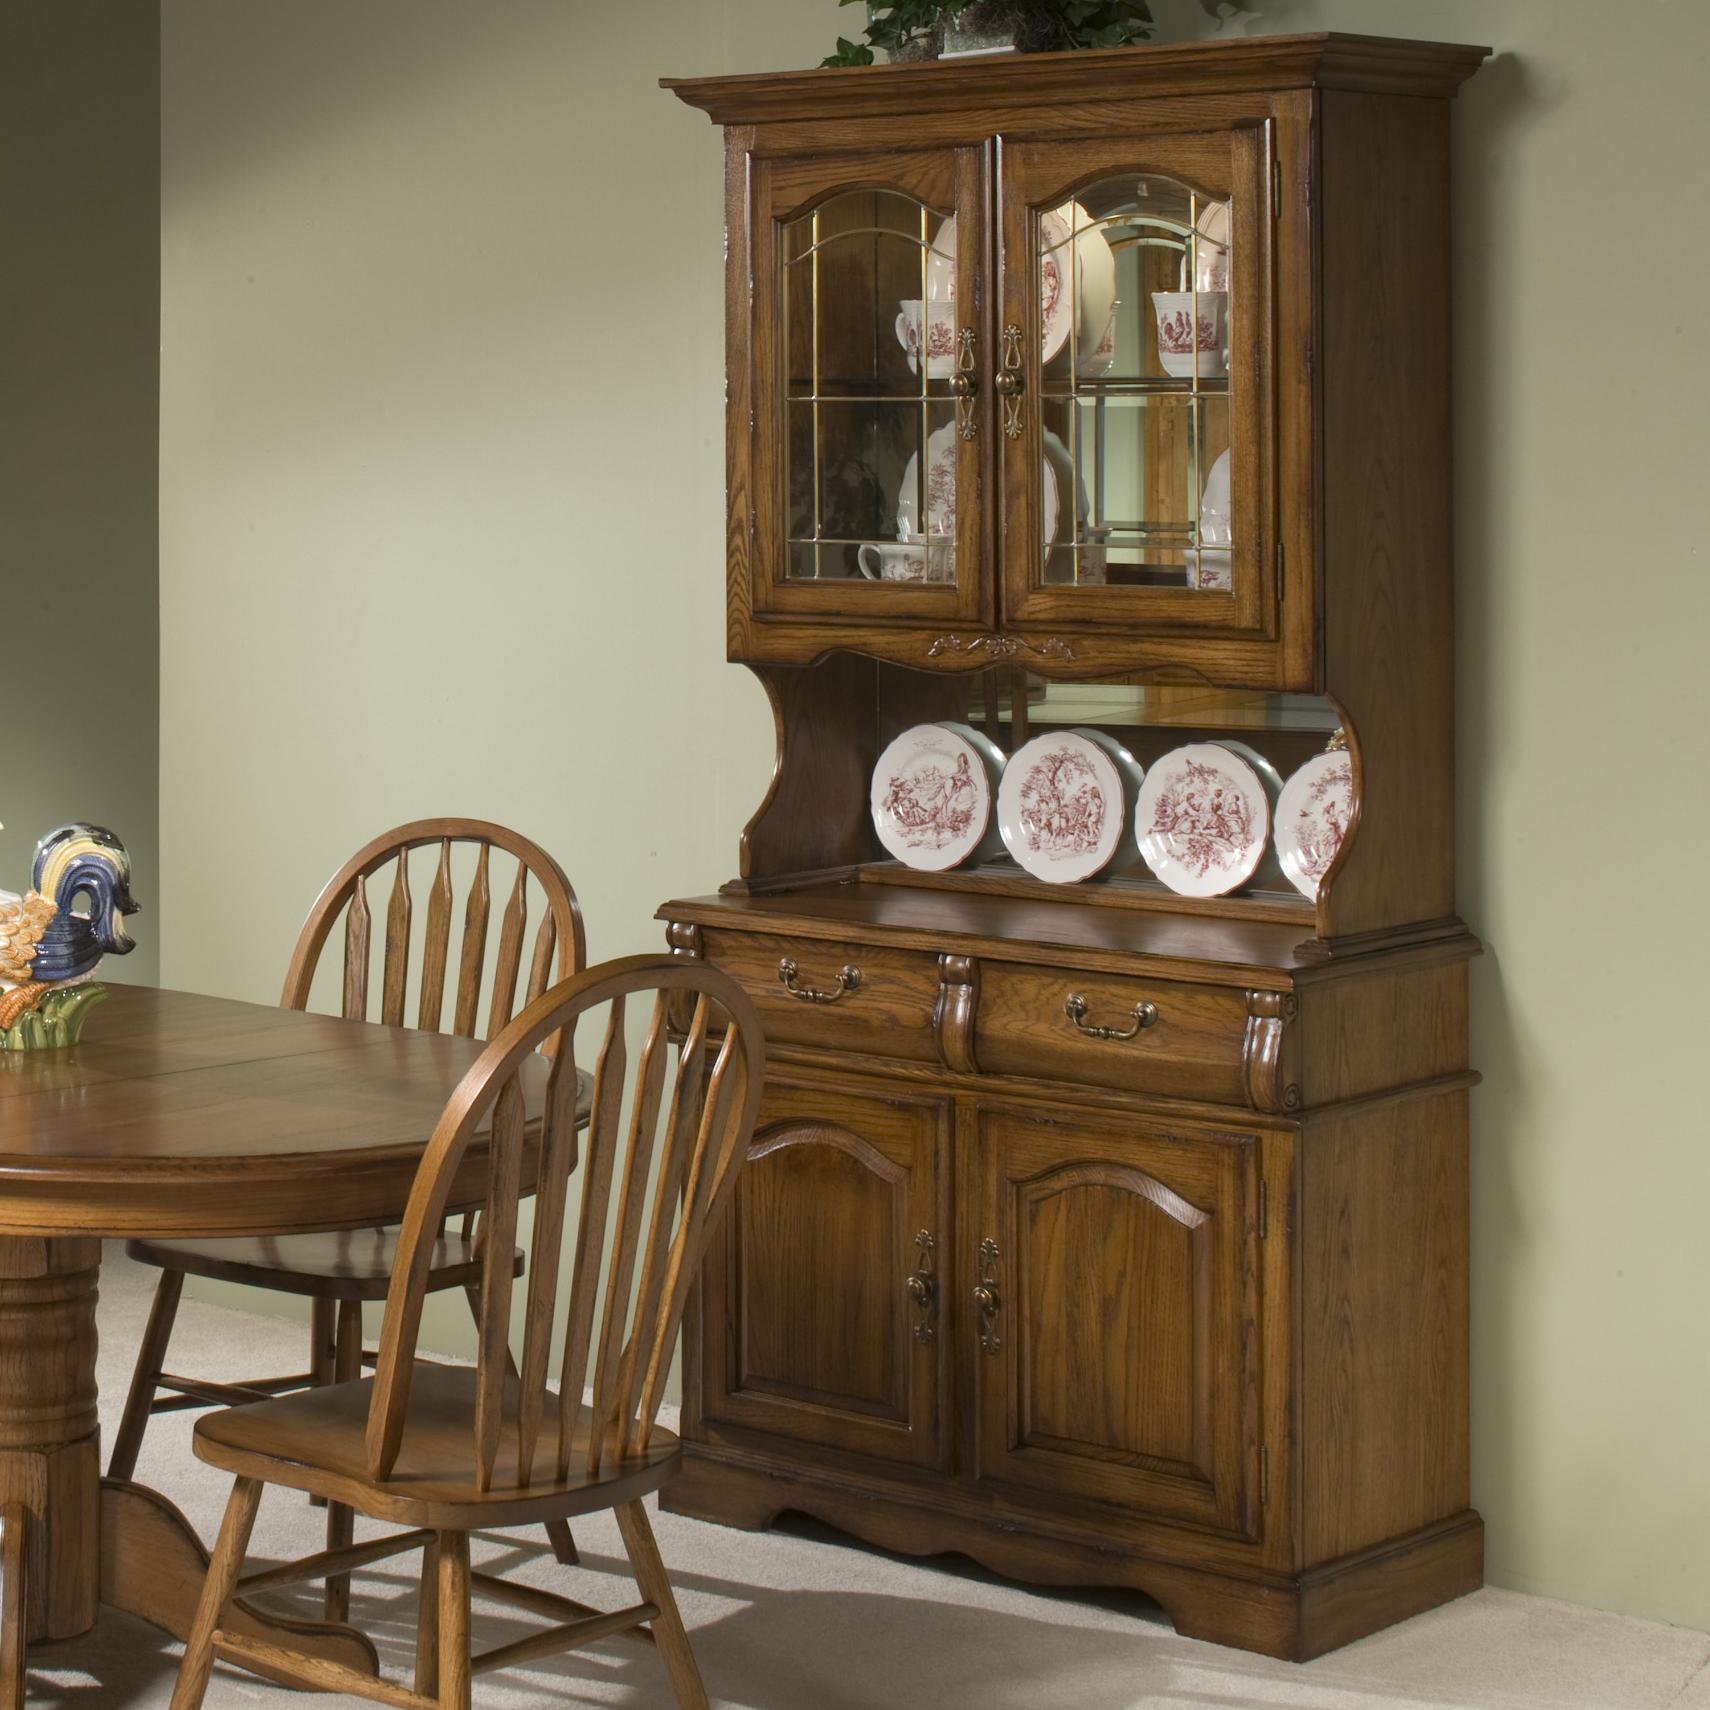
Sauder has always been known for making very luxurious wooden furniture, so it’s no surprise that they’ve put out craft tables that are equally gorgeous. This craft storage cabinet will add to the beauty of any room. However, its black caster wheels and a generous amount of storage space make sure that it’s still convenient and functional. Its elegant wooden paneling is the icing on the cake.

In contrast to the previous large storage carts, this piece from Best Choice Products is slimmer and more compact. However, still offers a ton of storage options to please any veteran artist and craftsman. To contrast its all-white frame, it features warm-toned wooden hooks that add to the variety of things it can store. This workstation is especially flexible as it can be used for more than just arts and crafts: it’s apt for other hobbies such as cooking and baking as well.
Arts and crafts are a great activity you can do together with your family or your roommates. It doesn’t have to be limited to just painting; the realm of the arts is so expansive that it’d probably take you years to properly explore them all. However, I think we can all agree that the beauty of the arts and crafts world is that there’s probably something for everyone. While you’re off discovering what type of crafts suit you best, you can keep your space clean and free of clutter with these best craft cabinets.
Was this page helpful?
At Storables.com, we guarantee accurate and reliable information. Our content, validated by Expert Board Contributors, is crafted following stringent Editorial Policies. We're committed to providing you with well-researched, expert-backed insights for all your informational needs.


0 thoughts on “12 Craft Cabinet Options To Safely Store Your Supplies”