Articles
How To Store Crafts
Modified: August 17, 2024
Learn the best techniques for storing your articles and crafts to keep them organized and protected. Discover simple tips and creative ideas to preserve and maintain your valuable craft collection.
(Many of the links in this article redirect to a specific reviewed product. Your purchase of these products through affiliate links helps to generate commission for Storables.com, at no extra cost. Learn more)
Introduction
Crafting is a fulfilling and enjoyable hobby that allows you to unleash your creativity and create beautiful works of art. Whether you’re into scrapbooking, sewing, knitting, or any other craft, it’s important to have a well-organized storage system for your supplies. A clutter-free and organized crafting space not only makes it easier to find what you need but also helps to keep your materials in good condition and prolong their lifespan.
In this article, we will guide you through the process of choosing the right storage solutions for your crafts and provide helpful tips for organizing and storing different types of craft supplies. We will also explore how to preserve and store finished crafts, as well as create a functional and inspiring craft room. So let’s dive in and discover the secrets to maintaining a well-organized craft space!
Key Takeaways:
- Organize your craft supplies with accessible, durable, and protective storage solutions to enhance creativity and prolong the lifespan of your materials. Experiment with different options to find what works best for you.
- Keep small craft supplies, paper, yarn, tools, and finished crafts well-organized and preserved to create an inspiring and efficient craft room. Tailor the space to suit your specific crafting needs and personal taste.
Read more: How To Store Artwork At Home
Choosing the Right Storage Solutions
When it comes to crafting, having the right storage solutions can make all the difference in keeping your supplies organized and easily accessible. Here are some considerations to keep in mind when choosing storage solutions for your crafts:
- Accessibility: Look for storage solutions that allow for maximum accessibility to your supplies. Consider open shelves, clear bins, or drawer organizers that make it easy to see and access your materials without rummaging through clutter.
- Size and Flexibility: Assess the size of your craft supplies and choose storage containers and cabinets that can accommodate them. Look for modular systems that can be easily expanded or reconfigured to fit your changing needs.
- Durability: Crafts supplies can be delicate, so invest in storage solutions that are sturdy and durable. Look for materials like plastic or metal that can withstand the weight and potential spills.
- Protection: Some craft supplies, such as paper or fabric, are susceptible to damage from sunlight, moisture, or dust. Consider storage options that offer protection, such as airtight containers, acid-free archival boxes, or UV-resistant storage solutions.
- Portability: If you attend craft fairs or enjoy crafting on the go, opt for storage solutions that are portable and easy to transport. Look for rolling carts, tote bags, or mobile storage units that allow you to bring your favorite supplies wherever you go.
Remember that everyone’s crafting needs are different, so select storage solutions that align with your specific requirements and preferences. Experiment with different options, and don’t be afraid to mix and match storage solutions to find what works best for you.
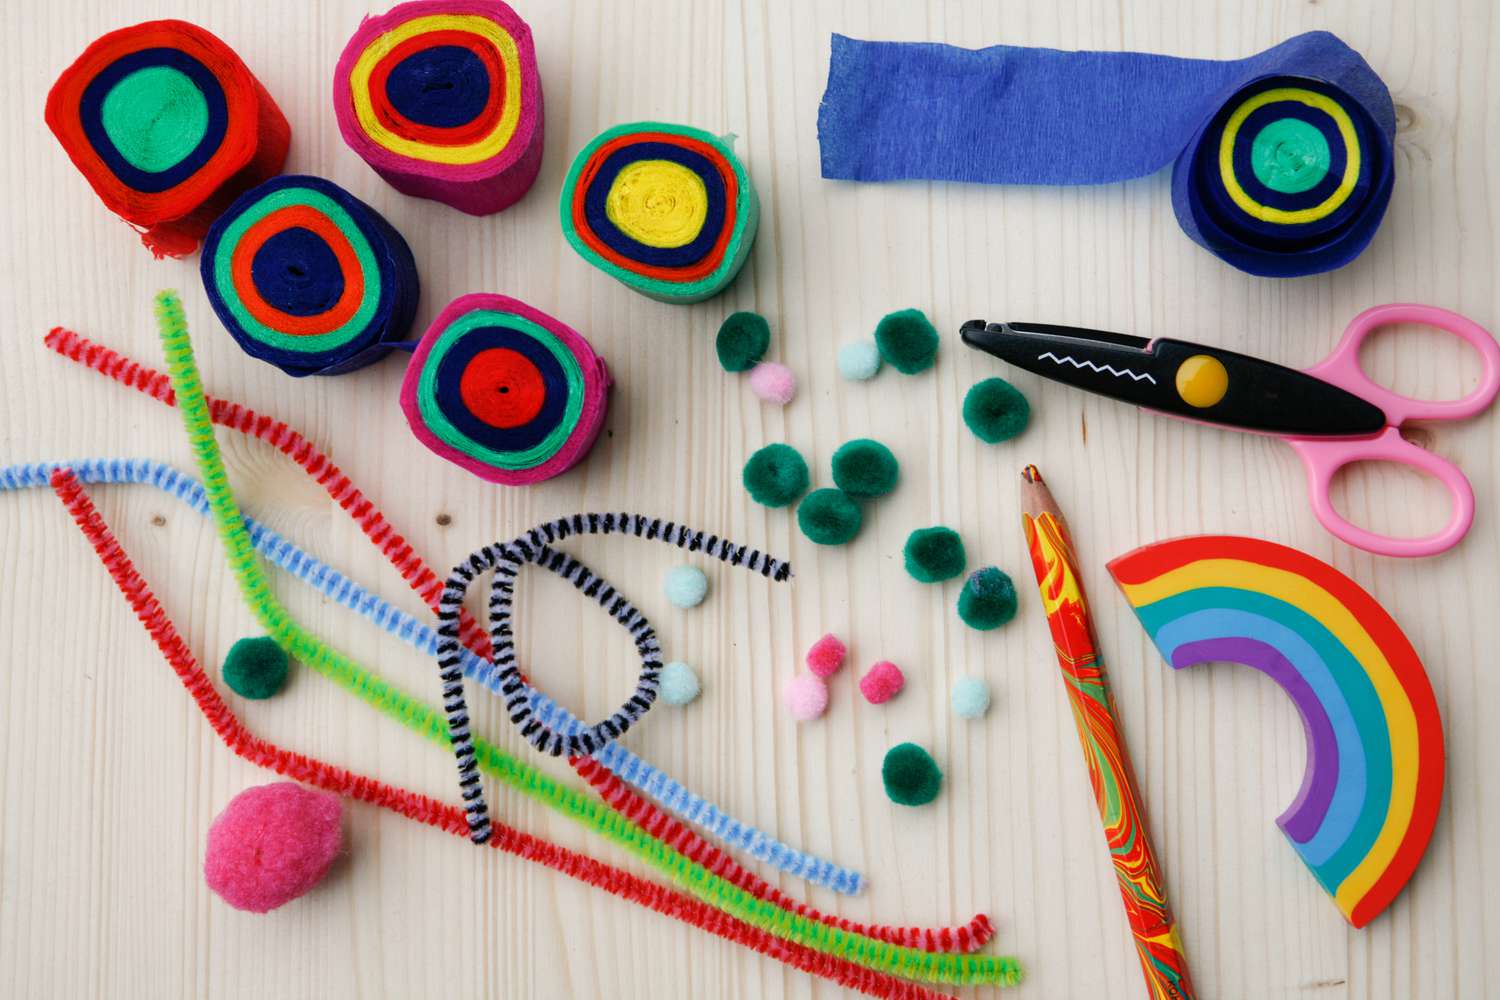
Organizing Small Craft Supplies
Small craft supplies like beads, buttons, and sequins can easily become a tangled mess if not properly organized. Here are some tips to help you keep your small craft supplies neat and accessible:
- Divide and Conquer: Invest in a variety of small storage containers such as clear plastic boxes, pill organizers, or compartmentalized tackle boxes. Use them to separate different types of small craft supplies and keep them organized.
- Label Everything: Don’t forget to label each storage container, especially if you have multiple containers for different types of supplies. Labeling will save you time and frustration when you need to find a specific item quickly.
- Utilize Drawer Organizers: Drawer organizers with compartments or dividers are perfect for storing small craft supplies. Place them in your craft drawers to keep items separated and prevent them from rolling around or getting mixed up.
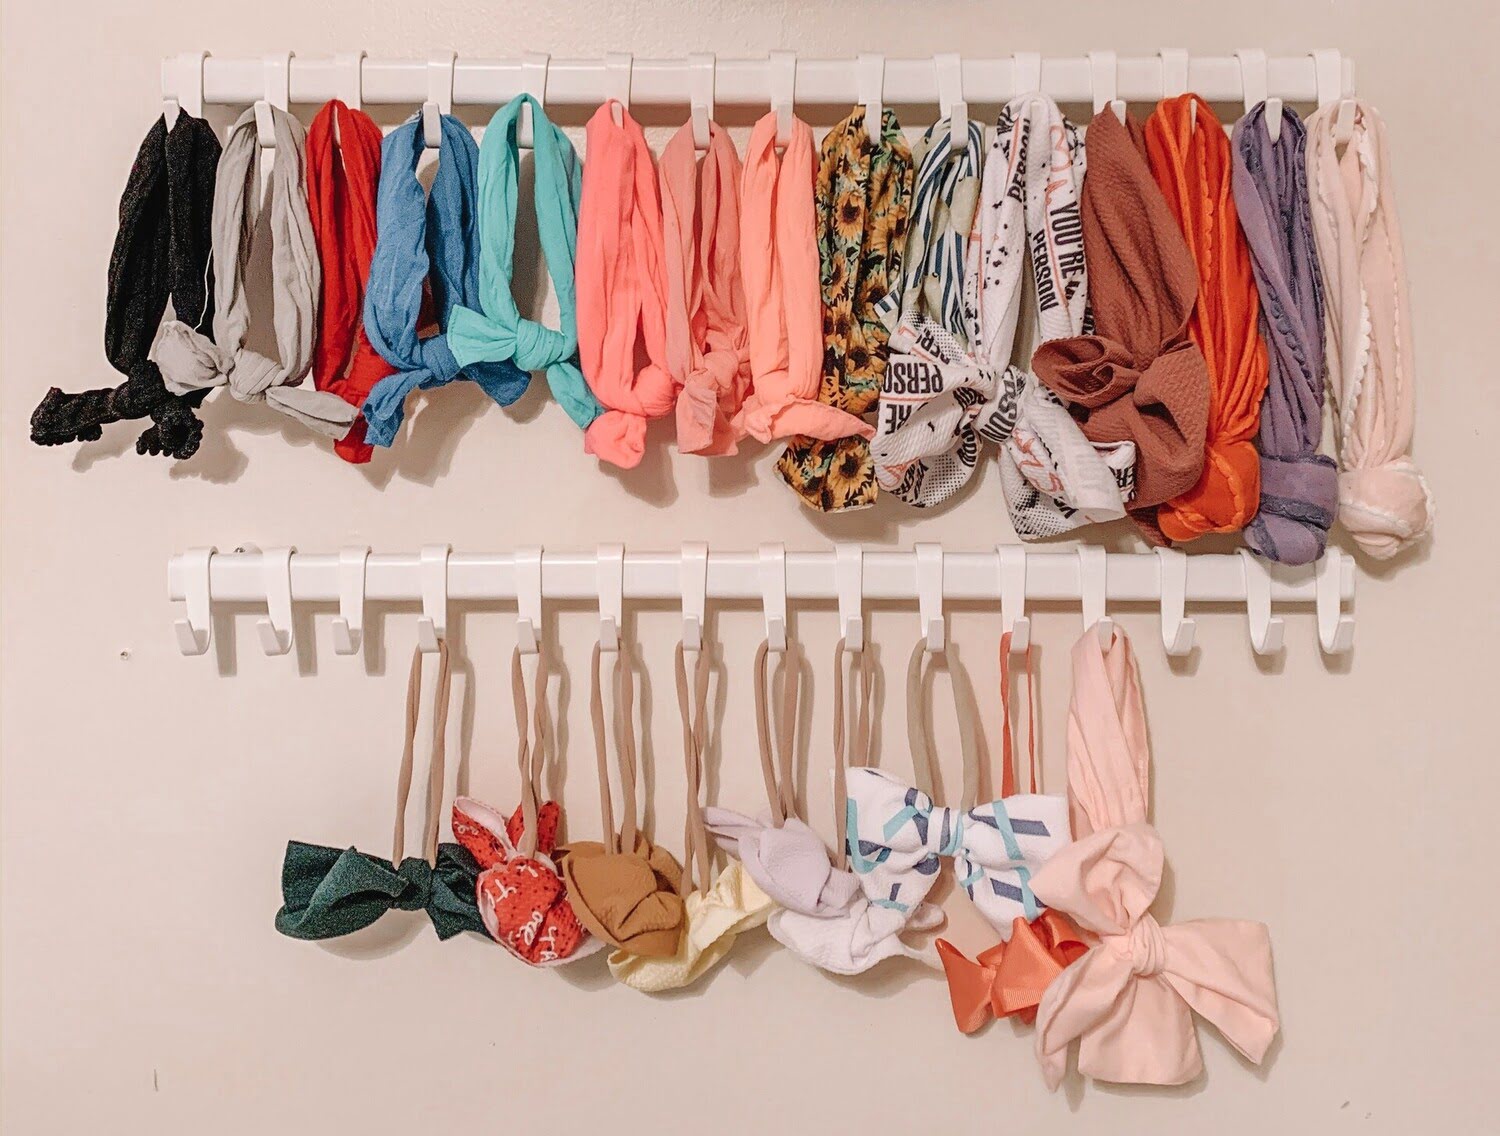
- Think Vertical: Consider using a pegboard or wall-mounted storage system with hooks or small cups to hang and organize your small craft supplies. This allows you to easily see and access your materials while saving valuable workspace.
- Repurpose Household Items: Get creative and repurpose everyday items for craft supply organization. Use egg cartons, ice cube trays, or muffin tins to sort and store small items like beads or buttons.
- Sort by Color or Type: If you have a large collection of small craft supplies, consider sorting them by color or type. This makes it easier to find the exact items you need and adds a touch of visual appeal to your storage system.
By implementing these organizing tips, you’ll be able to easily locate and access your small craft supplies, saving valuable time and preventing frustration during your crafting sessions.
Storing Paper and Scrapbooking Materials
Paper and scrapbooking materials are essential for creating beautiful memory albums and artistic projects. To keep your paper and scrapbooking supplies organized and in good condition, consider the following storage tips:
- File Folders or Magazine Holders: Use file folders or magazine holders to organize your scrapbooking papers. Sort them by color, pattern, or theme, and label each folder or holder for easy identification.
- Clear Plastic Sleeves: Slip your loose papers into clear plastic sleeves. This will protect them from dust, bending, and tearing, while still allowing you to see and access each sheet easily.
- Stackable Paper Trays or Bins: Invest in stackable paper trays or bins to store your scrapbooking paper collections. Choose ones that fit the size of your paper, and make sure they are sturdy and easily accessible.
- Organize Embellishments: Use small containers, like mini storage boxes or jars, to store your scrapbooking embellishments such as stickers, die cuts, and brads. Sort them by color or theme to make it easier to find the perfect embellishment for your projects.
- Label and Sort: Label everything, from your paper storage containers to your smaller embellishment containers. Sort them according to theme, color, or type so that you can quickly locate the materials you need for your scrapbooking projects.
When storing your scrapbooking materials, it’s important to consider the environmental factors that can damage your papers, such as humidity or sunlight. Store them in a cool, dry area away from direct sunlight to preserve their quality and prevent discoloration.
By utilizing these storage solutions, your paper and scrapbooking supplies will remain organized and well-protected, ensuring that you have everything you need to create stunning and meaningful scrapbook pages.
Keeping Yarn and Thread Organized
Yarn and thread are common materials used in various crafts, such as knitting, crocheting, and sewing. To prevent tangles and keep your yarn and thread organized, consider the following tips:
- Yarn Bags or Totes: Invest in specialized yarn bags or totes that are designed to store and organize your yarn. These bags often have compartments or dividers to keep different colors or types of yarn separate.
- Clear Plastic Containers: Use clear plastic containers with lids to store your yarn and thread. Transparent containers allow you to easily see the contents and ensure that your materials are protected from dust and potential damage.
- Yarn Bowls: Yarn bowls are elegant and functional tools for keeping yarn untangled while you work. They have a hole or groove that allows the yarn to feed through, preventing it from rolling away or getting knotted.
- Thread Organizers: Purchase thread organizers or spool racks to keep your sewing threads neat and easily accessible. These organizers come in various sizes and can be wall-mounted or placed in a drawer for efficient storage.
- Zippered Bags or Pouches: Use zippered bags or pouches to store small amounts of yarn, thread, or project-specific supplies. These bags are ideal for on-the-go crafting and help to prevent tangling and loss of materials.
- Label Your Yarn: If you have a large collection of yarn, it’s essential to label each skein or ball with important information such as the brand, color, and weight. This will save you time when searching for specific yarn for your projects.
Additionally, for certain crafts like knitting or crocheting, consider using yarn bowls or yarn dispensers that hold the ball or skein of yarn in place and feed it smoothly as you work.
By implementing these organization strategies, you’ll be able to keep your yarn and thread tangle-free and easily accessible, allowing you to focus on your crafting projects with ease.
Store crafts in clear, airtight containers to keep them organized and protected from dust and moisture. Label the containers for easy identification.
Read more: How To Store Cricut Vinyl
Storing Tools and Equipment
Proper storage of tools and equipment is essential for any crafting enthusiast. Keeping your tools organized not only allows for easy access but also helps to extend their lifespan. Here are some tips for storing your crafting tools and equipment:
- Toolboxes or Tool Chests: Invest in a sturdy toolbox or tool chest to store your larger tools and equipment. Look for one with different-sized compartments or drawers to keep your tools organized and easily accessible.
- Hanging Pegboards: Install a pegboard on the wall of your craft room or studio. Hang your frequently used tools such as scissors, pliers, or rulers for easy visibility and quick access.
- Drawer Organizers: Utilize drawer organizers to keep smaller tools like needles, markers, or paintbrushes neatly stored. Separating them in individual compartments prevents them from getting mixed up or damaged.
- Tool Pouches or Aprons: Consider using tool pouches or aprons with multiple pockets to carry your crafting tools while working on projects. This allows you to have your tools within reach and prevents them from rolling away or getting misplaced.
- Label Storage Containers: To easily locate tools and equipment, label storage containers and shelves. This will help you quickly identify which tools are stored where, saving you time and frustration when you need a specific item.
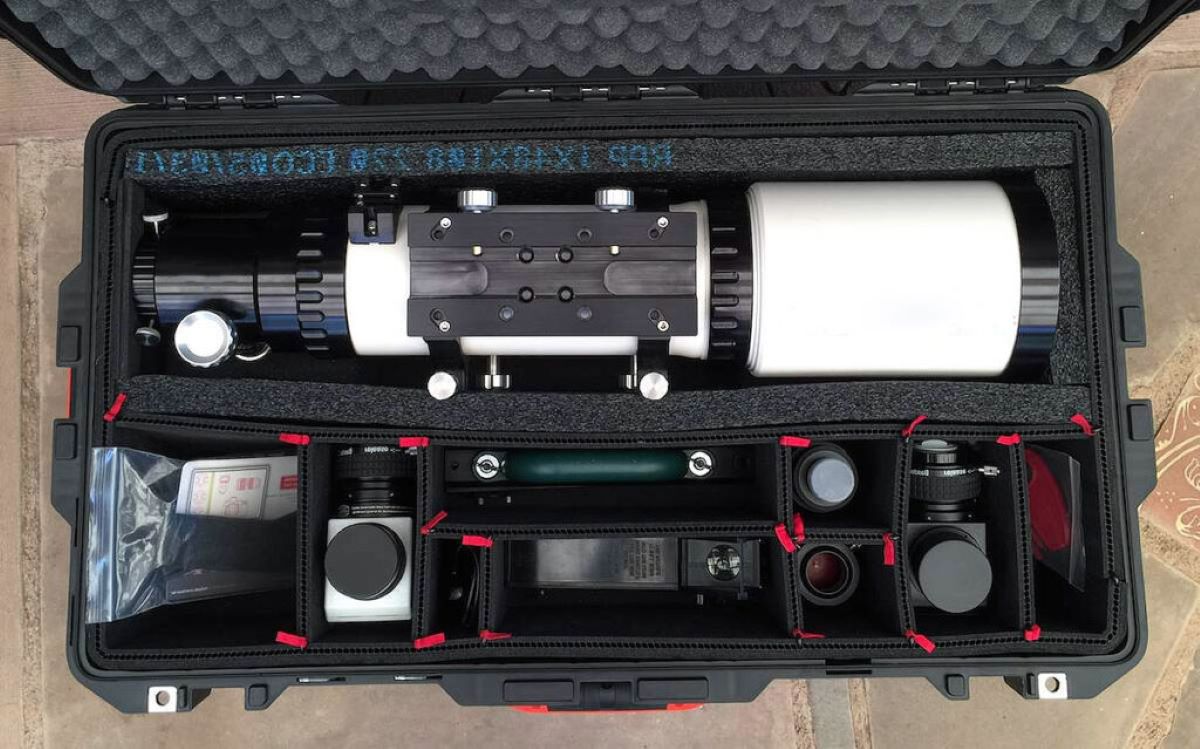
- Protective Cases: For delicate or fragile tools, invest in protective cases to prevent damage during storage. Foam-lined cases or padded pouches are ideal for protecting items such as delicate electronics or precision cutting tools.
Remember to clean and properly maintain your tools before storing them to ensure they remain in good working condition. Keep them away from moisture and extreme temperature fluctuations that can cause rust or deterioration.
By implementing these storage tips, you’ll have a well-organized craft space that keeps your tools and equipment easily accessible and in excellent condition for years to come.
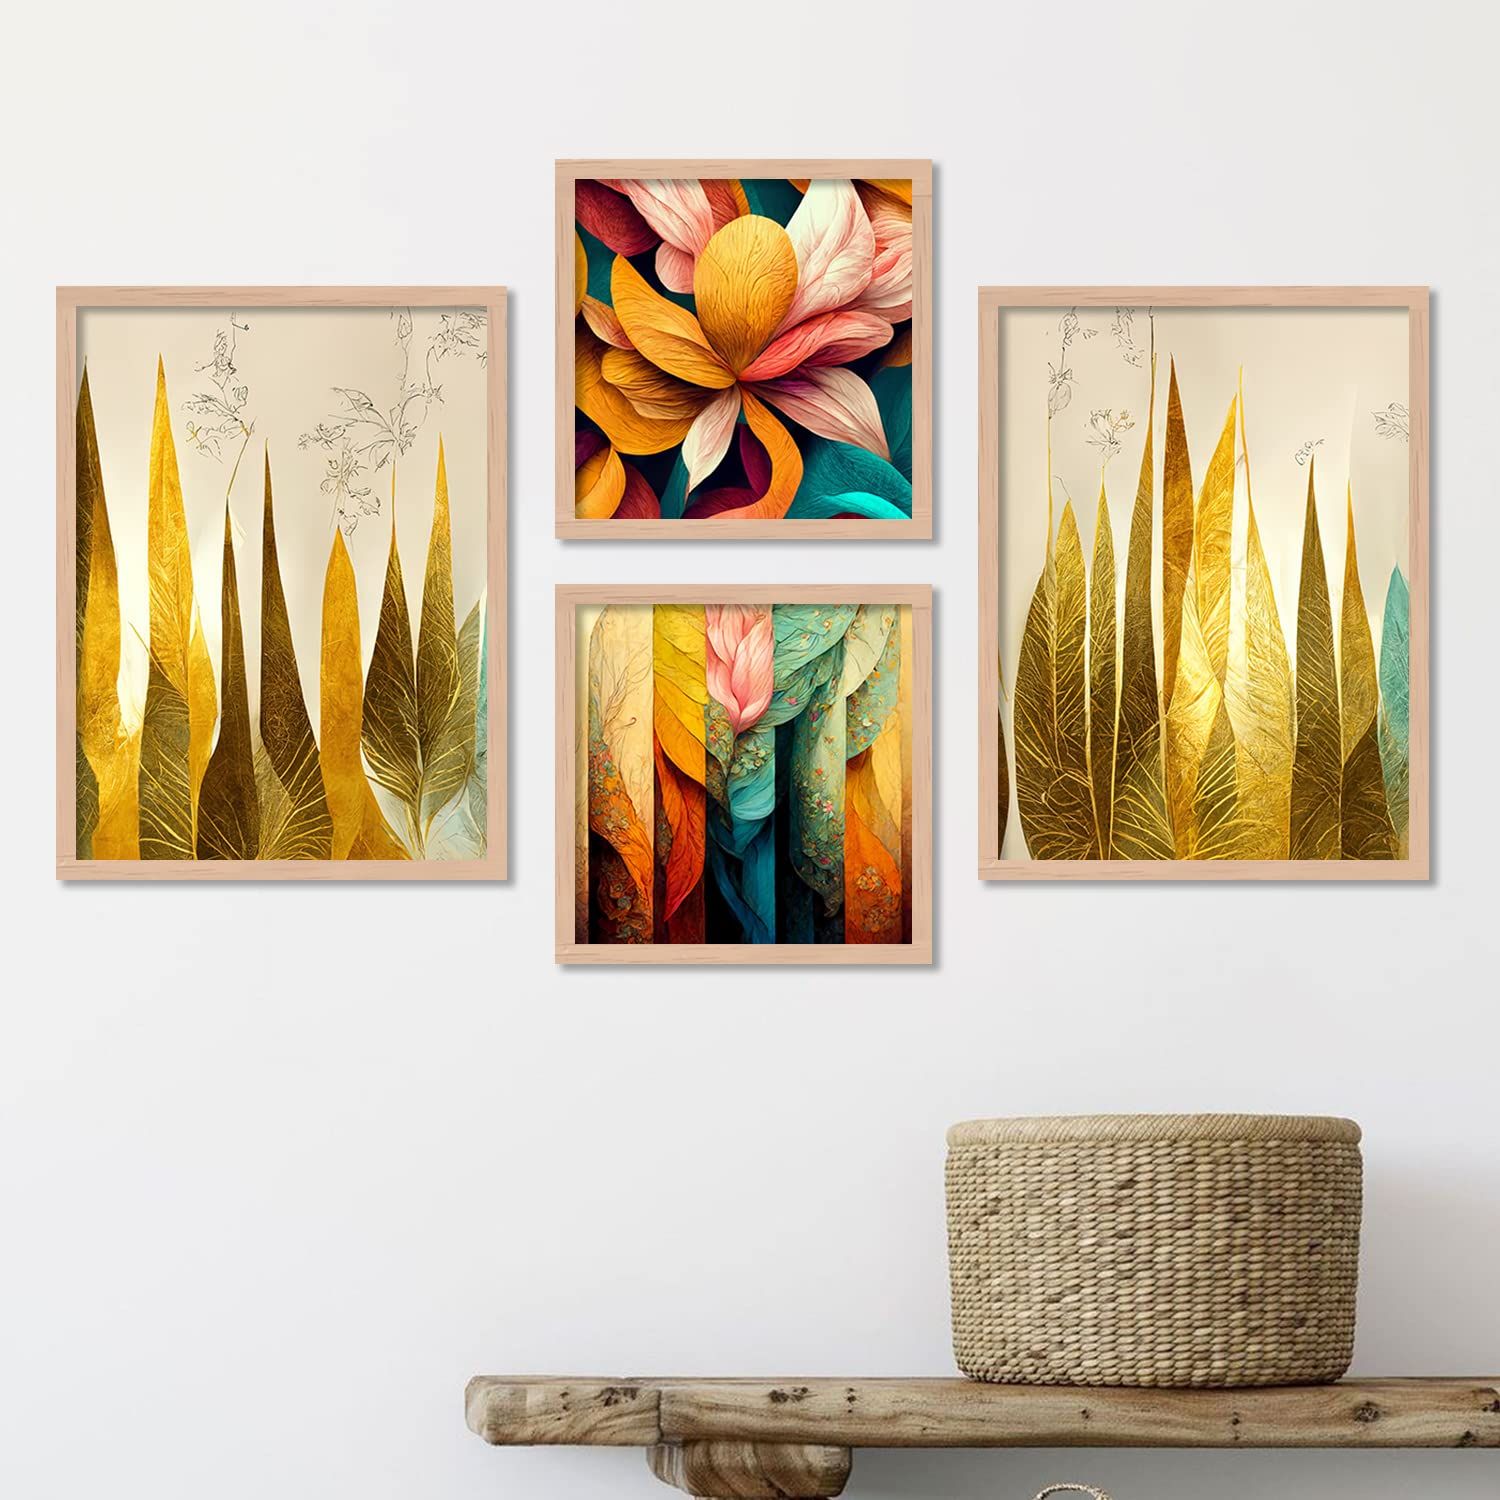
Preserving and Storing Finished Crafts
Preserving your finished crafts is just as important as storing your craft supplies. Whether you create paintings, sculptures, or handmade jewelry, here are some tips to help you preserve and store your finished crafts:
- Clean and Protect: Before storing your finished crafts, ensure they are clean and free from dirt or dust. Use appropriate cleaning methods for each type of material to avoid damaging the craft.
- Wrap in Acid-Free Tissue Paper: For delicate crafts, such as paper art or textiles, wrap them in acid-free tissue paper before storing. Acid-free tissue paper prevents yellowing and helps to preserve the integrity of the materials.
- Use Archival Storage Containers: Invest in archival storage containers specially designed for preserving crafts. These containers are acid-free, moisture-resistant, and provide protection against light damage.
- Display Cases or Shadow Boxes: If you have crafts that you want to showcase while protecting them, consider using display cases or shadow boxes. These can be placed on shelves or mounted on the wall to preserve your work while allowing it to be admired.
- Store Crafts Horizontally: For delicate or fragile crafts, it’s advisable to store them horizontally to prevent distortion or damage. This is particularly important for textile-based crafts or fragile sculptures.
- Label and Catalog: Keep a record of your preserved crafts by labeling them and creating a catalog. This will help you easily locate specific crafts in the future and keep track of your collection.
- Climate-Controlled Storage: If you have valuable or sensitive crafts, consider storing them in a climate-controlled storage area. Extremes in temperature, humidity, or light can cause irreversible damage, so ensure the environment is suitable for your crafts.
Remember to handle your finished crafts with clean hands and avoid touching them unnecessarily, as oils and dirt from your hands can transfer onto the craft and cause long-term damage.
By following these preservation and storage tips, you can protect your finished crafts and enjoy their beauty for years to come.
Creating a Functional and Inspiring Craft Room
A well-designed craft room not only enhances your creativity but also makes your crafting process more efficient and enjoyable. Here are some tips to help you create a functional and inspiring craft room:
- Organize with Zones: Divide your craft room into different zones or areas based on the type of crafting you do. Create separate zones for sewing, painting, paper crafts, and so on. This allows for better organization and helps keep your supplies easily accessible.
- Optimize Storage: Invest in storage solutions that maximize space and keep your supplies organized. Utilize shelves, drawers, bins, and pegboards to store and display your materials. Make sure everything has a designated place to avoid clutter and promote efficiency.
- Good Lighting: Adequate lighting is crucial for your craft room. Natural light is ideal, but if that’s not possible, invest in task lighting and ambient lighting to ensure proper illumination of your workspace. This will prevent eye strain and allow you to see details clearly.
- Comfortable Seating: Choose a comfortable chair or stool for your craft table. You’ll be spending hours on your projects, so it’s essential to have proper support and comfort to avoid backaches or discomfort.
- Inspiration Board or Wall: Create an inspiration board or wall where you can display images, quotes, or samples of your favorite projects. This will help boost your creativity and serve as a visual reminder of the artistry and inspiration in your craft room.
- Work Surface: Invest in a sturdy and spacious work surface that suits the type of crafting you do. Whether it’s a large table, a sewing desk, or a standing easel, ensure that it’s comfortable and provides ample space for your projects.
- Appropriate Ventilation: Depending on the materials and processes you use, it’s important to have good ventilation in your craft room. If you work with paints, glues, or other chemicals, consider installing a ventilation system or working near an open window.
- Incorporate Personal Touches: Make your craft room your own by adding personal touches that inspire you. Hang artwork, decorate with colors you love, and incorporate items that bring you joy. A space that reflects your personality will further ignite your creativity.
Remember, the key to a functional craft room is to create an organized and inspiring environment that allows you to unleash your creativity while keeping your supplies easily accessible. Tailor the space to suit your specific crafting needs and preferences, and enjoy the process of bringing your artistic vision to life!
Conclusion
Having a well-organized craft storage system and a functional craft room is essential for any crafting enthusiast. By implementing the right storage solutions and organizing techniques, you can not only keep your craft supplies in order but also enhance your creative process.
When choosing storage solutions, consider factors such as accessibility, size, durability, protection, and portability. By selecting the right storage containers, shelves, and organizers, you can ensure that your craft supplies are easily accessible and well-protected.
Organizing small craft supplies, such as beads and buttons, can be achieved through the use of small storage containers, clear plastic sleeves, drawer organizers, and repurposed household items. By keeping these supplies properly sorted and labeled, you can save time and prevent frustration during your craft sessions.
When it comes to storing paper and scrapbooking materials, consider using file folders, clear plastic sleeves, stackable paper trays, and labeled storage containers. Protecting these materials from sunlight and moisture is crucial for their long-term preservation.
Yarn and thread can be kept organized by using specialized yarn bags or totes, clear plastic containers, yarn bowls, and thread organizers. Preventing tangles and ensuring easy access to these materials will make your knitting, crocheting, or sewing projects much more enjoyable.
Storing tools and equipment requires proper consideration of toolboxes, pegboards, drawer organizers, tool pouches, and protective cases. By keeping your tools well-organized and protected, you can extend their lifespan and make your crafting process more efficient.
Preserving and storing finished crafts is vital for maintaining their quality. Use acid-free tissue paper, archival storage containers, display cases, and horizontal storage to preserve your crafts and prevent damage over time.
Finally, creating a functional and inspiring craft room involves organizing with zones, optimizing storage, ensuring good lighting, comfortable seating, incorporating personal touches, and having appropriate ventilation. By tailoring your craft room to suit your specific needs and personal taste, you can create an environment that fosters creativity and enhances your craft projects.
In conclusion, proper storage solutions, organization techniques, and a thoughtfully designed craft room can greatly improve your crafting experience. Take the time to evaluate your storage needs, implement the suggested tips, and create a space that sparks your creativity and fuels your passion for crafting.
Frequently Asked Questions about How To Store Crafts
Was this page helpful?
At Storables.com, we guarantee accurate and reliable information. Our content, validated by Expert Board Contributors, is crafted following stringent Editorial Policies. We're committed to providing you with well-researched, expert-backed insights for all your informational needs.


0 thoughts on “How To Store Crafts”