Articles
How To Store Garland So It Doesn’T Tangle
Modified: October 19, 2024
Learn the best way to store garland and prevent it from tangling with these helpful articles.
(Many of the links in this article redirect to a specific reviewed product. Your purchase of these products through affiliate links helps to generate commission for Storables.com, at no extra cost. Learn more)
Introduction
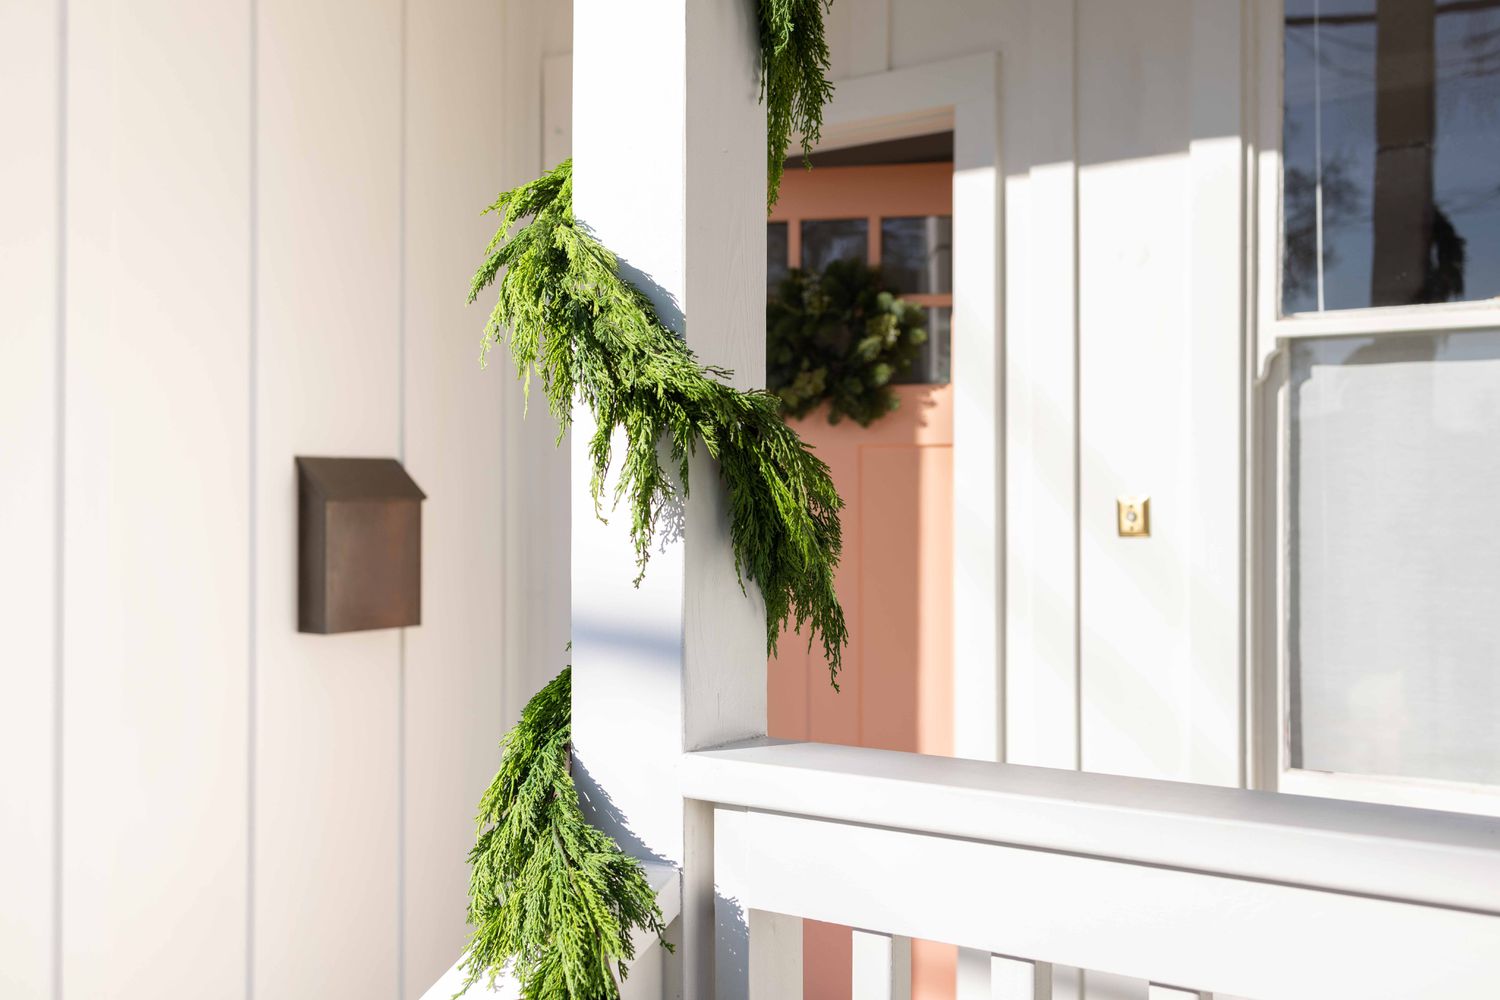
Garlands are a beautiful and festive decoration that can add a touch of elegance to any space. Whether you use them to adorn your Christmas tree, decorate a staircase, or spruce up a mantel, garlands have become a staple in many households during the holiday season. However, one common problem that people often encounter with garlands is their tendency to tangle. Trying to untangle a mess of garland can be frustrating and time-consuming, not to mention it can damage the delicate ornaments and decorations attached to it.
Fortunately, there are several methods and techniques that you can use to store your garlands properly, ensuring that they remain tangle-free and ready to use for the next holiday season. In this article, we will explore different ways to store garlands effectively, keeping them in pristine condition until it’s time to bring out the festive decorations again.
But before we dive into the storage methods, let’s take a moment to understand why garlands tangle. The primary reason is their long and flexible nature. Garlands are typically made of various materials such as artificial pine branches, ribbon, or even beads, all of which are prone to tangling if not handled carefully. Additionally, the way garlands are packed can contribute to the tangle, especially if they are stored haphazardly without proper organization.
Now that we know why garlands tangle, let’s gather the materials we will need to effectively store them. You will need:
- Large plastic storage bins or containers
- Garment bags or old pillowcases
- Cardboard tubes
- Hangers
- Zipper storage bags
Now that we have everything we need, let’s explore the various methods to store garlands without them tangling.
Key Takeaways:
- Keep your garlands tangle-free by utilizing methods such as folding, using garment bags, cardboard tubes, hangers, and zipper storage bags. Protect and preserve your festive decorations for hassle-free holiday seasons to come.
- Don’t let tangled garlands dampen your holiday spirit. With proper storage techniques and additional tips, you can maintain the beauty and longevity of your garlands, ensuring they remain tangle-free and ready to adorn your home year after year.
Why Garland Tangles
Garlands are prone to tangling due to their long, flexible nature and the materials used to create them. Let’s take a closer look at why garlands tangle:
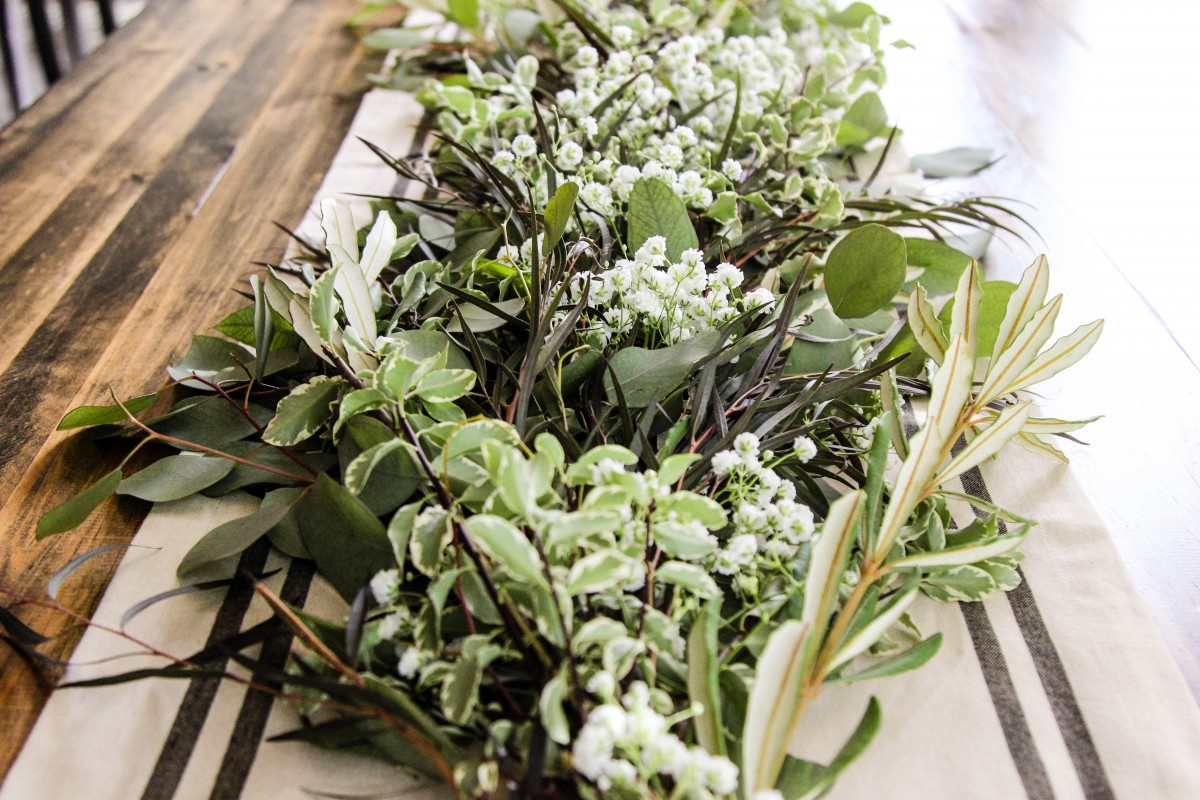
Material: Garlands are made from a variety of materials, such as artificial pine branches, ribbon, beads, or even fresh greenery. These materials can easily intertwine and become tangled, especially if they are not handled with care. The branches of the garland can catch onto each other, causing knots and snarls that are difficult to undo.
Storage Method: Improperly storing garlands can also contribute to tangling. When garlands are packed away without proper organization or protection, they are more likely to become tangled. Tossing them into a box or bin without any thought to their arrangement can result in a mess of garlands that are difficult to untangle later on.
Handling: Careless handling of garlands can lead to tangles as well. When unraveling a garland or trying to arrange it in a specific way, if not done with caution, the long strands can twist and loop around each other, creating knots that can be challenging to undo.
Storage Space: Limited storage space can exacerbate the tangling issue. When garlands are crammed into a small space or packed tightly with other holiday decorations, they can easily get entangled with each other or other items in the storage area.
Understanding why garlands tangle can help us take the necessary precautions when storing them, ensuring that they remain tangle-free and easy to use for many holiday seasons to come.
Materials Needed
Before we begin discussing the different methods to store garlands, let’s gather the materials we will need to ensure effective storage:
- Large plastic storage bins or containers: These will serve as the main storage space for your garlands. Opt for bins that are spacious and can accommodate the length and volume of your garlands.
- Garment bags or old pillowcases: These can be used to individually wrap and protect the garlands. They provide a barrier against dust, dirt, and potential tangling with other items in storage.
- Cardboard tubes: These can be sourced from old wrapping paper rolls or other cylindrical objects. They will help keep the garlands in shape and prevent them from tangling with each other.
- Hangers: Sturdy hangers, preferably with padding or clips, will allow you to hang and store garlands vertically, preventing them from getting tangled or crushed.
- Zipper storage bags: These small, transparent bags are useful for storing small or delicate garland pieces, such as beaded strands or ribbon accents.
Gather these materials before you begin the storage process to ensure that you have everything you need within reach.
Now that we have our materials ready, let’s explore different methods to store garlands effectively, so we can keep them tangle-free and in pristine condition until the next holiday season.
Method 1: Folding Technique
The folding technique is a simple and effective way to store garlands without them tangling. Follow these steps:
- Clear a spacious area, such as a table or floor, where you can lay out the garland.
- Gently untangle any existing knots or tangles in the garland before proceeding.
- Start folding the garland in a back-and-forth motion, creating small loops as you go.
- Continue folding until the entire garland is neatly looped together.
- Secure the loops by tying a twist tie or a piece of ribbon around the folded garland. Make sure it is not too tight to avoid crushing the garland.
- Place the folded garland into a large plastic storage bin or container. If you have multiple garlands, it’s best to store them separately to minimize the risk of tangling.
- Label the container to easily identify the garland inside.
- Store the container in a cool, dry place, away from direct sunlight and excessive heat or humidity.
The folding technique allows you to neatly store the garland without any twisting or entanglement, making it easy to retrieve and use for upcoming holidays. Remember to handle the folded garland with care to avoid accidentally causing any tangles while storing or retrieving it from storage.
Now that you have successfully learned the folding technique, let’s explore another method for storing garlands: using garment bags or pillowcases.
Method 2: Using Garment Bags
Using garment bags is a great option for storing garlands, especially if they are delicate or have intricate decorations. Here’s how you can utilize this method:
- Select a garment bag that is long enough to accommodate the entire length of your garland.
- If necessary, gently untangle any knots or tangles in the garland before proceeding.
- Carefully slide the garland into the garment bag, making sure it is fully extended and not folded or twisted.
- If the garland is particularly long, you can fold it in half or in thirds to fit the length of the garment bag. Just be cautious not to create any tangles in the process.
- Close the zipper or secure the opening of the garment bag to prevent dust or dirt from getting inside.
- If desired, you can hang the garment bag in a closet or storage area to keep the garland hanging vertically to minimize the risk of tangling.
- If hanging is not feasible, lay the garment bag flat in a large plastic storage bin or container. Make sure the garland is not compressed or overcrowded.
- Label the garment bag or container to easily identify the garland inside.
- Store the garland in a cool, dry place, away from extreme temperatures and humidity.
Using garment bags provides an added layer of protection to your garland, keeping it safe from dust, dirt, and potential tangling with other items. It also allows for easy identification and retrieval when the next holiday season arrives.
Now that you have learned the method of using garment bags, let’s explore another technique to store garlands: utilizing cardboard tubes.
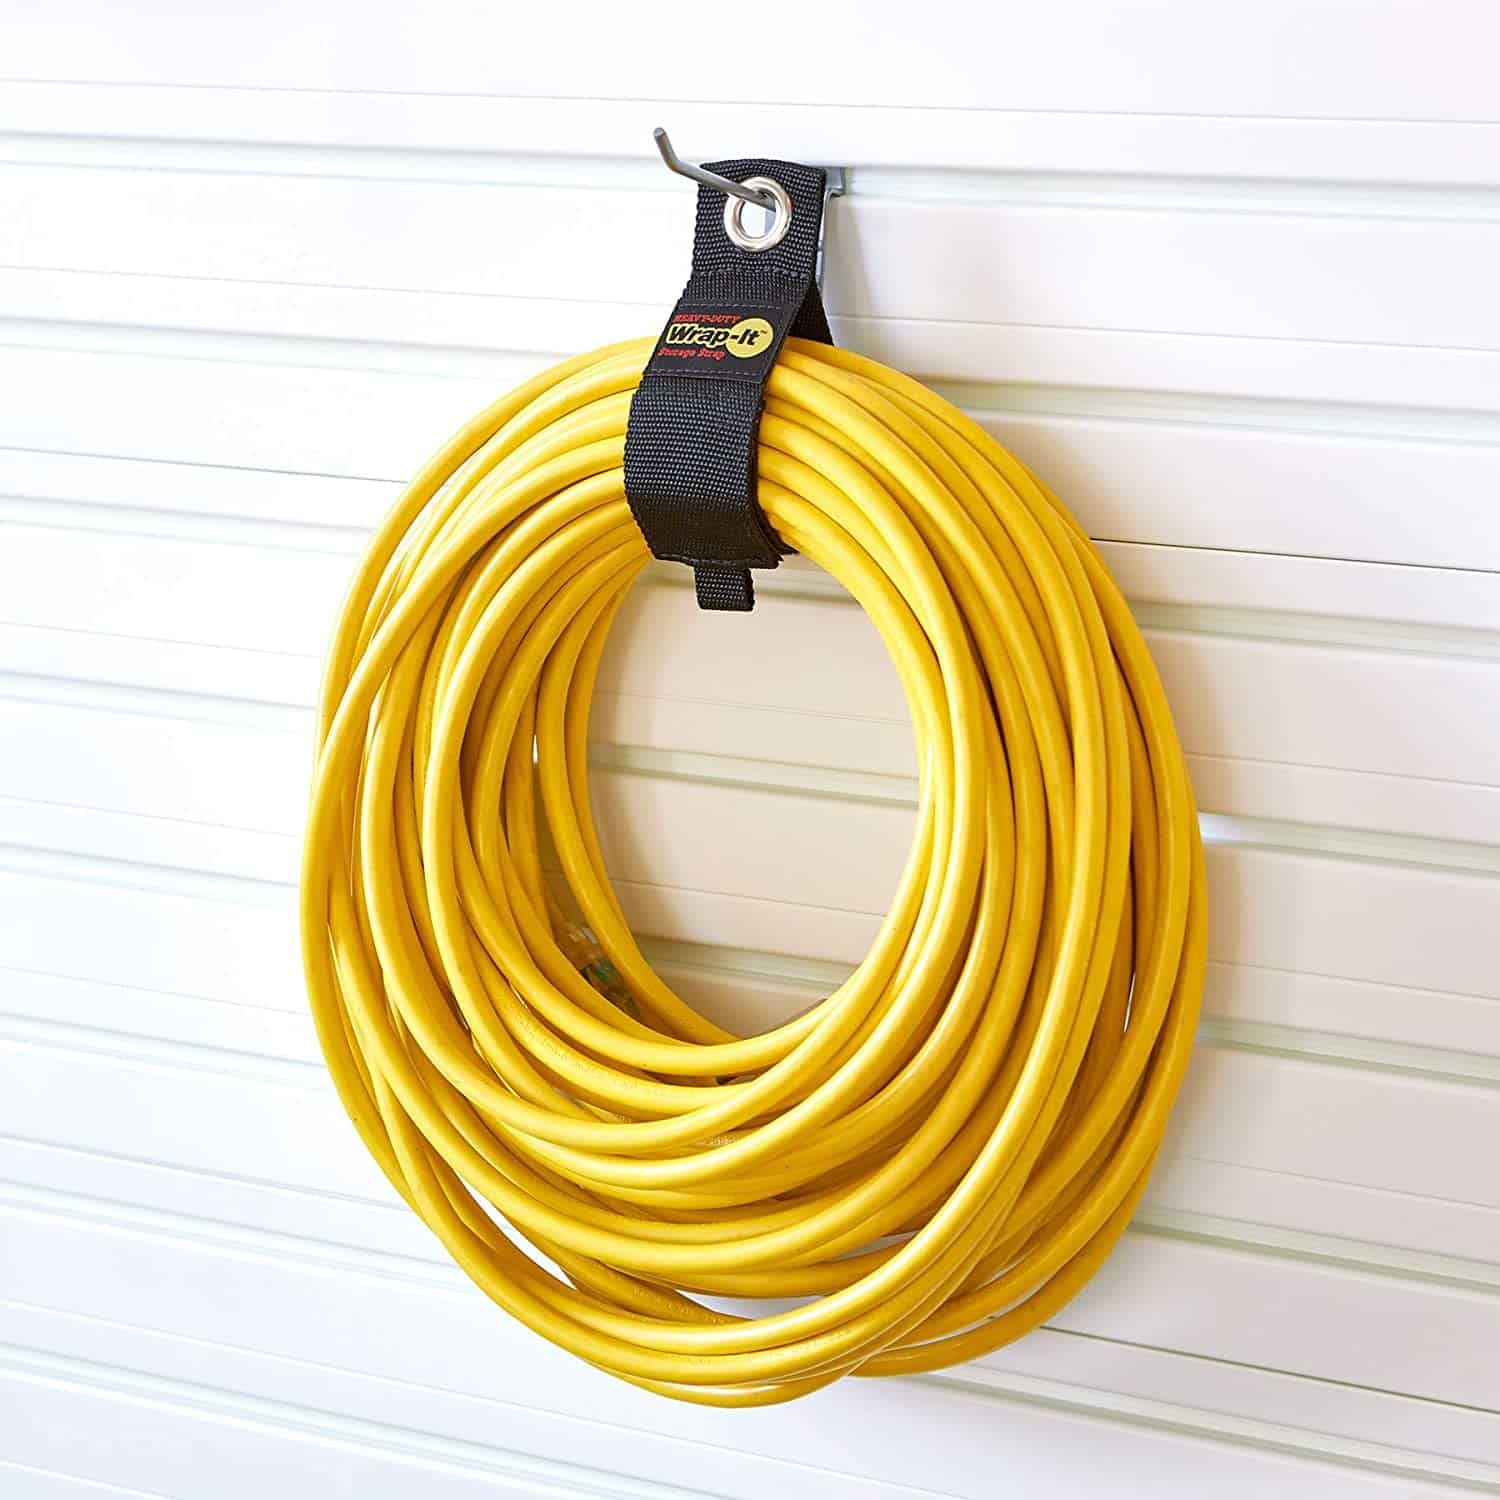
To store garland without tangling, wrap it around a piece of cardboard or a hanger, securing the ends with twist ties or rubber bands. This will keep it neat and tangle-free for the next use.
Read more: How To Attach Garland To Stairs
Method 3: Cardboard Tubes
Cardboard tubes can be a handy tool for storing garlands, helping to maintain their shape and prevent tangling. Follow these steps to utilize this method:
- Collect cardboard tubes from old wrapping paper rolls, paper towels, or other cylindrical objects.
- Gently untangle any knots or tangles in the garland before proceeding.
- Starting at one end of the garland, carefully wrap it around the cardboard tube. Keep the tension even to prevent any loose sections.
- Continue wrapping the garland around the tube until you reach the other end. Make sure to keep it taut, but avoid pulling too tightly to prevent damage to the garland.
- If your garland is long, you may need more than one cardboard tube. Simply connect the tubes end-to-end using tape or an adhesive.
- Once wrapped, secure the garland by tying a piece of ribbon or twine around the tube to keep it in place.
- If desired, you can wrap the entire cardboard tube and garland with tissue paper or bubble wrap for added protection.
- Store the wrapped garland in a plastic storage bin or container, ensuring that it is laid flat and not stacked or compressed.
- Label the container to easily identify the garland inside.
- Store the container in a cool, dry location away from direct sunlight and extreme temperatures.
Using cardboard tubes helps to preserve the shape of the garland and prevents it from tangling with other items in storage. As an added benefit, you can easily unroll the garland from the tube when the next holiday season arrives, saving you time and effort in preparing your decorations.
Now that you have learned the cardboard tube method, let’s explore another method to store garlands: winding them around a hanger.
Method 4: Winding Around a Hanger
Utilizing a hanger to store garlands is a simple and convenient method that keeps them neatly organized and tangle-free. Follow these steps to utilize this method:
- Choose a sturdy hanger that can support the weight of the garland. Ideally, use a hanger with padding or clips to prevent the garland from slipping.
- Gently untangle any knots or tangles in the garland before proceeding.
- Starting at one end, begin winding the garland around the hanger in a circular or spiral motion. The width of the hanger will determine the size of the loops.
- Continue winding the garland until you reach the other end. Make sure to keep the tension even to avoid loose sections.
- Secure the ends of the garland to the hanger by tucking them in between the wrapped loops or using small clips or rubber bands.
- If desired, cover the garland with tissue paper or cloth to protect it from dust and potential snagging.
- Hang the hanger in a storage closet or on a hook in a cool, dry area, away from direct sunlight or extreme temperatures.
- Label the hanger or use colored tags to easily identify the garland.
- If you have multiple garlands, use separate hangers to prevent tangling.
- Store any additional accessories, such as hooks or ornaments, in a separate zippered bag, and attach it to the hanger for easy retrieval.
Storing garlands by winding them around a hanger not only keeps them organized and tangle-free but also allows for easy visual identification and accessibility when it’s time to decorate for the holidays. Just grab the hanger and hang the garland in your desired location without worrying about untangling knots or damage.
Now that you have learned the method of winding garlands around a hanger, let’s explore another technique: using zipper storage bags.
Method 5: Zipper Storage Bags
Using zipper storage bags is a practical and space-saving method to store garlands, especially those with delicate or intricate decorations. Follow these steps to utilize this method:
- Choose zipper storage bags that are large enough to accommodate the length and volume of your garland.
- Gently untangle any knots or tangles in the garland before proceeding.
- Carefully coil or fold the garland, keeping it as flat and neat as possible.
- Place the garland inside the zipper storage bag, making sure it is fully enclosed and protected from dust and potential tangling.
- Before closing the zipper, press out any excessive air to reduce the bulkiness of the bag.
- If your garland is particularly long, you can fold it in half or in thirds to fit the length of the zipper storage bag. Avoid creasing or crumpling the garland too much to prevent damage.
- Label the zipper storage bag or use colored tags to easily identify the garland inside.
- If desired, you can further protect the garland by placing the zipper storage bags inside a larger plastic storage bin or container.
- Store the bags or container in a cool, dry place, away from direct sunlight and extreme temperatures.
- For added convenience, you can organize smaller garland accessories, such as hooks or ornaments, in separate zipper storage bags and place them alongside the garland bags.
Using zipper storage bags allows you to keep the garlands well-protected and easily visible, while also maximizing storage space. You can stack the bags vertically or lay them flat in a storage container, making it effortless to retrieve and store the garlands year after year.
Now that you have learned different methods to store your garlands properly, it’s time to choose the one that suits your needs and ensure that your garlands remain tangle-free and ready to dazzle your home during the holiday season.
Remember to handle the garlands with care when storing and retrieving them to maintain their beauty and longevity.
Happy garland storage!
Additional Tips and Tricks:
- Labeling the storage containers or bags will simplify the process of locating specific garlands in the future.
- Before storing, ensure that the garlands are clean and free from any debris or loose ornaments.
- If possible, avoid storing garlands near extreme temperature or humidity, as it can damage the materials over time.
- Consider using moisture-absorbing packets in the storage containers to prevent any moisture-related damage.
- Regularly inspect the stored garlands to ensure they are in good condition and make any necessary repairs or replacements.
Conclusion
Properly storing garlands is essential to keeping them in pristine condition and preventing frustrating tangles. By utilizing the methods discussed in this article, you can ensure that your garlands are well-preserved and ready to adorn your home for many holiday seasons to come.
From the folding technique to using garment bags, cardboard tubes, hangers, and zipper storage bags, each method offers its unique benefits and suits different types of garlands. Consider the materials, size, and fragility of your garlands when deciding which method to use.
Remember to handle the garlands with care and gently untangle any knots before storing them. Providing proper organization, protection, and a suitable storage environment will help maintain the garlands’ shape and prevent damage.
In addition to storing garlands effectively, don’t forget to label containers or bags to easily identify the garlands in the future. This will save you time and effort when it’s time to retrieve them for decorating.
By following these storage methods and additional tips and tricks, you can store your garlands with confidence, knowing that they will remain tangle-free and ready to bring joy and festive cheer to your home when the holiday season arrives.
So, whether you choose to fold the garland, use garment bags or cardboard tubes, wind them around hangers, or opt for zipper storage bags, find the method that works best for you and enjoy hassle-free garland storage.
Happy decorating and may your garlands stay beautiful and tangle-free!
Read more: How To Make High Chair Garland
Additional Tips and Tricks
When it comes to storing garlands, here are some additional tips and tricks to help you keep them in optimal condition:
- Clean the garlands: Before storing them, make sure to clean your garlands to remove any dust, dirt, or loose ornaments. This will help them stay fresh and vibrant when you take them out next time.
- Inspect for damage: Regularly check your garlands for any signs of damage, such as broken branches or loose decorations. Repair or replace any damaged parts to ensure the garlands are ready for use when the holiday season arrives.
- Consider using moisture-absorbing packets: If you live in a humid area, especially during the off-season, consider placing moisture-absorbing packets inside the storage containers. This will help prevent any moisture-related damage that could degrade the garlands.
- Store separately: If you have different types of garlands with fragile or delicate decorations, it’s best to store them separately. This will help prevent any tangling, snagging, or damage that could occur if they are stored together.
- Label and organize: Clearly label each storage container or bag with the type of garland or its corresponding location in your home. Organizing them in a logical manner will make it easier to find and retrieve the specific garland you need when the time comes.
- Keep away from extreme conditions: Avoid storing garlands in areas with extreme temperature fluctuations, direct sunlight, or high humidity. These conditions can cause the materials to deteriorate or fade over time, impacting the appearance and longevity of the garlands.
- Train the garlands: If your garlands have a tendency to lose their shape, you can train them by gently bending and rearranging the branches or stems in the desired position before storing them. This will help them maintain their form when you display them next time.
- Share the joy: If you have excess garlands or no longer need certain ones, consider donating them to local charities, schools, or community centers. Spread the festive spirit and bring joy to others who could benefit from your beautiful garlands.
By following these additional tips and tricks, you can ensure that your garlands remain in top shape, ready to bring beauty and enchantment to your home year after year.
Now you have all the knowledge and techniques to store your garlands properly. Enjoy a stress-free holiday season with beautifully preserved, tangle-free garlands!
Frequently Asked Questions about How To Store Garland So It Doesn'T Tangle
Was this page helpful?
At Storables.com, we guarantee accurate and reliable information. Our content, validated by Expert Board Contributors, is crafted following stringent Editorial Policies. We're committed to providing you with well-researched, expert-backed insights for all your informational needs.


0 thoughts on “How To Store Garland So It Doesn’T Tangle”