Articles
How To Store Cups In Cupboard
Modified: May 6, 2024
Learn the best way to store cups in your cupboard with these helpful articles. Maximize space and keep your cups organized and accessible.
(Many of the links in this article redirect to a specific reviewed product. Your purchase of these products through affiliate links helps to generate commission for Storables.com, at no extra cost. Learn more)
Introduction
Welcome to this comprehensive guide on how to store cups in a cupboard. Whether you’re looking to maximize space, keep your cups organized, or simply want an efficient way to store your favorite mugs and glasses, this article will provide you with helpful tips and tricks.
A cluttered and disorganized cupboard not only makes it difficult to find the cup you need, but it can also lead to accidental breakages or damages. By following the steps outlined in this guide, you’ll be able to create a well-organized and visually appealing cupboard that makes accessing your cups a breeze.
By properly storing your cups, you can protect them from dust, cracks, and other forms of damage, ensuring their longevity and preserving their quality. You’ll also be able to make the most of the available space in your cupboard, allowing you to store more cups without sacrificing functionality.
From sorting and arranging your cups to utilizing space-saving solutions, we’ll cover everything you need to know to transform your cluttered cupboard into an organized oasis. So, let’s dive in and discover the best practices for storing cups in your cupboard!
Key Takeaways:
- Efficiently store and organize your cups in a clutter-free cupboard by following a systematic approach, from sorting by size and type to utilizing space-saving solutions like cup hooks and racks.
- Create a visually appealing and functional cup storage space by implementing cupboard liners, shelf dividers, and personalized organization methods, ensuring easy access to your favorite cups while maximizing space.
Read more: What Is Cupboard
Step 1: Empty the Cupboard
The first step in organizing your cupboard is to empty it completely. Take out all the cups and accessories that are currently stored inside. This will give you a blank canvas to work with and make it easier to clean and reorganize the space.
As you remove the cups, inspect them for any damages or cracks. Set aside any cups that are chipped or broken and consider disposing of them to avoid cluttering your space with items that can no longer be used.
While emptying the cupboard, take the opportunity to also remove any other items that may not belong there. It’s common for cups to share storage space with other items like plates, bowls, or appliances. Set these items aside and return them to their proper storage areas to free up space exclusively for your cups.
Once the cupboard is empty, take a moment to clean the shelves and surfaces. Wipe down the interior with a damp cloth or use a gentle cleaning solution to remove any dust or sticky residue. This will provide a clean and fresh foundation for storing your cups.
Emptying the cupboard and cleaning the space may seem like a simple task, but it sets the stage for the next steps in the organization process. It allows you to start from scratch and ensures that the space is ready to accommodate your cups in the most efficient and organized way possible.
Now that you have a clean and empty cupboard, it’s time to move on to the next step: sorting your cups by size and type.
Step 2: Sort Cups by Size and Type
Once you’ve emptied and cleaned your cupboard, the next step is to sort your cups by size and type. This will make it easier to find specific cups when you need them and help you maximize the use of your cupboard space.
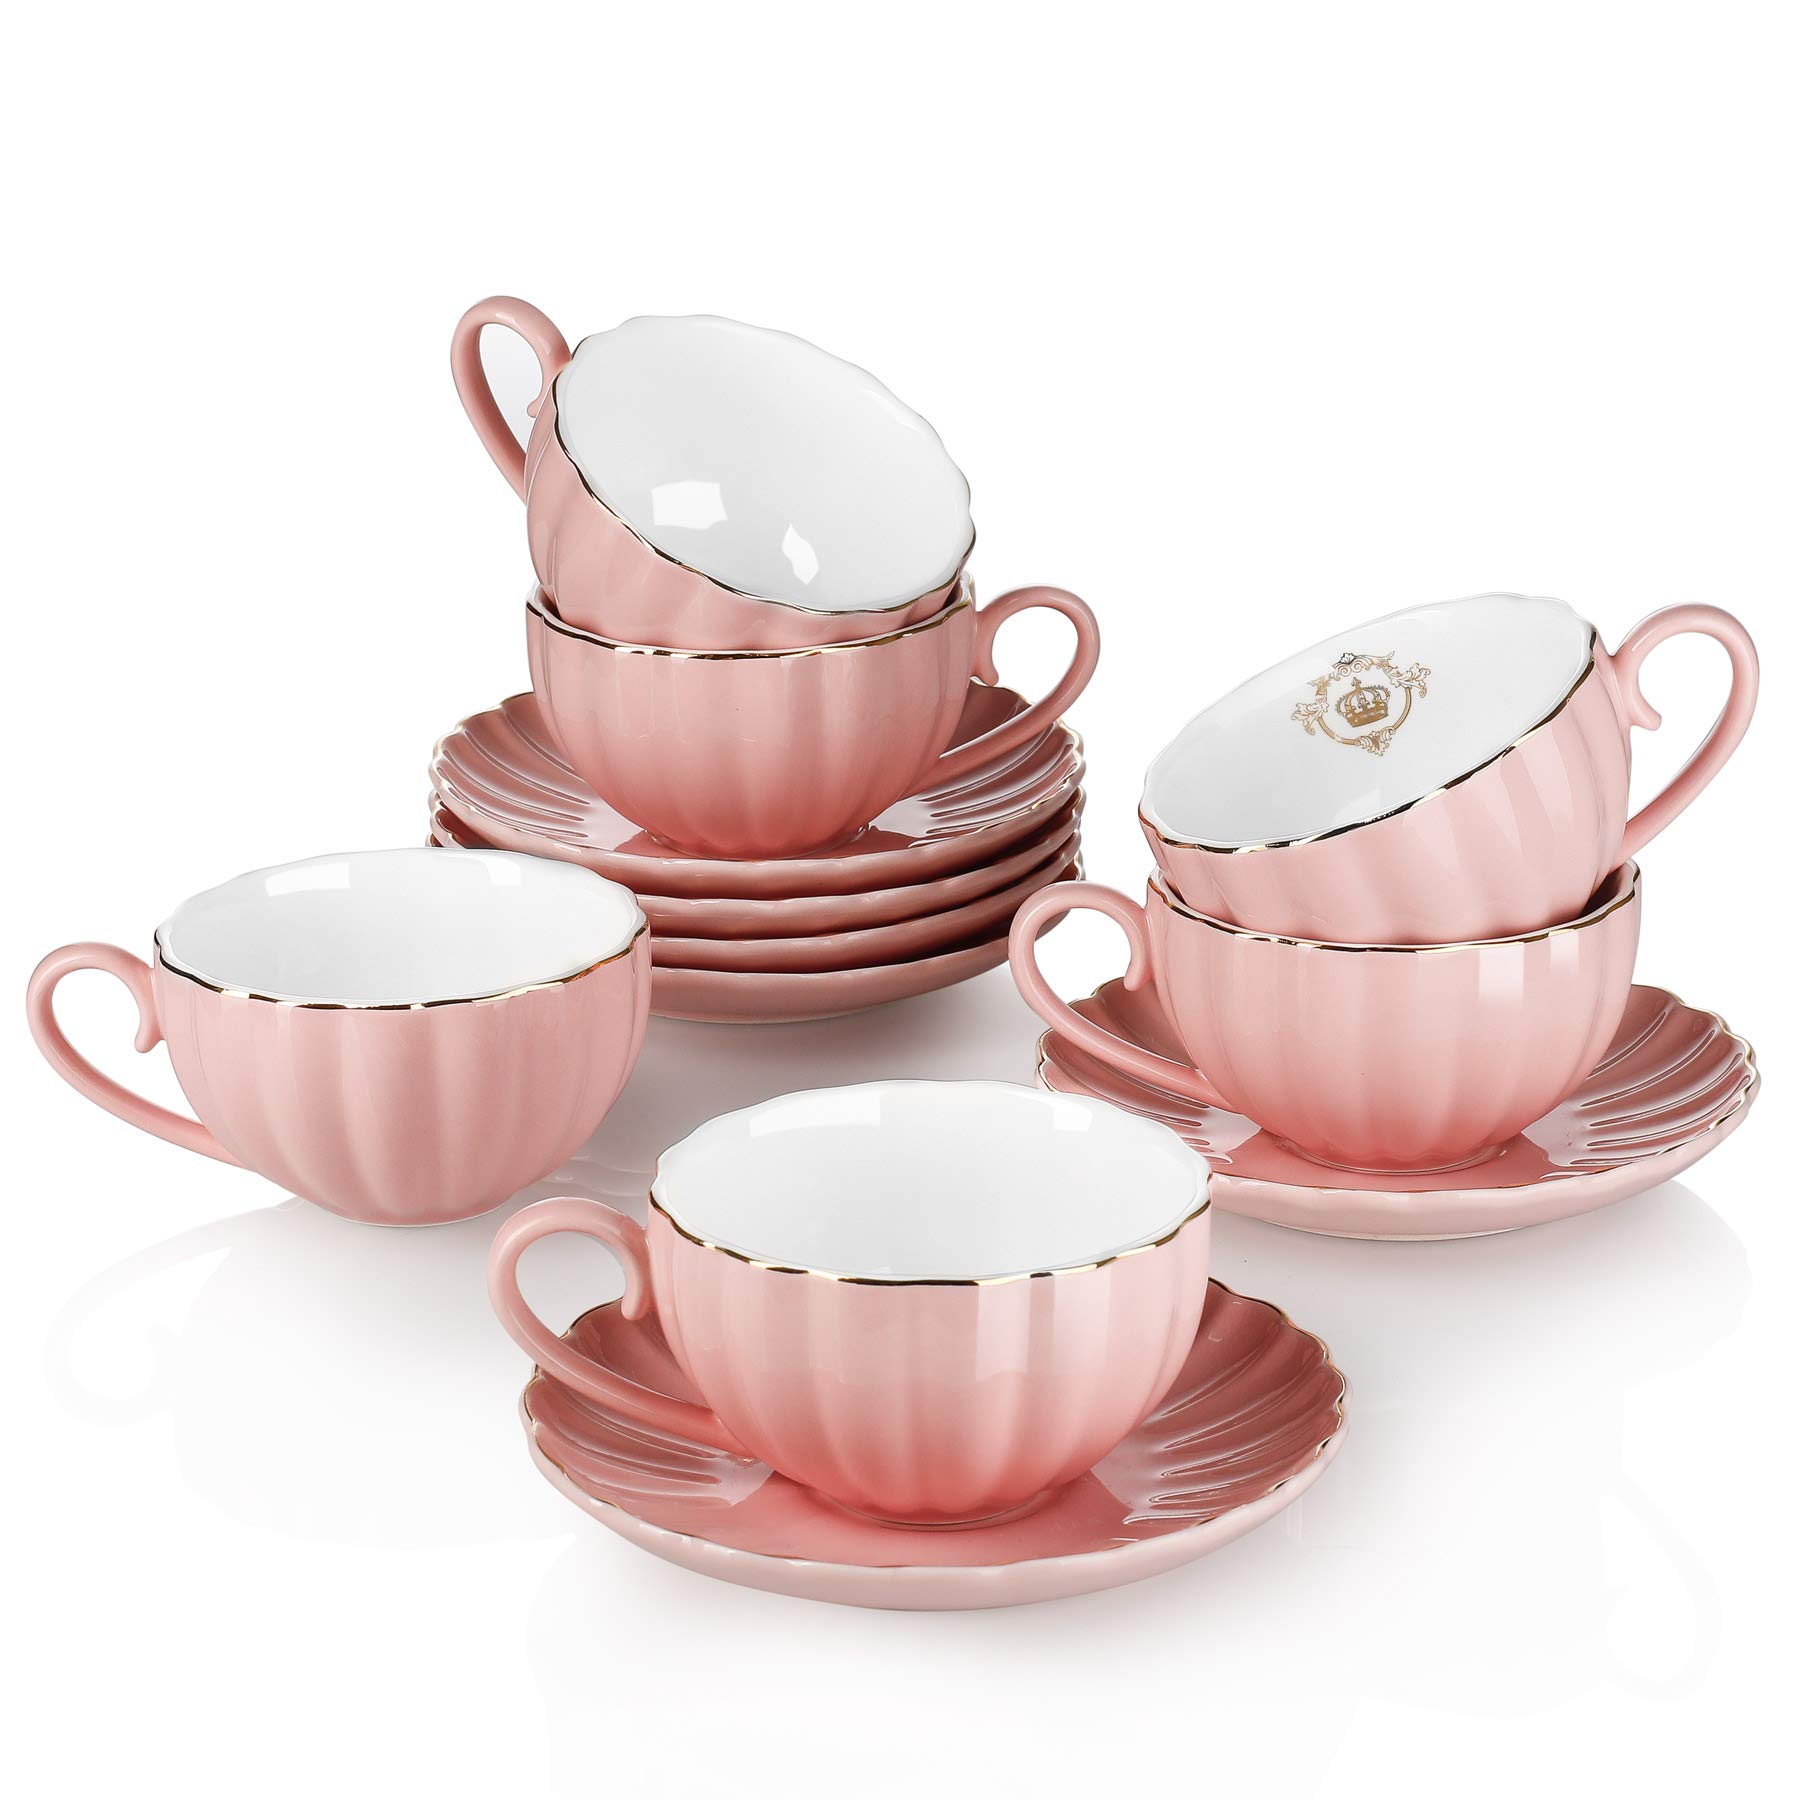
Start by grouping together cups of similar sizes. Place small cups, such as espresso cups or shot glasses, in one pile, medium-sized cups in another, and large cups in a separate pile. This will help you identify how much space each pile will require in the cupboard.
Next, sort your cups by type. Separate coffee mugs from teacups, wine glasses from water glasses, and any other categories you have. This will make it easier to locate the specific type of cup you’re looking for without having to dig through a mixed-up collection.
When sorting by size and type, consider your usage patterns and prioritize accordingly. For example, if you use coffee mugs the most frequently, place them within easy reach. Likewise, if you have a set of fine china cups that are only used on special occasions, you can keep them stored towards the back of the cupboard or in a less accessible area.
Sorting your cups by size and type not only makes it easier to find the cup you’re looking for, but it also helps you assess how much cupboard space each category requires. This knowledge will come in handy when it comes time to arrange them in the cupboard in the next steps.
Now that your cups are sorted, it’s time to move on to Step 3: removing any stains or residue.
Step 3: Remove Any Stains or Residue
Before arranging your cups in the cupboard, it’s important to ensure that they are clean and free from any stains or residue. This not only improves the aesthetics of your cups but also ensures that they are hygienic and ready to be used.
Start by examining each cup individually and check for any stains or residue. Common culprits include coffee or tea stains, lipstick marks, or even leftover food particles. Depending on the material of your cups, there are different methods you can use to effectively remove these stains.
For ceramic or glass cups, you can use a mixture of warm water and mild dish soap. Soak the cups in the mixture for a few minutes to loosen any stains, then gently scrub them with a soft sponge or brush. Rinse thoroughly under running water to remove any soap residue.
If you have stainless steel or plastic cups, you can use a mixture of warm water and baking soda. Create a paste with the two ingredients and apply it to the stained areas. Let it sit for a few minutes, then scrub gently and rinse off the paste.
For stubborn stains or residue, you can try using specialized cleaning products that are designed for removing specific types of stains. Follow the instructions on the product carefully and ensure that you rinse the cups thoroughly to remove any residue from the cleaning solution.
Once you’ve cleaned all your cups, allow them to air dry completely before proceeding to the next step. This will prevent any water spots or moisture from being trapped in the cupboard, which can lead to unwanted mold or mildew growth.
Cleaning your cups not only ensures their cleanliness but also extends their lifespan. By removing stains and residue, you’ll be able to showcase your cups in their best condition and make every drink feel more enjoyable.
With the cups in pristine condition, it’s time to move on to Step 4: placing cupboard liners.
Step 4: Place Cupboard Liners
Now that your cups are clean and ready to be stored, it’s time to consider adding cupboard liners. Cupboard liners serve multiple purposes, including protecting the cupboard surfaces and preventing the cups from slipping or scratching.
Start by selecting a suitable material for your cupboard liners. There are various options available, such as adhesive vinyl liners, non-slip shelf liners, or even fabric liners. Choose a liner that suits your preferences and aligns with the style of your cupboard.
Before placing the liners, measure the dimensions of your cupboard shelves and cut the liners accordingly. Ensure that the liners cover the entire surface of each shelf, providing a protective barrier for your cups. If needed, use a ruler or measuring tape to ensure precise cutting.
Once you have the appropriate-sized liners, carefully place them on each shelf of the cupboard. Smooth out any wrinkles or bubbles to ensure a clean and even surface. The liners will provide a non-slip base for your cups, preventing them from sliding or shifting during storage.
In addition to providing protection and stability, cupboard liners also make it easier to clean up any spills or drips that may occur. They can simply be removed and wiped clean, saving you from having to clean the entire cupboard shelf.
If you want to add a touch of personalization to your cupboard, consider using decorative liners. These can add a pop of color or pattern to the interior of your cupboard, making it more visually appealing.
With the cupboard liners in place, you’ve created a clean and safe environment for storing your cups. Now it’s time to move on to Step 5: arranging the cups in stacks.
Read more: How To Store Food In Kitchen Cupboards
Step 5: Arrange Cups in Stacks
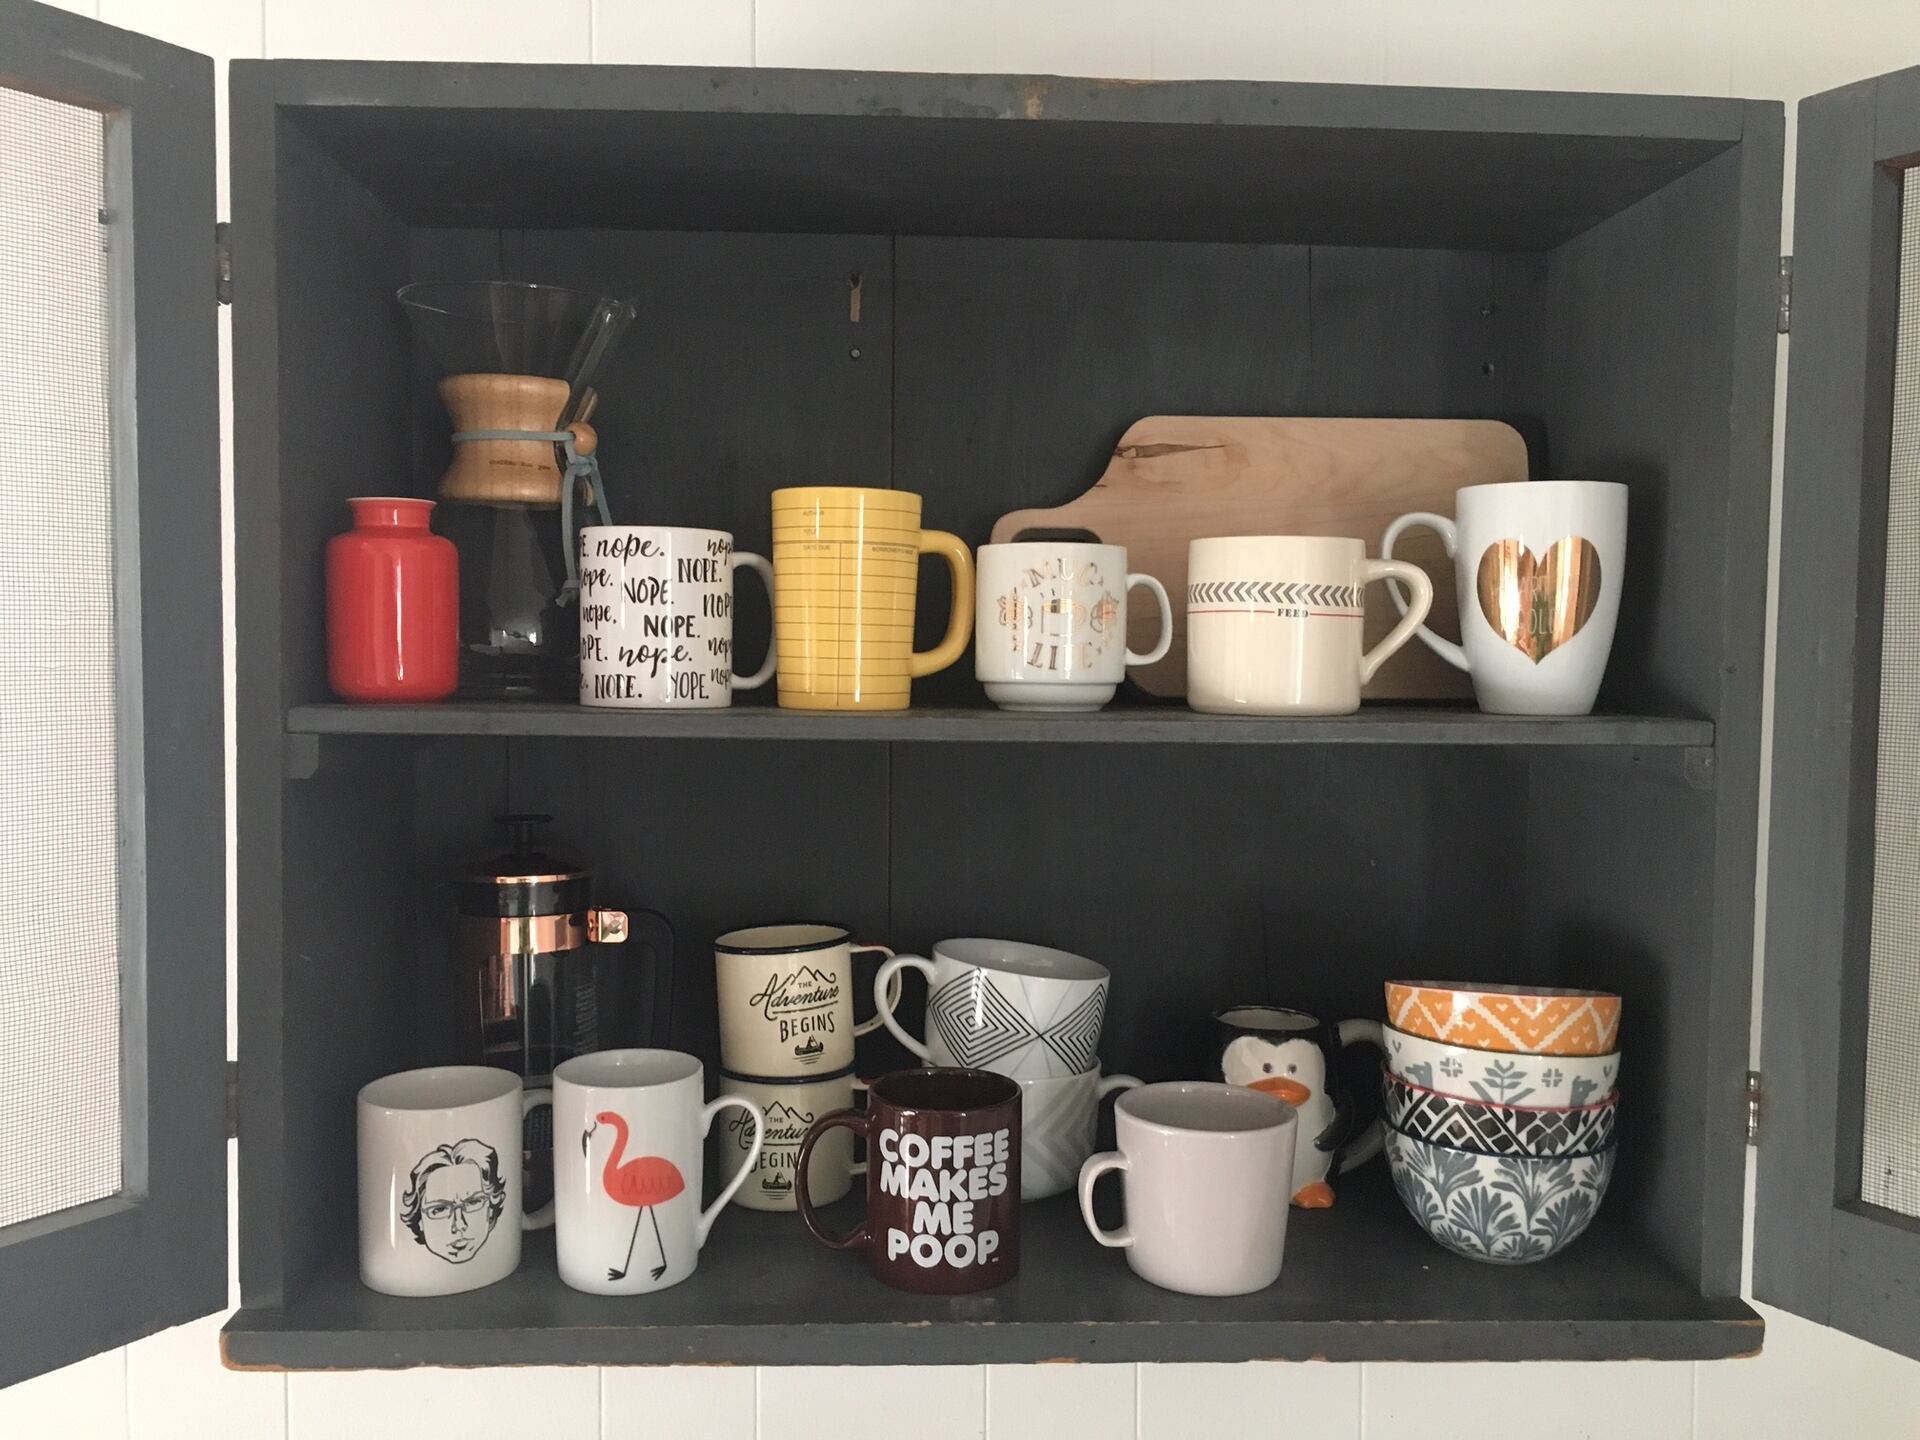
Once you have prepared the cupboard with liners, it’s time to organize your cups in stacks. Stacking your cups not only helps maximize space but also keeps them securely in place and prevents them from toppling over.
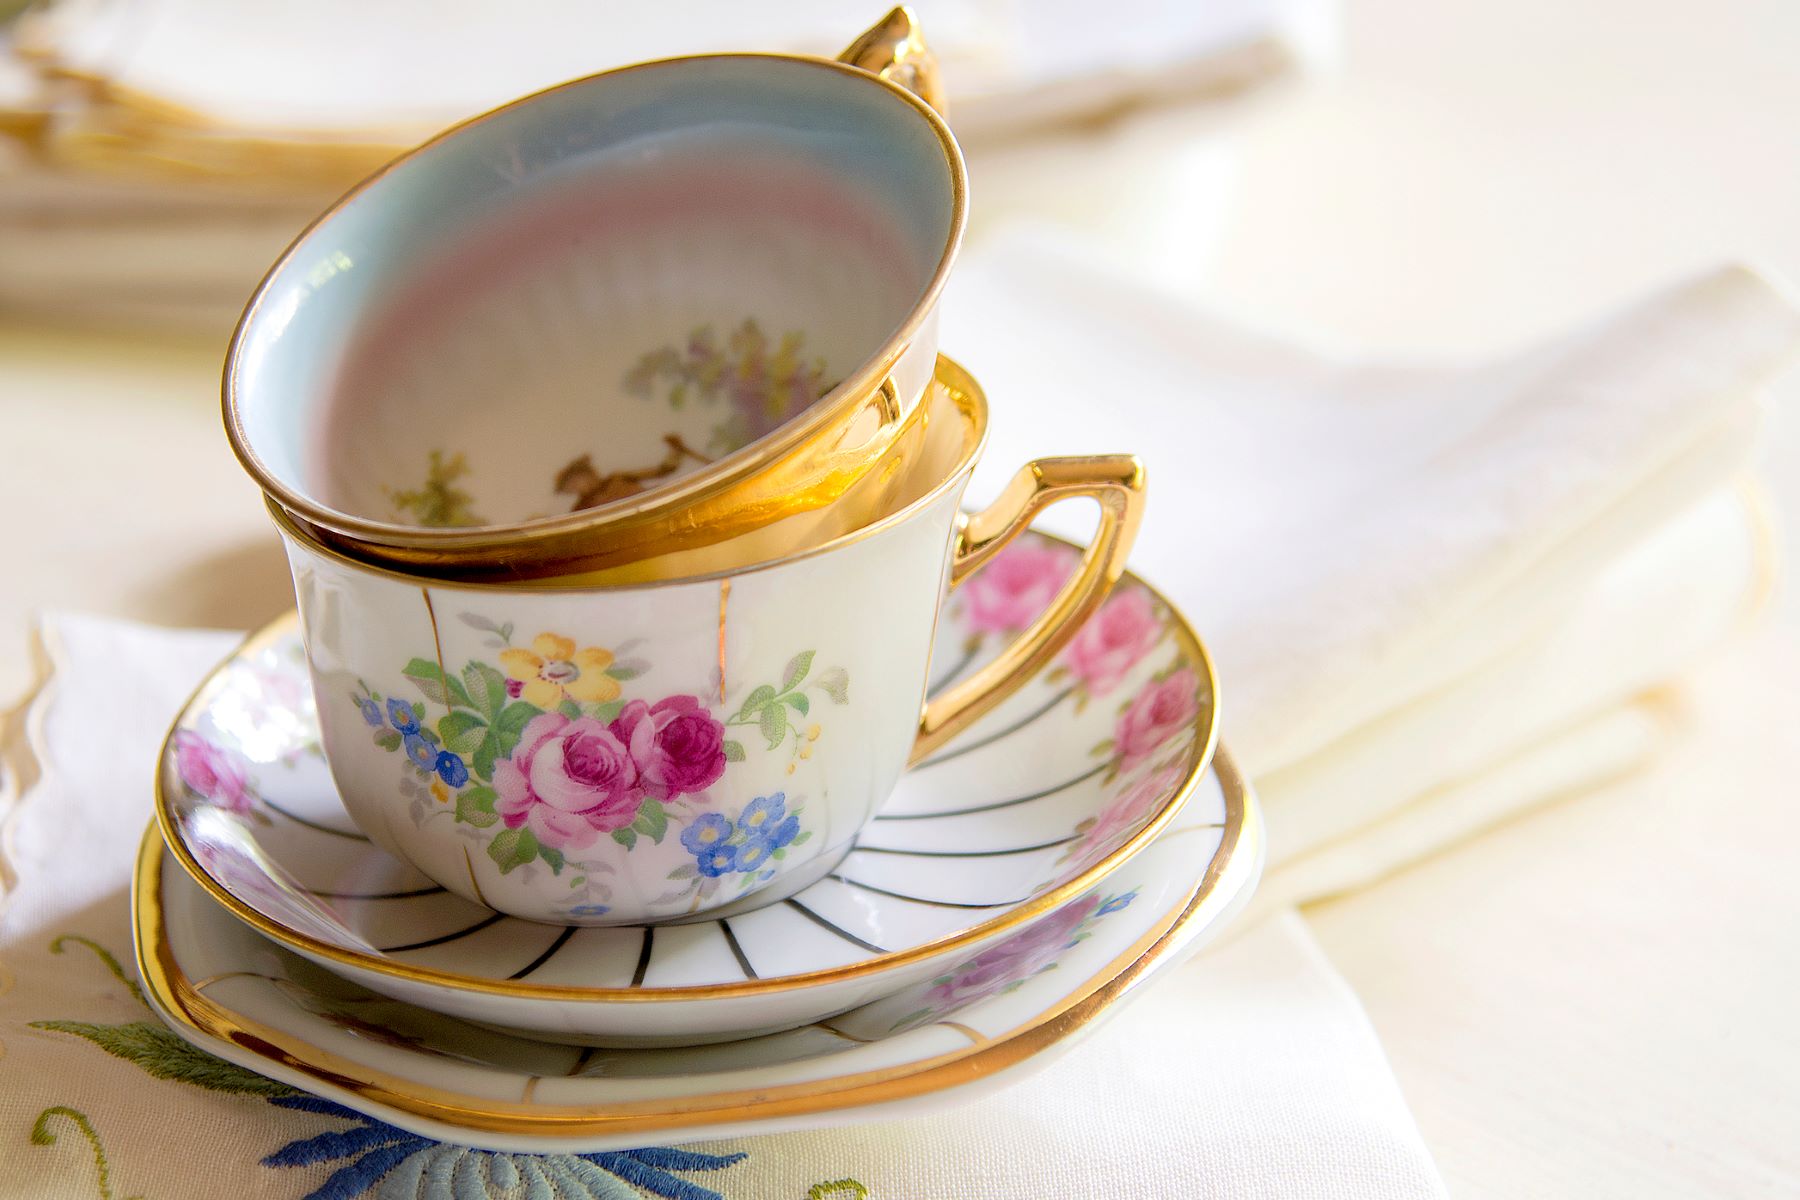
Start by grouping your cups into stacks based on size and type. Place smaller cups on top of larger ones to create stable and uniform stacks. This method ensures that you make the most of the vertical space in your cupboard and minimizes the risk of cups falling or breaking.
When creating stacks, be mindful of the weight and stability of each stack. Avoid stacking too many heavy cups on top of each other, as this can put excessive pressure on the cups at the bottom, potentially causing them to crack or break.
If you have delicate or fragile cups, consider placing a soft padding, such as a microfiber cloth or paper towel, between each cup to provide extra cushioning and prevent them from rubbing against each other.
As you arrange your cups in stacks, keep in mind the accessibility of each stack. Place the cups you use most frequently towards the front of the cupboard for easy reach. Reserve the back or higher shelves for cups that are used less often or for special occasions.
To maintain an organized and visually appealing cupboard, ensure that the stacks are neat and uniform. Align the cups so that handles are facing the same direction and rims are evenly aligned.
If you have a large collection of cups and limited cupboard space, consider utilizing stackable storage solutions, such as nesting cups or stacking racks. These allow you to efficiently utilize vertical space while keeping your cups securely stored.
With your cups now arranged in stacks, your cupboard will not only look neat and organized but also provide easy access to the cup you need. Now it’s time to move on to Step 6: utilizing cup hooks or racks.
To store cups in a cupboard, stack them with the largest at the bottom and smallest at the top to maximize space. Use shelf dividers or stackable shelves to create more storage room.
Step 6: Utilize Cup Hooks or Racks
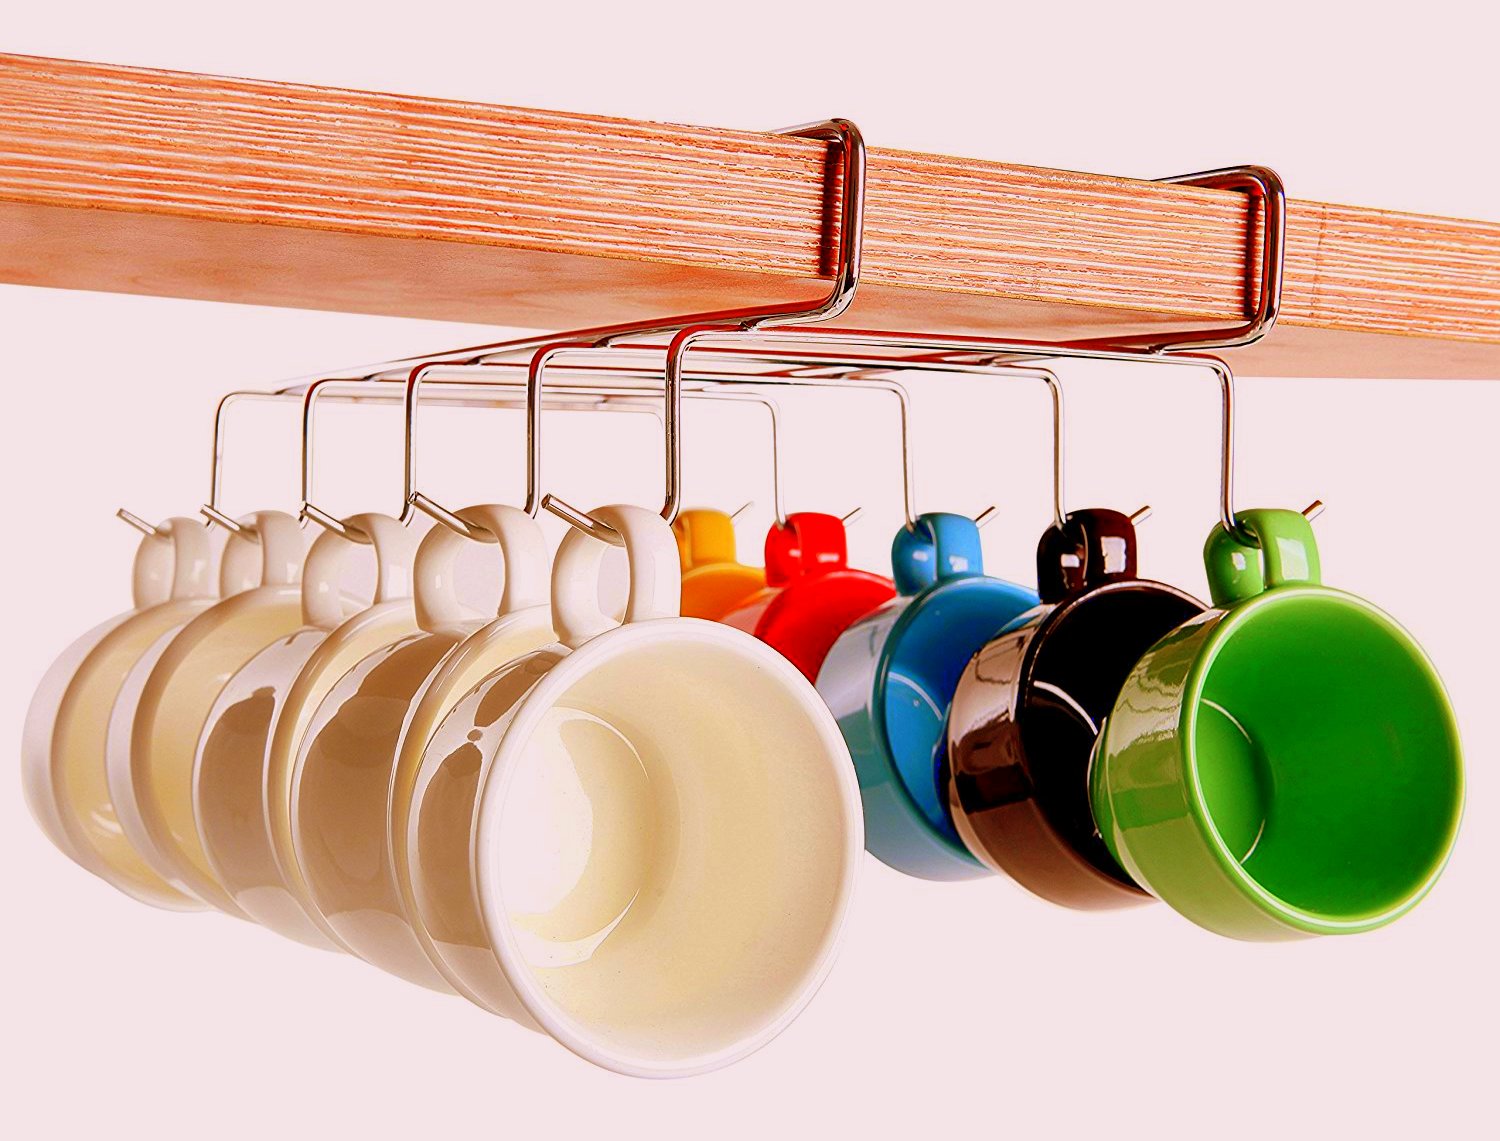
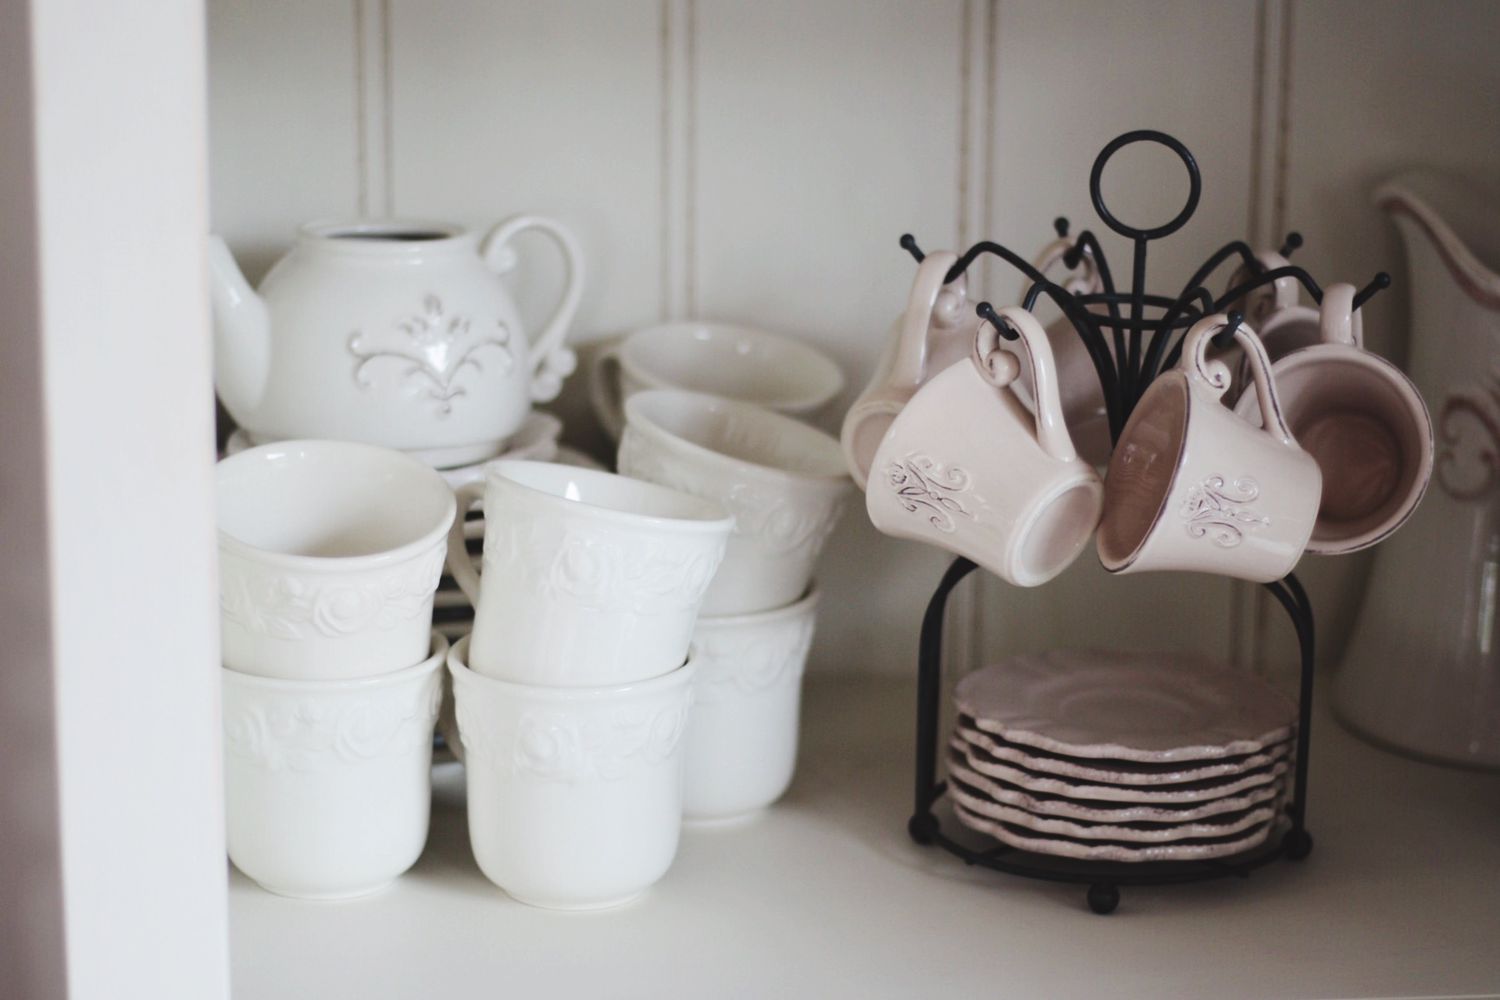
When it comes to maximizing space and adding functionality to your cup storage, utilizing cup hooks or racks can be a game-changer. These storage solutions make use of vertical space and allow you to hang cups, freeing up valuable shelf space in your cupboard.
If you have a cupboard with a sturdy interior and enough vertical space, installing cup hooks is a great option. Cup hooks are small hooks that you can easily screw into the underside of the cupboard shelves. They provide a convenient and accessible place to hang cups by their handles.
To install cup hooks, measure the distance between your cupboard shelves and mark the appropriate spots where you want to place the hooks. Use a drill or screwdriver to screw the hooks into position, ensuring they are secure and stable.
As you hang the cups, make sure they are evenly spaced to avoid overcrowding and potential damage. Arrange the cups in a way that allows for easy access and retrieval.
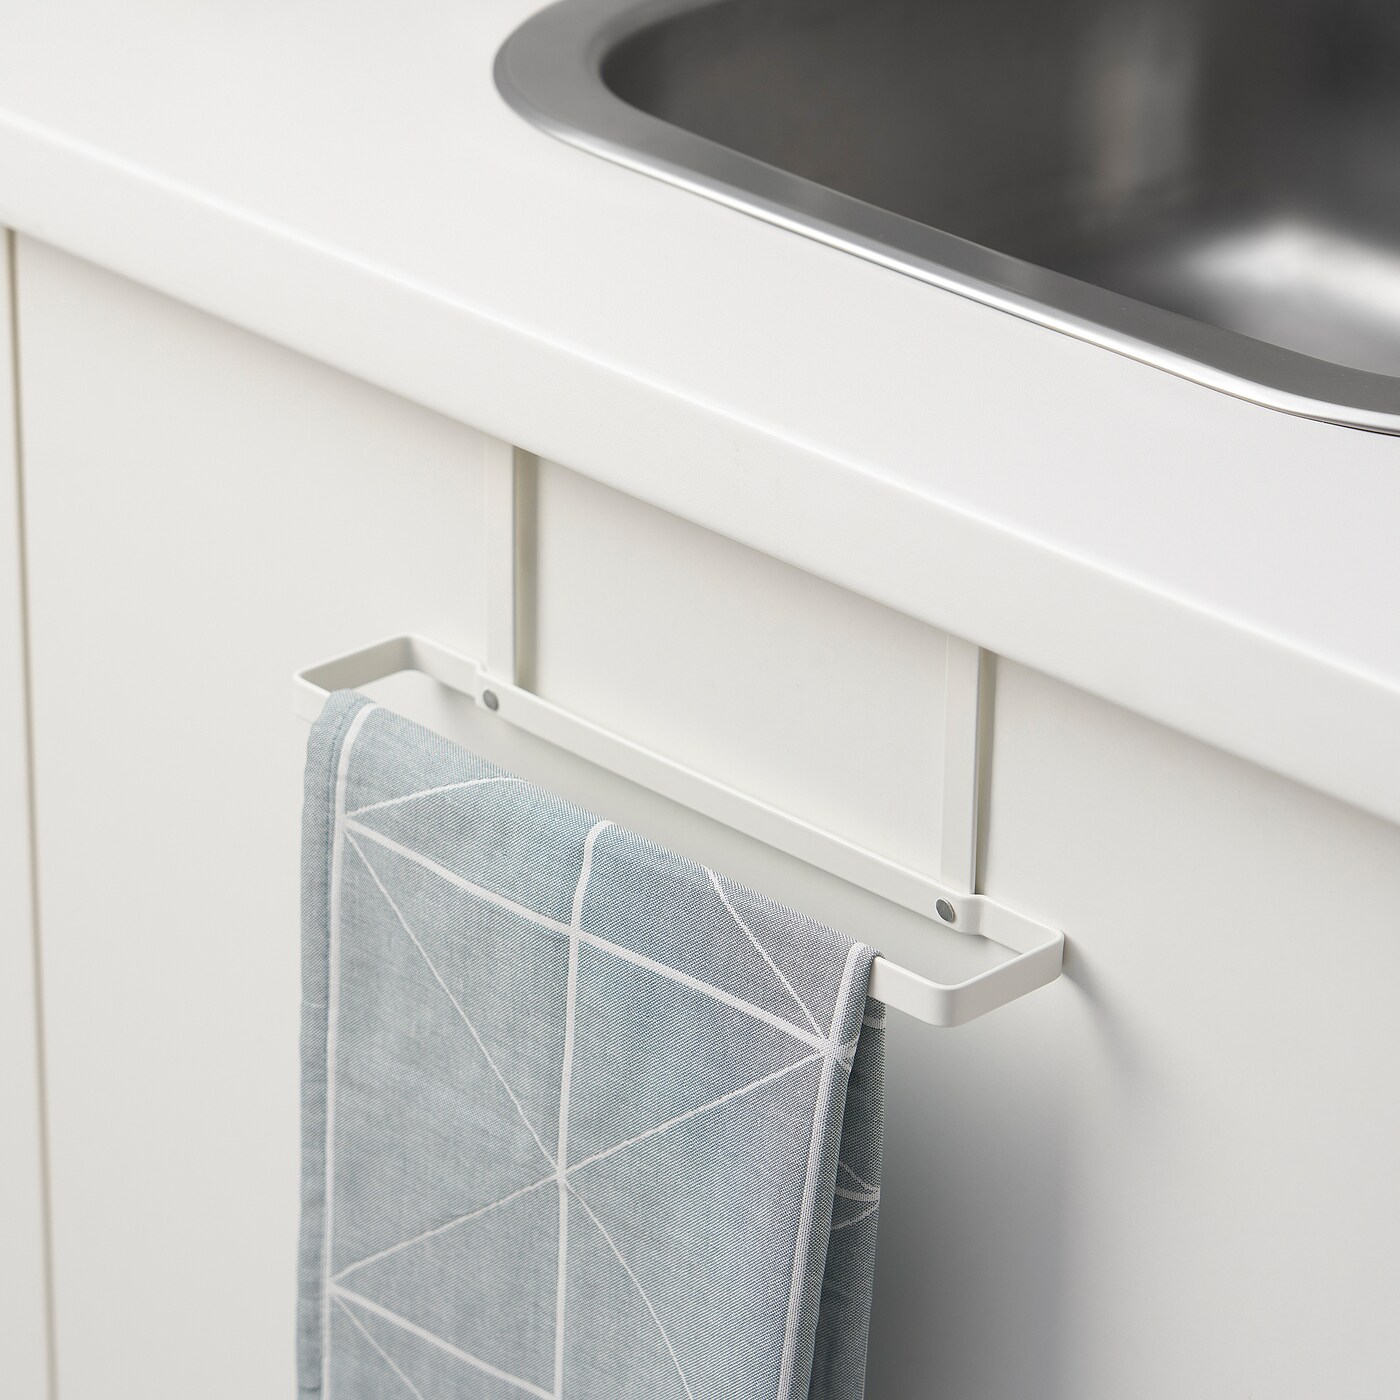
If cup hooks are not suitable for your cupboard or if you prefer a different storage option, consider using cup racks. Cup racks come in various designs, including hanging racks or mounted racks that can be attached to the interior of the cupboard door or walls.
Hanging racks typically feature multiple rows of hooks or pegs where you can hang your cups. They can be easily installed by attaching them to the underside of the cupboard shelves or by using adjustable hooks that can hang from the edges of the shelves.
Mounted racks, on the other hand, can be attached to the interior of the cupboard door or walls using screws or adhesive. These racks often have hooks or slots specifically designed to hold cups securely in place.
By utilizing cup hooks or racks, you can make efficient use of your cupboard space, create additional storage options, and showcase your cups in an attractive and easily accessible way.
With cup hooks or racks in place, it’s time to move on to Step 7: considering the use of shelf dividers.
Step 7: Consider Using Shelf Dividers
When organizing your cup cupboard, it’s important to maximize the use of space and keep your cups organized and separated. One effective way to achieve this is by using shelf dividers. Shelf dividers are simple yet practical tools that help create distinct sections in your cupboard, keeping cups upright and preventing them from toppling over or clinking together.
Shelf dividers come in various styles and materials, such as wire, acrylic, or plastic. They are typically installed vertically between the shelves and can easily be adjusted or removed as needed.
To install shelf dividers, begin by measuring the height and depth of your cupboard shelves. Select dividers that are compatible with the size of your shelves and align them accordingly. Slide the dividers into place, making sure they are securely attached to the shelf surface.
By using shelf dividers, you can create designated compartments for different types or sizes of cups. For example, you can dedicate a section for coffee mugs, another for teacups, and so on. This will not only keep your cups organized but also make it easier to locate and retrieve the cup you need without disturbing other cups.
Shelf dividers also help in preventing cups from shifting or leaning, which reduces the risk of damage or breakage. When cups are kept in an upright position, they are less likely to clink together, minimizing the chance of chips or cracks.
In addition to organizing and protecting cups, shelf dividers can also be used to store other items such as saucers, coasters, or even small plates. This versatile storage solution can help you make the most of your cupboard space and keep everything neatly arranged.
Take some time to consider the layout and arrangement of your cups and how shelf dividers can enhance the functionality of your cupboard. Experiment with different configurations to find the one that works best for your needs.
With shelf dividers in place, your cupboard will be even more organized and efficient. Now it’s time to move on to Step 8: labeling or organizing cups by purpose.
Step 8: Label or Organize Cups by Purpose
As you continue to enhance the organization of your cup cupboard, it can be helpful to label or organize your cups by purpose. This step will not only make it easier to locate specific cups but also add a personalized touch to your cupboard.
One option is to label your cups using small adhesive labels or tags. You can label them with the type of cup, such as “coffee mug,” “tea cup,” or “wine glass.” This way, you can easily identify the cup you need without having to sift through the entire collection.
If you prefer a more visually appealing approach, consider organizing your cups by purpose, grouping them together within the cupboard. For example, you can dedicate a section for your everyday mugs, another for fine china cups, and a separate section for special occasion cups.
Organizing cups by purpose not only streamlines the process of finding the cup you need but also adds a touch of elegance and order to your cupboard. With each cup having its designated place, you can easily maintain and sustain the organization of your collection.
Another option is to organize cups by color or design. This can be an aesthetically pleasing way to showcase your collection, especially if you have a variety of cups with different patterns or shades. Grouping them together based on visual appeal can make your cupboard a visually appealing focal point in your kitchen.
Finally, consider the option of arranging cups by frequency of use. Place the cups you use on a daily basis at the forefront of the cupboard for easy access. Reserve the less frequently used cups for the back or higher shelves. This way, you can optimize your space while ensuring that your favorite cups are always within reach.
Choose the method that works best for you and your cup collection. Whether you prefer labeling, organizing by purpose, color, or frequency of use, the goal is to create a system that allows for easy identification and retrieval of the cups you need.
With the cups labeled or organized, your cupboard will not only be organized but also reflect your personal style and preferences. Now it’s time to move on to the final step: ensuring you close the cupboard properly.
Read more: What Is Airing Cupboard
Step 9: Close the Cupboard Properly
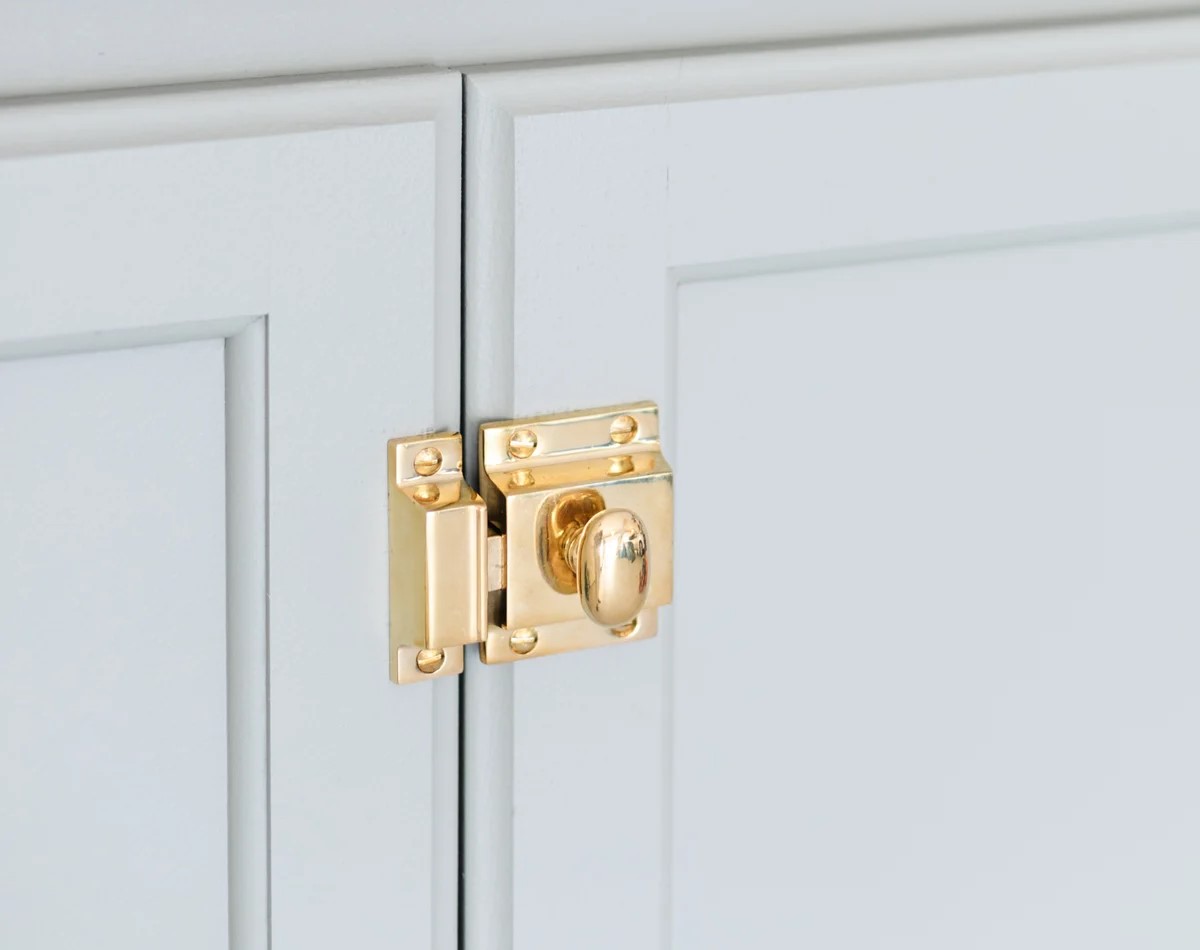
After putting in all the effort to organize and arrange your cups in the cupboard, it’s essential to close the cupboard properly to ensure that everything remains intact and in place. Closing the cupboard properly not only helps maintain the organization but also prevents any accidents or damages from occurring.
First and foremost, make sure to close the cupboard doors gently but securely. Slamming the doors can cause vibrations that may potentially dislodge or topple your neatly arranged cups. Take a moment to ensure that the doors are fully closed and aligned properly.
Double-check that there are no cups or other items protruding from the shelves. Even slight overhangs or gaps can make the doors difficult to close and may lead to breakages or damage when the doors are closed forcefully.
If your cupboard has adjustable shelves, ensure that they are correctly positioned and secured. Loose or wobbly shelves can shift during closing, potentially causing cups to move or fall out of place. Take the time to tighten any screws or brackets that hold the shelves securely.
It’s also essential to remind other household members or guests to handle the cupboard doors with care and close them properly. Educate them about the organization system you’ve put in place and the importance of maintaining it for the safety of the cups and the longevity of your arrangement.
By closing the cupboard properly, you create a sense of completion in the organization process. It ensures that all your efforts in organizing the cups are preserved and that your cupboard remains a functional and visually appealing space.
With the cupboard properly closed, step back and admire your newly organized cupboard. You’ve successfully created a neat and efficient storage solution for your cups that not only maximizes space but also adds a touch of elegance to your kitchen.
As time goes on, periodically reassess and adjust your cup organization system as needed. Over time, you may acquire new cups or change your preferences, and it’s important to adapt the cupboard accordingly to maintain an organized space.
Enjoy the convenience and ease of accessing your cups and savor every sip knowing that your cupboard is a symbol of order and efficiency.
Congratulations on successfully organizing your cups in the cupboard!
Now, take a moment to step back and appreciate the transformation you’ve made. Your cupboard is now an organized and functional space that provides easy access to your favorite cups.
Enjoy the convenience and efficiency of your newly organized cup cupboard and savor every refreshing drink knowing that you have created a space that reflects your personal style and enhances your kitchen experience.
With these steps and tips, you are well-equipped to maintain an organized and visually appealing cupboard for your cups. Cheers to an organized and enjoyable cup storage experience!
Conclusion
Congratulations! You have successfully transformed your cluttered and disorganized cupboard into a well-organized oasis for your cups. By following the steps outlined in this comprehensive guide, you have learned how to store your cups efficiently while maximizing space and maintaining a visually appealing cupboard.
From emptying the cupboard and sorting cups by size and type to removing stains and residue, placing cupboard liners, arranging cups in stacks, utilizing cup hooks or racks, considering shelf dividers, and labeling or organizing cups by purpose, you have implemented a systematic approach to cup storage.
By closing the cupboard properly, you have ensured the preservation of your hard work and safeguarded your cups from potential damage. The proper closure of the cupboard is the final touch that solidifies your organization system and maintains the integrity of your cup arrangement.
An organized cupboard not only makes it easier to find the cup you need but also protects your cups from dust, cracks, and other forms of damage. It creates a visually appealing and functional space that enhances your kitchen and contributes to a more enjoyable beverage experience.
Remember to periodically reassess and adjust your cup organization system as needed. As your collection grows or your preferences change, adapt the cupboard accordingly to maintain an organized space that works for you.
Take a moment to appreciate the transformation you have made and the convenience and ease of accessing your cups. Enjoy your favorite beverages, knowing that your cups are stored in an organized and efficient manner.
Thank you for following this comprehensive guide on how to store cups in a cupboard. Cheers to an organized and enjoyable cup storage experience!
Now that you've mastered cup storage, why stop there? Expand your space-saving skills with clever techniques for small kitchen setups. Our guide on ways to maximize kitchen spaces offers practical solutions that make every inch count. For those craving more order throughout the home, our review of top fabric storage cubes provides smart options to tidy up any area with style. Dive into these resources for a seamless, organized living environment.
Frequently Asked Questions about How To Store Cups In Cupboard
Was this page helpful?
At Storables.com, we guarantee accurate and reliable information. Our content, validated by Expert Board Contributors, is crafted following stringent Editorial Policies. We're committed to providing you with well-researched, expert-backed insights for all your informational needs.


0 thoughts on “How To Store Cups In Cupboard”