Articles
How To Install Closet Shelf And Rod
Modified: September 1, 2024
Learn how to easily install a closet shelf and rod for efficient home maintenance. Create a well-organized storage space with this simple DIY project.
(Many of the links in this article redirect to a specific reviewed product. Your purchase of these products through affiliate links helps to generate commission for Storables.com, at no extra cost. Learn more)
Introduction
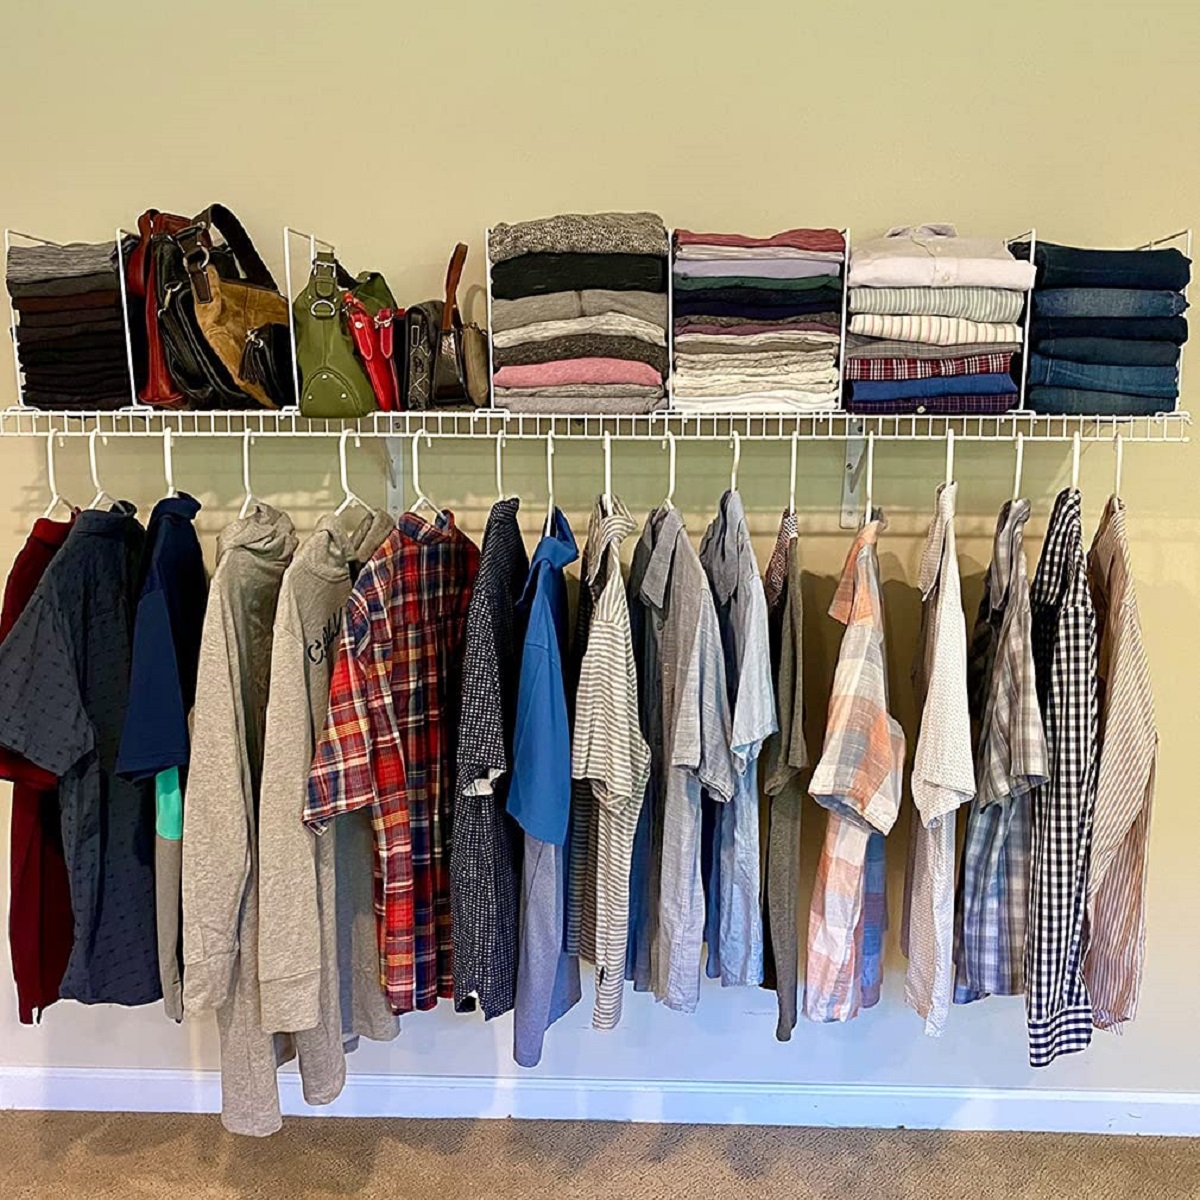
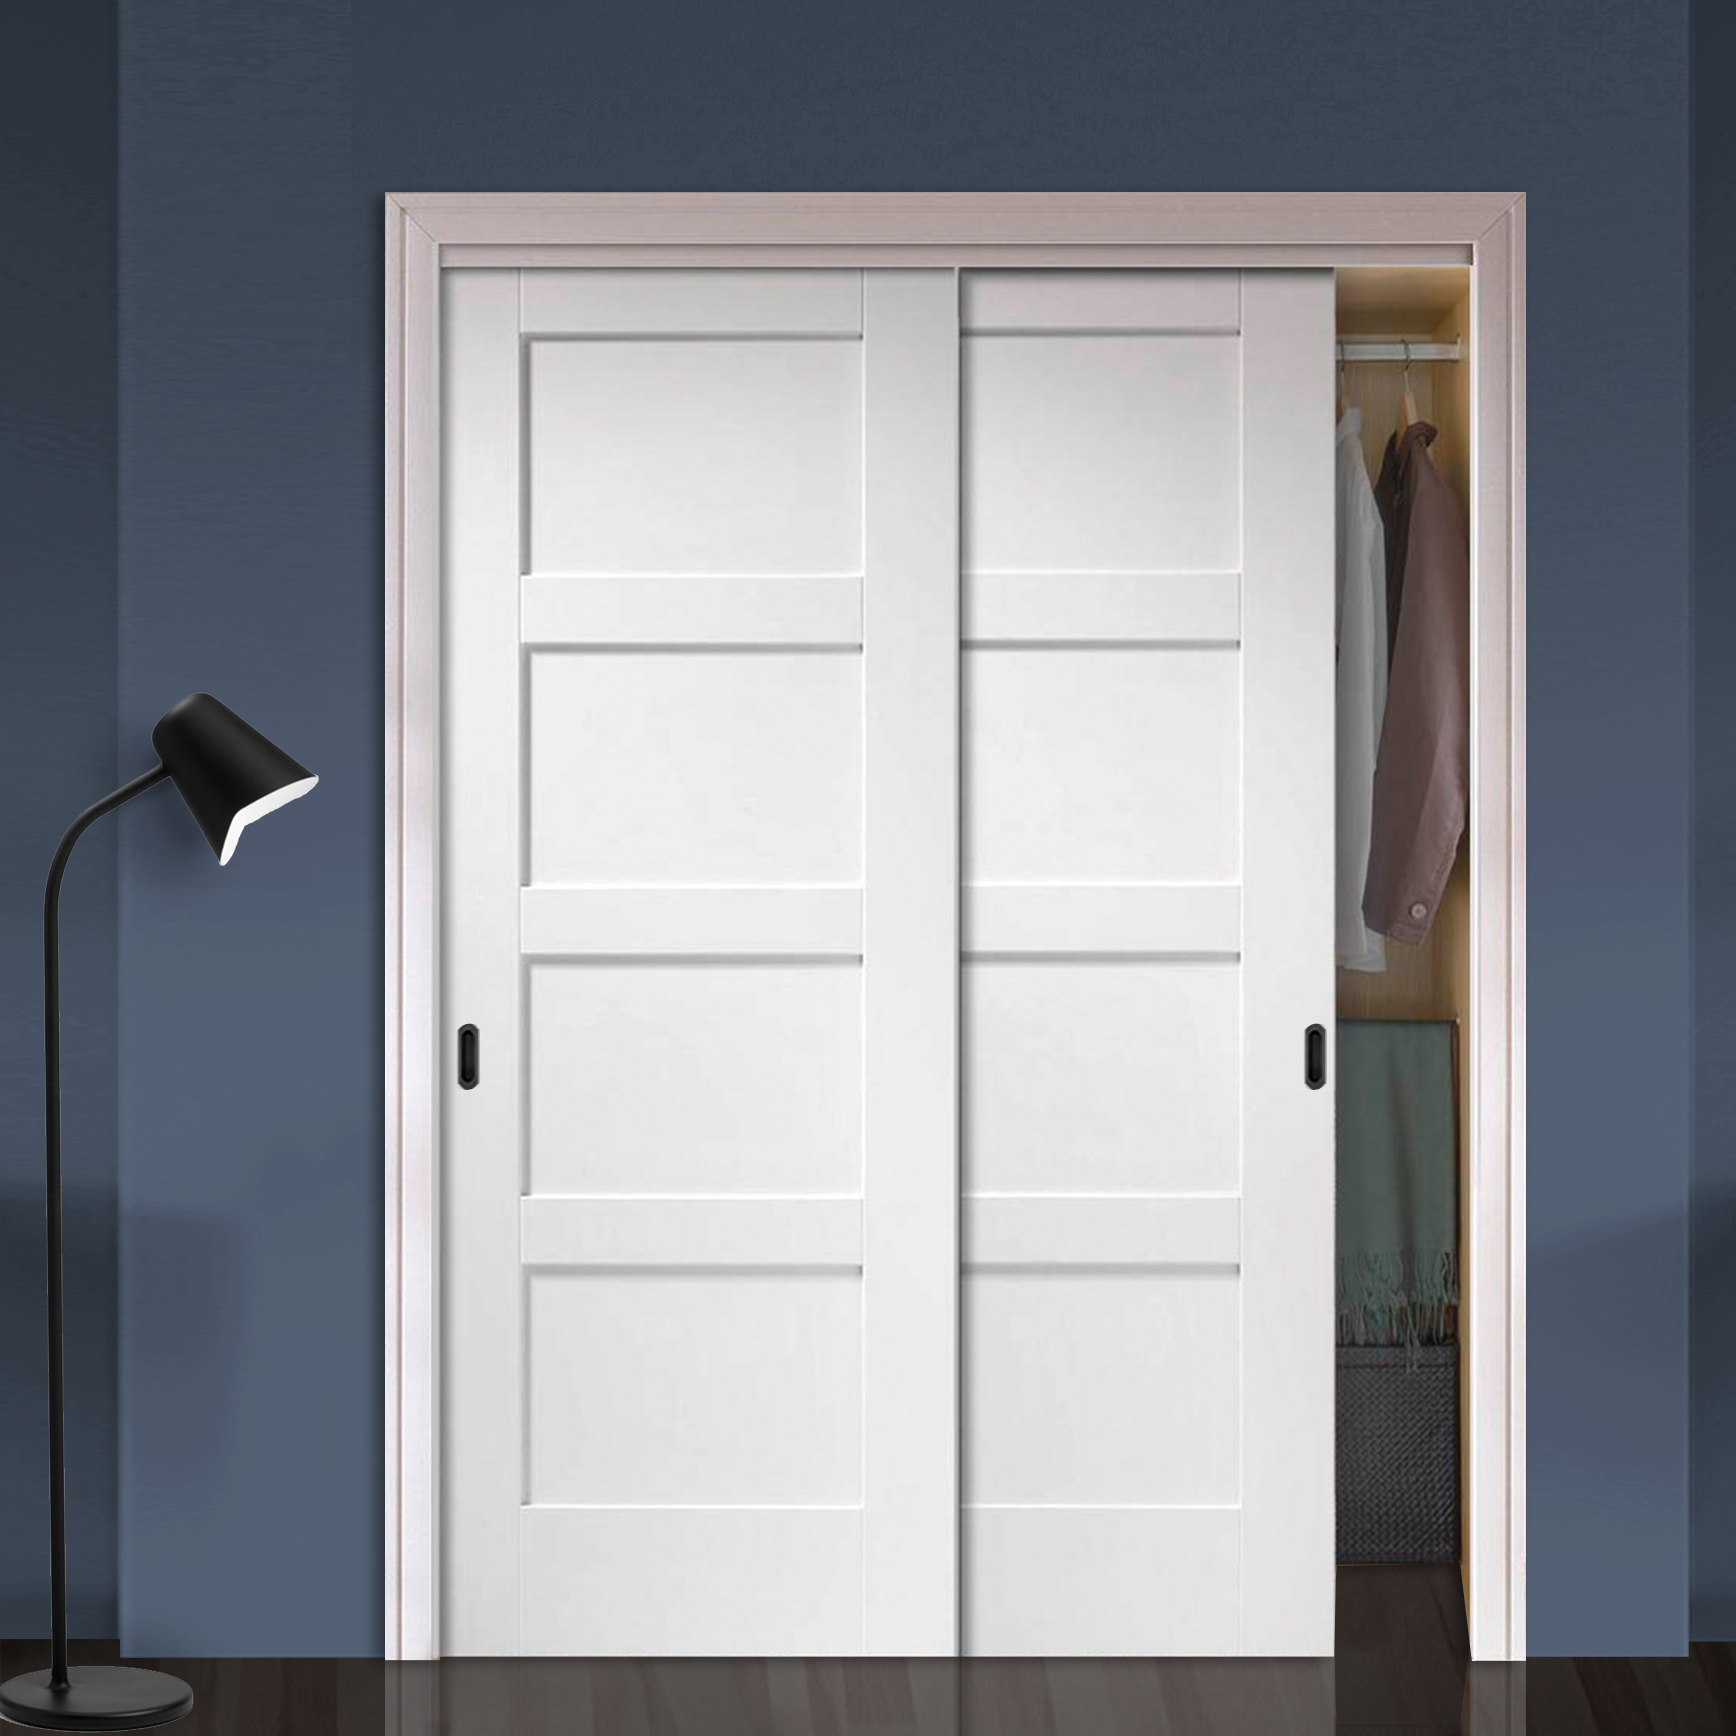
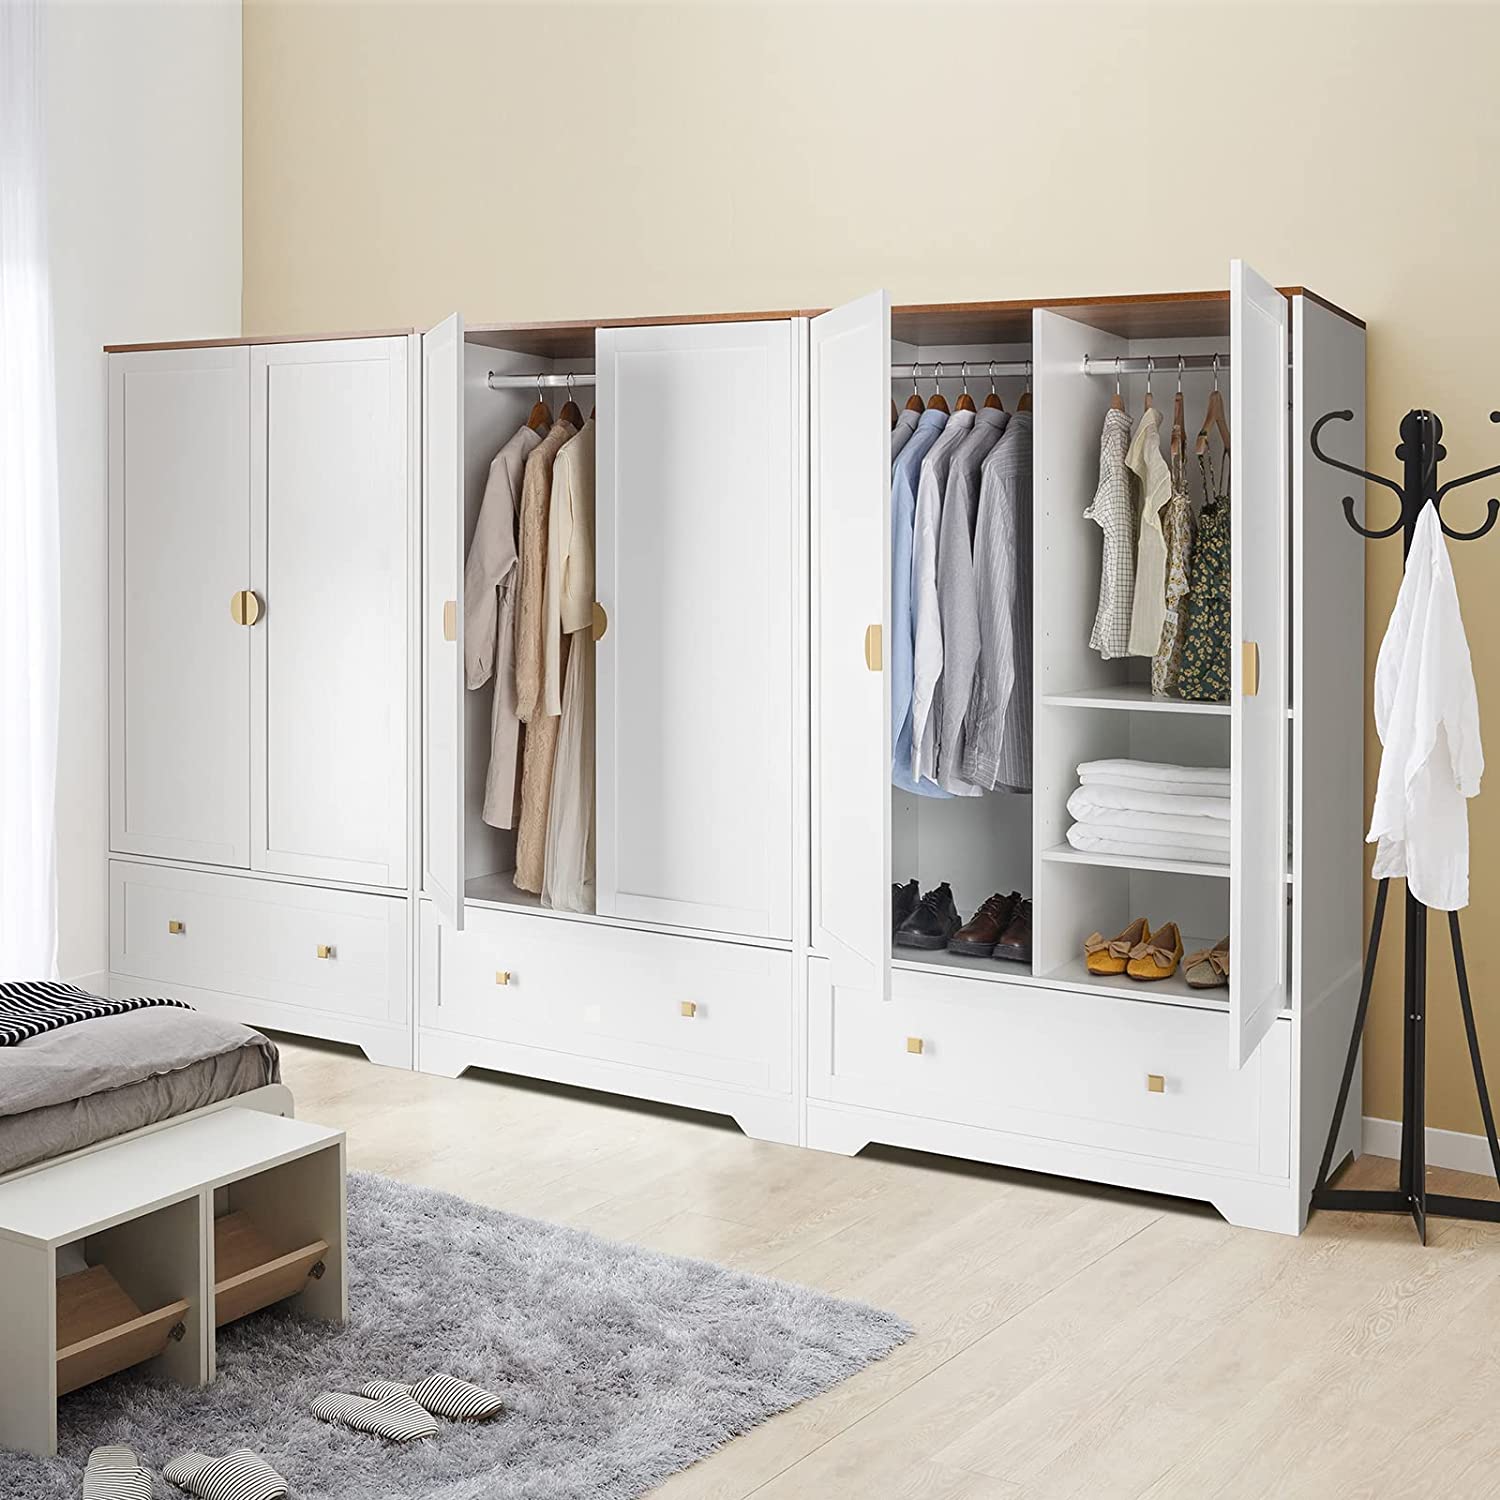
Having a well-organized closet can make a significant difference in your daily routine. One key element to achieving an organized closet is installing a shelf and rod system. This enables you to maximize storage space and neatly hang your clothes.
In this article, we will walk you through the step-by-step process of installing a closet shelf and rod. Whether you’re a DIY enthusiast or a beginner, this guide will help you get the job done right.
Before we dive into the installation process, it’s important to gather the necessary tools and materials. Having everything on hand will ensure a smooth installation and save you from any last-minute trips to the hardware store.
Key Takeaways:
- Transform your closet into an organized space by installing a shelf and rod system. Maximize storage, save time, and enjoy the convenience of a well-organized closet.
- Ensure a secure and long-lasting installation by checking stability and levelness. Tighten screws, make adjustments, and enjoy the benefits of a well-organized closet.
Read more: How To Remove Closet Shelf
Tools and Materials
Before you begin installing your closet shelf and rod, gather the following tools:
- Screwdriver: A screwdriver is essential for loosening and tightening screws during the installation process.
- Level: Use a level to ensure that the shelf and rod are straight and even.
- Tape measure: Accurate measurements are crucial for a successful installation. Use a tape measure to measure the length and width of your closet.
- Pencil: A pencil will come in handy for marking where the brackets and rod will be installed.
- Drill: If your closet has wooden walls or requires pilot holes for screws, a drill will be necessary.
- Stud finder: A stud finder is useful for locating the studs in the wall, which will provide the most secure mounting points for your shelf and rod.
In addition to the tools, you will need the following materials:
- Closet shelf and rod kit: This kit typically includes the shelf, rod, and brackets needed for installation. Make sure to choose a kit that matches the dimensions of your closet.
- Screws: Screws will be used to secure the brackets to the wall and the shelf to the brackets. The sizes of the screws will vary depending on the type of wall you have.
- Wall anchors (if necessary): If your closet walls are made of drywall or require additional support, wall anchors may be needed to ensure stability.
- Wood screws (if necessary): If your closet walls are made of wood, you may need wood screws to securely attach the brackets to the wall.
- Closet brackets: These brackets are designed to hold the shelf and rod in place. They come in various sizes and styles, so choose the ones that are compatible with your closet shelf and rod kit.
Having these tools and materials at your disposal will make the installation process smoother and more efficient. Now that you’re prepared, let’s move on to preparing the space for the installation.
Preparing the Space
Before you start installing the closet shelf and rod, it’s important to prepare the space for the installation. This involves clearing out the closet, taking accurate measurements, and identifying the location of studs or the need for wall anchors.
The first step is to clear out the closet. Remove all clothing, shoes, and any other items from the closet. This will provide you with a clear workspace and prevent any damage to your belongings during the installation process.
Next, take measurements of your closet. Measure the length and width of the wall where the shelf and rod will be installed. This will help you determine the proper size for the shelf and ensure a precise fit.
Once you have taken the measurements, use a stud finder to locate the studs in the wall. Studs are vertical beams behind the drywall that provide a sturdy and secure anchor for heavy items like shelves and rods. If you’re unable to locate studs, you may need to use wall anchors to ensure stability.
If your closet walls are made of drywall or plaster, you can use wall anchors to provide additional support. Wall anchors are plastic or metal devices that expand when screws are inserted, creating a secure anchoring point. Make sure to choose the right type and size of wall anchors based on the weight capacity of your shelf and rod.
On the other hand, if your closet walls are made of wood, you can secure the brackets directly into the wall without the need for wall anchors. In this case, you may need wood screws to ensure a strong and stable installation.
By clearing out the closet, taking accurate measurements, and identifying the location of studs or the need for wall anchors, you are now ready to move on to marking the installation points for your closet shelf and rod.
Marking the Installation Points
Once you have prepared the space for the installation, the next step is to mark the installation points for your closet shelf and rod. This involves determining the height for the shelf, marking the locations for the brackets, and determining the height for the rod and marking points for the rod brackets.
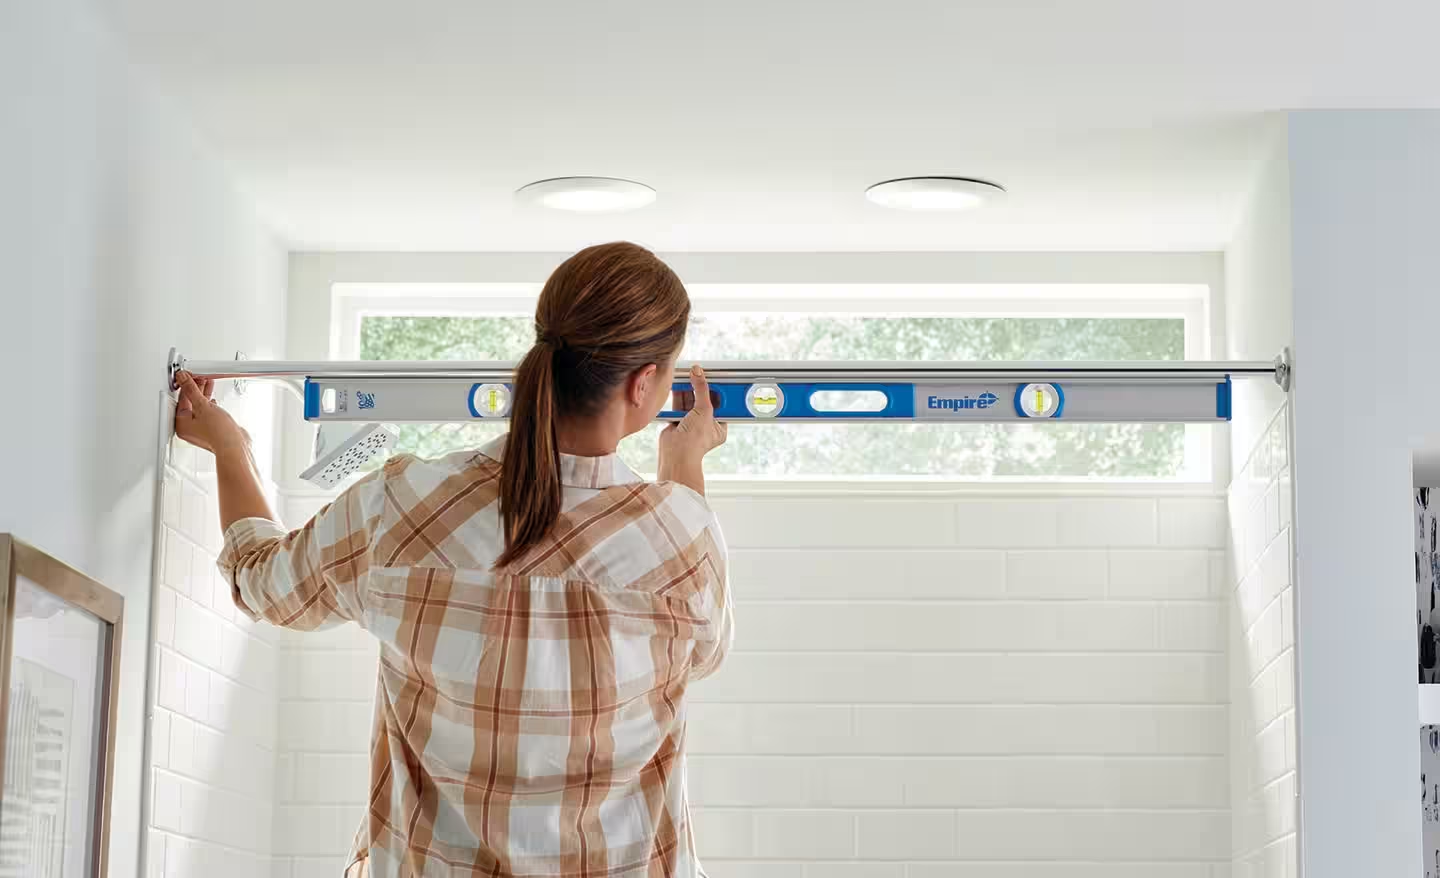
To start, determine the ideal height for the shelf. Consider the types of items you will be storing on the shelf and ensure that it is easily accessible. A general rule of thumb is to place the shelf around 12-16 inches above the floor. Use a tape measure and a pencil to mark the desired height on the wall.
Next, measure the length of the closet and mark the locations where the brackets will be installed. Start by placing the first bracket at one end of the shelf and mark the spot where the bracket’s screw will go. Repeat this process for the other end of the shelf and any additional brackets that will be needed along the length of the closet. Use a level to ensure that the marks are straight and even.
After marking the locations for the brackets, it’s time to determine the height for the rod. This will depend on the types and lengths of clothing you will be hanging. Typically, the rod should be placed around 40-48 inches above the floor. Measure and mark the desired height on the wall using a tape measure and pencil.
Once the height for the rod is marked, it’s time to mark the points for the rod brackets. Start by placing the first bracket at one end of the rod and mark the spot where the bracket’s screw will go. Repeat this process for the other end of the rod and any additional brackets that will be needed along the length of the rod. Again, use a level to ensure that the marks are straight and even.
By determining the height for the shelf, marking the locations for the brackets, determining the height for the rod, and marking the points for the rod brackets, you are now ready to move on to the installation process. In the next steps, we will guide you on how to install the shelving brackets and the shelf itself.
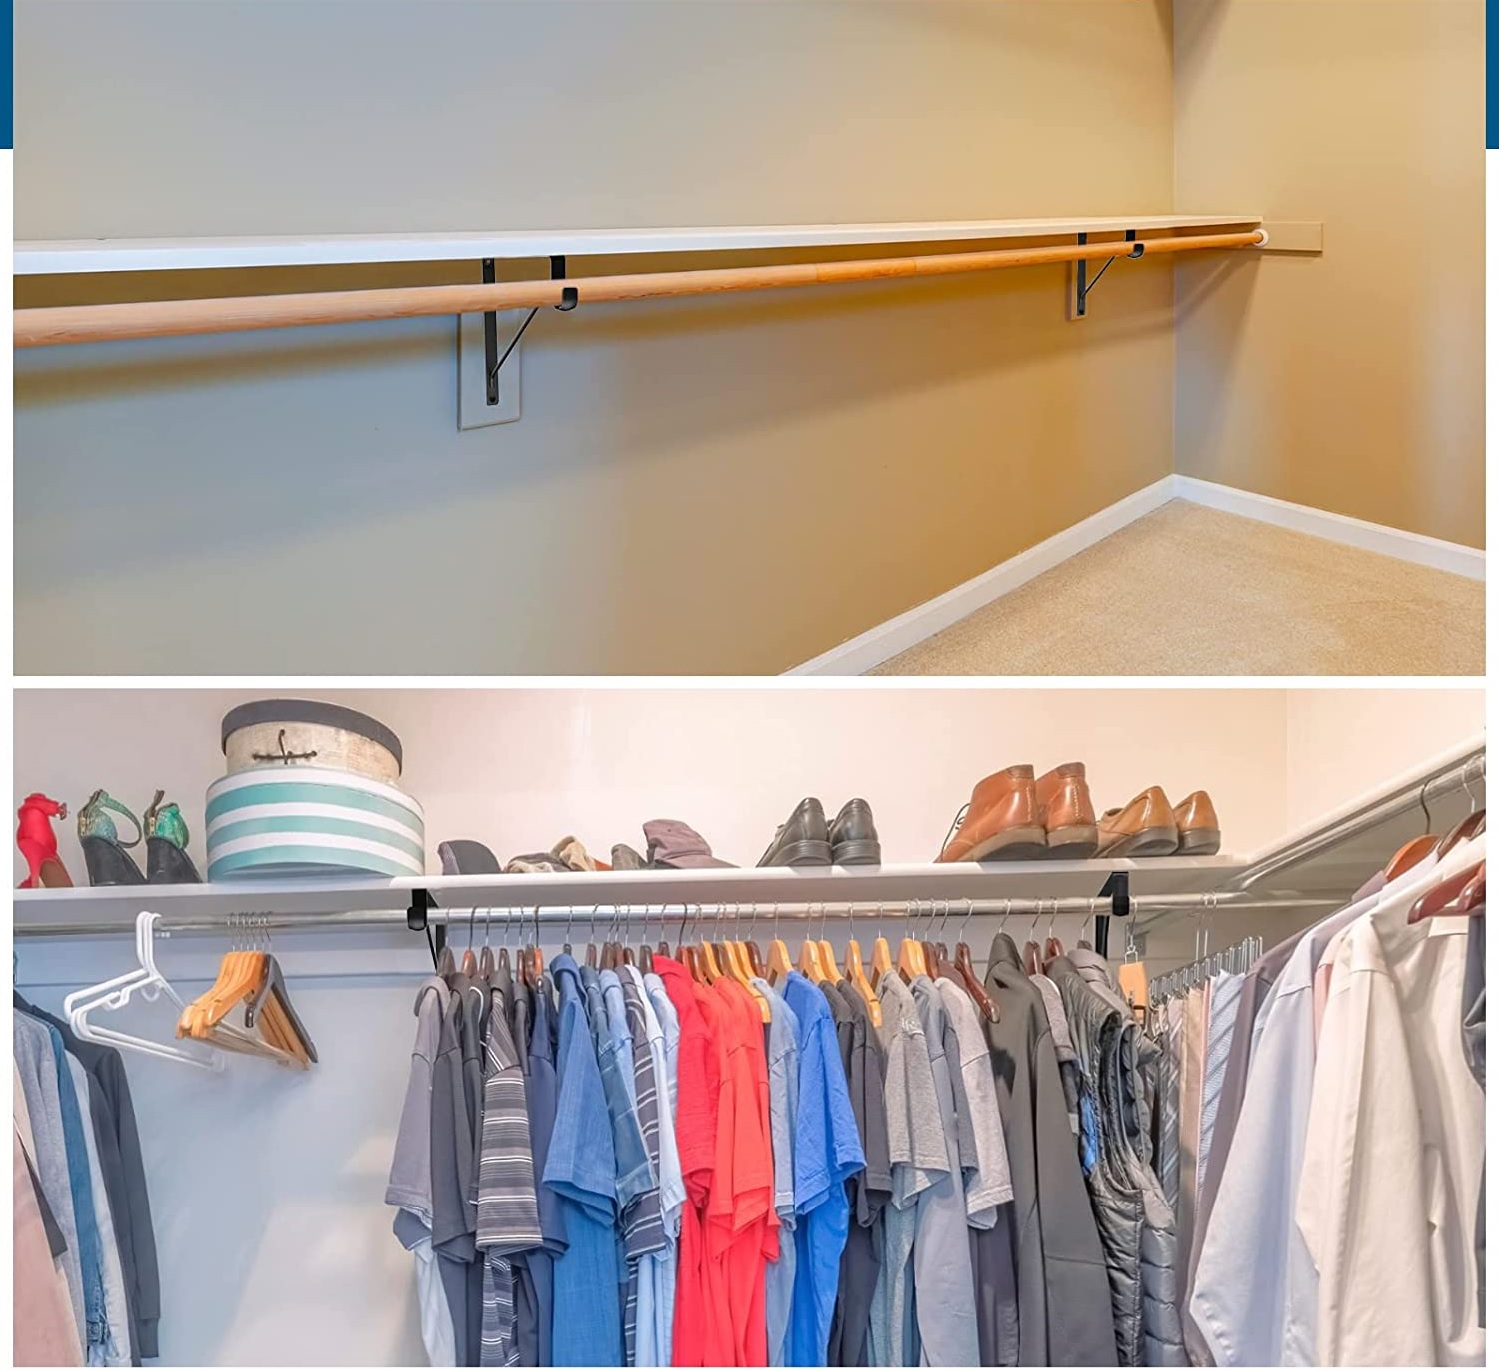
Installing the Shelving Brackets
With the installation points marked, the next step is to install the shelving brackets. This involves positioning the brackets, marking screw holes, installing wall anchors if necessary, and attaching the brackets to the wall.
To begin, position the first bracket on one of the marked locations for the shelf. Hold the bracket against the wall and align it with the mark. Use a level to ensure that the bracket is straight and adjust its position if needed.
Once the bracket is properly positioned, use a pencil to mark the screw holes on the wall through the holes in the bracket. This will indicate where the screws will be inserted.
If your closet walls are made of drywall or require additional support, you may need to install wall anchors. To do this, drill holes slightly smaller than the diameter of the wall anchors at the marked screw hole locations. Insert the wall anchors into the drilled holes until they are flush with the wall surface.
If your closet walls are made of wood, skip the wall anchor step and proceed with driving the screws directly into the wall at the marked screw hole locations.
With the wall anchors or screws ready, position the bracket against the wall again, aligning the screw holes with the wall anchors or marks. Use a screwdriver or drill to drive the screws through the bracket holes and into the wall. Repeat this process for the other brackets, ensuring that they are aligned and level.
Attaching the brackets to the wall provides a stable foundation for the shelf. Once the brackets are securely in place, you can move on to installing the shelf itself.
In the next section, we will guide you through the process of installing the shelf on the brackets.
When installing a closet shelf and rod, make sure to measure the space accurately before purchasing materials. Use a level to ensure the shelf and rod are installed straight and secure them to wall studs for stability.
Read more: How To Install Closet Doors
Installing the Shelf
Now that the shelving brackets are securely attached to the wall, it’s time to install the shelf itself. This involves cutting the shelf to size if necessary and placing it on the brackets.
If the shelf you purchased is longer than the width of your closet, you may need to cut it to size. Measure the width of your closet and mark the appropriate length on the shelf. Use a saw or a circular saw to carefully cut the shelf along the marked line.
Once the shelf is cut to size, carefully place it on top of the installed brackets. Align the edges of the shelf with the brackets so that it sits securely on top. Make sure the shelf is level by using a level across its width. If necessary, make adjustments to the position of the brackets or the shelf to ensure a level surface.
If your shelf comes with additional support brackets, make sure to install them according to the manufacturer’s instructions. These brackets will provide extra stability and prevent the shelf from sagging under the weight of your belongings.
With the shelf in place, now you can move on to installing the rod brackets and the rod itself, which will allow you to hang your clothes neatly in your newly organized closet.
In the next section, we will guide you through the process of installing the rod brackets and the rod.
Installing the Rod Brackets
After installing the shelf, the next step is to install the rod brackets that will hold the hanging rod in your closet. This involves positioning the brackets, marking the screw holes, and installing the rod brackets securely onto the wall.
To begin, position the first rod bracket on one of the marked locations for the rod. Hold the bracket against the wall and align it with the mark. Use a level to ensure that the bracket is straight and adjust its position if necessary.
Once the bracket is properly positioned, use a pencil to mark the screw holes on the wall through the holes in the bracket. This will indicate where the screws will be inserted when installing the bracket.
After marking the screw holes, remove the bracket from the wall and set it aside. If your closet walls are made of drywall or require additional support, you may need to install wall anchors for the screw holes. Use a drill to create holes slightly smaller than the diameter of the wall anchors at the marked locations. Then, insert the wall anchors into the drilled holes until they are flush with the wall surface.
With the wall anchors or screws ready, position the bracket against the wall again, aligning the screw holes with the wall anchors or marks. Use a screwdriver or drill to drive the screws through the bracket holes and into the wall anchors or directly into the wall if no anchors are required. Ensure that the bracket is securely attached to the wall, keeping it level and straight.
Repeat this process to install the remaining rod brackets at the marked locations along the length of the rod. Ensure they are all aligned and level with each other.
With the rod brackets securely installed, you are now ready to move on to installing the rod itself, completing the installation of the closet shelf and rod system.
In the next section, we will guide you through the process of installing the rod into the brackets.
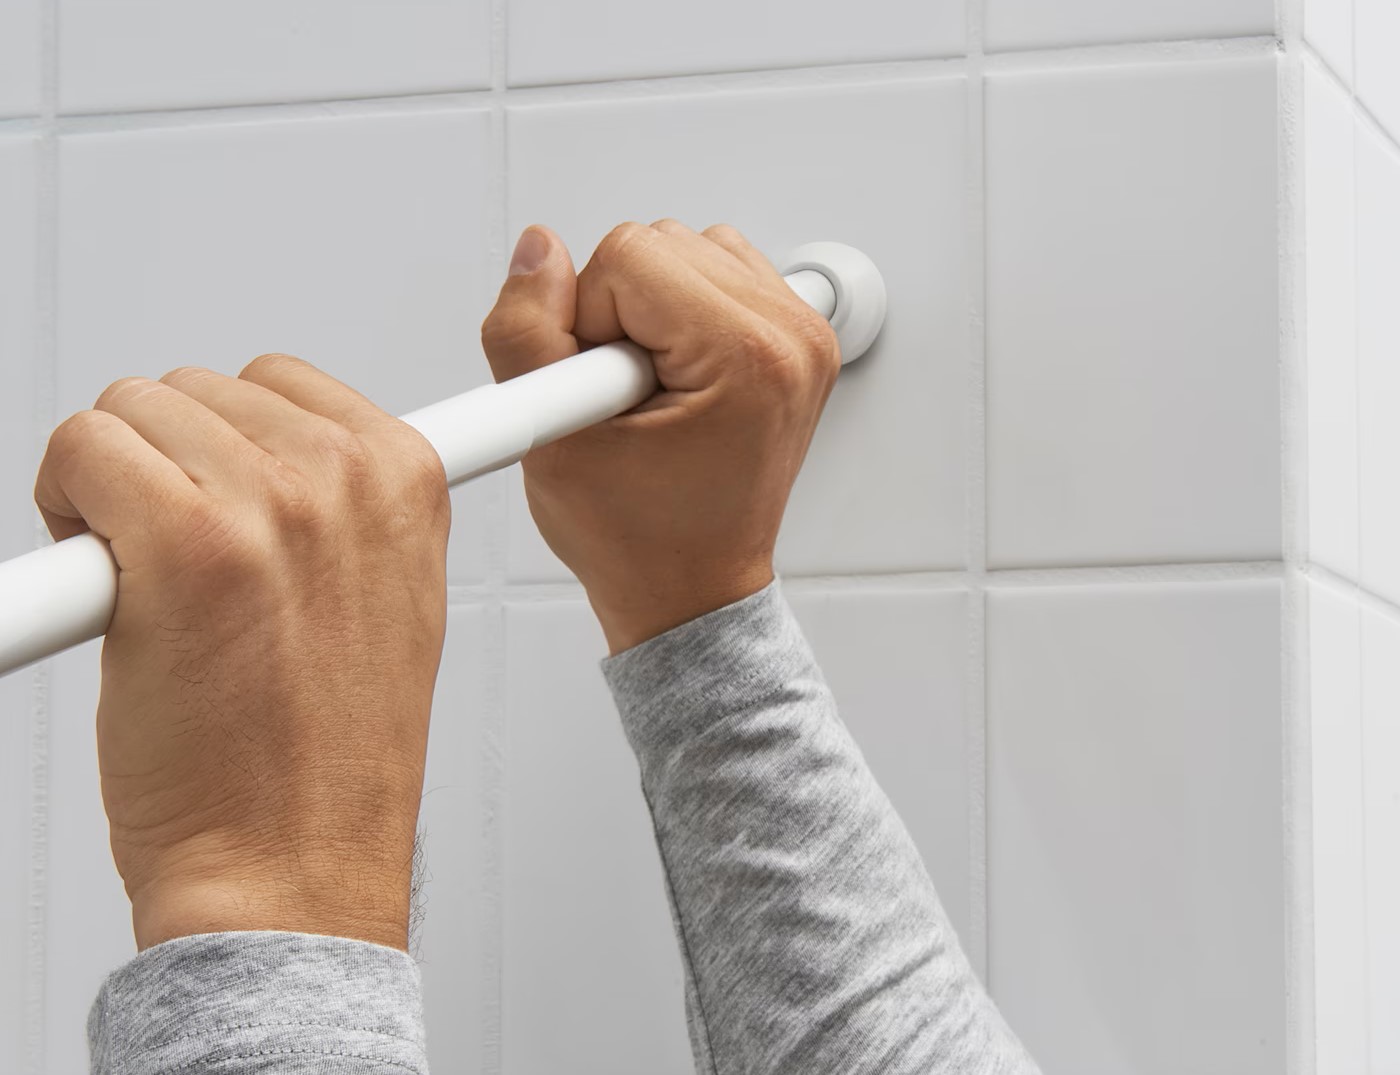
Installing the Rod
With the rod brackets firmly in place, the final step is to install the rod itself. This involves cutting the rod to size if necessary and inserting it into the brackets.
Start by measuring the length of the space between the installed rod brackets. If the rod you purchased is longer than this distance, you will need to cut it to size. Use a saw or a pipe cutter to carefully trim the rod along the measured length. Ensure that the cut is clean and straight.
Once the rod is cut to size, hold it horizontally and insert one end of the rod into the bracket slot. Gently push the rod towards the other bracket, guiding it into the slot. The rod should slide smoothly into the brackets and rest securely inside.
Test the stability of the rod by applying gentle pressure or hanging lightweight items on it. Ensure that the rod is securely held in place by the brackets and does not wobble or sag.
If you have a telescopic rod, adjust its length according to your preference by extending or retracting the inner rod before placing it in the brackets. This will allow for customization and flexibility in your closet organization.
Now that the rod is successfully installed, step back and admire your newly completed closet shelf and rod system. Take a moment to hang your clothing and organize your belongings, enjoying the convenience and functionality of your organized closet.
Before concluding, it’s important to ensure that everything is level and secure. Use a level to verify that the shelf and rod are straight and parallel to the floor. Double-check all screws, brackets, and connections to ensure they are tightly secured.
Congratulations! You have successfully installed a closet shelf and rod system. Say goodbye to clutter and embrace the efficiency and organization of your newly revamped closet.
We hope this guide has been helpful and that you enjoy the benefits of your newly installed closet shelf and rod for years to come.
Happy organizing!
Checking the Stability
After completing the installation of your closet shelf and rod system, it’s crucial to perform a final check to ensure everything is level and secure. This step will ensure the longevity and functionality of your newly organized closet.
Start by using a level to verify that the shelf is perfectly horizontal and parallel to the floor. Place the level on top of the shelf and adjust the brackets as needed to achieve a level surface. This will ensure that your belongings sit securely and prevent any items from sliding off the shelf.
Next, check the stability of the rod by gently applying pressure to it. Ensure that it doesn’t wobble or sway, indicating that it’s securely held in place by the brackets. If you notice any instability, double-check the tightness of the bracket screws and make any necessary adjustments to ensure a secure connection.
Take a close look at all the screws, including those used to attach the brackets to the wall and the shelf to the brackets. Use a screwdriver or drill to tighten any loose screws, making sure they are firmly secured.
If you have used wall anchors, inspect them to ensure they are flush against the wall with no signs of pulling out. If any wall anchors appear loose, remove the screw, replace the anchor, and reinsert and tighten the screw. This will provide the necessary support for your shelf and rod system.
By taking the time to check the stability and levelness of your closet shelf and rod system, you can ensure a secure and reliable organization solution for your clothing and belongings. This final step will give you peace of mind and prevent any potential issues in the future.
Once you have confirmed that everything is level and secure, you can begin to enjoy the benefits of your well-organized closet. Say goodbye to clutter and embrace the efficiency and functionality of your newly installed shelf and rod system.
With your closet now transformed, you can easily access and organize your clothing, making getting ready each day a breeze. Enjoy the satisfaction and convenience of your newly revamped space.
Congratulations on successfully installing your closet shelf and rod system!
Happy organizing!
Read more: How To Install A Curved Shower Curtain Rod
Conclusion
Congratulations on completing the installation of your closet shelf and rod system! By following the step-by-step instructions in this guide, you have transformed your closet into a well-organized and efficient space.
Installing a shelf and rod in your closet provides numerous benefits. It maximizes storage space, allowing you to neatly hang your clothes and store items on the shelf. With everything properly organized, you’ll save time in your daily routine by easily finding what you need.
Throughout the installation process, you have learned the importance of gathering the necessary tools and materials, preparing the space, marking the installation points, and securely attaching the shelving brackets and rod brackets. You have gained the skills to cut the shelf and rod to size if needed and properly insert them into the brackets.
Remember to always check the stability and levelness of your installed shelf and rod system to ensure a secure and long-lasting solution. Tighten any loose screws and make any necessary adjustments to maintain the integrity of the installation.
Now, enjoy the benefits of your newly organized closet. Admire how your clothing hangs neatly on the rod and how items are arranged on the shelf. No more rummaging through piles of clothes or struggling to find your favorite pair of shoes.
Regularly maintain your closet by decluttering, organizing, and dusting the shelf and rod. This will help you maintain an efficient and visually appealing space.
We hope this guide has been both informative and helpful in guiding you through the installation process. If you have any further questions or need additional assistance, don’t hesitate to reach out.
Enjoy your newly organized closet!
Now that you've mastered installing a closet shelf and rod, why stop there? Enhance your storage solutions with home organization tips that include using the best fabric storage cubes. They're ideal for tucking away odds and ends neatly. If you're tired of rumpled clothing, consider closet organization essentials like the best shirt folding board to keep your closet tidy and your clothes in perfect shape. For those who love tackling projects themselves, our DIY home improvement guide offers practical advice for upgrading your space with your own two hands. Keep building your perfect home, one project at a time!
Frequently Asked Questions about How To Install Closet Shelf And Rod
Was this page helpful?
At Storables.com, we guarantee accurate and reliable information. Our content, validated by Expert Board Contributors, is crafted following stringent Editorial Policies. We're committed to providing you with well-researched, expert-backed insights for all your informational needs.


0 thoughts on “How To Install Closet Shelf And Rod”