Home>Articles>How To Store Your Keurig Cups And Coffee Makers
Articles
How To Store Your Keurig Cups And Coffee Makers
Modified: January 6, 2024
Learn the best ways to store Keurig coffee machines and accessories with our informative articles. Keep your Keurig in top condition and enjoy your favorite brew anytime.
(Many of the links in this article redirect to a specific reviewed product. Your purchase of these products through affiliate links helps to generate commission for Storables.com, at no extra cost. Learn more)
Introduction
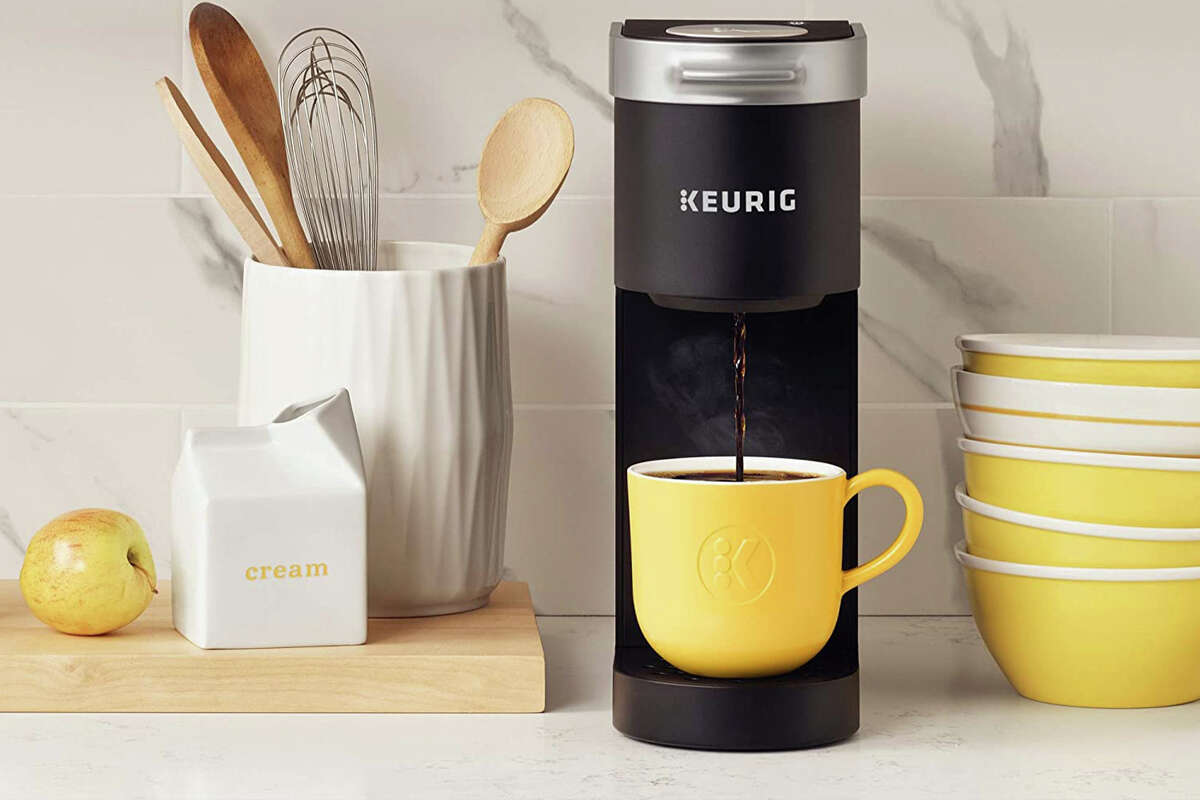
Welcome to the world of Keurig! Whether you’re a coffee enthusiast or just looking for a convenient way to brew a hot cup of joe, a Keurig machine is a popular choice. These single-serve coffee makers offer a wide variety of flavors and customizable options, making them a favorite among coffee lovers worldwide.
But what do you do when it comes time to store your Keurig? Maybe you”re moving, decluttering your kitchen counter, or simply not using it as frequently. Properly storing your Keurig can help maintain its performance and extend its lifespan, ensuring that it”s ready for use whenever you need it.
In this article, we”ll explore everything you need to know about storing your Keurig to keep it in excellent condition. We’ll discuss the importance of understanding your Keurig machine, choosing the right storage space, cleaning it properly before storage, disassembling and storing its parts, and offer some tips for long-term storage.
Follow our guidelines, and you”ll be able to store your Keurig safely and effectively, preserving its functionality and freshness for years to come.
Key Takeaways:
- Properly storing your Keurig is crucial for maintaining its performance and extending its lifespan. Understanding, cleaning, and disassembling it ensures it remains in excellent condition for future use.
- Choosing the right storage space, thorough cleaning, and proper disassembly are key to preserving your Keurig’s functionality during long-term storage. Following manufacturer’s guidelines and periodic checks are essential for maintaining its quality.
Read more: How To Store A Keurig Coffee Maker
Understanding Keurig
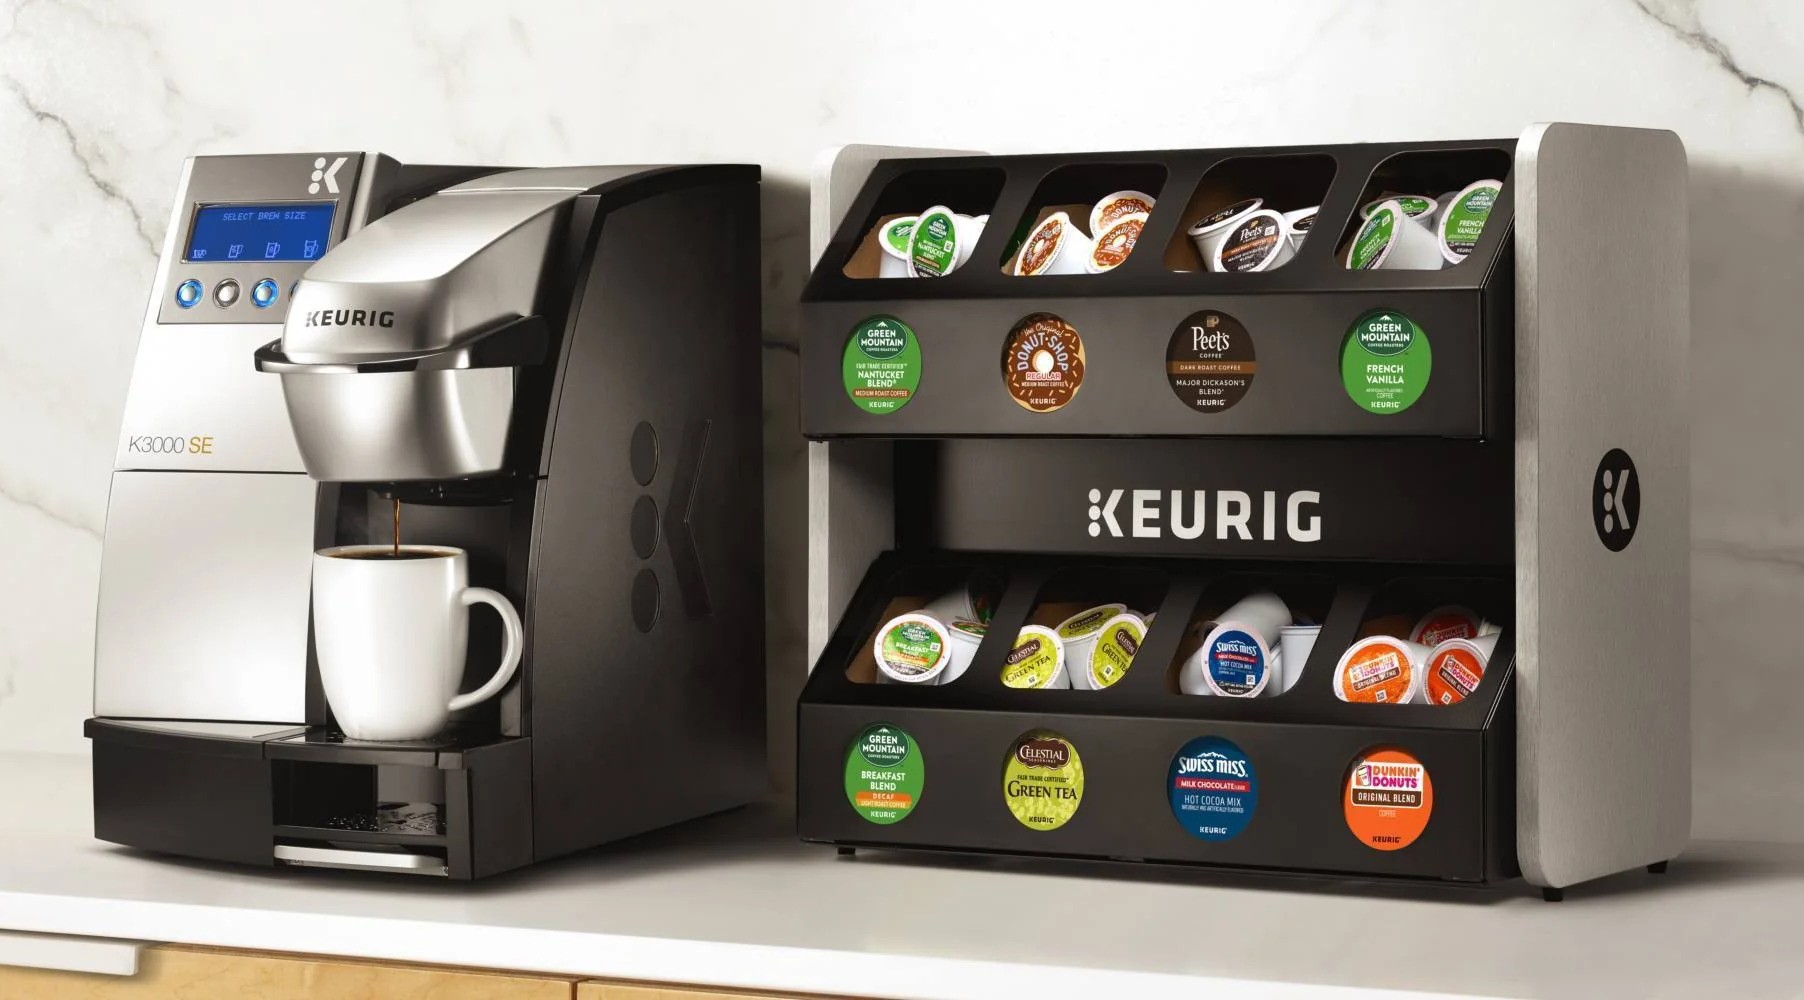
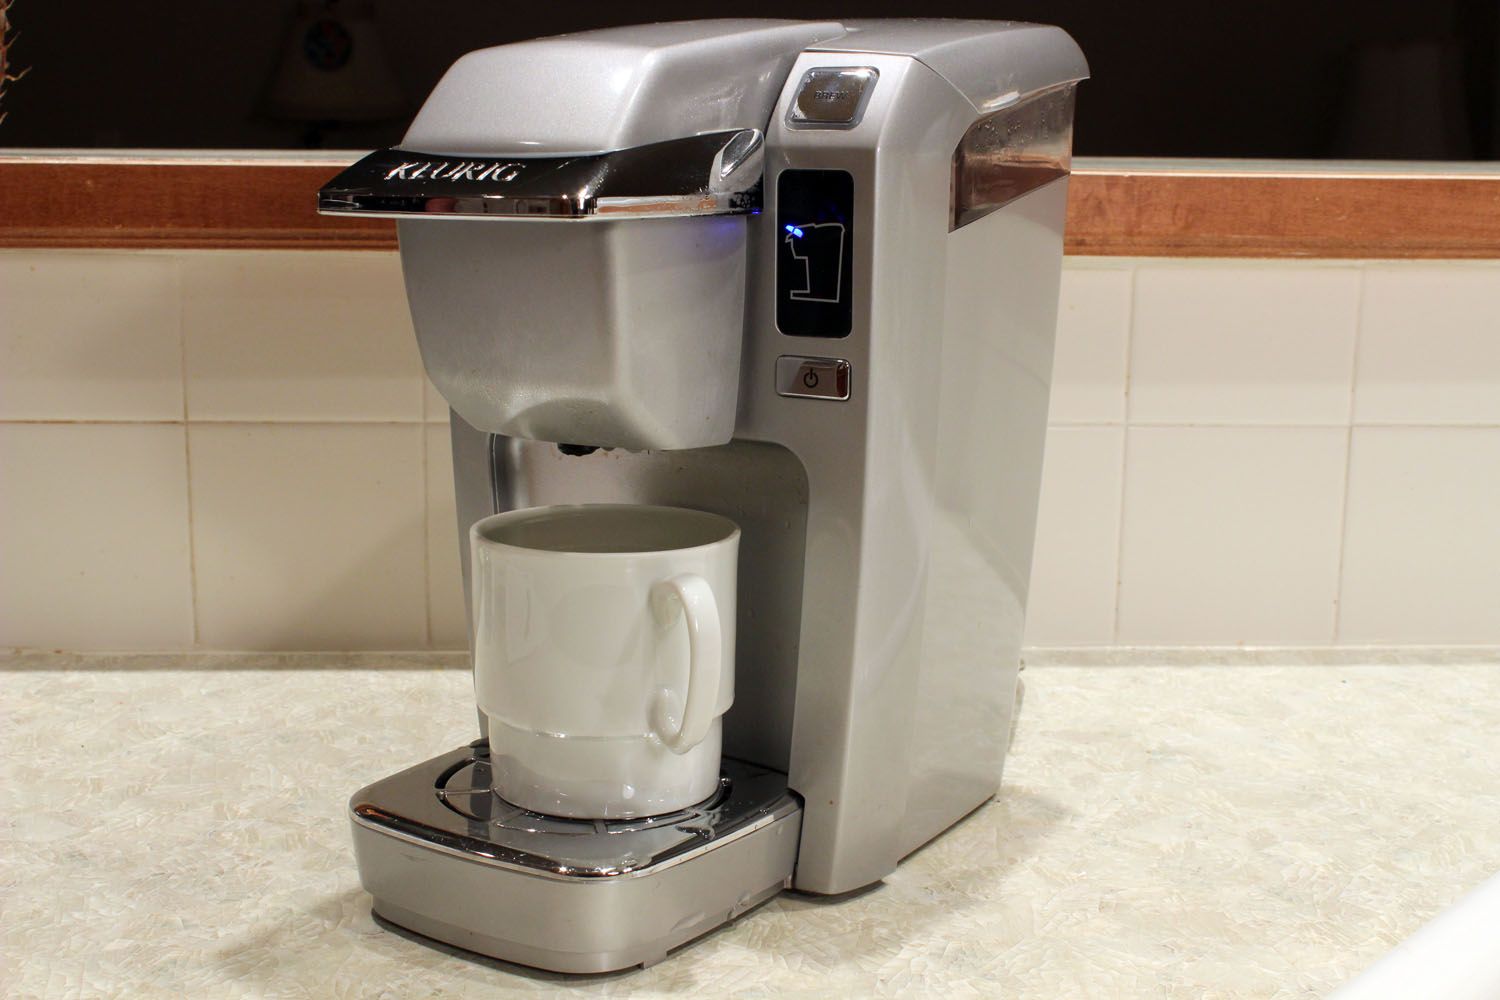
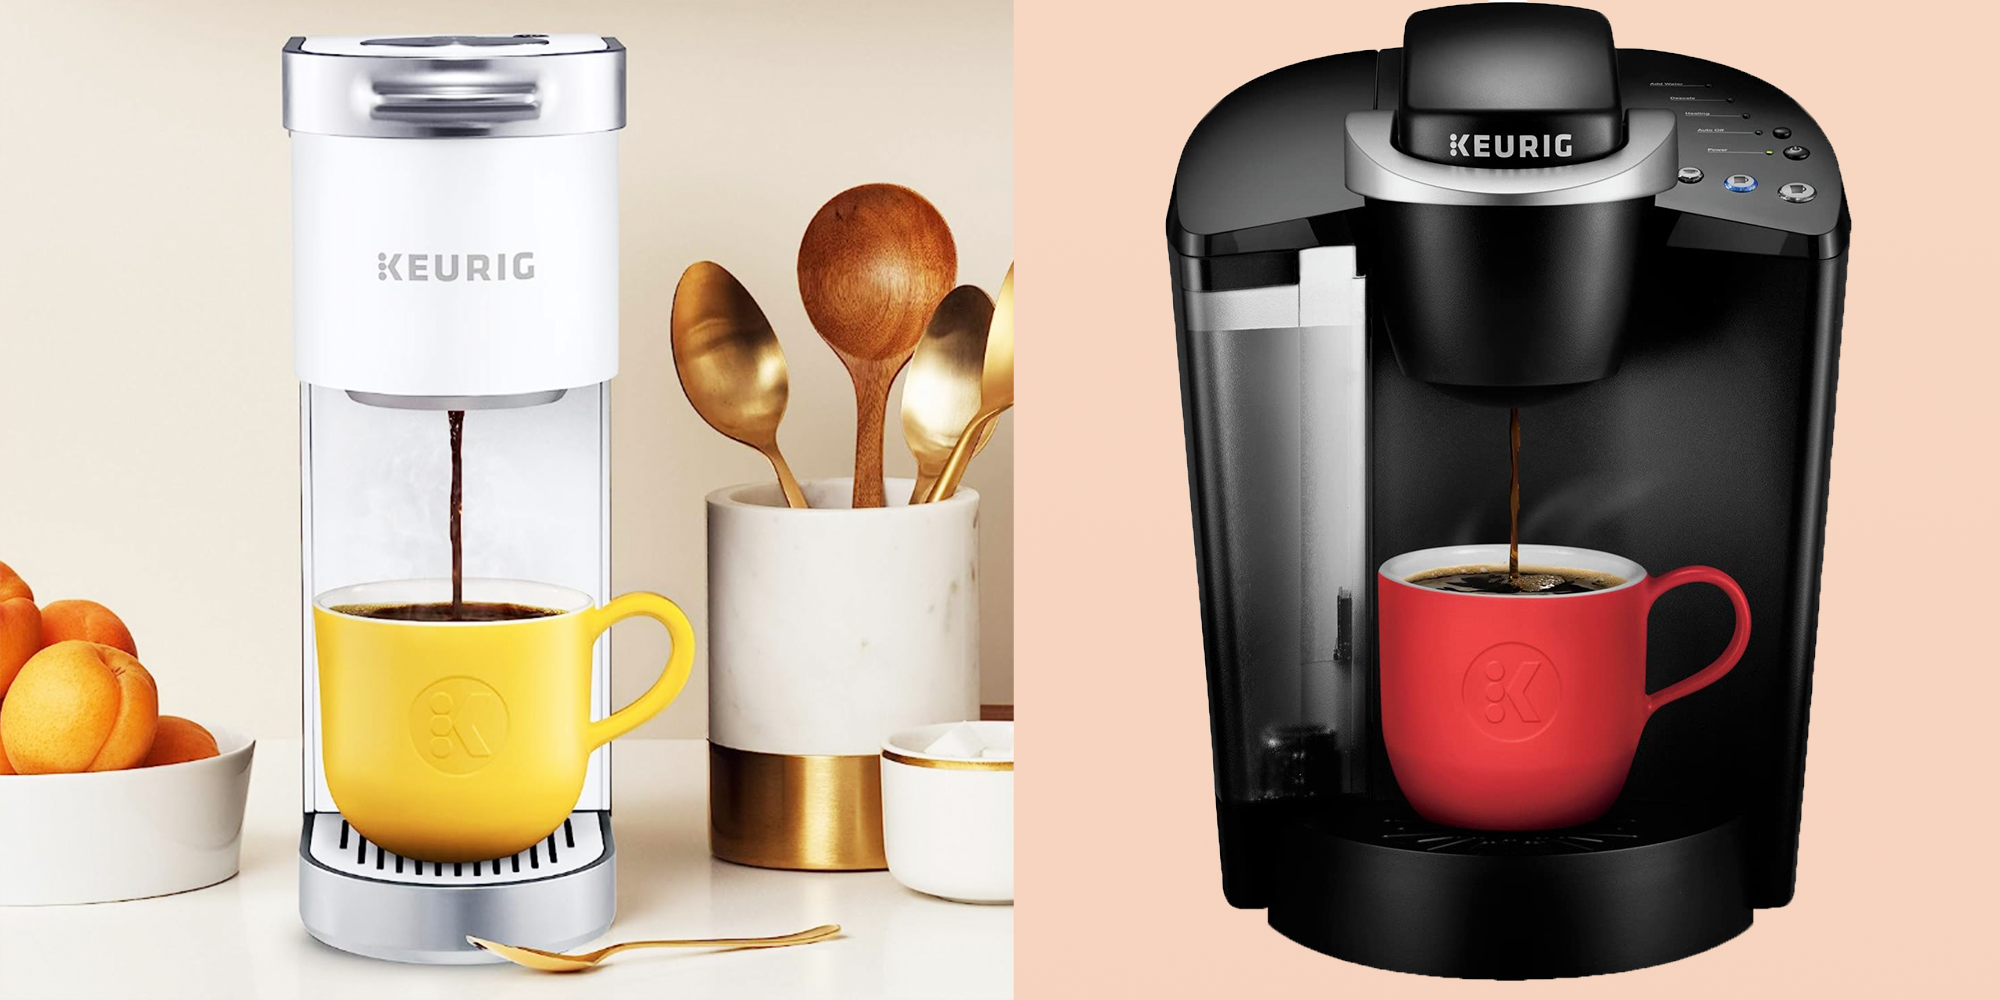
Before we dive into the details of storing your Keurig, let’s take a moment to understand how this ingenious machine works. Keurig machines are known for their convenience and consistency in brewing a single cup of coffee. They use pre-packaged coffee pods, known as K-Cups, to make individual servings of hot beverages.
The Keurig system works by puncturing the K-Cup and passing hot water through it to extract the coffee or tea flavor. The water reservoir in the Keurig stores the necessary amount of water to brew your desired cup size. With a touch of a button, the machine heats the water and brews your beverage in under a minute.
Keurig machines also come with additional features such as adjustable brew strength, temperature control, and even hot water dispensing for making tea, hot cocoa, or other hot drinks. Understanding how your Keurig operates is essential when it comes to safely storing it.
It’s worth noting that Keurig machines come in different models, each with its own unique specifications and features. Make sure to consult your machine’s user manual for specific instructions regarding storage and maintenance.
Now that we have a basic understanding of how a Keurig machine works, let’s move on to the crucial aspects of storing it properly.
Choosing the Right Storage Space
When it comes to storing your Keurig, finding the right storage space is essential to protect it from damage and maintain its functionality. Here are some key factors to consider when choosing the ideal storage location:
- Avoid Extreme Temperatures: Keurig machines are designed to operate within a specific temperature range. Exposure to extreme heat or cold can damage the internal components. It’s best to store your Keurig in a place that maintains a stable room temperature, away from direct sunlight or sources of heat.
- Keep it Dry: Moisture can also cause harm to your Keurig. Ensure that the storage space is dry and free from excessive humidity. Avoid storing it in areas prone to water leaks or near sinks.
- Protect from Dust and Debris: Keurig machines have small openings and sensitive components that can easily get clogged with dust or debris. Choose a storage spot that minimizes exposure to dust, such as a closed cabinet or a shelf with a cover.
- Away from Chemicals: Keep your Keurig away from any potentially harmful chemicals or cleaning agents. These can cause damage to the machine’s exterior or contaminate the internal parts.
- Accessible and Convenient: Consider the convenience of accessing your Keurig when needed. Choose a storage location that is easily accessible and doesn’t require excessive moving or rearranging of other items.
By taking these factors into account, you can select the optimal storage space for your Keurig machine. Always prioritize the safety and protection of your coffee maker to ensure that it remains in excellent condition throughout its storage period.
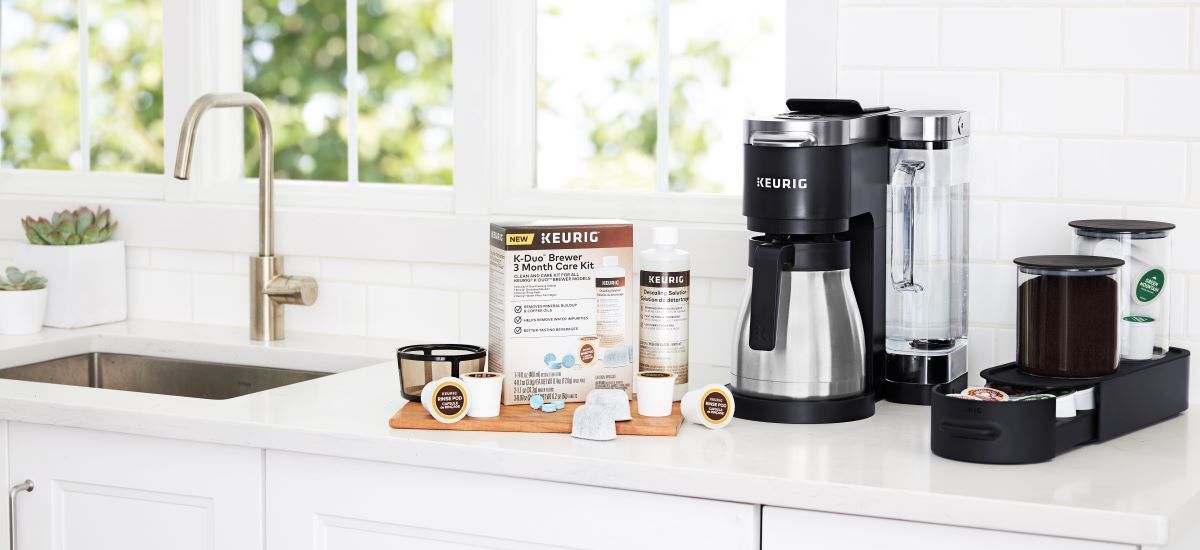
Cleaning Your Keurig
Before storing your Keurig, it’s crucial to clean it thoroughly to remove any coffee residue, mineral deposits, or other build-up that can affect its performance. Here’s a step-by-step guide on how to clean your Keurig:
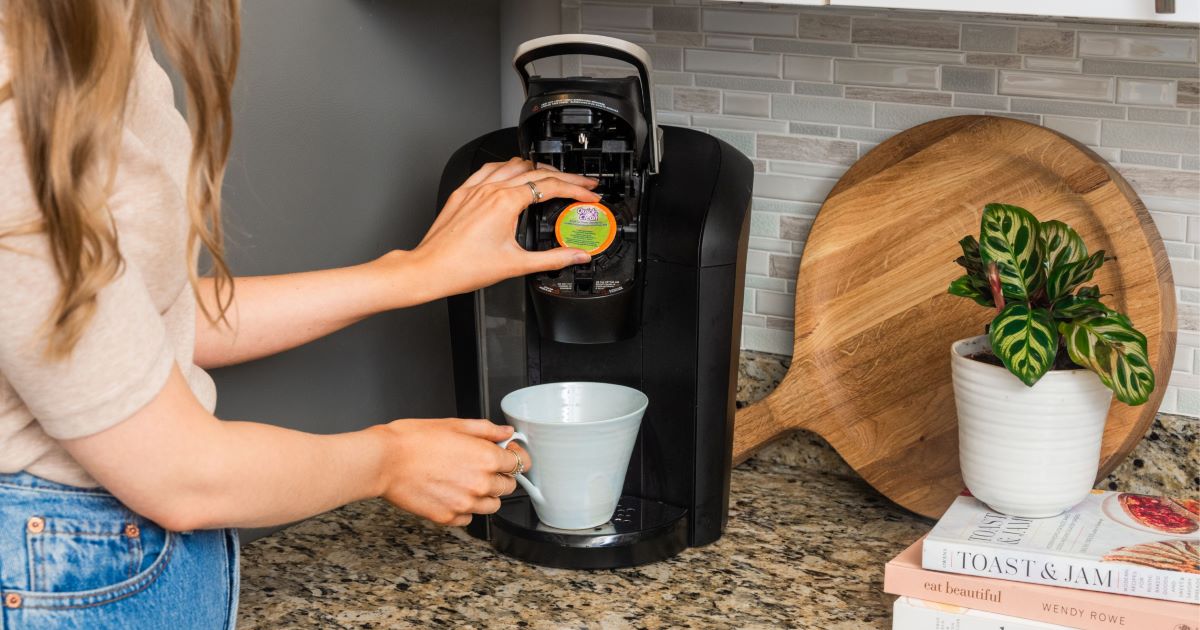
- Unplug and Disassemble: Start by unplugging your Keurig from the power source. Then, carefully remove any detachable parts, such as the water reservoir, drip tray, and K-Cup holder. Refer to your Keurig’s user manual for specific instructions on how to disassemble your particular model.
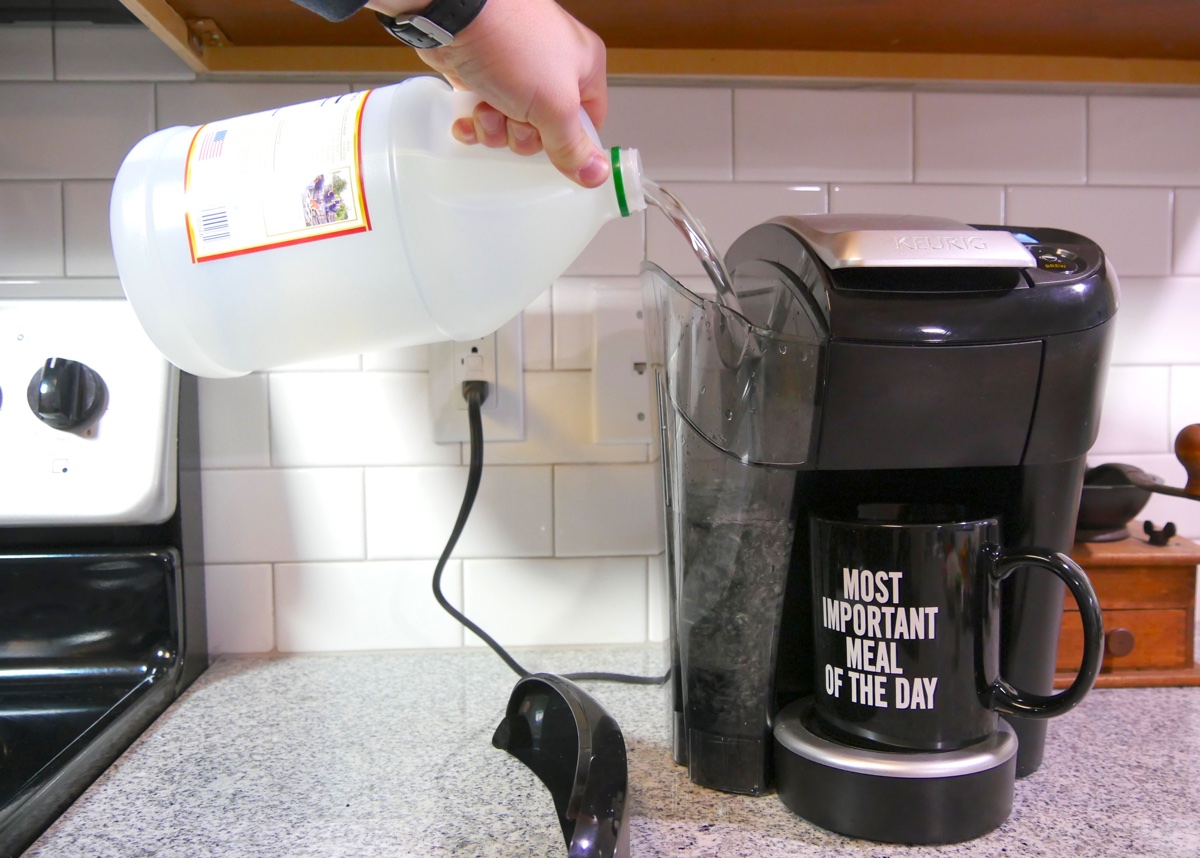
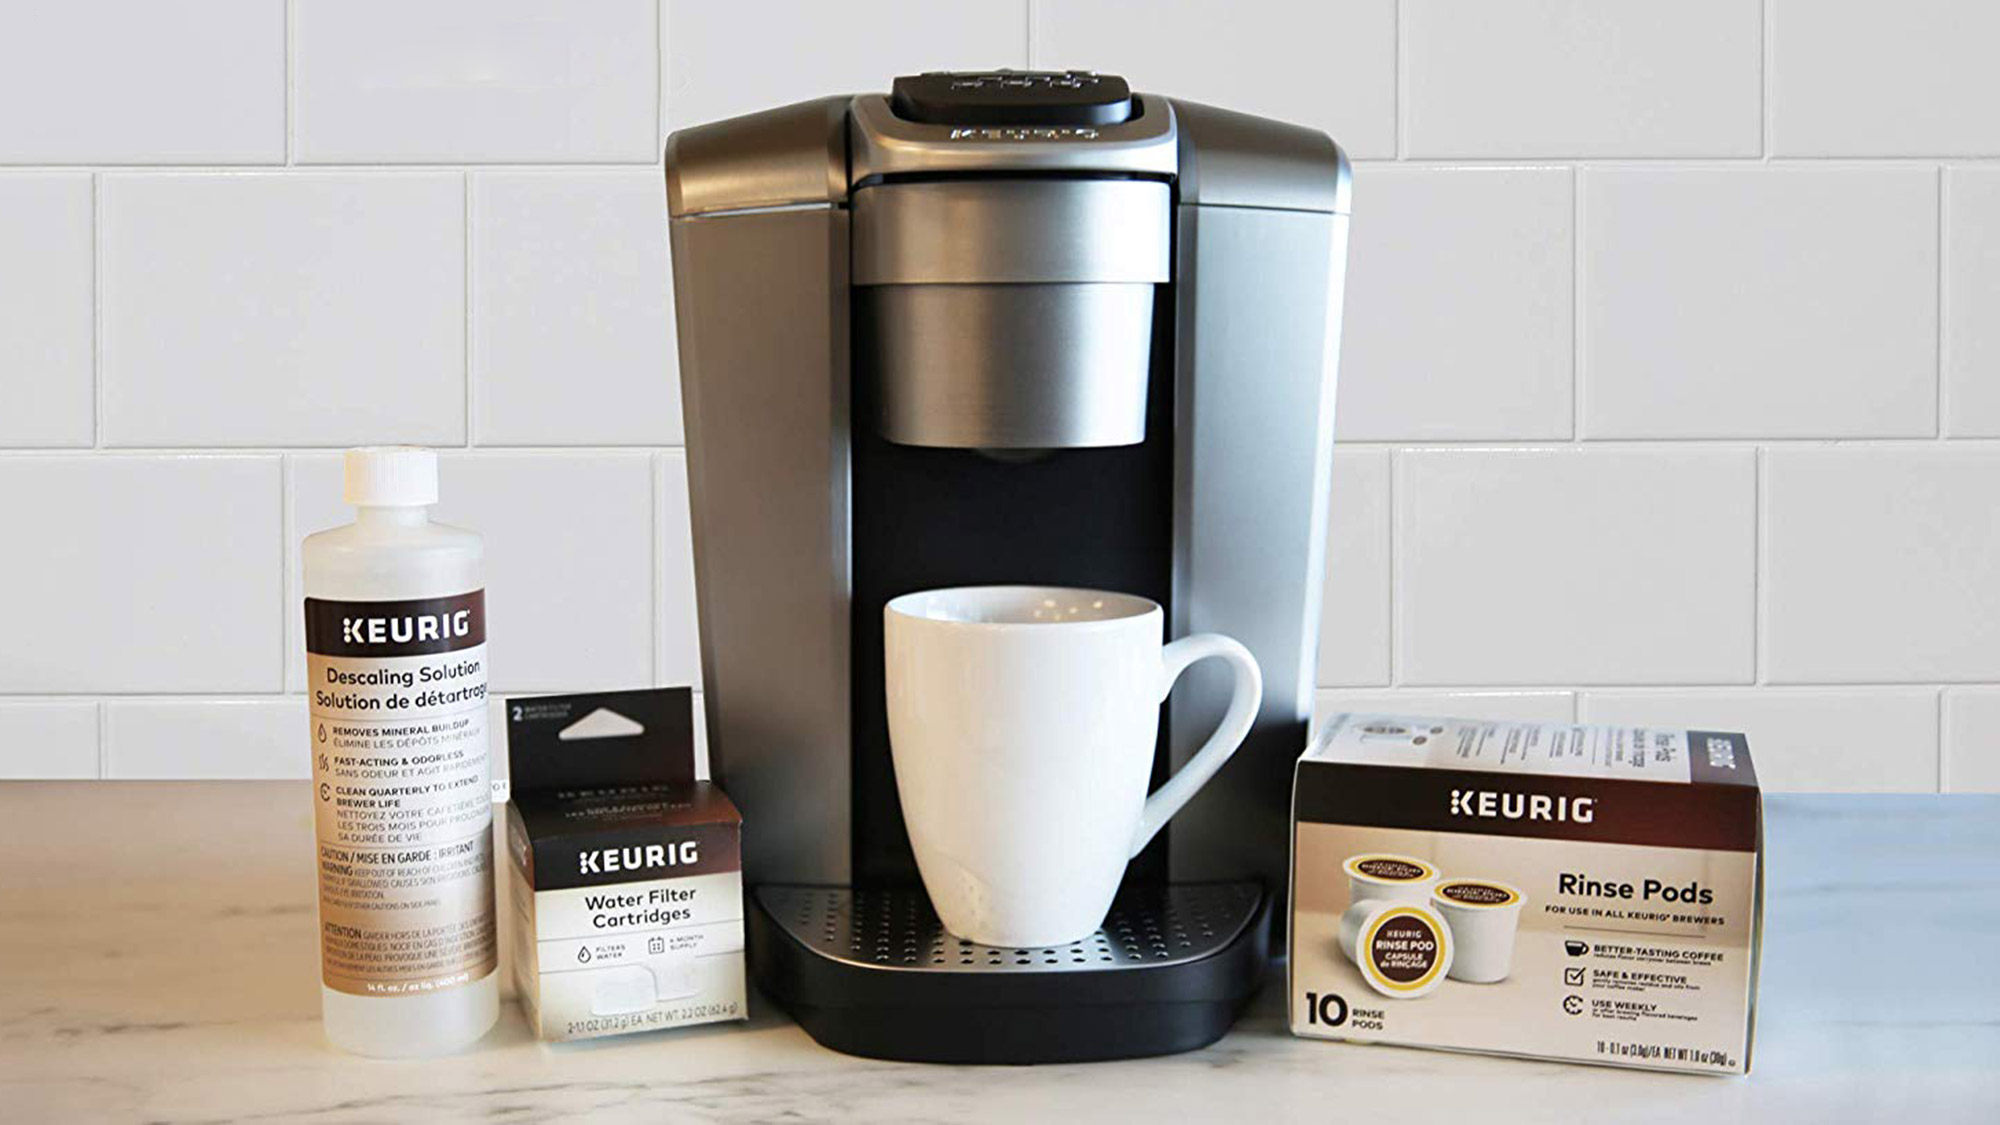
- Empty the Water Reservoir: Dump out any remaining water from the water reservoir. Rinse it thoroughly with warm soapy water, making sure to remove any residue or scale build-up. Alternatively, you can run a vinegar-water solution through the machine to descale it. Follow the manufacturer’s instructions for appropriate vinegar-water ratio and brewing cycle.
- Clean the External Parts: Wipe down the exterior of the Keurig machine with a soft cloth dampened with mild soap and water. Pay attention to any stains or spills, and gently clean them off. Ensure that all surfaces are completely dry before moving on to the next step.
- Clean the Drip Tray and K-Cup Holder: Wash the removable drip tray and K-Cup holder with warm soapy water. Use a non-abrasive brush or sponge to scrub away any residue. Rinse them thoroughly and let them air dry before reassembling.
- Reassemble and Run a Cleaning Cycle: Once all the parts are clean and dry, reassemble them in their respective positions. Fill the water reservoir with clean water and run a cleaning cycle without a K-Cup. This will help flush out any leftover cleaning solution or debris from the internal components.
- Wipe Down the Exterior: Finally, give the exterior of your Keurig one last wipe down with a clean, dry cloth. Ensure that there are no water drops or moisture before storing it.
Following these cleaning steps will not only prepare your Keurig for storage but also contribute to better-tasting coffee and optimal machine performance when you’re ready to use it again.
Removing Water and Drying Components
After cleaning your Keurig, it’s essential to remove any remaining water and ensure that all the components are thoroughly dried before storage. This helps prevent the growth of mold, mildew, or rust. Follow these steps to remove water and dry the key components:
- Empty the Water Reservoir: Ensure that the water reservoir is completely empty. Tilt the Keurig over a sink to allow any residual water to drain out.
- Wipe the Water Reservoir: Use a clean, dry cloth to wipe the inside of the water reservoir. Pay attention to any corners or crevices where water may collect.
- Air-Dry the Water Reservoir: Allow the water reservoir to air dry completely before reattaching it to the Keurig machine. Ensure that there is no moisture left in the reservoir that could potentially cause damage or create a breeding ground for bacteria.
- Dry the Drip Tray and K-Cup Holder: Thoroughly dry the drip tray and K-Cup holder using a clean, absorbent towel or allow them to air dry. Inspect for any moisture or residue, and only proceed with storage once they are completely dry.
- Inspect the Keurig Machine: Take a moment to inspect the inside and outside of the Keurig machine. Check for any remaining moisture and ensure that all areas are clean and dry.
- Allow Sufficient Drying Time: Depending on the level of humidity and ventilation in the storage area, it may take a few hours to a day or more for all the components to dry completely. Patience is key to avoid trapping moisture and potentially damaging your Keurig.
Remember, proper drying of your Keurig components is crucial for preventing any potential damage or issues when it’s time to use the machine again. Always double-check that all the components are thoroughly dried before moving on to the next step of disassembling and storing your Keurig.
To store your Keurig, make sure to clean and dry the water reservoir, remove any remaining pods, and unplug the machine. Store it in a cool, dry place to prevent any mold or mildew growth.
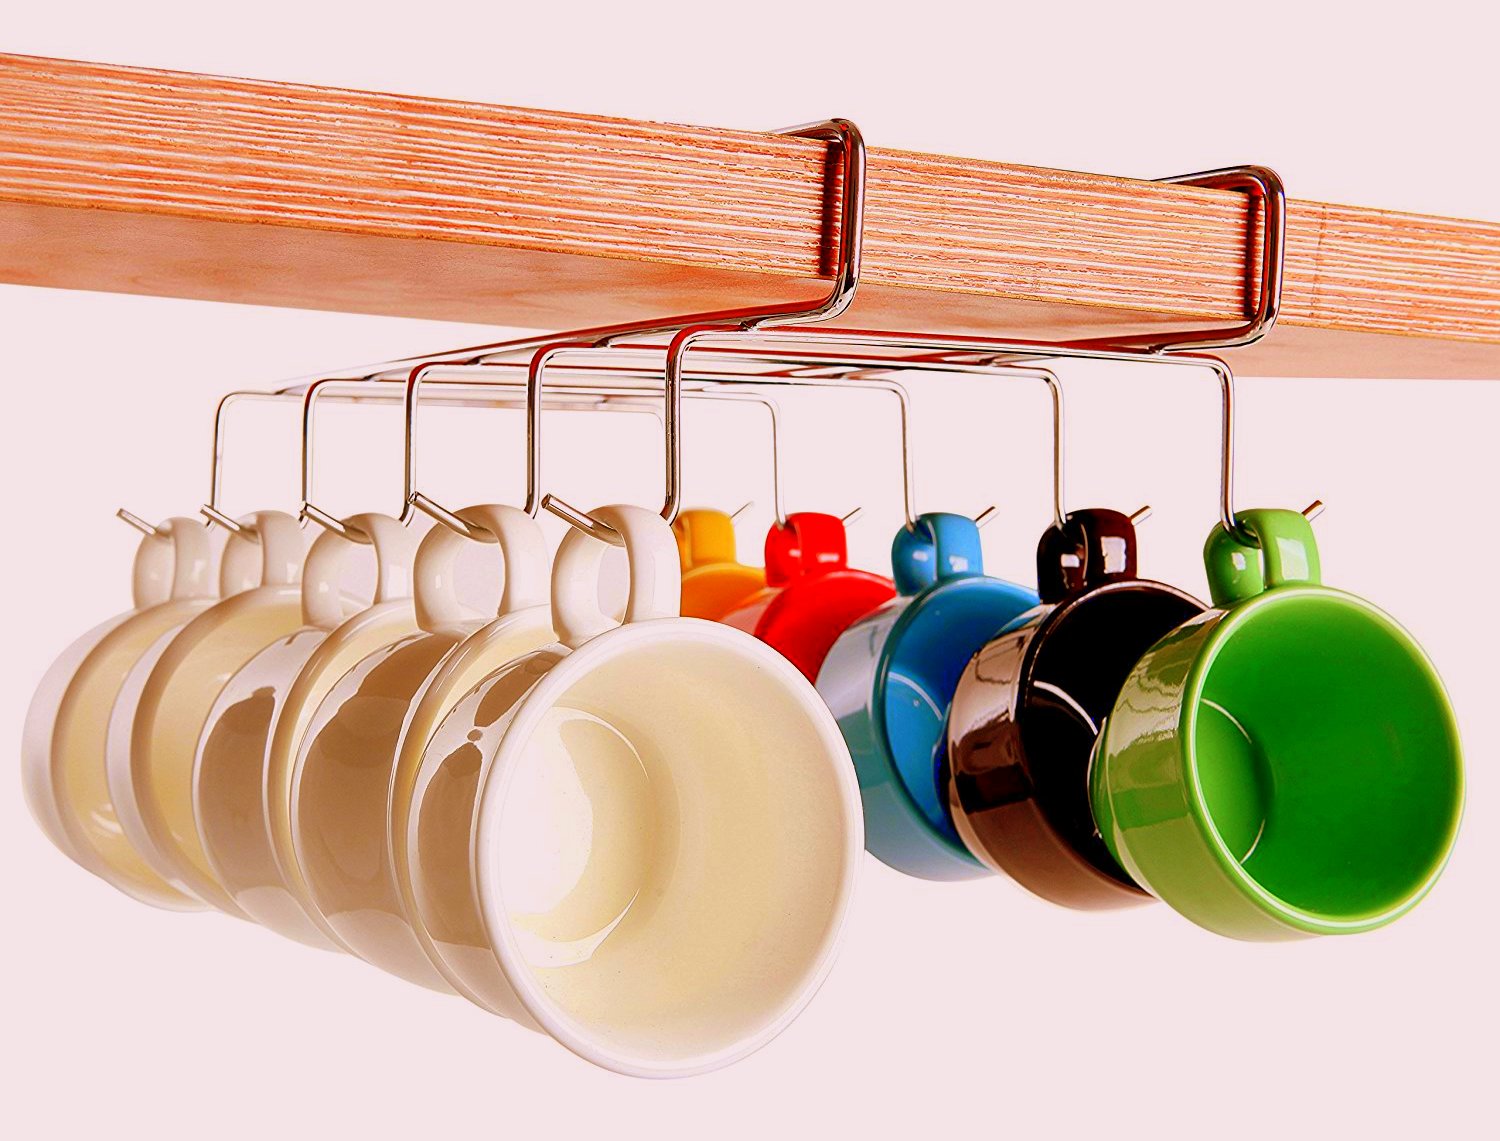
Read more: How To Store Coffee Cups
Disassembling and Storing Keurig Parts
Once your Keurig machine is cleaned and all the components are dry, it’s time to disassemble and store the various parts properly. Here are some steps to follow for disassembling and storing your Keurig:
- Unplug the Machine: Before disassembling, make sure your Keurig is unplugged from the power source to ensure safety.
- Remove Water Reservoir and Drip Tray: Carefully detach the water reservoir and the drip tray from the Keurig machine. Empty any water that may have accumulated, dry them thoroughly, and store them separately.
- Remove the K-Cup Holder and Rinse: Take out the K-Cup holder from the Keurig. Depending on the model, it may be removable or require some gentle twisting or lifting. Rinse it under warm running water to remove any coffee grounds or residue. Thoroughly dry the K-Cup holder before storing it.
- Clean and Store Other Removable Parts: If your Keurig has additional removable parts, such as a filter or water filter holder, remove and clean them according to the manufacturer’s instructions. Once cleaned and dried, store them separately or together depending on your preference.
- Wrap Cords Neatly: Take a moment to neatly wrap the power cord and any other cords or cables. This helps prevent tangling and damage during storage. You can secure them with a twist tie or use Velcro straps to keep them organized.
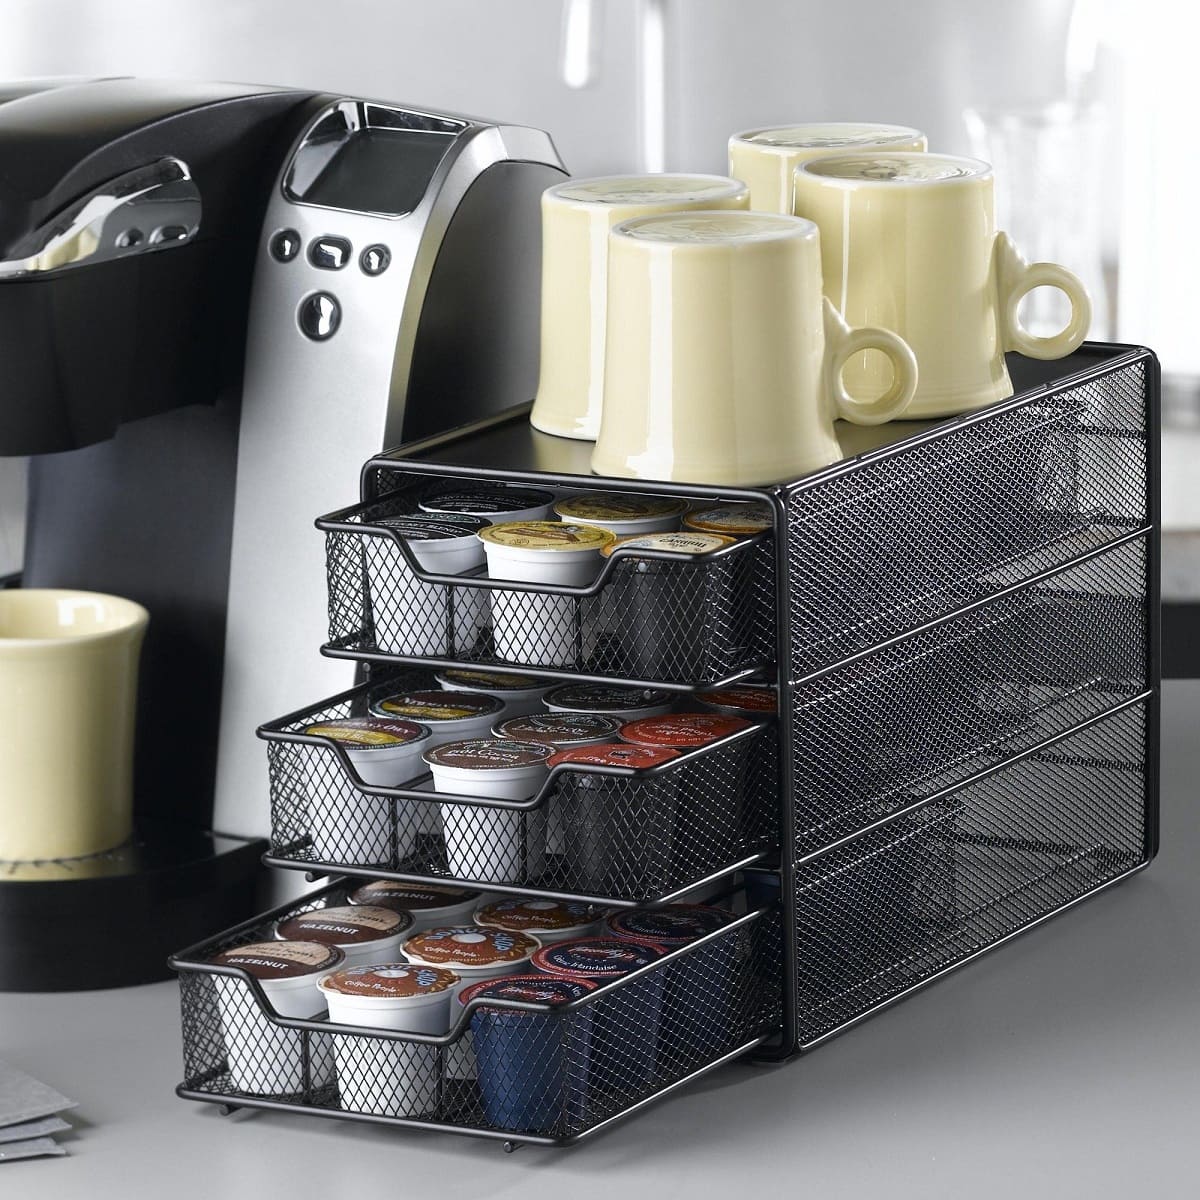
- Choose a Storage Container: Select a clean and dry storage container that is large enough to accommodate all the disassembled Keurig parts. It’s best to use a plastic bin or an airtight container to protect the components from dust, moisture, and pests.
- Place Components in the Container: Carefully place the disassembled Keurig parts in the storage container. Ensure that there is enough space between the parts to prevent any potential damage. You can use bubble wrap or soft cloth to separate and cushion the components.
- Label the Container: For easy identification, label the storage container with “Keurig Parts” and the date of storage. This will help you locate and keep track of the Keurig parts when you need them in the future.
- Store in a Cool, Dry Place: Finally, find a cool and dry location to store the container of Keurig parts. Ideally, the storage area should have a stable temperature and low humidity to prevent damage or moisture buildup.
Remember to keep the storage container in a spot that is easily accessible and away from potential hazards or spills. By properly disassembling and storing your Keurig, you’ll ensure that all the parts remain in good condition, ready for use when you need them again.
Tips for Long-Term Storage
If you’re planning to store your Keurig for an extended period, such as during a move or if you won’t be using it for a while, here are some additional tips to ensure the machine remains well-preserved:
- Remove Batteries: If your Keurig has a battery compartment, remove the batteries before storing. This prevents potential leakage and damage to the internal components.
- Keep Original Packaging: If you still have the original box and packaging materials, consider storing your Keurig in those. The packaging is specifically designed to protect the machine during shipping and storage.
- Use Silica Gel Packs: Place a few silica gel packs inside the storage container to help absorb any excess moisture. This will help maintain a dry environment for the Keurig parts.
- Avoid Stacking Heavy Items: When storing the container of Keurig parts, avoid stacking heavy boxes or items on top of it. This can lead to pressure damage or cause the components to become misshapen.
- Check on the Storage: Periodically check on the stored Keurig to ensure there are no signs of moisture, pests, or any other issues. If any problems are detected, address them promptly to prevent further damage.
- Follow Manufacturer’s Recommendations: Always consult the user manual or the manufacturer’s website for specific guidelines on storing your Keurig. Different models may have slightly different storage requirements, so it’s essential to follow their recommendations.
- Consider Breakable Parts: If you have any breakable parts, such as a glass carafe or decorative accessories, wrap them in protective packaging or store them separately to prevent damage.
- Keep Spare Parts: If you have any spare parts, such as an extra water filter or K-Cup holder, store them separately and label them for easy identification in the future.
By following these tips, you can ensure that your Keurig is stored in optimal conditions, preserving its quality and performance during the long-term storage period.
Frequently Asked Questions
Here are some common questions about storing Keurig machines:
-
- Can I store my Keurig without cleaning it?
It’s best to clean your Keurig before storing it to remove any coffee residue or mineral deposits. Cleaning helps prevent clogs and ensures that your machine is ready for use when you take it out of storage.
-
- Should I remove the water filter before storing my Keurig?
Refer to the manufacturer’s guidelines regarding the water filter. Some models may recommend removing the water filter before storage, while others may allow leaving it in. It’s always a good idea to consult the user manual for specific instructions.
-
- What should I do if my Keurig has been in storage for a while?
If your Keurig has been in storage for an extended period, it’s a good idea to perform a deep cleaning before using it again. Follow the cleaning instructions provided by the manufacturer to ensure that any accumulated dust or residue is removed.
-
- How long can I store my Keurig?
You can store your Keurig for as long as needed, as long as it’s properly cleaned, dried, and stored in a suitable environment. However, it’s a good practice to regularly check on the stored Keurig to ensure that it remains in good condition.
-
- Can I store my Keurig in the garage or basement?
It’s generally not recommended to store your Keurig in areas with extreme temperatures, high humidity, or excessive dust. If your garage or basement meets these conditions, it’s advisable to find a different storage location.
If you have any other specific questions or concerns about storing your Keurig, it’s best to consult the manufacturer’s guidelines or reach out to their customer support for further assistance.
Conclusion
Properly storing your Keurig machine is essential to maintain its performance and extend its lifespan. By understanding your Keurig, choosing the right storage space, cleaning it thoroughly, and disassembling and storing its parts, you can ensure that your Keurig remains in excellent condition while it’s not in use.
Remember to choose a storage space that maintains a stable temperature, keeps your machine dry, and protects it from dust and debris. Cleaning your Keurig removes any coffee residue or mineral deposits that can affect its performance. Taking the time to properly dry all the components helps prevent the growth of mold or rust.
Disassembling and storing the various parts of your Keurig is an important step to prevent damage and maintain their functionality. Use a clean, dry storage container, separate fragile parts, and label the container to easily locate the Keurig parts in the future. Follow any specific instructions from the manufacturer regarding battery removal or water filter storage.
Consider these tips for long-term storage to ensure that your Keurig machine is well-preserved during extended periods of non-use. Periodically check on the stored Keurig and follow the manufacturer’s recommendations to maintain its quality.
By following these guidelines, you can store your Keurig with confidence, knowing that it will be ready for you to enjoy a delicious cup of coffee whenever you’re ready to use it again.
Frequently Asked Questions about How To Store Your Keurig Cups And Coffee Makers
Was this page helpful?
At Storables.com, we guarantee accurate and reliable information. Our content, validated by Expert Board Contributors, is crafted following stringent Editorial Policies. We're committed to providing you with well-researched, expert-backed insights for all your informational needs.

0 thoughts on “How To Store Your Keurig Cups And Coffee Makers”