Articles
How To Store Cups
Modified: March 1, 2024
Discover the best way to store cups and keep them organized with our helpful articles. Learn practical tips and tricks for maximizing space and preventing breakage.
(Many of the links in this article redirect to a specific reviewed product. Your purchase of these products through affiliate links helps to generate commission for Storables.com, at no extra cost. Learn more)
Introduction
Properly storing cups is crucial to keeping your drinkware collection organized and in good condition. Whether you have a small collection of coffee mugs or a vast array of fancy glasses, having a designated storage system will help prevent chips, cracks, and scratches while also maximizing the available space in your kitchen.
In this article, we will explore various methods and storage solutions for cups that not only keep them safe and accessible but also add a touch of style to your kitchen decor. From stackable cup organizers to creative DIY ideas, we have got you covered.
So, let’s dive in and discover how to store cups efficiently and effectively!
Key Takeaways:
- Keep your cups clean and dry before storing to prevent damage. Choose the right storage materials like foam dividers and plastic containers to protect your cups and keep them organized.
- Get creative with DIY cup storage ideas like pallet cup holders and vintage crate shelving to add a personalized touch to your kitchen decor while efficiently storing your cups.
Read more: How To Store Tea Cups
Proper Cleaning and Drying
Before storing your cups, it is essential to ensure they are thoroughly cleaned and dried. This step is crucial to prevent any lingering residue or moisture that could lead to mold or unpleasant odors.
Start by rinsing the cups with warm water to remove any leftover beverages or food particles. For stubborn stains, you can use a gentle dish soap and a non-abrasive sponge to gently scrub the surface. Avoid using harsh chemicals or abrasive cleaners that could damage the cups.
After washing, rinse the cups again to remove any soap residue. Pay special attention to the rims and handles, where residue can often accumulate. Once rinsed, shake off any excess water and proceed to dry the cups completely.
For optimal drying, it is best to air-dry the cups upside down on a dish rack or a clean drying mat. This allows any remaining water to drain out, preventing it from pooling inside the cups or leaving water spots on the surface.
Alternatively, you can use a soft, lint-free cloth to hand-dry the cups. Be sure to dry both the interior and exterior thoroughly, paying attention to any crevices or hard-to-reach areas. Avoid using paper towels, as they can leave behind lint or fibers.
Once the cups are completely dry, you can proceed with storing them using one of the following methods.
Choosing the Right Storage Materials
When it comes to storing your cups, selecting the appropriate storage materials is crucial to protect them from potential damage. Here are some options to consider:
1. Foam Dividers or Felt Liners: These materials can be cut to size and placed between each cup to provide cushioning and prevent them from knocking into each other. Foam dividers or felt liners are particularly useful for delicate or fragile cups.
2. Shelf Liners: Line the shelves or cabinets where you will store your cups with non-slip shelf liners. These liners help prevent cups from sliding or tipping over, ensuring they remain in place and minimize the risk of accidents.
3. Glass or Plastic Containers: Consider using glass or plastic containers with dividers or compartments to store individual cups. These containers provide added protection against dust and can help keep your cup collection organized.
4. Stackable Cup Organizers: Stackable cup organizers are an excellent option for maximizing vertical space. These organizers typically have multiple tiers or shelves, allowing you to store cups of different sizes. Look for organizers made of durable materials like plastic or metal.
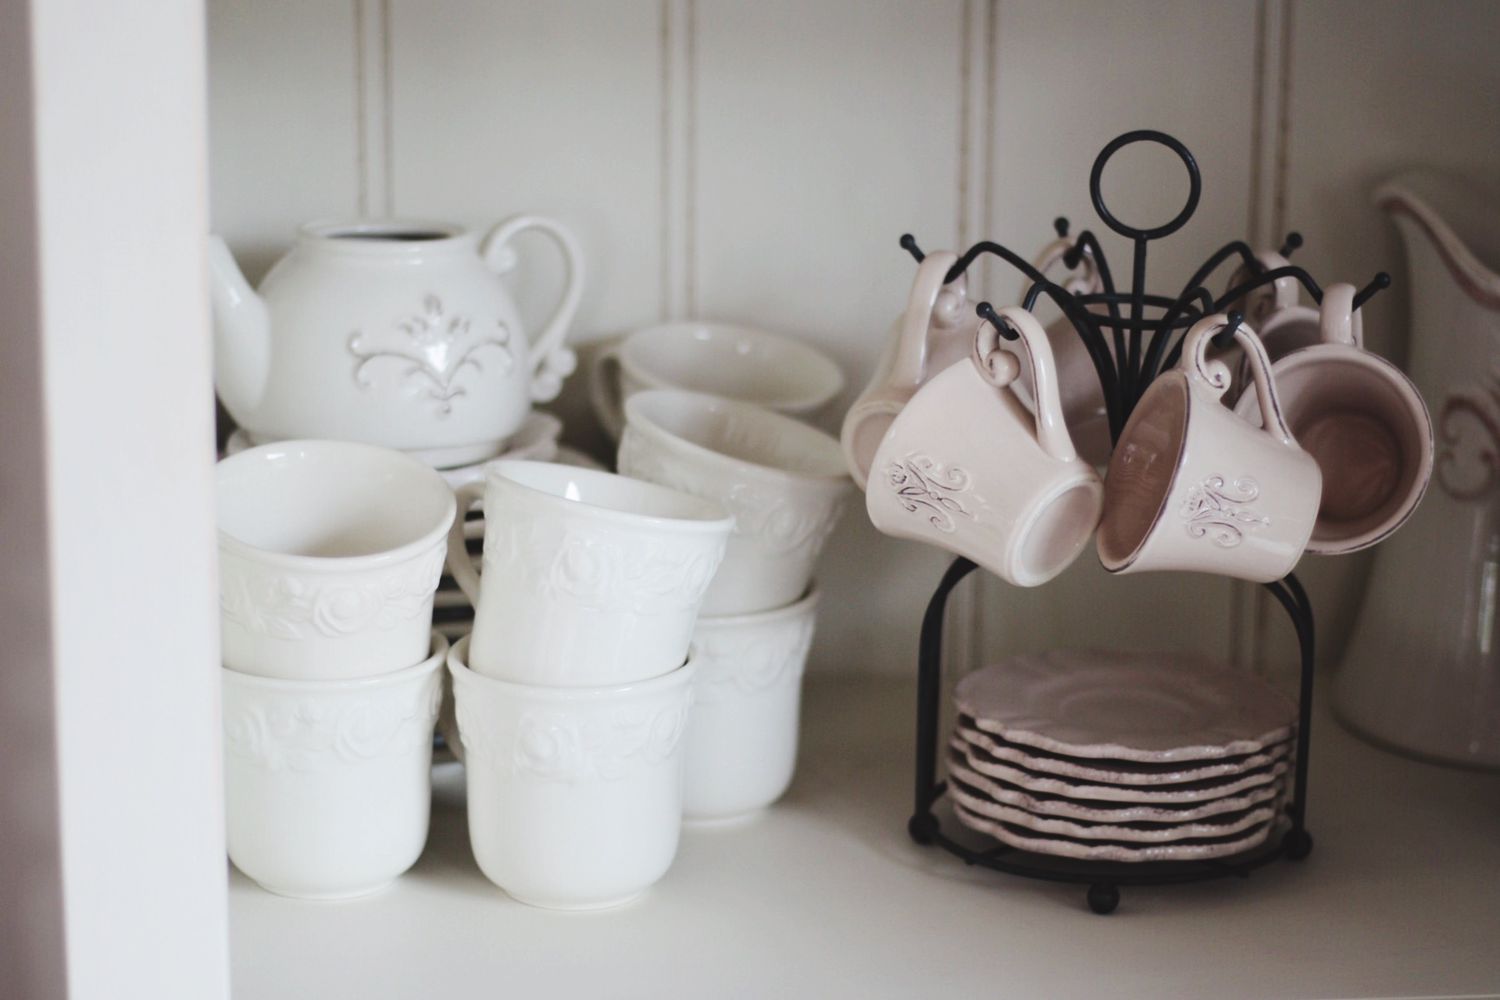
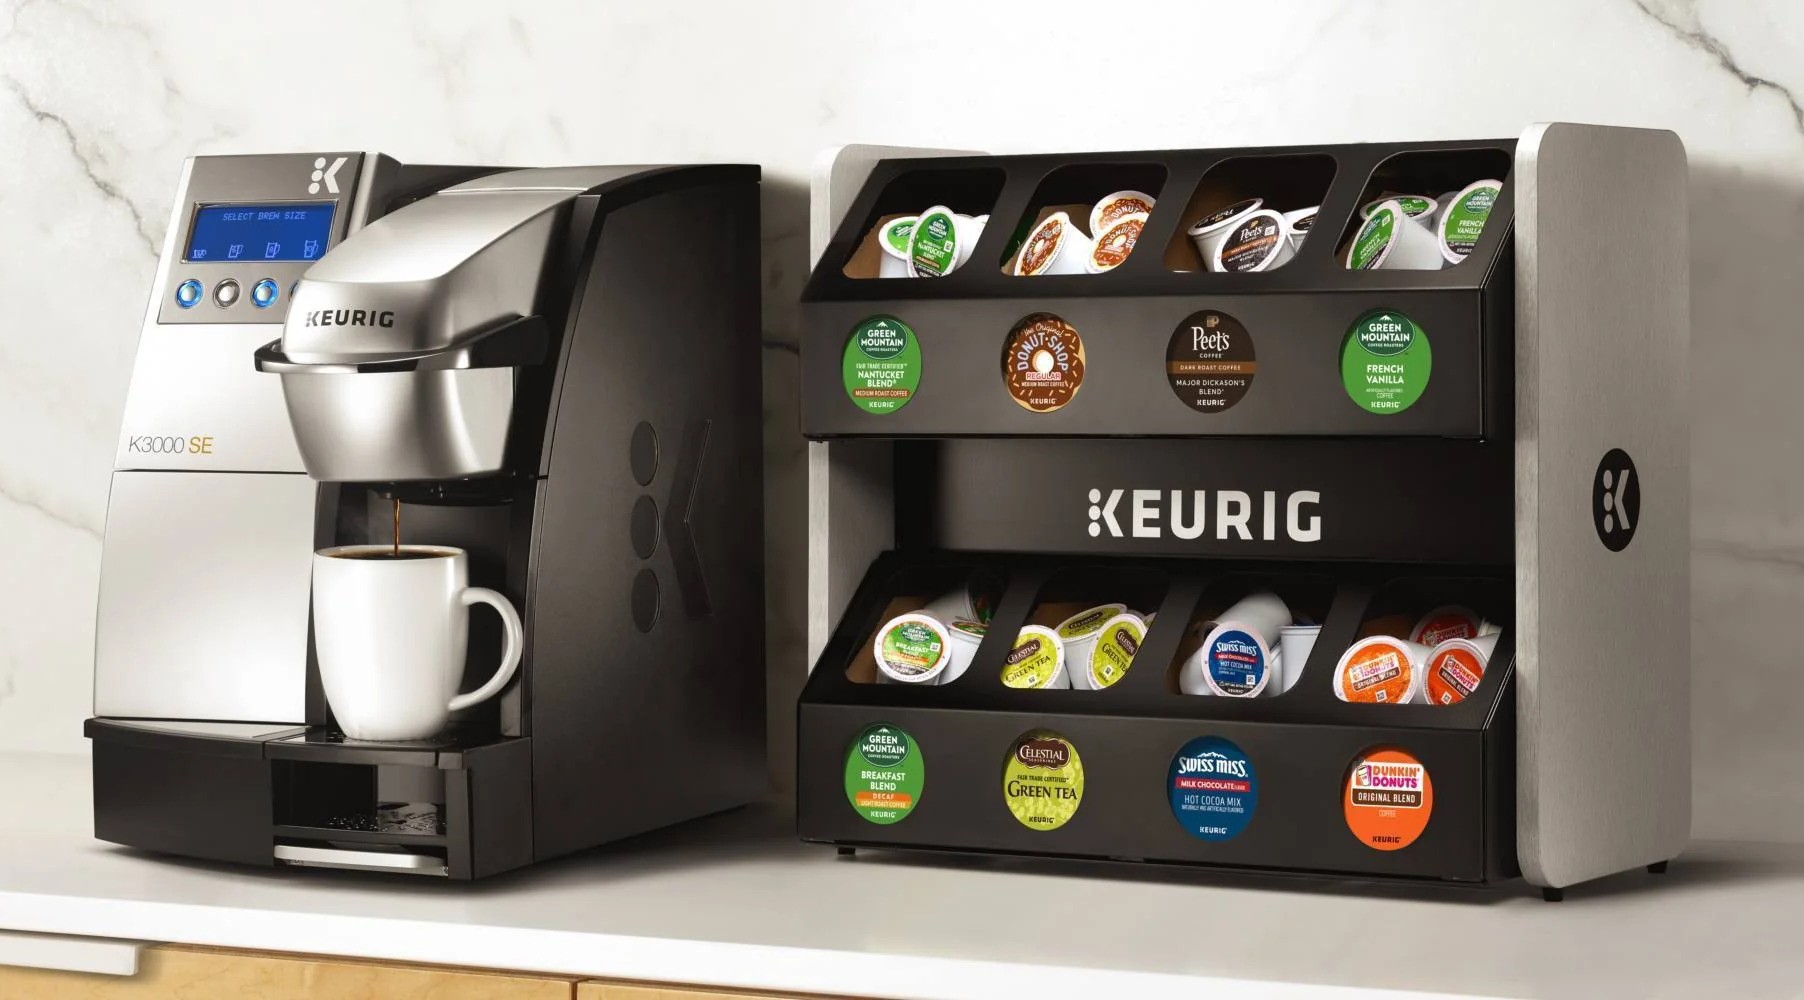
5. Cup Pegboards: If you have ample wall space, consider installing a cup pegboard. These boards have peg holes that allow you to hang cups using hooks, keeping them easily accessible while also adding a decorative touch to your kitchen.
6. Hanging Cup Racks: Similar to cup pegboards, hanging cup racks are a convenient way to store cups while utilizing vertical space. These racks typically have hooks or hangers designed to hold cups securely.
By choosing the right storage materials, you can protect your cups from damage and ensure they remain safe and organized.
Stackable Cup Organizers
Stackable cup organizers are a versatile and space-saving solution for storing cups of various sizes. These organizers consist of multiple tiers or shelves that can be stacked on top of each other, making efficient use of vertical space in your cabinets or pantry.
When choosing stackable cup organizers, consider the following factors:
1. Size and Capacity: Determine the dimensions and weight capacity of the organizers to ensure they can accommodate your cup collection. Look for organizers with adjustable shelf heights to accommodate different cup sizes.
2. Material: Opt for organizers made of durable materials such as plastic or metal. These materials are easy to clean, lightweight, and resistant to damage.
3. Non-Slip Surfaces: Look for organizers with non-slip surfaces or rubber grips. This feature helps keep the cups in place and prevents them from sliding or tipping over when removing or adding cups.
4. Removable Dividers: Some stackable cup organizers come with removable dividers or inserts. These dividers can be adjusted or removed to create larger compartments for storing bigger cups or glasses.
Once you have chosen the stackable cup organizers, follow these steps to store your cups:
1. Clean and Dry the Cups: Before placing the cups in the organizers, make sure they are properly cleaned and dried following the earlier mentioned steps.
2. Adjust the Shelf Heights: If the organizers have adjustable shelves, set them at suitable heights to accommodate the cups you are storing.
3. Place the Cups: Gently place the cups into each compartment, making sure they fit securely and are not overcrowded. Stack the cups from larger to smaller sizes, with the larger ones at the bottom and the smaller ones on top.
4. Stack the Organizers: If you have multiple stackable cup organizers, stack them on top of each other, ensuring they are stable and secure. Be mindful not to stack too many organizers as this can make it difficult to access the cups.
5. Label if Desired: To further improve organization, consider labeling each compartment or shelf. This makes it easier to locate specific cups, especially if you have a large collection.
Stackable cup organizers not only keep your cups neatly organized but also provide easy access when you need them. With this solution, you can maximize your storage space and avoid any potential damage to your cups.
Cup Pegboards
Cup pegboards are an innovative and visually appealing solution for cup storage. These pegboards consist of a flat board with evenly spaced holes where you can insert hooks or pegs to hang your cups. Not only do cup pegboards add a decorative touch to your kitchen, but they also provide a convenient way to display and access your cups easily.
When setting up a cup pegboard, follow these steps:
1. Determine the Location: Choose a suitable location on a wall in your kitchen or pantry where you want to install the cup pegboard. Make sure it is easily accessible and has enough space to accommodate the number of cups you wish to hang.
2. Mount the Pegboard: Use anchors and screws to secure the pegboard to the wall. Ensure it is firmly attached and can support the weight of the cups.
3. Select the Hooks or Pegs: Choose hooks or pegs that are compatible with the holes in your pegboard. Consider using sturdy hooks or S-shaped hooks to securely hold the cups in place.
4. Arrange the Hooks: Insert the hooks or pegs into the holes on the pegboard, spacing them apart to accommodate the size of your cups and ensure they do not touch or bump against each other.
5. Hang the Cups: Carefully hang each cup on the hooks, making sure they are stable and balanced. Avoid overcrowding the cups, as this can make them more prone to falling or causing damage to other cups.
6. Customize the Design: If desired, paint the pegboard or add decorative elements to match your kitchen’s aesthetic. You can also consider hanging a small shelf on top of the pegboard to display additional items related to your cups, such as teapots or saucers.
Cup pegboards not only save space in your cabinets but also allow you to showcase your cup collection in an elegant and unique way. They are especially useful for displaying beautiful or sentimental cups that you want to showcase as part of your kitchen decor.
Store cups upside down to prevent dust and debris from collecting inside. This also helps to keep the rims clean and ready for use.
Read more: How To Store Cups In Cupboard
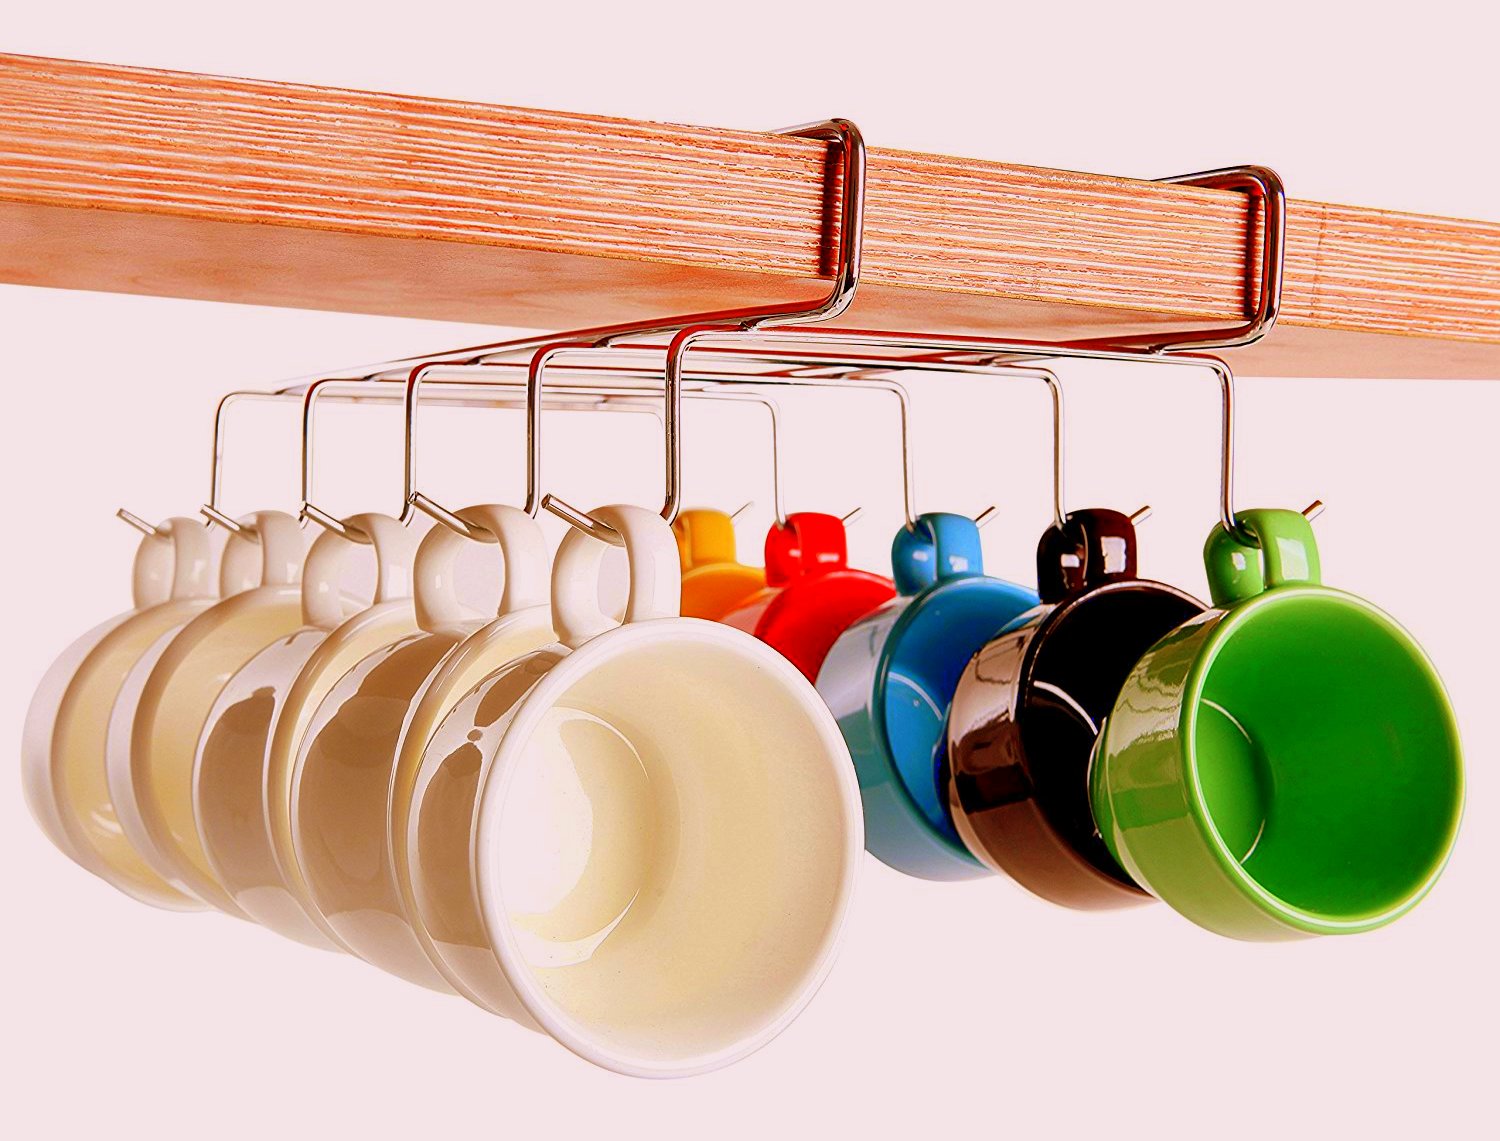
Hanging Cup Racks
Hanging cup racks are another practical and space-saving solution for cup storage. These racks are designed to be hung from the ceiling or installed underneath cabinets, utilizing the vertical space in your kitchen. They provide a convenient and stylish way to keep your cups organized and easily accessible.
When setting up a hanging cup rack, follow these steps:
1. Determine the Location: Choose a suitable location in your kitchen where you want to hang the cup rack. It can be directly underneath cabinets or in an area with enough clearance from the ceiling.
2. Measure and Install Hanging Hardware: Measure the dimensions of your cup rack and mark the corresponding spots for attaching the hanging hardware. Use appropriate screws, hooks, or chains to secure the cup rack to the ceiling or cabinet bottom.
3. Hang the Cup Rack: Once the hanging hardware is installed, carefully hang the cup rack, ensuring it is secure and level. Double-check that it can support the weight of the cups you plan to hang.
4. Arrange the Cups: Take your cups and arrange them on the cup rack, ensuring they are evenly spaced and not overcrowded. You can hang the cups by their handles or utilize hooks attached to the rack.
5. Balance the Weight: Distribute the weight of the cups evenly across the cup rack to ensure stability. Avoid hanging heavy cups on one side only, as this can cause the rack to become unbalanced.
6. Maintain Proper Distance: Ensure that the cups hanging on the rack do not touch or bump into each other. This will help prevent any potential damage and make it easier to access a specific cup when needed.
A hanging cup rack not only saves valuable counter or cabinet space but also adds a unique and eye-catching element to your kitchen decor. It allows you to proudly display your cup collection while keeping them easily within reach for your daily use.
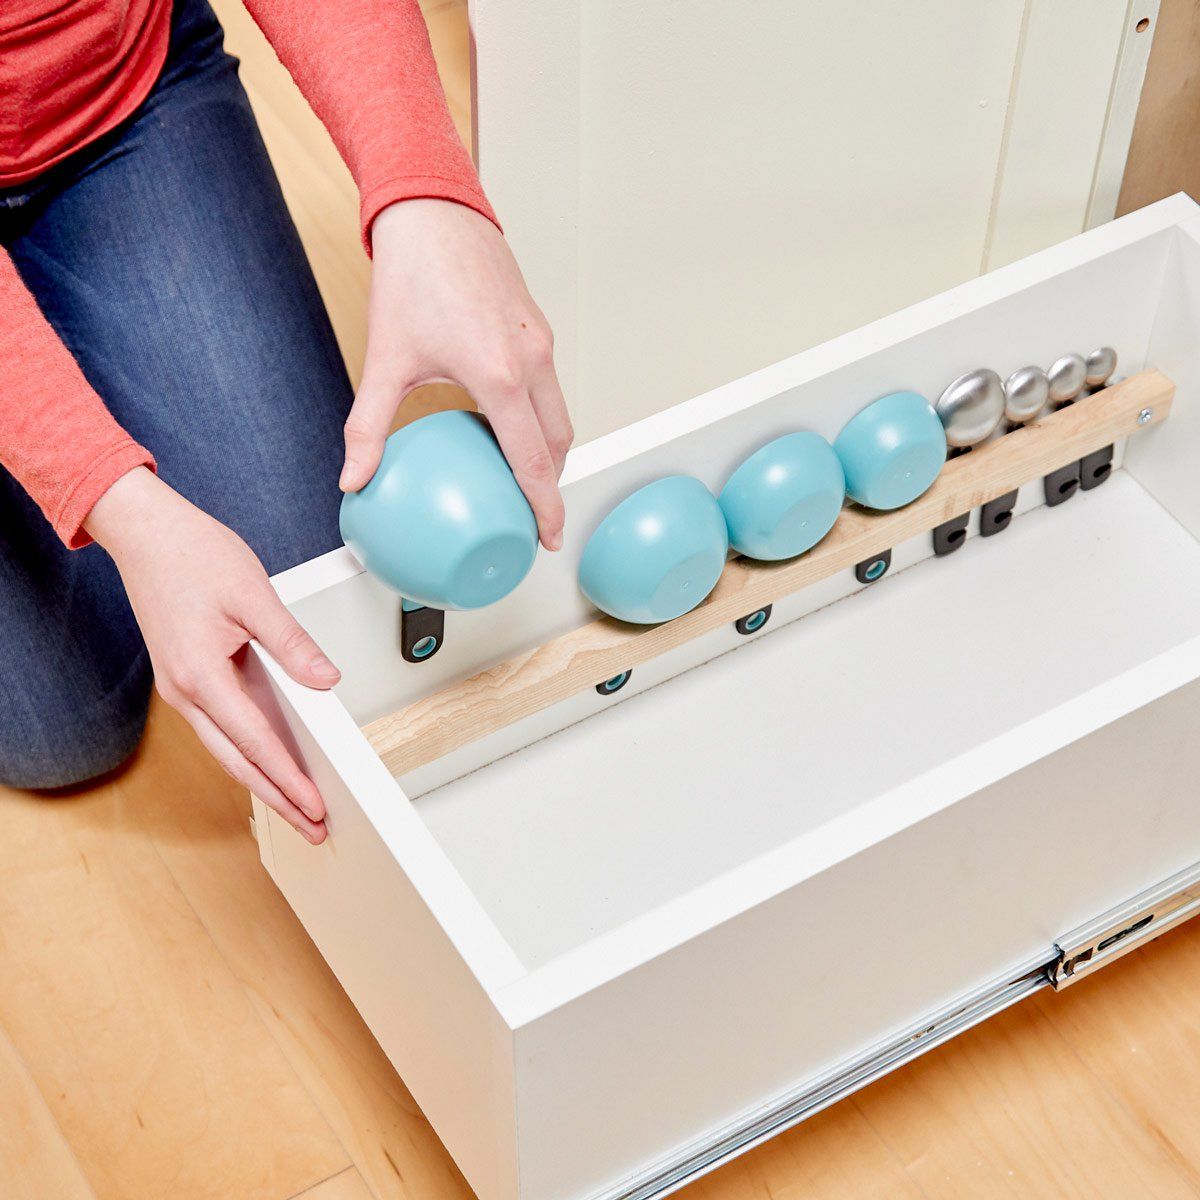
Drawer Dividers for Cups
Drawer dividers are a practical and efficient solution for organizing and storing cups. With the help of dividers, you can create separate compartments within your drawers to keep your cups neatly arranged and easily accessible.
Follow these steps to use drawer dividers for cups:
1. Measure the Drawer: Start by measuring the dimensions of your drawer to determine the size of the dividers you will need. Consider the height, width, and depth of the drawer to ensure a proper fit.
2. Choose the Dividers: Look for adjustable or customizable drawer dividers that can be easily resized to fit your cups. These dividers often come in various materials, such as plastic or bamboo, and can be found at home organization stores.
3. Place the Dividers: Insert the dividers into the drawer, configuring them according to the size and number of cups you have. Create sections within the drawer that can accommodate each cup without any crowding.
4. Arrange the Cups: Once the dividers are in place, carefully place each cup into its designated section. Ensure that the cups are stable and will not tip over or collide with each other when opening or closing the drawer.
5. Consider Cup Protectors: If you have delicate or fragile cups, you may want to consider using cup protectors. These are soft, cushioned sleeves or inserts that can be placed around individual cups to provide an extra layer of protection against scratches or damage.
6. Keep the Drawers Organized: Regularly maintain the organization of your cup drawer by ensuring that each cup is returned to its designated section. This will prevent cups from getting mixed up and maintain the overall order within the drawer.
Using drawer dividers for cups not only keeps your cups organized but also provides a streamlined and clutter-free look to your kitchen drawers. It allows for easy access to your cups while maximizing the available storage space.
Utilizing Shelf Space
Maximizing shelf space is essential when it comes to storing cups efficiently. By utilizing the available shelf space in your cabinets or pantry, you can keep your cups organized and easily accessible. Here are some tips on how to make the most of your shelf space:
1. Shelf Risers: Shelf risers are an excellent addition to increase vertical space on your shelves. These compact shelves can be placed on top of existing ones, creating additional tiers for cup storage. Stack your cups on these risers, arranging them from large to small, to save space and keep them within reach.
2. Adjustable Shelf Organizers: Consider using adjustable shelf organizers to customize your shelf space. These organizers allow you to modify the heights of individual shelves, providing flexibility for storing cups of different sizes. Arrange the shelf organizers to fit your cup collection, optimizing the available space efficiently.
3. Use the Full Height of Shelves: Make use of the entire height of your shelves by stacking cups vertically. This technique is especially effective for glasses and mugs with similar sizes. Ensure that the cups are stable and secure to avoid accidents when retrieving them.
4. Nesting Cups: If you have a set of cups or glasses that can nest inside each other, take advantage of this feature. Nesting cups save space and help eliminate clutter on the shelf. Stack them neatly and consider placing a non-slip liner between each cup to prevent them from shifting or scratching.
5. Over-the-Door Organizers: Consider using over-the-door organizers specifically designed for cups. These organizers have hooks or pockets that allow you to hang cups on the back of your pantry or cabinet doors. This clever storage solution keeps your cups handy while utilizing unused space.
6. Utilize Corner Space: Don’t overlook the corners of your shelves. Use corner shelf organizers or lazy susans to maximize the otherwise wasted corner space. Store cups in these organizers, making them easily accessible and preventing items from getting pushed to the back and forgotten.
By implementing these strategies, you can efficiently use shelf space to store and organize your cups, ensuring they are readily available while optimizing the available storage area in your kitchen.
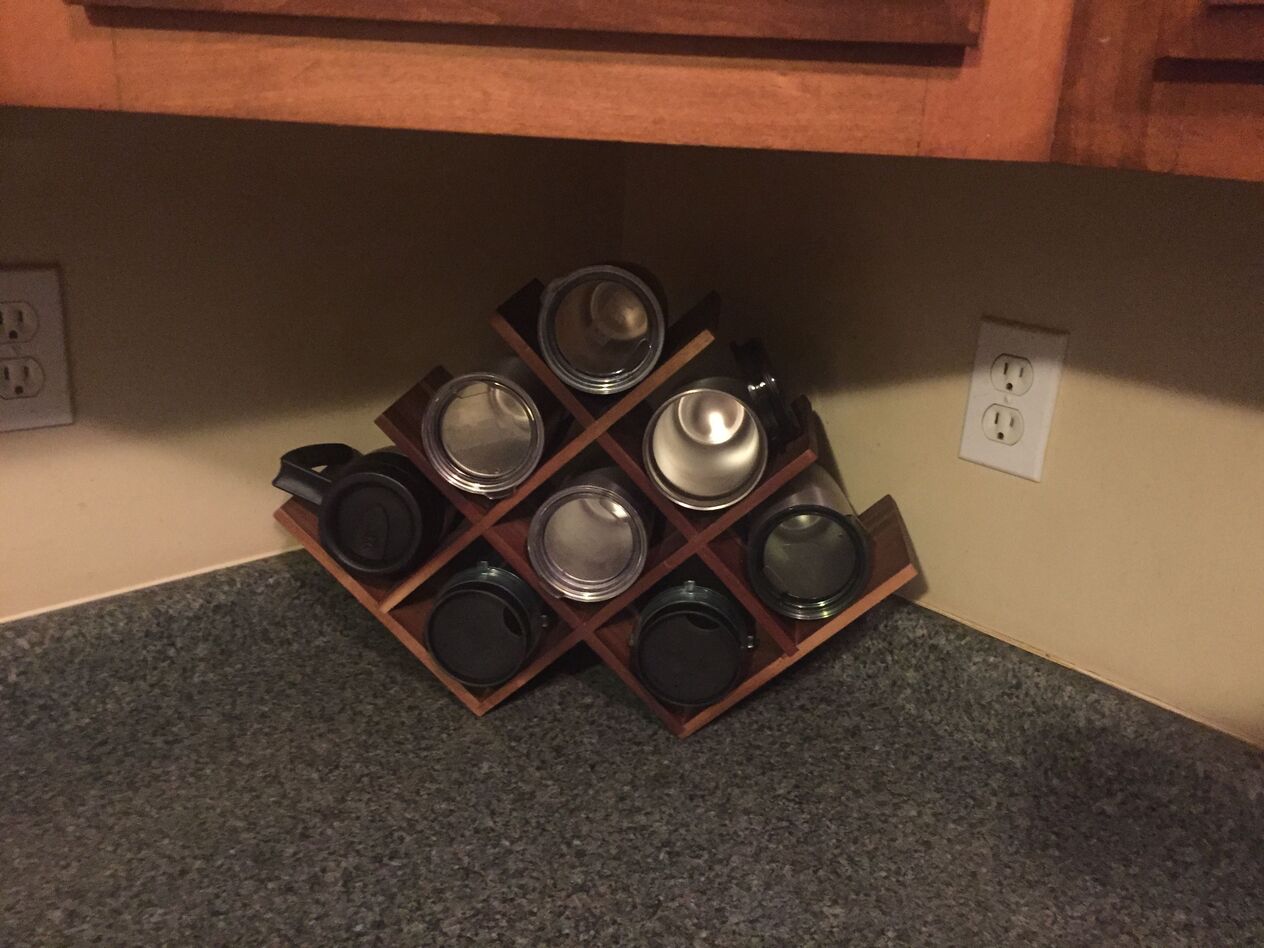
DIY Cup Storage Ideas
If you’re looking for budget-friendly and creative cup storage solutions, you can try out some DIY ideas. These DIY projects allow you to customize your cup storage to fit your specific needs and add a personalized touch to your kitchen. Here are some DIY cup storage ideas you can explore:
1. Pallet Cup Holder: Repurpose a wooden pallet by turning it into a rustic cup holder. Sand down the pallet to remove any rough edges, then attach hooks or small wooden dowels to hang the cups. Hang the pallet on the wall or lean it against a countertop for a unique and functional cup storage solution.
2. Vintage Crate Shelving: Find vintage wooden crates or boxes and stack them to create open shelves. Arrange the cups inside the crates, and you’ll have a charming and practical cup display. Paint the crates with a pop of color to add a playful touch to your kitchen decor.
3. Pegboard Drawer Insert: Cut a piece of pegboard to fit inside a deep drawer. Attach it to the bottom of the drawer using screws or adhesive. Insert pegs into the holes to create hooks for hanging cups. This DIY project provides an organized and easily accessible cup storage solution.
4. PVC Pipe Cup Organizer: Use PVC pipes of different diameters to create a cup organizer. Cut the pipes into equal lengths and arrange them vertically inside a box or on a shelf. The cups can be placed upside down into the PVC pipes, keeping them secure and visible.
5. Wine Glass Rack: Repurpose a wooden wine glass rack and transform it into a versatile cup storage solution. Attach the wine glass rack under a cabinet or shelf, and you can hang cups from the built-in hooks. This DIY project not only provides storage but also adds a touch of elegance to your kitchen.
6. Hanging Macrame Cup Holder: If you’re feeling crafty, try your hands at macrame to create a hanging cup holder. Use macrame cord or rope to create a series of knots and loops to hold the cups. Hang the macrame cup holder from a ceiling hook or a sturdy rod, and you’ll have a beautiful and bohemian-inspired storage solution.
These DIY cup storage ideas offer both functionality and creativity, allowing you to personalize your cup storage while adding a unique touch to your kitchen decor. Get creative and enjoy the satisfaction of using your own handmade cup storage solution!
Read more: How To Store Starbucks Cups
Conclusion
Properly storing cups not only keeps them organized but also helps protect them from damage and maximizes the available space in your kitchen. With a range of storage solutions available, you can find the perfect method to suit your cup collection and kitchen layout.
Proper cleaning and drying of cups before storage ensures that they remain in pristine condition. Choosing the right storage materials, such as foam dividers or plastic containers, provides added protection and keeps cups secure. Stackable cup organizers, cup pegboards, hanging cup racks, and drawer dividers offer versatile options for cup storage, depending on your preferences and available space. Utilizing shelf space and exploring DIY cup storage ideas allow for even more customization and creativity.
By implementing these storage methods, you can keep your cups easily accessible and organized while adding a touch of style to your kitchen decor. Enjoy the convenience of having your favorite cups at your fingertips and the satisfaction of a well-organized space.
Remember, whether you choose stackable cup organizers, cup pegboards, drawer dividers, or any other storage solution, the key is to keep your cups clean, protected, and easily accessible.
So go ahead, explore the options, get creative, and transform your cup storage into an organized and visually pleasing space!
Frequently Asked Questions about How To Store Cups
Was this page helpful?
At Storables.com, we guarantee accurate and reliable information. Our content, validated by Expert Board Contributors, is crafted following stringent Editorial Policies. We're committed to providing you with well-researched, expert-backed insights for all your informational needs.

0 thoughts on “How To Store Cups”