Home>Articles>How To Store Dirt For Gardening, Landscaping, And Construction
Articles
How To Store Dirt For Gardening, Landscaping, And Construction
Modified: November 2, 2024
Learn how to store dirt properly with our informative articles. Find tips and tricks for preserving soil quality and preventing contamination.
(Many of the links in this article redirect to a specific reviewed product. Your purchase of these products through affiliate links helps to generate commission for Storables.com, at no extra cost. Learn more)
Introduction
Welcome to the world of dirt storage! It may seem like a peculiar topic, but for gardeners, landscapers, and construction workers, storing dirt properly is essential. Whether you have excess soil from a landscaping project, want to save fertile soil for future gardening endeavors, or simply need a place to store dirt temporarily, this article will guide you through the process.
Properly storing dirt not only helps you save money and resources but also ensures that the quality of the soil remains intact. Just like any other storage task, there are a few key factors to consider when it comes to dirt storage, such as choosing the right container, preparing the soil, and maintaining it over time.
So, let’s dive in and explore the best practices for storing dirt effectively.
Key Takeaways:
- Properly storing dirt involves choosing the right container, preparing the soil, and maintaining it to ensure optimal quality and usability over time.
- Effective dirt storage requires regular maintenance, proper drainage, quality soil, and consideration of soil testing to preserve fertility and resources.
Choosing the Right Storage Container
The first step in storing dirt is selecting the appropriate container. The container you choose should be durable, weatherproof, and able to keep out pests and moisture. Here are a few options to consider:
- Plastic or Rubber Bins: Plastic or rubber bins with lids are a popular choice for storing dirt. Look for bins with a tight seal to prevent moisture and pests from entering.
- Trash Cans: Heavy-duty trash cans with secure lids can also be used to store dirt.
- Wooden Boxes: If you prefer a rustic look, consider using wooden boxes. Ensure they are lined with plastic or have a waterproof coating to protect the dirt.
- Pallets and Tarp: For large quantities of dirt, you can stack pallets and cover them with a tarp to create an open-air storage area.
When choosing a storage container, consider the amount of dirt you need to store and the available space you have. It’s also important to keep in mind that some containers may be easier to access and move than others, so select one that suits your needs.
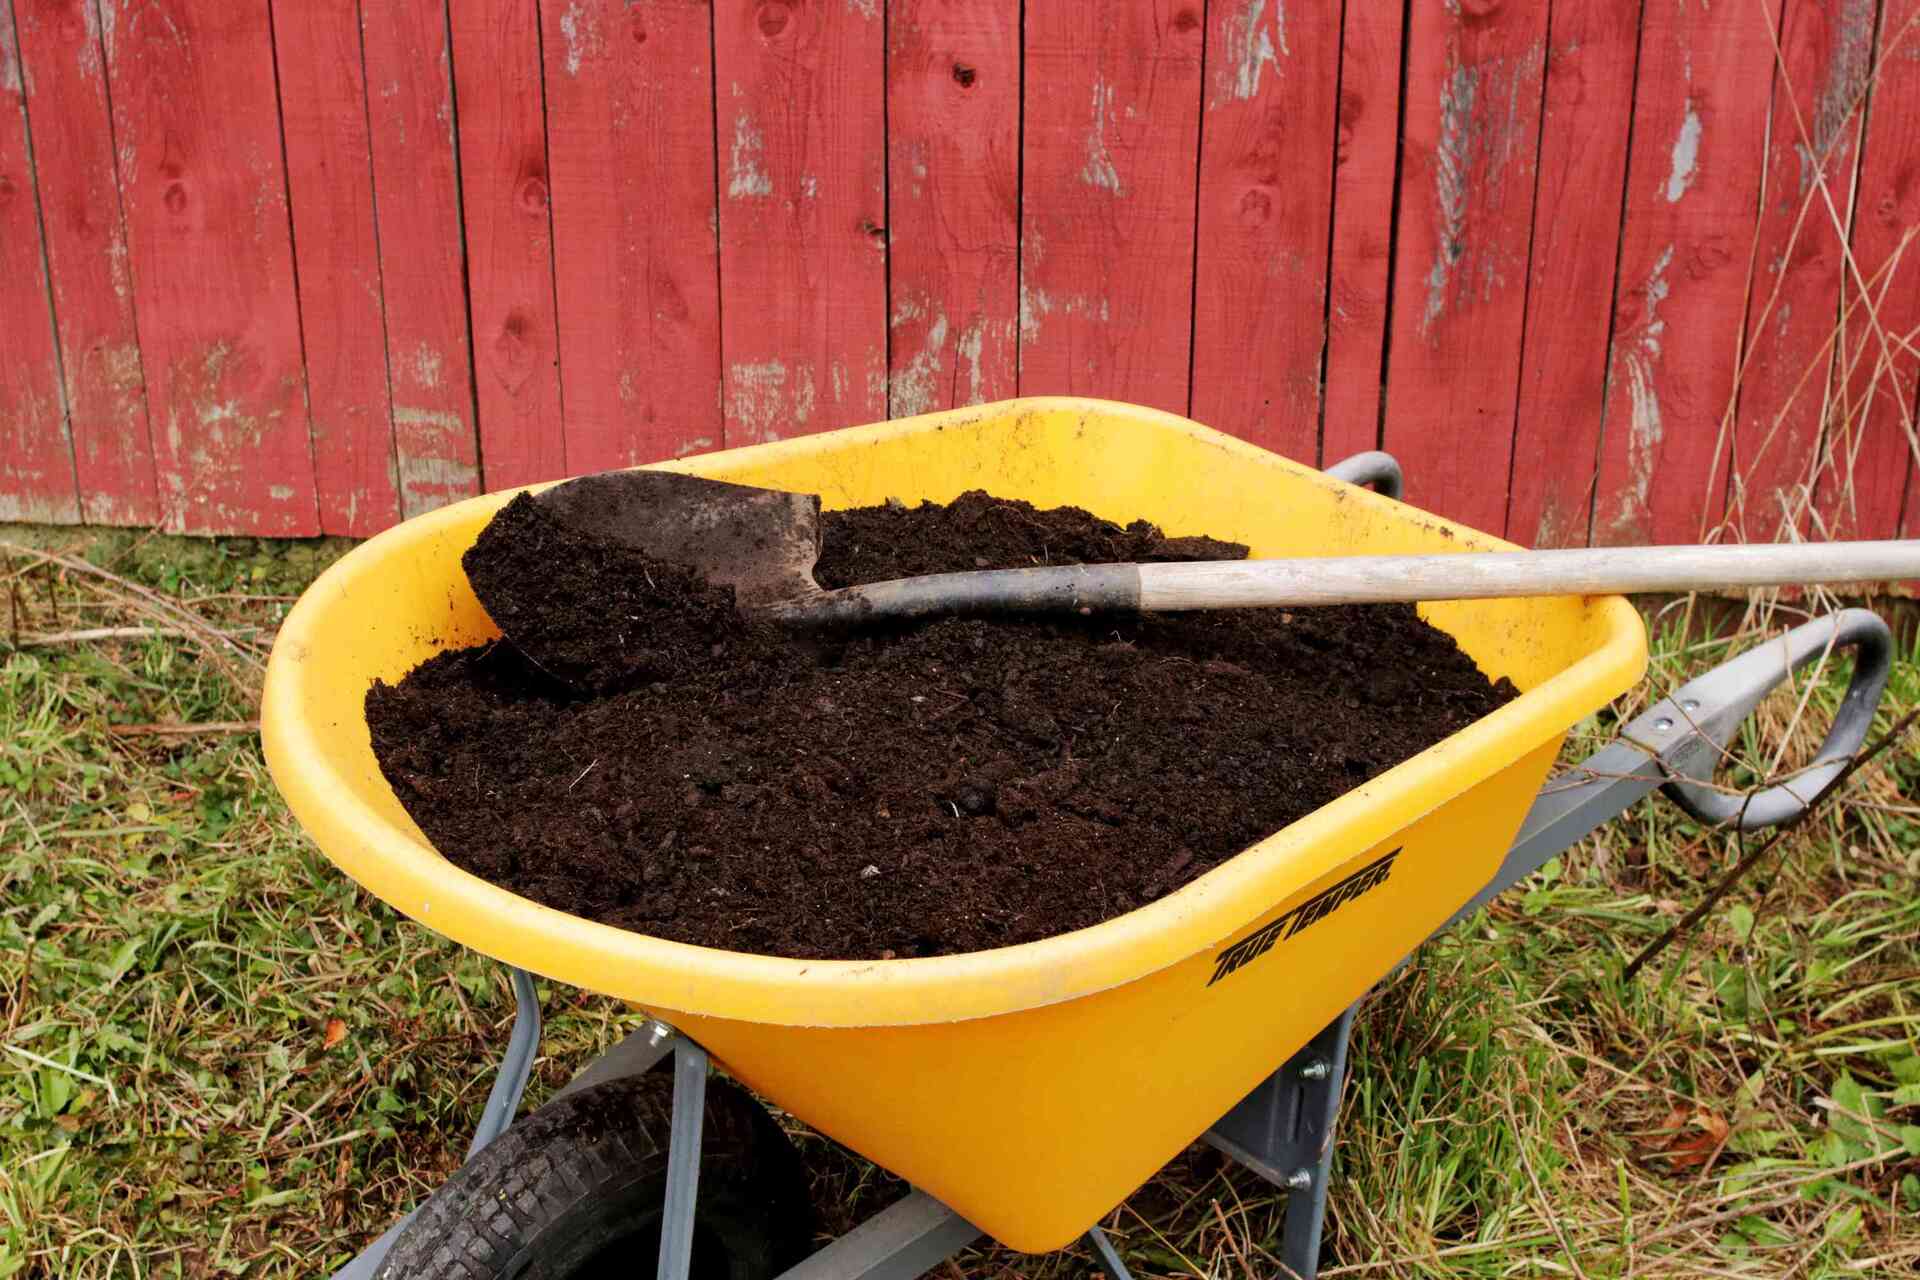
Preparing the Dirt for Storage
Before you start storing dirt, it’s important to prepare it properly to maintain its quality. Here are some steps to follow:
- Remove Debris: Remove any rocks, twigs, roots, or other debris from the dirt. This will help ensure that only clean soil is stored.
- Amend the Soil: Depending on the purpose of the dirt storage, you may want to amend the soil with organic matter or nutrients. This can improve its quality and ensure that it remains fertile during storage.
- Moisture Content: Check the moisture content of the soil. It should be moist but not overly wet. Adjust the moisture level if necessary by adding water or allowing it to dry out slightly before storage.
- Sieve the Soil: For finer applications such as gardening, you may want to sieve the soil to remove any clumps or large particles. This will result in a finer and more consistent texture.
By taking the time to prepare the dirt before storage, you’ll ensure that the stored soil remains in good condition and ready for use when needed.
Properly Storing Dirt
Once you have chosen the right storage container and prepared the dirt, it’s time to focus on the actual process of storing the soil. Follow these steps to ensure that your dirt remains in optimal condition:
- Fill the Container: Fill the storage container with the prepared dirt. Be sure not to overfill it, as you may need to leave some headspace for air circulation.
- Compact the Dirt: Gently compact the soil in the container to eliminate any large air pockets. This will help maintain the structure and prevent settling over time.
- Label the Container: It’s a good practice to label the storage container with the date and any relevant information. This will help you keep track of the soil and its age.
- Secure the Lid: If your storage container has a lid, make sure it is securely fastened to prevent any moisture or pests from entering.
- Store in a Suitable Location: Place the dirt storage container in a cool, dry place away from direct sunlight. Extreme temperatures and exposure to sunlight can affect the quality of the soil.
By following these steps, you can be confident that your stored dirt will remain in good condition and ready for use when needed.
Store dirt in a cool, dry place to prevent mold and bacteria growth. Use airtight containers to keep out moisture and pests. Keep it away from direct sunlight to maintain its quality.
Maintaining Stored Dirt
Ensuring the proper maintenance of stored dirt is crucial to preserve its quality and usability over time. Here are some tips to help you maintain the stored soil:
- Check for Moisture: Regularly check the moisture level of the stored dirt. It should remain moist but not overly wet. If the soil appears too dry, lightly water it to maintain the desired moisture level.
- Inspect for Pests: Periodically inspect the storage container for signs of pests such as insects or rodents. If you notice any infestation, take appropriate measures to eliminate the pests and prevent further damage.
- Aerate the Soil: Over time, the soil may become compacted. Use a garden fork or a similar tool to gently loosen the soil to promote proper aeration. This will ensure that the stored dirt remains well-drained and fertile.
- Monitor Temperature: Keep an eye on the temperature of the storage area. Extreme temperature fluctuations can adversely affect the quality of the stored soil. Aim for a consistent, moderate temperature to maintain the soil’s integrity.
- Rotate the Storage: If you have multiple containers of stored dirt, consider rotating their usage. This will prevent one container from being stored for too long, ensuring that the soil remains fresh and usable.
By regularly monitoring and maintaining the stored dirt, you can prolong its lifespan and retain its quality, ensuring that it’s ready for use whenever you need it.
Tips for Storing Dirt Effectively
To make the most out of your dirt storage experience, here are some additional tips to help you store dirt effectively:
- Proper Drainage: Ensure that the storage container has adequate drainage to prevent waterlogging. Excess moisture can lead to the growth of mold or fungi, which can compromise the quality of the stored dirt.
- Regular Inspection: Regularly inspect the stored dirt for any signs of degradation, such as foul odors or discoloration. If you notice any abnormalities, take appropriate action to address the issue and maintain the quality of the soil.
- Use Quality Soil: Start with high-quality soil for storage. The better the initial quality, the more likely the stored dirt will retain its nutrients and fertility.
- Proper Sealing: If using bins or containers with lids, ensure that they are tightly sealed to prevent the entry of pests, moisture, or contaminants. This will help maintain the integrity and quality of the stored soil.
- Keep a Record: Maintain a record of what types of soil are stored and the date of storage. This will help you keep track of different soil compositions and determine which soil to use for specific projects.
- Consider Soil Testing: If storing soil for long periods, consider periodically testing its nutrient levels. This will help you determine if any amendments or supplements are required to maintain the soil’s fertility.
By following these tips, you can ensure that your dirt storage is effective and that the stored soil remains in optimal condition for future use.
Conclusion
Storing dirt effectively is a crucial task for gardeners, landscapers, and construction workers. By choosing the right storage container, preparing the soil properly, and following the necessary steps for storage and maintenance, you can ensure that your stored dirt remains in optimal condition.
Remember to select a storage container that is durable, weatherproof, and capable of keeping out moisture and pests. Prepare the dirt by removing debris, amending the soil if needed, and checking its moisture content. When it comes to storing the dirt, fill the container without overfilling, compact the soil to eliminate air pockets, and secure the lid to prevent any unwanted intrusions.
Maintaining stored dirt requires regular checks for moisture levels and pest infestations, aerating the soil to promote proper drainage, and monitoring the temperature of the storage area. By rotating the containers and properly managing the storage, you can ensure that the dirt remains in good condition and ready for use when needed.
Lastly, follow the tips of proper drainage, regular inspection, using quality soil, sealing the containers effectively, keeping records, and considering soil testing to optimize your dirt storage experience.
By implementing these best practices and tips for storing dirt effectively, you can preserve the quality and fertility of the soil, saving valuable resources and ensuring optimal gardening and landscaping outcomes in the future.
Frequently Asked Questions about How To Store Dirt For Gardening, Landscaping, And Construction
Was this page helpful?
At Storables.com, we guarantee accurate and reliable information. Our content, validated by Expert Board Contributors, is crafted following stringent Editorial Policies. We're committed to providing you with well-researched, expert-backed insights for all your informational needs.


0 thoughts on “How To Store Dirt For Gardening, Landscaping, And Construction”