Articles
How To Repair Rusted Gutters
Modified: October 28, 2024
Learn effective techniques and tips to repair rusted gutters with our comprehensive collection of informative articles. Expert advice to keep your gutters in top shape!
(Many of the links in this article redirect to a specific reviewed product. Your purchase of these products through affiliate links helps to generate commission for Storables.com, at no extra cost. Learn more)
Introduction
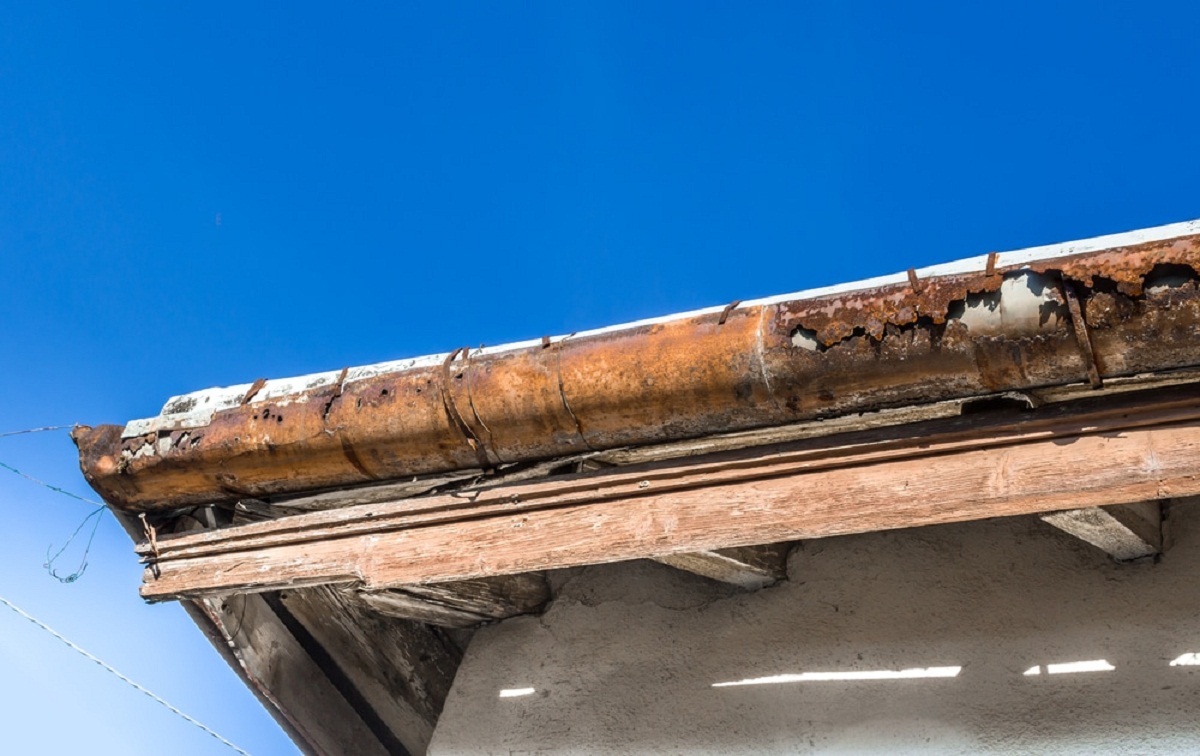
Welcome to our comprehensive guide on how to repair rusted gutters. Over time, gutters are prone to rust due to exposure to the elements, moisture, and debris accumulation. Rust not only detracts from the overall appearance of your home but can also compromise the structural integrity of your gutters. It is essential to address rust issues promptly to prevent further damage and ensure the optimal performance of your gutter system.
In this article, we will walk you through the step-by-step process of repairing rusted gutters. We will cover everything from understanding the causes of rust to the tools and materials needed for the repair. Additionally, we will discuss important safety precautions to take before beginning the repair process.
So, if you’re ready to restore the functionality and aesthetics of your gutters, let’s dive into the world of rust repair!
Key Takeaways:
- Prevent rust on gutters by understanding its causes, using the right tools for repair, and implementing safety precautions. Regular maintenance and preventive measures can prolong the life of your gutter system.
- The step-by-step process for repairing rusted gutters involves cleaning, rust removal, applying rust converter, priming, painting, and preventive measures. Prioritize safety, proper tools, and proactive maintenance for long-lasting results.
Read more: How To Remove Rust From Calipers
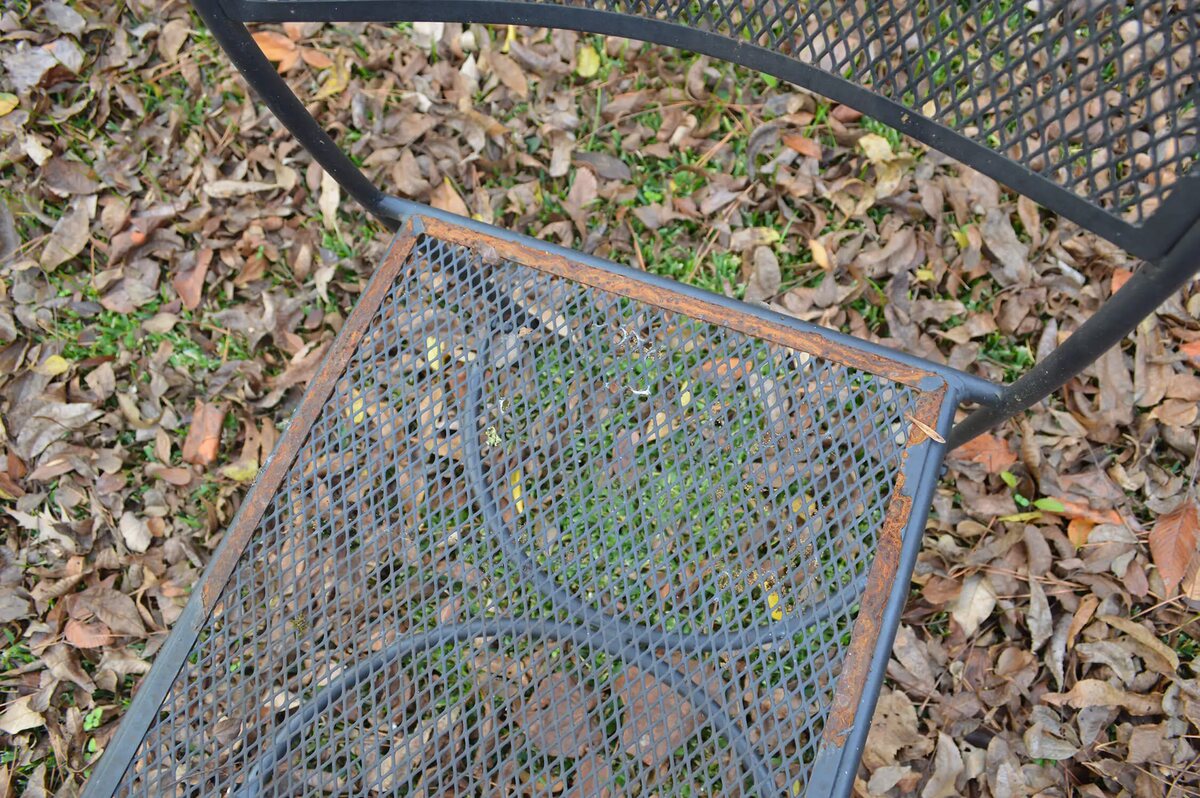
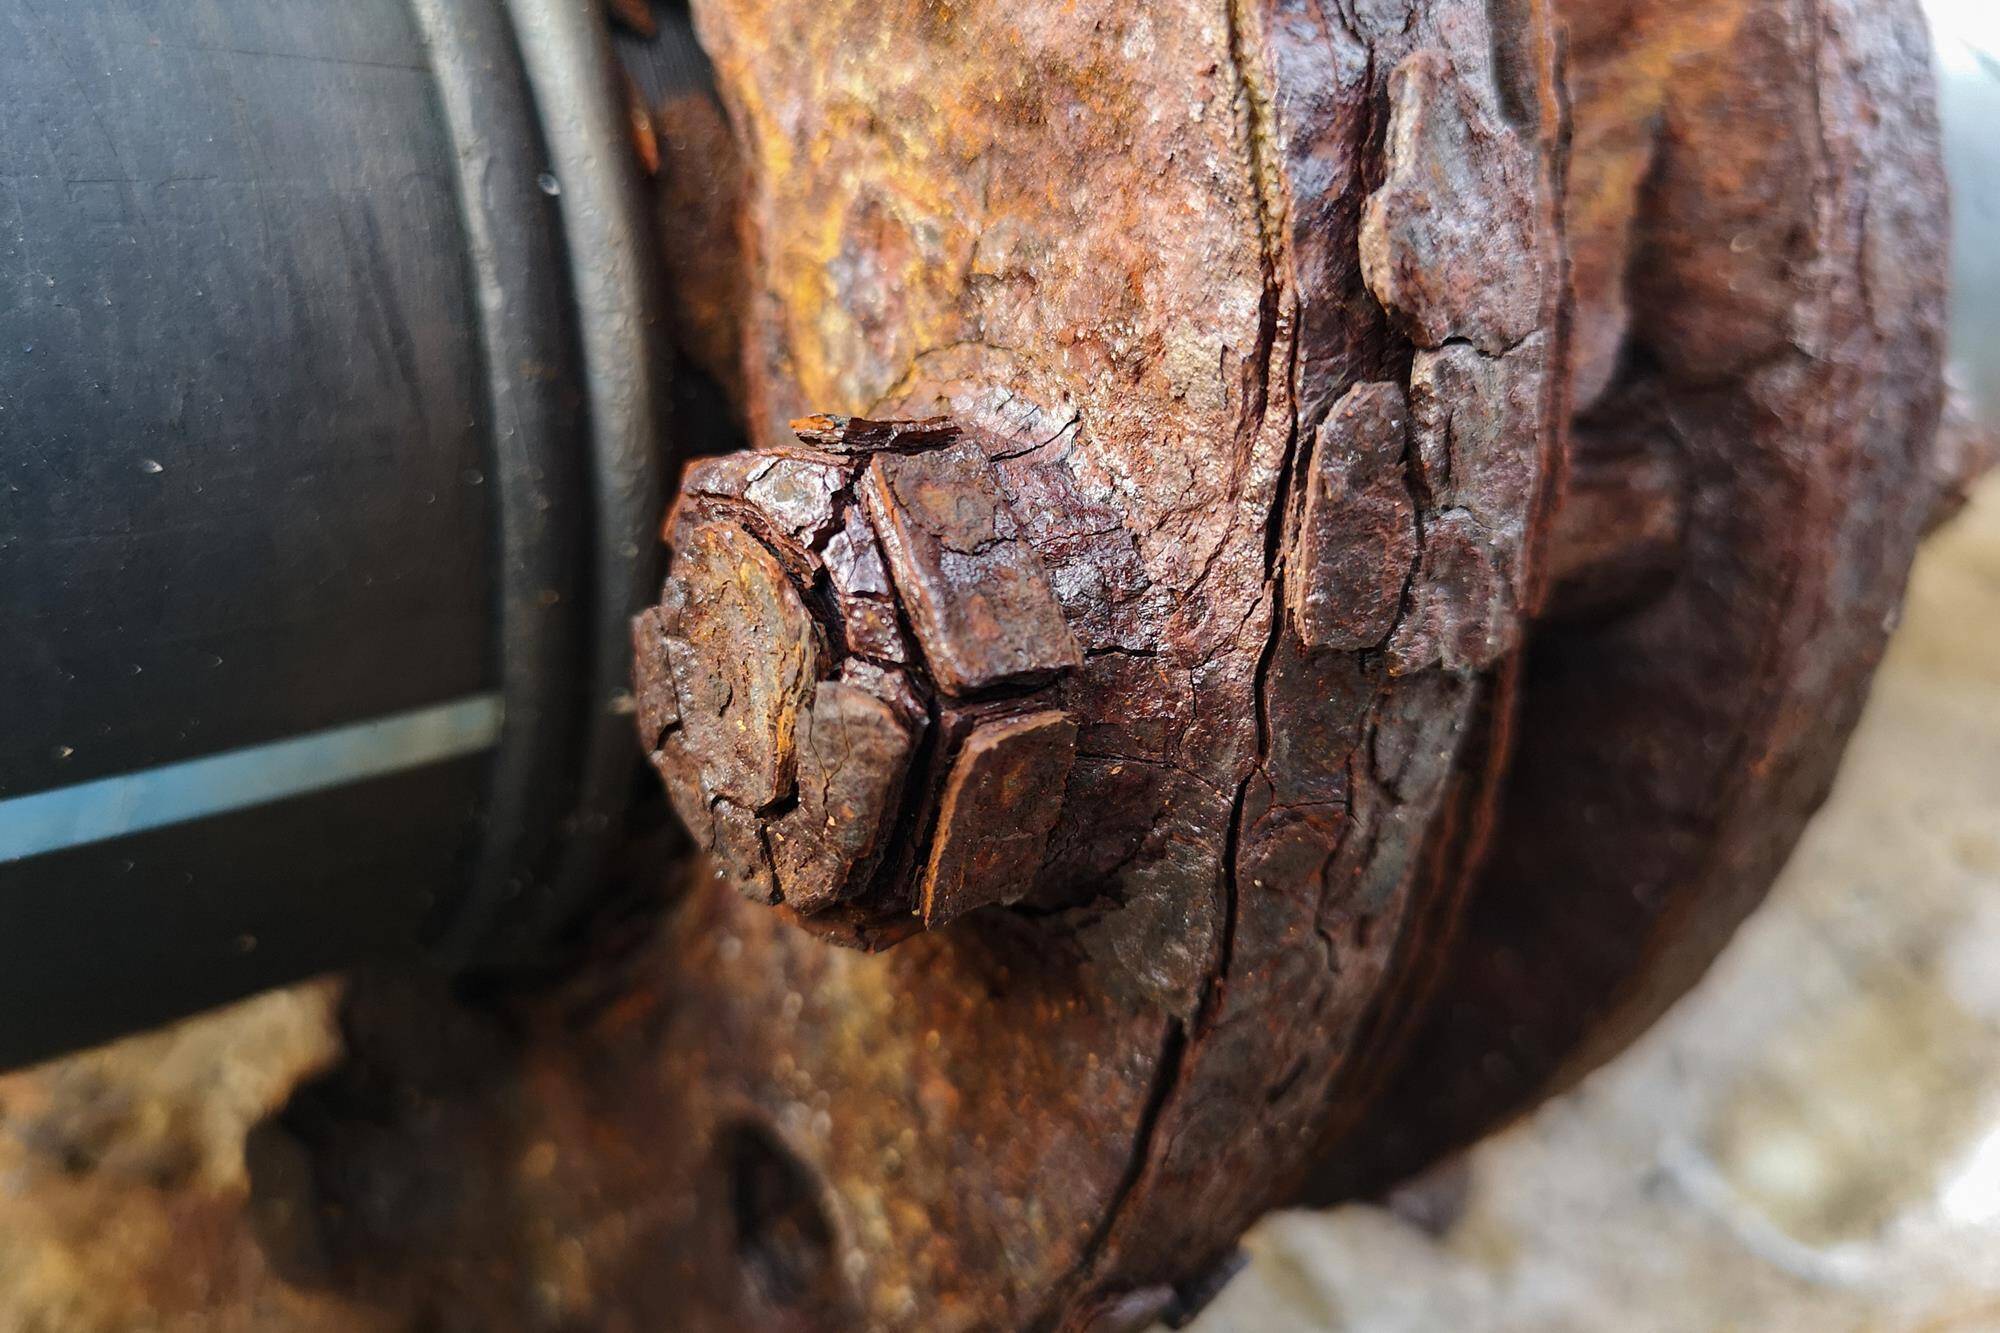
Understanding the Causes of Rust on Gutters
Rust on gutters is primarily caused by two factors: exposure to moisture and the presence of debris. Gutters are designed to channel water away from your home’s roof and foundation, but they can become clogged with leaves, twigs, and other debris. When gutters are obstructed, water accumulates and remains in contact with the metal surface for extended periods.
This prolonged exposure to moisture leads to the development of rust. The water reacts with the metal, causing oxidation and the formation of iron oxide, commonly known as rust. Rust gradually eats away at the metal, weakening its structural integrity and creating potential leaks or even gutter failure.
In addition to debris accumulation, excessive rain, humidity, and condensation can exacerbate the rusting process. Areas with high levels of moisture in the air are more prone to rust issues. Furthermore, if your gutter system does not have sufficient drainage or is improperly installed, it can contribute to the accumulation of stagnant water, increasing the likelihood of rust formation.
It’s important to note that different metal types have varying degrees of susceptibility to rust. Galvanized steel gutters have a protective zinc coating that helps prevent rusting, but over time, the coating may wear off, leaving the metal vulnerable. Aluminum gutters are less prone to rust due to their natural resistance to corrosion, while copper gutters are known for their excellent durability and resistance to rust.
By understanding the causes of rust on gutters, you can take proactive measures to prevent its occurrence and prolong the lifespan of your gutter system. In the next section, we will discuss the tools and materials you will need for repairing rusted gutters.
Tools and Materials Needed for Repair
Before you begin repairing rusted gutters, it’s essential to gather the necessary tools and materials. Having everything prepared beforehand will help streamline the repair process and ensure you have everything you need at your fingertips. Here are the key tools and materials you will need:
1. Safety Equipment: It’s crucial to prioritize safety when working on any home repair project. Ensure you have the following safety equipment:
- Heavy-duty gloves
- Safety goggles
- Dust mask or respirator
- Ladder or scaffolding (if needed)
2. Cleaning Tools: Cleaning the gutters thoroughly is an essential step before addressing the rust. You will need:
- Gutter cleaning brush or scraper
- Stiff-bristle brush
- Bucket or garbage bags for debris collection
- Garden hose or pressure washer
- Gutter cleaning solution or mild detergent
3. Rust Removal Tools: To remove rust effectively, you will need:
- Wire brush or steel wool
- Sandpaper (medium to coarse grit)
- Rust remover or naval jelly
4. Rust Converter: A rust converter chemically converts rust into a stable compound, preparing the surface for priming and painting. Choose a high-quality rust converter suitable for metal surfaces.
5. Primer and Paint: Once the rust is addressed, you will need to apply a primer and paint to protect the gutter from future corrosion. Select a primer and paint specifically formulated for metal surfaces and outdoor use.
6. Paintbrushes and Rollers: Depending on the size and accessibility of your gutters, you may need a combination of paintbrushes and rollers to apply the primer and paint evenly.
7. Drop Cloths or Plastic Sheets: To protect the surrounding areas and prevent paint splatters, lay down drop cloths or plastic sheets before starting the painting process.
8. Rust-Resistant Screws or Rivets: If any gutter components are rusted beyond repair, you may need to replace them. Ensure you have rust-resistant screws or rivets on hand to secure the new components in place.
By gathering these tools and materials in advance, you’ll be well-prepared to tackle the rust repair project with confidence. Next, we’ll discuss important safety precautions to keep in mind before getting started.
Safety Precautions
When working on any home repair project, including repairing rusted gutters, it is crucial to prioritize safety. Taking the necessary precautions will help prevent accidents and ensure a smooth and successful repair process. Here are some important safety measures to keep in mind:
1. Wear Protective Gear: Before you begin, make sure to wear the appropriate safety gear. This includes heavy-duty gloves to protect your hands from sharp edges and debris, safety goggles to shield your eyes from flying particles, and a dust mask or respirator to avoid inhaling dust and chemical fumes.
2. Use Stable Ladder or Scaffolding: If you need to access elevated areas, such as when cleaning or repairing gutters, always use a stable ladder or scaffolding. Ensure the ladder is securely placed on a level surface and use ladder stabilizers or a spotter if needed.
3. Check for Power Lines: Before using a ladder or extending any tools, be cautious of nearby power lines. Ensure there is a safe distance between you and the power lines to avoid any electrical hazards.
4. Work in Dry Conditions: It is recommended to work on your gutter repair project in dry conditions to minimize the risk of slipping or accidents caused by wet surfaces. Avoid working during rain or when the gutters are wet.
5. Avoid Overreaching: When cleaning or repairing gutters, avoid overreaching and maintain a stable position on the ladder or scaffolding. If you cannot reach a certain area comfortably, reposition the ladder instead of straining to reach it.
6. Be Cautious of Sharp Edges: Gutters and other metal components may have sharp edges that can cause cuts or injuries. Take care when handling these materials and use caution to avoid accidental contact with sharp edges.
7. Follow Product Safety Guidelines: When using rust remover, rust converter, primer, paint, or any other chemical products, always follow the manufacturer’s instructions and safety guidelines. Avoid prolonged exposure to fumes or chemicals and work in a well-ventilated area.
8. Take Breaks and Stay Hydrated: Repairing rusted gutters can be physically demanding. Remember to take regular breaks, stay hydrated, and listen to your body. Working while fatigued can increase the risk of accidents and errors.
By following these safety precautions, you can minimize the risk of accidents and create a safe working environment for your gutter repair project. Now that you’re aware of the safety measures to take, let’s proceed to the step-by-step repair process.
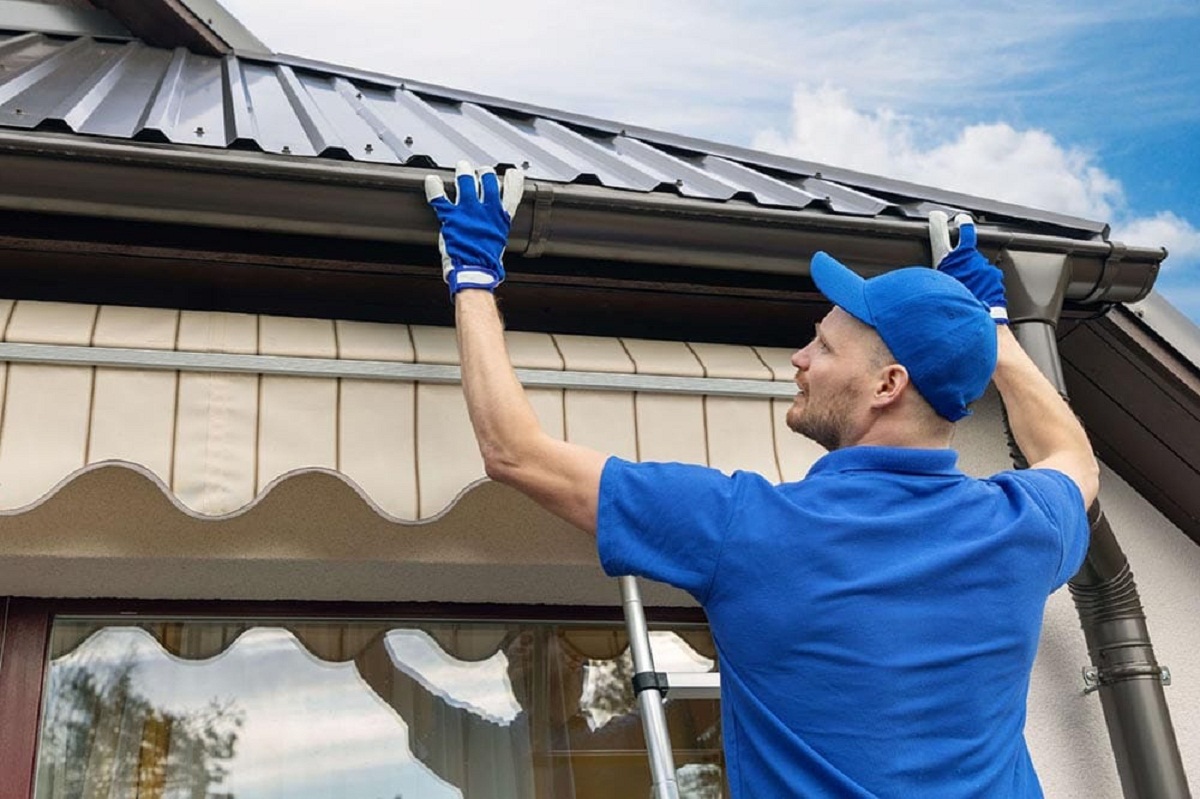
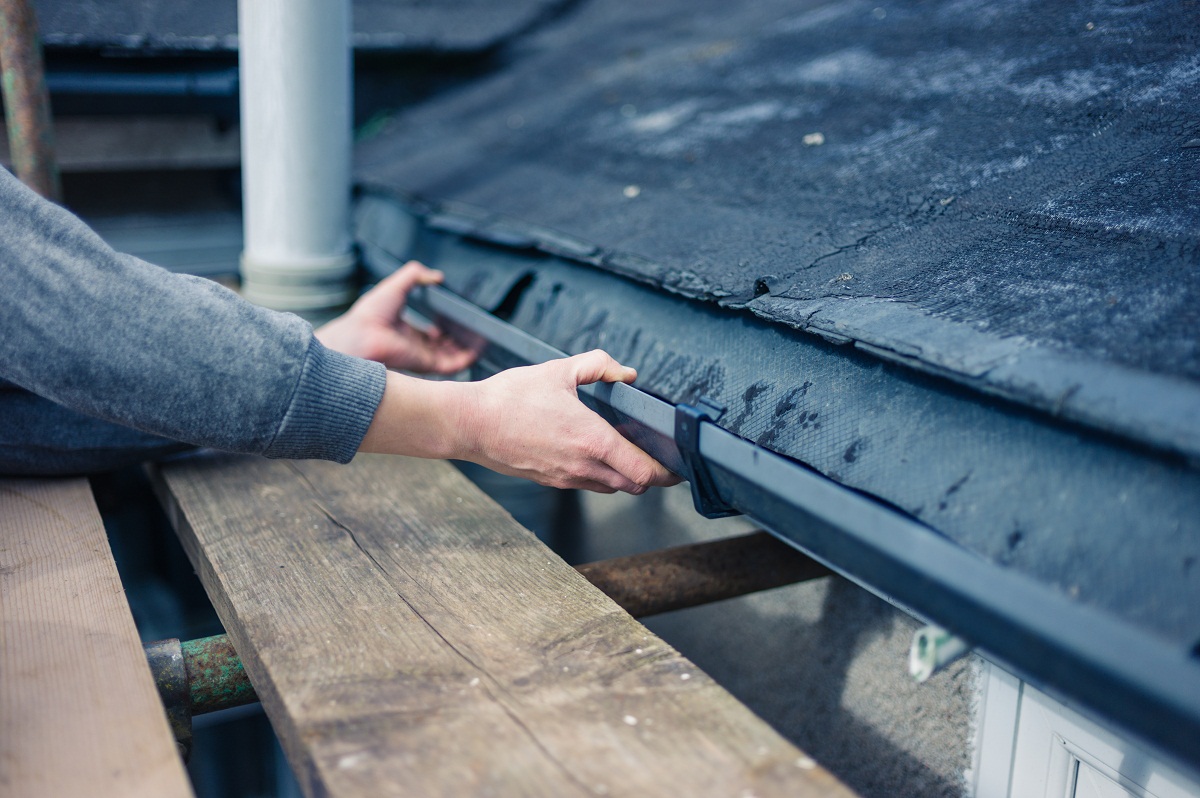
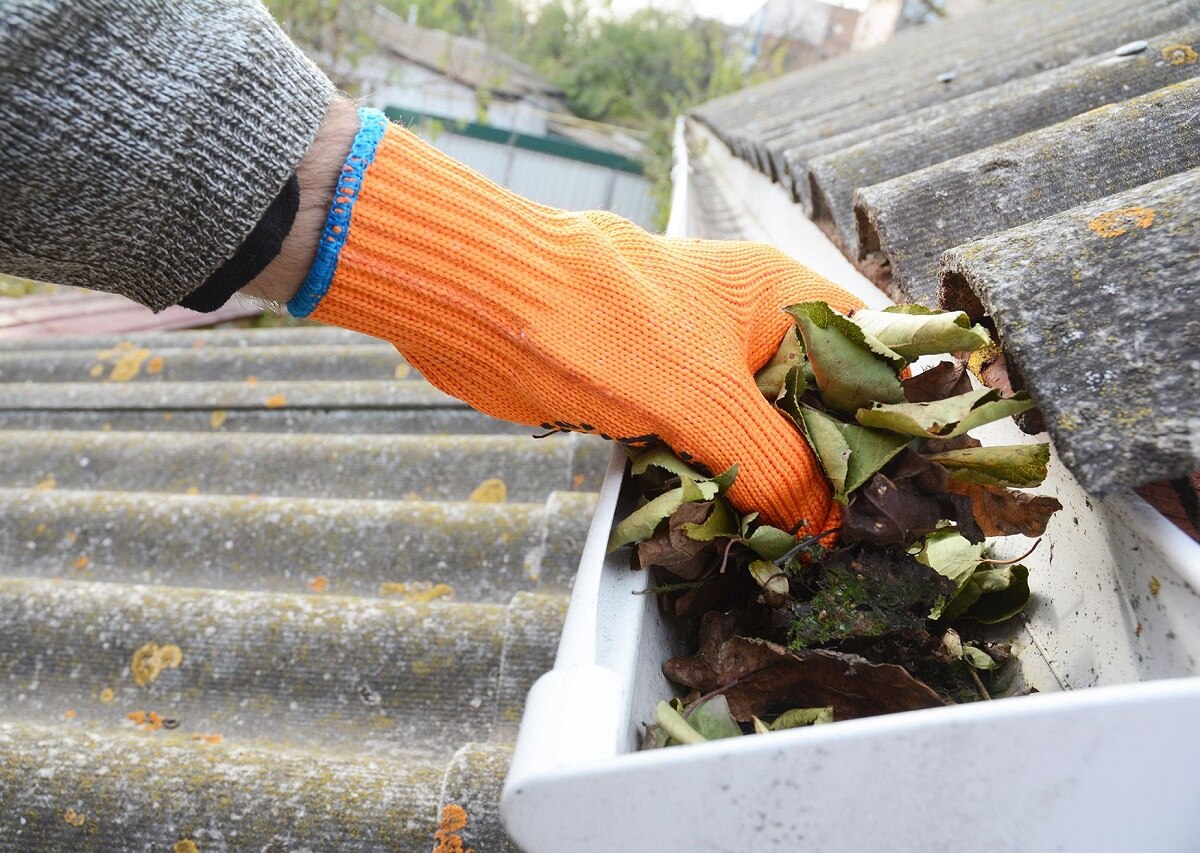
Step 1: Cleaning the Gutters
Before you can start repairing rusted gutters, it’s important to ensure that they are thoroughly cleaned. Cleaning the gutters will remove any debris, dirt, or leaves that may be contributing to the rusting process.
Follow these steps to effectively clean your gutters:
- Safety first: Equip yourself with the necessary safety gear, including heavy-duty gloves, safety goggles, and a dust mask or respirator.
- Position your ladder: Set up a stable ladder at a safe and convenient location near the gutters you need to clean.
- Remove large debris: Using a gutter cleaning brush or scraper, gently remove any large debris such as leaves, twigs, or clumps of dirt. Place the debris in a bucket or garbage bag for easy disposal.
- Scrub the gutters: With a stiff-bristle brush, scrub the interior and exterior of the gutters to remove any stuck-on dirt and grime. Pay attention to the areas with visible rust spots, ensuring thorough cleaning.
- Flush with water: Using a garden hose or pressure washer, rinse the gutters with water. Start from one end and work your way to the other, ensuring that all debris and cleaning residues are flushed out.
- Clean the downspouts: Check the downspouts for any clogs. If necessary, use a plumbing snake or a strong stream of water to dislodge any blockages.
- Dry the gutters: Allow the gutters to air dry completely before proceeding to the next step. This ensures a clean, dry surface for rust removal and repair.
By thoroughly cleaning your gutters, you remove the build-up of debris and create a clean surface for the subsequent rust repair steps. Cleaning the gutters regularly will also help prevent future rust formation and prolong the life of your gutter system. Now that your gutters are clean and dry, it’s time to move on to step two: removing the rust.
To repair rusted gutters, start by removing any loose rust with a wire brush, then apply a rust converter to stop the rusting process. Finally, apply a rust-resistant primer and paint to protect the gutters from future rust.
Read more: How To Remove Rust On Cutlery
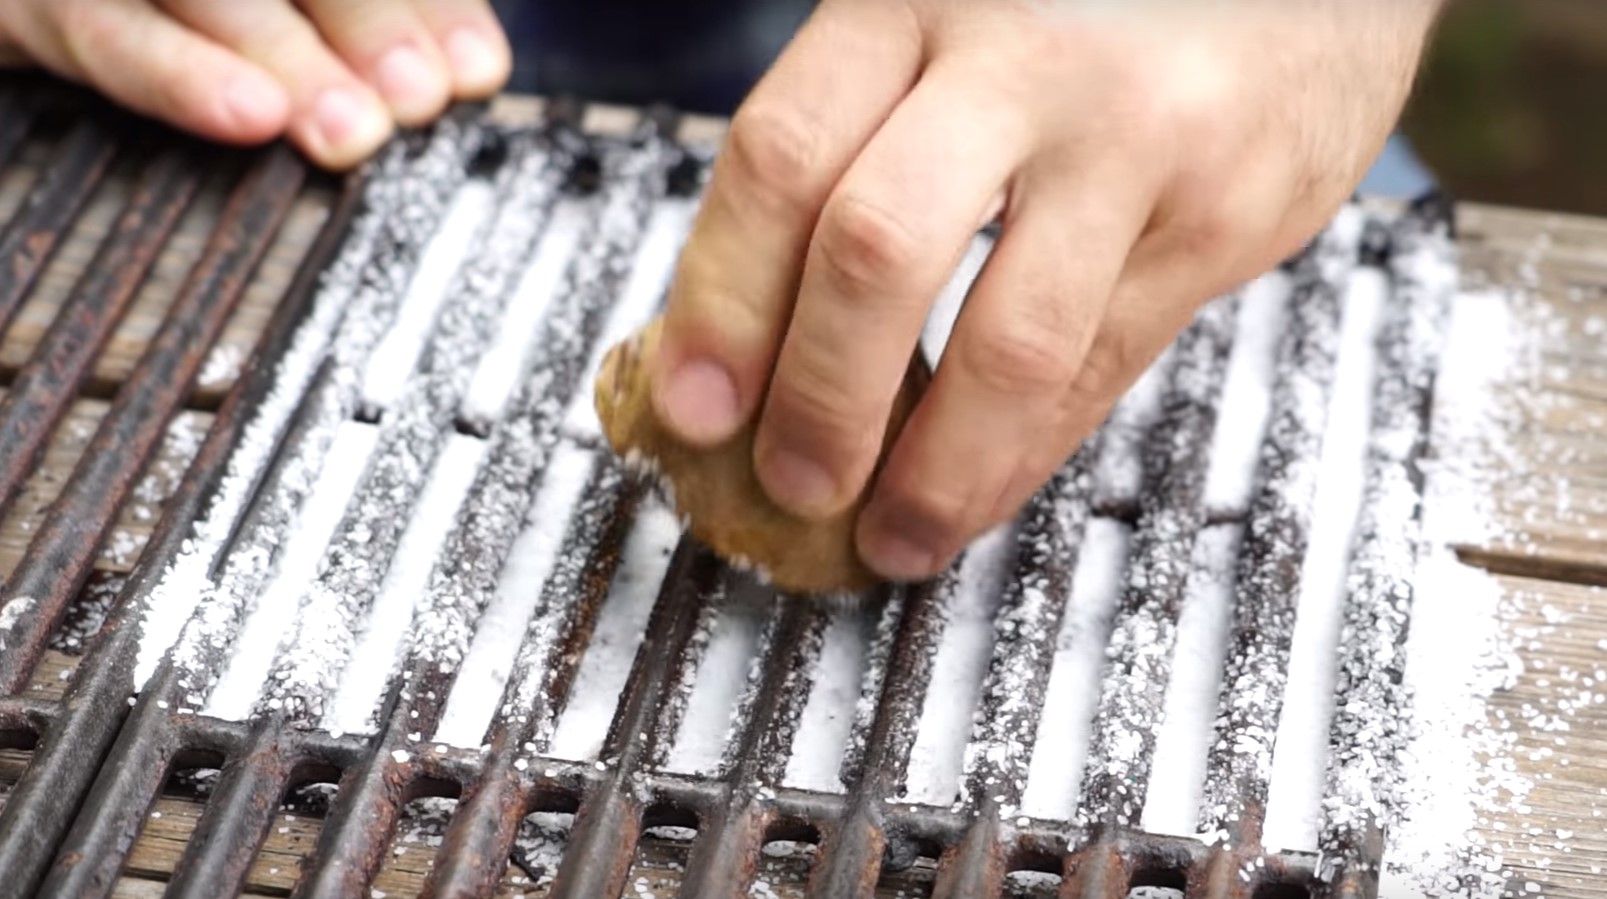
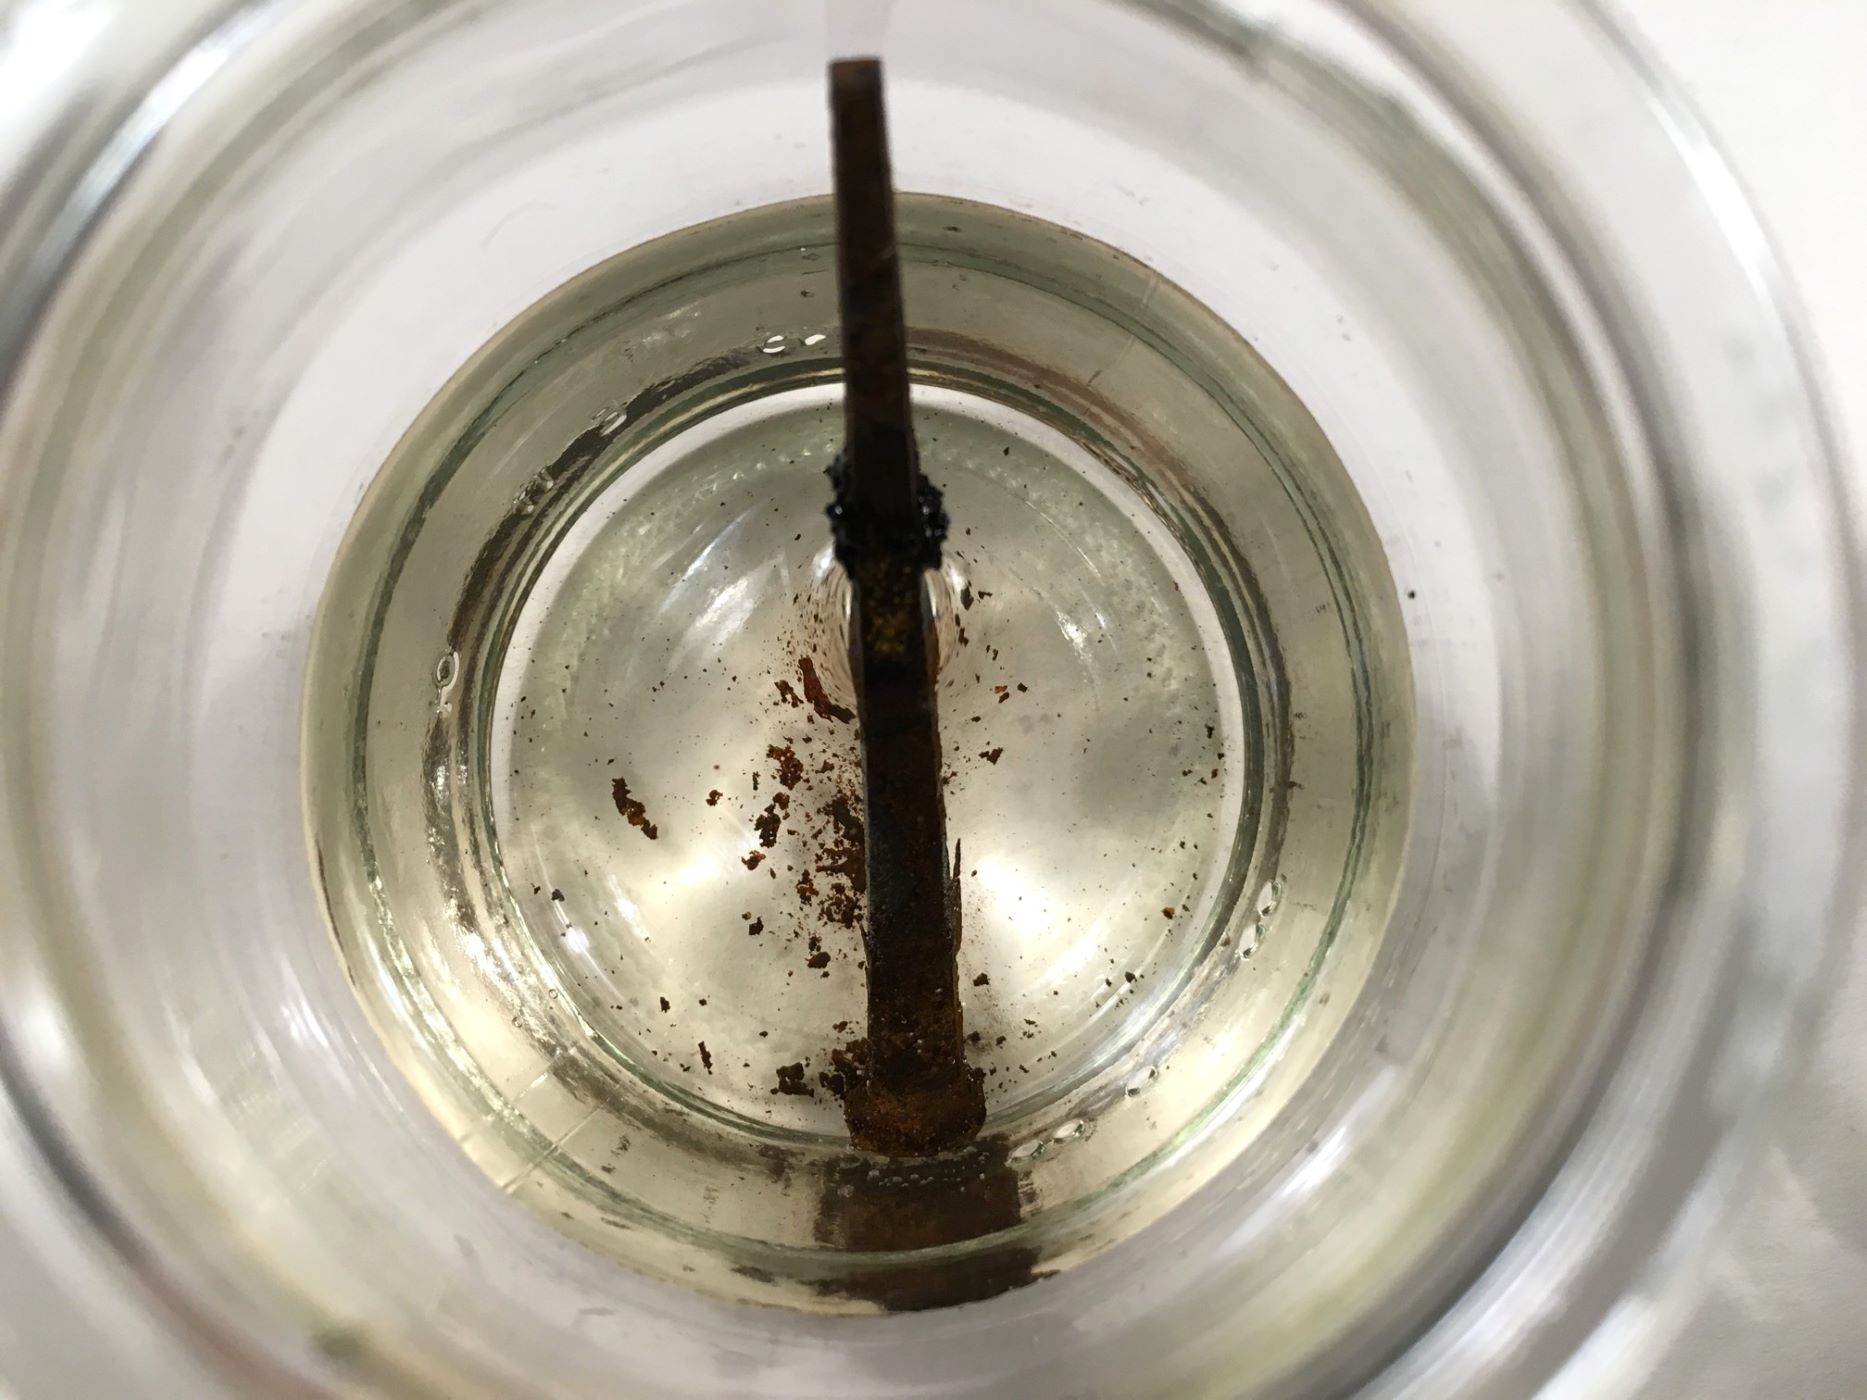
Step 2: Removing the Rust
After cleaning the gutters, the next step in repairing rusted gutters is to remove the existing rust. By eliminating the rust, you create a smooth surface for the application of rust converter, primer, and paint.
- Put on safety gear: Prioritize safety by wearing heavy-duty gloves, safety goggles, and a dust mask or respirator.
- Inspect for rust spots: Carefully examine the gutters for areas with visible rust. Focus on those spots as you proceed with rust removal.
- Choose a rust removal method:
- Wire brush or steel wool: For mild rust, scrub the affected areas with a wire brush or steel wool. Remove as much rust as possible, working in the direction of the gutter’s length.
- Sandpaper: For more stubborn rust, use medium to coarse-grit sandpaper. Sand the rusted areas until you reach bare metal, ensuring a smooth and even surface.
- Rust remover or naval jelly: If the rust is extensive, or if you prefer a chemical-based solution, apply a rust remover or naval jelly to the affected areas. Follow the product instructions for application and wait for the recommended duration to allow the product to work on the rust.
- Remove loose rust particles: After using the selected rust removal method, use a clean cloth or brush to wipe away loose rust particles from the gutters.
- Clean the gutters again: Once the majority of the rust has been removed, repeat the gutter cleaning process described in Step 1. This step helps to remove any remaining rust residue and ensures a clean surface.
- Inspect for remaining rust: Inspect the gutters once more to ensure that all visible rust has been removed. If any stubborn rust spots remain, you may need to repeat the rust removal process until you achieve a rust-free surface.
By removing the rust from your gutters, you eliminate the existing damage and prepare the surface for the next steps of repair. With the rust gone, it’s time to move on to Step 3: applying rust converter to further protect the gutters from future rust formation.
Step 3: Applying Rust Converter
Once you have removed the rust from your gutters, the next step in repairing rusted gutters is to apply a rust converter. Rust converters chemically react with any residual rust, transforming it into a more stable compound and creating a protective barrier against future corrosion.
Follow these steps to apply rust converter to your gutters:
- Put on safety gear: As always, prioritize safety by wearing heavy-duty gloves, safety goggles, and a dust mask or respirator.
- Read the instructions: Carefully read and follow the instructions provided by the rust converter manufacturer. Different products may have specific application guidelines.
- Prepare the gutters: Ensure that the gutters are clean and dry before applying the rust converter. If necessary, use a clean cloth or brush to remove any residual dust or debris.
- Apply the rust converter: Using a brush or sponge, apply the rust converter liberally to the rusted areas of the gutters. Ensure full coverage and allow the product to penetrate the rusted surface as per the manufacturer’s instructions.
- Wait for the reaction: Most rust converters require some time to react with the rust. Follow the recommended waiting period specified in the product instructions. During this time, the rust converter will chemically convert the remaining rust into a stable compound.
- Inspect for any missed spots: After the recommended reaction time, inspect the gutters to ensure that all rusted areas have been treated with the converter. If you missed any spots, apply a second coat to ensure complete coverage.
- Allow the rust converter to dry: Once you are satisfied with the coverage, allow the rust converter to dry completely. The drying time may vary depending on the product and environmental conditions.
Applying a rust converter will help neutralize any remaining rust on your gutters and create a protective layer to prevent future rust formation. With the rust converter dried, it’s time to move on to Step 4: priming and painting your gutters to provide long-lasting protection and aesthetic appeal.
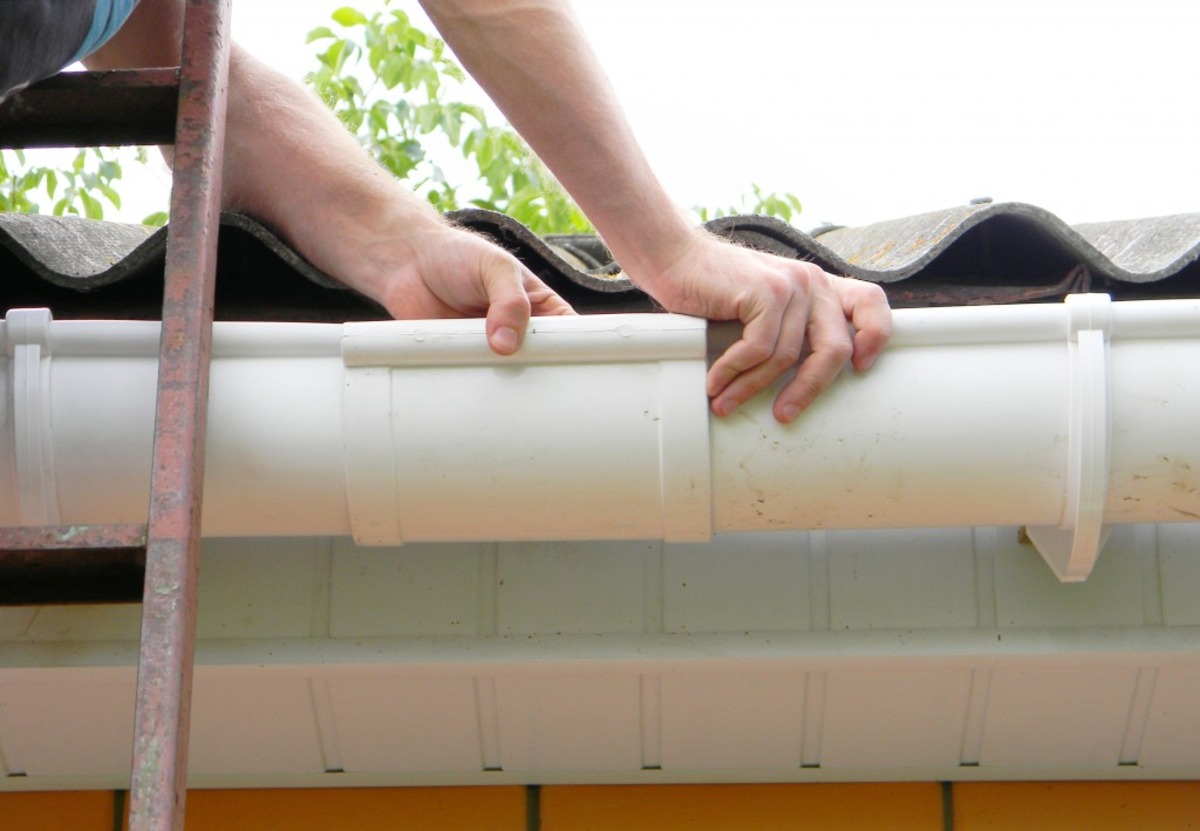
Step 4: Priming and Painting
After applying the rust converter and allowing it to dry, it’s time to move on to the next crucial step in repairing rusted gutters: priming and painting. Priming and painting not only enhance the aesthetics of your gutters but also provide an added layer of protection against rust and the elements.
Follow these steps to prime and paint your gutters effectively:
- Choose the right paint: Select a high-quality paint specifically formulated for exterior metal surfaces. Look for paints that offer rust-inhibiting properties and UV resistance for long-lasting results.
- Prepare the gutters: Ensure that the gutters are clean, dry, and free of any dust or debris. Use a clean cloth or brush to remove any loose particles that may interfere with paint adhesion.
- Priming: Apply a coat of metal primer to the gutters. The primer will provide a smooth base for the paint and help improve adhesion. Follow the manufacturer’s instructions regarding drying time and number of coats required.
- Sanding (optional): If desired, lightly sand the primed surface with fine-grit sandpaper to ensure a smoother finish. This step is particularly useful if you have any rough areas or imperfections on the gutters.
- Painting: Once the primer is fully dry, apply the first coat of paint to the gutters. Use a paintbrush or roller, depending on the size and accessibility of the gutter sections. Apply the paint evenly, working in small sections and following the manufacturer’s recommended coverage and drying times.
- Allow drying time: Allow the first coat of paint to dry completely before applying the second coat. This will ensure a more durable and uniform finish.
- Apply additional coats (if necessary): Depending on the desired coverage and appearance, you may need to apply additional coats of paint. Follow the recommended drying times between coats.
- Clean up: Dispose of paint cans and brushes properly according to local regulations. Clean your painting tools thoroughly for future use.
By priming and painting your gutters, you not only give them a fresh and appealing look but also provide long-lasting protection against rust and the elements. With the painting process complete, it’s time to discuss preventive measures in Step 5 to help you avoid future rust issues and maintain the integrity of your gutters.
Step 5: Preventive Measures to Avoid Future Rust
Now that your gutters are repaired, primed, and painted, it’s important to take preventive measures to avoid future rust issues. By implementing these measures, you can prolong the lifespan of your gutters and maintain their optimal functionality. Here are some key preventive measures to consider:
- Maintain regular gutter cleaning: Regularly clean your gutters to remove debris, leaves, and other materials that can trap moisture and promote rust formation. Aim to clean your gutters at least twice a year or more frequently if you live in an area with heavy foliage.
- Trim trees and vegetation: Trim overhanging branches and vegetation near your gutters to minimize debris accumulation. This will help reduce the amount of organic matter that can contribute to rust and clogging.
- Ensure proper drainage: Make sure your gutters are properly sloped and aligned to ensure effective water flow and drainage. This will help prevent the formation of stagnant water, which can accelerate rusting.
- Monitor for leaks and damage: Regularly inspect your gutters for any signs of leaks, sagging, or damage. Address any issues promptly to prevent water seepage and potential rust formation.
- Apply a protective sealant: Consider applying a protective sealant or coating to your gutters to provide an additional barrier against moisture and rust. Consult with a professional or follow product instructions for the appropriate sealant for your gutter material.
- Install gutter guards: Gutter guards can help prevent debris from entering your gutters, reducing the likelihood of clogs and rust. Choose gutter guards that are compatible with your gutter system and clean them regularly to maintain their effectiveness.
- Monitor and control moisture: Prevent excessive moisture buildup near your gutters by directing downspouts away from the foundation and ensuring proper grading around your home. This will help minimize the risk of water accumulation and rust development.
- Regular maintenance: Stay proactive with gutter maintenance by conducting routine inspections and addressing any issues promptly. This includes tightening loose screws, replacing damaged components, and repainting or touching up any areas where the paint may have worn off.
By incorporating these preventive measures into your gutter maintenance routine, you can minimize the risk of future rust and ensure the long-term durability and effectiveness of your gutter system. Remember, prevention is key when it comes to avoiding costly repairs and maintaining the overall integrity of your home.
With Step 5 completed, you have successfully learned how to repair rusted gutters and implement preventive measures. By following these steps and taking proper care of your gutters, you can enjoy a functional, aesthetically pleasing, and rust-free gutter system for years to come.
Remember to regularly evaluate the condition of your gutters and address any issues promptly to prevent further damage. With proper maintenance, your gutters will not only protect your home but also enhance its curb appeal.
Thank you for reading, and happy gutter repair!
Read more: What Is Grass Rust
Conclusion
Repairing rusted gutters is an essential maintenance task that can help preserve the integrity and functionality of your gutter system. Rust not only affects the aesthetic appeal of your home but can also lead to structural damage and costly repairs if left unaddressed. By following the step-by-step process outlined in this guide, you can effectively repair rusted gutters and prevent future rust formation.
Understanding the causes of rust, gathering the necessary tools and materials, and prioritizing safety throughout the repair process are vital components of successfully restoring your gutters. Cleaning the gutters, removing the rust, applying rust converter, and priming and painting are essential steps to rejuvenate your gutter system. Finally, implementing preventive measures such as regular cleaning, proper drainage, and proactive maintenance will help extend the lifespan of your gutters and prevent future rust issues.
Remember, regular gutter maintenance is key to avoiding costly repairs and maintaining the overall integrity of your home. By staying proactive and addressing issues promptly, you can ensure that your gutters function optimally, protecting your home from water damage and maintaining its curb appeal.
We hope this comprehensive guide has provided you with the knowledge and confidence to tackle your rusted gutter repair project. Always prioritize safety, follow the manufacturer’s instructions, and seek professional help if needed. With proper care and maintenance, your gutters will continue to protect your home for years to come.
Thank you for reading, and happy repairing!
Frequently Asked Questions about How To Repair Rusted Gutters
Was this page helpful?
At Storables.com, we guarantee accurate and reliable information. Our content, validated by Expert Board Contributors, is crafted following stringent Editorial Policies. We're committed to providing you with well-researched, expert-backed insights for all your informational needs.


0 thoughts on “How To Repair Rusted Gutters”