Articles
How To Store Dog Poop Sample
Modified: December 7, 2023
Learn effective methods for storing dog poop samples in this informative article. Find useful tips and guidelines to ensure proper preservation.
(Many of the links in this article redirect to a specific reviewed product. Your purchase of these products through affiliate links helps to generate commission for Storables.com, at no extra cost. Learn more)
Introduction
When it comes to taking care of our furry friends, it’s not just about feeding them, taking them for walks, and giving them all the love they deserve. Responsible pet owners also need to keep an eye on their pet’s health. Regular visits to the veterinarian are crucial, but there are times when our dogs may not be feeling well and need medical attention outside of the clinic. In such cases, the veterinarian may require a stool sample to diagnose any potential health issues.
Storing a dog poop sample may not be the most glamorous aspect of pet ownership, but it is an important part of ensuring the health and well-being of our four-legged companions. Properly collecting and storing a poop sample is necessary to maintain its quality for testing and prevent contamination. In this article, we will guide you through the process of storing a dog poop sample effectively, ensuring accurate results and making the whole experience as hassle-free as possible.
Key Takeaways:
- Properly storing a dog poop sample is crucial for accurate testing and diagnosis. From choosing the right container to transporting it carefully, every step ensures the health and well-being of your furry friend.
- Using gloves or a poop scoop, securely sealing the container, and following specific instructions are key to maintaining the integrity of the poop sample. Responsible pet ownership includes ensuring accurate test results for your dog’s health.
Read more: How To Store A Poop Sample For The Vet
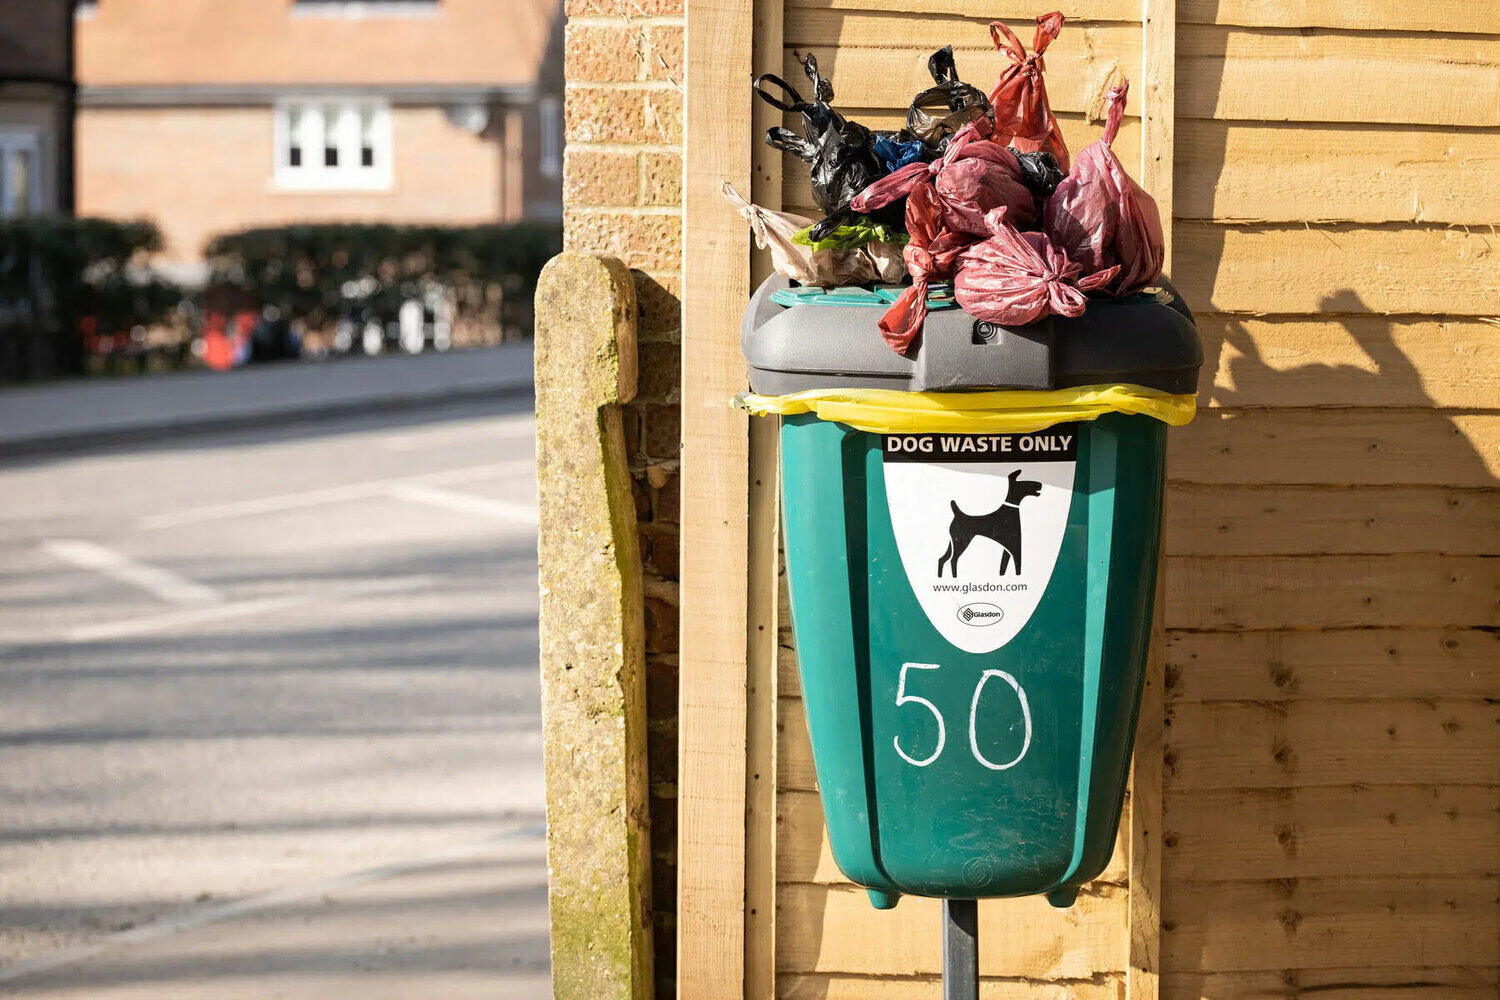
Step 1: Choose a suitable container
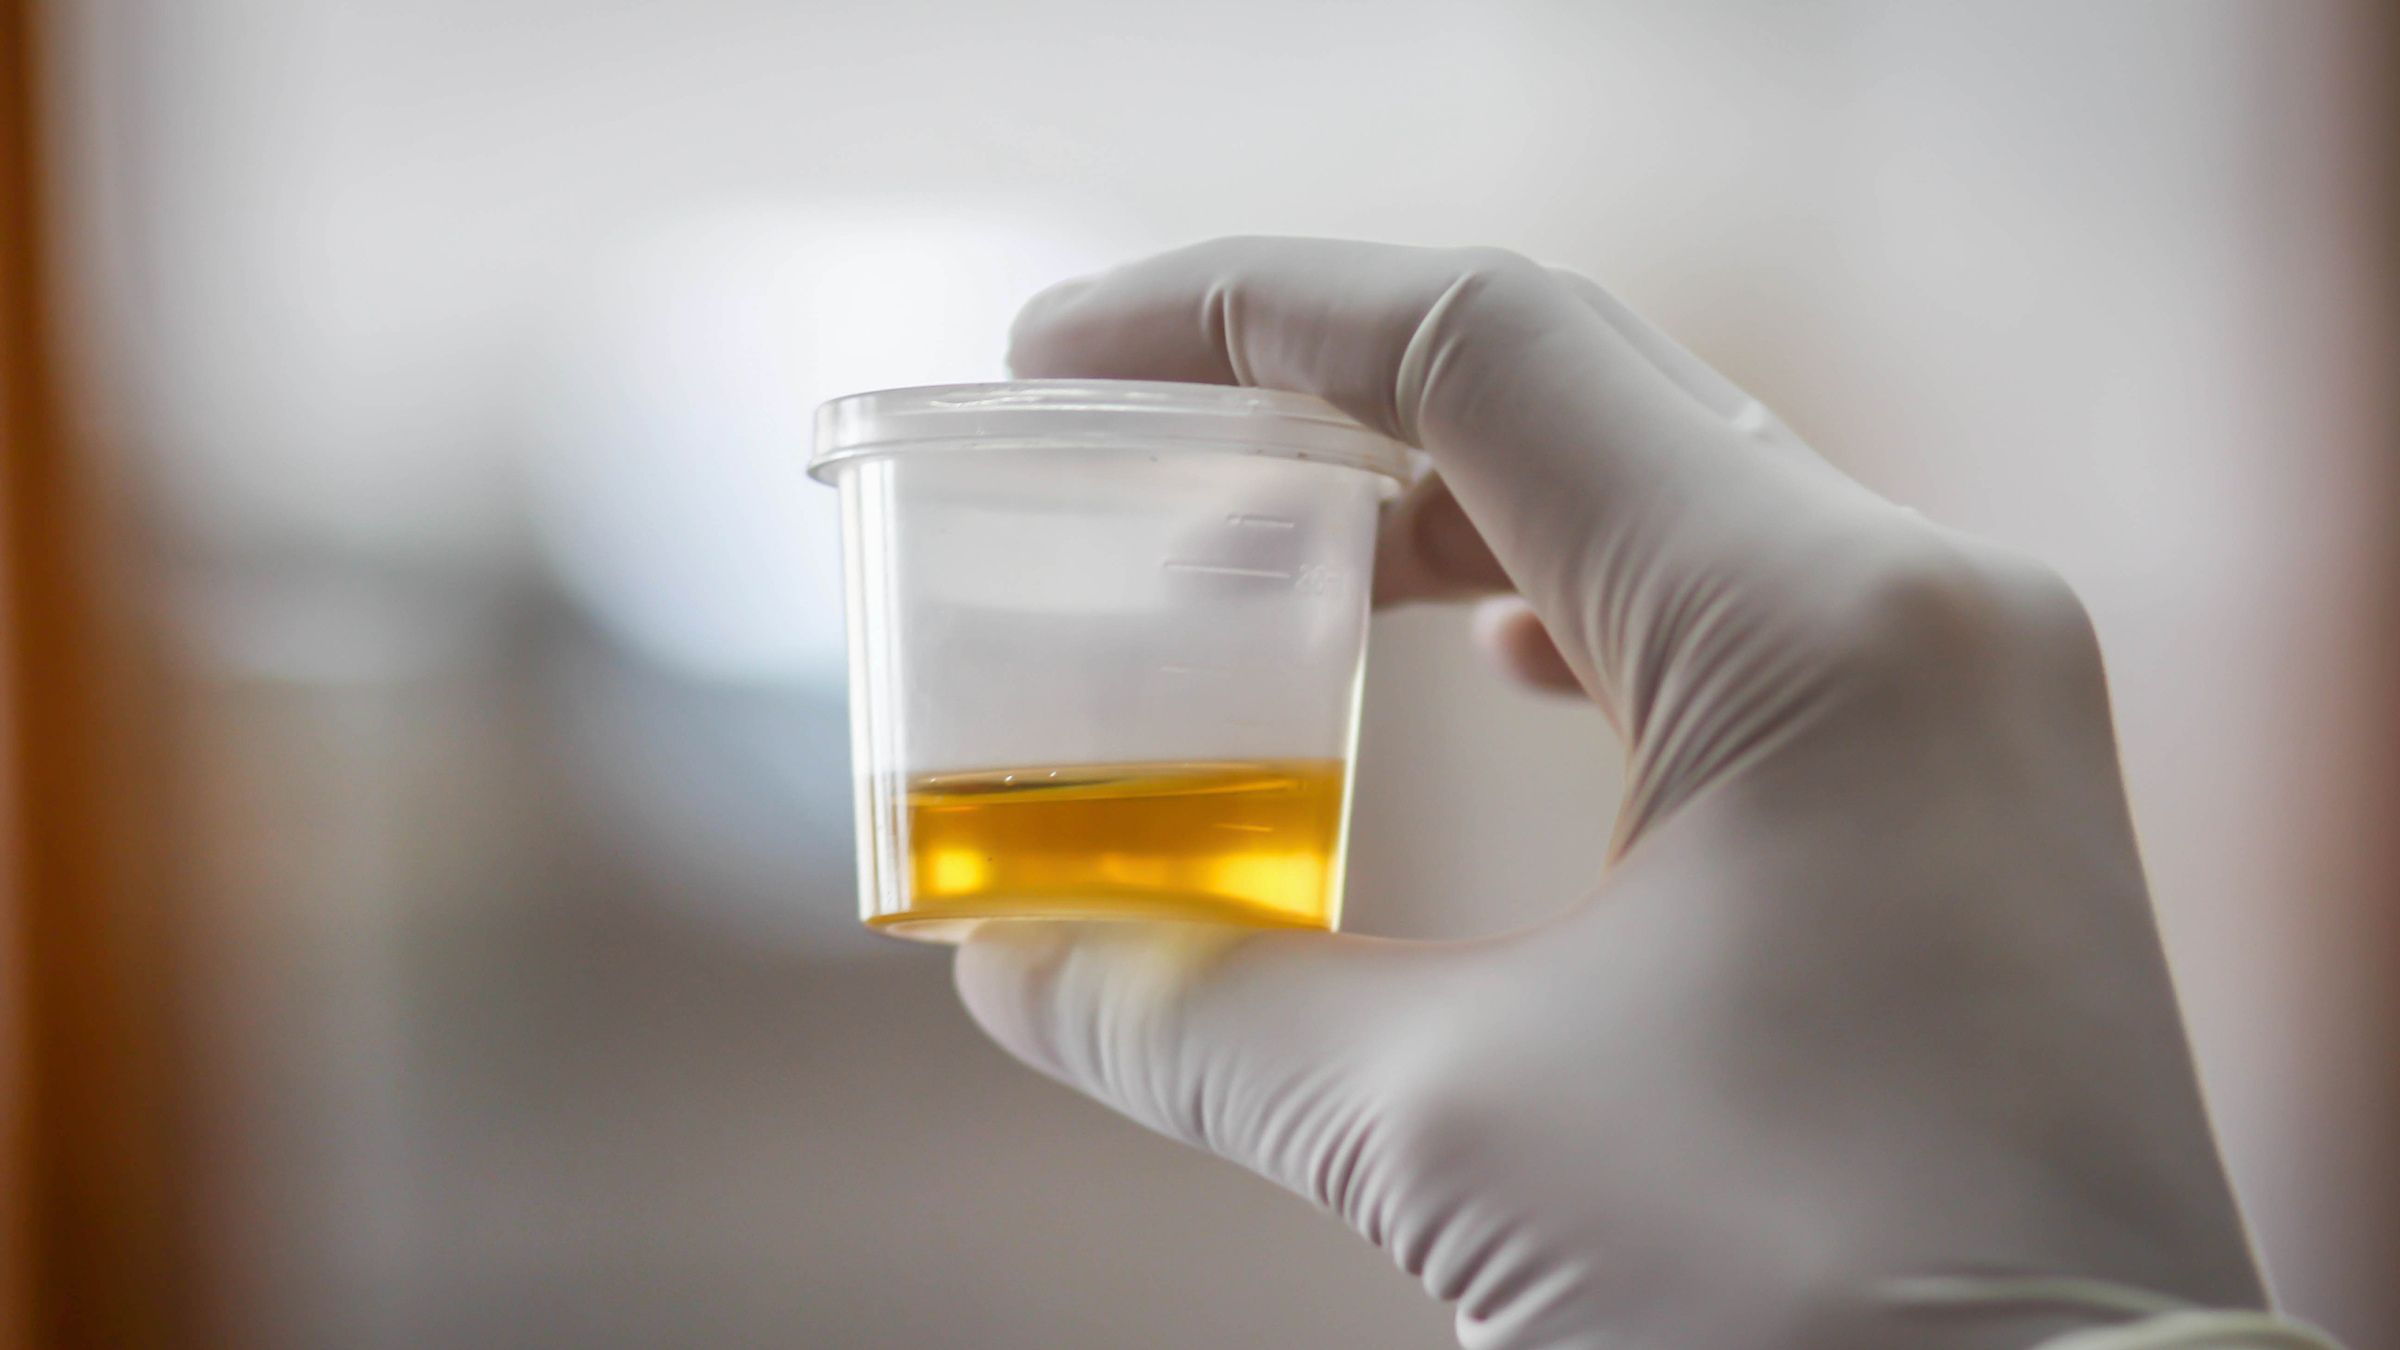
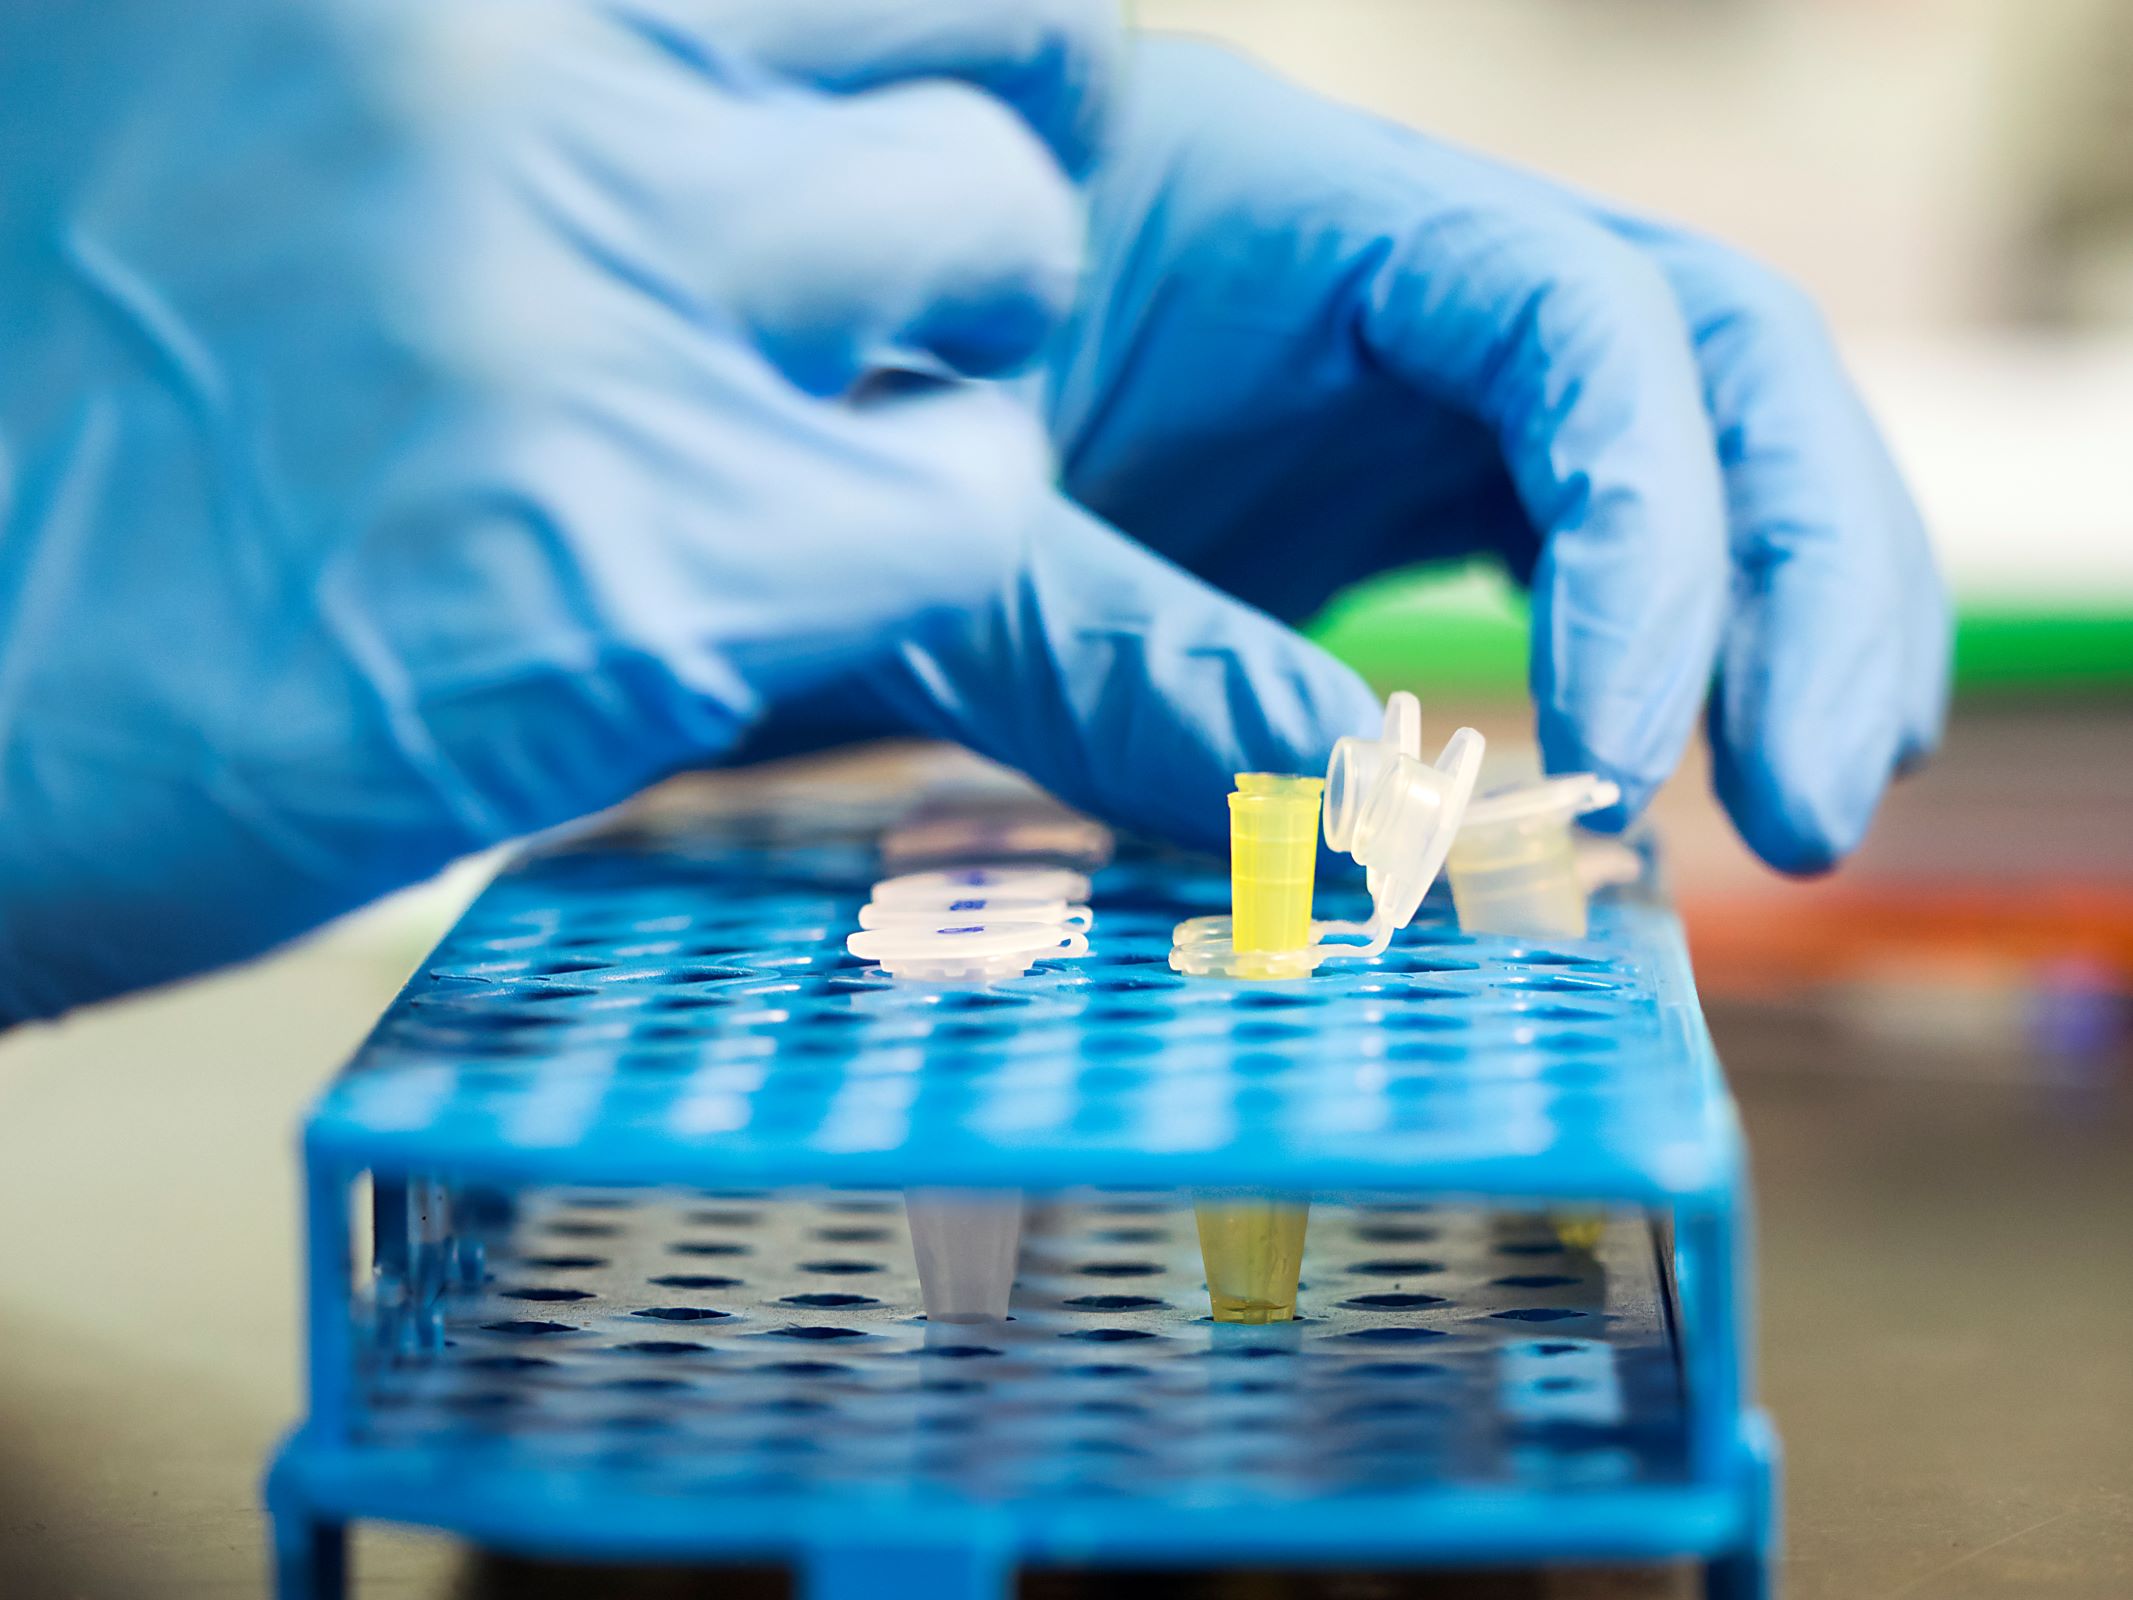
The first step in storing a dog poop sample is to choose an appropriate container. Ideally, you should opt for a clean, sterile, and leak-proof container. Most pet stores or veterinary clinics offer specialized sample containers that are designed for this purpose. These containers are usually made of plastic and have tight-fitting lids to prevent any leakage or odor.
If you don’t have access to a specific sample container, you can use a small plastic food container with a secure lid. Make sure that the container is thoroughly cleaned and sanitized before use to avoid any contamination that may interfere with the test results.
It’s important to note that you should avoid using containers that have been previously used for storing food or other substances, as they may contain residues that could potentially affect the accuracy of the test results.
Additionally, consider the size of the container. It should be large enough to hold an adequate amount of poop for testing purposes. A sample about the size of a golf ball is usually sufficient, but consult with your veterinarian for specific instructions regarding the required sample size.
By choosing a suitable container, you can ensure that the poop sample remains intact and uncontaminated throughout the storage process.
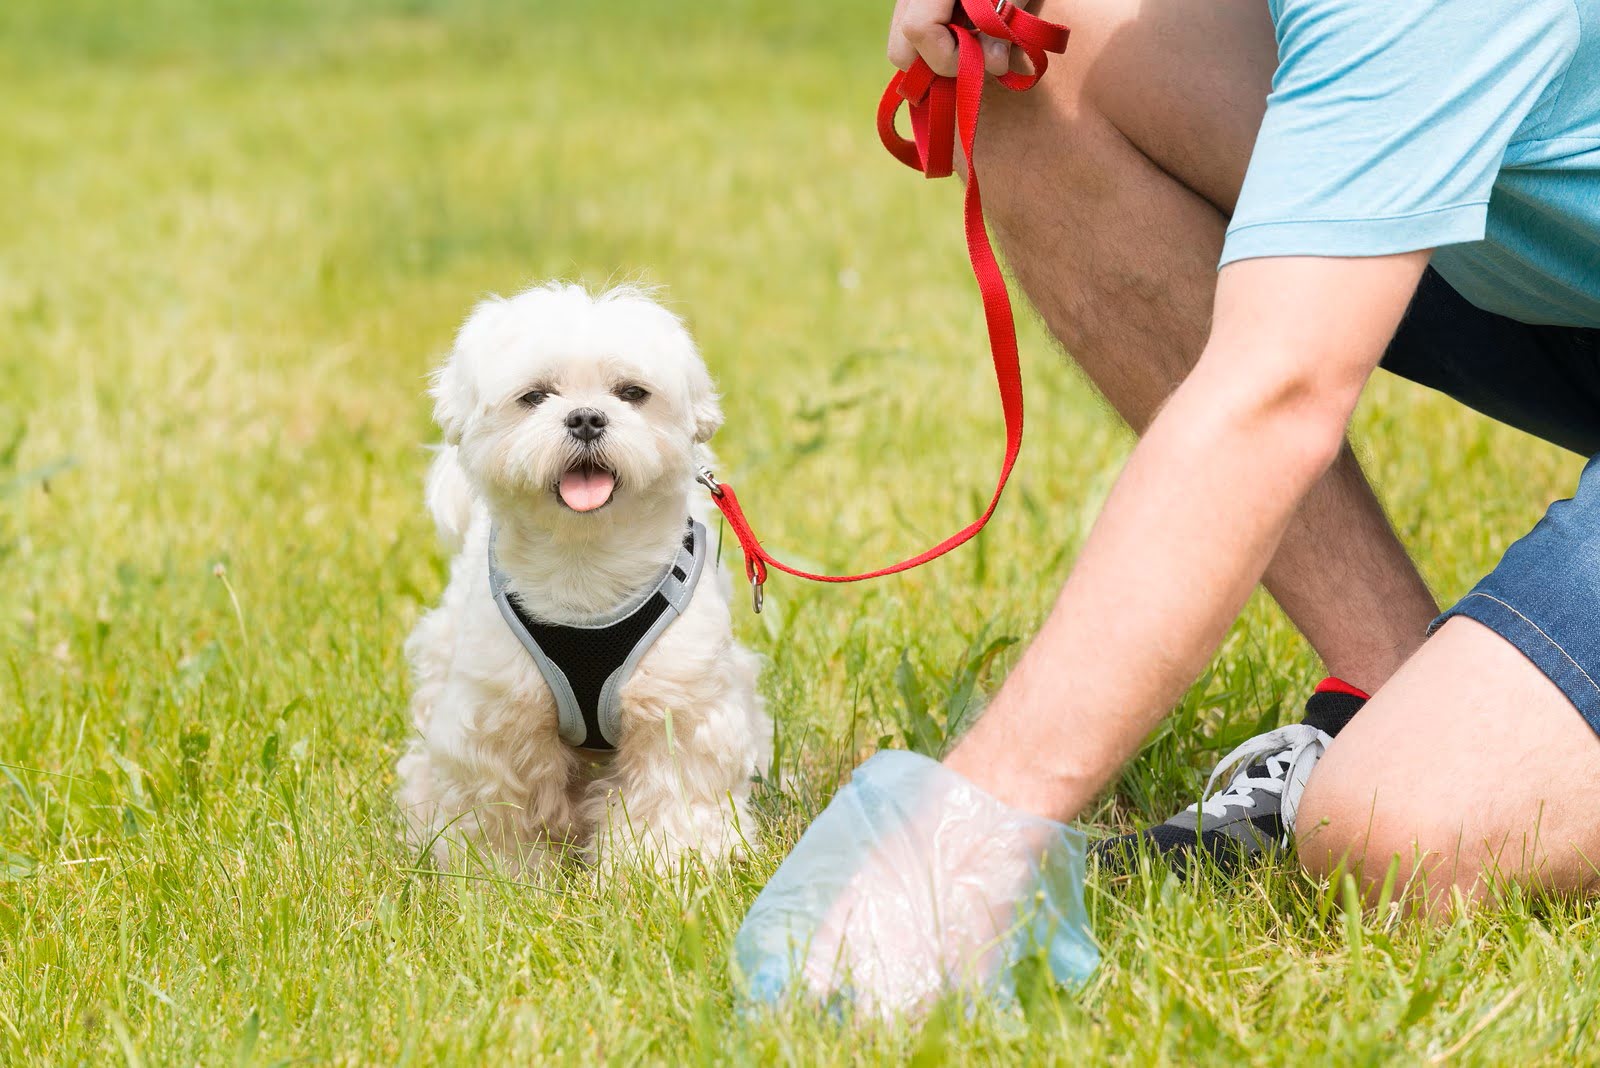
Step 2: Use gloves or a poop scoop
Before collecting the poop sample, it is essential to protect yourself from any potential health risks. Always remember to wear gloves or use a poop scoop to handle the feces.
Gloves provide a barrier between your skin and the poop, preventing the transmission of any parasites or bacteria that may be present in the stool. Disposable gloves are widely available and can be easily discarded after use, ensuring proper hygiene.
If you prefer not to use gloves, a poop scoop can be an alternative option. A poop scoop is a handy tool designed specifically for picking up dog waste. It typically has a long handle and a scoop-shaped end that allows you to collect the poop without direct contact with your hands. After use, make sure to clean the scoop thoroughly to prevent any cross-contamination.
Using gloves or a poop scoop when handling the poop sample helps to maintain hygiene and decreases the risk of spreading any potential pathogens.
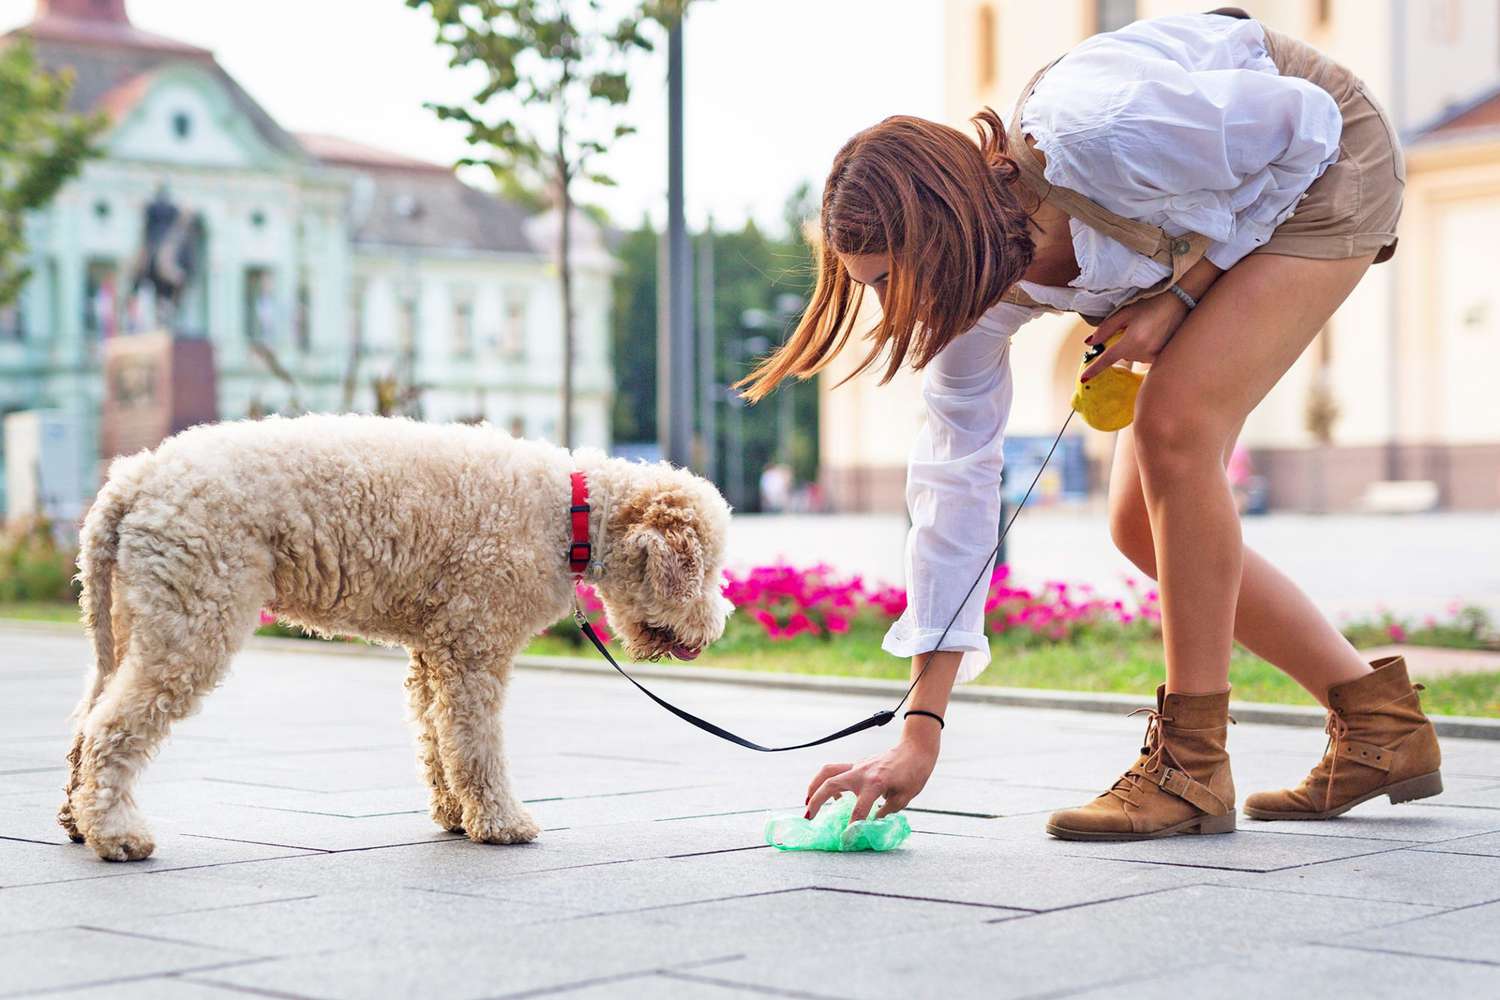
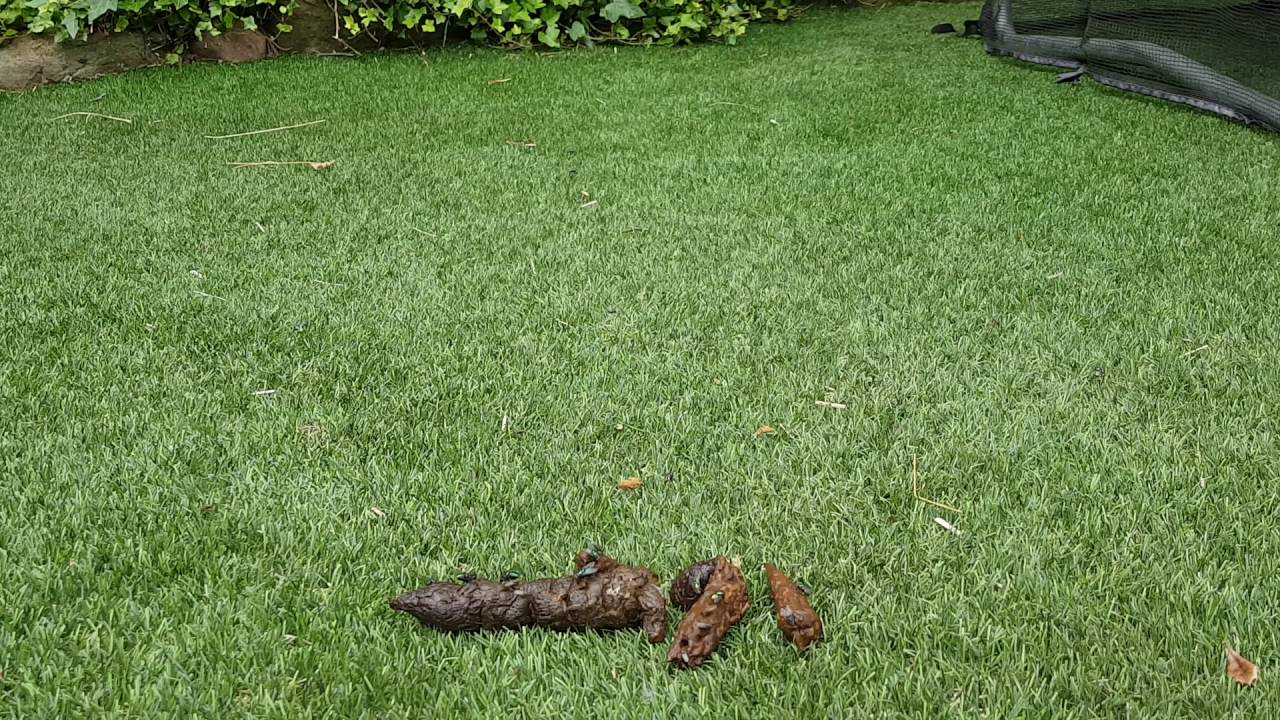
Step 3: Collect the poop sample
Now that you have your container and protective gear in place, it’s time to collect the poop sample. Here’s how you can do it:
- Locate a fresh stool: Look for a fresh stool sample from your dog. The fresher the sample, the more accurate the test results will be.
- Scoop or pick it up: If using a poop scoop, carefully place the scoop beneath the stool and lift it into the container. If using gloves, scoop the poop with your hand and gently place it into the container.
- Avoid soil or grass: Make sure to collect only the poop and avoid any soil or grass that may be mixed in.
- Collect a sufficient amount: Collect a small amount of stool, about the size of a golf ball, to ensure there is enough material for testing.
- Seal the container: Immediately seal the container tightly to prevent any leakage or odor.
It’s important to remember that the sample needs to be as representative as possible, so try to collect the poop sample when your dog is not on any medication that may interfere with the results. If your dog has diarrhea or any abnormal feces, it’s best to consult your veterinarian for further instructions on collecting a suitable sample.
Always handle the poop sample with care to avoid any accidental contamination with other surfaces or objects.
Step 4: Securely seal the container
After collecting the poop sample, it’s crucial to securely seal the container to prevent any leakage or odor. This step ensures that the sample remains intact and preserves its quality for testing purposes.
If you’re using a specialized sample container, follow the manufacturer’s instructions on how to properly seal it. Typically, these containers come with a tight-fitting lid that snaps or screws on securely. Make sure the lid is tightly closed to create an airtight seal.
If you’re using a regular plastic food container, ensure that the lid fits tightly and securely onto the container. Double-check that there are no gaps or openings where leakage could occur.
It’s important to note that you should avoid using any tape or adhesive to seal the container, as the adhesive residue or chemicals from the tape may contaminate the sample, compromising the test results.
By securely sealing the container, you can prevent any spills, leaks, or exposure to odors during transportation and storage.
Read more: How To Store A Dog Stool Sample
Step 5: Store the container in a cool place
After securely sealing the container, it’s essential to store it in a cool place to maintain the integrity of the poop sample.
Excessive heat can accelerate the decomposition of the stool and potentially lead to bacterial growth, which can affect the accuracy of the test results. Therefore, it’s important to avoid storing the container in areas with direct sunlight or high temperatures, such as near radiators, in hot vehicles, or in rooms without air conditioning.
Instead, choose a cool and shaded location for storage, such as a refrigerator or a cool basement. If using a refrigerator, keep the poop sample in a dedicated container or sealed bag to prevent any contamination with food items. Remember to label the container clearly to avoid any accidental mix-up or confusion.
It’s crucial to avoid freezing the sample, as freezing can alter the composition of the stool and potentially affect the test results. Freezing can cause the cells in the stool to rupture, making it difficult for accurate analysis.
By storing the container in a cool place, you can help preserve the poop sample’s quality and ensure reliable test results.
When storing a dog poop sample, use a clean, airtight container to prevent contamination and preserve the sample’s integrity. Keep it refrigerated if not immediately tested.
Step 6: Label the container
Properly labeling the container is an important step in storing a dog poop sample. Clear labeling ensures that the sample can be easily identified and avoids any confusion or mix-up during the testing process.
When labeling the container, include the following information:
- Date and time: Write down the date and time when the poop sample was collected. This helps the veterinary staff to determine the freshness of the sample.
- Pet’s name: Clearly indicate the name of your dog on the label. This is especially important if you have multiple pets or if the sample is being tested alongside other samples.
- Your name: Include your name as the pet owner on the label. This helps to match the sample with the correct owner’s information.
- Veterinary clinic details: Write down the name and contact information of the veterinary clinic or lab where the sample will be submitted. This ensures that the sample reaches the correct destination.
- Any additional notes: If there are any specific instructions from the veterinarian regarding the handling or testing of the sample, make a note of them on the label.
Use a waterproof marker or label to write the information clearly on the container. Ensure that the label is securely attached and won’t easily come off during transportation or storage.
By labeling the container, you can help ensure that the poop sample is accurately identified and processed by the veterinary staff, leading to reliable test results.
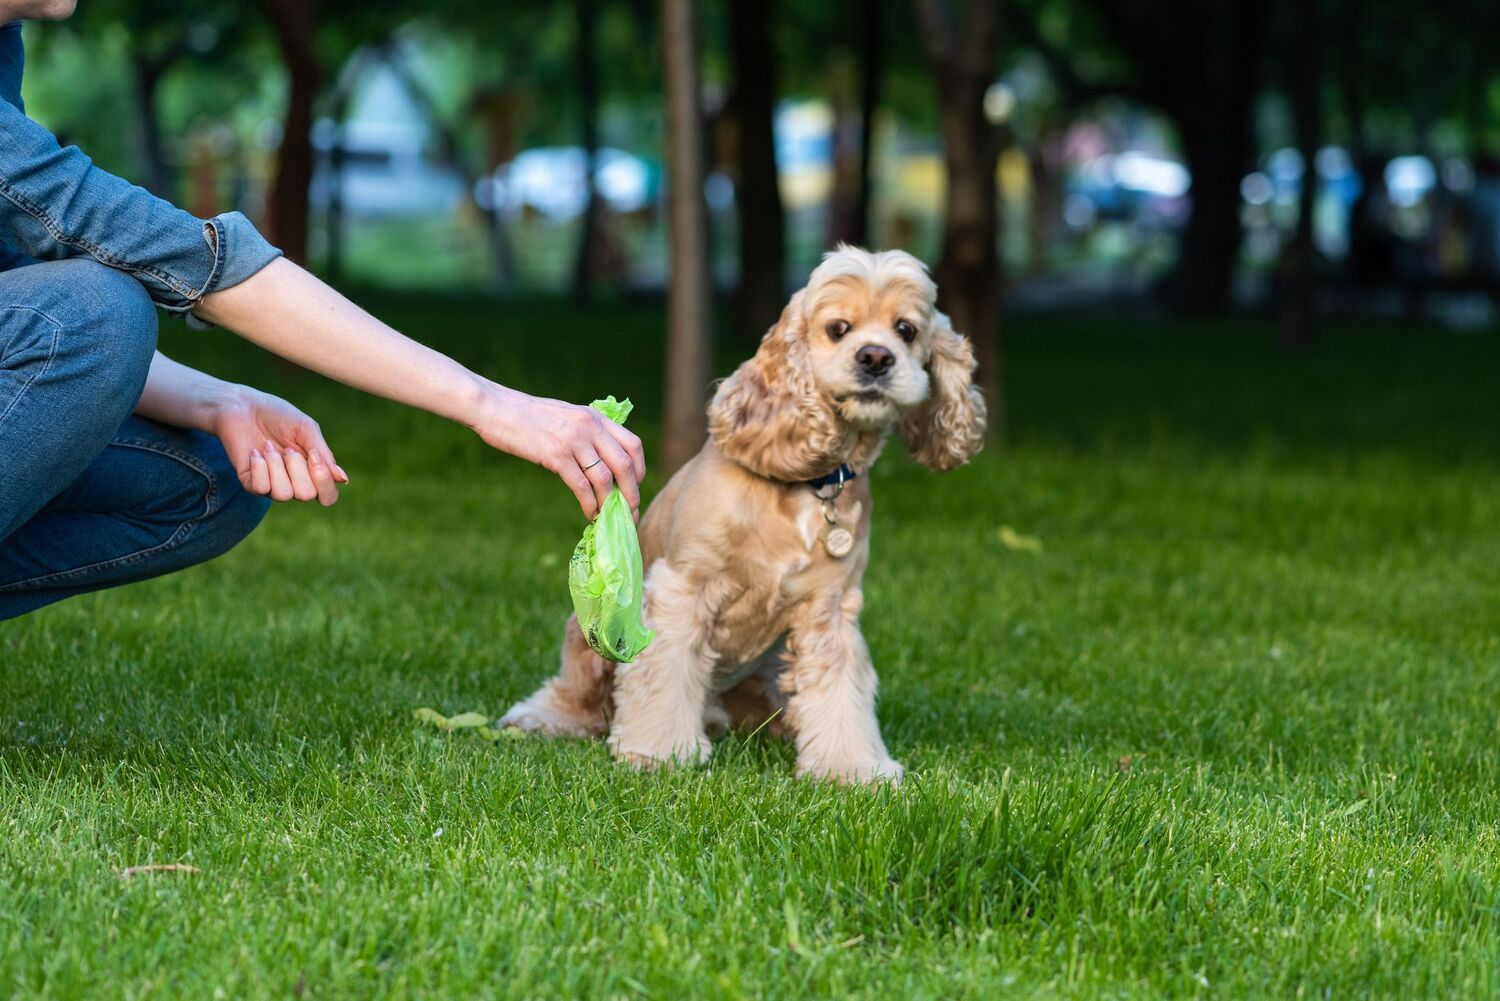
Step 7: Properly dispose of gloves or scoop
After collecting the poop sample and sealing the container, it’s important to properly dispose of the gloves or poop scoop that were used during the process. This step ensures hygiene and prevents the spread of any potential pathogens.
If you used disposable gloves, carefully remove them by pulling from the wrist and turning them inside out. Dispose of the gloves in a sealed bag or trash bin designated for waste disposal. Avoid touching the outside surface of the gloves, as they may be contaminated with feces.
If you used a poop scoop, clean it thoroughly before storing it or using it again. Use hot soapy water to wash the scoop, making sure to remove any residue or fecal matter that may be stuck to it. Rinse it thoroughly and allow it to dry completely before storing it for future use.
It’s crucial to wash your hands thoroughly with soap and water after handling the gloves or scoop to eliminate any potential bacteria or parasites that may have come into contact with your skin.
By properly disposing of gloves or cleaning the poop scoop, you maintain a clean and sanitary environment and prevent the spread of any harmful contaminants.
Step 8: Transport the sample to the testing facility
Once you have collected and properly sealed the poop sample, it’s time to transport it to the testing facility for analysis. It’s important to handle the sample with care during transportation to ensure that it arrives in optimal condition for testing.
If the testing facility is located nearby, you can personally deliver the sample. Keep in mind the following guidelines:
- Keep the sample in a cool environment during transportation, preferably in a cooler bag or container with ice packs to maintain its freshness.
- Avoid any rough handling or shaking of the container, as this can compromise the integrity of the sample.
- If using a private transportation service, inform them about the nature of the package and request gentle handling to prevent any leakage or damage.
If the testing facility is not within a reasonable distance for personal delivery, consult with your veterinarian or the testing facility regarding alternative transportation options. They may provide specific instructions or recommend a specialized shipping service for sending the sample.
Ensure that the container is securely sealed before sending it. Consider using additional packaging, such as a sealable plastic bag, to provide an extra layer of protection against leakage or odor during transit.
Obtain any necessary paperwork or forms from the testing facility, such as submission forms or labels, and fill them out accurately to ensure proper identification and processing of the sample.
By following these guidelines, you can ensure the safe and reliable transportation of the poop sample to the testing facility, allowing for accurate analysis and diagnosis.
Read more: How To Store Dog Urine Sample
Step 9: Follow any additional instructions provided
When it comes to storing a dog poop sample, it’s important to follow any additional instructions provided by your veterinarian or the testing facility. These instructions are specific to the type of test being conducted and may vary depending on the specific requirements of the diagnostic procedure.
The additional instructions may include:
- Specific storage conditions: The testing facility may provide specific temperature recommendations for storing the sample. Make sure to adhere to these guidelines to ensure accurate results.
- Time sensitivity: Some tests require immediate analysis to obtain more reliable results. If there are any time constraints, make sure to submit the sample as soon as possible to avoid any potential degradation of the specimen.
- Submission forms: Fill out any necessary forms or documents provided by the testing facility accurately and completely. This information is essential for proper sample identification and processing.
- Payment information: If there are any fees associated with the testing, make sure to provide payment information as instructed by the testing facility.
- Follow-up instructions: If the test results require further action or follow-up, such as scheduling a consultation with the veterinarian, make sure to review and follow these instructions to address your dog’s health needs.
By carefully reviewing and following any additional instructions provided, you can ensure that the dog poop sample is handled and processed according to the specific requirements of the diagnostic test, maximizing the accuracy and usefulness of the results.
Conclusion
Storing a dog poop sample properly is an essential step in maintaining the health and well-being of our beloved pets. By following the steps outlined in this article, you can ensure that the poop sample remains uncontaminated and in optimal condition for testing.
From choosing a suitable container to securely sealing it, every step plays a crucial role in preserving the integrity of the sample. Using gloves or a poop scoop during collection helps maintain hygiene, preventing the transmission of any potential pathogens.
Properly labeling the container with important details like date, time, and pet and owner’s name ensures that the sample is accurately identified and processed. Transporting the sample to the testing facility with care, following any additional instructions provided, and submitting necessary paperwork complete the process.
Storing a dog poop sample may not be the most pleasant aspect of pet ownership, but it is an important responsibility. Regular check-ups and evaluations of your dog’s health are vital to catching any potential issues early and ensuring their well-being.
Remember, if you have any concerns or questions about storing a dog poop sample, consult with your veterinarian. They can provide specific guidance to ensure the accuracy of test results and assist in the diagnosis and treatment of your dog’s condition.
By being proactive and attentive to your dog’s health, you’re playing an active role in their overall wellness and happiness. So, don’t shy away from the task of storing a dog poop sample when necessary – it’s all part of providing the best care for your furry friend!
Frequently Asked Questions about How To Store Dog Poop Sample
Was this page helpful?
At Storables.com, we guarantee accurate and reliable information. Our content, validated by Expert Board Contributors, is crafted following stringent Editorial Policies. We're committed to providing you with well-researched, expert-backed insights for all your informational needs.
0 thoughts on “How To Store Dog Poop Sample”