Articles
How To Store Dog Urine Sample
Modified: August 28, 2024
Learn the proper way to store a dog urine sample with this helpful article. Ensure accurate test results and maintain sample integrity.
(Many of the links in this article redirect to a specific reviewed product. Your purchase of these products through affiliate links helps to generate commission for Storables.com, at no extra cost. Learn more)
Introduction
When it comes to your furry friend’s health, sometimes a trip to the veterinarian isn’t enough to uncover the root cause of their symptoms. In certain cases, your vet may request a urine sample from your dog to aid in their diagnosis. Whether it’s for routine testing or to investigate specific health concerns, storing a dog’s urine sample properly is crucial to ensure accurate results.
Proper storage of a urine sample also allows for convenient transportation, especially if you can’t bring your dog to the clinic immediately. In this article, we will guide you through the steps to correctly store your dog’s urine sample to maintain its integrity and ensure accurate testing.
Key Takeaways:
- Properly storing a dog’s urine sample is crucial for accurate testing. From gathering materials to refrigeration, attention to detail ensures reliable results and better veterinary care.
- Following specific instructions and promptly delivering the urine sample to the veterinarian contributes to successful diagnostic insights and overall well-being of your furry companion.
Read more: How To Store Urine Sample
Step 1: Gather necessary materials
Before you begin collecting and storing your dog’s urine sample, it’s important to gather all the necessary materials. This ensures a smooth and efficient process. Here’s what you’ll need:
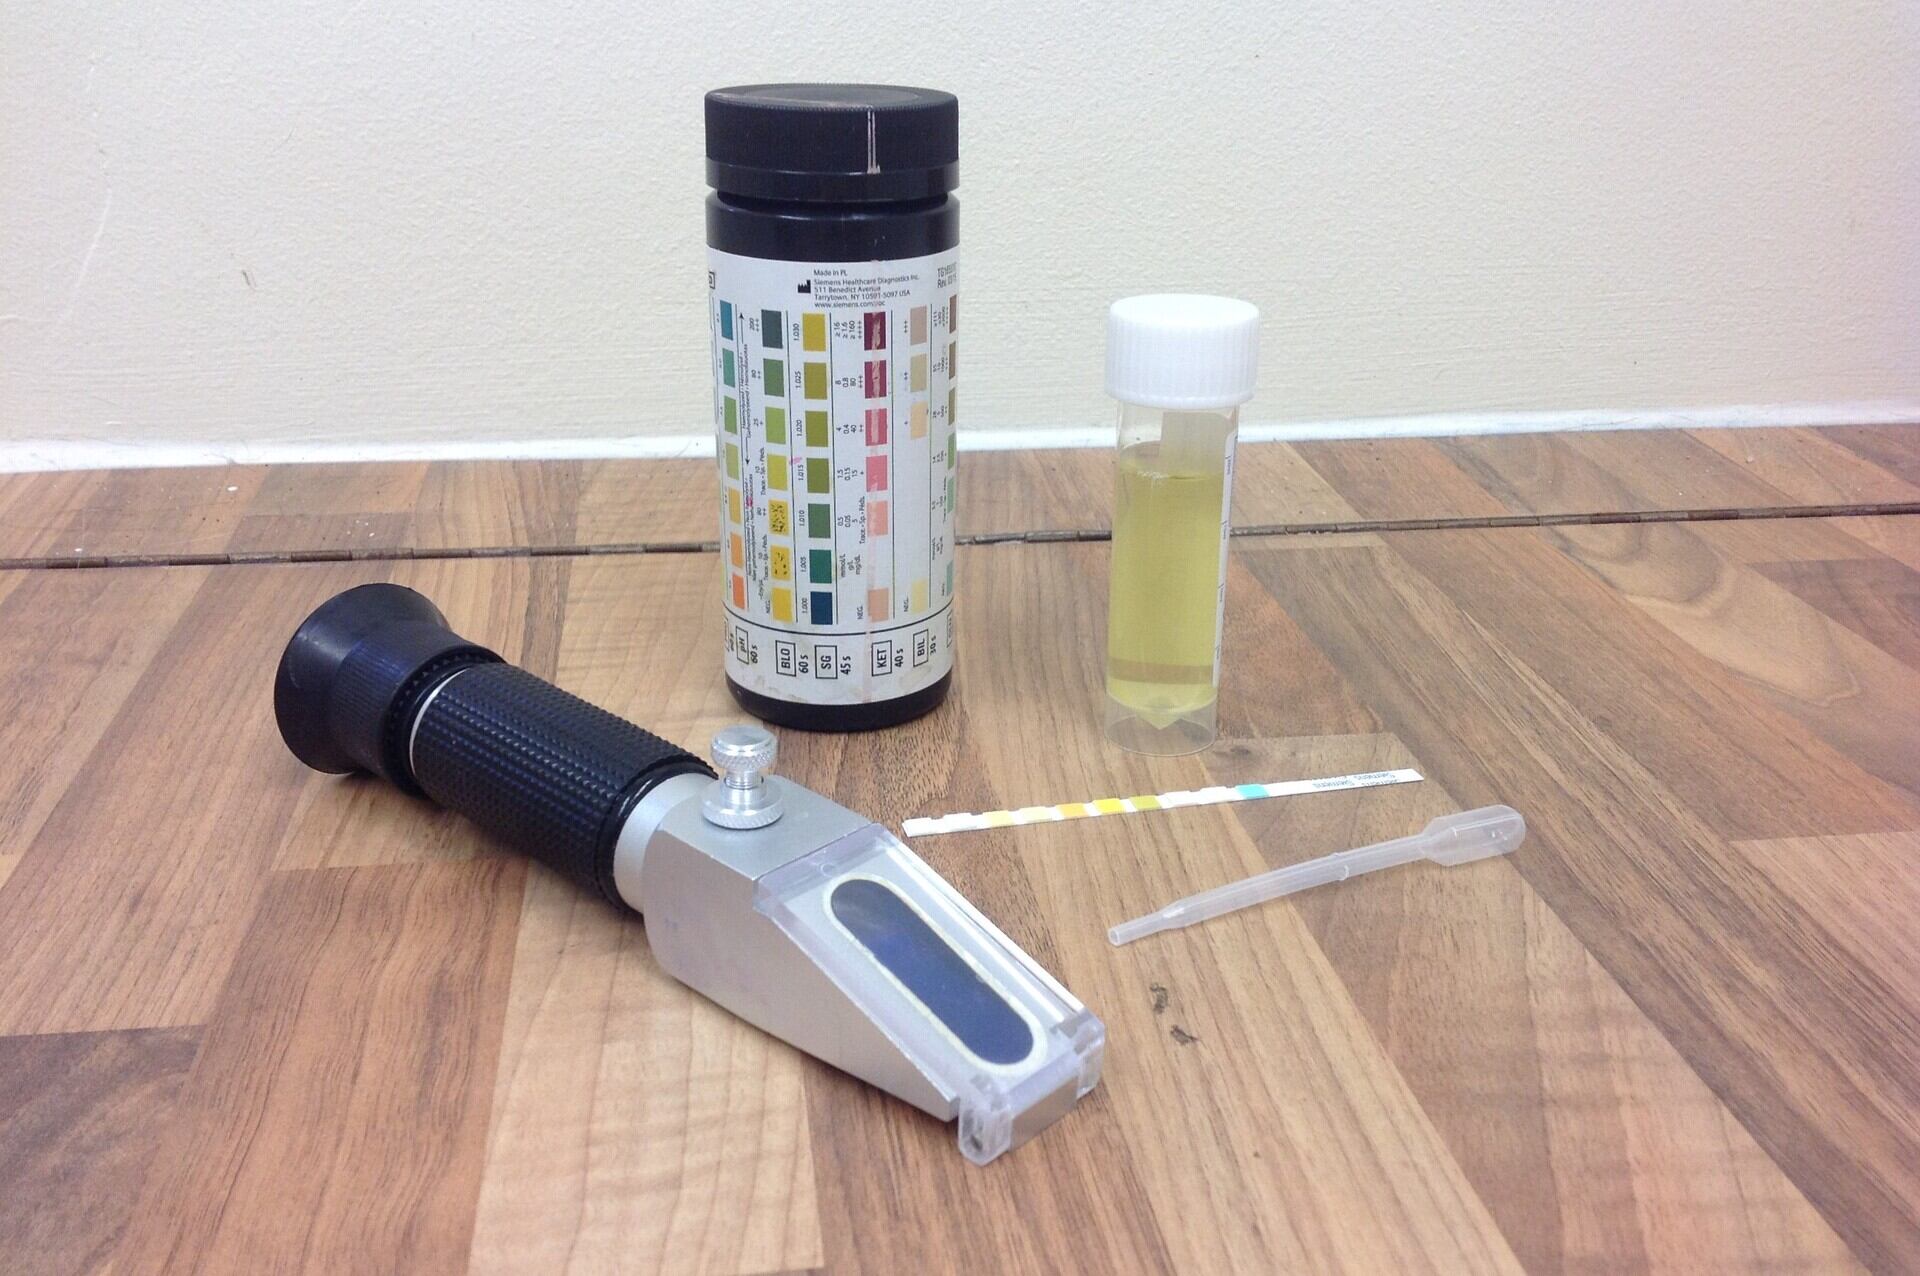
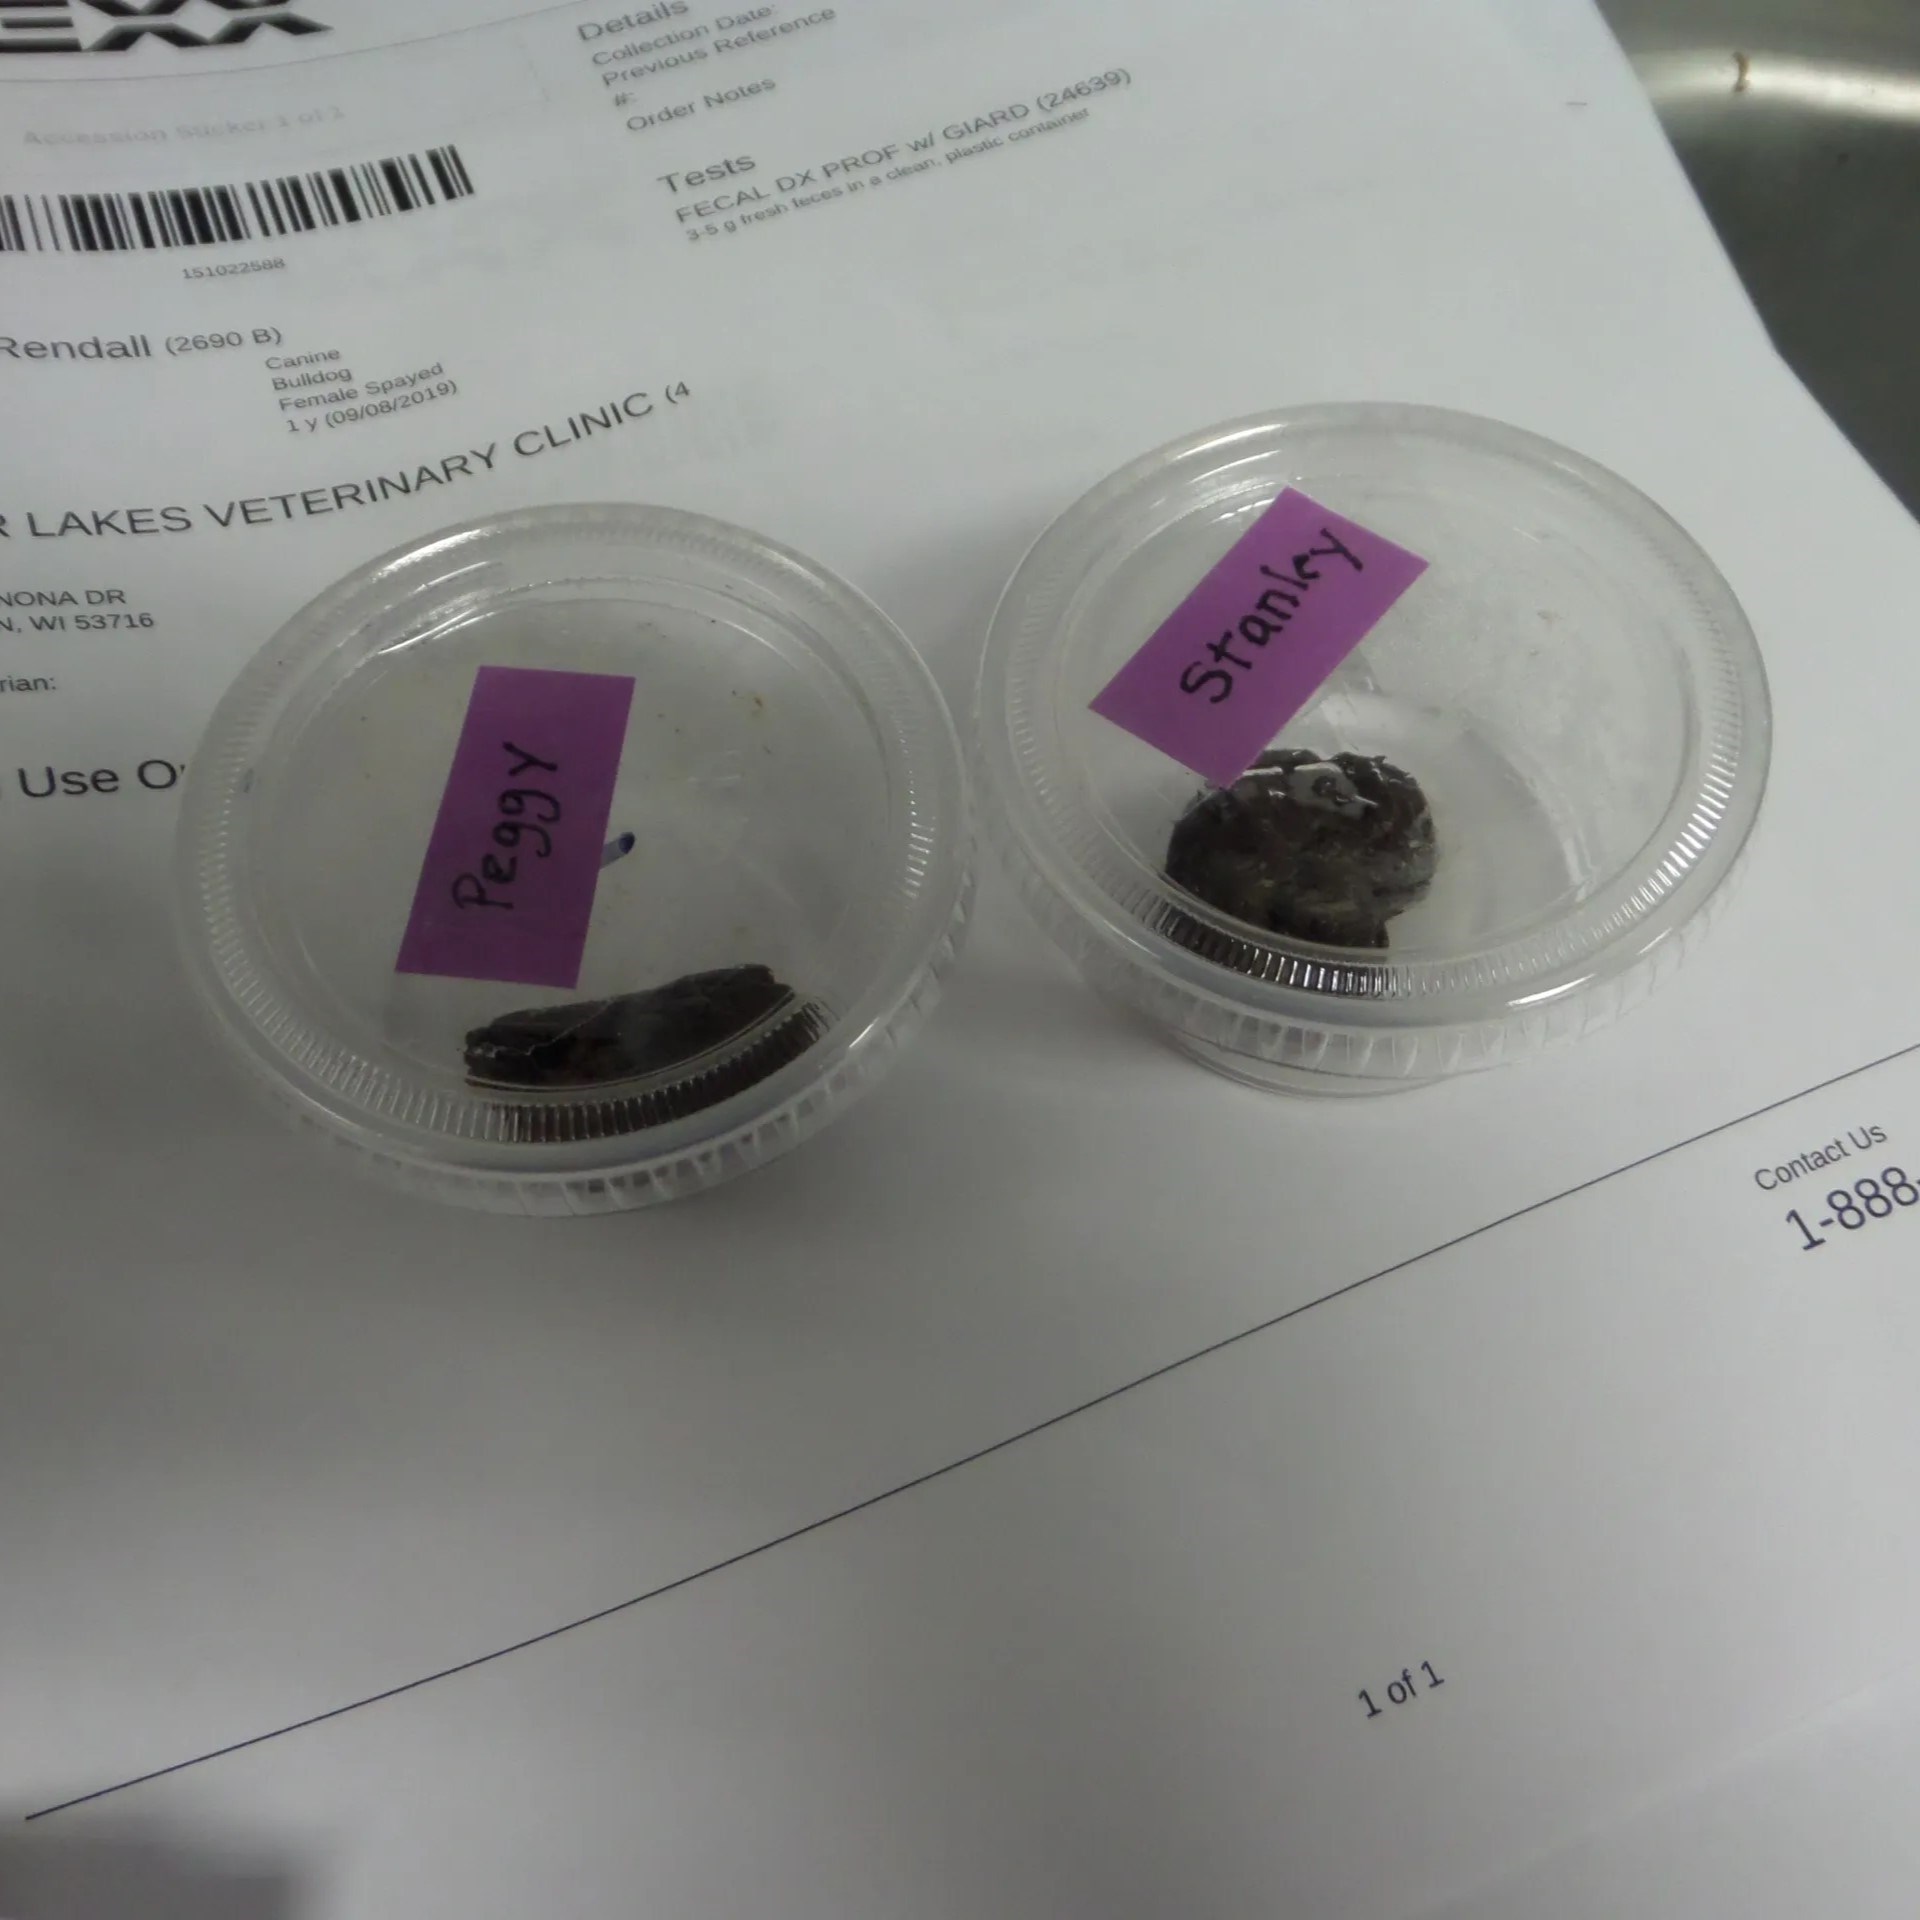
- A clean, sterile container: Choose a container that is specifically designed for collecting urine samples. These containers are usually available at veterinary clinics or can be purchased online.
- Gloves: Wearing disposable gloves during the collection process helps maintain hygiene and prevents contamination of the sample.
- Disposable pipettes or a ladle: These tools make it easier to transfer the urine into the container without any spills or mess.
- Paper towels or absorbent pads: Having these on hand will help clean up any accidental spills or splashes during the collection process.
- Labels: Prepare adhesive labels to mark the container with important information, such as your dog’s name, date, and time of collection.
- Marker or pen: Use a waterproof marker or pen to write on the label and ensure the information remains intact, even in case of contact with moisture.
By gathering these materials beforehand, you’ll be well-prepared and able to proceed with confidence.
Step 2: Find a clean container
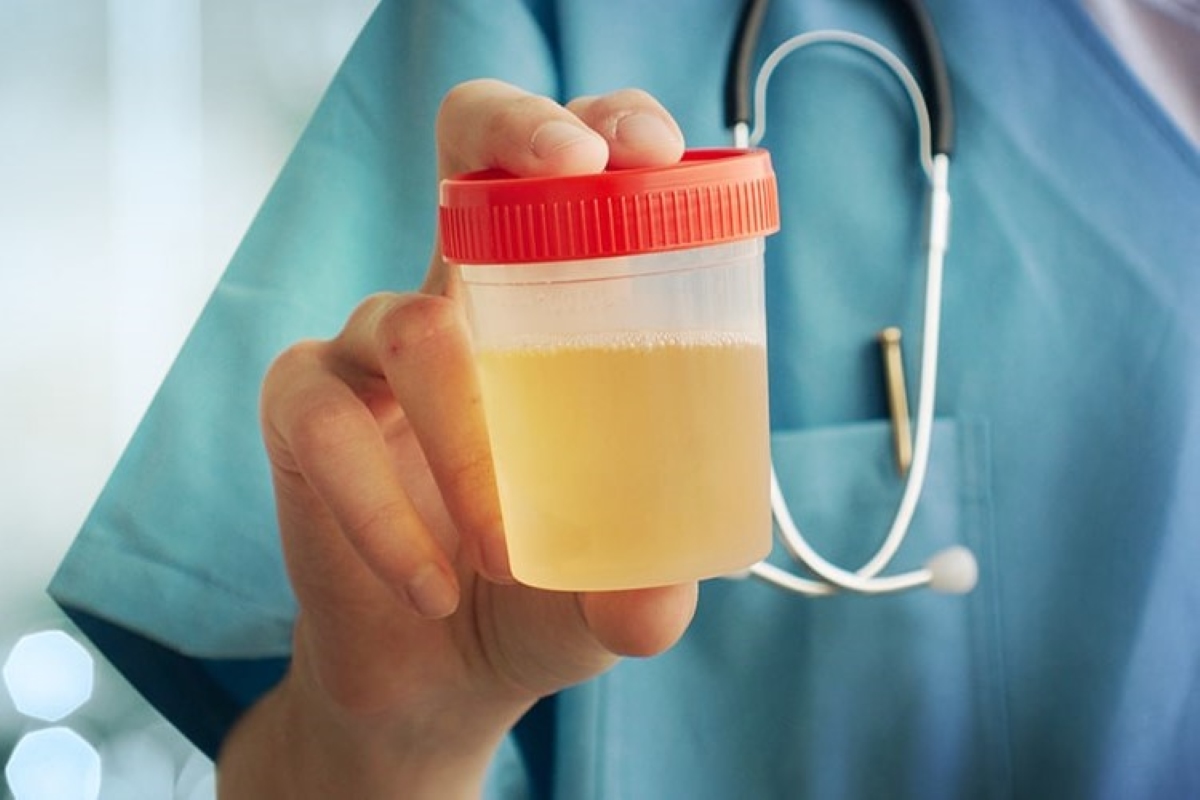
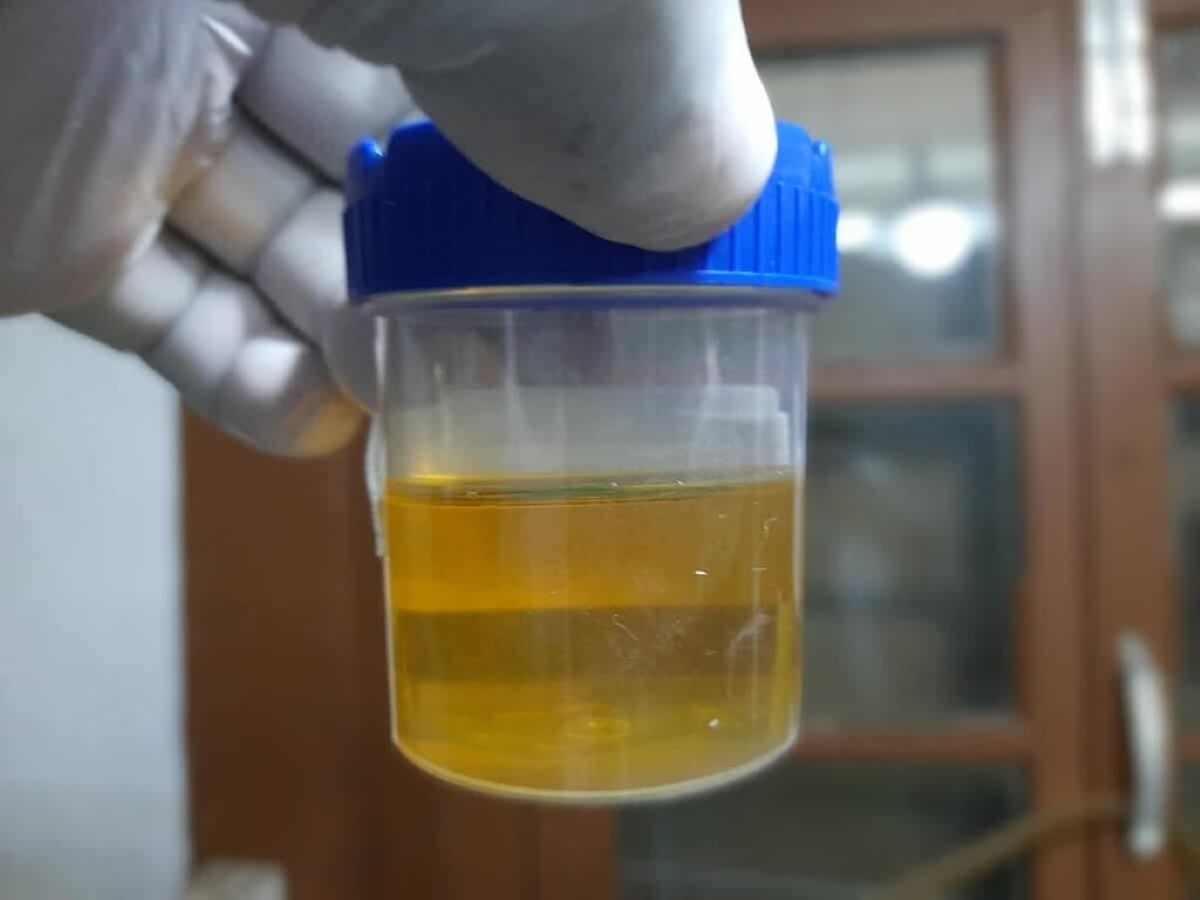
Once you have the necessary materials ready, the next step is to find a clean container to collect the urine sample. It’s important to use a container that is sterile and free from any contaminants that could interfere with the accuracy of the test results.
You can use a specifically designed urine sample container, which is often provided by veterinary clinics. These containers are made of sterile materials and have a tight-fitting lid to prevent leakage. If you don’t have access to a urine sample container, you can use a clean, disposable plastic container with a secure lid.
It’s crucial to thoroughly clean and sterilize the container before use. Wash it with warm, soapy water, and rinse it well to remove any residue. After rinsing, you can disinfect the container by soaking it in a solution of equal parts water and household bleach for 10-15 minutes. Rinse the container again with clean water to remove any bleach residue.
Make sure the container is completely dry before use. Any moisture left inside the container can contaminate the urine sample and affect the test results. You can use clean paper towels or allow the container to air dry in a clean place.
By using a clean and sterile container, you ensure that the collected urine sample remains uncontaminated and suitable for testing.
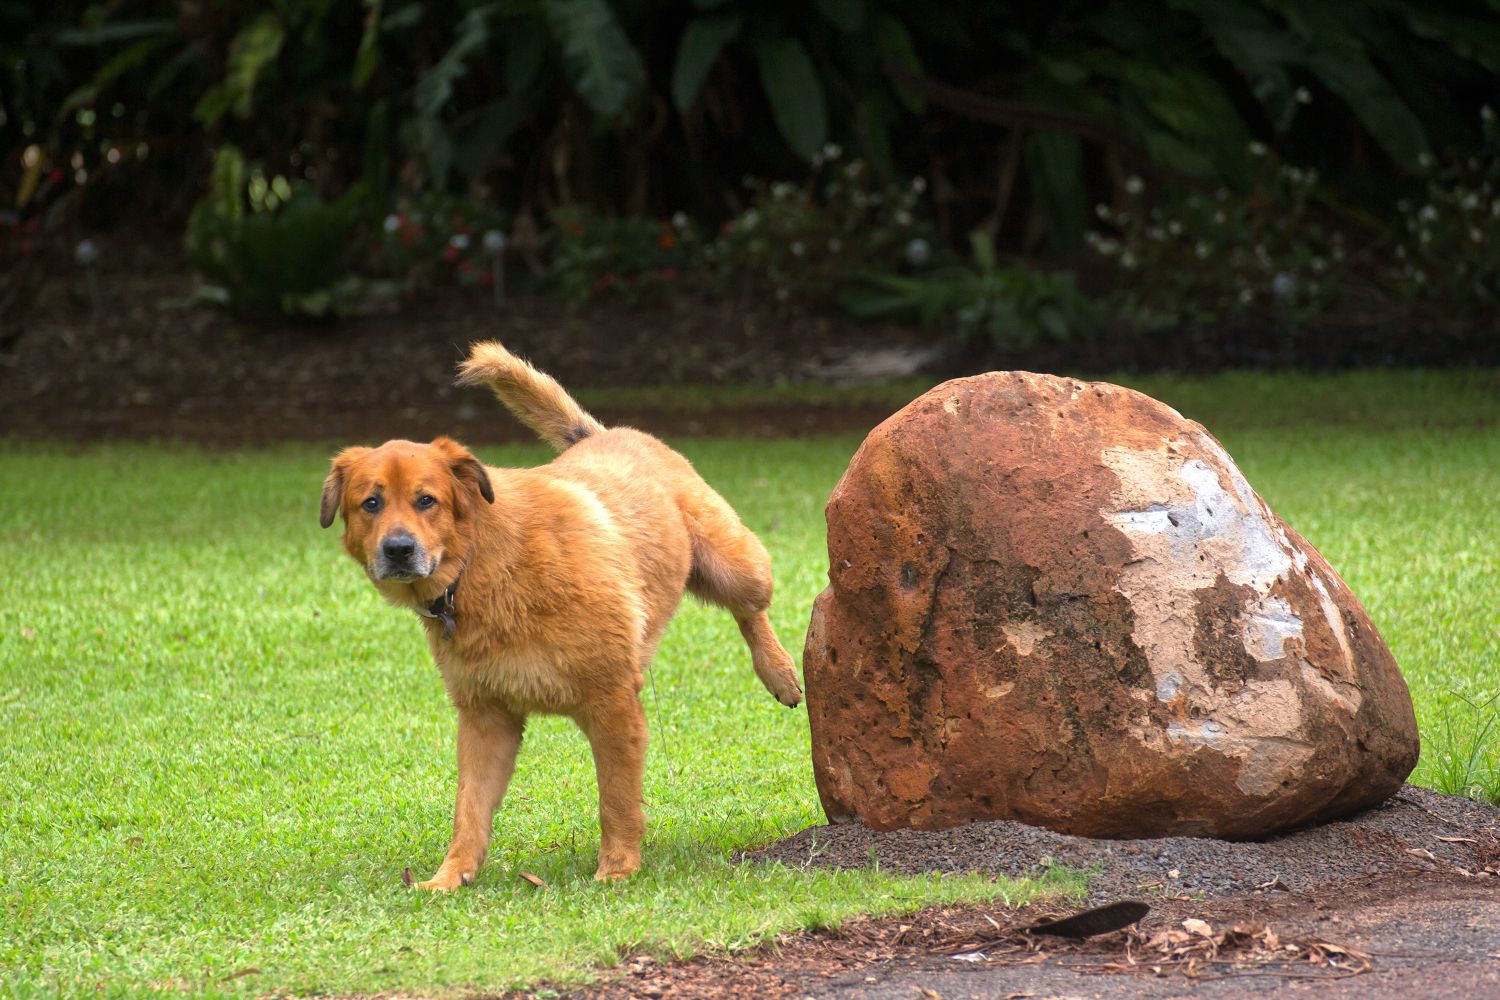
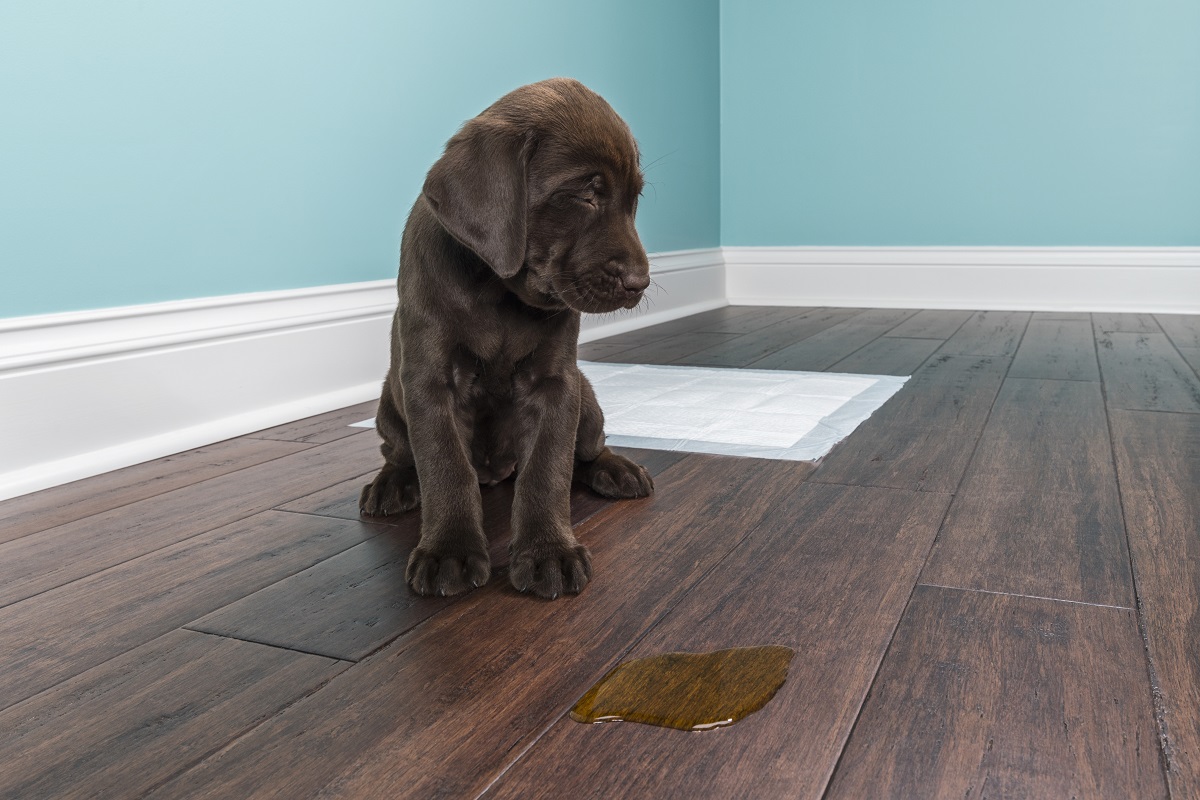
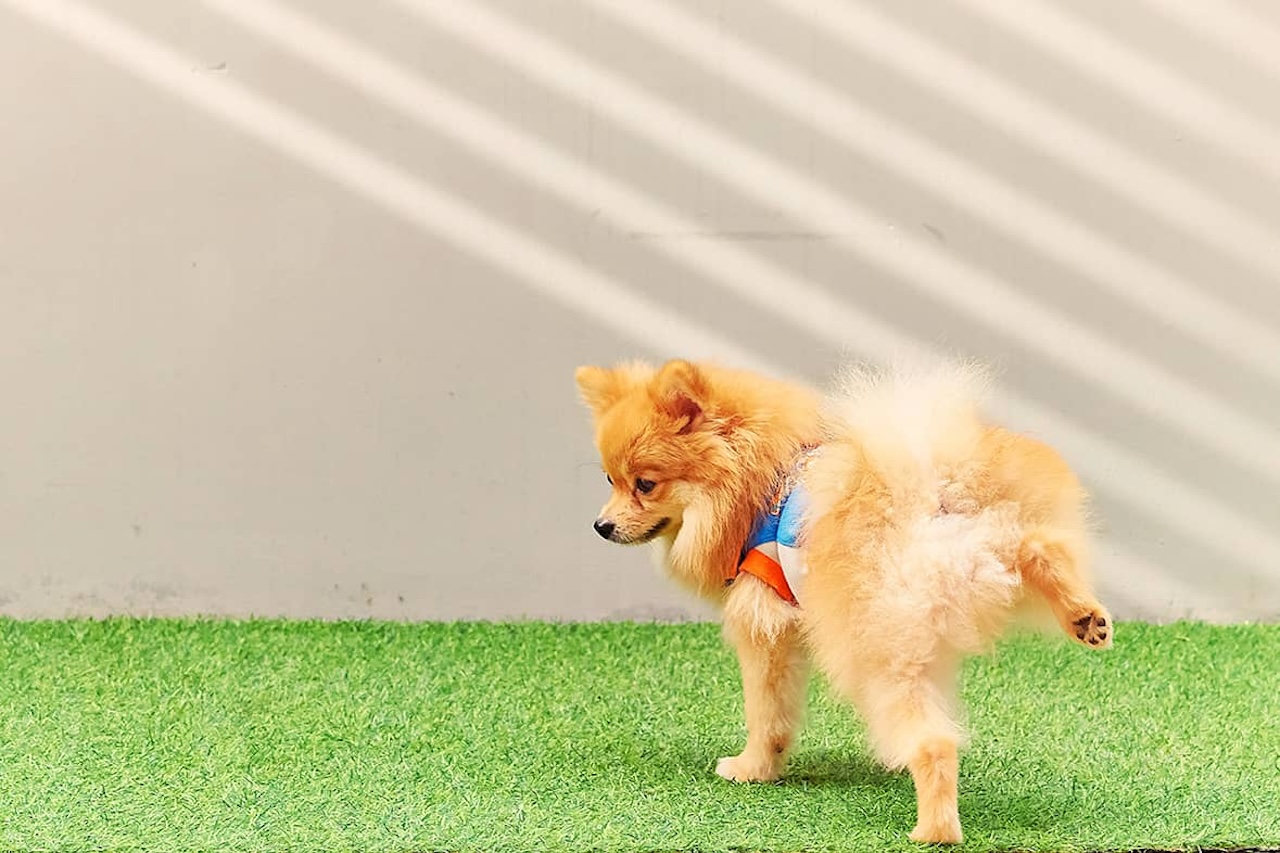
Step 3: Collect the urine sample
Now that you have a clean container ready, it’s time to collect the urine sample from your dog. The process may require a bit of patience and a keen eye for observation. Here’s how you can collect the urine sample:
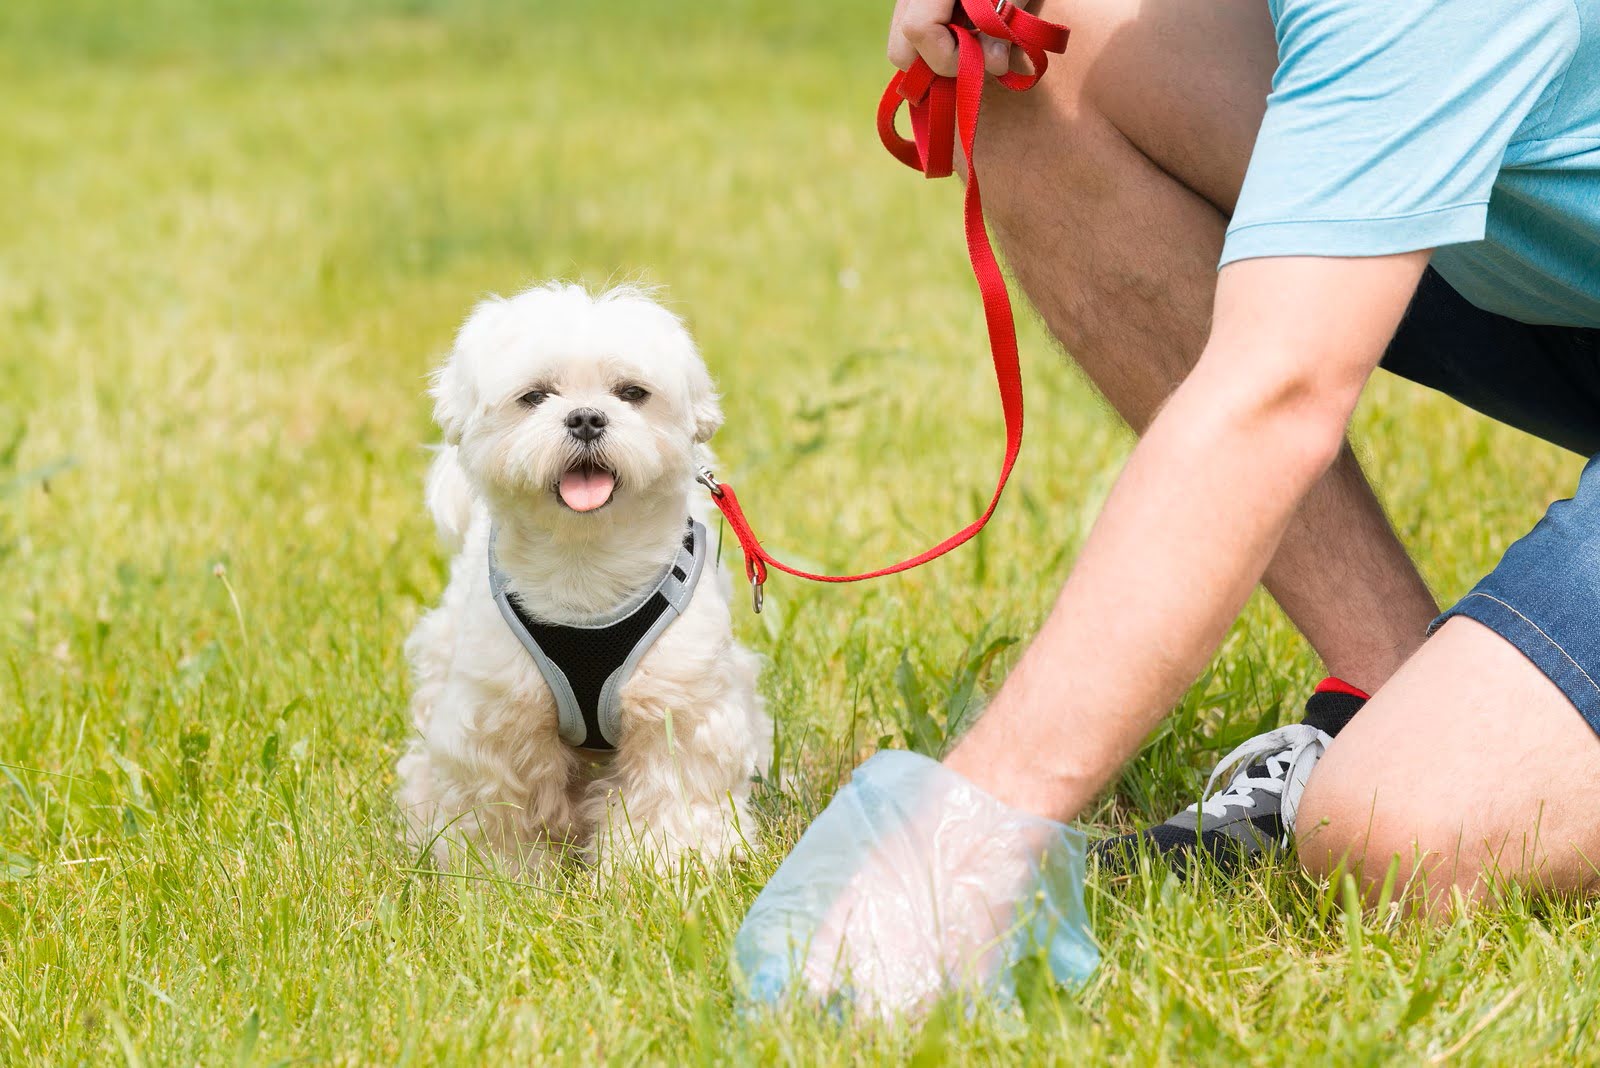
- Choose an appropriate time: Take your dog outside to a familiar spot where they feel comfortable urinating. Alternatively, you can use a collection pan or tray placed under your dog while they urinate indoors.
- Observe and wait: Keep a close eye on your dog and wait for them to begin urinating. This may require some patience, as dogs have different urination habits.
- Catch the urine midstream: As your dog begins to urinate, use a ladle or disposable pipette to catch the urine midstream. This ensures a sample that is less likely to be contaminated with bacteria or other substances from the genital area.
- Collect an adequate amount: Most veterinary clinics require at least 10 to 20 milliliters (ml) of urine for testing. Collecting a larger amount is preferable, as it allows for multiple tests if needed.
- Be prepared for accidents: In case your dog accidentally starts and stops urinating multiple times, be patient and try again. It’s important to collect a continuous stream of urine for the best sample.
- Avoid touching the inside of the container: When transferring the urine sample into the container, make sure to avoid contact between the container and your hands. Use a disposable pipette or ladle to pour the urine into the container carefully.
Remember, proper collection of the urine sample is crucial for accurate testing. Ensure that the sample remains uncontaminated and untainted by any foreign substances.
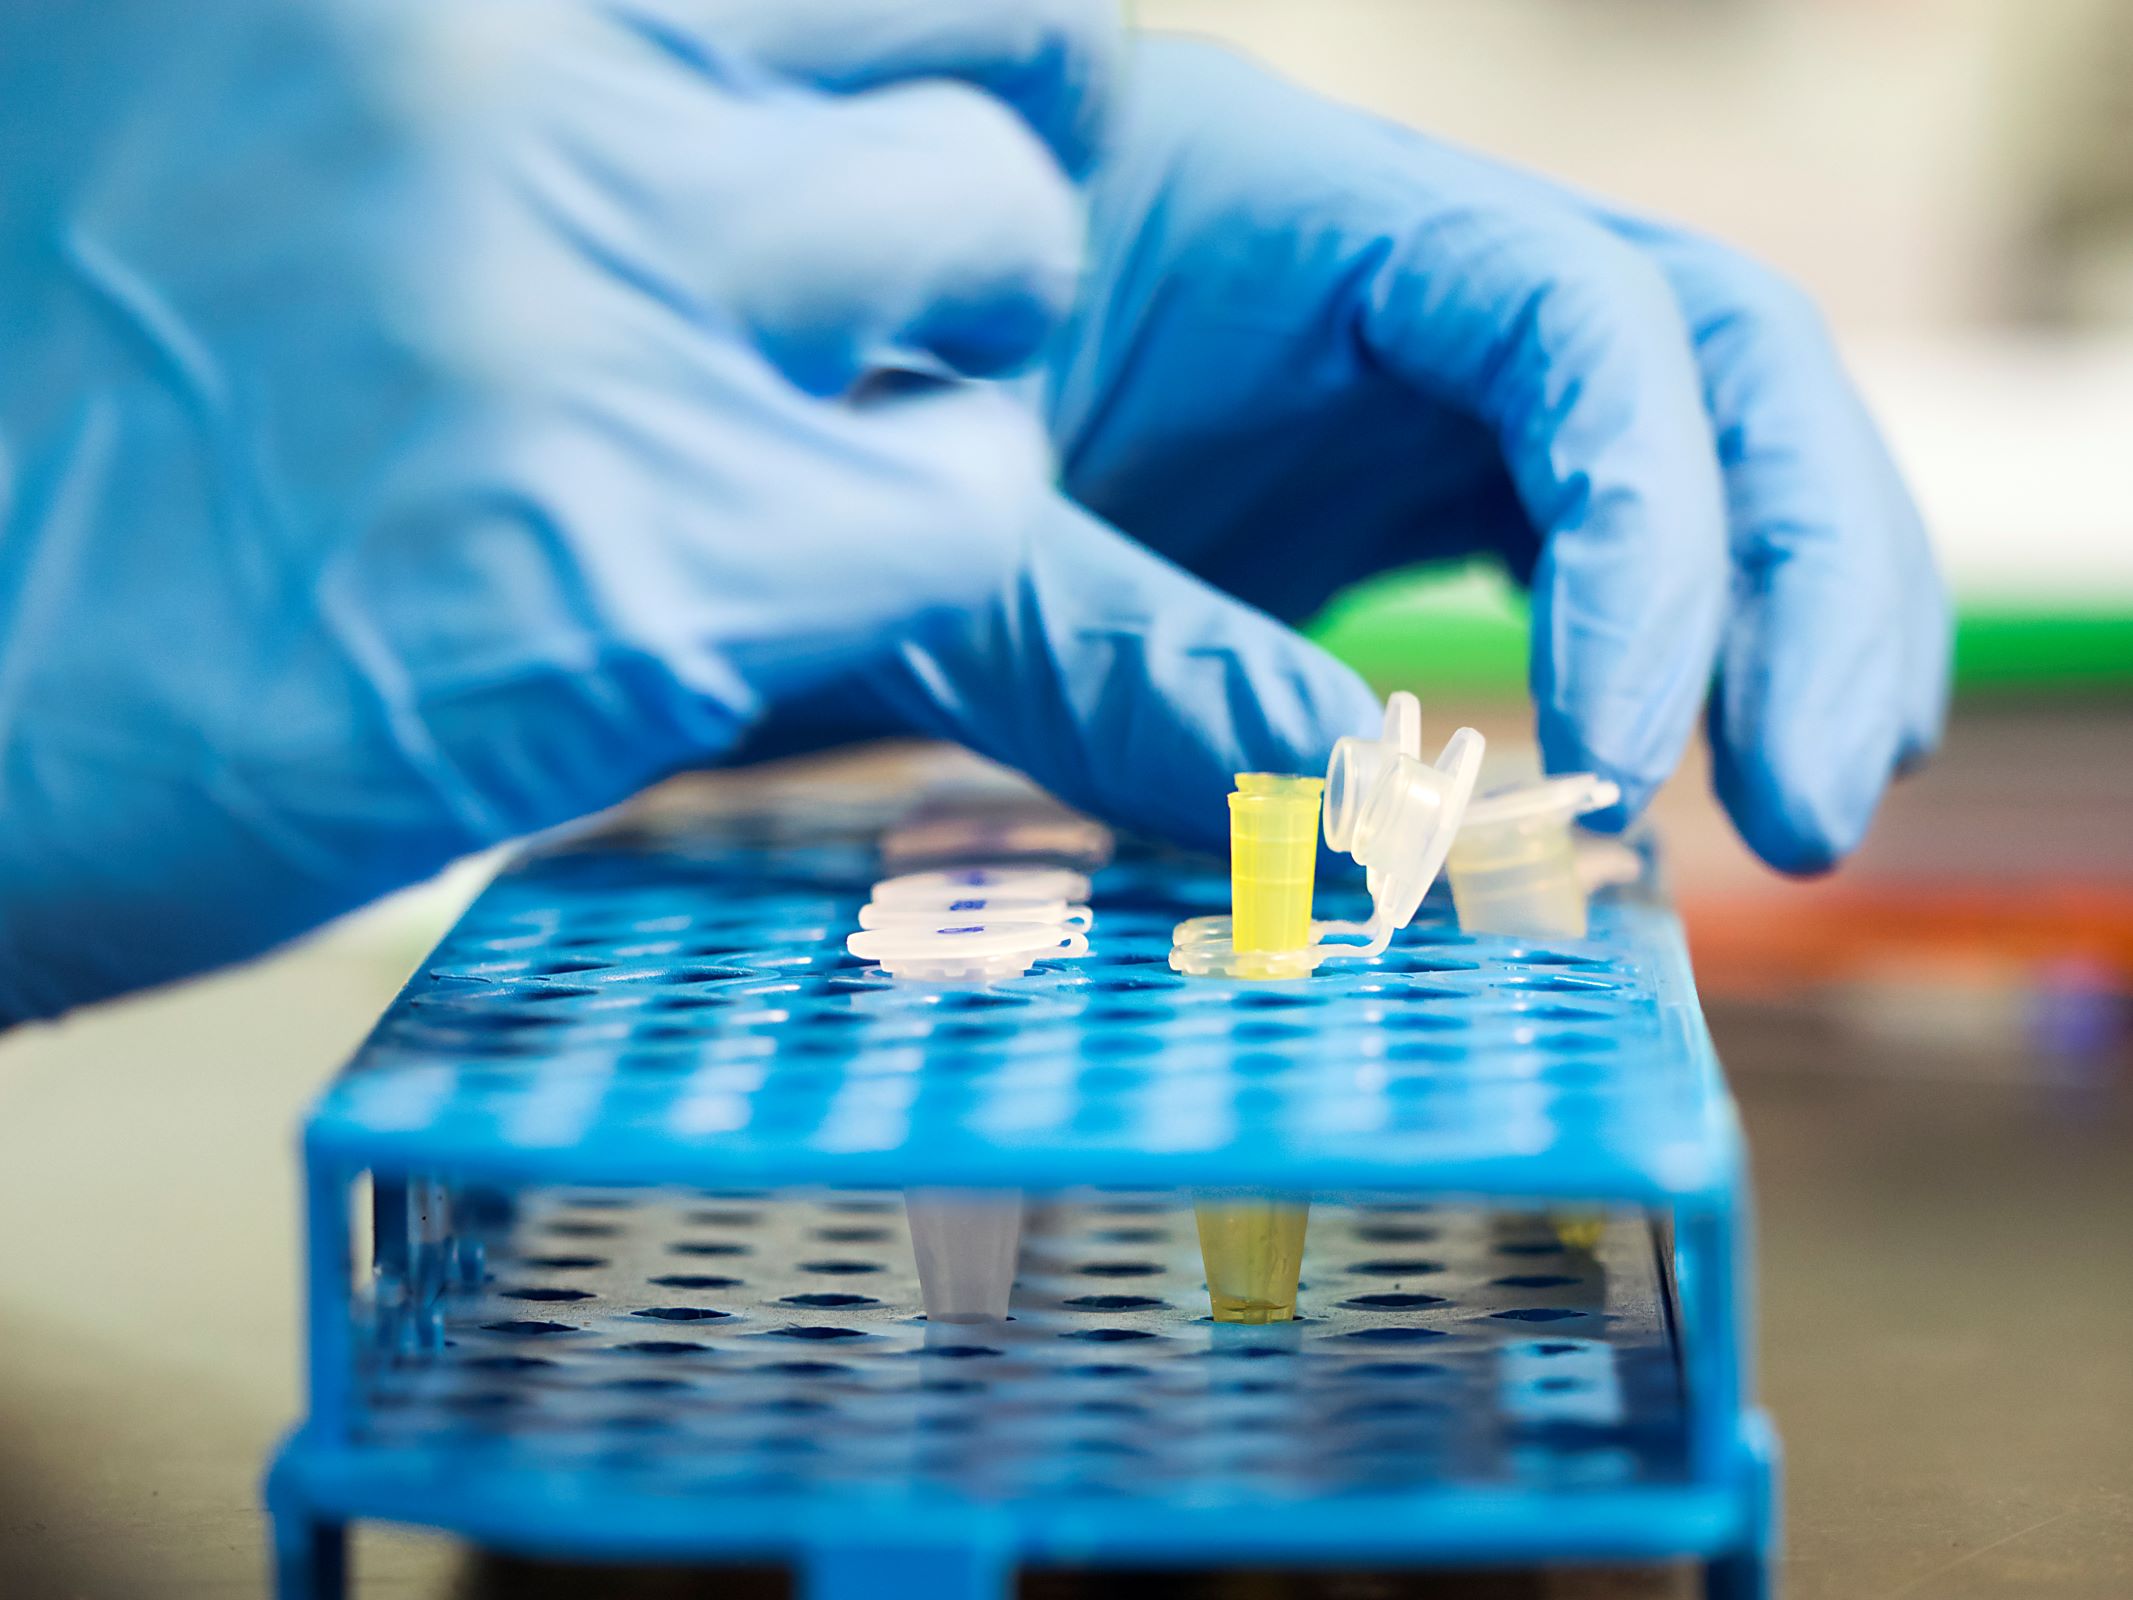
Store the dog urine sample in a clean, airtight container and refrigerate it if you can’t bring it to the vet immediately. Avoid freezing the sample as it can affect the test results.
Step 4: Store the urine sample properly
Now that you have successfully collected the urine sample from your dog, it is crucial to store it properly to maintain its integrity and ensure accurate test results. Follow these guidelines to store the urine sample correctly:
- Ensure a tight seal: Make sure the lid of the urine sample container is tightly closed to prevent any leakage or contamination during storage. Double-check that the lid is securely in place before proceeding.
- Protect from light and heat: Store the urine sample in a cool, dark place away from direct sunlight and excessive heat. Exposure to light and high temperatures can alter the composition of the urine and affect the accuracy of the test results.
- Avoid freezing the sample: While refrigeration is recommended for storing a urine sample, it is important to note that freezing the sample can break down certain components and compromise the integrity of the sample. Freezing should be avoided unless specifically instructed by your veterinarian.
- Use the sample within the specified timeframe: Different tests may have different requirements for the freshness of the urine sample. It is essential to follow the instructions provided by your veterinarian regarding the timeframe for testing. In general, it’s best to use the sample within 24 hours to ensure accurate results.
- Keep the sample separate: If you are collecting multiple urine samples from different dogs, make sure to store each sample separately. Mixing samples can lead to cross-contamination and compromise the reliability of the test results.
By following these storage guidelines, you can preserve the integrity of the urine sample and ensure that the test results accurately reflect your dog’s health condition.
Read more: How To Store A Urine Sample Overnight
Step 5: Label and store the sample in the refrigerator
After properly storing the urine sample, the next step is to label it and store it in the refrigerator. This ensures that the sample remains stable and maintains its integrity until it can be tested. Follow these steps to label and store the sample:
- Label the container: Use a waterproof marker or pen to label the container with important information, including your dog’s name, date, and time of collection. This labeling ensures that there is no confusion or mix-up when presenting the sample to the veterinarian.
- Place the labeled container in a zip-lock bag: To provide an extra layer of protection against potential leaks or spills, place the labeled container inside a sealable plastic bag.
- Store in the refrigerator: Find a dedicated section in your refrigerator to store the urine sample. Keep it away from food items to prevent any accidental contamination. Ensure the temperature of your refrigerator is set at an appropriate level to maintain the sample’s freshness and integrity.
- Avoid prolonged storage: It’s important to note that urine samples should not be stored in the refrigerator for an extended period. Ideally, the sample should be brought to your veterinarian as soon as possible, preferably within 24 hours of collection.
By labeling and storing the urine sample properly in the refrigerator, you can maintain its stability and ensure that it is in the best possible condition for testing.
Step 6: Bring the sample to your veterinarian
Now that the urine sample is properly collected, stored, and labeled, it’s time to bring it to your veterinarian for testing. Follow these steps to ensure a smooth process:
- Check with the veterinary clinic: Before heading to the clinic, it’s a good idea to call ahead and confirm their operating hours and any specific instructions they may have for urine sample drop-off.
- Transport the sample safely: Place the labeled urine sample container in a leak-proof bag or container to prevent any potential spills during transportation. Double-check that the lid is securely closed.
- Keep the sample cool: If you have a long journey ahead or if the weather is warm, consider placing a small ice pack or cool pack in the bag to keep the sample cool during transit. However, ensure that the ice pack doesn’t directly come into contact with the urine sample, as it may affect the integrity of the sample.
- Note any additional instructions: If your veterinarian has given you specific instructions regarding the handling or delivery of the urine sample, make sure to follow them carefully. This may include specific timing requirements or precautions to take.
- Deliver the sample promptly: Aim to deliver the urine sample to the veterinary clinic as soon as possible after collection. The fresher the sample, the more accurate the test results are likely to be.
- Provide any necessary information: When you arrive at the veterinary clinic, provide the receptionist or veterinary staff with the labeled urine sample and any relevant information or instructions given by your veterinarian regarding the specific tests or concerns.
By following these steps, you ensure that the urine sample is safely and efficiently delivered to your veterinarian for analysis, allowing them to interpret the results and provide appropriate recommendations or treatment.
Conclusion
Properly storing a dog’s urine sample is essential for accurate testing and diagnosis. By following the step-by-step guide outlined in this article, you can ensure that the urine sample remains uncontaminated and in optimal condition until it can be tested by your veterinarian.
From gathering the necessary materials to collecting the urine sample, each step is crucial in maintaining the integrity of the sample. Using a clean and sterile container, labeling the sample properly, and storing it in the refrigerator all contribute to preserving the sample’s freshness and ensuring accurate results.
Remember to follow any specific instructions provided by your veterinarian regarding the collection, storage, or delivery of the urine sample. Additionally, prioritize prompt delivery of the sample to the veterinary clinic to maintain the freshness of the sample and obtain the most reliable test results.
By effectively storing and accurately delivering the urine sample, you are assisting your veterinarian in their diagnostic process, ultimately leading to better insights into your dog’s health and well-being. Your diligence and attention to detail in this process can greatly contribute to successful veterinary care and treatment.
Always consult your veterinarian for guidance and specific instructions regarding urine sample collection and storage based on your dog’s individual needs. With the proper handling and storage of urine samples, you can ensure accurate testing and contribute to the overall health and well-being of your beloved furry companion.
Frequently Asked Questions about How To Store Dog Urine Sample
Was this page helpful?
At Storables.com, we guarantee accurate and reliable information. Our content, validated by Expert Board Contributors, is crafted following stringent Editorial Policies. We're committed to providing you with well-researched, expert-backed insights for all your informational needs.
0 thoughts on “How To Store Dog Urine Sample”