Articles
How To Store Urine Sample
Modified: February 23, 2024
Learn how to properly store a urine sample in this comprehensive article. Avoid contamination and ensure accurate test results.
(Many of the links in this article redirect to a specific reviewed product. Your purchase of these products through affiliate links helps to generate commission for Storables.com, at no extra cost. Learn more)
Introduction
Welcome to our comprehensive guide on how to store a urine sample properly. Whether you need to provide a urine sample for medical testing, drug screening, or any other purpose, it’s crucial to ensure that the sample is stored correctly to maintain its integrity and accuracy. In this article, we will walk you through the step-by-step process of collecting, preparing, transferring, sealing, labeling, and storing a urine sample.
Storing a urine sample properly is essential because it helps preserve the chemical composition of the urine and prevents contamination or degradation of the sample. By following the guidelines outlined in this article, you can ensure that your urine sample remains stable and reliable until it is analyzed.
So, if you’re ready to learn how to store a urine sample effectively, let’s dive into the step-by-step process!
Key Takeaways:
- Properly storing a urine sample is crucial for accurate testing results. Follow the step-by-step process to maintain sample integrity and ensure reliable outcomes for medical or screening purposes.
- From collecting to storing, each step plays a vital role in preserving the quality of the urine sample. Adhere to specific instructions for temperature, duration, and transportation to maintain sample integrity.
Read more: How To Store Dog Urine Sample
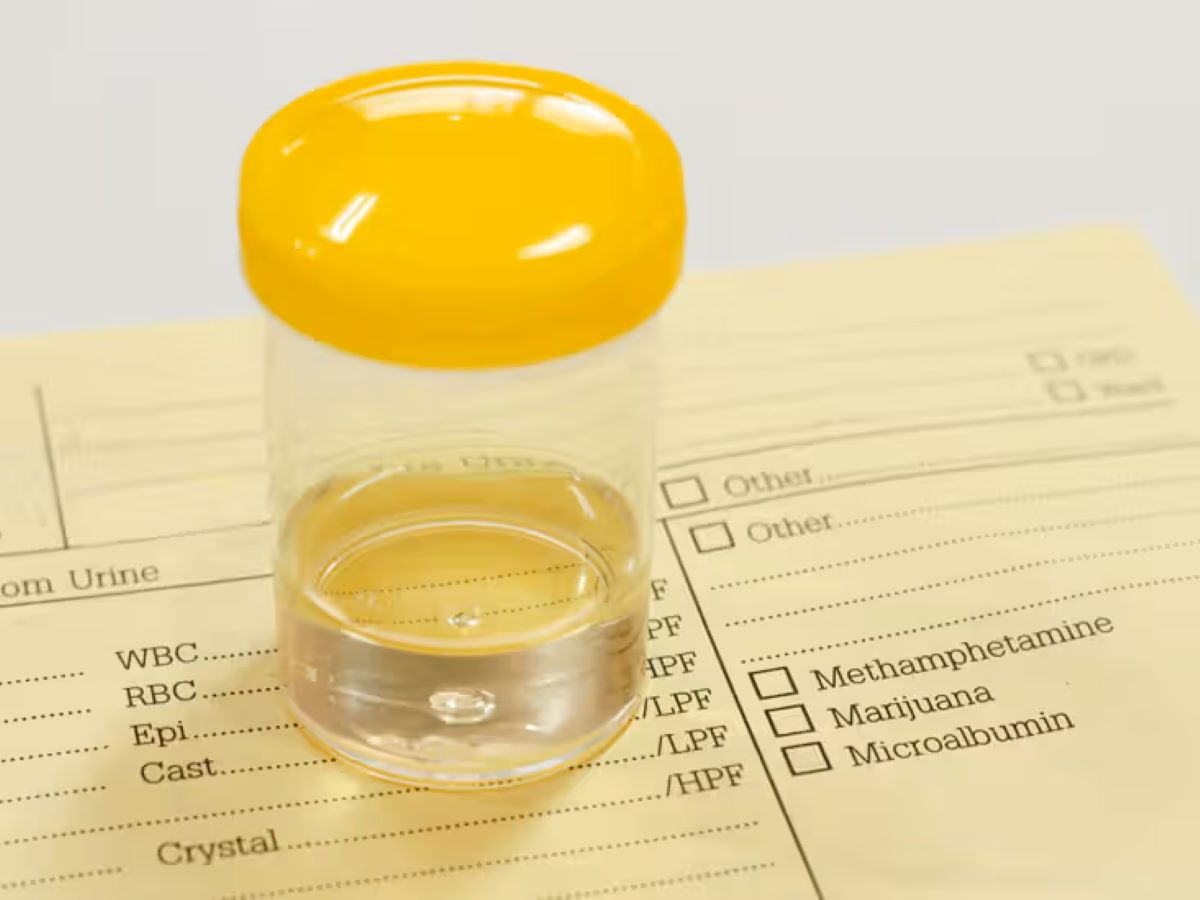
Step 1: Collecting the Urine Sample
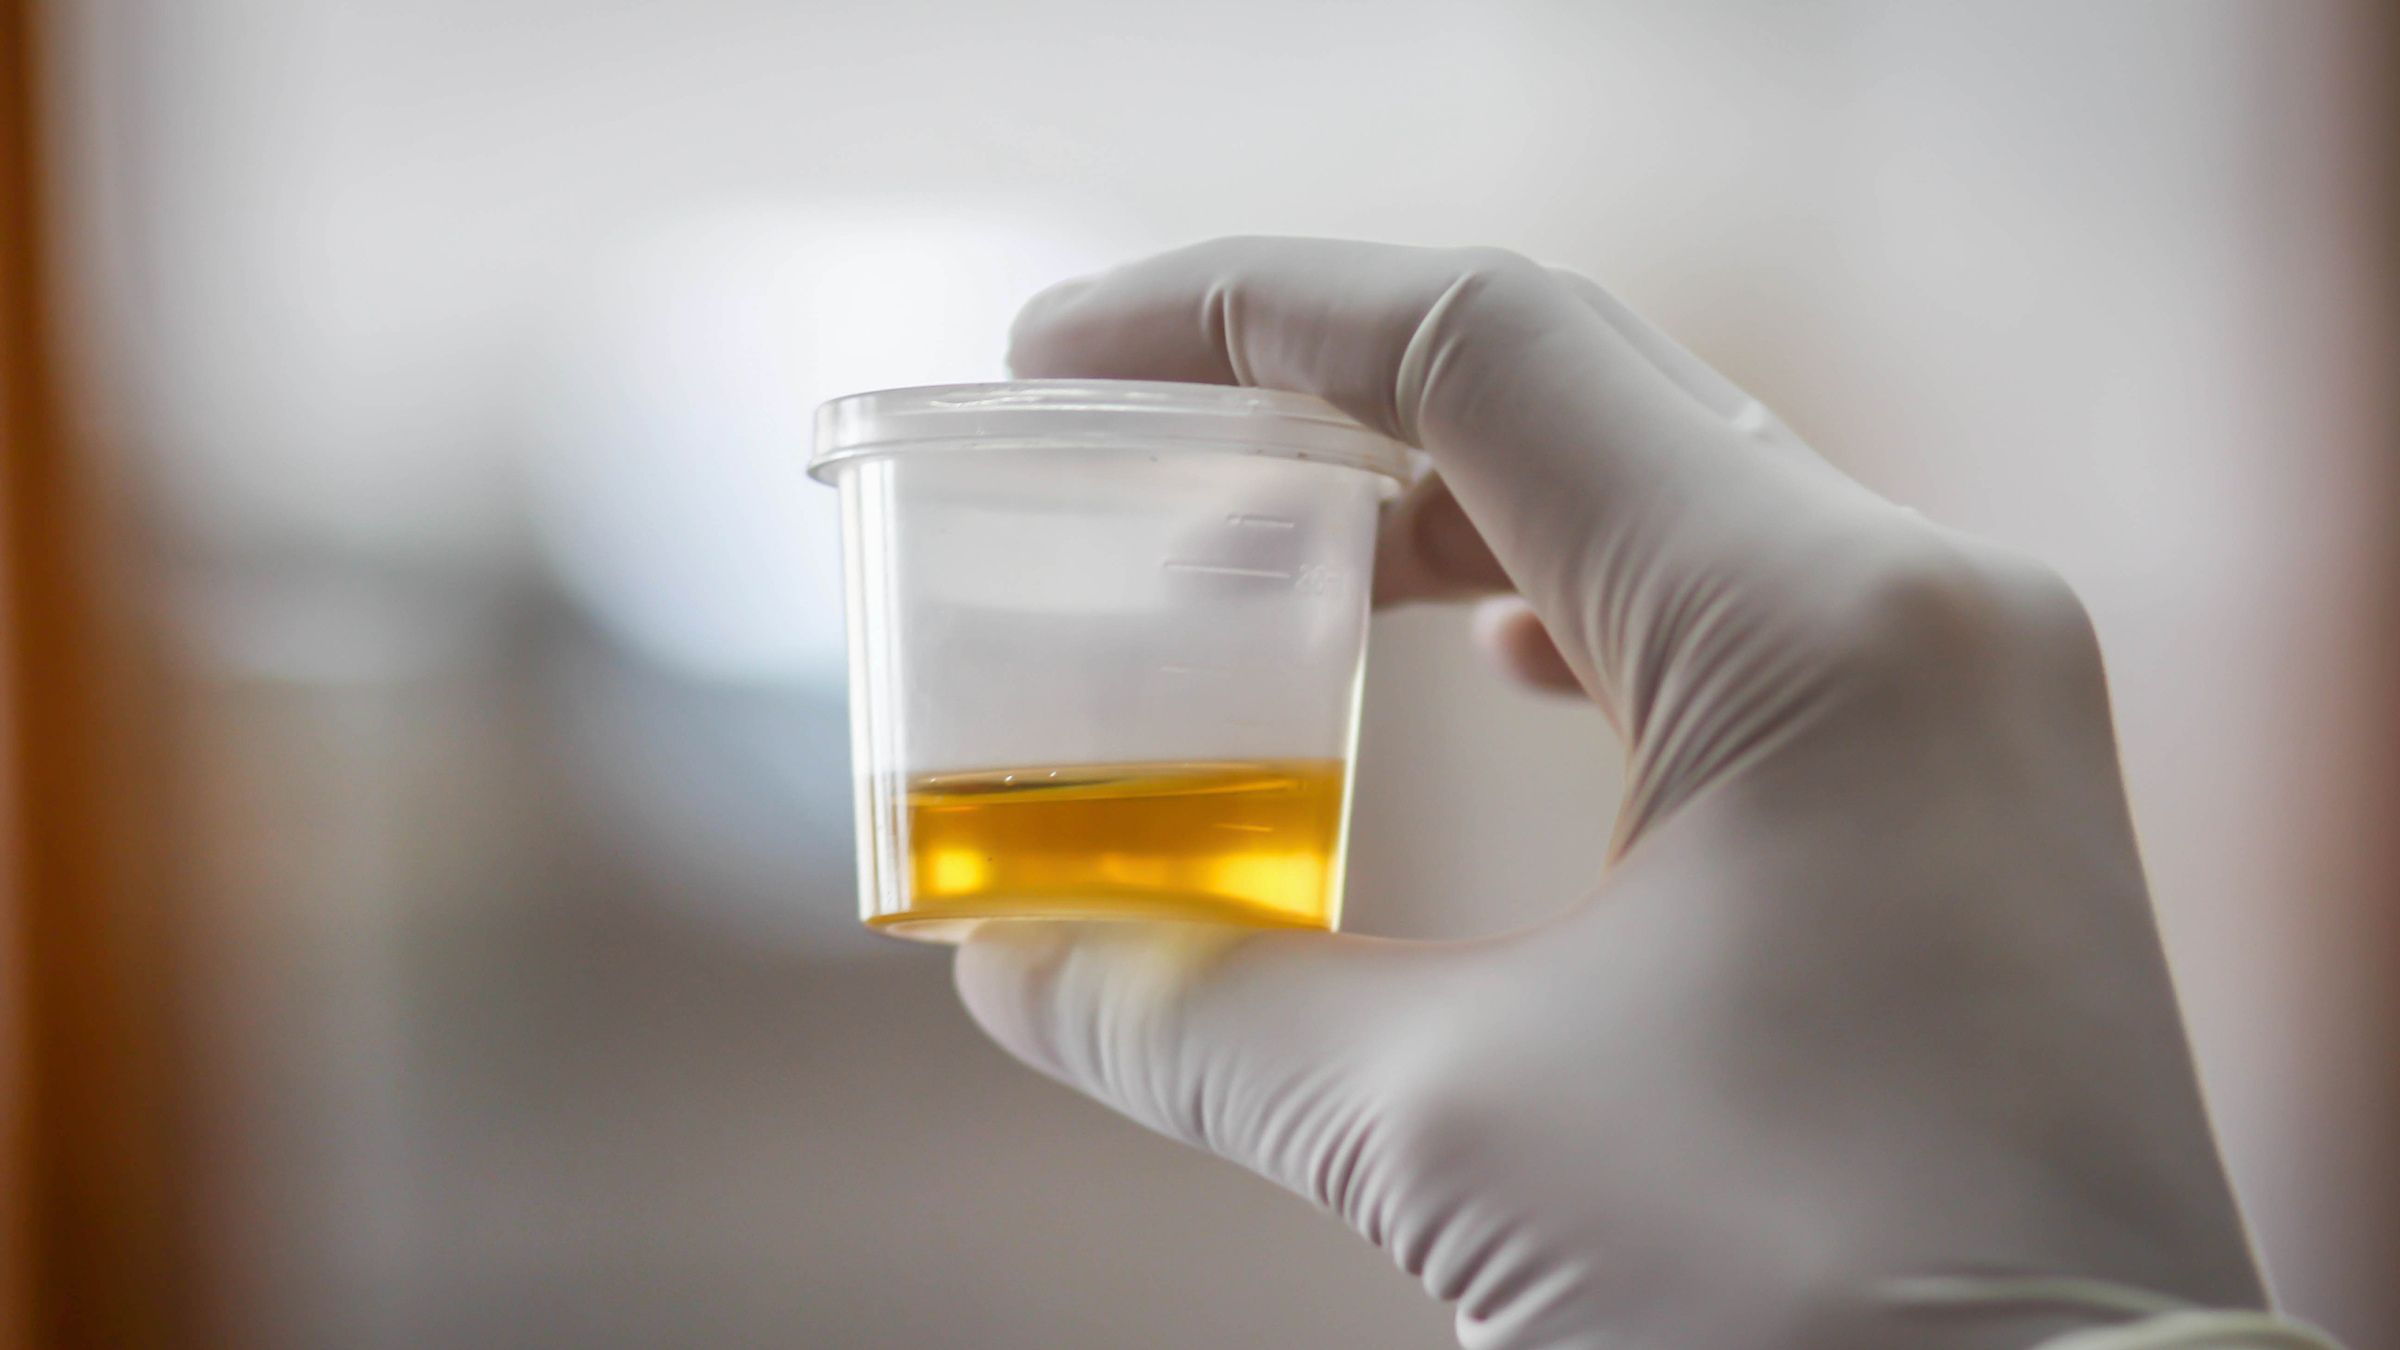
The first step in properly storing a urine sample is to collect it in a clean and sterile container. Here’s how you can do it:
- Wash your hands: Begin by thoroughly washing your hands with soap and warm water. This step is essential to maintain hygiene and prevent any contamination of the urine sample.
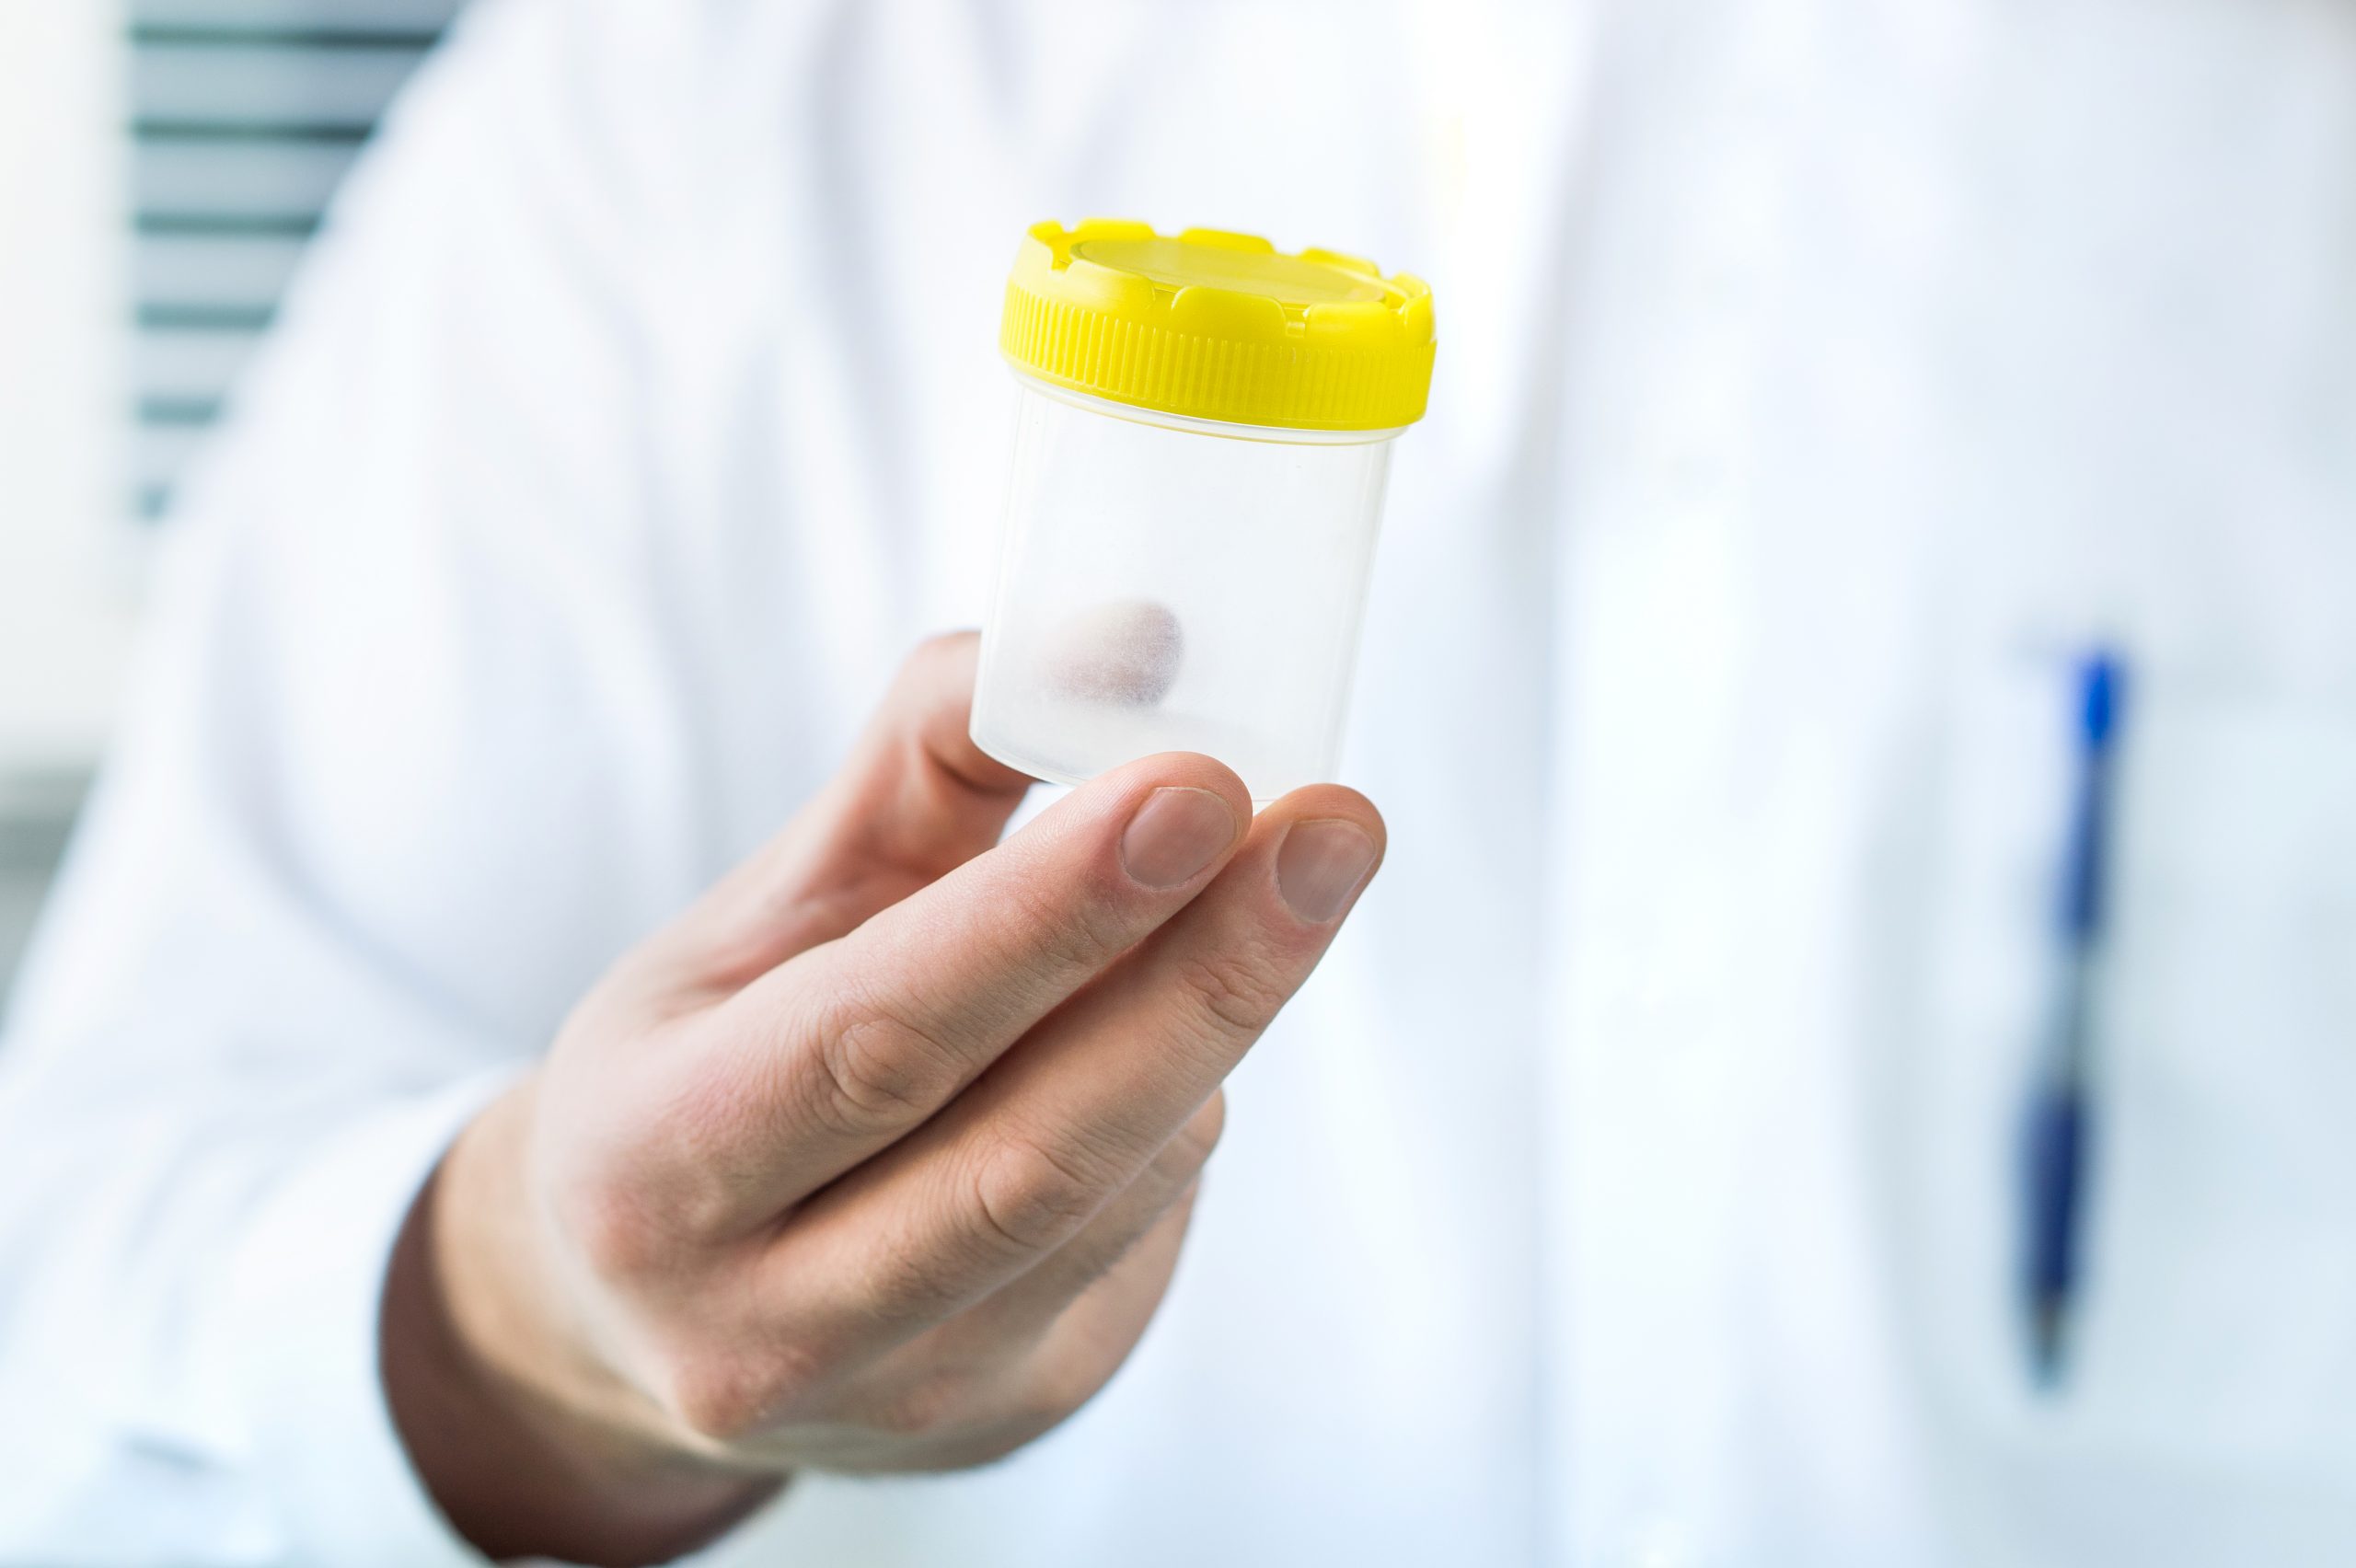
- Choose an appropriate container: Select a container specifically designed for urine collection. It should be clean, leak-proof, and have an airtight lid to ensure the integrity of the sample.
- Midstream collection: Start urinating into the toilet and then, midstream, collect the urine in the container. This technique helps minimize the likelihood of unwanted substances getting into the sample.
- Collect sufficient volume: Make sure to collect the required amount of urine as instructed by your healthcare provider or the testing facility. It is usually mentioned in milliliters (ml) on the container.
- Fill the container: Fill the container with the collected urine, ensuring that it is filled to the marked line. Avoid overfilling, as it may cause leakage during transportation.
Remember, it is crucial to follow these steps carefully to maintain the quality and reliability of the urine sample. Once you have collected the sample, it’s time to move on to the next step: preparing the storage container.
Step 2: Preparing the Storage Container
After successfully collecting the urine sample, the next step is to prepare the storage container. Follow these guidelines to ensure that the container is ready for storing the urine sample:
- Clean the container: Before using the storage container, ensure that it is clean and free from any contaminants. Wash it thoroughly with soap and warm water, and rinse it well to remove any residue.
- Dry the container: After cleaning, allow the container to air dry completely. Avoid using any cloth or paper towels, as they may introduce unwanted substances into the container.
- Avoid reusable containers: It is recommended to use a single-use container specifically designed for urine sample storage. Reusing containers can lead to contamination and compromise the accuracy of the sample.
By taking these steps, you can ensure that the storage container is clean and ready to house the urine sample without introducing any external factors that may affect the sample’s integrity.
Now that the storage container is properly prepared, it’s time to move on to the next step: transferring the urine sample into the container.
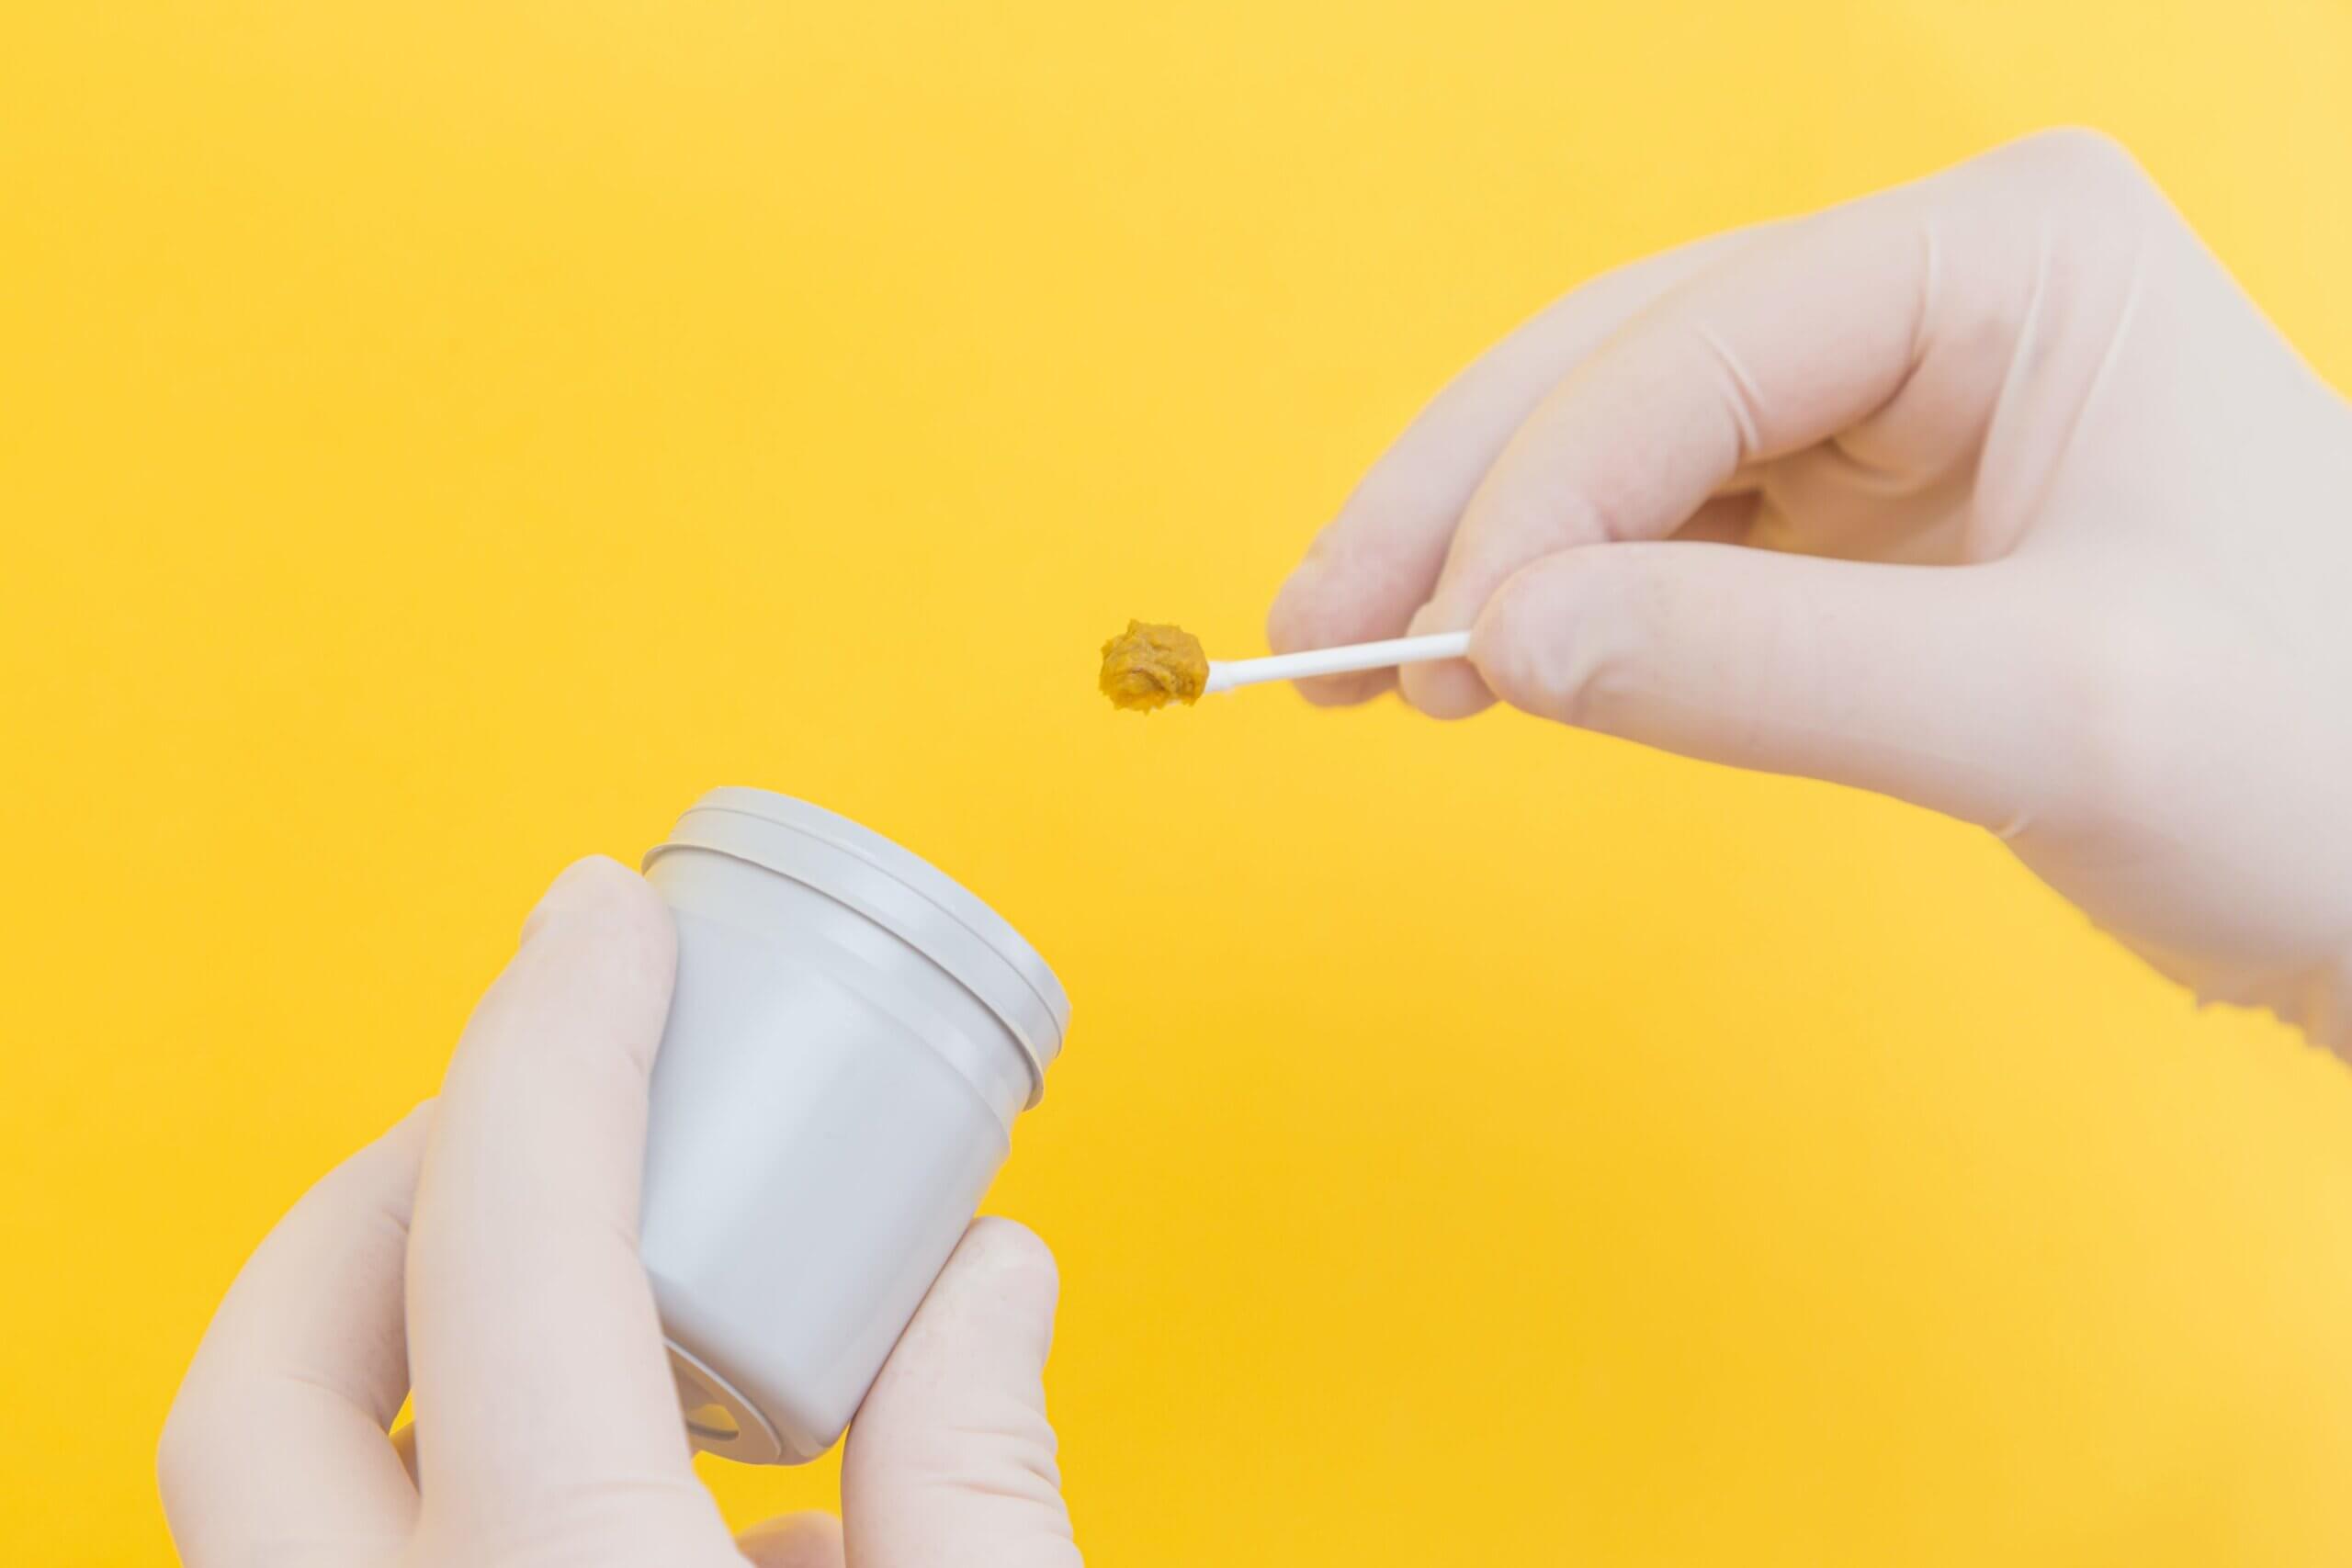
Step 3: Transferring the Urine Sample
Once the storage container is prepared, it’s time to transfer the collected urine sample into the container. Follow these steps to ensure a seamless and contamination-free transfer:
- Open the container: Gently open the lid or cap of the prepared storage container. Avoid touching the inner surface of the lid or container to prevent any potential contamination.
- Pour the urine: Carefully pour the urine from the collection container into the storage container. Be cautious to avoid spills or splashes that could compromise the sample’s integrity.
- Use a funnel (optional): If necessary, you can use a clean funnel to assist in pouring the urine into the storage container. This can help prevent any spills and ensure a smooth transfer.
- Minimize air bubbles: While pouring the urine, try to minimize the introduction of air bubbles into the storage container. Air bubbles may affect the volume measurement and potentially alter the composition of the sample.
- Fill to the indicated level: Make sure to fill the storage container up to the indicated fill line or as instructed by the testing facility. Avoid overfilling the container to prevent leakage during transportation.
Keep in mind that the transfer process should be done carefully to maintain the integrity of the urine sample. Once the transfer is complete, it’s time to seal and label the storage container, which we’ll cover in the next step.
Store the urine sample in a clean, airtight container and keep it refrigerated until it can be delivered to the testing facility. Avoid freezing the sample.
Step 4: Sealing and Labeling the Container
After transferring the urine sample into the storage container, the next step is to properly seal and label the container. This ensures the sample remains secure and identifiable throughout the storage and testing process. Here’s what you need to do:
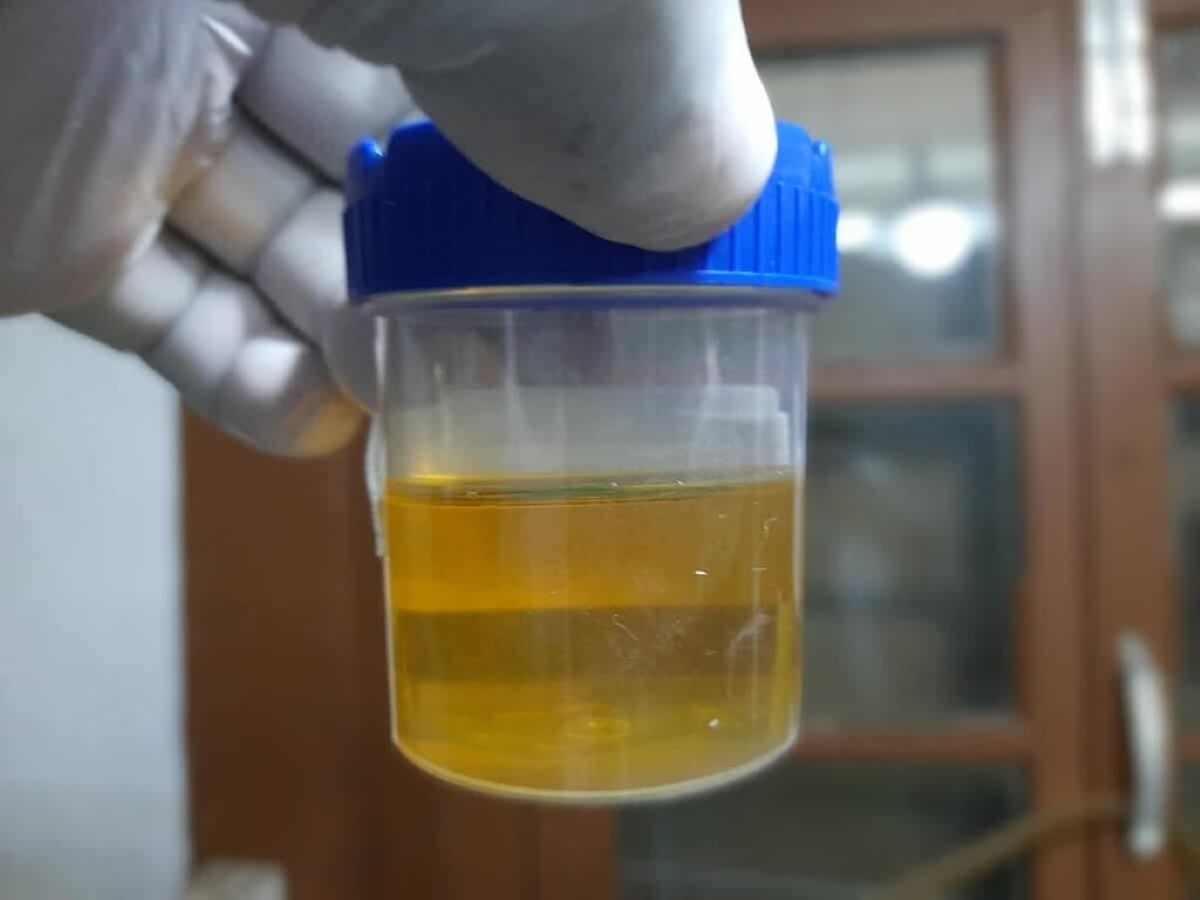
- Secure the lid: Ensure that the lid or cap of the storage container is tightly secured. This helps maintain the sample’s integrity and prevents any leakage.
- Check for leaks: Double-check the container for any signs of leakage. Gently tilt and rotate the container to make sure the lid is properly sealed and there are no leaks.
- Label the container: Take a permanent marker or a label sticker and clearly write your name (or the name of the individual providing the sample), the date and time of collection, and any other information required by the testing facility.
- Include any relevant information: If there are additional instructions from the testing facility, such as fasting requirements or specific testing requests, make sure to note them on the label as well.
- Ensure legibility: Make sure the label information is written legibly and will not smudge or fade over time. This ensures proper identification and documentation of the sample.
By following these steps, you can seal and label the storage container effectively, ensuring that the urine sample remains secure and easily identifiable throughout the testing process.
Now that the container is sealed and labeled, it’s time to move on to the final step: storing the urine sample properly.
Read more: How To Store A Urine Sample Overnight
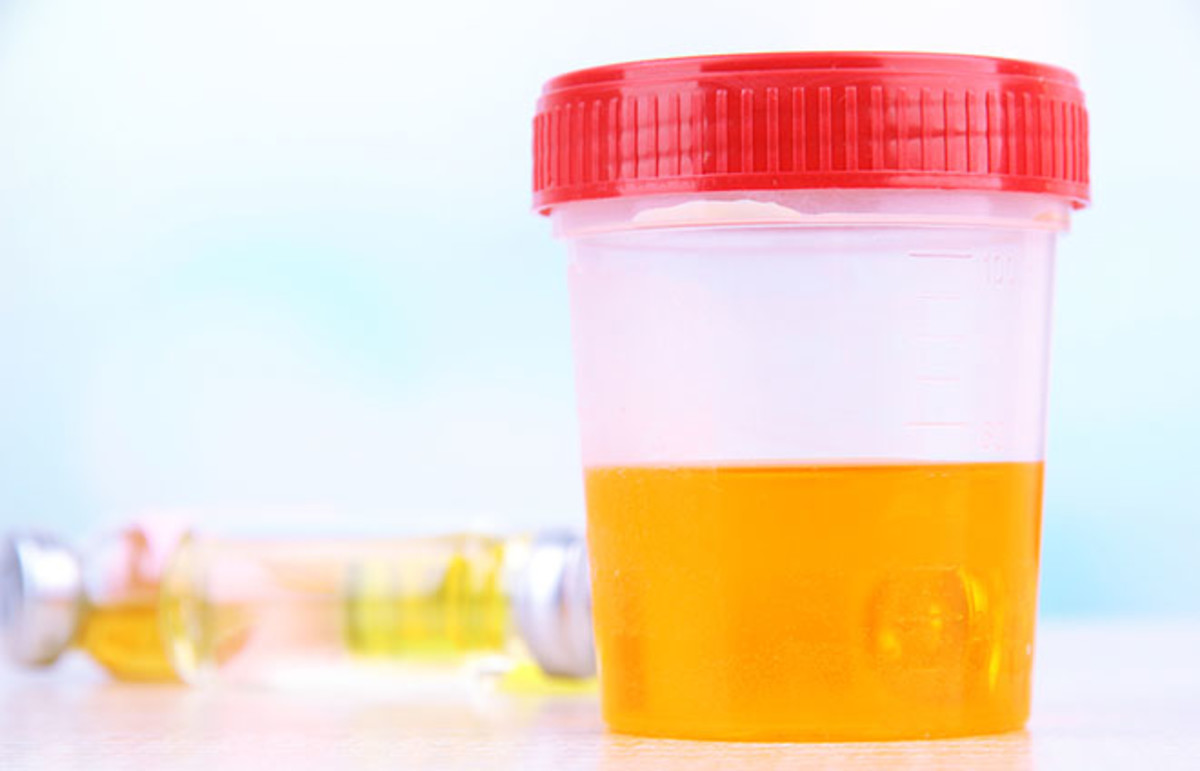
Step 5: Storing the Urine Sample Properly
Properly storing the urine sample is crucial to maintain its integrity and ensure accurate testing results. Follow these guidelines to store the urine sample effectively:
- Follow temperature requirements: Some urine tests require specific temperature ranges for accurate results. If instructed, ensure the sample is stored at the required temperature. This may involve refrigeration or keeping the sample at room temperature.
- Protect from light: Certain components in urine samples may degrade when exposed to light. To prevent this, store the sample in a dark or opaque container or keep it in a dark storage area.
- Avoid extreme temperatures: Do not expose the sample to extreme temperatures, such as freezing or excessive heat, as it can affect the stability and composition of the urine sample.
- Store in a secure location: Choose a secure location for storing the urine sample to prevent any accidental damage, tampering, or exposure to unauthorized individuals. Keep it away from children or pets.
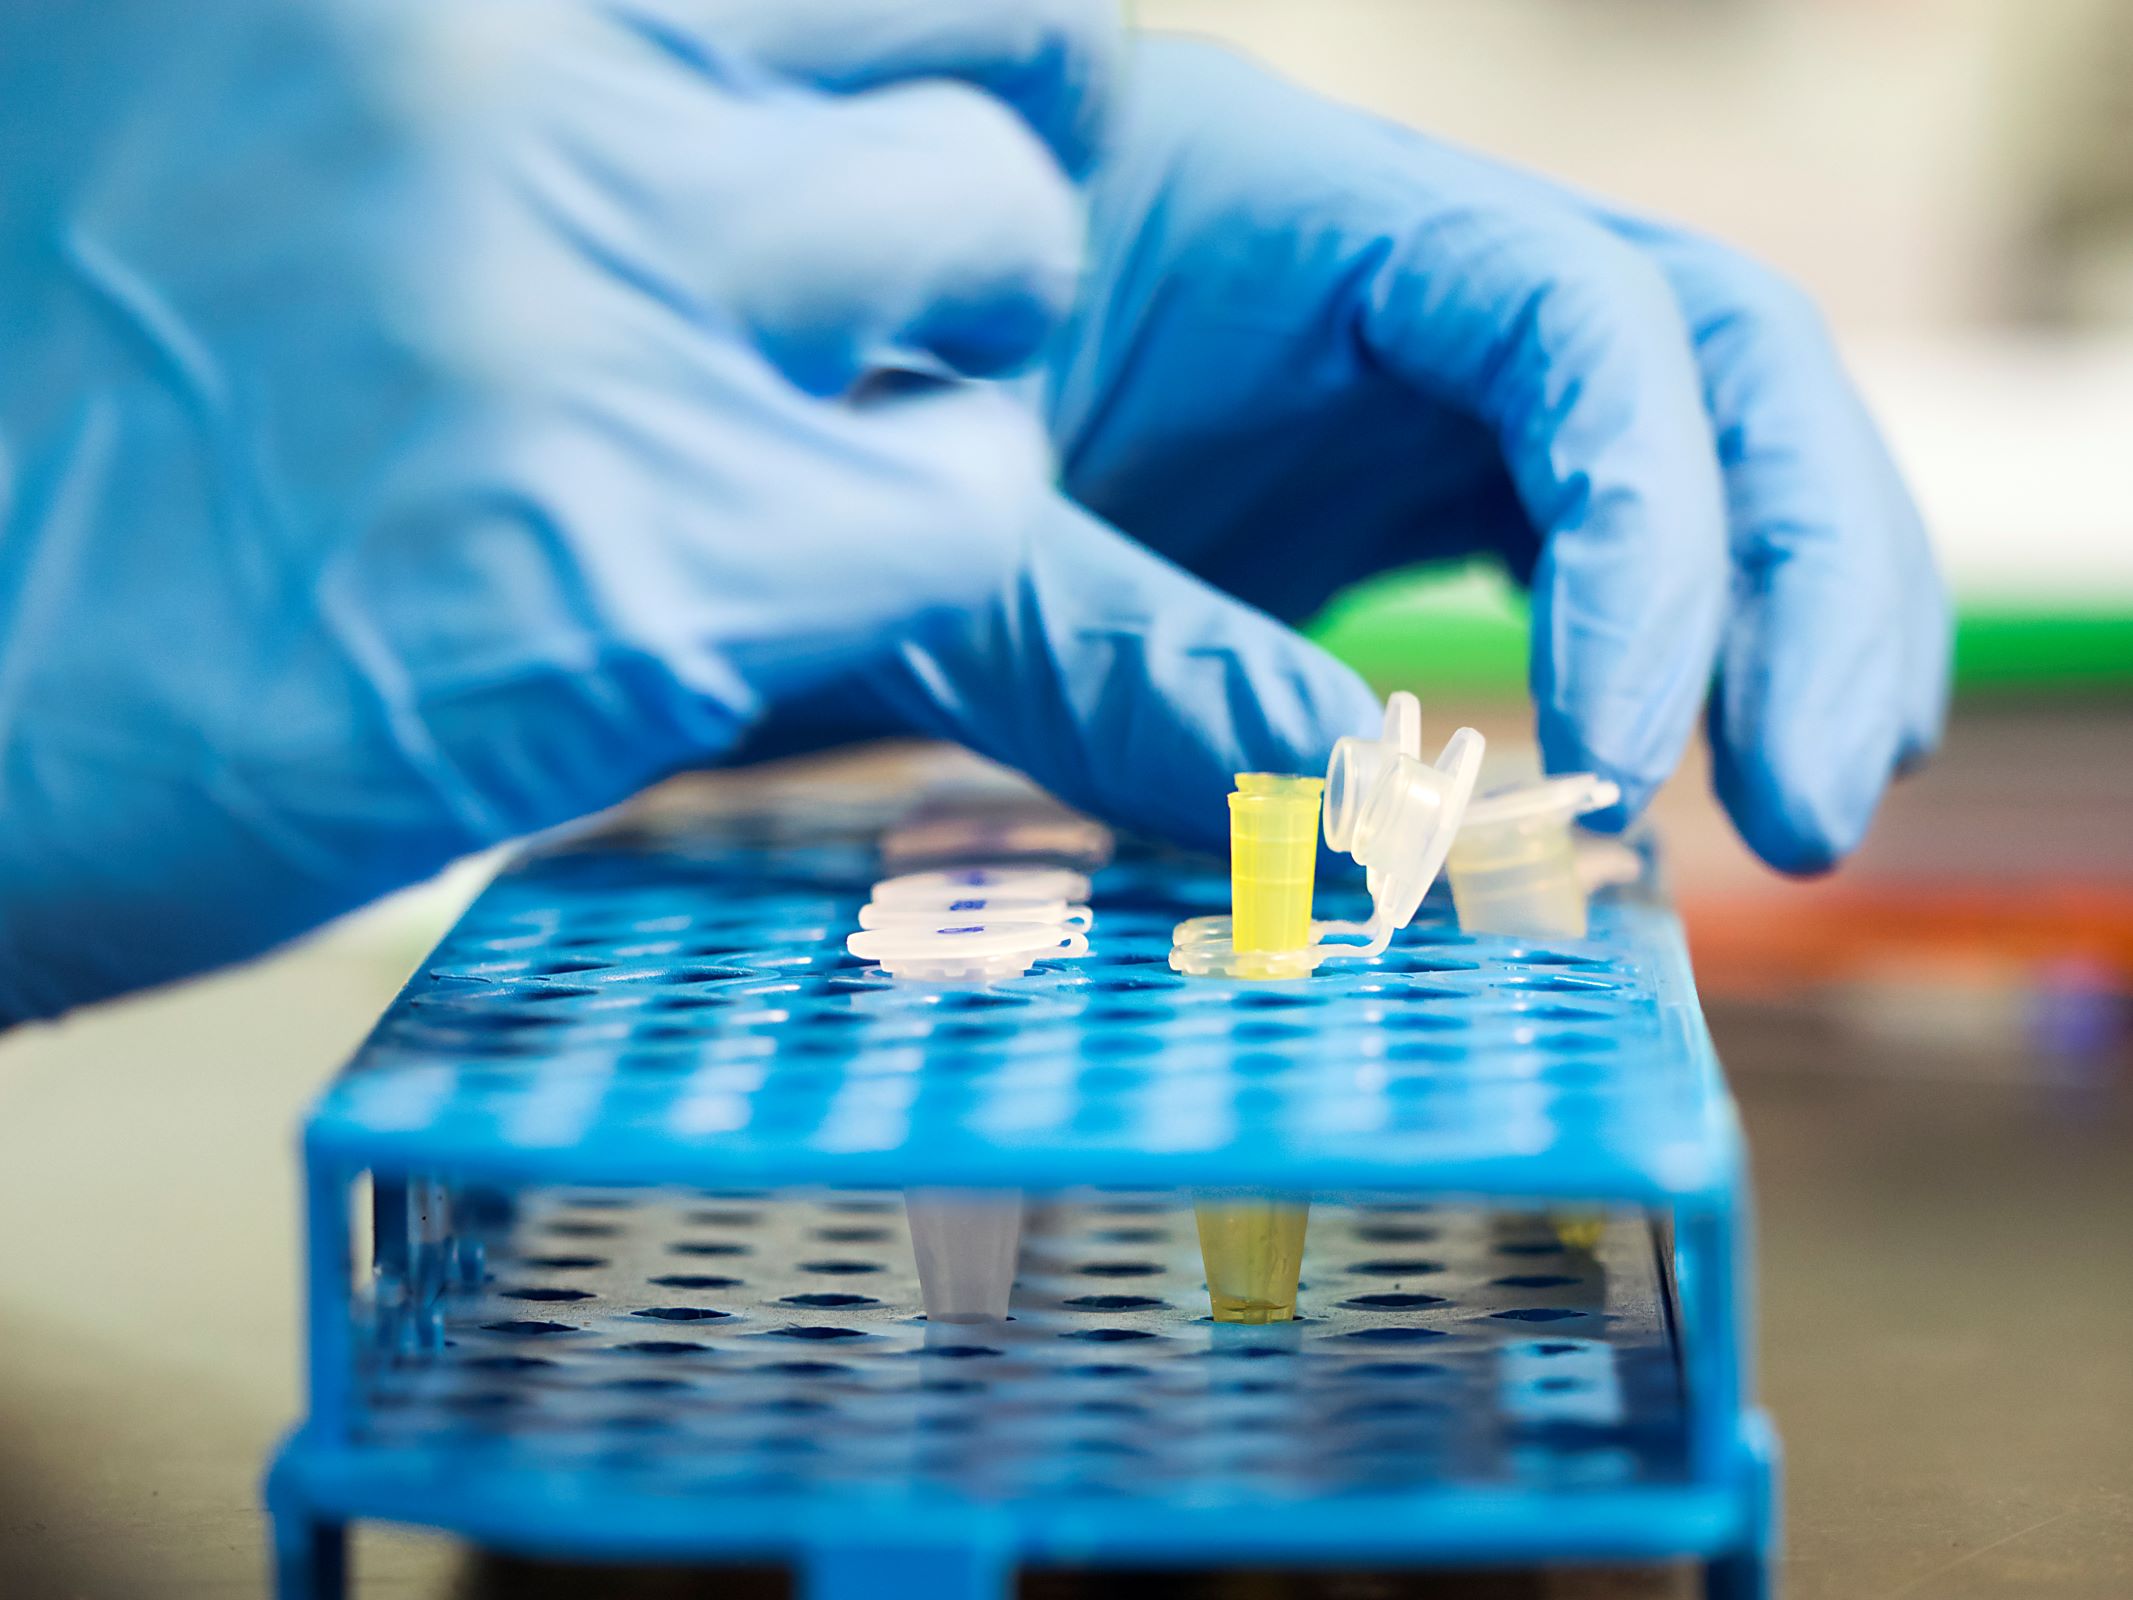
- Transport as instructed: If the urine sample needs to be transported to a testing facility, follow the specific instructions provided. This may involve using specialized packaging or maintaining specific temperature conditions during transportation.
- Note the storage duration: Different urine tests may have specific storage requirements, such as a maximum duration for storing the sample before testing. Make sure to note the recommended storage duration and adhere to it.
By following these storage guidelines, you can ensure that the urine sample remains stable, uncontaminated, and suitable for accurate testing when it reaches the laboratory or testing facility.
Now that you have learned how to properly store a urine sample, you can rest assured that your sample will maintain its integrity and provide reliable results for the intended purpose. Remember to always consult with your healthcare provider or the instructions provided by the testing facility for any specific requirements or recommendations.
With these steps completed, you have successfully stored your urine sample. Now you can confidently proceed with submitting it for testing or any other necessary purposes.
We hope this guide has been helpful and wish you the best with your urine sample storage and testing process!
Conclusion
Properly storing a urine sample is crucial to maintain its integrity and ensure accurate testing results. By following the step-by-step process outlined in this guide, you can effectively store your urine sample and preserve its quality. From collecting the sample to transferring it into a storage container, sealing, labeling, and storing it properly, each step plays a vital role in maintaining the integrity of the sample.
Remember to maintain cleanliness throughout the process by washing your hands, using a clean container, and avoiding contamination. Properly preparing the storage container ensures that it is free from any contaminants that may compromise the sample. Transferring the urine sample with care and minimizing air bubbles helps ensure accurate testing results. Sealing and labeling the container provide security and proper identification of the sample, while storing it in the right conditions preserves its composition.
It is important to follow any specific instructions provided by your healthcare provider or the testing facility, as different tests may have varying requirements for temperature, duration of storage, and transportation. Adhering to these instructions will help maintain the sample’s integrity and provide reliable results.
With the knowledge and steps outlined in this guide, you can confidently store your urine sample for medical testing, drug screening, or any other purposes. Remember, accuracy and proper handling of the urine sample are crucial to ensure the validity of the test results.
We hope this comprehensive guide has provided you with the necessary information on how to store a urine sample properly. By following these steps, you can ensure that your sample remains intact and delivers accurate results when analyzed in the laboratory or testing facility. If you have any further questions or concerns, it is always best to consult with your healthcare provider or the professionals overseeing the testing process.
Thank you for reading this guide, and we wish you success in storing and utilizing your urine sample.
Frequently Asked Questions about How To Store Urine Sample
Was this page helpful?
At Storables.com, we guarantee accurate and reliable information. Our content, validated by Expert Board Contributors, is crafted following stringent Editorial Policies. We're committed to providing you with well-researched, expert-backed insights for all your informational needs.


0 thoughts on “How To Store Urine Sample”