Articles
How To Store Dog Fecal Sample
Modified: December 7, 2023
Learn the proper way to store dog fecal samples in this informative article. Ensure accurate testing results and maintain sample integrity.
(Many of the links in this article redirect to a specific reviewed product. Your purchase of these products through affiliate links helps to generate commission for Storables.com, at no extra cost. Learn more)
Introduction
Storing dog fecal samples may not be the most pleasant task for pet owners, but it is an essential part of maintaining the health and well-being of our four-legged friends. Whether you are collecting a sample for routine check-ups, diagnosing a specific condition, or monitoring the effectiveness of a treatment, proper storage is crucial to ensure accurate and reliable results.
In this article, we will discuss the importance of storing dog fecal samples correctly and provide you with a step-by-step guide on how to store them to maintain their integrity. From collecting the sample to submitting it for testing, we will cover everything you need to know to handle and store dog fecal samples effectively.
By following the guidelines outlined in this article, you will not only ensure the accuracy of the test results but also contribute to the overall health and well-being of your furry companion.
Key Takeaways:
- Properly storing dog fecal samples is crucial for accurate diagnosis, treatment monitoring, and preventing the spread of infectious diseases. Following the outlined steps ensures reliable test results and contributes to your pet’s well-being.
- Collecting, storing, and submitting dog fecal samples involves careful attention to detail and adherence to specific guidelines. By following these steps, you can play an active role in maintaining your pet’s health and ensuring accurate test results.
Read more: How To Store Dog Poop Sample
Importance of Storing Dog Fecal Samples
Storing dog fecal samples properly is not just a matter of convenience; it plays a vital role in the health and well-being of our canine companions. Here are the key reasons why storing dog fecal samples correctly is crucial:
- Accurate Diagnosis: Storing dog fecal samples in a proper manner ensures that the sample remains intact and uncontaminated. This is important because the accuracy of diagnostic tests relies on the quality of the sample. By following the recommended storage guidelines, you can minimize the risk of false-negative or false-positive results, leading to more accurate diagnoses and appropriate treatments.
- Monitoring Treatment Effectiveness: If your dog is undergoing treatment for a specific condition, regular fecal sample collection and storage is essential for monitoring the effectiveness of the treatment. By comparing the results of stored samples over time, you and your veterinarian can determine if the treatment is working as intended or if adjustments need to be made.
- Identifying Parasitic Infections: Parasites like worms and protozoans can cause significant health issues in dogs. Storing dog fecal samples is crucial for identifying these infections accurately. Proper storage ensures that the parasites remain viable, allowing for more accurate detection during testing.
- Preventing Cross-Contamination: Storing dog fecal samples in separate containers and labeling them correctly helps to prevent cross-contamination. Each sample should be stored individually, as mixing samples can lead to inaccurate results and potentially spread infectious organisms between animals.
Overall, proper storage of dog fecal samples is essential for accurate diagnosis, effective treatment monitoring, and preventing the spread of infectious diseases. By following the recommended guidelines, you and your veterinarian can work together to maintain the health and well-being of your furry friend.
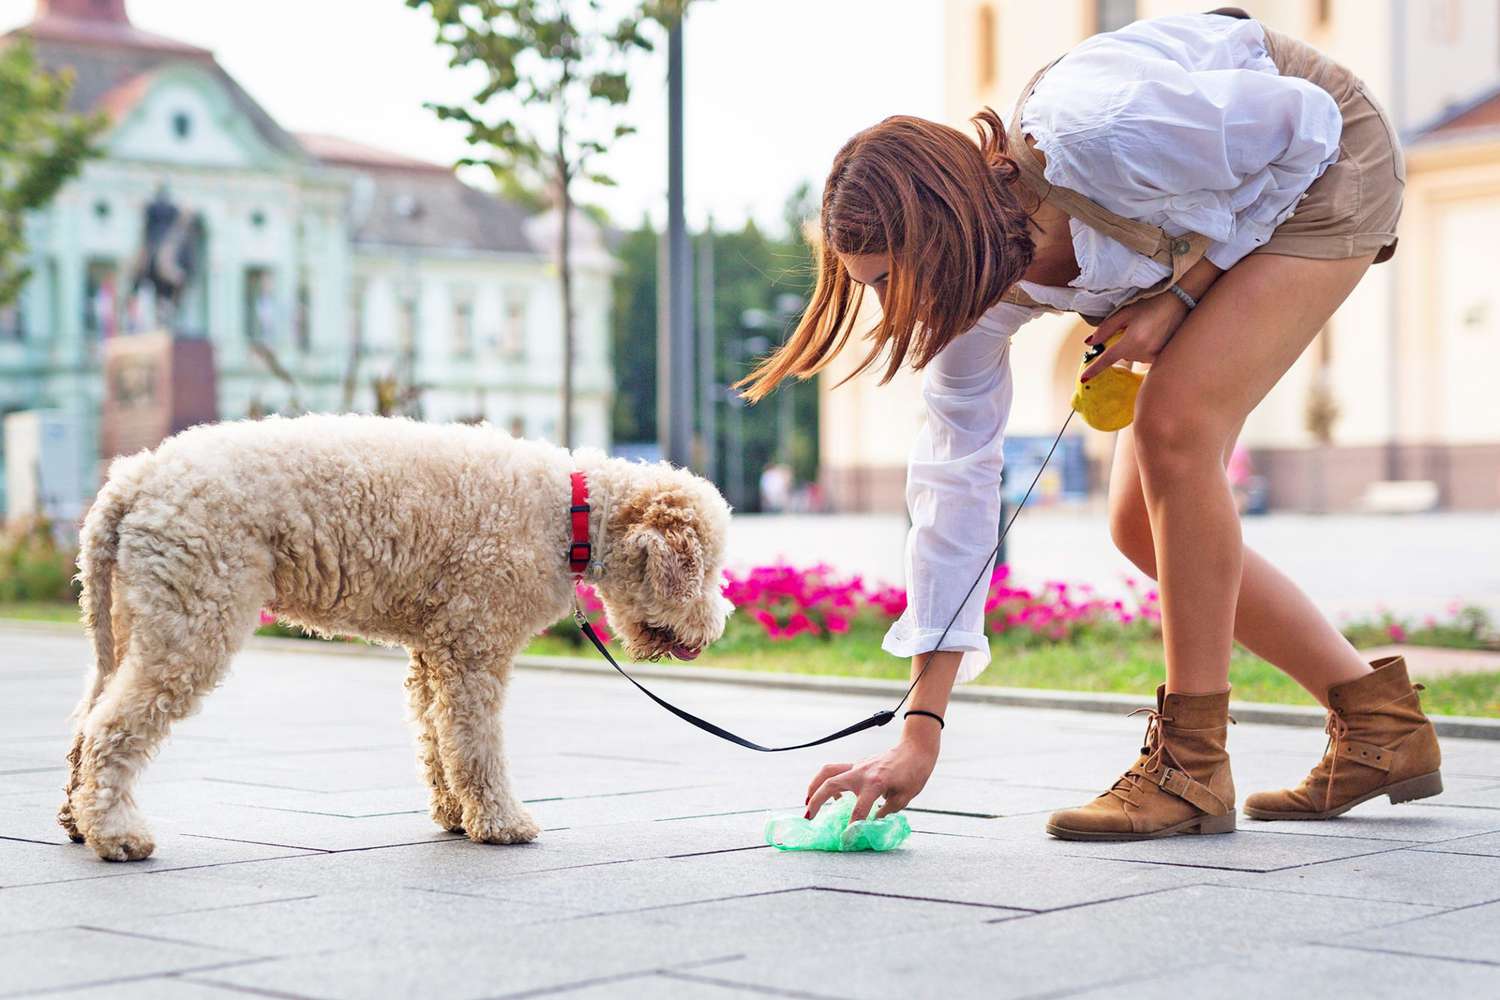
Step 1: Collecting the Fecal Sample
Collecting a fecal sample from your dog may seem like a daunting task, but with the right approach, it can be done easily and without causing too much stress to your furry friend. Here are the steps to follow:
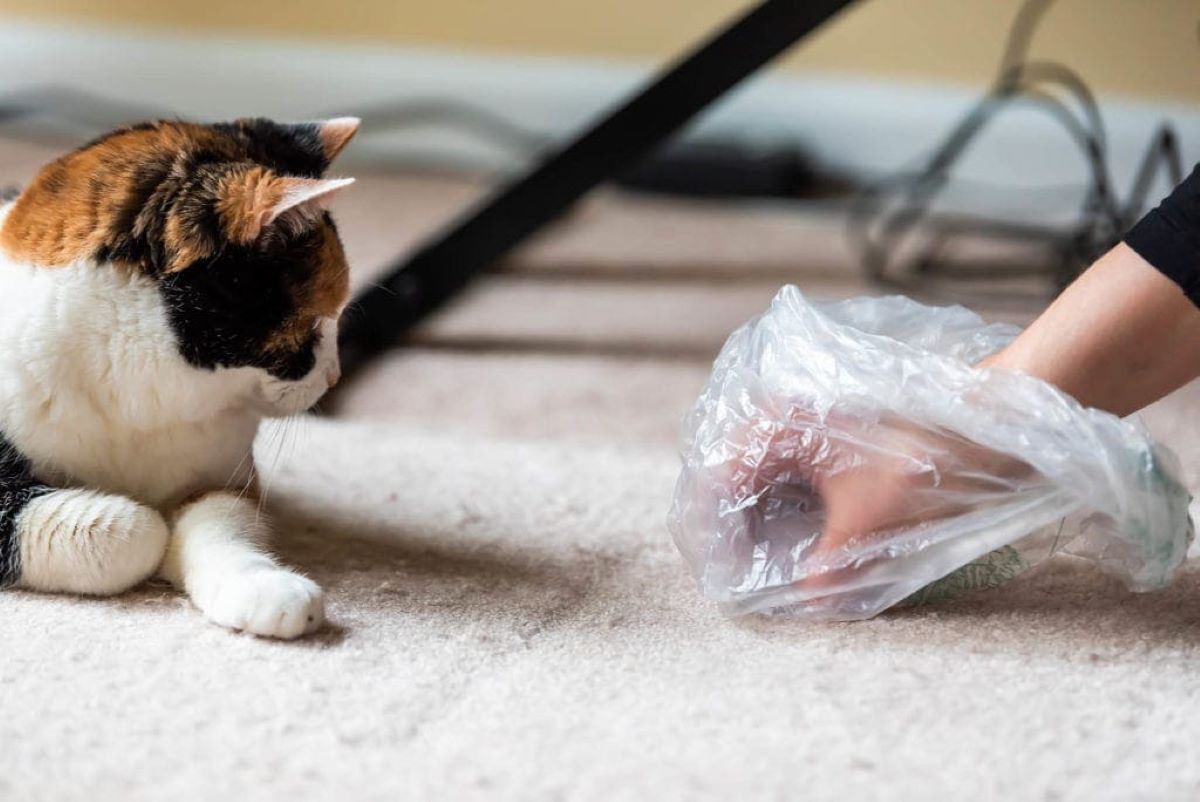
- Use a Clean Container: Start by preparing a clean container, such as a disposable plastic bag or a sealable container. It is important to use a container that is free from any contaminants to ensure the integrity of the sample.
- Choose the Right Time: Select a time when your dog is likely to defecate, such as after a meal or a walk. This will increase the chances of obtaining a fresh and representative sample.
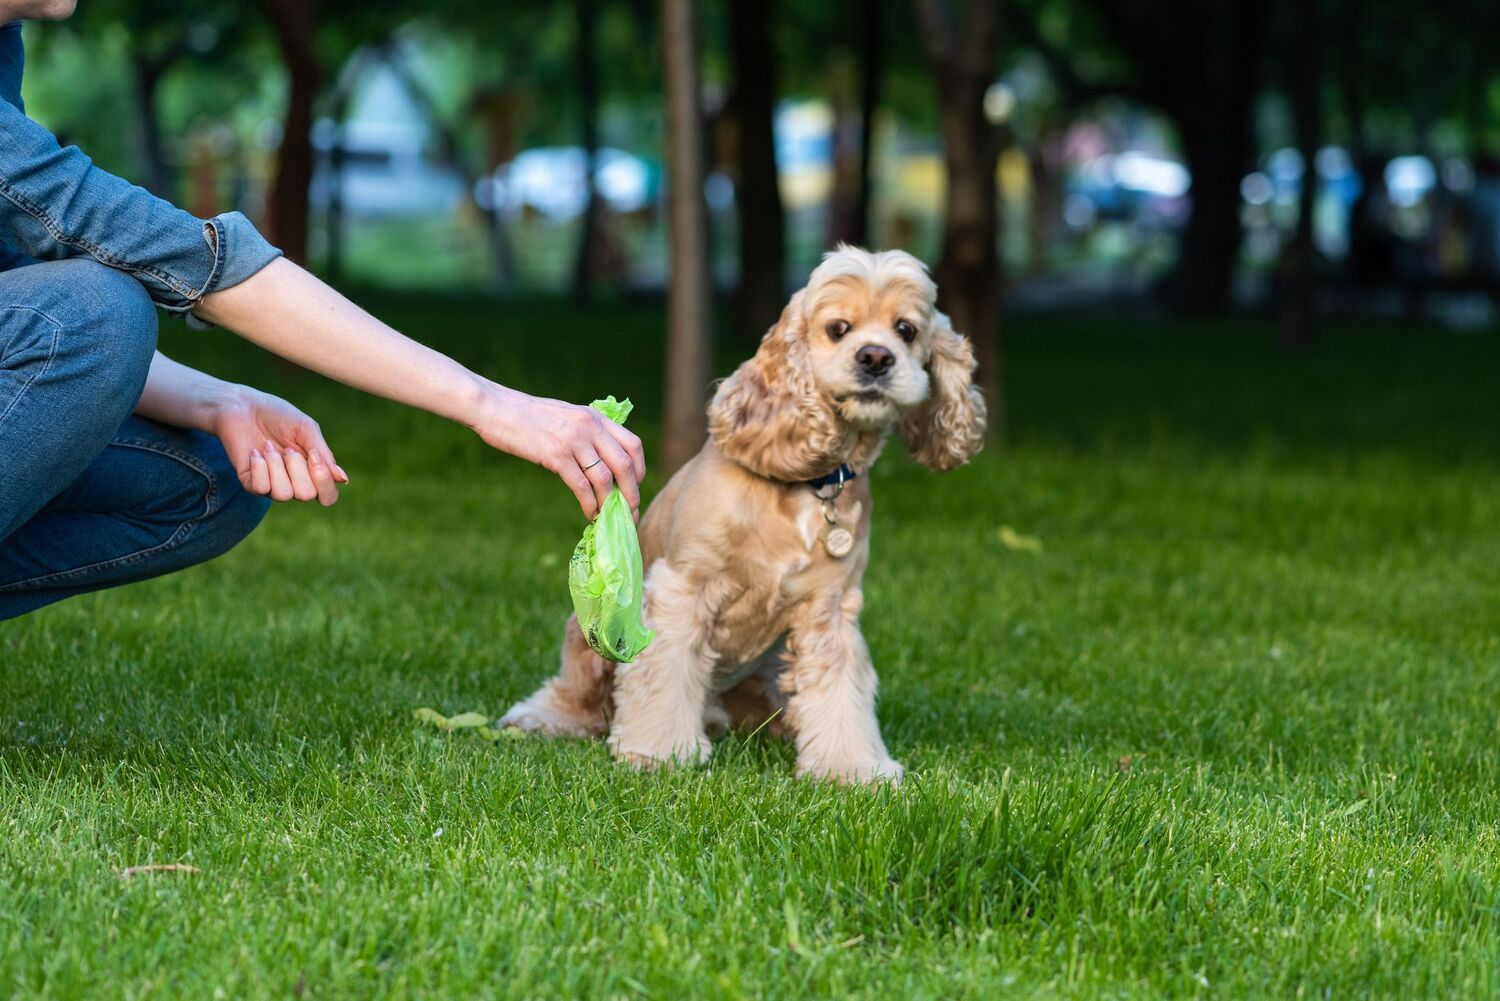
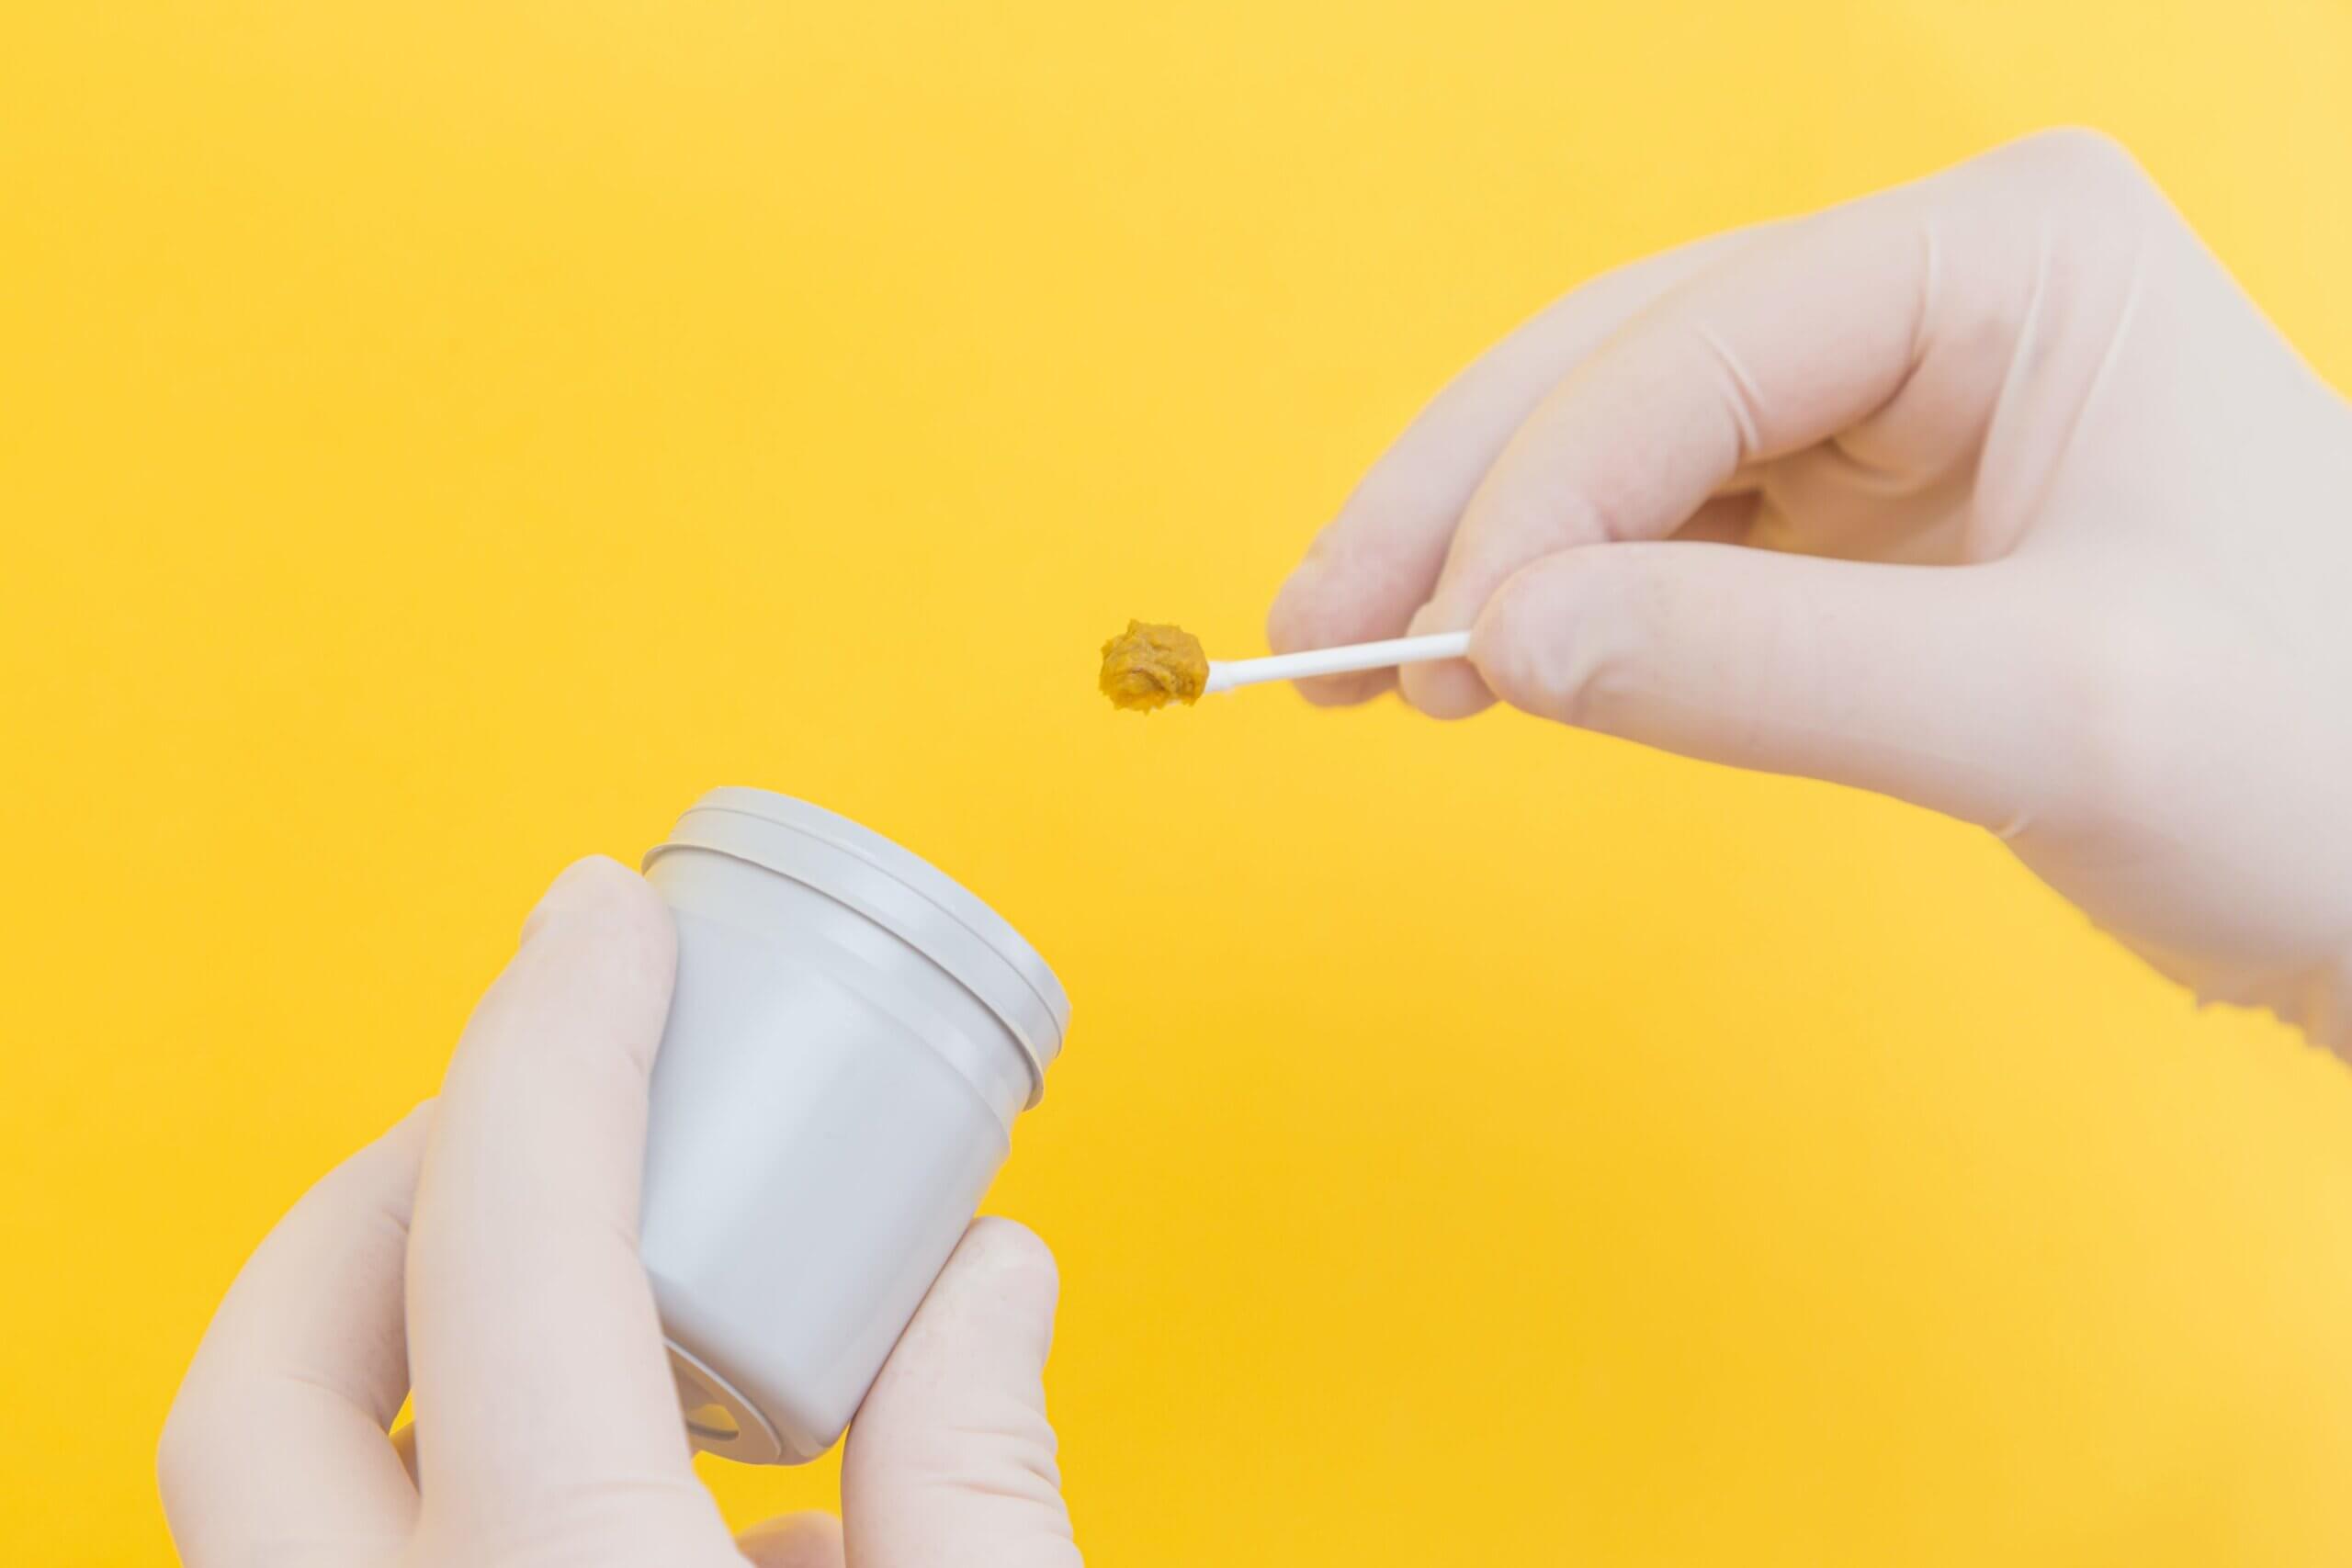
- Collect the Sample: Once your dog starts to defecate, use a glove or a plastic bag to collect a small portion of the feces. Make sure to collect a sample from different areas of the stool to capture any potential parasites or intestinal abnormalities.
- Avoid Contamination: To avoid contaminating the sample, be cautious not to touch the inside of the container or any other surfaces while collecting the feces. Minimize contact with your hands to prevent the transfer of bacteria or other pathogens.
- Secure the Container: Seal the container tightly to prevent any leakage or odor. If you are using a disposable plastic bag, tie it securely. Remember to label the container with your dog’s name, the date of collection, and any relevant information requested by your veterinarian.
It is essential to collect the fecal sample as soon as possible and store it correctly to ensure its integrity for testing. If you have any concerns or are unsure about the process, don’t hesitate to reach out to your veterinarian for guidance.
Collecting a fecal sample from your dog may not be the most pleasant task, but it is a necessary step in maintaining their health. By following these simple steps, you can ensure an accurate and reliable sample for testing.
Step 2: Choosing the Right Storage Container
Once you have collected the fecal sample from your dog, it is important to choose the right storage container to preserve the sample’s integrity. Here are some guidelines to consider when selecting a storage container:
- Airtight and Leakproof: The storage container should be airtight and leakproof to prevent any contamination or leakage. This will help maintain the quality of the sample and prevent the spread of any potential pathogens.
- Disposable or Reusable: You have the option of using either a disposable container or a reusable one. Disposable containers, such as sealable plastic bags, are convenient as they can be easily discarded after use. However, if you prefer a more eco-friendly option, there are reusable containers available, such as plastic or glass vials with tight-fitting lids.
- Size and Capacity: Choose a container that is appropriate in size for the amount of fecal sample collected. It should have enough capacity to securely hold the sample without being too large, as excess air space can lead to decomposition or contamination.
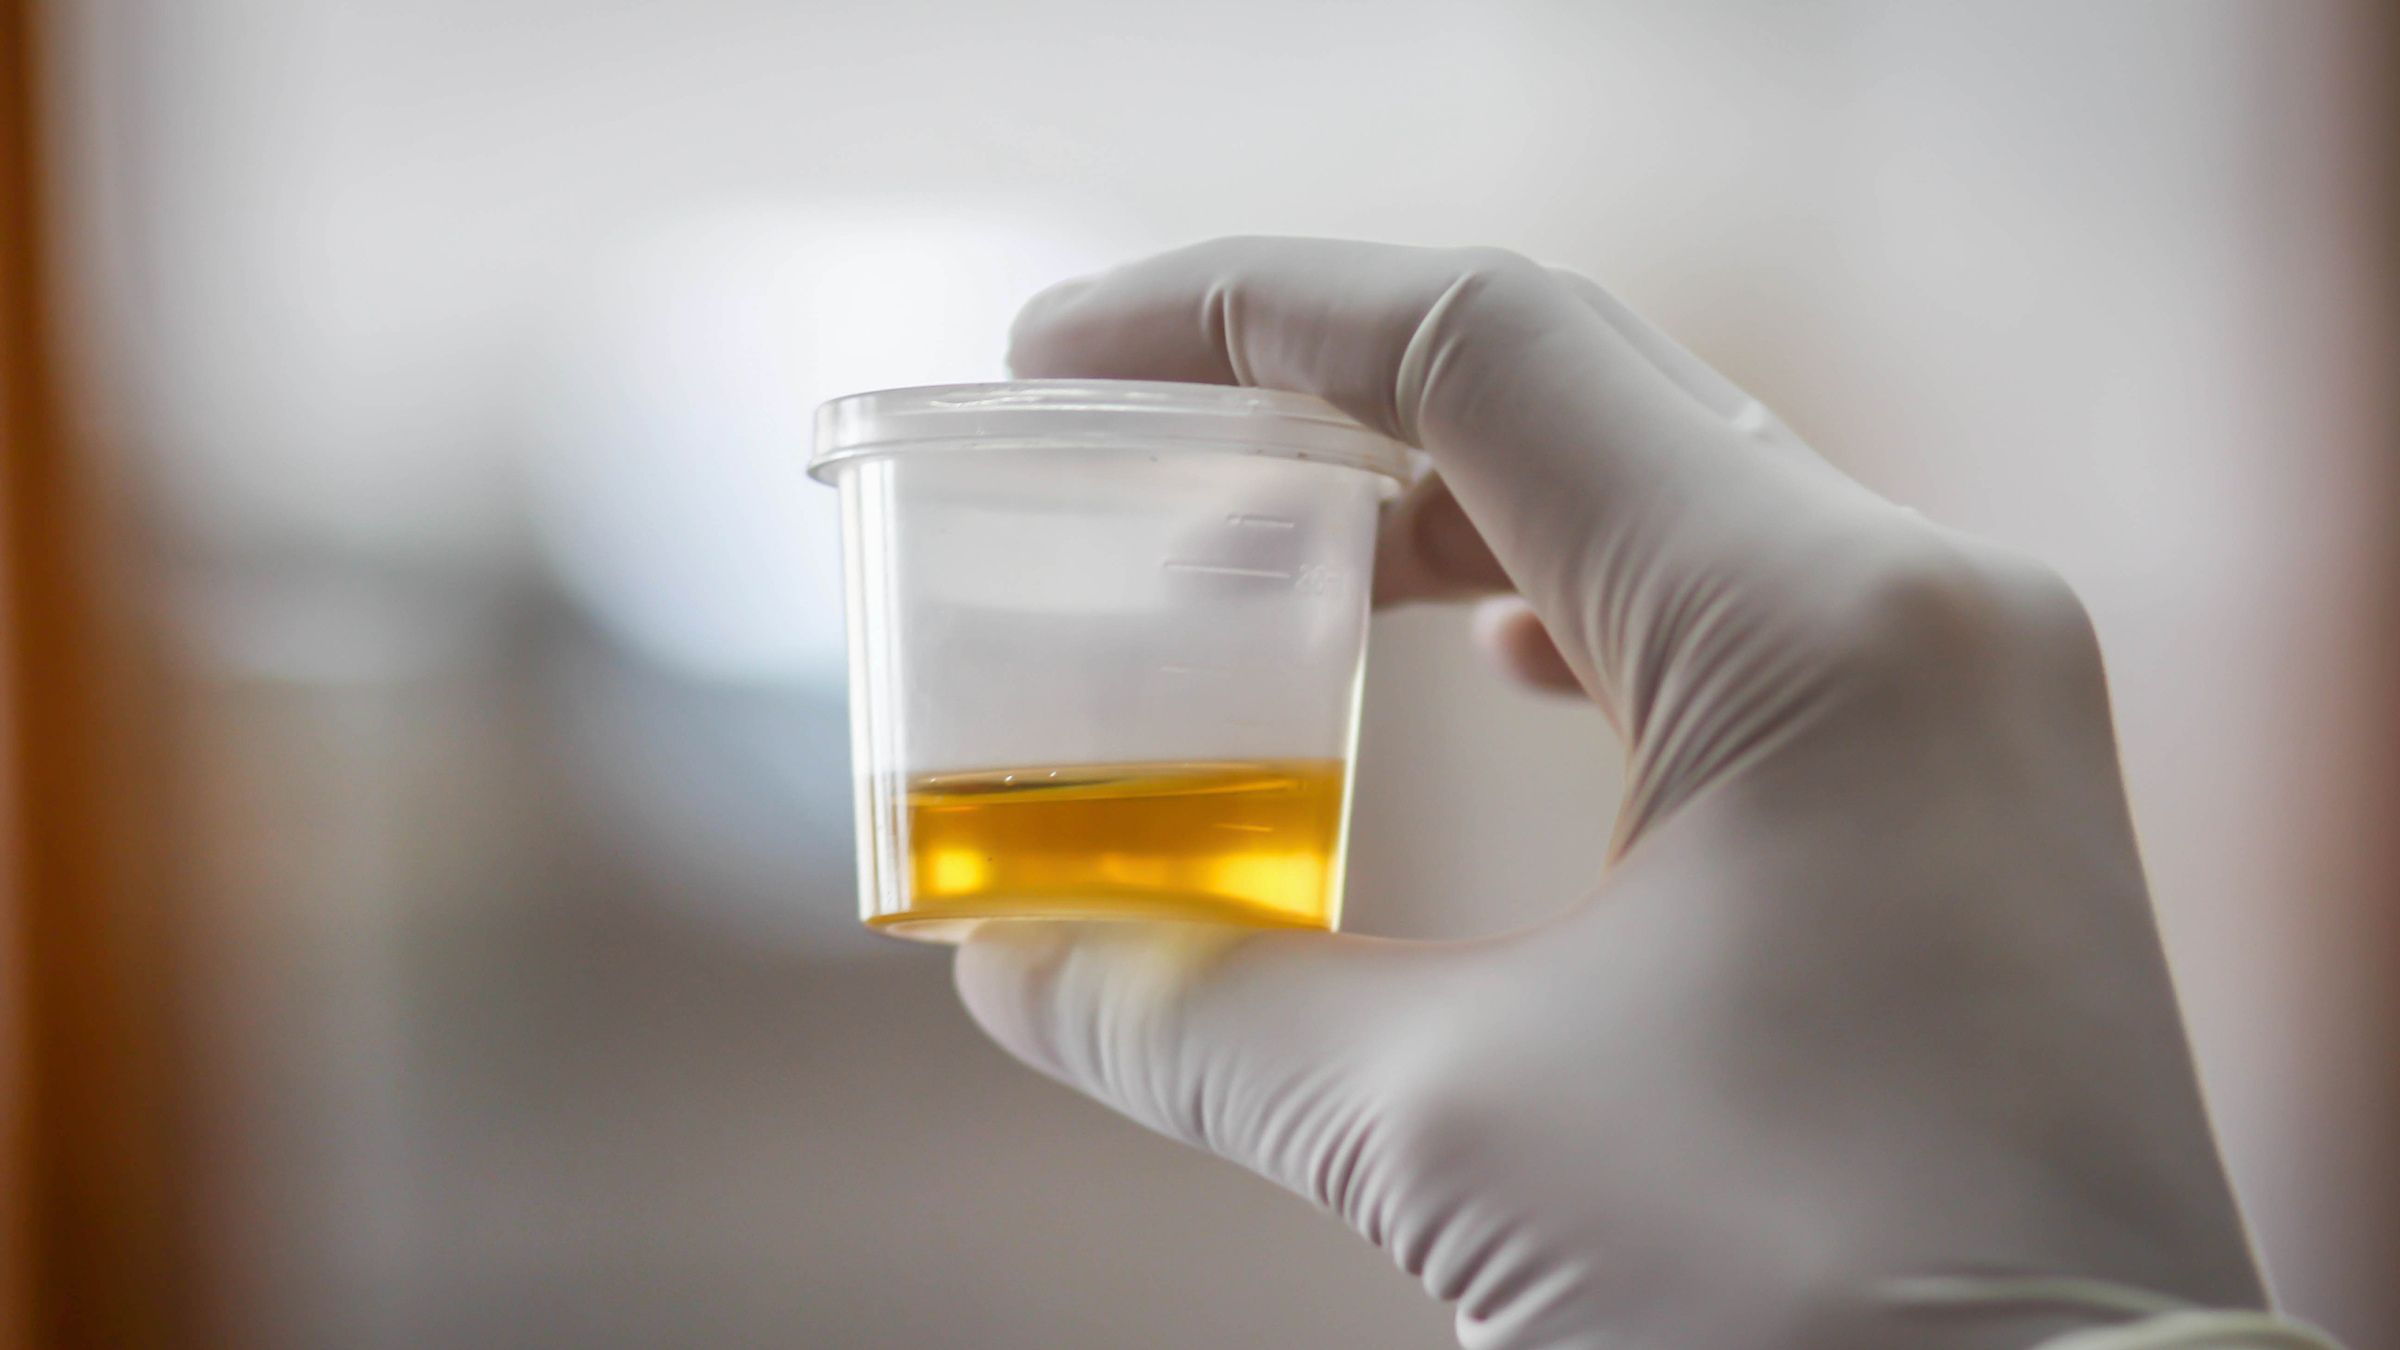
- Transparent: Opt for a transparent container that allows visual inspection of the sample without the need to open it. This will minimize the risk of accidental exposure to potentially harmful bacteria or parasites.
- Easy to Label: Ensure that the chosen container is easy to label with your dog’s name, the collection date, and any other relevant information requested by your veterinarian. This will avoid any confusion when submitting the sample for testing.
Remember, the key consideration when choosing a storage container for your dog’s fecal sample is to prioritize airtightness, leakproof capability, and ease of labeling. By selecting the right container, you can help maintain the sample’s integrity and ensure accurate test results.
If you are unsure about which storage container to use, consult with your veterinarian for their recommendation. They may have specific guidelines or preferred containers for sample storage based on their testing protocols.
Step 3: Properly Labeling the Sample
Properly labeling your dog’s fecal sample is crucial to ensure accurate identification and avoid any confusion during testing and analysis. Follow these guidelines to effectively label the sample:
- Write Your Dog’s Name: On the storage container, clearly write your dog’s name or any unique identifier that helps identify the sample as belonging to your dog. This will prevent mix-ups or errors when multiple samples are being processed.
- Include the Collection Date: Write down the date when the sample was collected. This is essential for tracking the timeline of the sample and ensuring its freshness.
- Provide Any Relevant Information: If your veterinarian has requested additional information to be included on the label, make sure to include it. This could include the reason for the sample collection or specific instructions for handling or testing.
- Use Waterproof Ink or Labels: To protect the label from smudging or fading, use waterproof ink or labels. This will ensure that the information remains visible and legible throughout the storage and testing process.
- Attach External Paper Label: Besides writing the necessary information directly on the container, it is a good practice to attach an external paper label as an extra precaution. This can help prevent any damages or deterioration to the container that may make the original label illegible.
Accurate labeling of the fecal sample is essential for proper identification and tracking throughout the testing process. By following these labeling guidelines, you can help ensure the sample is easily identifiable and associated with the correct dog during analysis.
If you have any concerns or specific instructions regarding labeling, it is always a good idea to consult with your veterinarian. They can provide you with any additional guidelines specific to their testing protocols or requirements.
Store dog fecal samples in a clean, sealed container in the refrigerator until you can bring it to the vet for testing. Avoid freezing the sample as it can degrade the parasites and bacteria.
Read more: How To Store A Dog Stool Sample
Step 4: Storing the Sample at the Recommended Temperature
Properly storing the fecal sample at the recommended temperature is crucial to preserve its integrity and ensure accurate test results. Here’s what you need to know about storing the sample:
- Cool Storage: Fecal samples should be stored in a cool environment to slow down bacterial growth and maintain the integrity of the sample. The recommended storage temperature is typically around 4-8 degrees Celsius (39-46 degrees Fahrenheit).
- Avoid Freezing: While it is important to keep the sample cool, avoid freezing it. Freezing the sample can cause cell damage and affect the accuracy of the test results. If freezing is necessary, consult with your veterinarian for specific instructions.
- Use a Refrigerator: The best way to store the sample at the recommended temperature is by using a refrigerator. Place the sealed container with the sample in the refrigerator as soon as possible after collection.
- Maintain a Consistent Temperature: Ensure that the refrigerator used for sample storage maintains a consistent temperature within the recommended range. Avoid frequent temperature fluctuations or exposure to direct sunlight or heat sources.
- Avoid Contamination: Store the fecal sample in a designated area of the refrigerator, away from foods and other items to prevent any potential contamination. It is also a good practice to double-bag the sample to provide an extra layer of protection.
By storing the sample at the recommended temperature, you can maintain its integrity and prevent bacterial overgrowth, which could affect the accuracy of the test results. It is important to follow these storage guidelines diligently to ensure the most reliable outcomes.
If you are unsure about the specific temperature requirements for storing your dog’s fecal sample, consult with your veterinarian. They will provide you with the necessary information based on the specific testing procedures and requirements.
Step 5: Duration of Sample Storage
The duration for which you can store a dog fecal sample without compromising its integrity and accuracy depends on several factors, including the type of tests being conducted and the specific requirements of your veterinarian or diagnostic laboratory. Here are some general guidelines to keep in mind:
- Follow Veterinary Instructions: Your veterinarian will provide you with specific instructions regarding the duration for which you can store the fecal sample. It is important to follow their guidance to ensure accurate results.
- Short-term Storage: In most cases, fecal samples can be stored in the refrigerator (at the recommended temperature mentioned in Step 4) for 1 to 3 days without significant degradation. However, it is always best to submit the sample for testing as soon as possible to ensure the best quality results.
- Long-term Storage: If long-term storage is necessary, consult with your veterinarian or diagnostic laboratory for specific instructions. They may provide you with additional measures, such as freezing the sample, to prolong its viability and maintain accurate results.
- Consider Sample Sensitivity: Some diagnostic tests require a fresh sample for accurate results, while others can tolerate more extensive storage. The sensitivity of the test being conducted will influence the duration for which the sample can be stored. Your veterinarian can guide you on this matter.
- Labeling and Organization: Regardless of the storage duration, proper labeling and organization are essential. Make sure to label the sample with your dog’s name, collection date, and any other necessary information. Additionally, keep track of the samples and their storage duration to avoid mix-ups or confusion.
It is important to note that these guidelines serve as general recommendations. Your veterinarian or diagnostic laboratory may have specific requirements based on their testing protocols and the nature of the tests being conducted.
If you are unsure about the duration for which you can store your dog’s fecal sample or have any concerns, it is best to consult with your veterinarian. They can provide you with the most accurate information and guidance based on your specific situation.
Step 6: Handling and Transportation of the Stored Sample
Proper handling and transportation of the stored dog fecal sample is crucial to preserve its integrity and ensure accurate test results. Here are some essential guidelines to follow:
- Keep the Sample Refrigerated: Before transportation, ensure that the sample has been stored in the refrigerator at the recommended temperature (as mentioned in Step 4) until it is ready to be transported. This helps maintain the sample’s integrity during transit.
- Use Appropriate Packaging: Transfer the stored fecal sample into a suitable leak-proof container or bag for transportation. Ensure that the container is securely sealed to prevent any leakage or odor during transit.
- Protect from Extreme Temperatures: When transporting the sample, it is important to protect it from extreme temperatures. Avoid exposing it to direct sunlight, excessive heat, or freezing temperatures, as these can affect the sample’s integrity and compromise the accuracy of test results.
- Consider Time Constraints: Minimize the time between taking the sample out of the refrigerator and delivering it to the diagnostic laboratory or veterinarian. If there are time constraints, you may consider using ice packs or coolers with proper insulation to maintain the sample’s temperature during transport.
- Label the Transport Container: Clearly label the transport container with your dog’s name, the collection date, and any other relevant information requested by the laboratory or veterinarian. This ensures proper identification and avoids mix-ups during handling.
- Follow Transportation Guidelines: If you are using a courier service or mailing the sample, adhere to their specific guidelines for packaging and shipment. This may include using specific mailing containers or following special instructions for shipping biological materials.
- Inform the Laboratory or Veterinarian: Before sending the sample, inform the diagnostic laboratory or veterinarian about the impending arrival. This allows them to anticipate the sample and make appropriate arrangements for processing upon receipt.
By following these handling and transportation guidelines, you can help ensure the preserved integrity of the fecal sample during transit. This will contribute to accurate and reliable test results for the health and well-being of your dog.
If you have any doubts or specific questions regarding the handling and transportation of the sample, consult with your veterinarian or diagnostic laboratory. They can provide you with additional instructions or address any concerns you may have.
Step 7: Submitting the Sample for Testing
Submitting the stored dog fecal sample for testing is the final step in the process of obtaining accurate results and diagnosing any potential health issues. Here’s what you need to know about submitting the sample:
- Contact the Diagnostic Laboratory or Veterinarian: Reach out to the diagnostic laboratory or your veterinarian to confirm their preferred method of sample submission. They may have specific instructions or requirements to follow.
- Provide Relevant Information: When submitting the sample, be prepared to provide any necessary information requested by the diagnostic laboratory or veterinarian. This may include your contact details, your dog’s identification, and any specific testing requests or concerns.
- Follow Packaging Instructions: Pack the stored fecal sample according to the instructions provided by the diagnostic laboratory or veterinarian. This may involve placing the sample in a specific type of packaging or utilizing additional materials to ensure proper containment during transportation.
- Include Required Forms: Some diagnostic laboratories or veterinarians may require you to fill out specific forms or paperwork when submitting the sample. Complete these forms accurately and include them alongside the sample to avoid any delays in processing or testing.
- Choose a Reliable Shipping Method: If mailing the sample, choose a reliable shipping method that ensures the sample will be delivered promptly and securely. Consider using a shipping service that provides tracking and delivery confirmation to monitor the transit of the sample.
- Notify the Laboratory or Veterinarian of Shipment: Once the sample is ready for shipping, inform the diagnostic laboratory or veterinarian about the shipment details. Provide them with any tracking numbers or relevant information to aid in tracking and prompt processing upon arrival.
- Follow Up with Results: After submitting the sample, inquire about the estimated turnaround time for test results. Stay in communication with the diagnostic laboratory or veterinarian to receive the results and discuss any necessary follow-up steps or treatment options.
By carefully following these steps, you can ensure a smooth process of submitting the stored fecal sample for testing. Effective communication, proper packaging, and adherence to any specific requirements or forms are key in obtaining accurate and timely results for your dog’s health management.
If you have any questions or concerns about the submission process, don’t hesitate to reach out to the diagnostic laboratory or your veterinarian for clarification and guidance.
Read more: How To Store Dog Urine Sample
Conclusion
Properly storing and handling dog fecal samples is essential for maintaining the health and well-being of our four-legged companions. By following the steps outlined in this guide, you can ensure the integrity of the sample and obtain accurate test results. Here’s a recap of the key points:
- Collect the fecal sample using a clean container and collect it at the appropriate time.
- Choose a storage container that is airtight, leakproof, and easy to label.
- Label the sample with your dog’s name, collection date, and any additional information requested by your veterinarian.
- Store the sample in a refrigerator at the recommended temperature, avoiding freezing.
- Follow veterinary instructions for the recommended duration of sample storage.
- Handle and transport the sample carefully, protecting it from extreme temperatures and ensuring it remains sealed.
- Submit the sample for testing, providing any necessary information or forms requested.
By following these steps, you can contribute to the accuracy of diagnostic tests, monitor the effectiveness of treatments, and identify any potential health issues in your dog. Timely and accurate test results enable veterinarians to provide the best possible care, leading to improved health outcomes for your furry friend.
Remember, if you have any specific questions or concerns about storing and handling dog fecal samples, it is always best to consult with your veterinarian. They can provide you with tailored advice based on your dog’s unique needs and their testing protocols.
Taking the necessary steps to store dog fecal samples properly demonstrates your commitment to your pet’s health and contributes to the overall well-being of your furry friend. By following these guidelines, you are playing an active role in maintaining their health and ensuring longevity and happiness for years to come.
Frequently Asked Questions about How To Store Dog Fecal Sample
Was this page helpful?
At Storables.com, we guarantee accurate and reliable information. Our content, validated by Expert Board Contributors, is crafted following stringent Editorial Policies. We're committed to providing you with well-researched, expert-backed insights for all your informational needs.


0 thoughts on “How To Store Dog Fecal Sample”