Articles
How To Store A Dog Stool Sample
Modified: December 7, 2023
Learn how to properly store a dog stool sample with step-by-step instructions in this informative article. Keep your pet's health in check with these helpful tips.
(Many of the links in this article redirect to a specific reviewed product. Your purchase of these products through affiliate links helps to generate commission for Storables.com, at no extra cost. Learn more)
Introduction
When it comes to ensuring the health and well-being of our furry friends, regular veterinary check-ups are essential. One common procedure that veterinarians often request is a stool sample analysis. A dog’s stool sample can provide valuable insights into their digestive health, helping veterinarians diagnose and treat various ailments.
Properly storing and transporting a dog’s stool sample is crucial to ensure accurate results and maintain the sample’s integrity. In this article, we will guide you through the step-by-step process of storing a dog’s stool sample until you can deliver it to your veterinarian for analysis.
By following these guidelines, you can help your veterinarian provide the best care for your dog and ensure accurate diagnosis and treatment.
Key Takeaways:
- Properly storing and transporting your dog’s stool sample is crucial for accurate diagnosis and treatment. Follow these steps to assist your veterinarian in providing the best care for your furry friend.
- Collecting, storing, and transporting a stool sample requires attention to detail and proper handling. By following these guidelines, you can play an active role in your dog’s healthcare and contribute to accurate diagnoses.
Read more: How To Store Cat Stool Sample For Vet
Step 1: Collecting the Stool Sample
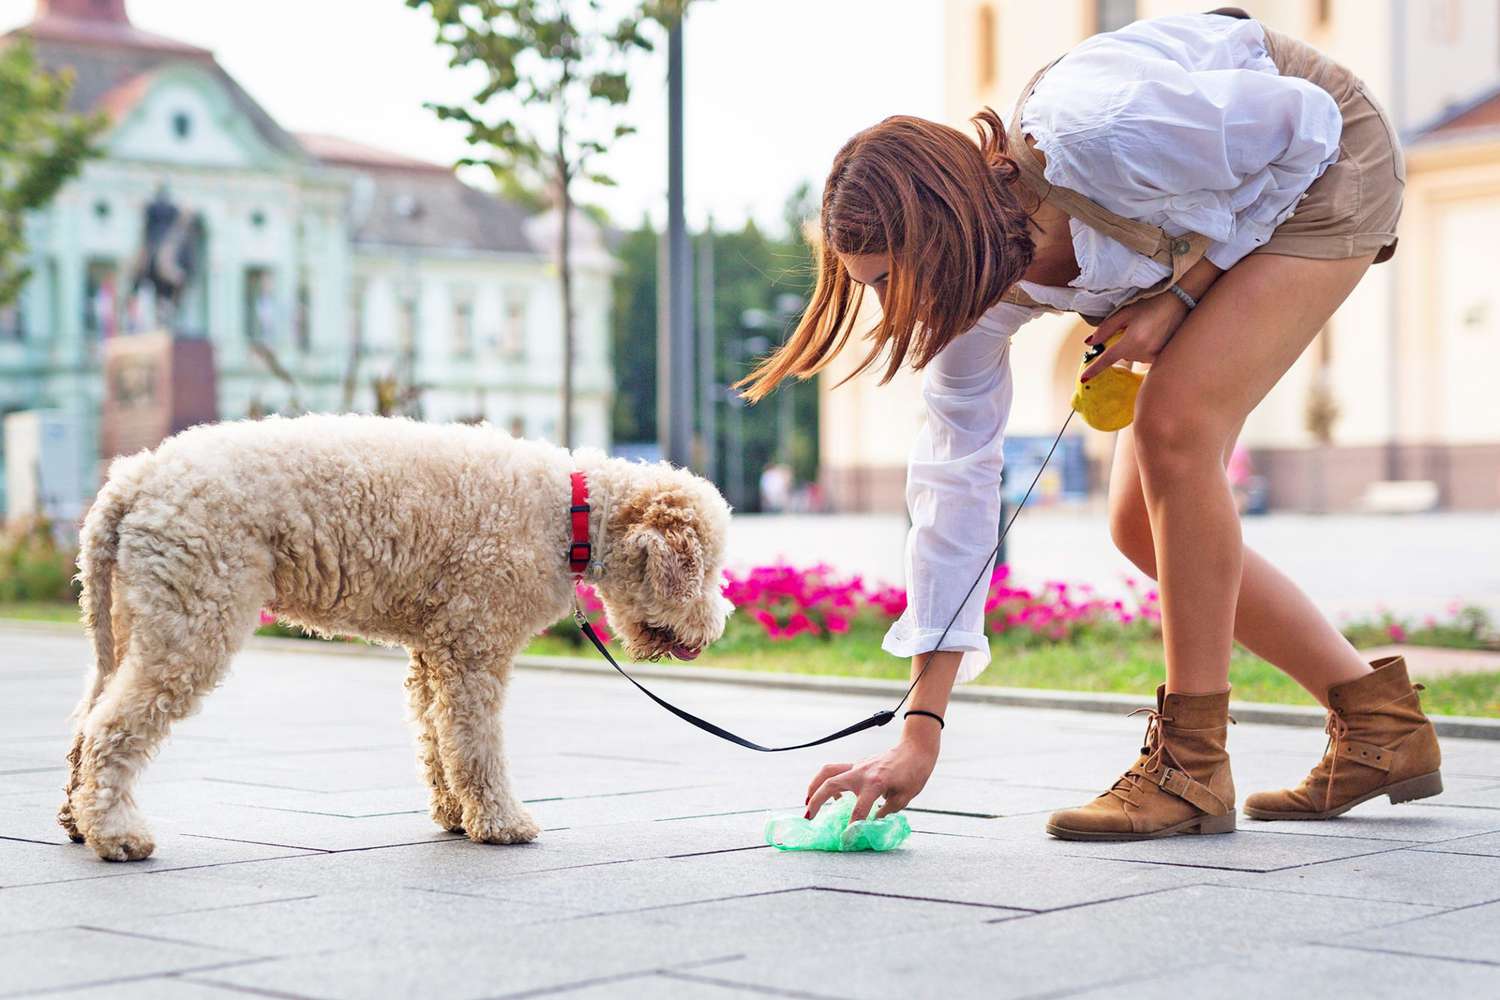
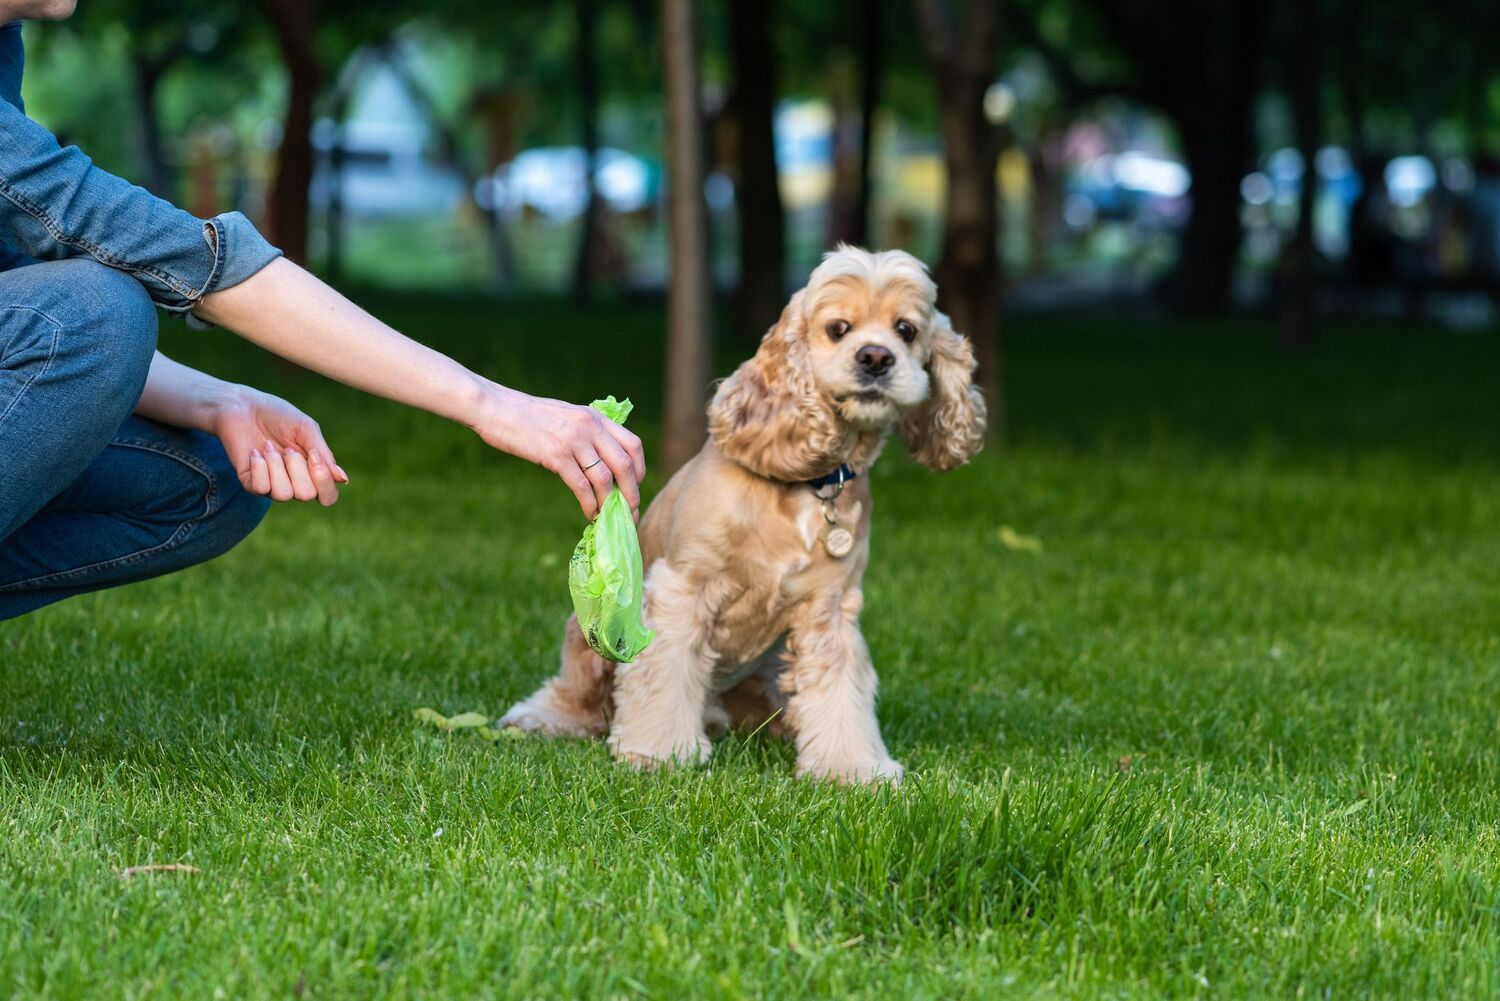
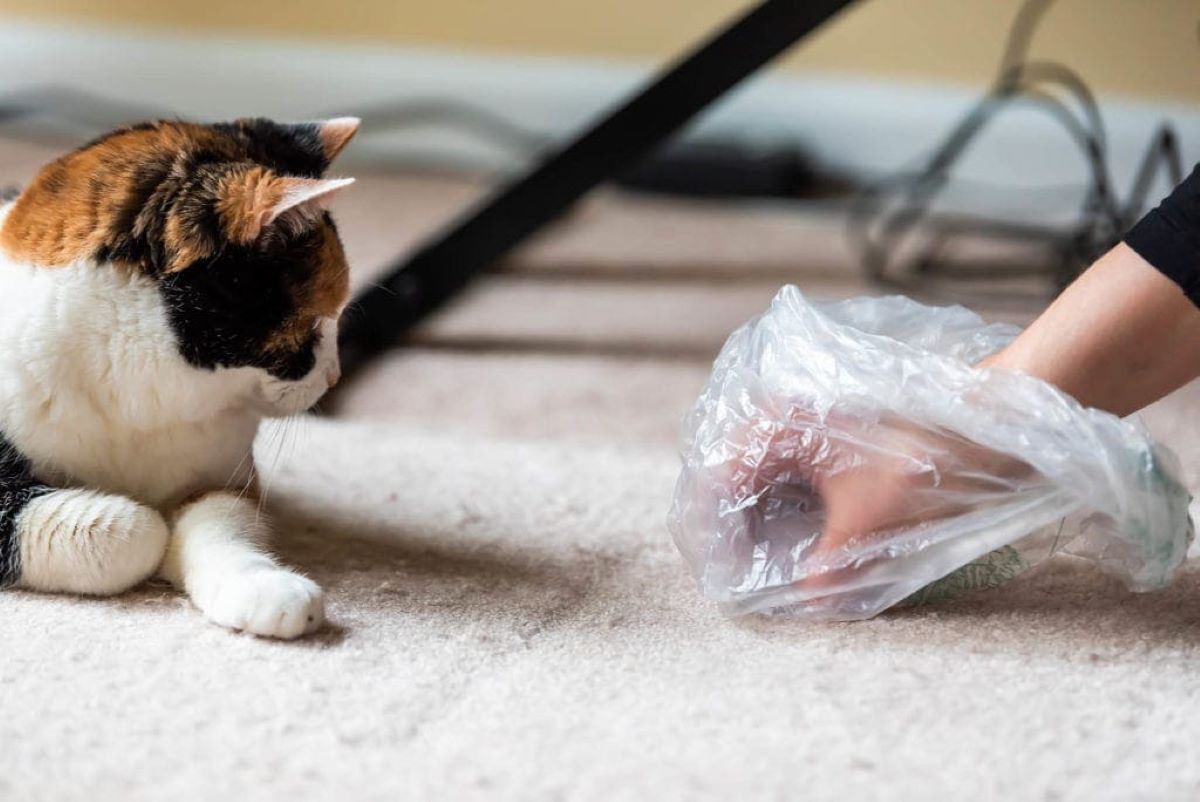
Collecting a stool sample from your dog may not be the most pleasant task, but it is an important part of maintaining their health. Here’s a step-by-step guide on how to collect a stool sample:
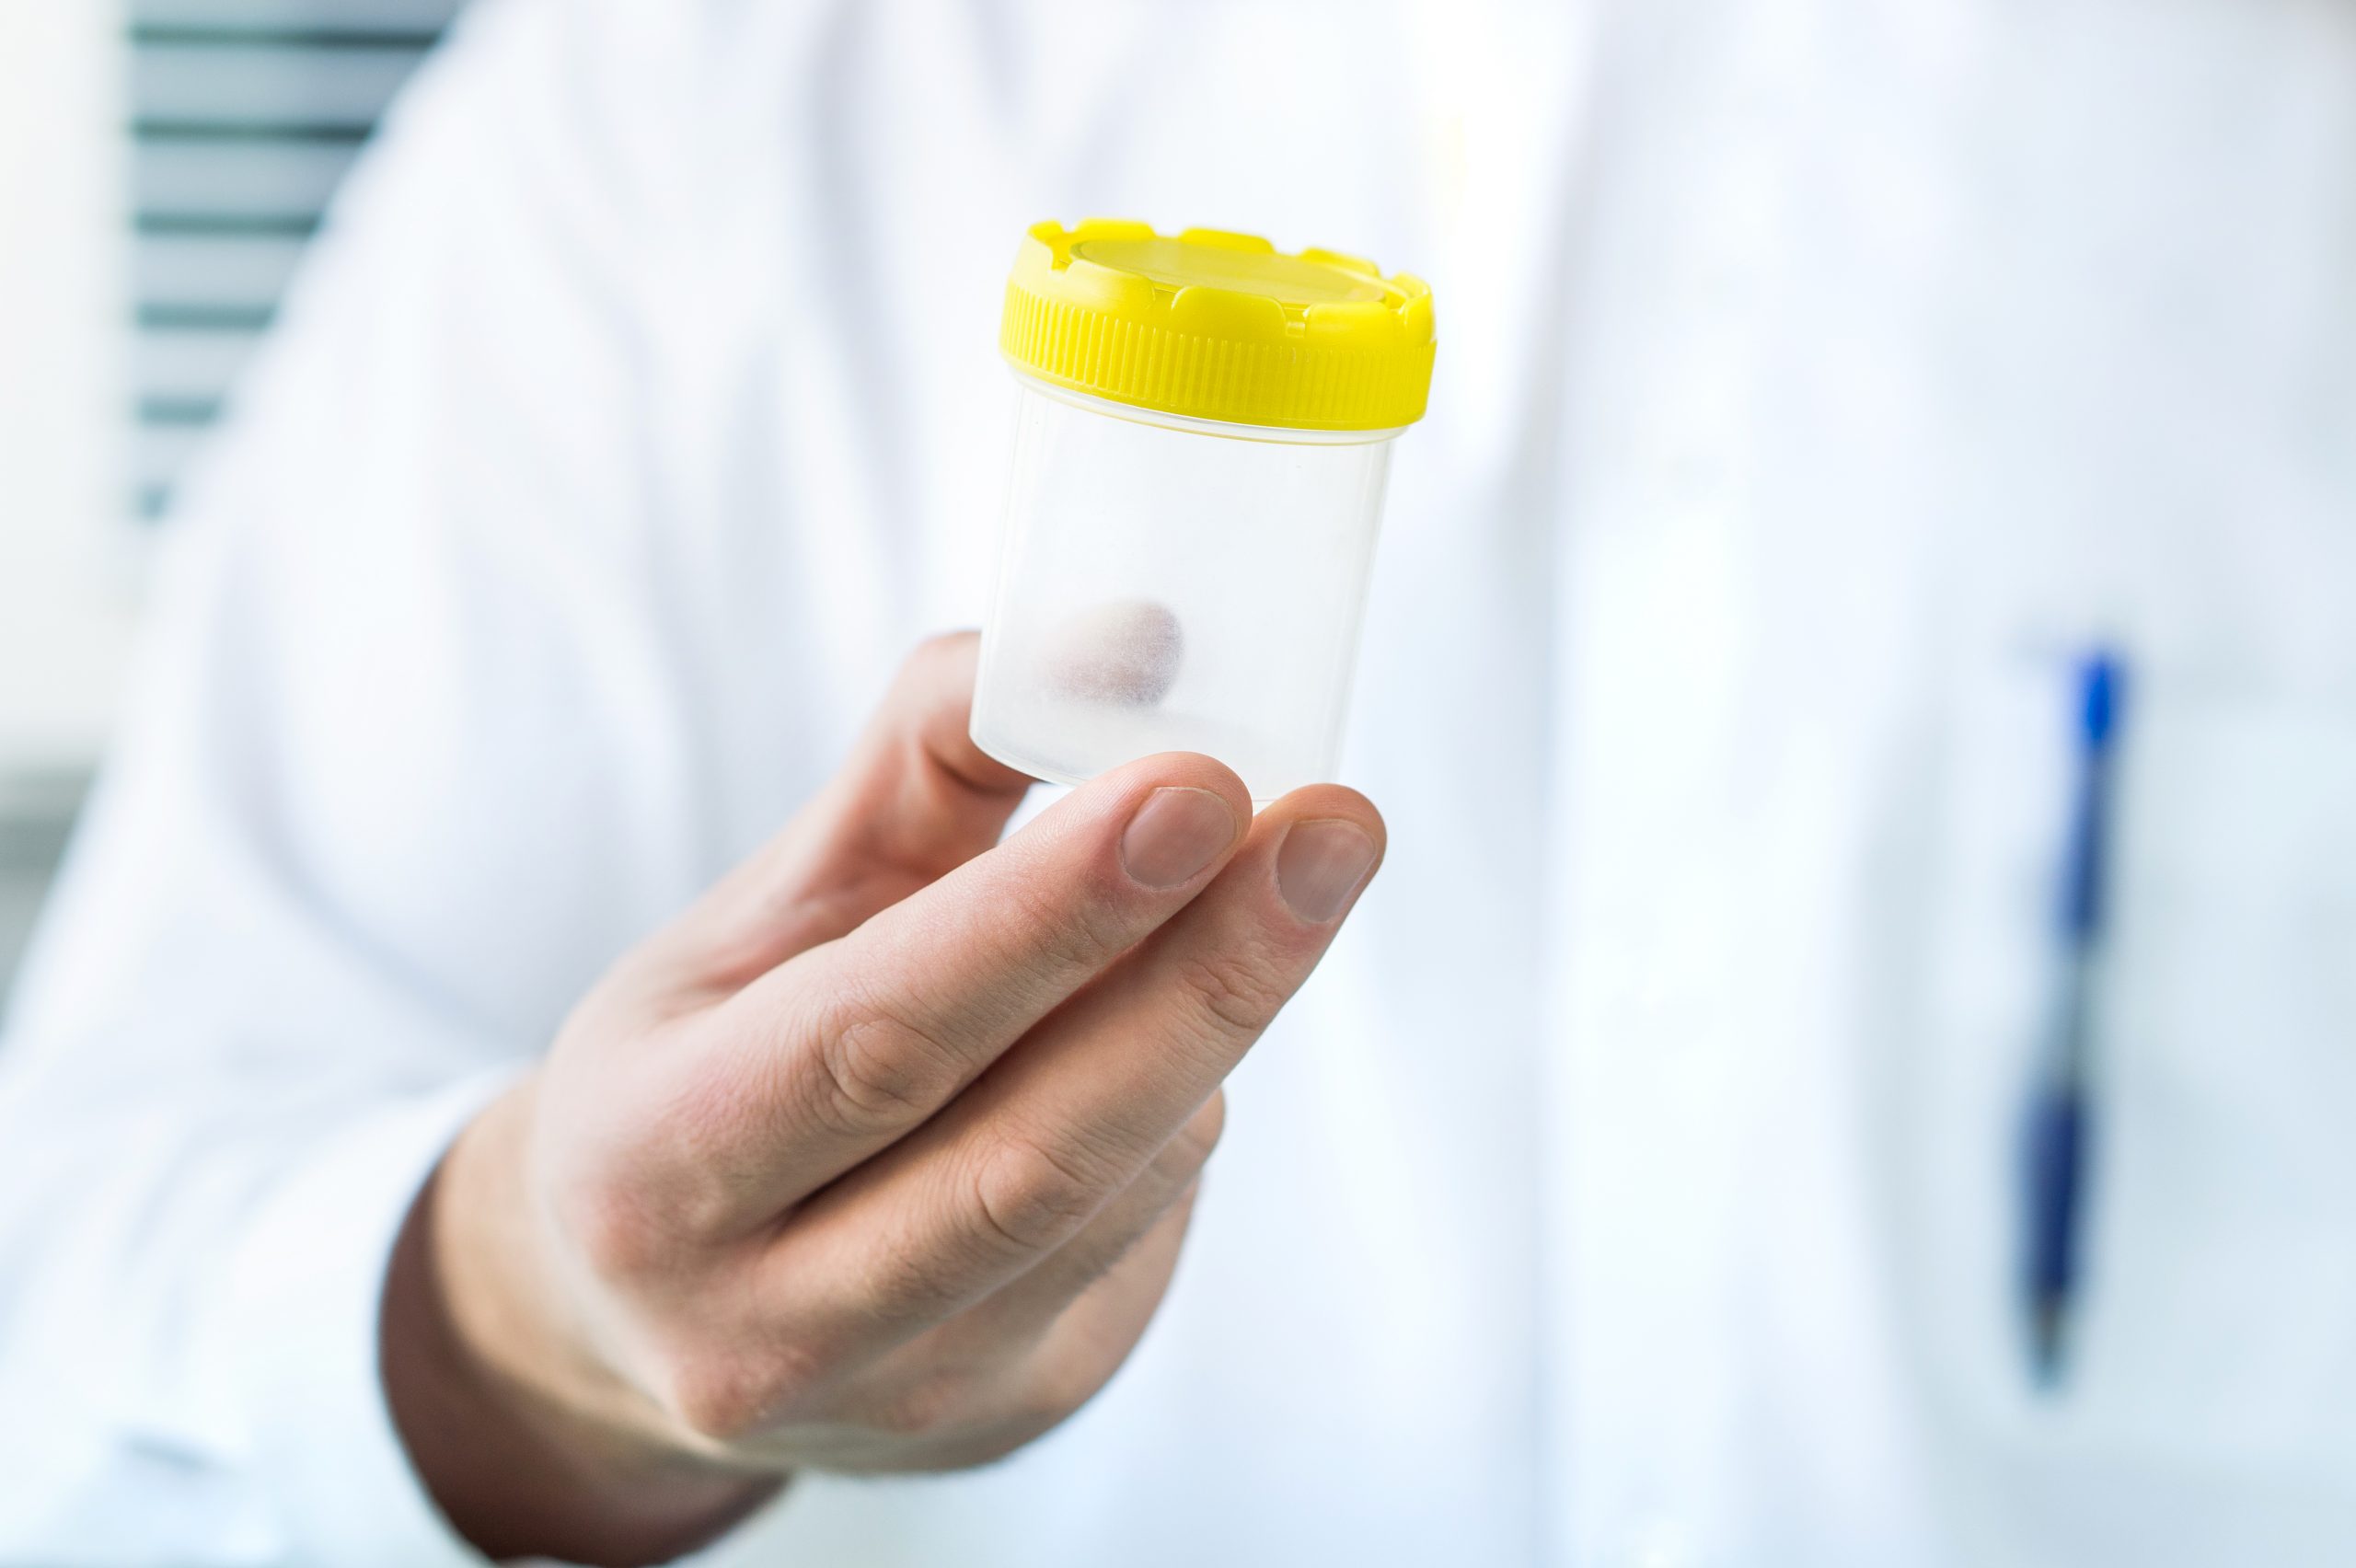
- Use a clean, disposable glove: To avoid any contamination or the risk of transmitting parasites or bacteria, it’s essential to wear a clean, disposable glove before collecting the stool sample.
- Choose the right time: Wait for your dog to defecate naturally and then collect a fresh sample as soon as possible. Fresh samples provide the most accurate results.
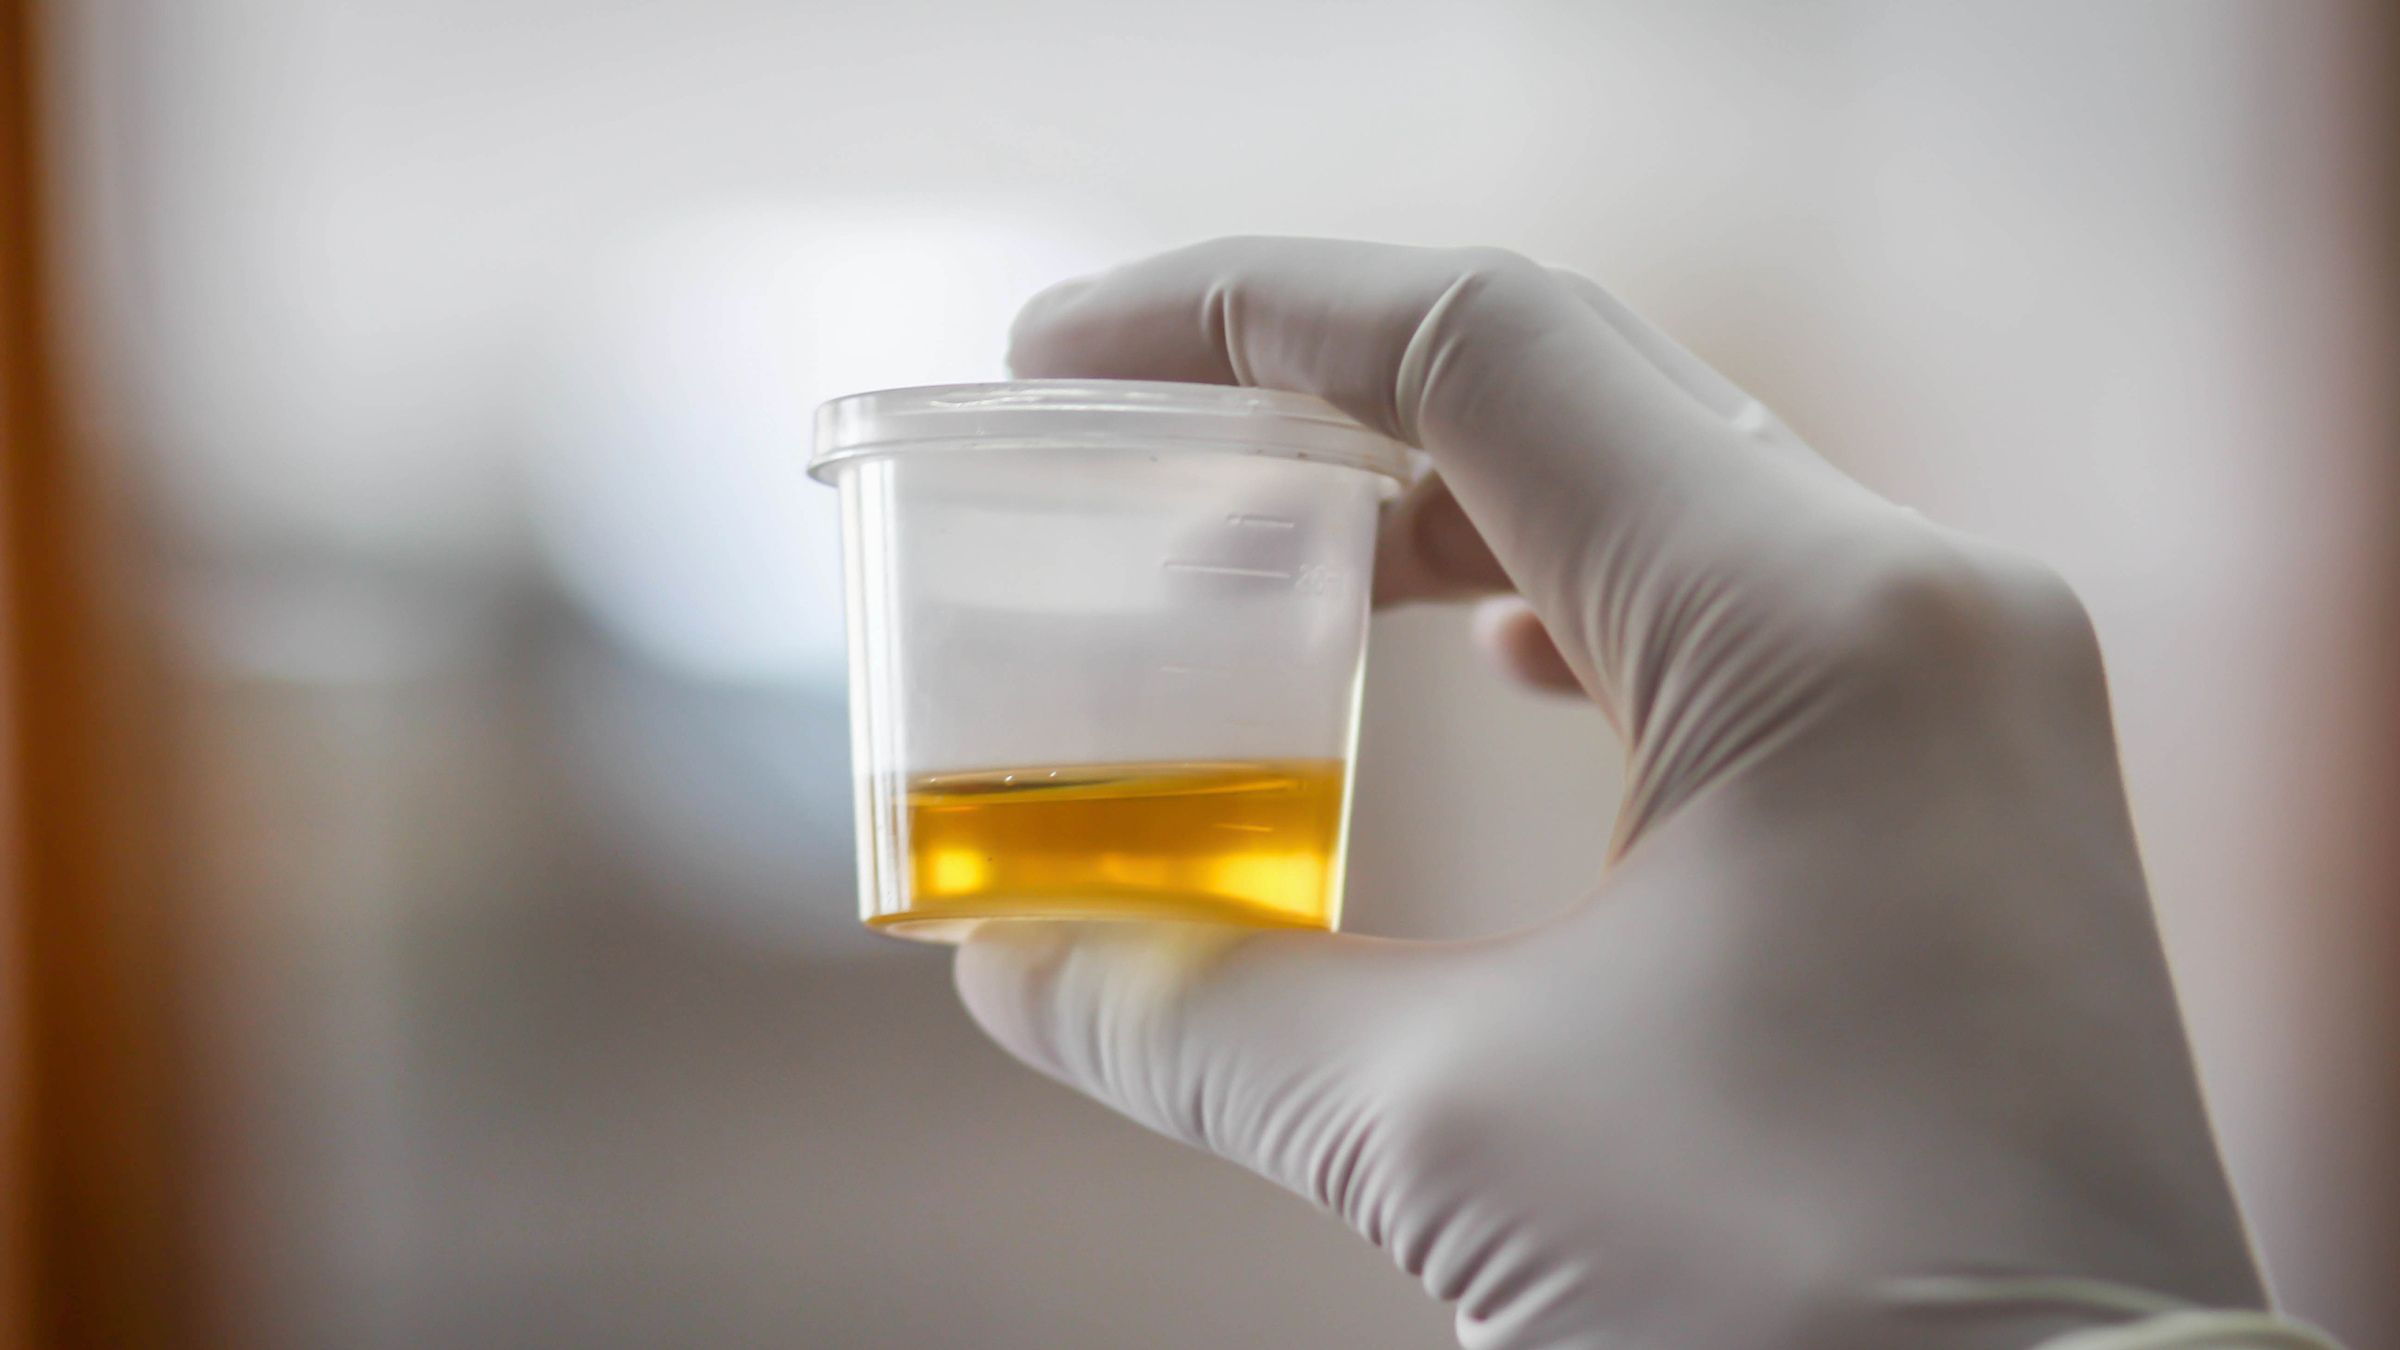
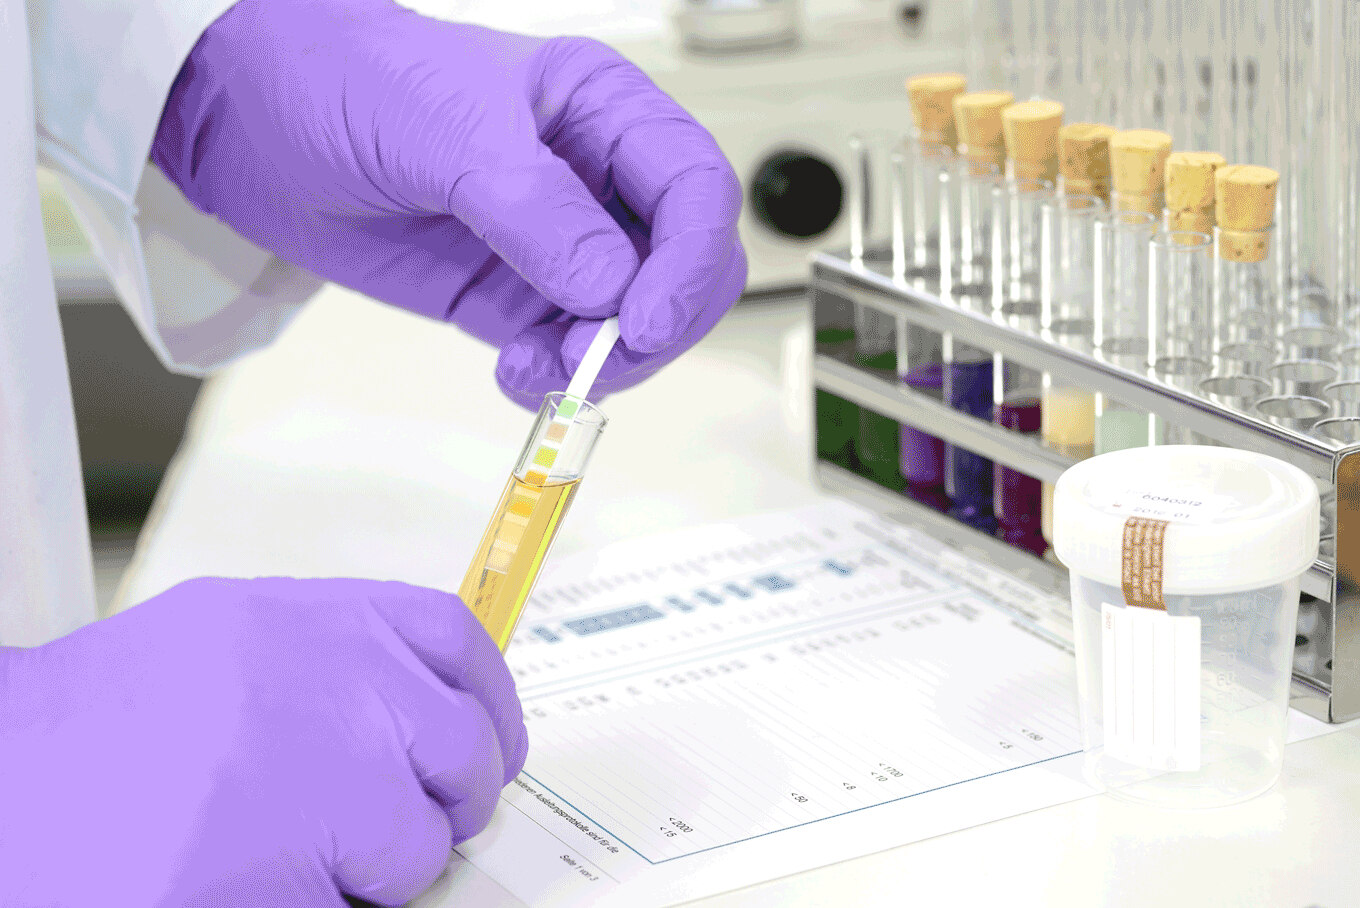
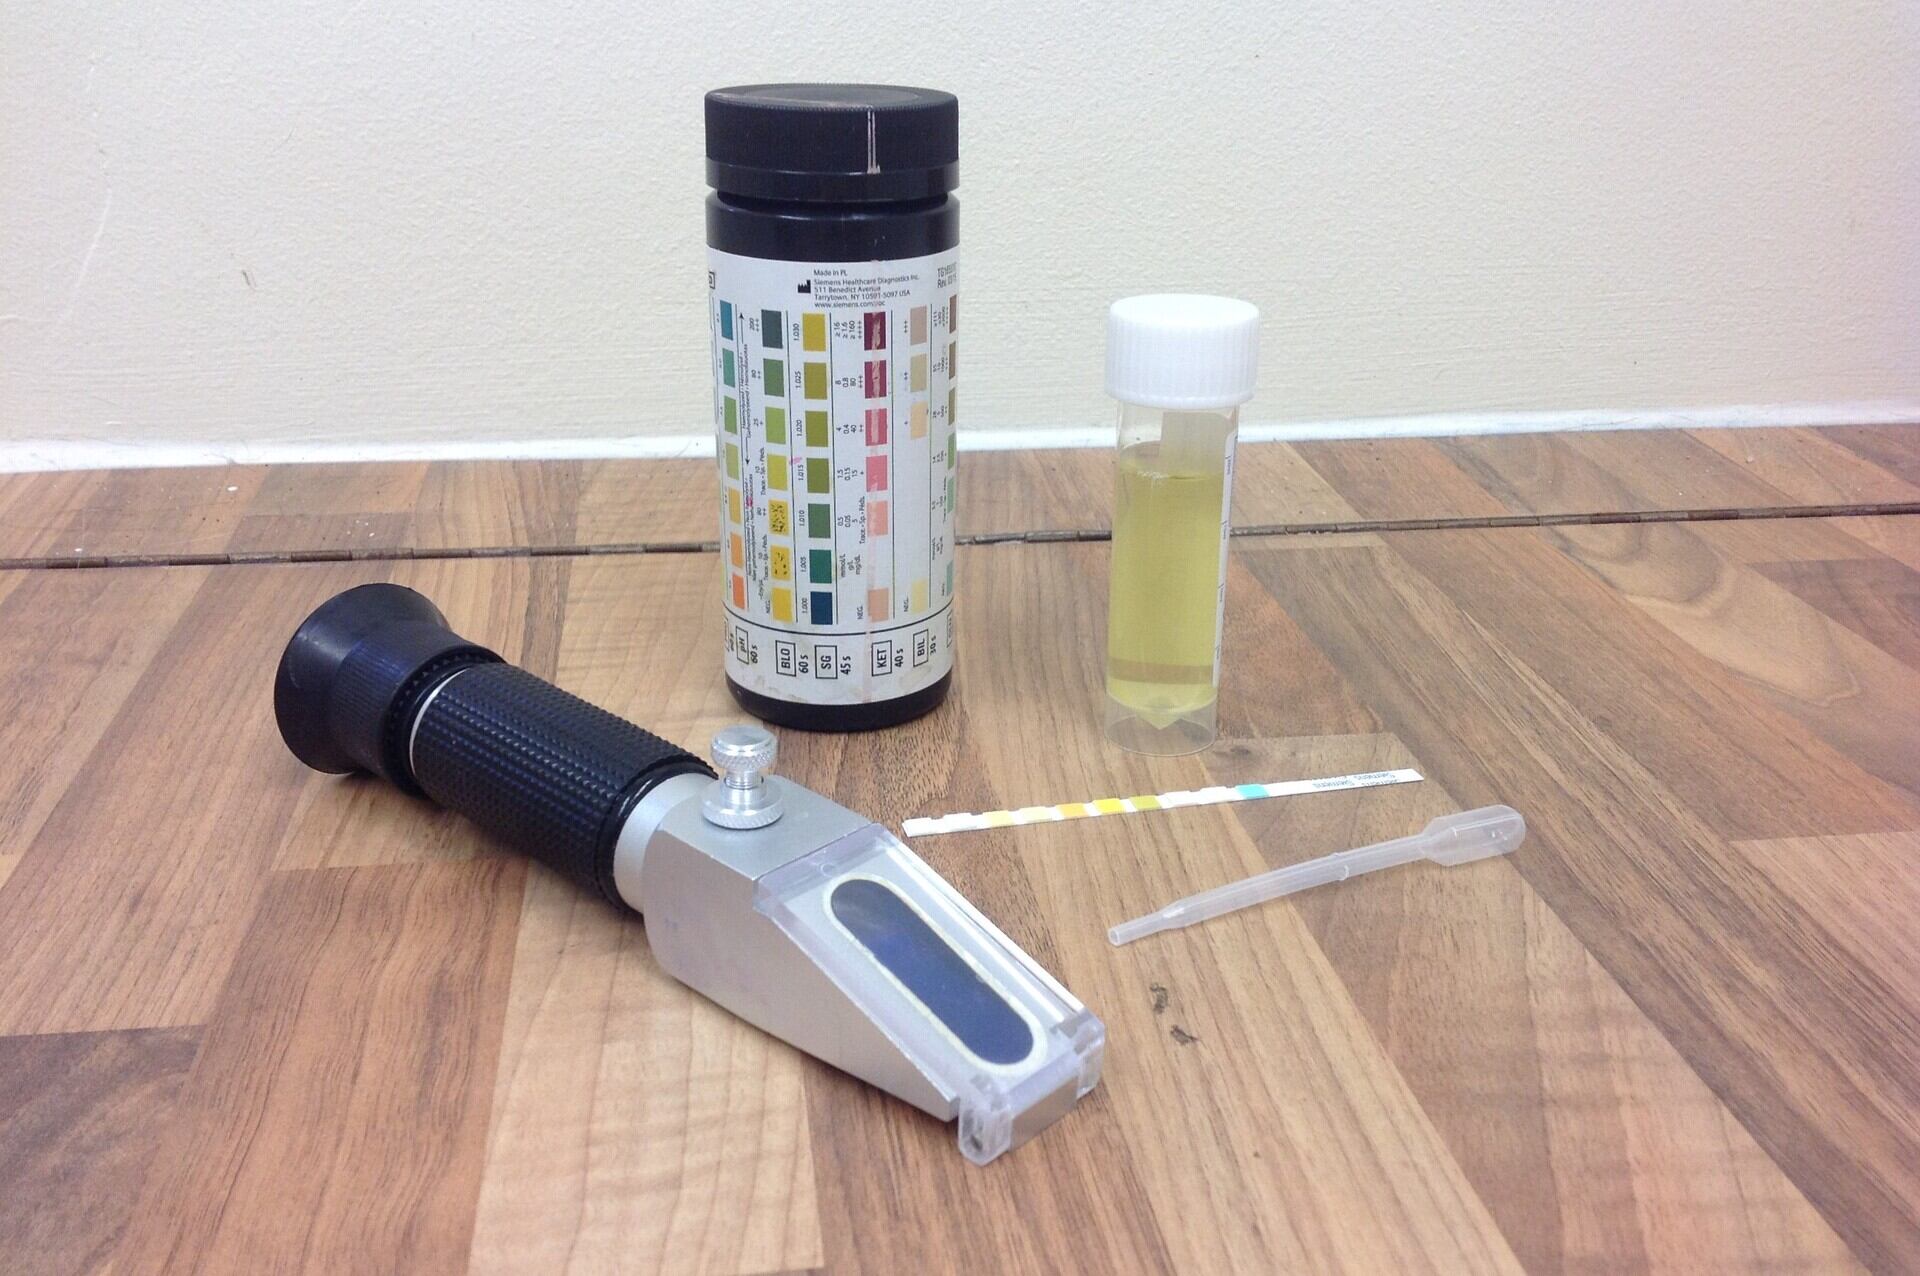
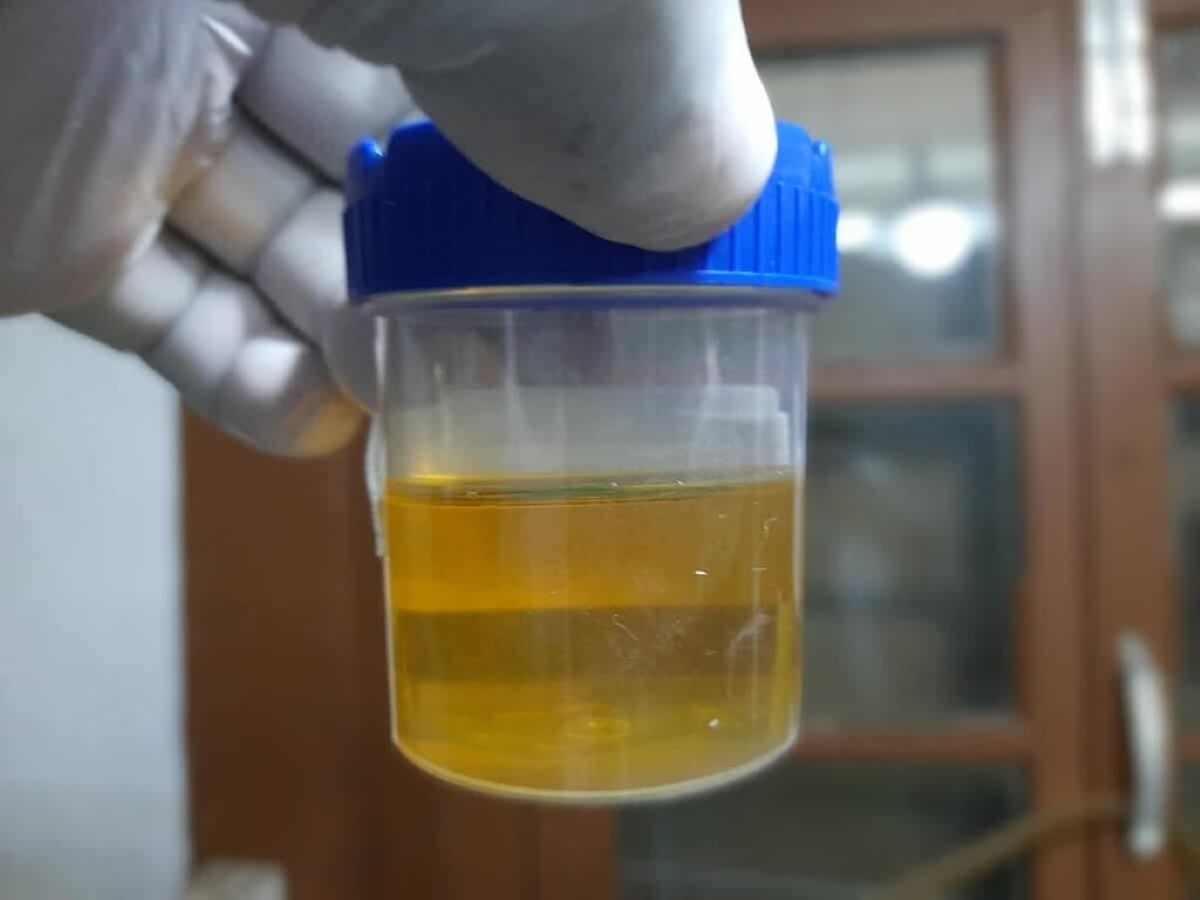
- Use a clean container: Prepare a clean and sterile container for collecting the sample. Avoid using containers that have been previously used for other purposes to prevent cross-contamination.
- Collect a small sample: Using a clean utensil or spoon, scoop a small amount of your dog’s stool into the container. Make sure to collect a representative sample that includes both solid and liquid parts.
- Seal the container: Once you have collected the stool sample, securely seal the container to avoid any leakage or odor.
- Dispose of waste and clean up: Dispose of any remaining stool appropriately and clean up the collection area thoroughly to prevent any potential health hazards.
Remember, collecting a stool sample may vary depending on your dog’s size and breed. If you have any concerns or difficulties, don’t hesitate to reach out to your veterinarian for guidance.
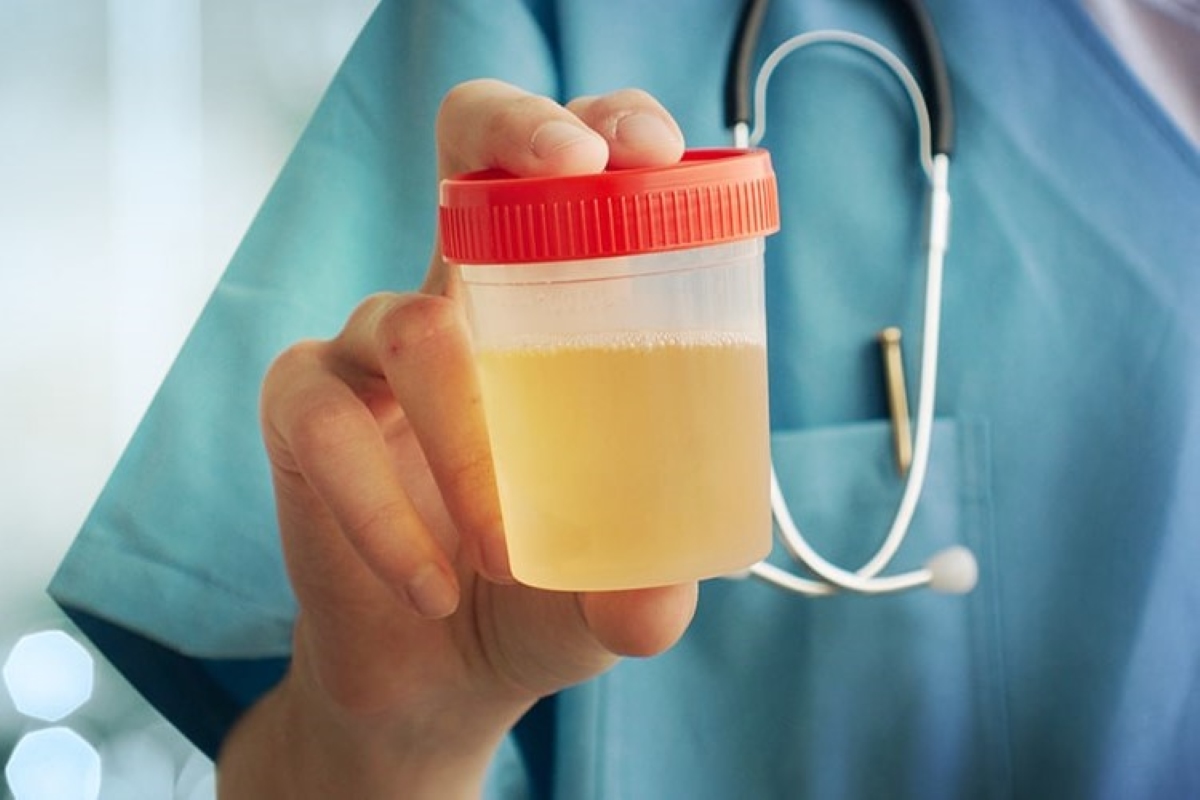
Step 2: Choosing the Right Container
Choosing the right container to store your dog’s stool sample is crucial to ensure its integrity and prevent contamination. Here are some important factors to consider when selecting a container:
- Use a leak-proof container: It’s essential to choose a container that is leak-proof to prevent any spillage during transport. This helps maintain the integrity of the sample and avoids any contamination.
- Opt for a sterile container: Look for containers specifically designed for stool sample collection, as they are often sterile and free from any chemical residues that could interfere with the analysis.
- Use a well-sealed container: Make sure the container has a tight-fitting lid or cap to prevent any leakage or entry of external contaminants.
- Consider size and capacity: Select a container with an appropriate size and capacity to hold an adequate amount of the stool sample. The container should have enough room for the sample without overflowing.
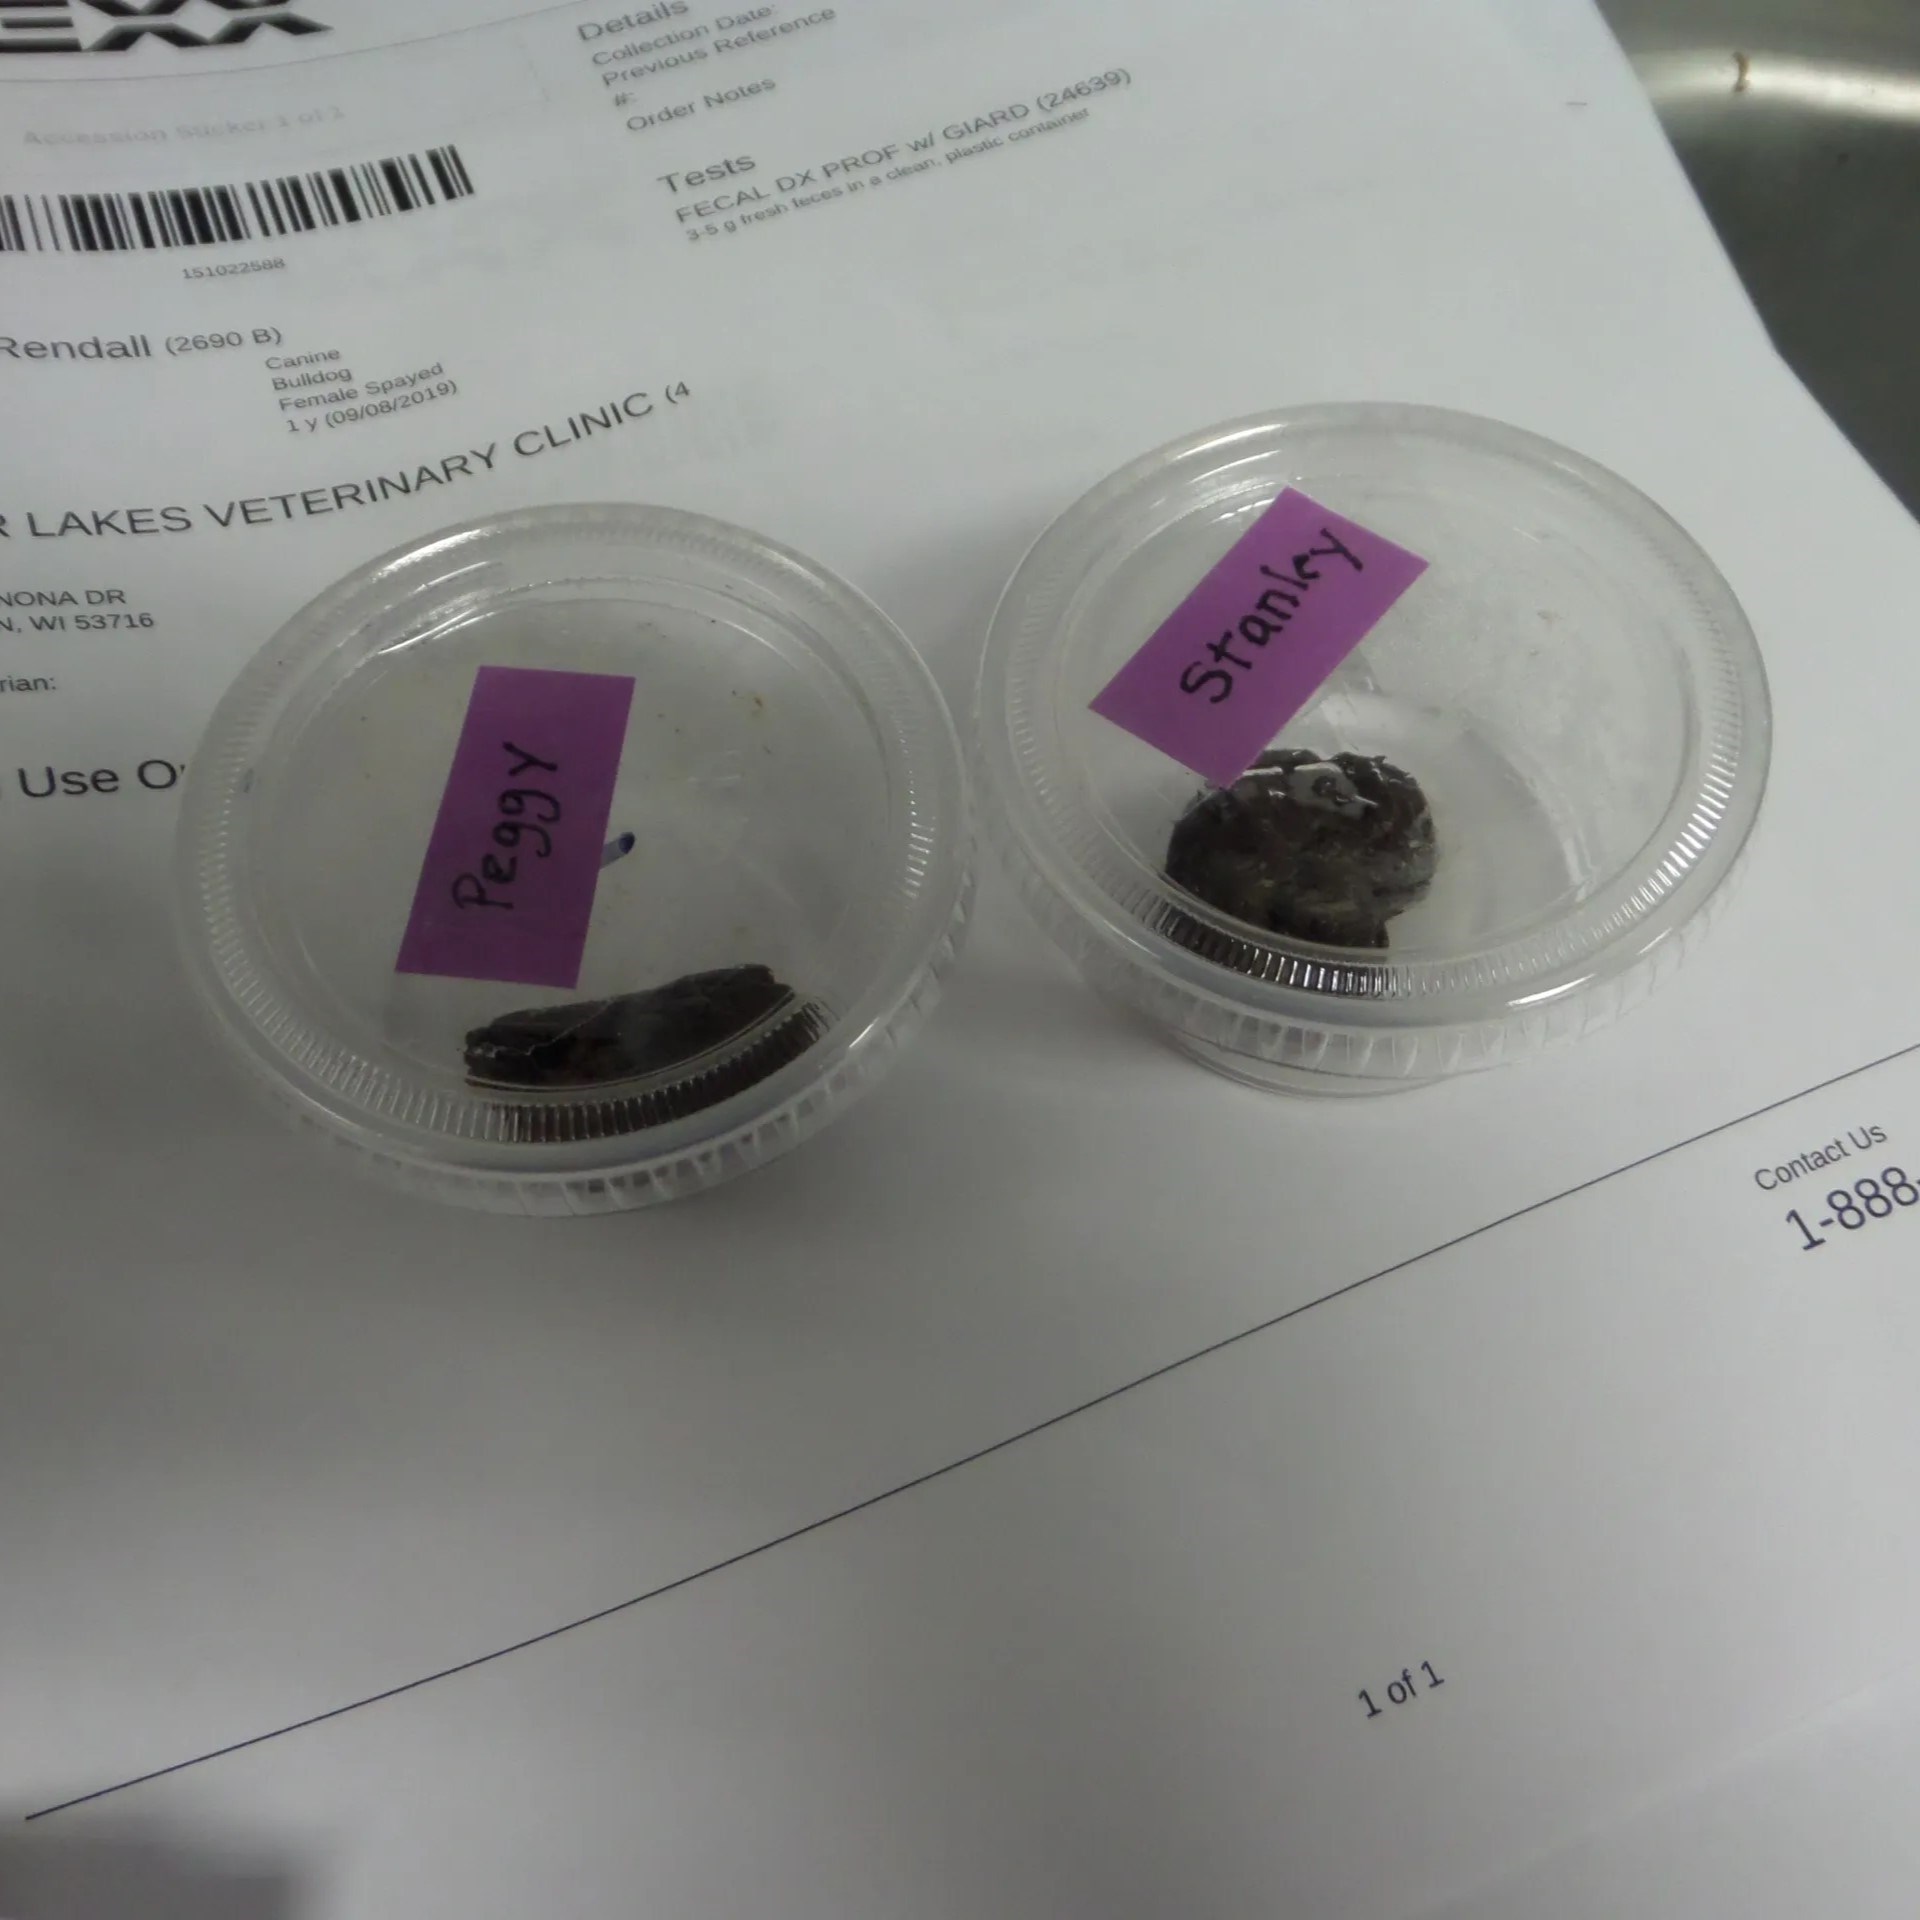
- Transparent or labeled container: Transparent containers allow the veterinary staff to easily assess the sample’s consistency and color. Alternatively, if using an opaque container, ensure proper labeling, including your pet’s name and the date and time of collection.
It’s important to note that using a zip-lock bag or any container that is not specifically designed for stool sample collection is not recommended. These containers may not guarantee the required level of sterility, leak-proofing, or proper preservation of the sample.
If you have any doubts or questions about choosing the right container, reach out to your veterinarian for recommendations. They can provide specific guidance based on their laboratory requirements.
Step 3: Properly Labeling the Sample
Properly labeling your dog’s stool sample is crucial to ensure accurate identification and prevent mix-ups. When labeling the sample, follow these important guidelines:
- Include your dog’s name: Write your dog’s name on the container to ensure that the sample is correctly identified.
- Date and time of collection: Note the date and time when the stool sample was collected. This information helps the veterinarian track the sample’s freshness and analyze it within the appropriate timeframe.
- Your contact information: Provide your contact information, including your name, phone number, and address. This makes it easier for the veterinary clinic to reach out to you with the test results or any additional information they might need.
- Any relevant information: If your dog is currently under treatment, or if there are any specific concerns or symptoms you want to highlight, include this information on the label. This helps the veterinarian interpret the test results in the context of your dog’s overall health.
Use a waterproof pen or marker to avoid smudging or fading of the labels. Ensure that the writing is clear and legible to prevent any confusion during analysis.
Properly labeling the sample ensures that it is easily identifiable and traceable throughout the testing process, providing accurate and reliable results for your dog’s health assessment.
If you have multiple dogs in the household, it is also advisable to label each sample with the respective dog’s name to avoid mix-ups.
Store the dog stool sample in a clean, sealed container and refrigerate it if you can’t bring it to the vet immediately. Avoid using containers with preservatives or chemicals.
Step 4: Storing the Sample in the Refrigerator
Properly storing your dog’s stool sample in the refrigerator is essential to maintain its freshness and prevent any bacterial growth or decomposition. Here’s how you can store the sample in the refrigerator:
- Choose a designated storage area: Allocate a separate section in your refrigerator specifically for storing the stool sample. This helps prevent cross-contamination with food items.
- Ensure a consistent temperature: Set your refrigerator to a temperature between 35°F and 45°F (2°C to 7°C) to maintain the integrity of the stool sample. Avoid freezing the sample, as it can alter the microbial composition and interfere with test results.
- Place the container securely: Position the container with the stool sample in the designated storage area, making sure it is tightly sealed to prevent any leakage or odors from spreading.
- Avoid storing near food or beverages: Keep the stool sample away from any perishable food items or beverages to prevent any accidental contamination.
- Discard after the recommended time: If you cannot deliver the sample to the veterinarian within the recommended timeframe, dispose of it and collect a fresh sample when required. Storing the sample for an extended period can result in inaccurate test results.
Remember, the goal is to preserve the freshness and integrity of the stool sample until it can be analyzed by your veterinarian. Proper storage ensures that accurate results are obtained, leading to better diagnosis and treatment for your furry friend.
If you have any concerns or questions regarding the storage of the stool sample, don’t hesitate to reach out to your veterinarian for further guidance.
Read more: How To Store Dog Poop Sample
Step 5: Transporting the Sample to the Vet
Transporting your dog’s stool sample to the veterinarian requires careful handling to ensure its preservation and avoid any contamination. Here are some important steps to follow when transporting the sample:
- Use a leak-proof bag or container: Place the securely sealed stool sample container in a leak-proof bag. This provides an extra layer of protection in case of any accidental spills or leaks.
- Keep it cool: If the weather is hot, place the sample in a small cooler bag or place an ice pack alongside the sample container. This helps maintain a cooler temperature during transportation and prevents any bacterial growth.
- Transport the sample promptly: It is important to deliver the stool sample to the veterinarian as soon as possible. The fresher the sample, the more accurate the results will be.
- Avoid excessive agitation: During transportation, try to minimize any shaking or agitation of the sample to prevent disruption of the sample’s composition or bacterial growth.
- Communicate with the veterinary clinic: Let the veterinary clinic know that you are bringing in a stool sample for analysis. This way, they can prepare their lab or specify any additional instructions for drop-off.
- Arrive prepared: When you arrive at the clinic, have your dog’s information readily available, including their name and your contact details. This ensures a smooth and efficient process during drop-off.
Transporting the stool sample safely and promptly to the veterinarian helps ensure accurate analysis and reliable results. By following these guidelines, you are assisting your veterinarian in providing the best care and treatment recommendations for your dog.
If you have any specific questions or concerns about transporting the stool sample, it is recommended to consult your veterinarian for their specific requirements and recommendations.
Conclusion
Properly storing and transporting your dog’s stool sample is an important part of ensuring their health and assisting your veterinarian in making accurate diagnoses and treatment plans. By following the steps outlined in this article, you can maintain the integrity of the sample and provide your veterinarian with the necessary information for analysis.
Remember to collect the stool sample at the right time, using a clean container and a disposable glove. Choose a suitable container that is leak-proof, sterile, and well-sealed to prevent contamination. Properly label the sample with your dog’s name, the date and time of collection, your contact information, and any relevant additional details.
When storing the sample in the refrigerator, maintain a consistent temperature between 35°F and 45°F (2°C to 7°C) and ensure that it is securely sealed and placed away from food items. Transport the sample to the veterinarian promptly, using a leak-proof bag or container and keeping it cool if needed. Communicate with the veterinary clinic about the sample and arrive prepared with your dog’s information.
By following these steps, you can play an active role in your dog’s healthcare and contribute to accurate diagnoses and effective treatment plans. Your veterinarian will greatly appreciate your efforts to maintain the integrity of the stool sample, which ultimately leads to better healthcare outcomes for your beloved furry friend.
If you have any questions or concerns about collecting, storing, or transporting a stool sample, don’t hesitate to reach out to your veterinarian. They are there to help guide you through the process and provide the best care for your dog.
Frequently Asked Questions about How To Store A Dog Stool Sample
Was this page helpful?
At Storables.com, we guarantee accurate and reliable information. Our content, validated by Expert Board Contributors, is crafted following stringent Editorial Policies. We're committed to providing you with well-researched, expert-backed insights for all your informational needs.


0 thoughts on “How To Store A Dog Stool Sample”