Home>Dining>Table Decor>How To Make A Garland For A Table Centerpiece
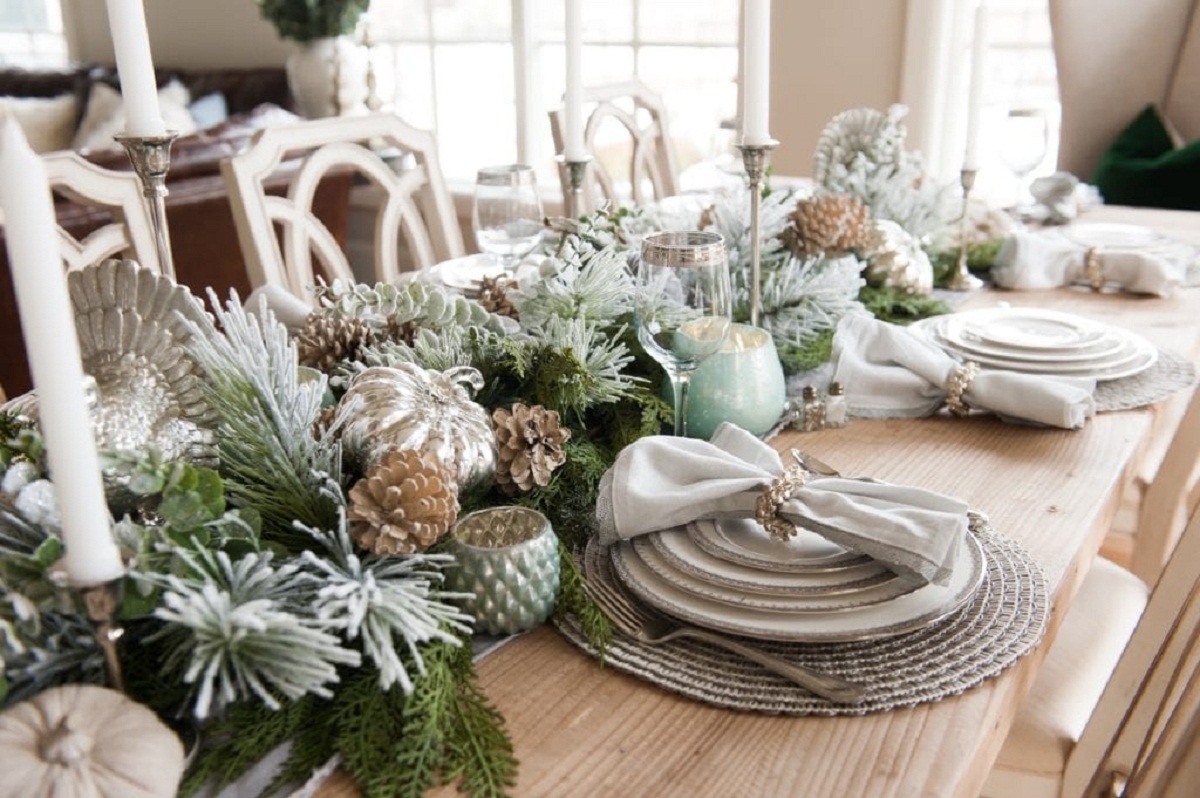
Table Decor
How To Make A Garland For A Table Centerpiece
Modified: January 5, 2024
Learn how to create a stunning table centerpiece with a DIY garland. Elevate your table decor with this step-by-step tutorial and impress your guests.
(Many of the links in this article redirect to a specific reviewed product. Your purchase of these products through affiliate links helps to generate commission for Storables.com, at no extra cost. Learn more)
Introduction
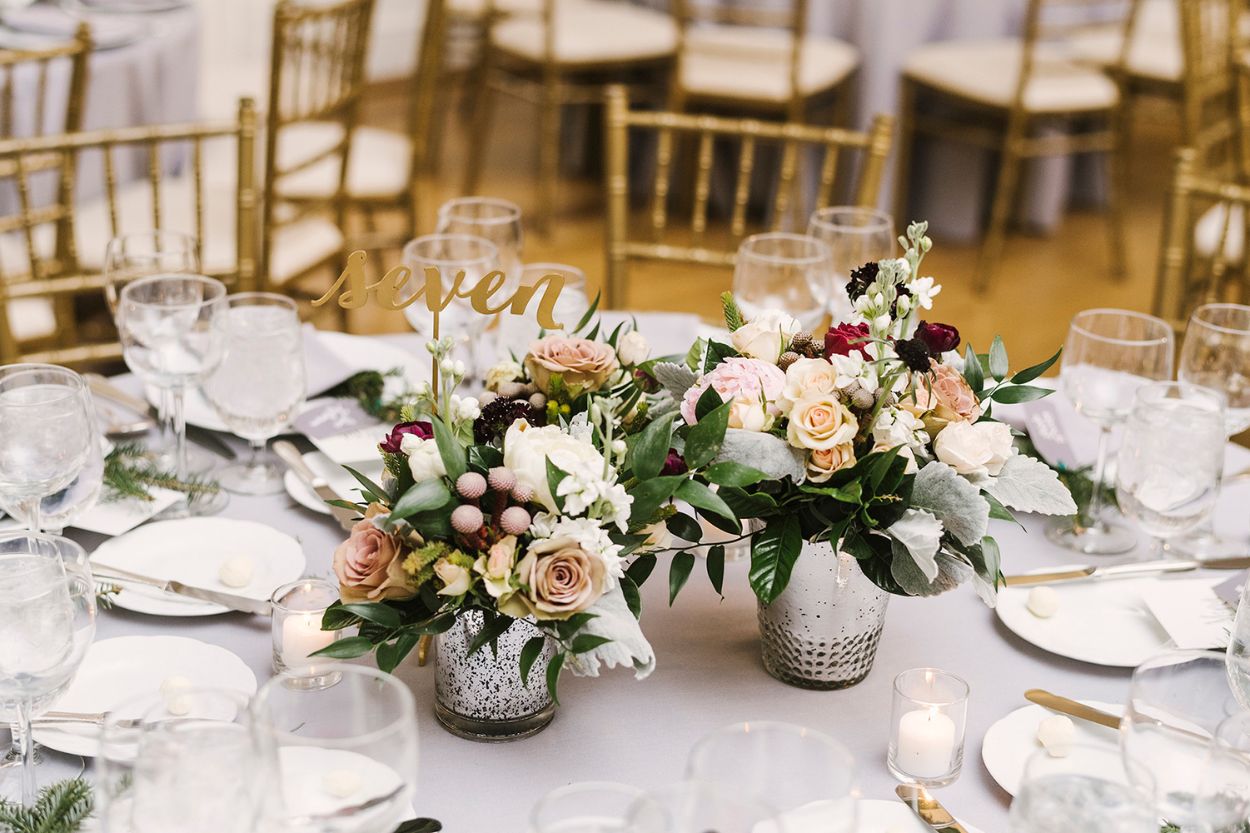
Welcome to the world of table decor! Table centerpieces are a fantastic way to add a touch of elegance and charm to any dining experience. Whether you’re hosting a formal dinner party or simply want to spruce up your everyday meals, creating a beautiful garland for your table centerpiece can instantly elevate the ambiance of the room.
Garlands are versatile and can be customized to match any theme or occasion. From using fresh greenery for a natural and organic look to incorporating artificial greenery for long-lasting beauty, the possibilities are endless. With a few simple materials and a little creativity, you can craft a stunning garland that will impress your guests.
In this article, we will walk you through the step-by-step process of making a garland for your table centerpiece. We’ll cover the materials you’ll need, provide guidance on arranging the greenery, and offer tips for adding extra decorative accents. So let’s get started and bring your table to life!
Key Takeaways:
- Elevate your dining experience with a stunning garland centerpiece using fresh or artificial greenery, decorative accents, and ribbon. Secure it to the base and add a touch of charm with bows for a captivating table decor.
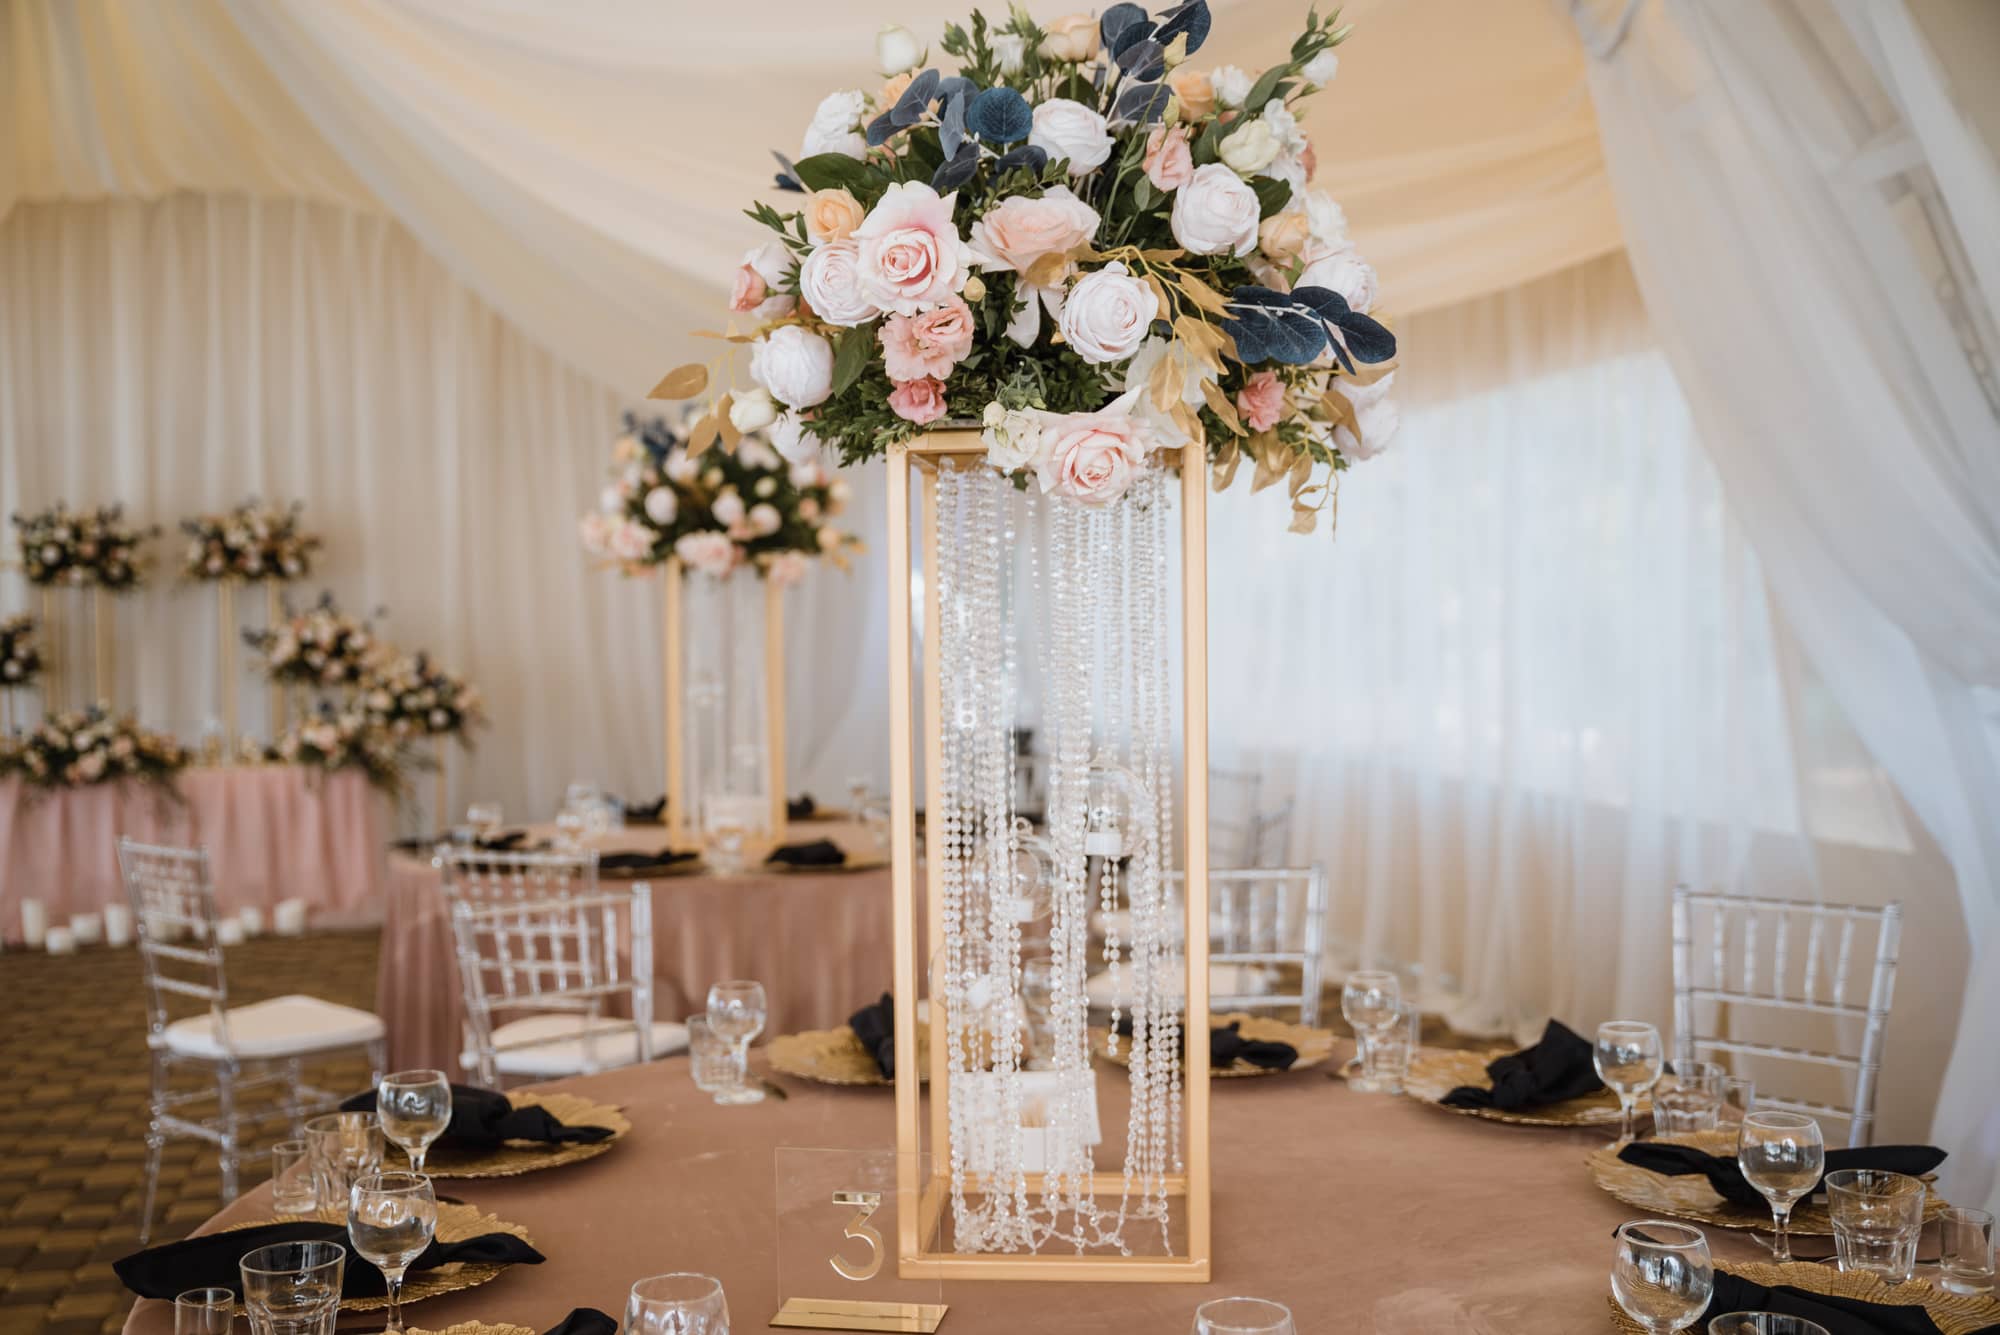
- Transform your table into a captivating focal point by mastering the art of creating garland centerpieces. Experiment with different styles, themes, and seasonal accents to leave a lasting impression on your guests and make your dining experiences memorable.
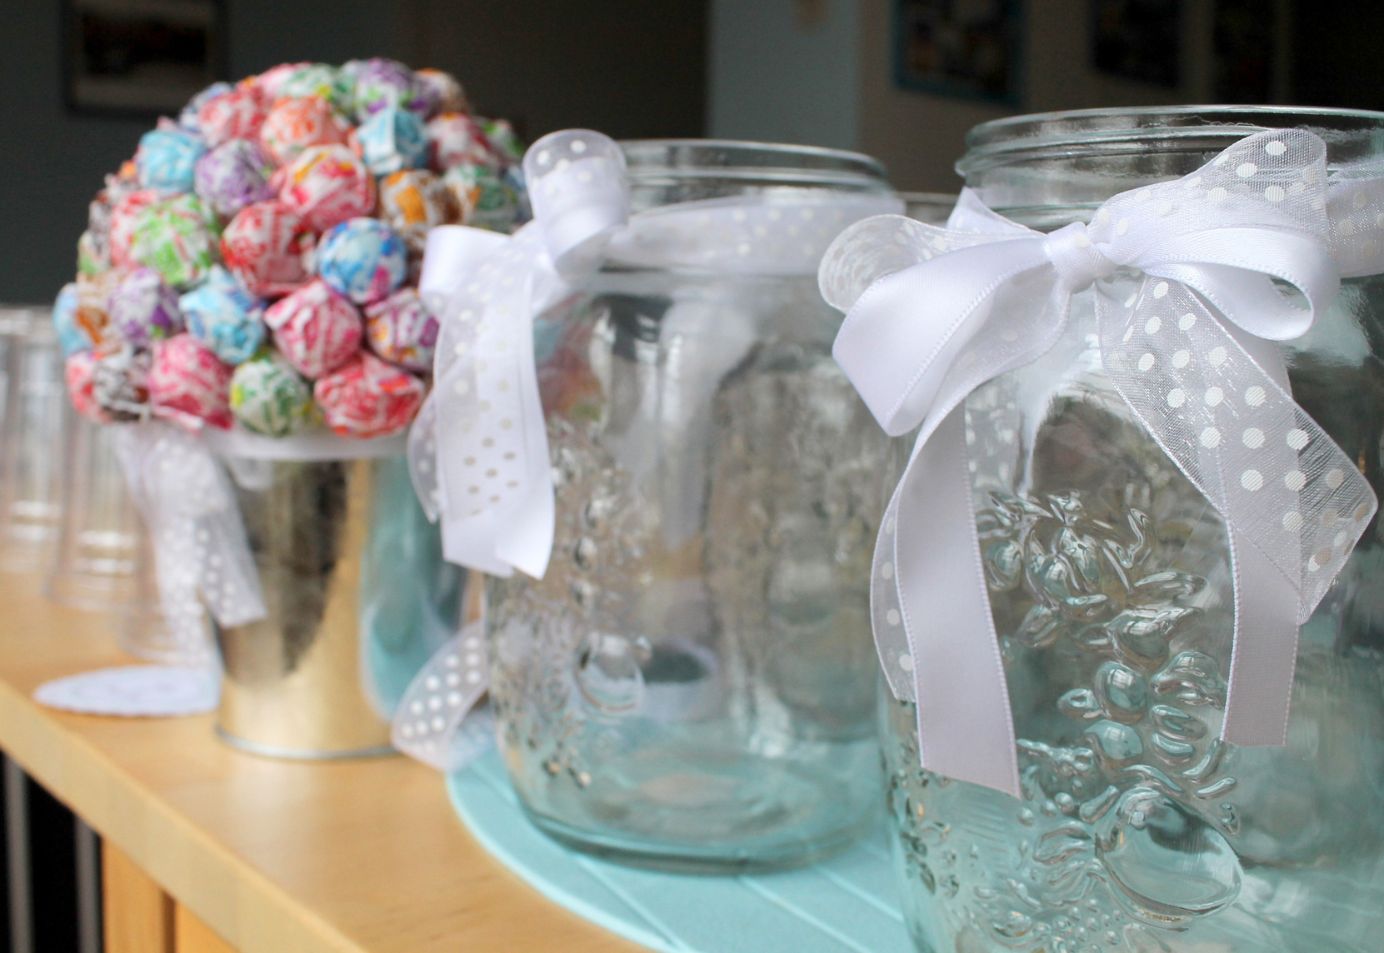
Read more: How To Make Centerpieces With Candy
Materials Needed
Before you get started, gather the following materials:
- Fresh or artificial greenery: Whether you prefer the natural beauty and fragrance of fresh greenery or the convenience and longevity of artificial options, choose the type that suits your preference and needs.
- Floral wire or green florist tape: These will be used to secure the greenery in place and give your garland stability.
- Ribbon or bows: Select ribbons or bows in colors and styles that complement your overall table decor.
- Decorative accents: Consider adding ornaments, pinecones, or other small decorative items to enhance the visual appeal of your garland.
These materials are readily available at craft stores, garden centers, or even online. Take some time to browse through options and choose materials that match your desired style and aesthetic.
Now that you have your materials ready, let’s move on to the step-by-step process of creating a stunning garland for your table centerpiece.
Step 1: Gather Your Greenery
The first step in creating your garland is to gather your greenery. Whether you have opted for fresh or artificial greenery, this is where you can let your creativity shine.
If you have chosen fresh greenery, consider using a variety of foliage such as pine branches, eucalyptus leaves, or holly sprigs. These options not only add a lush and vibrant look to your garland but can also infuse a delightful fragrance into the air.
If you prefer the convenience and longevity of artificial greenery, there are countless options available that mimic the look and feel of real foliage. You can find artificial garlands and sprigs made from materials like synthetic fabric or plastic, ensuring that your garland stays fresh and beautiful for years to come.
Once you have chosen your greenery, it’s time to cut or trim them to the desired lengths. Consider the dimensions of your table and the size of your garland. Cutting the greenery into varying lengths can give your garland a natural and organic look.
Keep in mind that the length of the greenery will depend on your personal preference and the size of your table. Longer greenery pieces can create a cascading effect, while shorter pieces can provide a compact and tailored look.
Take your time to arrange and experiment with different combinations of greenery, as this will set the foundation for the rest of your garland.
Now that you have your greenery ready, let’s move on to the next step: arranging the base of your garland.
Step 2: Arrange the Base
Now that you have gathered your greenery, it’s time to arrange the base of your garland. The base provides the foundation upon which you will position and secure the greenery.
There are several options for the base of your garland, depending on your personal style and preference. A table runner or a piece of fabric in a color that complements your table decor can serve as an excellent base. Alternatively, you can use a simple burlap cloth or even a woven straw mat for a rustic touch.
Once you have selected your base, lay it out on your table, ensuring it is centered and covers the desired length. This will serve as the canvas for your garland creation.
Next, position the greenery along the base, starting from one end and working your way to the other. Play around with different arrangements and angles, creating a natural and flowy look. You can position the greenery in a straight line or create a more organic shape by bending and layering the branches.
As you position the greenery, it’s important to secure it in place. Use floral wire or green florist tape to carefully wrap around the stems or branches, attaching them to the base. This will ensure that the garland stays intact and doesn’t budge during your gatherings.
Don’t worry if the wire or tape is slightly visible – it can be concealed later with additional decorative elements. The main goal here is to create a secure and sturdy foundation for your garland.
Now that the base and greenery are in place, it’s time to add some extra flair by incorporating decorative accents. Let’s move on to the next step: adding extras to your garland.
Step 3: Add Extras
Now that you have the base and greenery in place, it’s time to add some extra pizzazz to your garland. This is where you can get creative and incorporate additional decorative accents to enhance the overall look.
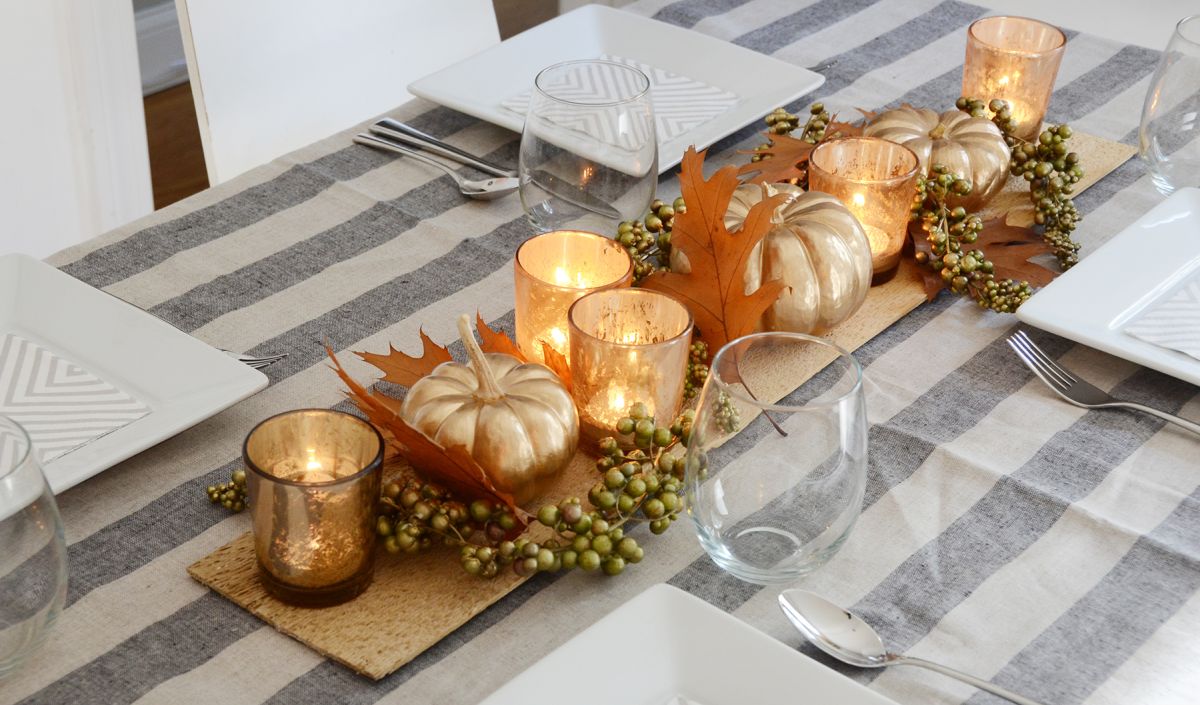
Consider incorporating ornaments, pinecones, berries, or other small decorative elements that complement your table decor and the theme of your gathering. These accents can add pops of color, texture, and visual interest to your garland.
Simply tuck these accents into the greenery, nestling them among the branches or securing them with floral wire or green florist tape. Ornaments, for example, can be attached by tying a loop of wire around the ornament and wrapping the wire around the branch or stem of the greenery.
If you’re using pinecones, you can secure them by attaching wire or tape around the base of the pinecone and then fastening it to the garland. This will ensure that the decorative accents stay in place and won’t shift or fall off during your dinner party.
When incorporating these extras, be mindful of maintaining a balanced and cohesive look. Spread them out evenly throughout the garland, ensuring that no section feels overcrowded or sparse. Step back and assess the overall composition to make any necessary adjustments.
By adding these extra decorative accents, you’ll elevate your garland from a simple arrangement of greenery to an eye-catching centerpiece that will become the focal point of your table.
Now that you’ve adorned your garland with additional accents, it’s time to move on to securing it in place. Let’s proceed to the next step: securing the garland.
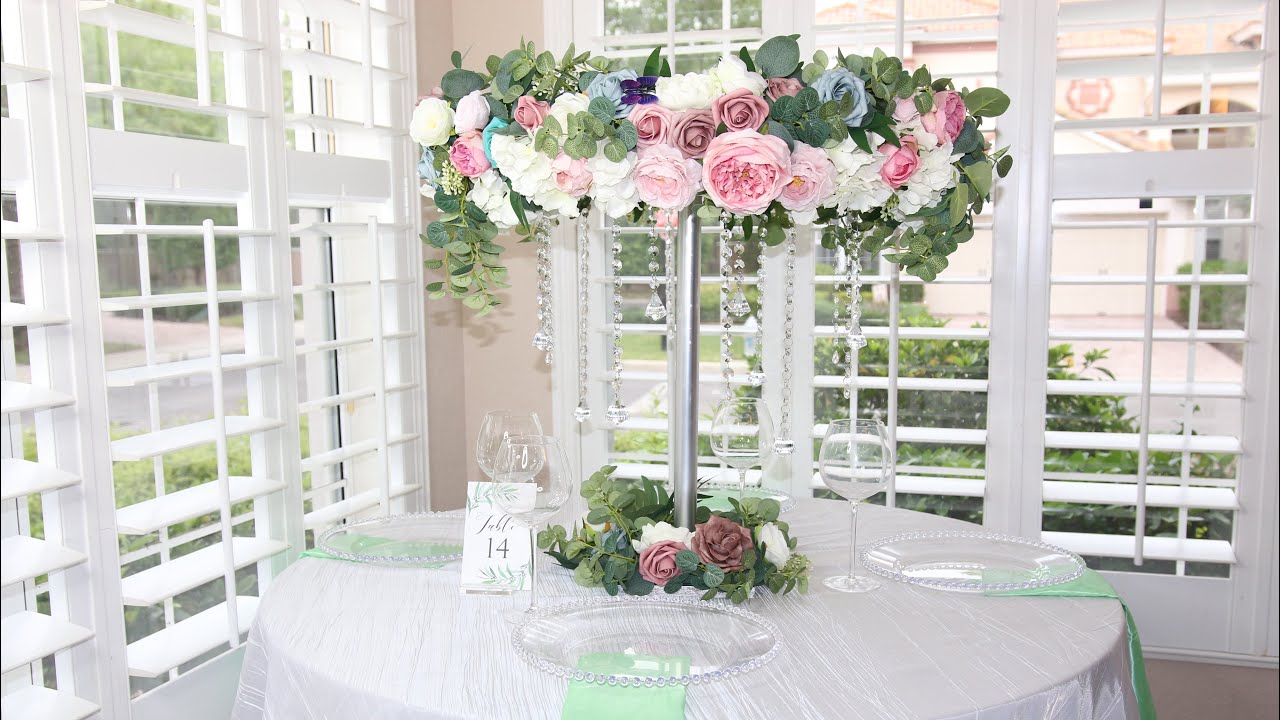
When making a garland for a table centerpiece, use a variety of greenery and flowers for texture and visual interest. Start with a base of greenery and then add in different types of flowers and foliage for a full and lush look.
Read more: How To Make Centerpieces For Baptism
Step 4: Secure the Garland
With the decorative accents added, it’s time to ensure that your garland is securely fastened to the base. This is important to prevent any movement or shifting during your event.
Start by checking all the attachment points where you secured the greenery and decorative accents with floral wire or green florist tape. Make sure that everything is firmly in place and adjust any loose areas if needed.
If you notice any areas of the garland that feel loose or wobbly, simply reposition the greenery and tighten the wire or tape to secure it. This will ensure that your garland remains intact and beautifully draped along the table.
Take a step back and observe the garland from different angles to ensure that it appears balanced and visually appealing. Make any necessary adjustments to achieve the desired look.
By securing the garland properly, you can enjoy your meal or event without having to worry about it becoming disheveled or falling apart. It will stay in place, providing a stunning centerpiece that adds elegance and charm to your dining experience.
Now that the garland is securely fastened, it’s time to add some finishing touches with ribbon or bows. Let’s move on to the next step: adding ribbon or bows to your garland.
Step 5: Add Ribbon or Bows
Adding ribbon or bows is a wonderful way to add a festive and stylish touch to your garland centerpiece. It allows you to infuse additional color and texture that complements your overall table decor. Let’s explore how to incorporate ribbon or bows into your garland.
Start by selecting ribbons or bows that match the theme or color scheme of your table setting. Consider the width, texture, and pattern of the ribbon. Satin, velvet, or burlap ribbons are popular choices, but feel free to explore different options that fit your personal style.
Attach the ribbon or bows to desired areas along the garland. You can drape the ribbons across the entire length of the garland or choose specific sections where you’d like to add more visual interest.
To secure the ribbon, use small pieces of floral wire or green florist tape. Wrap the wire or tape around the back of the garland and attach it to the ribbon. This will keep the ribbon in place and prevent it from slipping or falling off.
If you prefer a more effortless look, you can also tie the ribbon into bows and attach them directly onto the garland. Use extra wire or tape to secure the bows to the greenery, ensuring that they stay in position.
As you add the ribbon or bows, step back and assess the overall appearance. Make any adjustments to the placement or tightness to achieve a balanced and visually pleasing effect.
The addition of ribbon or bows will elevate your garland, adding a touch of charm and sophistication. It’s the perfect finishing touch to complete your table centerpiece.
Now that you’ve adorned your garland with ribbon or bows, it’s time to make some final adjustments. Let’s move on to the last step: adding the finishing touches to your table centerpiece.
Step 6: Finishing Touches
You’re almost there! In this final step, it’s time to give your garland a last once-over and make any necessary adjustments to create a balanced and visually appealing centerpiece.
Begin by carefully inspecting the garland for any loose or uneven sections. Check that all the greenery, decorative accents, and ribbon or bows are secure and in place.
If you notice any areas that feel loose or out of alignment, take a moment to readjust and tighten them. Use floral wire or green florist tape to secure any loose branches or accents.
Step back and observe the garland from different angles, considering the overall composition. Look for any areas that appear sparse or overcrowded, and make appropriate adjustments.
If you feel that certain sections of the garland could benefit from additional greenery or decorative accents, now is the time to add them. Consider filling in any gaps or adding a few extra touches to enhance the visual appeal.
Take your time during this stage, as these final adjustments can make a significant difference in creating a stunning centerpiece for your table.
Once you are satisfied with the arrangement and balance of the garland, stand back and admire your handiwork. Marvel at how the combination of fresh or artificial greenery, decorative accents, and ribbon or bows has transformed a simple base into a captivating centerpiece.
Your finished garland will not only impress your guests but also enhance the overall aesthetic of your table. It’s a testament to your creativity and attention to detail.
Now that you have completed all the steps, you’re ready to showcase your beautiful garland as the focal point of your table. Enjoy the ambiance it creates as you gather with loved ones or simply enjoy a meal in style.
Remember, creating a garland for a table centerpiece is a versatile and enjoyable project. Feel free to experiment with different greenery, accents, and styles to suit your personal taste and the occasion. Let your creativity flow and have fun throughout the process. Happy decorating!
This concludes our guide on how to make a garland for a table centerpiece. We hope you found it helpful and inspiring. Happy decorating!
Conclusion
Congratulations! You have successfully learned how to create a stunning garland for your table centerpiece. By incorporating fresh or artificial greenery, securing it to a base, adding decorative accents, and finishing with ribbon or bows, you have transformed your table into a captivating focal point.
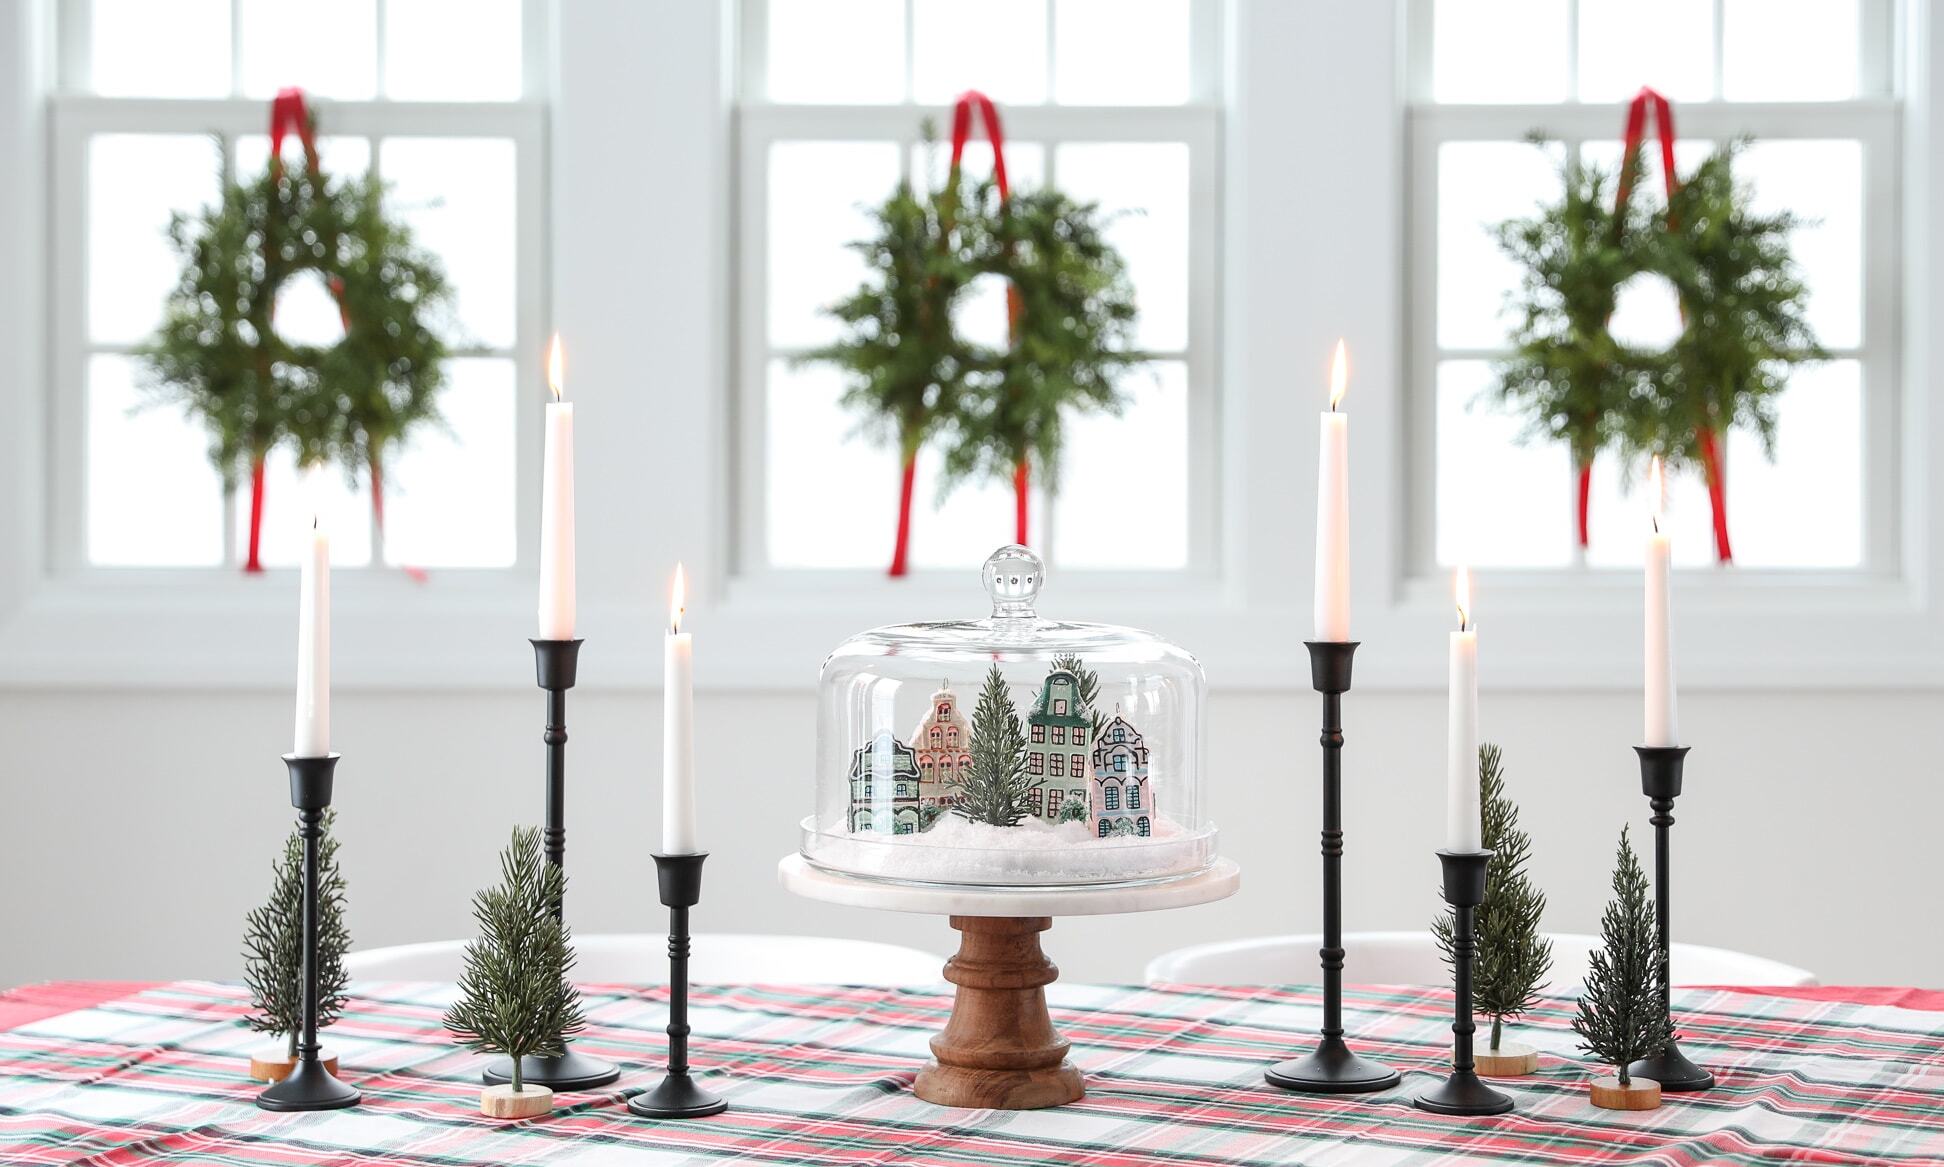
A well-designed table centerpiece can instantly elevate the ambiance of any dining experience. It sets the tone, creates a welcoming atmosphere, and adds a touch of elegance to your gatherings. Whether you’re hosting a formal dinner party, a festive holiday celebration, or simply want to enhance your everyday meals, a garland centerpiece is a fantastic choice.
Remember to consider the materials that suit your preferences and the occasion. Fresh greenery provides a natural and aromatic touch, while artificial options offer convenience and long-lasting beauty. Choose decorative accents that complement your table decor and theme, whether it’s ornaments, pinecones, or berries.
Throughout the process, be mindful of securing the garland to the base, adjusting any loose areas, and achieving a balanced and visually appealing composition. The addition of ribbon or bows adds a final touch of color and texture, encapsulating the beauty of your garland centerpiece.
Now that you have mastered the art of creating table centerpieces, feel free to explore different styles, themes, and seasonal accents to suit your ever-changing tastes and occasions. Let your creativity shine as you experiment with unique combinations and arrangements.
By following these steps and allowing your imagination to guide you, you can create table centerpieces that will leave a lasting impression on your guests and make your dining experiences even more memorable.
Thank you for joining us on this journey of table decor and garland creation. We hope you found this guide helpful and inspiring. So go ahead and embrace your inner decorator, and enjoy the beauty and charm of a well-decorated table!
Happy decorating!
Frequently Asked Questions about How To Make A Garland For A Table Centerpiece
Was this page helpful?
At Storables.com, we guarantee accurate and reliable information. Our content, validated by Expert Board Contributors, is crafted following stringent Editorial Policies. We're committed to providing you with well-researched, expert-backed insights for all your informational needs.

0 thoughts on “How To Make A Garland For A Table Centerpiece”