Articles
How To Store Hibiscus Seeds
Modified: September 1, 2024
Learn the best methods for storing hibiscus seeds with our informative articles. Ensure the longevity and viability of your seeds for future plantings.
(Many of the links in this article redirect to a specific reviewed product. Your purchase of these products through affiliate links helps to generate commission for Storables.com, at no extra cost. Learn more)
Introduction
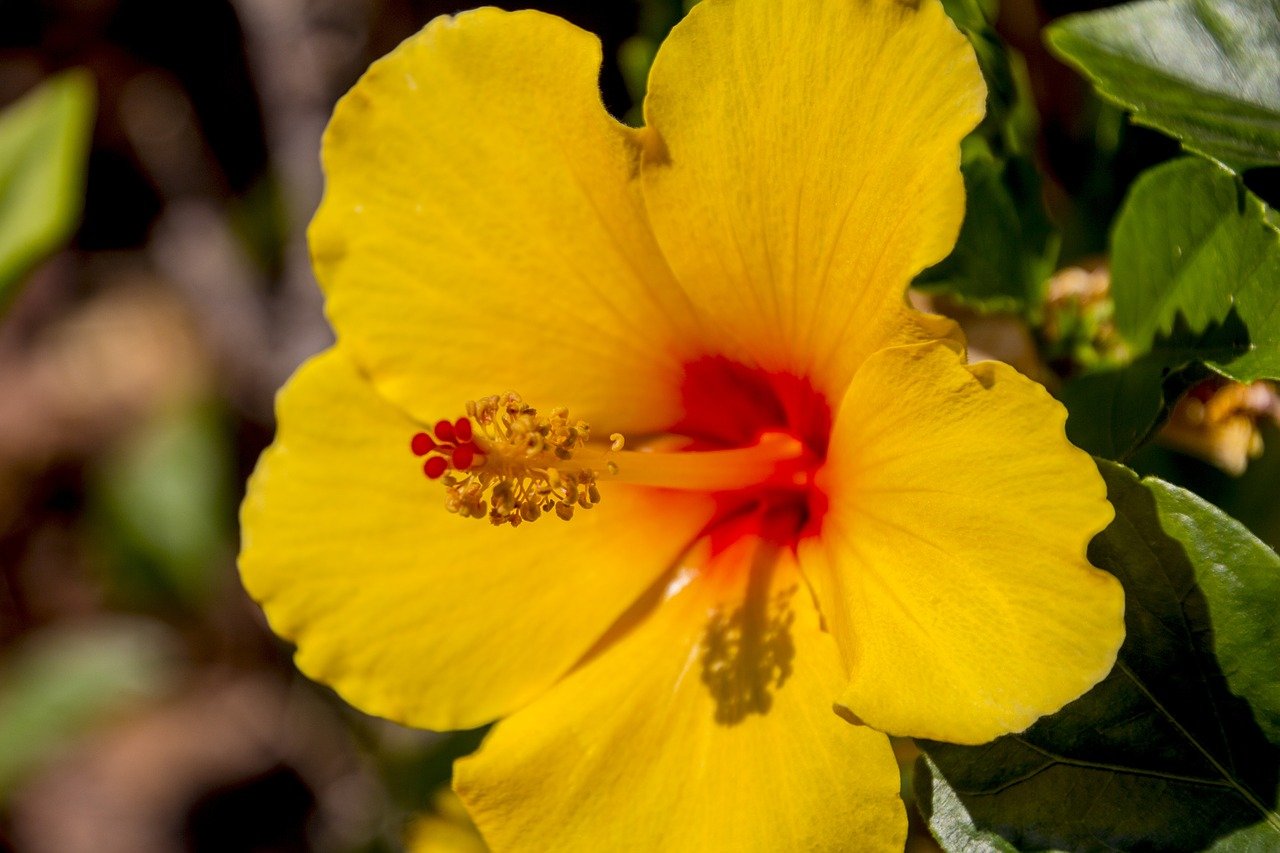
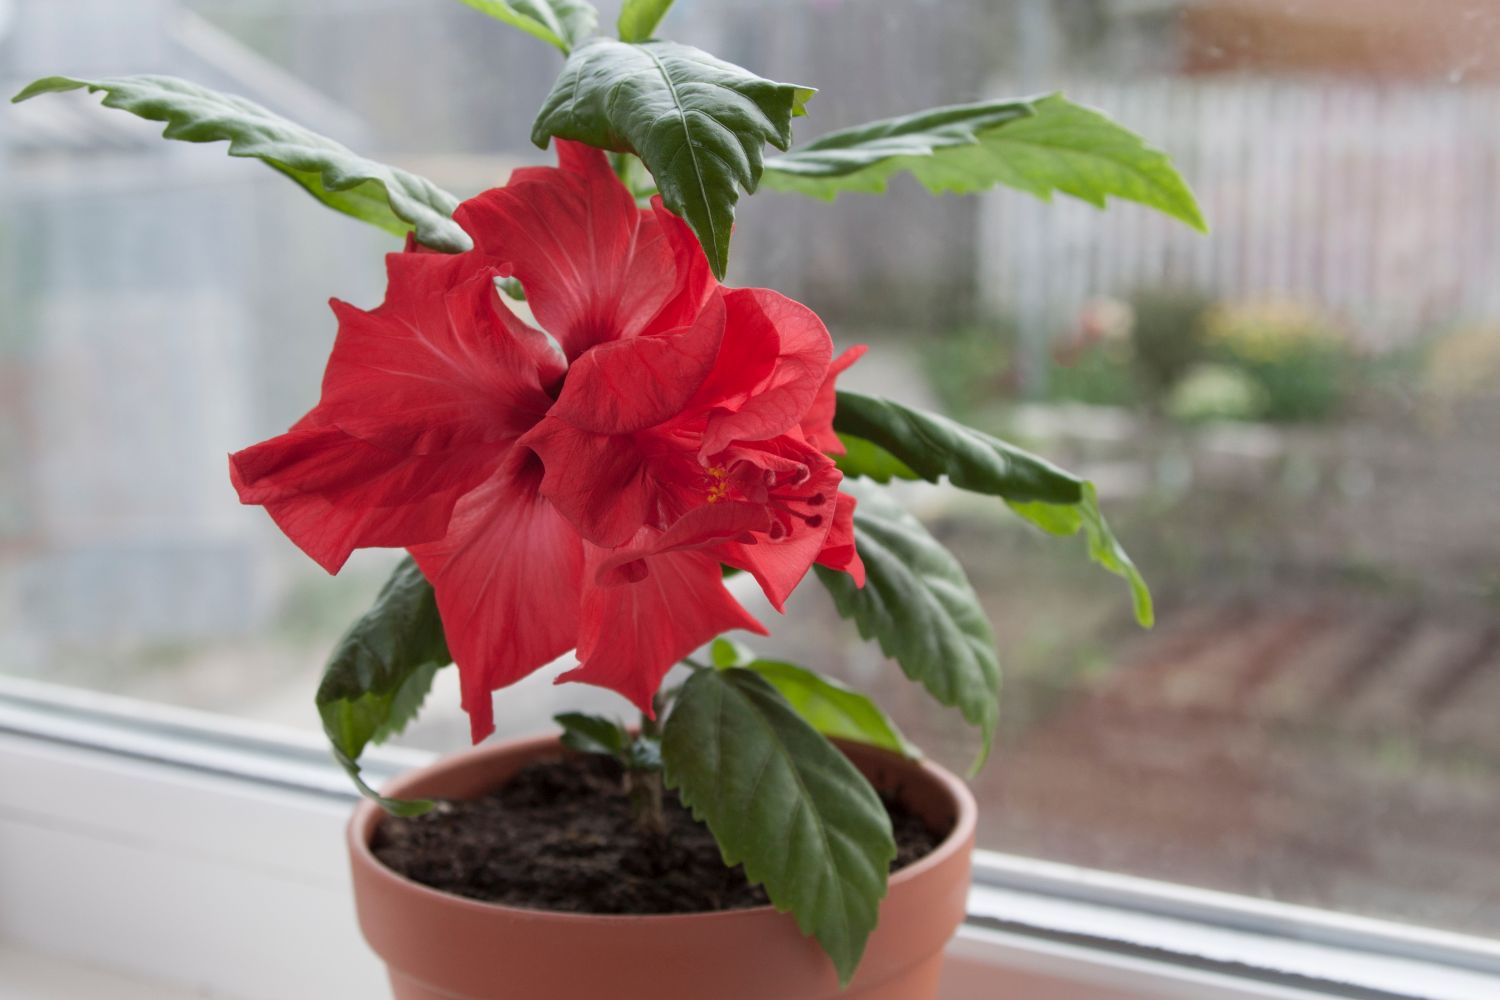
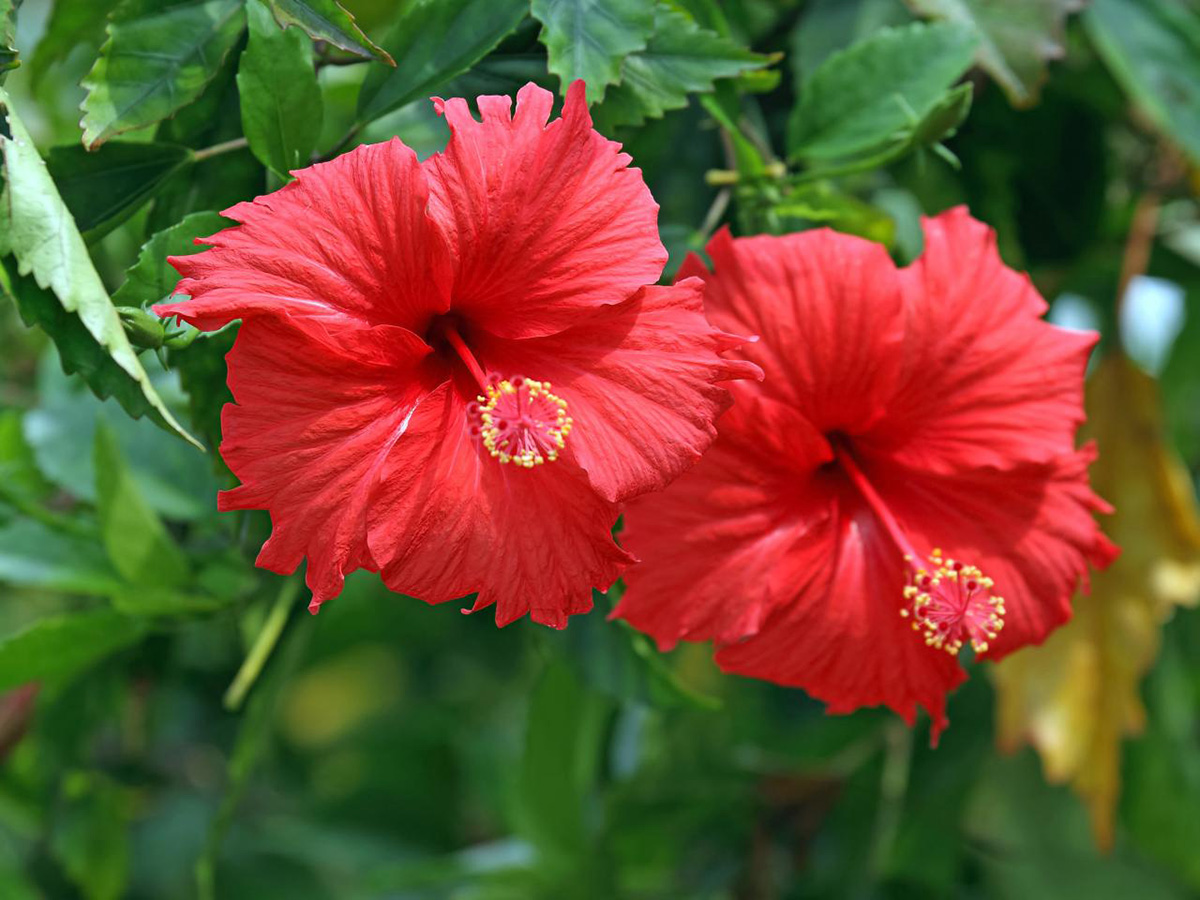
Growing hibiscus plants can be a rewarding experience, whether you enjoy their vibrant blooms or their stunning foliage. One way to ensure that you have a continuous supply of hibiscus plants is by saving and storing their seeds. By collecting and properly storing hibiscus seeds, you can propagate these beautiful plants in your garden or share them with family and friends.
In this article, we will guide you through the process of harvesting, cleaning, drying, and storing hibiscus seeds to ensure their viability for future planting. So, put on your gardening gloves and get ready to embark on a seed-saving adventure!
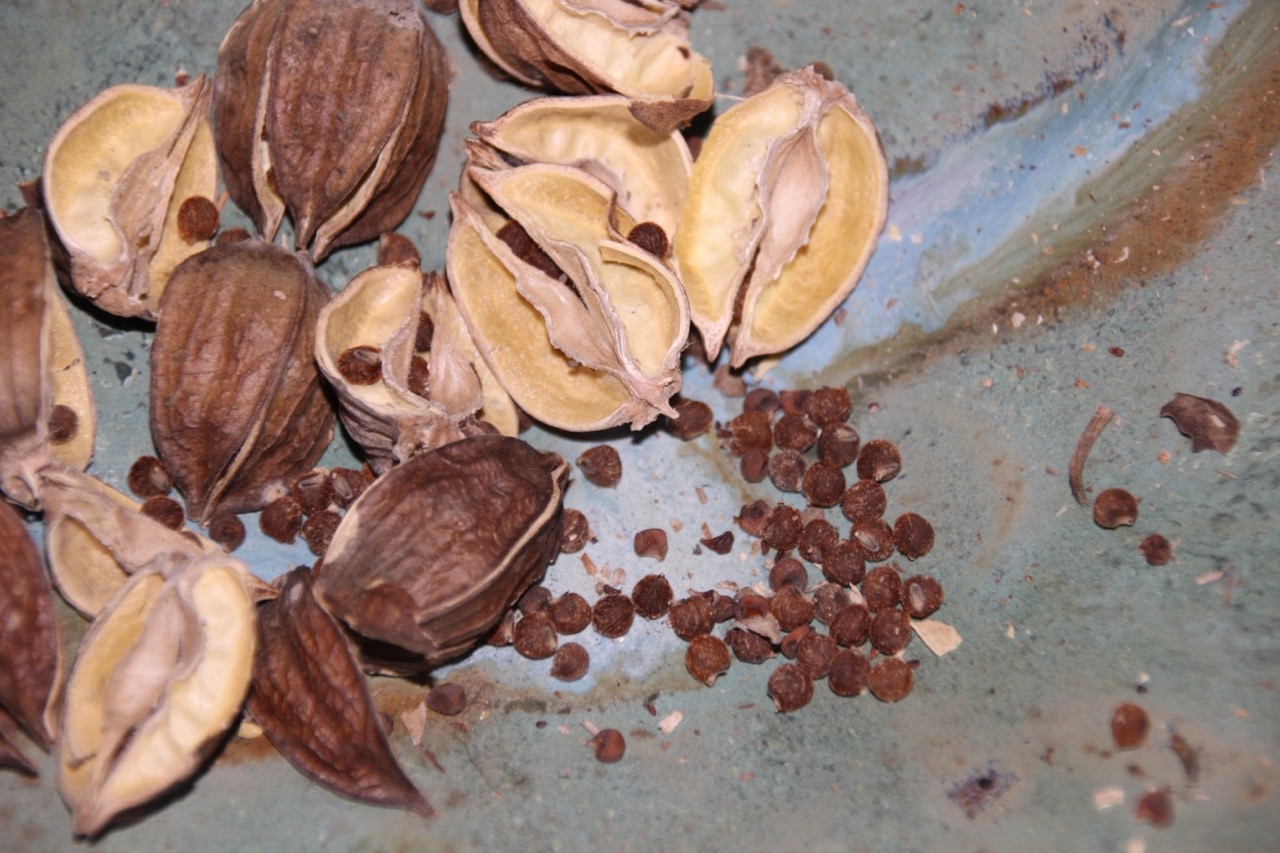
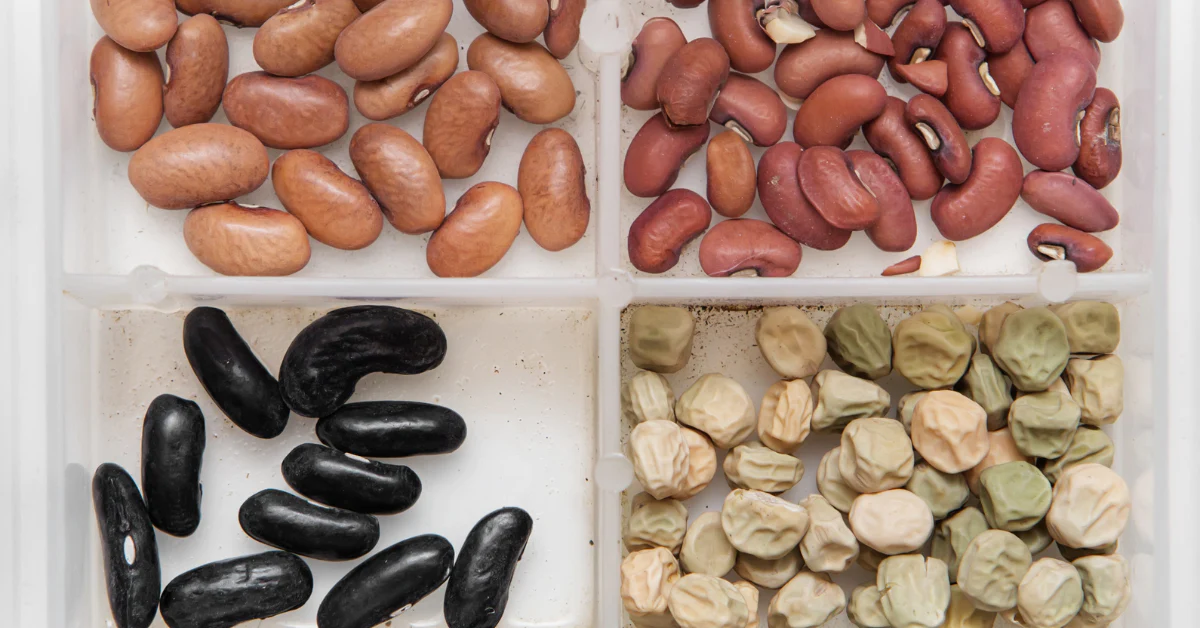
But before we delve into the details, it’s essential to understand some basic facts about hibiscus seeds. Hibiscus seeds are small, hard, and typically brown or black in color. Each seed pod contains multiple seeds, usually enclosed in a protective casing.
The viability of hibiscus seeds can vary depending on various factors such as the plant variety, age of the seeds, and how they are stored. However, with proper handling and storage, hibiscus seeds can remain viable for several years.
Now that you have a general overview, let’s dive into the step-by-step process of storing hibiscus seeds.
Key Takeaways:
- Preserve the beauty of hibiscus plants by mastering the art of seed storage. From harvesting to proper drying and storage, follow these steps to ensure a continuous supply of vibrant blooms in your garden.
- By carefully harvesting, cleaning, and storing hibiscus seeds, you can create a lasting legacy of stunning plants. Embrace the joy of gardening and share the beauty of hibiscus with loved ones for years to come.
Read more: How To Get Seeds From Hibiscus
Step 1: Harvesting Hibiscus Seeds
The first step in storing hibiscus seeds is to properly harvest them. The best time to harvest the seeds is when the seed pods have matured on the hibiscus plant. Look for seed pods that have turned brown or black, as this indicates that they are fully ripened.
Using a pair of sharp pruning shears or scissors, carefully cut the seed pods from the hibiscus plant. Place the pods in a basket or container to collect them as you go. It’s important to handle the seed pods gently to prevent damage to the seeds inside.
It’s worth noting that not all hibiscus varieties produce seed pods. Some hibiscus plants are hybrids and may not produce viable seeds. In such cases, it’s best to check with the plant’s manufacturer or a knowledgeable gardener to determine if seeds can be obtained from your particular plant.
Once you have gathered a sufficient number of seed pods, it’s time to move on to the next step: cleaning the seeds.
Step 2: Cleaning the Seeds
After harvesting the hibiscus seed pods, it’s important to clean the seeds to remove any debris or dried plant material. Cleaning the seeds helps improve their chances of successful germination.
Begin by gently breaking open the seed pods to reveal the seeds inside. You can use your fingers or a small tool like a pair of tweezers to carefully pry open the pods. Be cautious not to damage the seeds in the process.
Once the seeds are exposed, you will notice a thin, papery coating surrounding them. This coating is called the seed coat and needs to be removed before storage. The easiest way to do this is by gently rubbing the seeds between your fingers to loosen and remove the seed coat.
After removing the seed coat, transfer the seeds to a fine-mesh sieve or a strainer. Rinse the seeds under running water to wash away any remaining seed coat residue. Gently shake the sieve to remove excess water and allow the seeds to air dry for a few minutes.
Inspect the seeds to ensure that they are clean and free from any remaining debris or seed coat fragments. If you notice any damaged or discolored seeds, it’s best to discard them as they may affect the overall viability of the stored seeds.
With clean and dry hibiscus seeds in hand, it’s time to move on to the next step: drying the seeds. Proper drying is crucial for long-term seed storage.
Store hibiscus seeds in a cool, dry place in an airtight container. Make sure the seeds are completely dry before storing to prevent mold. Label the container with the date and seed variety.
Step 3: Drying the Seeds
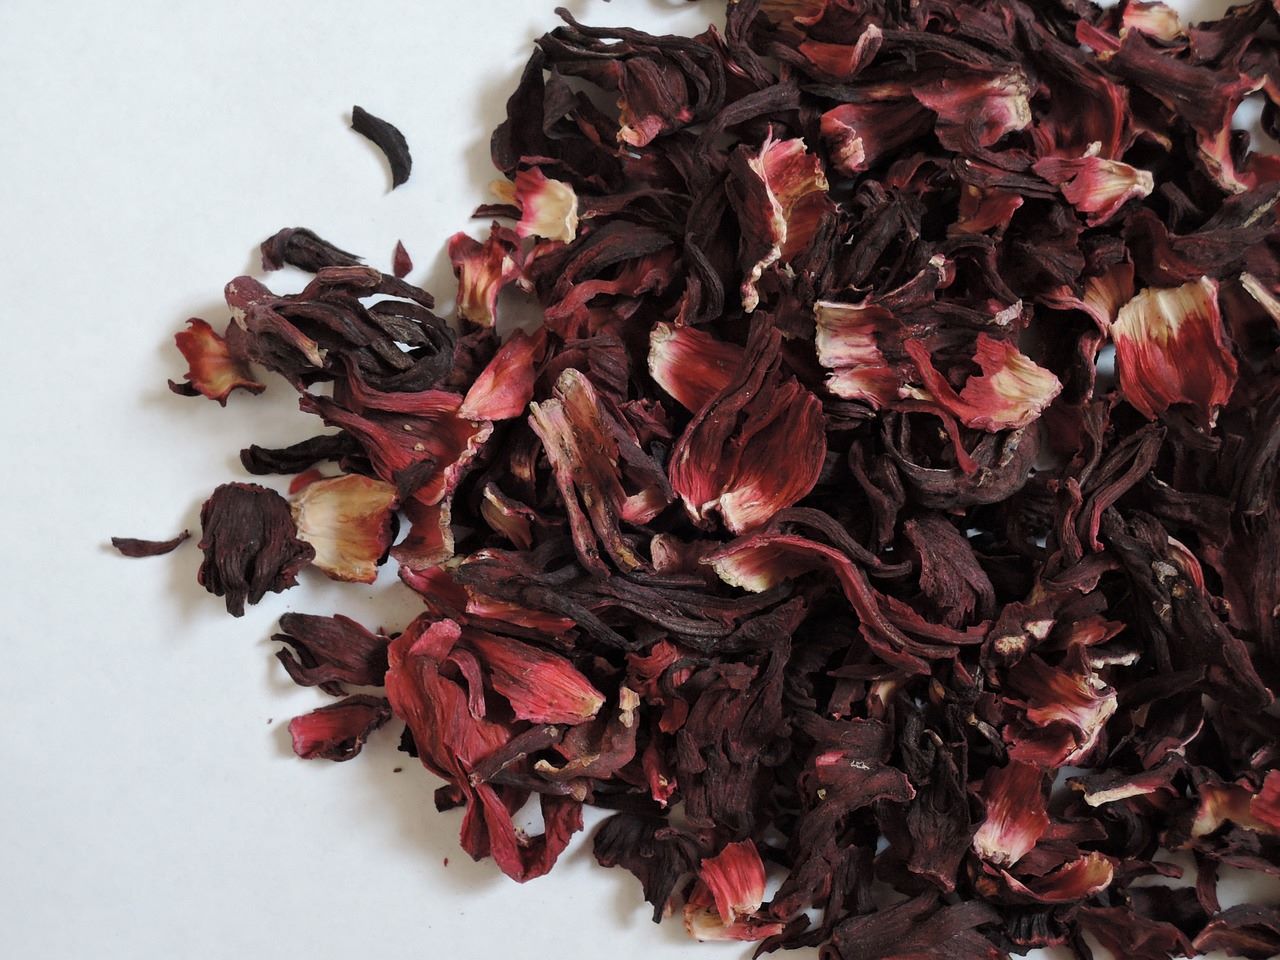
Once the hibiscus seeds are clean, it’s important to ensure that they are thoroughly dried before storing them. Proper drying helps prevent mold or fungal growth and maximizes the seeds’ shelf life.
To dry the seeds, spread them out in a single layer on a clean, dry surface such as a paper towel or a tray lined with parchment paper. Make sure to arrange the seeds in a way that allows for proper airflow between them to aid in the drying process.
Place the seeds in a well-ventilated area away from direct sunlight and excessive moisture. A warm, dry room is ideal for seed drying. Allow the seeds to air dry naturally for at least a week or until they are completely dry to the touch.
During the drying process, periodically check on the seeds and gently stir them to ensure even drying. If you notice any signs of moisture or mold formation, remove those seeds immediately to prevent them from affecting the remaining batch.
It’s important to note that hibiscus seeds can be delicate and may lose their viability if exposed to high temperatures or humidity during the drying process. Therefore, maintaining an optimal drying environment is crucial.
Once the seeds are adequately dried, it’s time to move on to the final step: storing the seeds to maintain their longevity.
Step 4: Storing the Seeds
Proper storage is key to preserving the viability of hibiscus seeds for future planting. Follow these guidelines to ensure that your stored seeds remain healthy and viable:
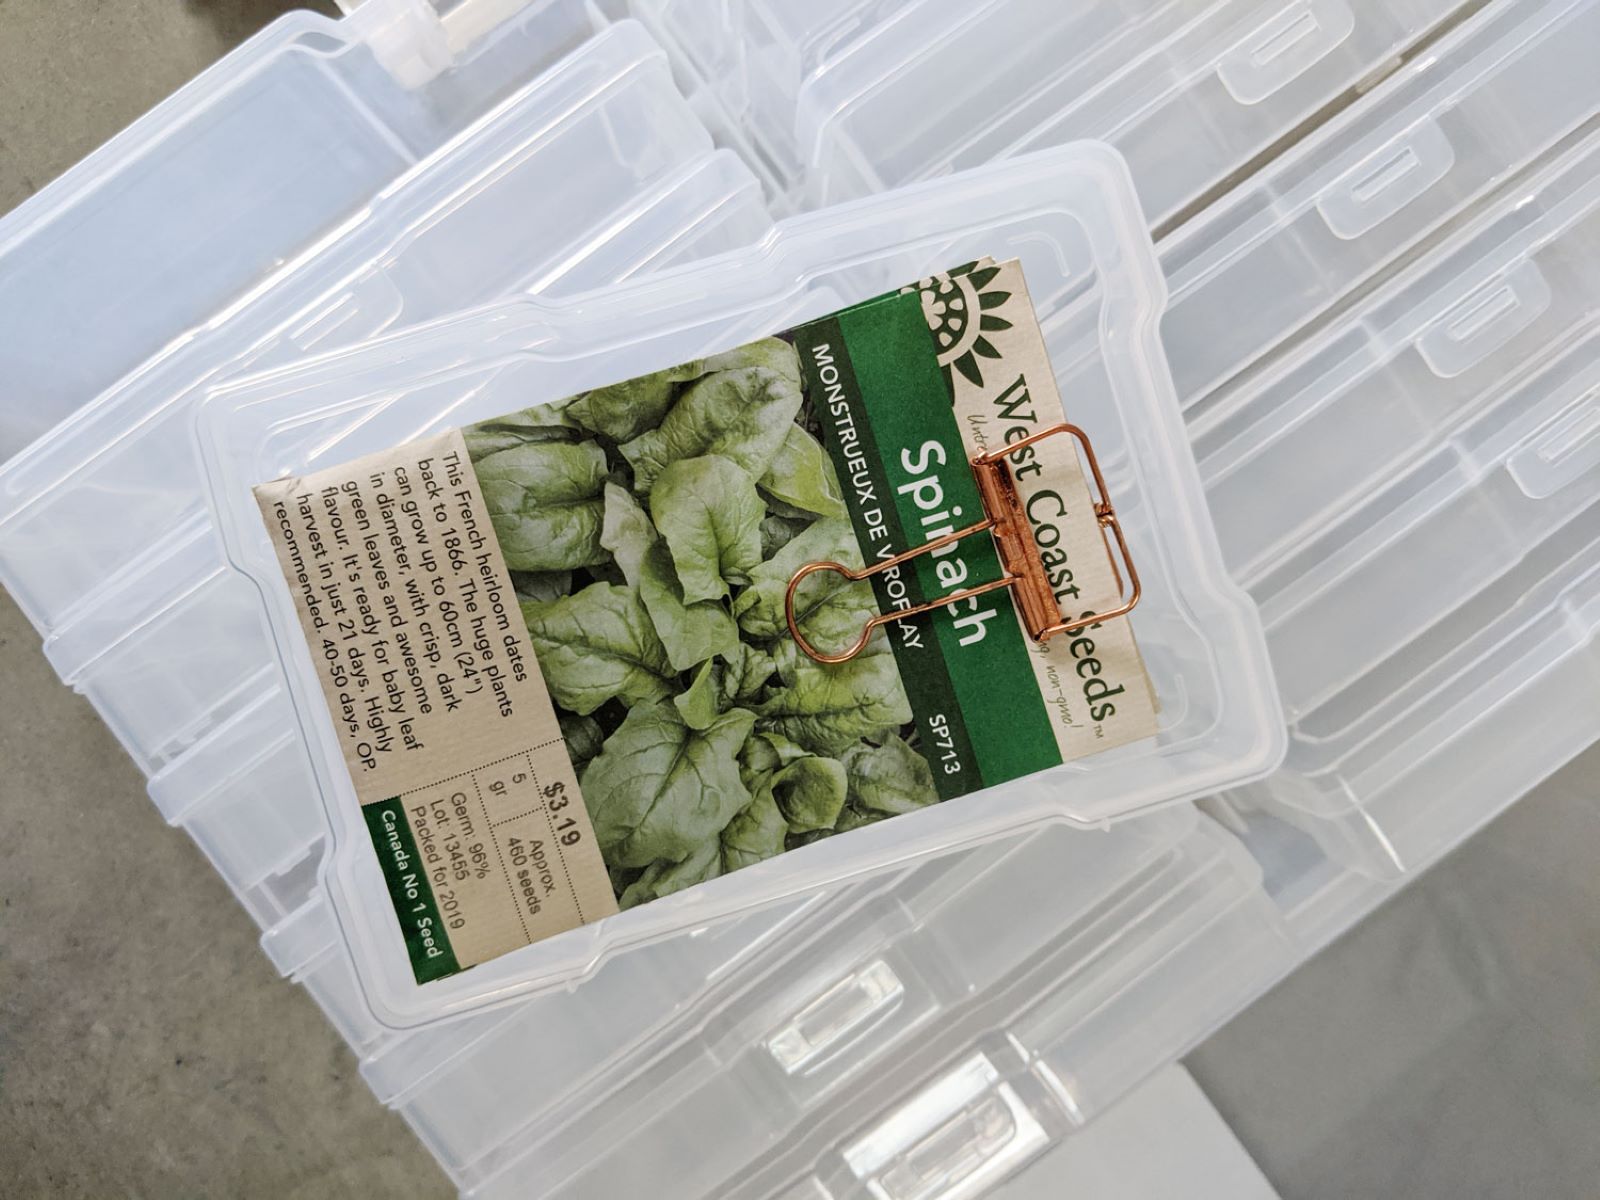
- Container selection: Choose a suitable container for storing the hibiscus seeds. Opt for airtight containers that will protect the seeds from moisture and pests. Small glass jars or resealable plastic bags work well for this purpose.
- Labeling: Properly label each container with the name of the hibiscus variety and the date of seed collection. This information will be useful when you want to plant or share the seeds in the future.
- Desiccant: To further protect the seeds from moisture, consider adding a desiccant packet to the storage container. This helps absorb any remaining moisture and maintain a dry environment.
- Cool and dark location: Store the containers in a cool, dry, and dark location, such as a basement or pantry, where the temperature remains relatively stable. Avoid areas with direct sunlight or fluctuating temperatures, as these can compromise the seed’s viability.
- Regular monitoring: Periodically check on the seeds to ensure there is no mold, moisture, or pests. If you notice any issues, remove the affected seeds immediately to prevent them from damaging the rest.
By following these storage guidelines, your hibiscus seeds can remain viable for several years, ready to be planted when the time is right.
It’s worth mentioning that different hibiscus varieties may have varying seed viability and storage requirements. Some varieties may have shorter seed longevity, while others can remain viable for several years. Therefore, it’s always a good idea to research specific instructions for the hibiscus variety you are harvesting seeds from.
Congratulations! You have successfully learned how to harvest, clean, dry, and store hibiscus seeds. With these steps, you can now enjoy the satisfaction of growing hibiscus plants from your own saved seeds.
Happy gardening!
Read more: How To Collect Hibiscus Seeds
Conclusion
Storing hibiscus seeds is not only a practical way to ensure a continuous supply of these beautiful plants but also a rewarding experience for any gardening enthusiast. By following the steps outlined in this article, you can successfully harvest, clean, dry, and store hibiscus seeds, maximizing their viability for future planting.
Remember, the key to successful seed storage lies in proper handling and favorable storage conditions. From carefully harvesting mature seed pods to cleaning and drying the seeds, each step contributes to the overall success of storing hibiscus seeds.
Choosing suitable containers, labeling them correctly, and storing them in a cool, dry, and dark location ensures that your hibiscus seeds remain free from moisture and pests. Regular monitoring of the stored seeds allows you to promptly address any issues that may arise to maintain the integrity of your seed collection.
Whether you desire to grow hibiscus plants in your own garden or share them with family and friends, properly stored hibiscus seeds will be ready for any future planting ventures. The beauty and charm of hibiscus flowers can brighten any outdoor space, making them a popular choice among gardeners and flower enthusiasts.
So, why not embark on your own seed-saving adventure and enjoy the joy of watching your hibiscus plants grow from seeds? With a little patience and proper storage techniques, you can create a bountiful supply of hibiscus plants for years to come.
Happy seed saving and gardening!
Frequently Asked Questions about How To Store Hibiscus Seeds
Was this page helpful?
At Storables.com, we guarantee accurate and reliable information. Our content, validated by Expert Board Contributors, is crafted following stringent Editorial Policies. We're committed to providing you with well-researched, expert-backed insights for all your informational needs.


0 thoughts on “How To Store Hibiscus Seeds”