Home>Garden Essentials>How Long Does Hibiscus Take To Grow From Seed
Garden Essentials
How Long Does Hibiscus Take To Grow From Seed
Modified: March 21, 2024
Discover how long it takes for Hibiscus to grow from seed in your garden. Learn the best practices and tips for successful cultivation.
(Many of the links in this article redirect to a specific reviewed product. Your purchase of these products through affiliate links helps to generate commission for Storables.com, at no extra cost. Learn more)
Introduction
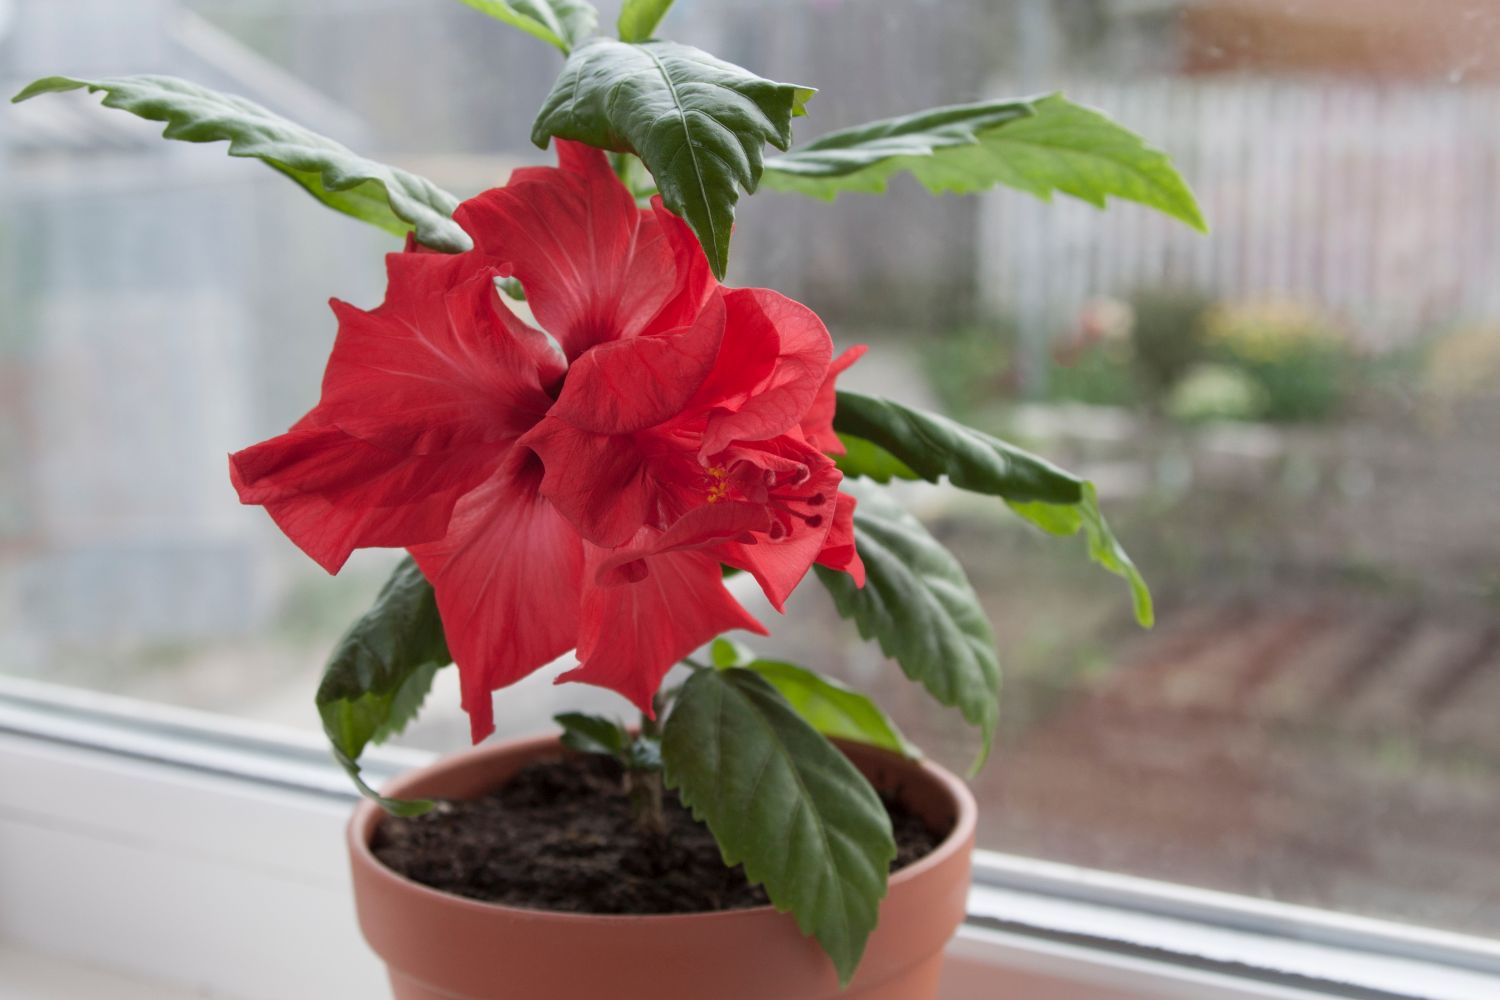
Welcome to the world of gardening! If you’re a plant enthusiast or just starting out on your green thumb journey, you may have come across hibiscus plants. These stunning flowering plants are known for their vibrant colors and tropical appeal. While purchasing hibiscus plants from a nursery is a popular option, growing them from seeds can be a rewarding and cost-effective alternative.
In this article, we will explore the fascinating process of growing hibiscus plants from seeds. We will cover everything from the factors that affect seed germination to the care and maintenance needed to cultivate healthy hibiscus plants. So, let’s dive in and discover how long it takes for hibiscus to grow from seed!
Before we begin, it’s important to note that hibiscus seeds can be a bit challenging to germinate compared to other types of seeds. They require specific conditions and care to ensure successful germination. However, with the right knowledge and techniques, you can experience the joy of watching these stunning plants sprout and flourish in your garden.
So, let’s take a closer look at the factors that affect the germination of hibiscus seeds.
Key Takeaways:
- Growing hibiscus from seeds requires patience and attention to detail. Factors like temperature, moisture, and light affect germination. Providing proper care and maintenance leads to vibrant blooms in the second or third year.
- Hibiscus plants need warm temperatures, well-draining soil, and regular watering. They bloom profusely in their second or third year with proper care. Enjoy the tropical beauty they bring to your garden!
Read more: How To Grow Hibiscus From Seed
Factors Affecting Hibiscus Seed Germination
Hibiscus seeds are influenced by several factors during the germination process. Understanding these factors will help you create the optimal conditions for successful seed germination. Let’s explore them below:
- Seed Quality: Selecting fresh and viable hibiscus seeds is crucial for successful germination. Old or damaged seeds may have a lower germination rate. It’s recommended to obtain seeds from a reputable source or collect them from mature hibiscus plants in your garden.
- Temperature: Temperature plays a vital role in hibiscus seed germination. Most hibiscus species require a warm environment with temperatures around 70-85°F (21-29°C) for optimal germination. Ensure the temperature remains consistent throughout the germination period.
- Moisture: Adequate moisture is essential for seed germination. Hibiscus seeds need to be consistently moist but not soaked. Provide a well-draining soil mix that retains moisture without becoming waterlogged. Mist the soil surface regularly to maintain moisture levels.
- Light: Hibiscus seeds generally require light for germination. So, it’s best to surface sow the seeds or lightly press them into the soil mix without burying them too deep. This allows them to receive the necessary light for germination.
- Scarification: Some hibiscus seeds have hard outer coats that can hinder germination. Scarification, which involves gently nicking or filing the outer seed coat, can help improve germination rates. Soaking the seeds in warm water overnight before scarification can also be beneficial.
- Stratification: Certain hibiscus species may benefit from a period of cold stratification before germination. This mimics the natural process of seeds experiencing a dormant period in colder temperatures. Cold stratification can be achieved by placing the seeds in a moist paper towel and refrigerating them for a specific period, usually around 4-6 weeks.
- Soil Nutrition: Providing a fertile and well-balanced soil mix is essential. Use a quality potting mix enriched with organic matter to provide the necessary nutrients for seedling growth. You can also incorporate slow-release fertilizers into the soil mix to ensure a steady supply of nutrients.
Now that we understand the factors that impact hibiscus seed germination, let’s move on to the germination period and what to expect during this time.
Germination Period of Hibiscus Seeds
The germination period of hibiscus seeds can vary depending on various factors such as the species, quality of seeds, and environmental conditions. On average, hibiscus seeds can take anywhere from 10 to 21 days to germinate.
During this period, you will need to provide consistent care to ensure the seeds have the best chance of sprouting. Remember to maintain the appropriate temperature, moisture, and light conditions mentioned earlier. Regularly check the soil moisture and mist if needed to keep it consistently moist. Be patient and monitor the seeds closely for any signs of germination.
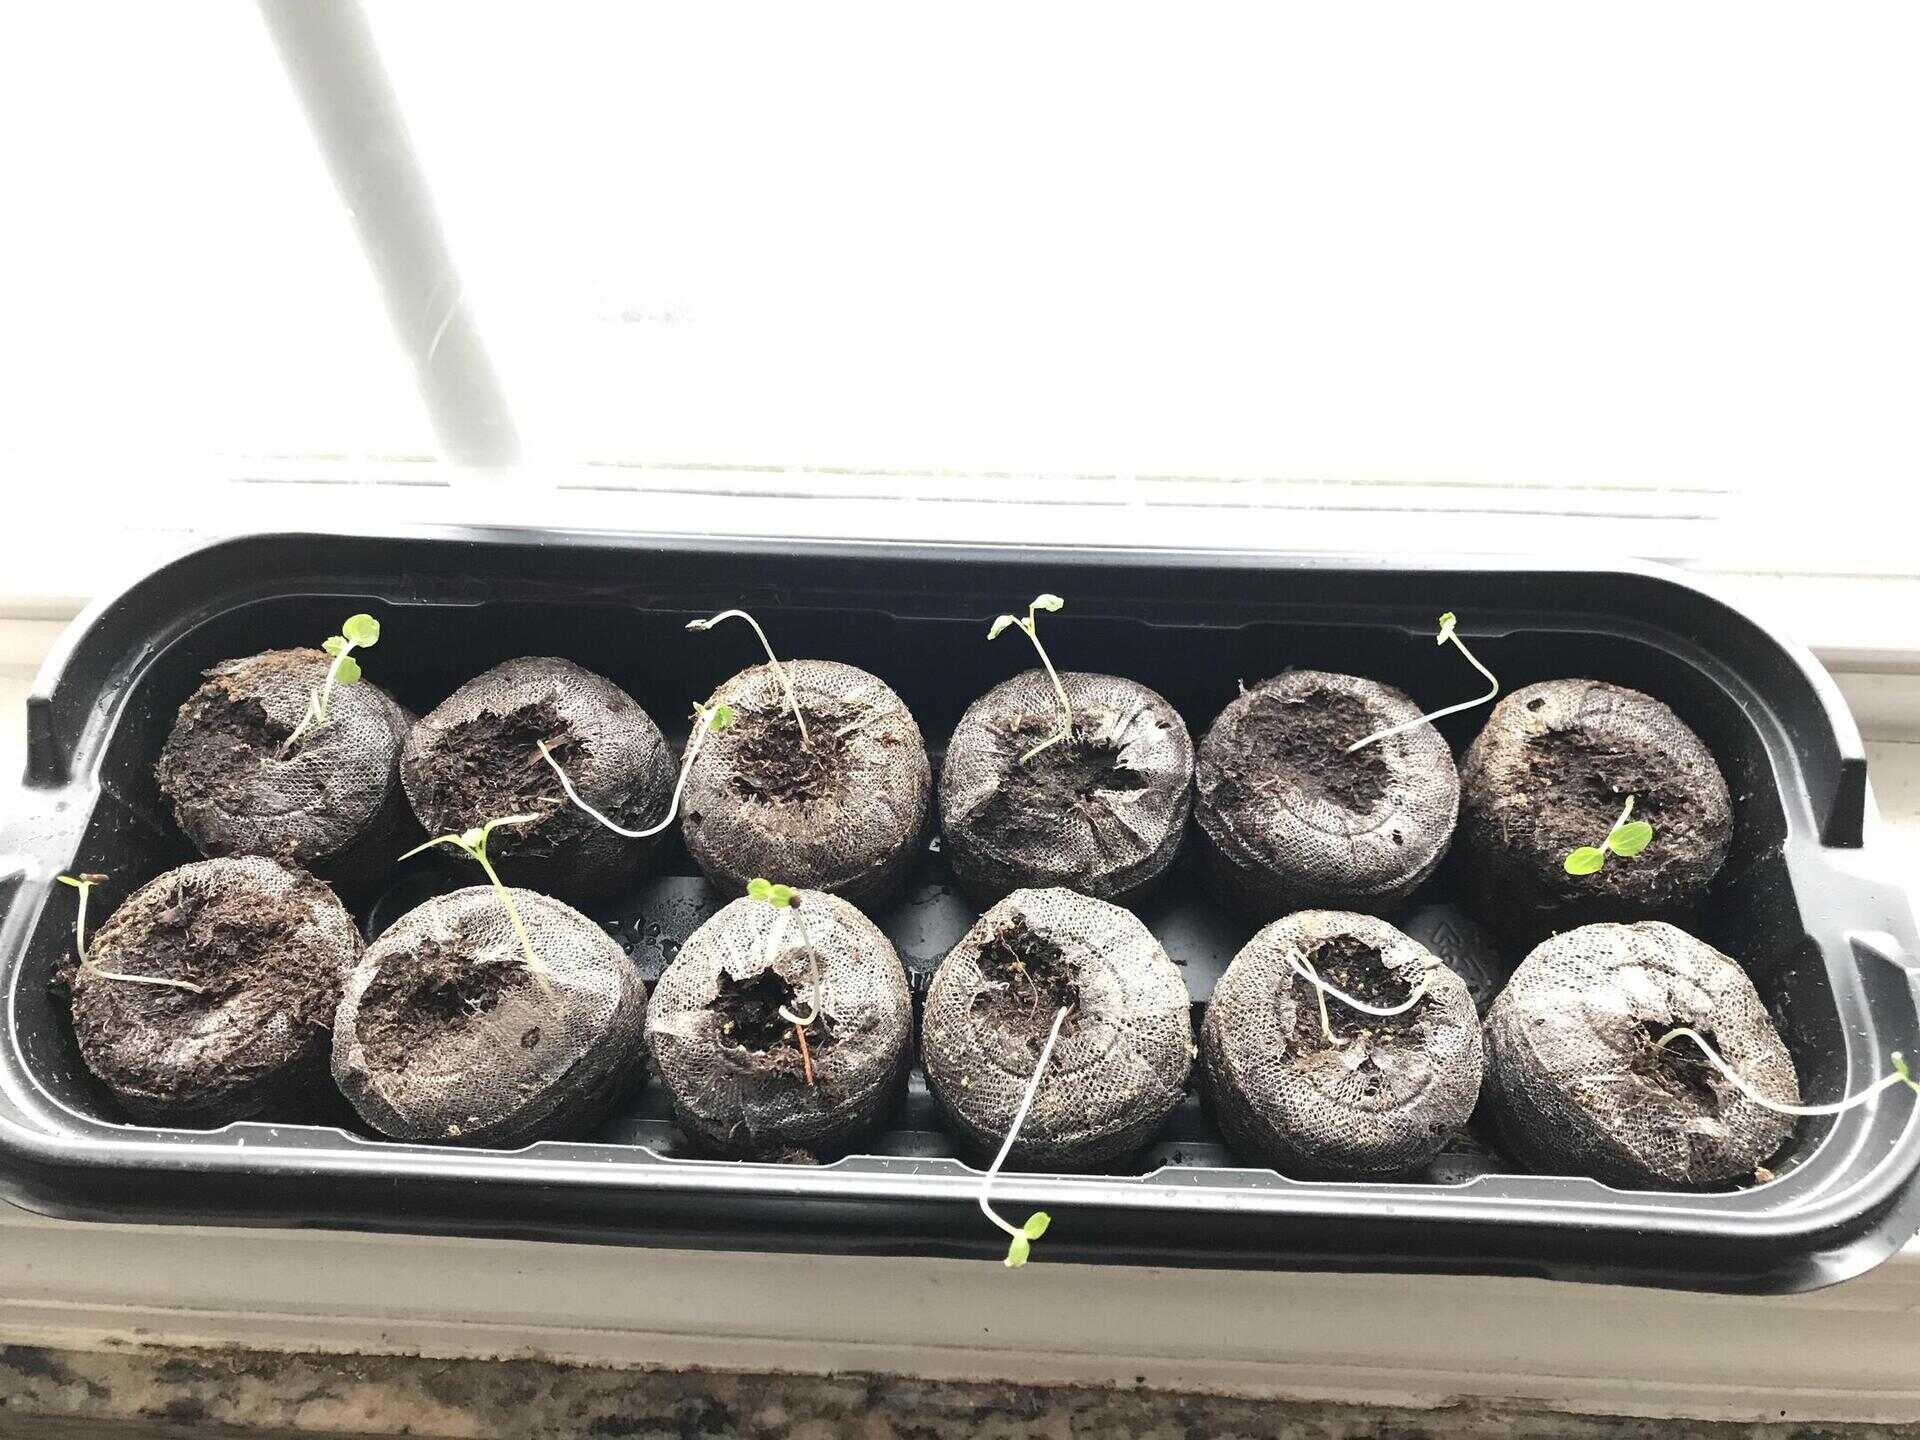
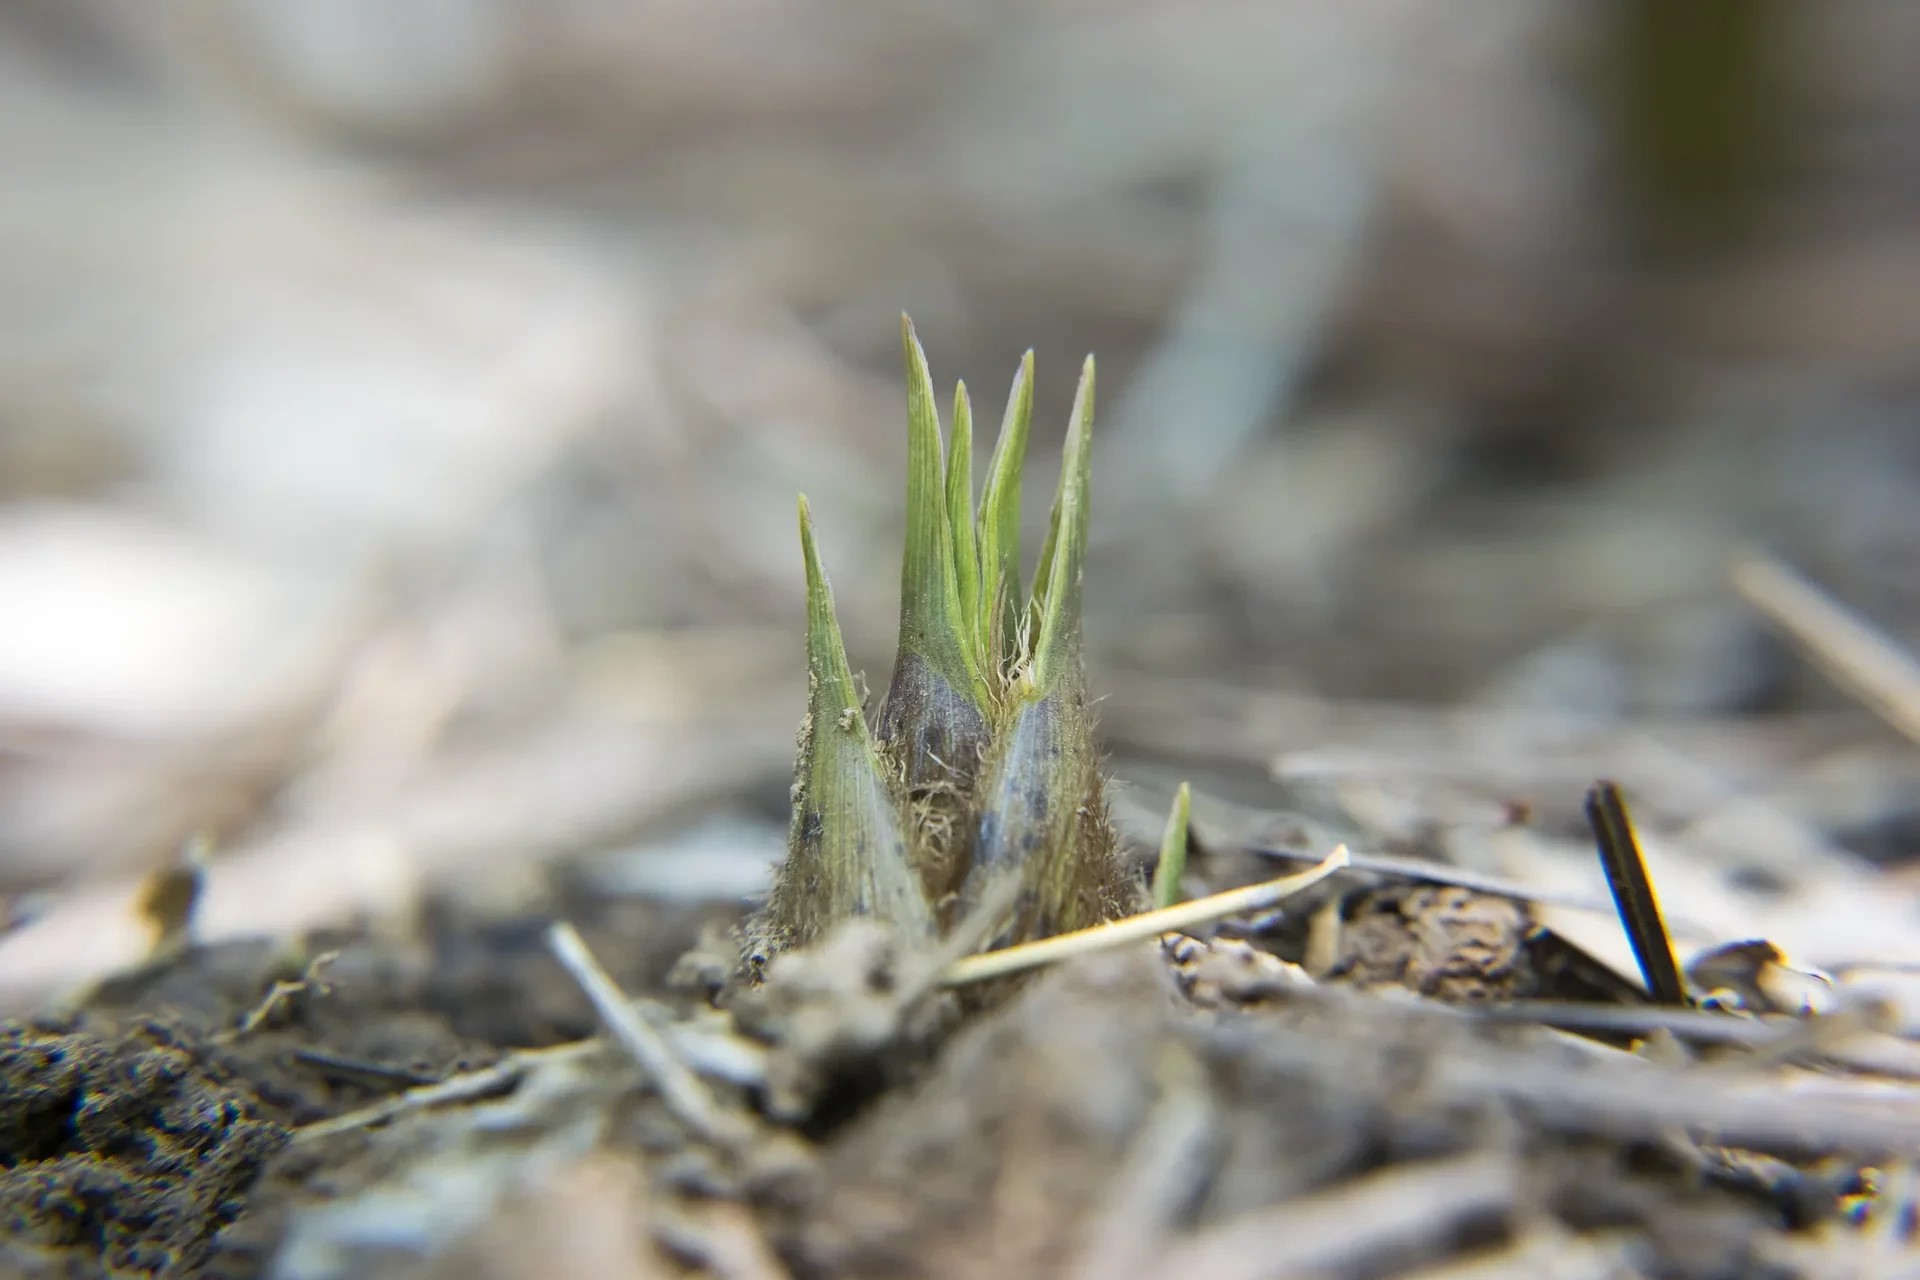
Once the seeds germinate, you will start to see tiny seedlings emerging from the soil. At this stage, they require gentle care and attention to help them grow into healthy plants. Let’s explore the growing conditions for hibiscus seedlings.
Growing Conditions for Hibiscus Seedlings
As hibiscus seedlings emerge, it’s crucial to provide them with the right growing conditions to ensure their healthy development. Here are some important aspects to consider:
- Light: Hibiscus seedlings thrive in bright, indirect light. Place them in a location with filtered sunlight or provide them with artificial grow lights if you’re growing them indoors. Avoid exposing them to direct sunlight, as it can scorch their delicate leaves.
- Temperature: Maintain a warm temperature around the seedlings, similar to the germination period. Aim for a range of 70-85°F (21-29°C). Avoid exposing them to extreme temperatures or drafts, which can stress the young plants.
- Watering: Proper watering is crucial for the growth of hibiscus seedlings. Keep the soil evenly moist, but avoid overwatering, as it can lead to root rot. Water the seedlings at the base, avoiding wetting the leaves. Mulching the soil surface can help retain moisture and prevent weed growth.
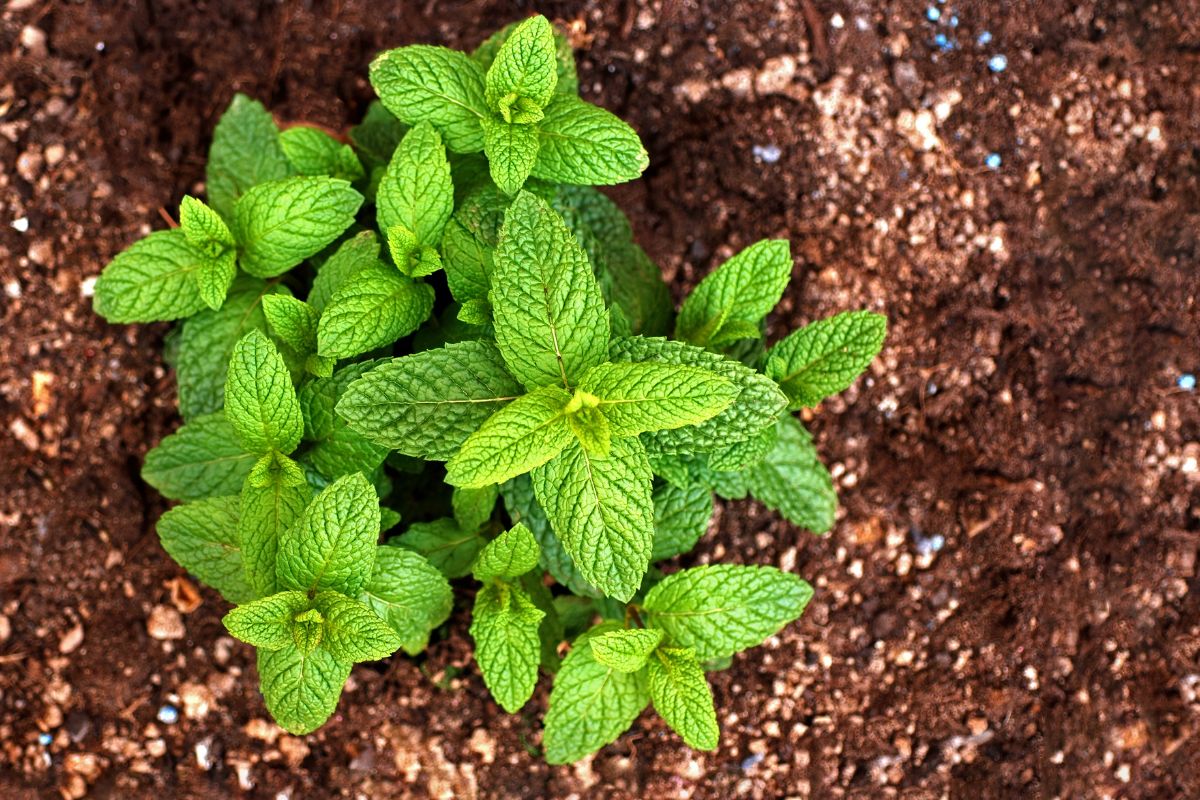
- Transplanting: As the hibiscus seedlings grow, they will eventually outgrow their initial containers. It’s important to transplant them into larger pots or directly into the garden. Transplant when the seedlings have developed a few sets of true leaves and are sturdy enough to withstand the transplanting process.
- Soil: Hibiscus plants prefer well-draining, sandy loam soil. Ensure the soil is rich in organic matter and has a pH level of 6 to 7. If the natural soil in your area is heavy or clay-based, amend it with organic matter like compost or peat moss to improve drainage and fertility.
- Spacing: When transplanting hibiscus seedlings, provide adequate spacing between each plant. This allows for proper airflow and prevents overcrowding, which can lead to disease development. Follow the recommended spacing guidelines for your specific hibiscus species.
By providing the optimal growing conditions, you’ll give your hibiscus seedlings a strong foundation for healthy growth. Next, let’s explore the process of transplanting hibiscus seedlings.
Hibiscus seeds typically take 10-21 days to germinate. Once germinated, they can take 3-4 months to grow into a mature plant. Keep the soil consistently moist and provide plenty of sunlight for best results.
Transplanting Hibiscus Seedlings
Transplanting hibiscus seedlings is an important step in their growth journey. It allows them to establish their roots in a larger container or in the garden, providing more space for their development. Here’s a step-by-step guide to transplanting hibiscus seedlings:
- Choosing the right time: Wait until the hibiscus seedlings have developed a few sets of true leaves and are strong enough to handle the transplanting process. This is usually when they are about 2-3 inches tall.
- Preparing the new container or garden bed: If you’re transplanting into a container, choose a pot that is at least 12-14 inches in diameter and has drainage holes. Fill the container with a well-draining potting mix that is rich in organic matter.
- Water the seedlings: Before transplanting, water the seedlings thoroughly. This helps ensure that their root systems are well-hydrated and makes it easier to remove them from their current containers.
- Gently remove the seedlings: Carefully loosen the soil around the seedlings in their current containers. Hold the seedling by its leaves or the base of the stem, ensuring not to damage the delicate roots. Gently lift the seedling out of the container.
- Transplanting into a new container: Dig a hole in the prepared potting mix that is large enough to accommodate the seedling’s root system. Place the seedling in the hole, ensuring that the top of the root ball is level with the soil surface. Gently firm the soil around the seedling to secure it in place.
- Transplanting into the garden: If transplanting directly into the garden, dig a hole that is slightly larger than the root ball of the seedling. Place the seedling in the hole at the same depth it was growing in its previous container. Fill the hole with soil, gently firming it around the seedling.
- Watering and care: After transplanting, water the seedlings thoroughly to settle the soil and help them establish roots. Provide regular water and maintain the proper growing conditions mentioned earlier to support their growth.
Transplant shock is common after the transplanting process, but with proper care and attention, hibiscus seedlings will quickly recover and continue to flourish. Now, let’s learn about the care and maintenance required for healthy hibiscus plants.
Care and Maintenance of Hibiscus Plants
Proper care and maintenance are essential for the overall health and vitality of hibiscus plants. Here are some key aspects to consider when it comes to caring for your hibiscus plants:
- Watering: Hibiscus plants require regular and consistent watering. Keep the soil evenly moist, but avoid overwatering, as it can lead to root rot. Water deeply to encourage the roots to grow deeper into the soil. During hot and dry periods, increase the frequency of watering.
- Fertilizing: Hibiscus plants benefit from regular fertilization to promote healthy growth and vibrant blooms. Use a slow-release balanced fertilizer formulated for blooming plants, following the manufacturer’s instructions. Apply the fertilizer in early spring and again in mid-summer for optimal results.
- Pruning: Regular pruning helps maintain the shape and size of hibiscus plants while promoting better airflow and reducing the risk of disease. Prune in early spring before new growth emerges. Remove any dead, damaged, or diseased branches. You can also lightly prune to shape the plant as desired.
- Pest and Disease Control: Monitor your hibiscus plants for any signs of pests such as aphids, whiteflies, or spider mites. If detected, treat the infestation with organic insecticidal soap or neem oil. Be on the lookout for common diseases like powdery mildew or leaf spot, and promptly address any issues to prevent their spread.
- Winter Protection: In colder climates where hibiscus plants are not winter hardy, take measures to protect them during the colder months. Before the first frost, move potted hibiscus plants indoors to a well-lit area with temperatures above 50°F (10°C). In the garden, mulch around the base of the plants to insulate the roots.
- Support and Staking: Some hibiscus varieties, especially those with large flowers, might require support and staking to prevent them from bending or breaking under their own weight. Use stakes or cages to support the stems and maintain an upright position.
By following these care guidelines, you can ensure that your hibiscus plants remain healthy, disease-free, and produce an abundance of beautiful blooms. Now, let’s explore the typical time frame for hibiscus flowering.
Time Frame for Hibiscus Flowering
The time frame for hibiscus flowering can vary depending on multiple factors, including the species, growing conditions, and climate. Generally, hibiscus plants begin to flower within their second or third year of growth, although some varieties may start flowering in their first year. Let’s take a closer look at the typical time frame for hibiscus flowering:
First Year: During the first year of growth, hibiscus plants focus on establishing their root system and developing a strong foundation. While it’s less common, some hibiscus varieties may produce a few blossoms in their first year, providing optimal growing conditions and care are provided.
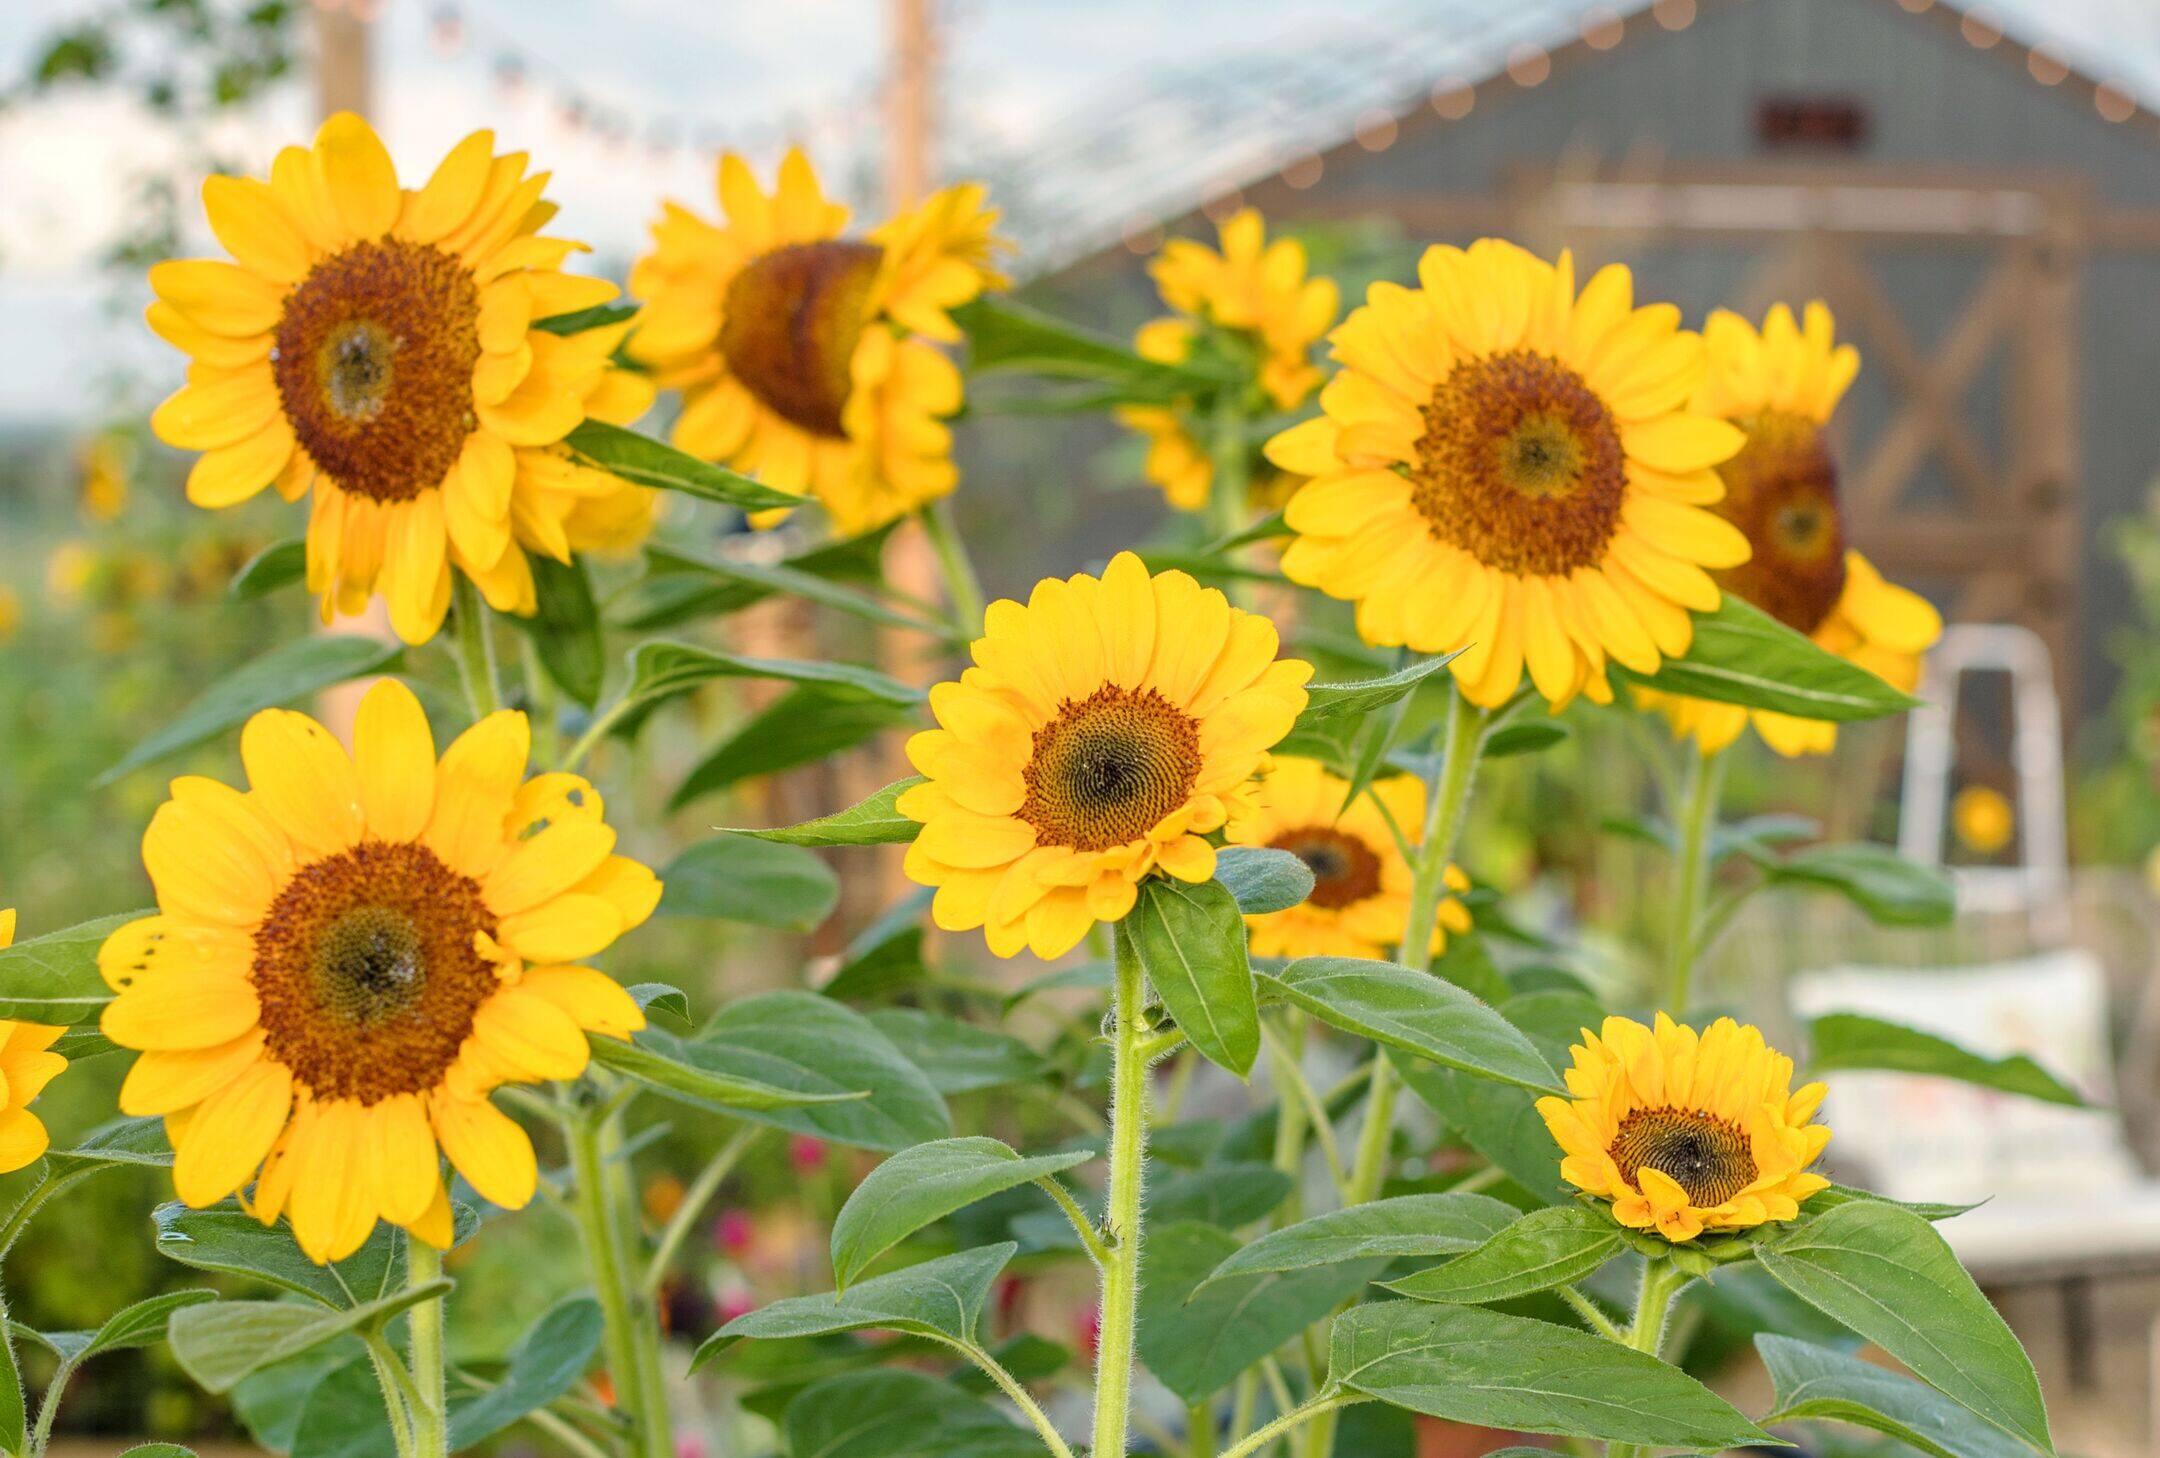
Second Year: In the second year, hibiscus plants become more mature and start to show more significant signs of flowering. You can expect to see a greater number of blooms appearing on the plant throughout the growing season. The flowers may be smaller in size compared to mature plants, but they will still showcase the vibrant colors and unique characteristics of hibiscus blooms.
Third Year and Beyond: As hibiscus plants continue to mature, their flowering potential increases. By the third year and beyond, you can anticipate an abundant display of blooms, often covering the plant’s branches and providing a spectacular and eye-catching show. The flowers will be larger, and the plant will exhibit its full potential in terms of size, shape, and quantity of blossoms.
It’s important to note that the exact timing and duration of hibiscus flowering can also be influenced by environmental factors such as temperature, sunlight exposure, and overall plant health. Providing optimal growing conditions and proper care will significantly contribute to the flowering success of your hibiscus plants.
Remember to deadhead spent blooms regularly to encourage continuous flowering and promote the growth of new buds. Additionally, hibiscus plants thrive in warm climates and may not flower prolifically in areas with cooler temperatures or shorter growing seasons.
Overall, with patience and care, you can enjoy the beauty and splendor of hibiscus flowers as they grace your garden and bring tropical vibes to your outdoor space.
Conclusion
Cultivating hibiscus plants from seeds can be a gratifying experience for any gardening enthusiast. While it requires patience and attention to detail, the process is both rewarding and cost-effective. By understanding the factors that affect seed germination and providing the right growing conditions for hibiscus seedlings, you can successfully grow these stunning flowering plants in your garden.
Remember to select fresh and viable seeds, pay attention to temperature, moisture, and light requirements, and consider scarification or stratification techniques if necessary. Providing a fertile soil mix, transplanting seedlings at the right time, and offering proper care and maintenance are crucial for the healthy growth of hibiscus plants.
As your hibiscus plants mature, they will reward you with vibrant blooms and a burst of tropical beauty. While the time frame for hibiscus flowering may vary, it’s typically within the second or third year of growth that you can expect a profusion of blossoms that showcase the unique characteristics of this magnificent plant.
Throughout your hibiscus gardening journey, remember to water correctly, fertilize regularly, prune when needed, and protect the plants from pests and diseases. With proper care and attention, your hibiscus plants will flourish and bring a touch of exotic elegance to your outdoor spaces.
So, whether you’re starting with hibiscus seeds or cultivating established plants, enjoy the process of growing and caring for these stunning beauties. Sit back, relax, and admire the splendid display of hibiscus flowers that will surely brighten your garden and bring joy to your gardening experience.
Happy gardening!
Frequently Asked Questions about How Long Does Hibiscus Take To Grow From Seed
Was this page helpful?
At Storables.com, we guarantee accurate and reliable information. Our content, validated by Expert Board Contributors, is crafted following stringent Editorial Policies. We're committed to providing you with well-researched, expert-backed insights for all your informational needs.


0 thoughts on “How Long Does Hibiscus Take To Grow From Seed”