Home>Garden Essentials>How To Plant Hibiscus Seeds
Garden Essentials
How To Plant Hibiscus Seeds
Modified: August 25, 2024
Learn how to plant hibiscus seeds in your garden and watch them bloom into beautiful flowers. Step-by-step guide for successful hibiscus seed planting.
(Many of the links in this article redirect to a specific reviewed product. Your purchase of these products through affiliate links helps to generate commission for Storables.com, at no extra cost. Learn more)
Introduction
Welcome to our comprehensive guide on how to plant hibiscus seeds! Whether you’re a beginner gardener or have some experience, hibiscus plants can be a delightful addition to your garden. With their vibrant flowers and lush foliage, hibiscus plants are known for their beauty and versatility. Planting hibiscus seeds allows you to start your own plants from scratch and witness the entire growth process.
In this article, we will walk you through the step-by-step process of planting hibiscus seeds, from gathering the necessary supplies to caring for the plants until they reach maturity. By following these instructions, you can ensure that your hibiscus seeds grow into healthy and vibrant plants that will brighten up your garden.
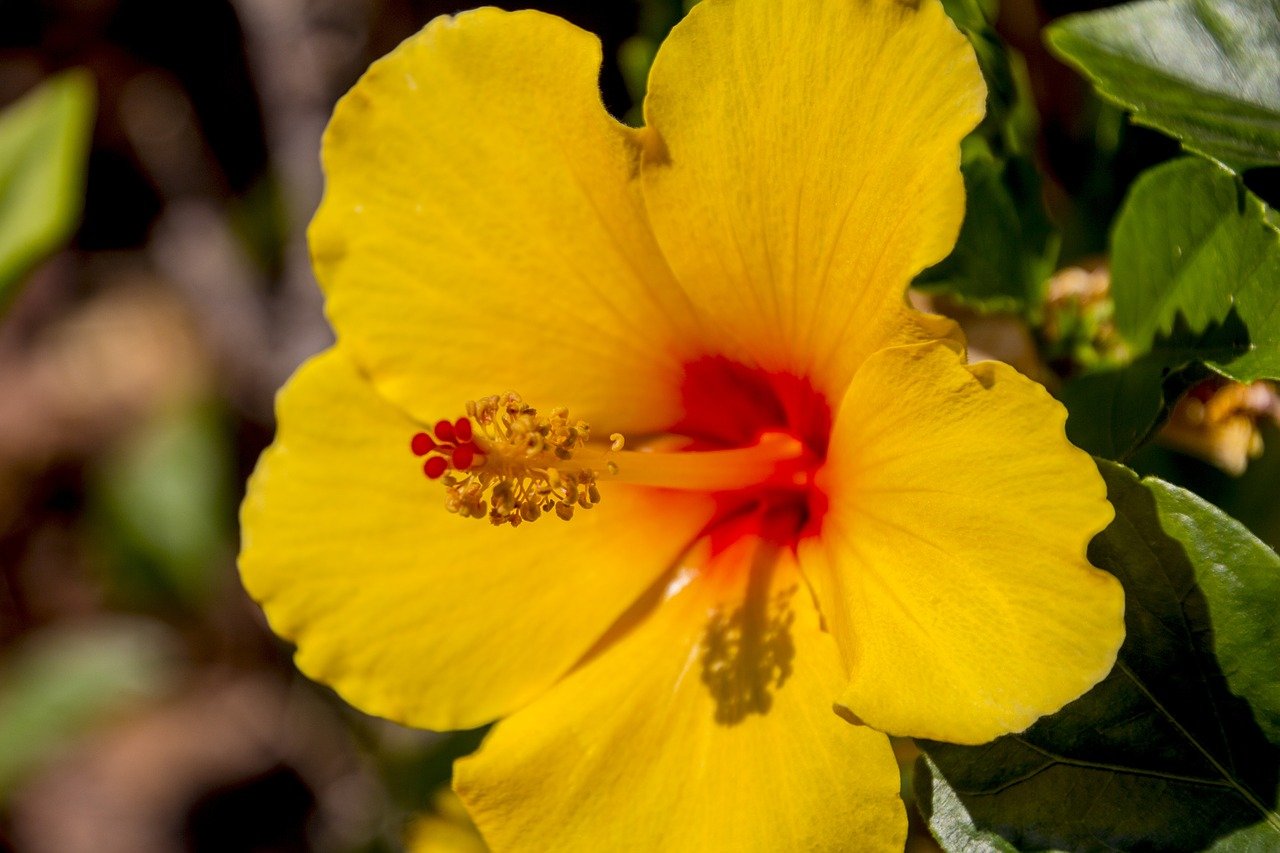
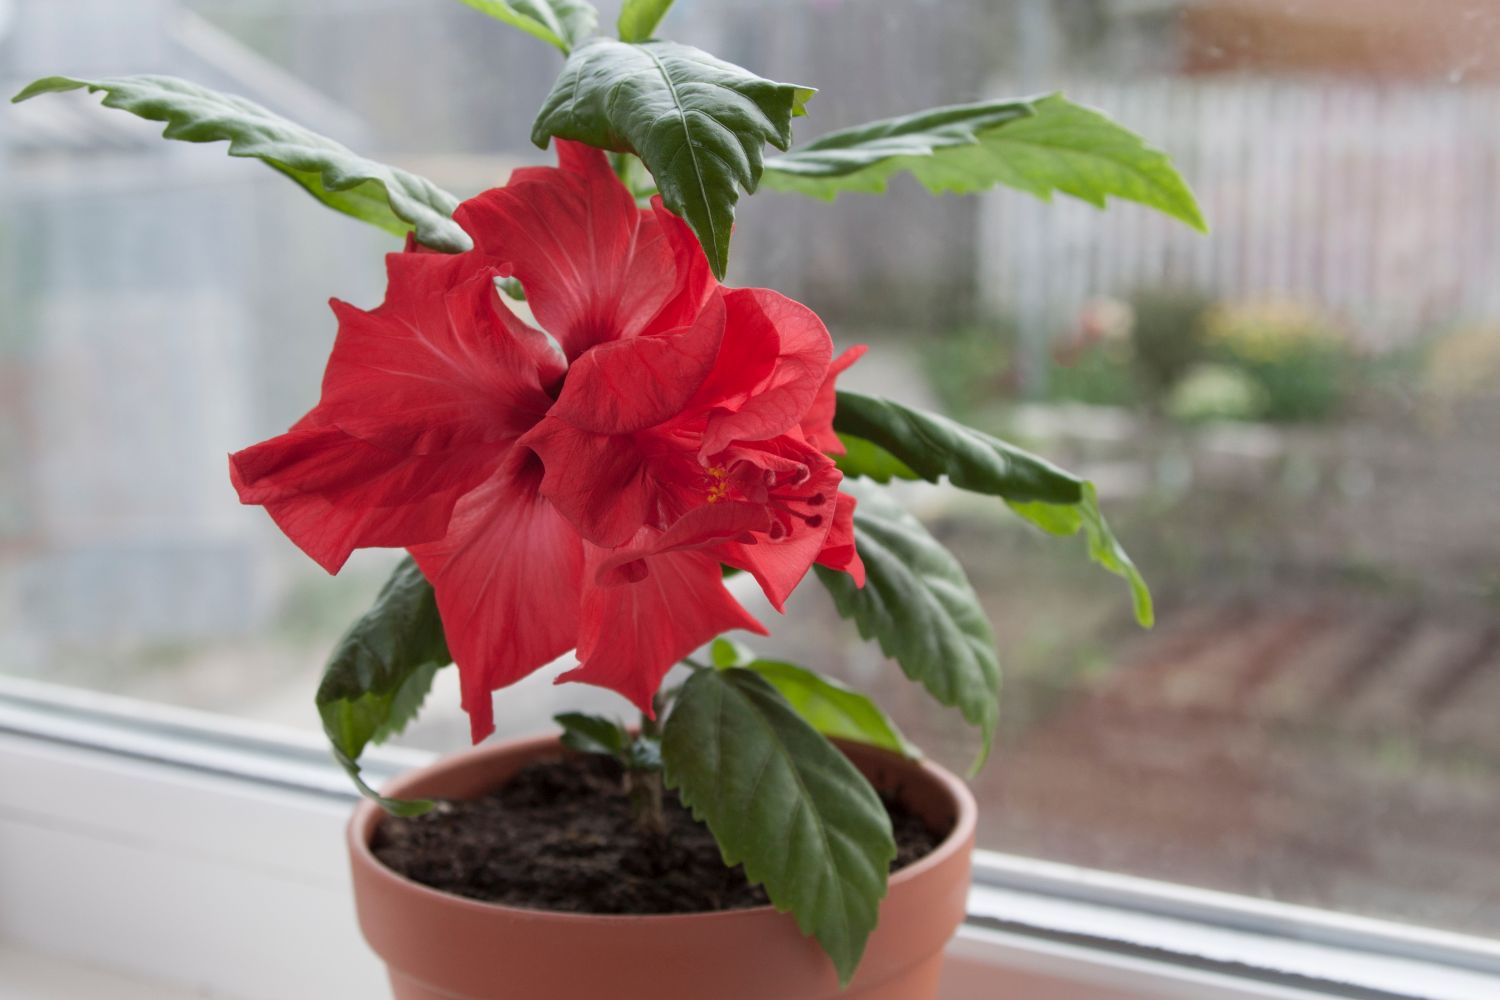
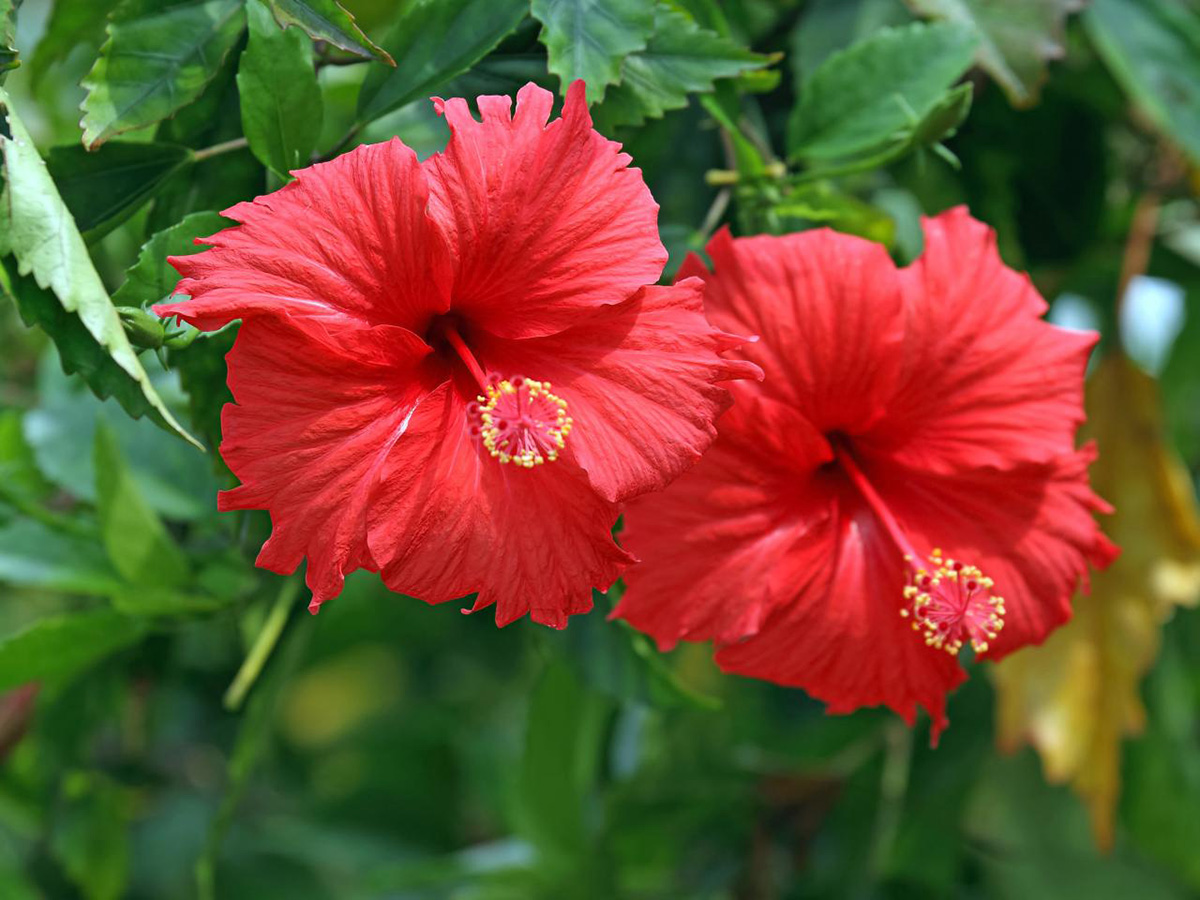
Before we dive into the details, let’s talk a bit about hibiscus plants. Hibiscus plants belong to the mallow family and are native to tropical and subtropical regions. They are widely appreciated for their large, showy flowers that come in a range of colors, including shades of red, pink, orange, yellow, and white. Different species of hibiscus have varying growth habits, and some even produce edible parts like calyxes and flowers.
Now, let’s get started on our journey to plant hibiscus seeds and watch them bloom into magnificent plants!
Key Takeaways:
- Planting hibiscus seeds requires gathering supplies, preparing soil, soaking seeds, and providing optimal growing conditions. With patience and care, you can enjoy the vibrant blooms in your garden.
- Caring for hibiscus plants involves regular maintenance, protecting from pests and diseases, and harvesting flowers and seeds. Embrace the joy of gardening and watch your hibiscus thrive!
Read more: How To Get Seeds From Hibiscus
Step 1: Gather Supplies
Before you begin planting hibiscus seeds, it’s important to gather all the necessary supplies. Having everything on hand will make the process smoother and more efficient. Here’s a list of the supplies you’ll need:
- Hibiscus seeds: Purchase high-quality hibiscus seeds from a reputable supplier. You can choose from a variety of species and colors based on your preferences.
- Potting soil: Use a well-draining potting soil that is rich in organic matter. Avoid heavy soils that may retain too much moisture and lead to root rot.
- Pots or containers: Select pots or containers with drainage holes to prevent waterlogging. Ensure they are large enough to accommodate the hibiscus seedlings as they grow.
- Plant labels: Use plant labels or markers to keep track of the different varieties of hibiscus seeds you’re planting.
- Watering can or spray bottle: Having a watering can or spray bottle will aid in watering the hibiscus seeds without causing disturbance.
- Plastic wrap or a transparent cover: Covering the pots or containers with plastic wrap or a transparent cover will create a humid environment ideal for germination.
- Warm location: Find a warm location in your home or greenhouse where the hibiscus seeds can receive sufficient sunlight and maintain a temperature between 70-85°F (21-29°C).
Once you have gathered all these supplies, you’re ready to move on to the next step: preparing the soil for planting the hibiscus seeds.
Step 2: Preparing the Soil
Preparing the soil is a crucial step in successfully planting hibiscus seeds. The right soil composition will provide the necessary nutrients and drainage for healthy seedling development. Follow these steps to prepare the soil:
- Select the right container: Choose a pot or container with drainage holes to prevent waterlogging. Ensure it is large enough to accommodate the growing hibiscus seedlings.
- Choose a well-draining potting soil: Hibiscus plants prefer well-draining soil that will prevent water from sitting around the roots. Use a high-quality potting soil that is specifically formulated for containers.
- Amend the soil: If your potting soil is not already enriched with organic matter, such as peat moss or compost, you can add it to improve the soil’s fertility and moisture retention capacity. Mix in the organic matter thoroughly.
- Add perlite or vermiculite: Consider adding perlite or vermiculite to the soil mix to improve drainage and aeration. This will prevent the soil from becoming compacted, ensuring healthy root growth.
- Moisten the soil: Before sowing the hibiscus seeds, moisten the soil slightly. Be careful not to overwater, as excessive moisture can lead to seed rot or fungal diseases.
Once you have prepared the soil, it’s time to move on to the next step: soaking the hibiscus seeds before planting.
Step 3: Soaking the Seeds
Soaking the hibiscus seeds before planting can help increase germination rates and speed up the germination process. Here’s how to soak the seeds:
- Fill a small container with warm water: Take a small container and fill it with warm water. The water should be at a temperature between 80-85°F (27-29°C).
- Place the hibiscus seeds in the water: Carefully place the hibiscus seeds into the container of warm water. Make sure all the seeds are fully submerged.
- Allow the seeds to soak: Let the seeds soak in the warm water for about 24 hours. This soaking period helps to soften the seed coat and promote germination.
- Check for seed viability: After 24 hours, remove a few seeds from the water and gently press them between your fingers. If they feel firm and have swelled slightly, they are likely viable and ready for planting.
Soaking the hibiscus seeds allows water to penetrate the hard outer seed coat, promoting quicker germination. Once the seeds have soaked for the appropriate time, it’s time to move on to the next step: sowing the seeds.
Step 4: Sowing the Seeds
Now that you have prepared the soil and soaked the hibiscus seeds, it’s time to sow them. Follow these steps to ensure proper sowing:
- Make furrows: Use your finger or a small stick to make shallow furrows in the soil. The furrows should be about a 1/4 inch (0.6 cm) deep.
- Space the seeds: Place the hibiscus seeds along the furrows, spacing them about 1 to 2 inches (2.5 to 5 cm) apart. Avoid overcrowding, as this can hinder healthy seedling growth.
- Cover the seeds: Gently cover the seeds with a thin layer of soil, about 1/8 inch (0.3 cm) thick. Press the soil down lightly to ensure good seed-to-soil contact.
- Mist the soil: Use a spray bottle to mist the soil surface with water. This helps settle the soil and provides adequate moisture for germination.
- Label the pots: Place plant labels or markers in the pots to indicate the variety of hibiscus seeds you’ve sown. This will help you keep track of the different plants as they grow.
- Cover the pots: Cover the pots or containers with plastic wrap or a transparent cover to create a mini greenhouse effect. This helps maintain humidity and create optimal conditions for germination.
After sowing the seeds, place the pots in a warm location where they can receive bright, indirect sunlight. Now, it’s time to move on to the next step: providing optimal growing conditions for the hibiscus seedlings.
Read more: How To Collect Hibiscus Seeds
Step 5: Providing Optimal Growing Conditions
To ensure the successful growth of your hibiscus seedlings, it’s important to provide them with optimal growing conditions. Here’s how to create an ideal environment for your young plants:
- Temperature and humidity: Maintain a warm temperature between 70-85°F (21-29°C) for the hibiscus seedlings. Additionally, strive for a humidity level of 70-80% to promote healthy growth.
- Light requirements: Position the pots in a bright location that receives indirect sunlight. Four to six hours of sunlight per day is ideal for hibiscus seedlings. If natural light is insufficient, consider using grow lights to supplement their needs.
- Air circulation: Good airflow is crucial for preventing fungal diseases and ensuring sturdy plant growth. Place the pots in an area with adequate ventilation, or use a fan to create gentle air movement around the seedlings.
- Remove the cover: After the seeds have germinated and the seedlings begin to emerge, remove the plastic wrap or transparent cover to allow for air circulation and reduce the risk of fungal diseases.
By providing these optimal growing conditions, you will give your hibiscus seedlings the best chance to thrive. As the seedlings grow, they will require additional care. Let’s move on to the next step: watering and fertilizing the hibiscus plants.
Make sure to plant hibiscus seeds in well-draining soil and keep them consistently moist. They need warm temperatures to germinate, so consider using a heat mat to help with germination.
Step 6: Watering and Fertilizing
Proper watering and fertilizing are crucial for the healthy growth and development of your hibiscus plants. Follow these guidelines to ensure they receive the right amount of water and nutrients:
- Watering: Hibiscus plants prefer consistently moist but not waterlogged soil. Water the seedlings when the top inch of soil feels dry to the touch. Avoid overwatering, as it can lead to root rot. Aim to keep the soil evenly moist throughout the growing season.
- Watering method: When watering, pour the water slowly and evenly onto the soil surface. Avoid wetting the leaves and flowers, as excess moisture can promote fungal diseases.
- Fertilizing: Feed the hibiscus seedlings with a balanced, water-soluble fertilizer that is specifically formulated for flowering plants. Follow the instructions on the fertilizer package for proper dilution and application rates.
- Fertilizing frequency: Initially, start fertilizing the seedlings about two weeks after germination. Then, continue to fertilize every two to four weeks throughout the growing season. As the plants mature, transition to a slow-release fertilizer for long-term nourishment.
- Fertilizer application: Apply the fertilizer to moist soil, just after watering, to prevent burning the roots. Avoid over-fertilizing, as it can cause nutrient imbalances and damage the plants.
By following these watering and fertilizing practices, you will provide your hibiscus seedlings with the necessary moisture and nutrients to thrive. As your hibiscus plants continue to grow, they will require further care. Let’s move on to the next step: transplanting the hibiscus seedlings.
Step 7: Transplanting Hibiscus Seedlings
Transplanting hibiscus seedlings is an important step in their growth journey. This step allows the seedlings to have more space to spread their roots and develop into robust plants. Follow these steps for successful transplanting:
- Choose the right time: Transplant the hibiscus seedlings when they have developed a few sets of true leaves and are approximately 4-6 inches (10-15 cm) tall. This is usually around 6-8 weeks after germination.
- Select a larger pot: Choose a pot that is at least 1-2 inches larger in diameter than the current pot. This will provide ample space for the roots to grow and prevent them from becoming crowded.
- Prepare the new pot: Fill the new pot with well-draining potting soil and create a small hole in the center to accommodate the hibiscus seedling.
- Remove the seedling: Carefully remove the hibiscus seedling from its current pot by gently squeezing the sides of the pot and carefully upturning it. Be cautious not to damage the delicate roots.
- Place the seedling in the new pot: Position the hibiscus seedling in the center of the new pot, ensuring that the stem is at the same soil level as it was in the previous pot. Gently backfill the soil around the seedling, pressing it down lightly to secure it in place.
- Water the transplanted seedling: After transplanting, give the hibiscus seedling a thorough watering to help settle the soil and ensure proper hydration of the roots.
- Provide appropriate care: Place the newly transplanted hibiscus seedling in a warm and well-lit location, continuing to provide adequate water and sunlight as outlined in the previous steps.
Transplant shock is common after moving seedlings, but with proper care and attention, your hibiscus seedlings will quickly adapt to their new pot and continue to flourish. As the plants grow, regular maintenance and care are essential. Let’s move on to the next step: regular maintenance and care for hibiscus plants.
Step 8: Regular Maintenance and Care
Maintaining and caring for your hibiscus plants on a regular basis is key to their overall health and long-term success. Here are some important tasks to include in your hibiscus care routine:
- Watering: Hibiscus plants require regular watering to keep the soil evenly moist. Water deeply, ensuring that the soil is sufficiently soaked, but avoid overwatering to prevent waterlogged conditions.
- Monitoring soil moisture: Check the moisture level of the soil regularly by inserting your finger about an inch (2.5 cm) into the soil. If it feels dry, it’s time to water the plants.
- Trimming and pruning: Regularly trim and prune your hibiscus plants to maintain their shape and encourage bushier growth. Remove any dead, damaged, or diseased branches to promote overall plant health.
- Deadheading spent flowers: Deadhead or remove faded and wilted flowers regularly to encourage continuous blooming. This will redirect the plant’s energy towards new flower production.
- Support for taller varieties: If you’re growing taller hibiscus varieties, providing support in the form of stakes or trellises can help prevent the plants from toppling over due to strong winds or heavy flower clusters.
- Monitor for pests: Keep an eye out for common pests such as aphids, spider mites, and whiteflies. If you notice any infestations, treat the plants with an appropriate insecticidal soap or organic pest control method.
- Protecting from extreme temperatures: Hibiscus plants are sensitive to extreme temperatures. During periods of hot weather, provide shade or move the pots to a cooler location. Similarly, during frost or cold temperatures, protect the plants by covering them or bringing them indoors.
- Regular fertilization: Hibiscus plants benefit from regular feeding. Apply a balanced, slow-release fertilizer according to the package instructions. This will ensure a steady release of nutrients for healthy growth and vibrant blooms.
By regularly maintaining and caring for your hibiscus plants, you will enjoy continuous blossoms and lush foliage. However, it’s important to be aware of potential pests and diseases that can affect your plants. Let’s move on to the next step: protecting hibiscus plants from pests and diseases.
Read more: How To Grow Hibiscus From Seed
Step 9: Protecting Hibiscus Plants from Pests and Diseases
To keep your hibiscus plants healthy and thriving, it is essential to protect them from common pests and diseases. Here are some steps you can take to safeguard your hibiscus plants:
- Monitor for pests: Regularly inspect your hibiscus plants for signs of pests, such as aphids, spider mites, mealybugs, or whiteflies. Look for sticky residue, distorted leaves, or visible insects on the plant. Early detection allows for prompt action.
- Natural pest control methods: Initially, try to control pests using organic methods. For instance, you can use a strong blast of water or insecticidal soap to wash away or suffocate pests. Introducing beneficial insects, like ladybugs or lacewings, can also help control pest populations.
- Chemical treatments: If the pest infestation persists or becomes severe, consider using chemical treatments as a last resort. Choose insecticides specific to the pests affecting your hibiscus plants and apply them according to the instructions on the packaging. Always follow safety precautions when using chemical solutions.
- Prevent fungal diseases: Fungal diseases, such as powdery mildew and leaf spot, can affect hibiscus plants. Prevent these diseases by promoting good air circulation around the plants, avoiding overhead watering that can create damp conditions, and applying a fungicide when necessary.
- Clean pruning tools: When pruning your hibiscus plants, ensure your pruning tools are clean and sanitized. This prevents the transmission of diseases from infected plants to healthy ones.
- Remove and dispose of diseased materials: If you notice any signs of disease on your hibiscus plants, promptly remove and dispose of the affected leaves or plants. This helps to contain the spread of the disease and protects neighboring plants.
- Practice proper watering: Avoid overwatering your hibiscus plants, as excessive moisture can create a conducive environment for fungal diseases. Water at the base of the plant and try to keep the foliage dry.
- Provide adequate sunlight: Hibiscus plants thrive in bright sunlight. Proper sun exposure enhances their natural resilience to pests and diseases. Ensure your plants receive the recommended amount of sunlight for optimal growth.
By implementing these protective measures, you can maintain healthy hibiscus plants that are less susceptible to pests and diseases. Finally, let’s move on to the last step: harvesting hibiscus flowers and seeds.
Step 10: Harvesting Hibiscus Flowers and Seeds
Harvesting hibiscus flowers and seeds allows you to enjoy the beauty of the blooms and collect seeds for future planting. Follow these steps to properly harvest hibiscus flowers and seeds:
- Choose the right time: Harvest hibiscus flowers when they are fully open and at their peak. The petals should be vibrant and unwilted.
- Harvesting flowers: Using clean and sharp pruning shears or scissors, cut the hibiscus flower stem just above the branch where it is attached. This will encourage further blooming and prevent damage to the plant.
- Preserving flowers: To preserve the harvested hibiscus flowers, you can place them in a vase with fresh water. They will typically last for a few days. Alternatively, you can dry the flowers by hanging them upside down in a cool, well-ventilated area.
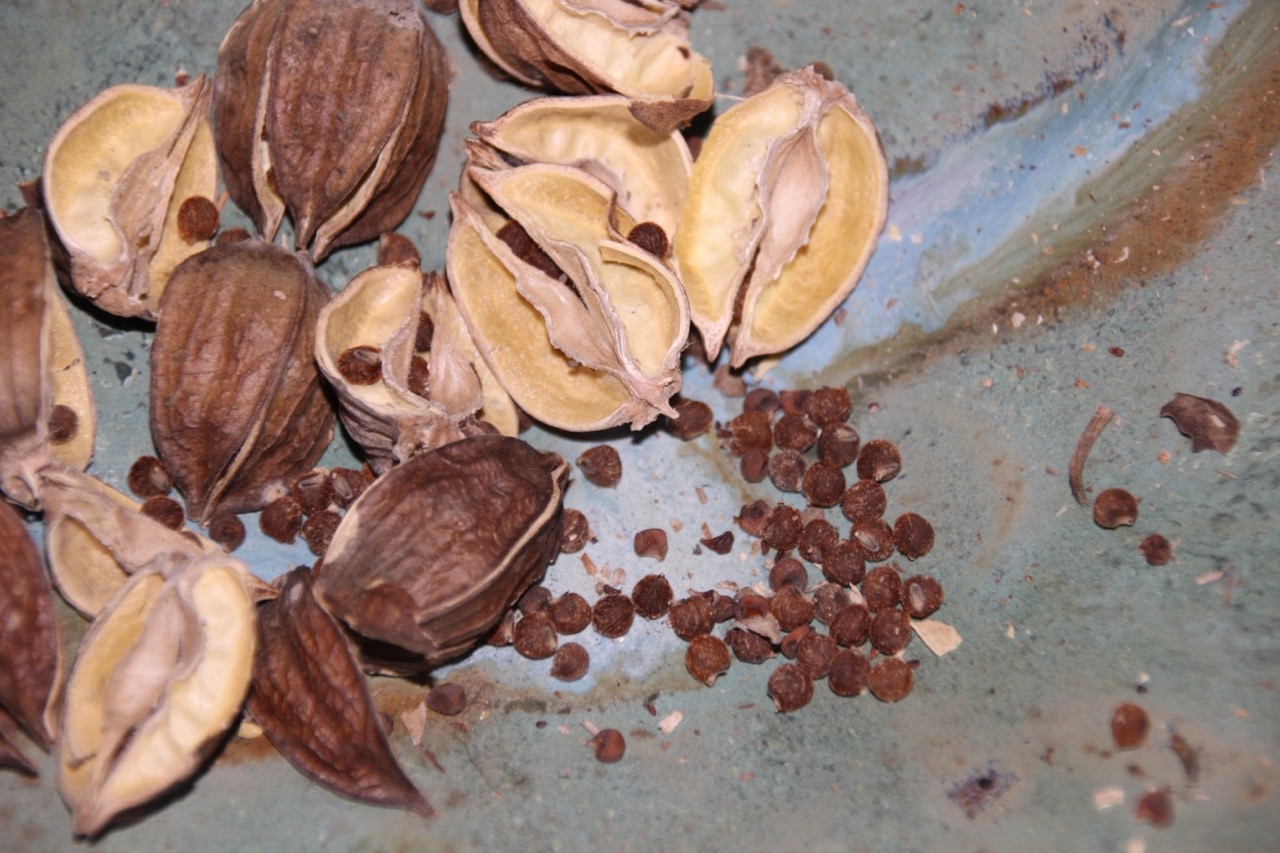
- Collecting seeds: Allow the hibiscus flowers to remain on the plant until they wilt and drop their petals. This will indicate that the seed pod has formed and is ready for collection.
- Inspecting seed pods: Check the seed pods for maturity by gently squeezing them. Mature seed pods are hard, dry, and brown in color. Immature pods may still be green or soft.
- Harvesting seed pods: Use clean and sharp pruning shears or scissors to remove the seed pods from the plant. Place them in a dry, well-ventilated area to continue drying.
- Drying seed pods: Allow the seed pods to dry for about two weeks or until they are fully dry and brittle. This is important to ensure the seeds are properly formed and will have a higher chance of germination.
- Extracting the seeds: Once the seed pods are completely dry, gently break them open to release the hibiscus seeds. Collect the seeds and store them in a cool, dry place in labeled envelopes or airtight containers.
By following these steps, you can enjoy the beauty of hibiscus flowers and collect seeds for future planting. Whether you choose to grow new hibiscus plants from seeds or keep them as a memento, the joy of harvesting adds an extra level of satisfaction to your gardening experience.
Congratulations! You have successfully completed all the steps to plant, care for, and harvest hibiscus flowers and seeds. Now it’s time to sit back, relax, and enjoy the vibrant blooms of your hibiscus plants. Happy gardening!
Conclusion
Congratulations on completing our comprehensive guide on how to plant hibiscus seeds! By following the steps outlined in this article, you have learned how to successfully grow hibiscus plants from seeds, care for them, and even harvest their beautiful flowers and seeds. As you apply your newfound knowledge and put it into practice, you’ll be rewarded with the beauty and vibrancy of these tropical plants in your garden.
From gathering the necessary supplies and preparing the soil to sowing the seeds, providing optimal growing conditions, and performing regular maintenance, you have gained valuable insights into the intricate process of nurturing hibiscus plants. You’ve learned how to water and fertilize them, protect them from pests and diseases, and even how to harvest their gorgeous flowers and collect seeds for future propagation.
Remember, patience is key when it comes to growing hibiscus plants. It may take some time for the seeds to germinate and the seedlings to mature into full-grown plants. But with consistent care and attention, you will be rewarded with stunning blooms and lush foliage.
We hope that this guide has empowered you with the knowledge and confidence to embark on your hibiscus growing journey. Whether you’re a beginner gardener or have some experience, hibiscus plants are a wonderful addition to any garden, adding grace and color to your outdoor space.
Now, armed with your horticultural knowledge, gather your supplies, get your hands dirty, and experience the joy of watching as your hibiscus plants thrive and flourish. Happy gardening!
Frequently Asked Questions about How To Plant Hibiscus Seeds
Was this page helpful?
At Storables.com, we guarantee accurate and reliable information. Our content, validated by Expert Board Contributors, is crafted following stringent Editorial Policies. We're committed to providing you with well-researched, expert-backed insights for all your informational needs.


0 thoughts on “How To Plant Hibiscus Seeds”