Home>Garden Essentials>How To Collect Hibiscus Seeds
Garden Essentials
How To Collect Hibiscus Seeds
Modified: August 25, 2024
Learn how to collect hibiscus seeds in your garden and save them for future planting. Discover the step-by-step process for a successful seed collection.
(Many of the links in this article redirect to a specific reviewed product. Your purchase of these products through affiliate links helps to generate commission for Storables.com, at no extra cost. Learn more)
Introduction
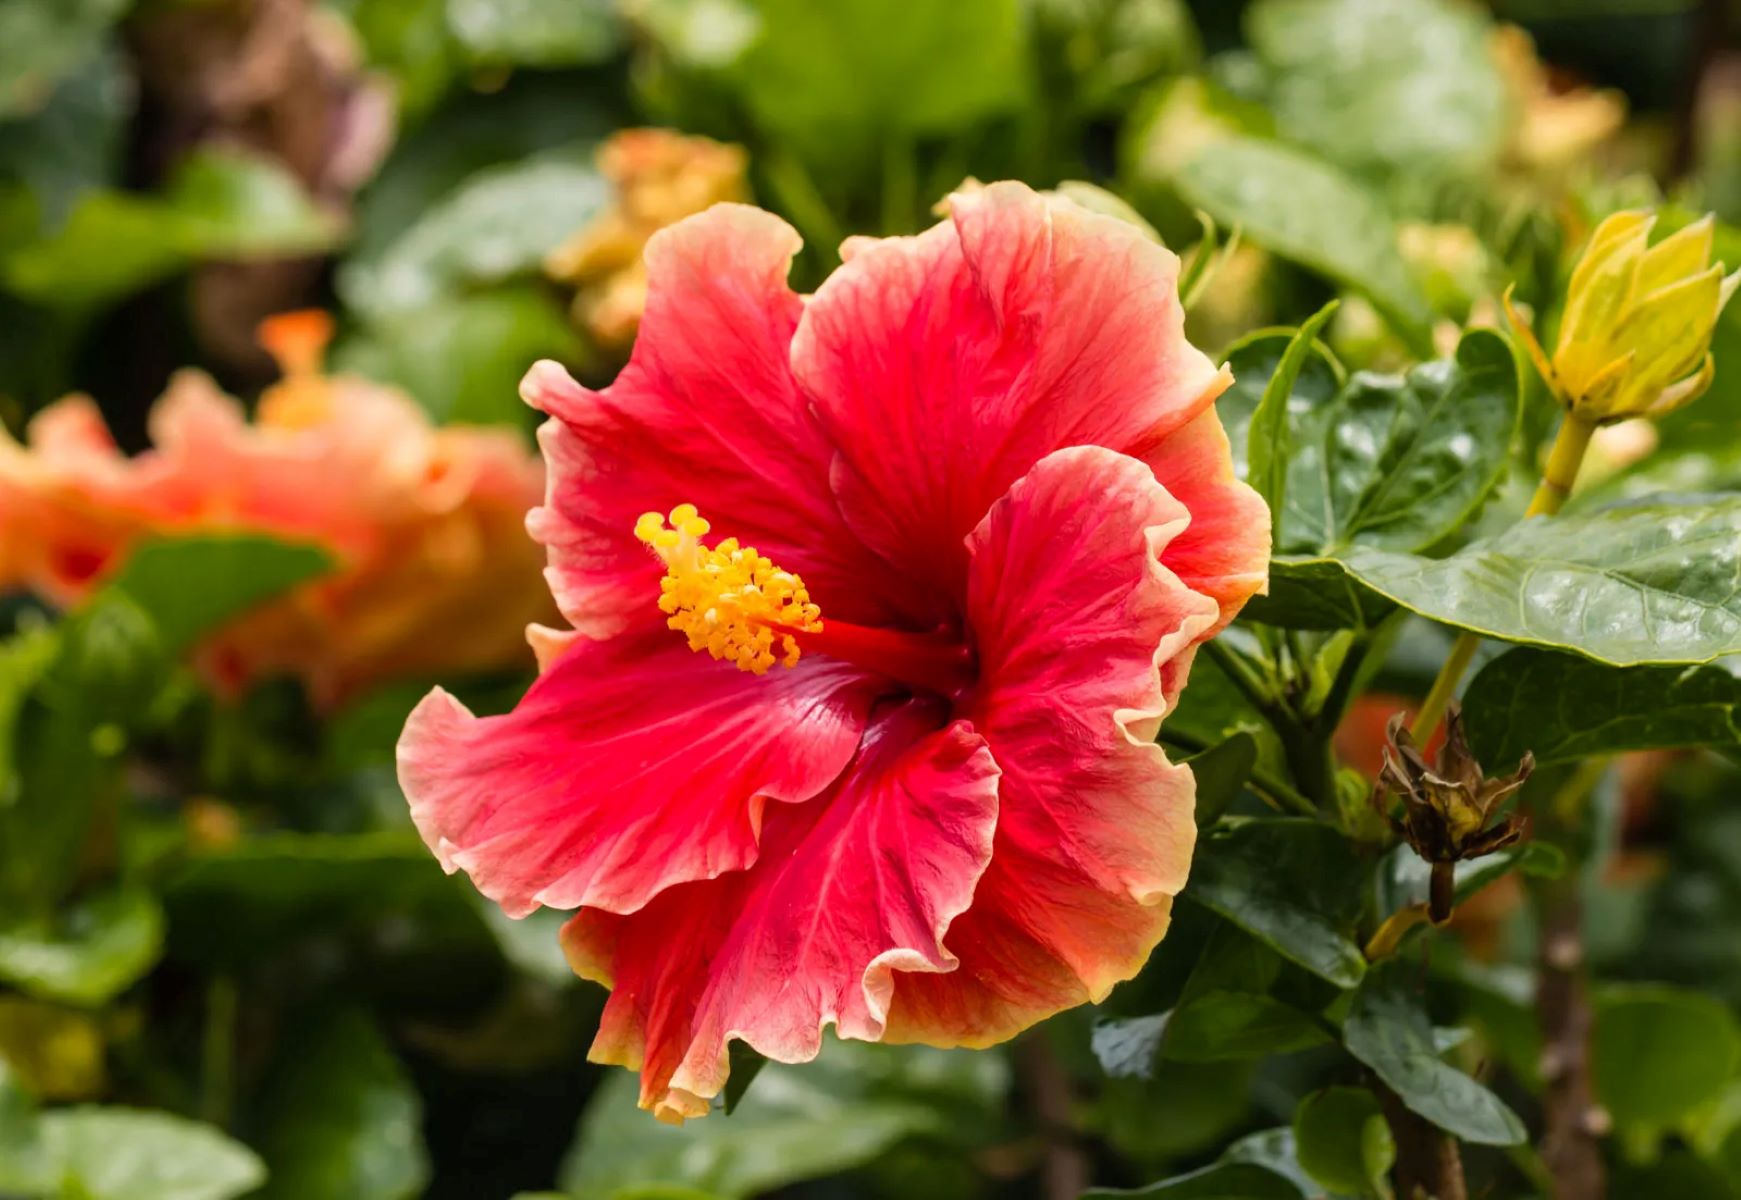
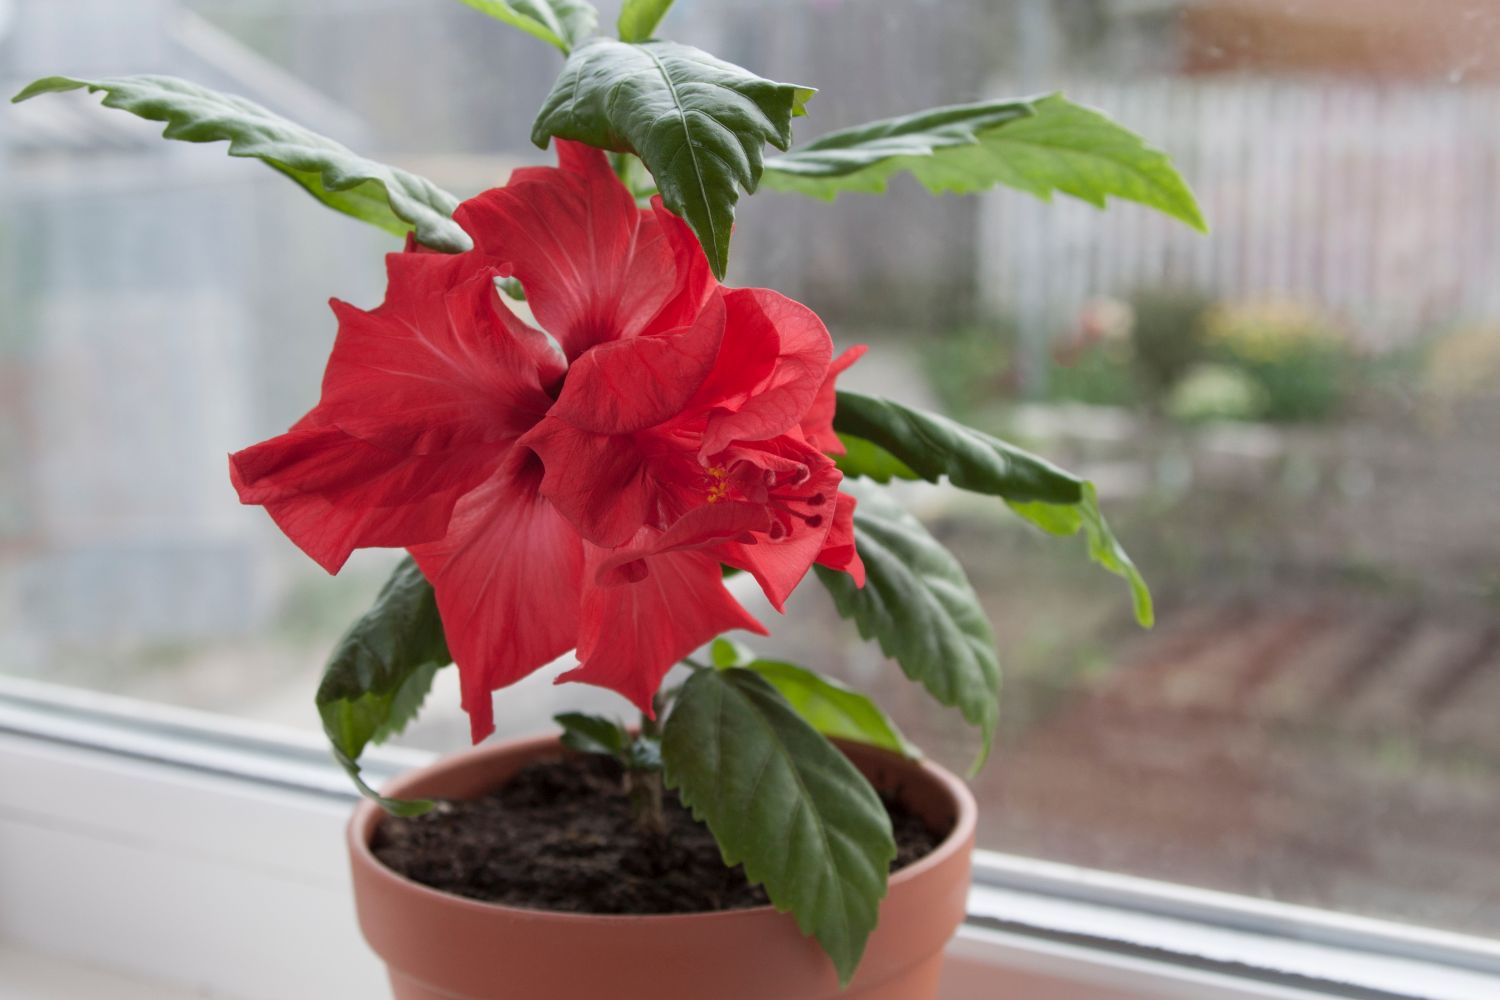
Welcome to the wonderful world of hibiscus gardening! If you are a fan of vibrant, tropical flowers, then growing hibiscus plants and collecting their seeds can be a rewarding and exciting endeavor. Hibiscus seeds come in a variety of colors, shapes, and sizes, and each one has the potential to produce a unique and stunning plant.
In this article, we will guide you through the process of collecting hibiscus seeds so that you can expand your garden or share them with fellow gardening enthusiasts. We’ll cover everything from gathering the necessary supplies to properly storing the seeds for future use.
Before we dive in, it’s important to note that not all hibiscus varieties produce viable seeds. Some hybrids are sterile and unable to produce offspring from their seeds. However, many heirloom and non-hybrid hibiscus varieties do produce viable seeds, allowing you to collect and grow new plants. So, let’s get started!
Key Takeaways:
- Hibiscus seeds come in various colors and shapes, and collecting them can be a fun and rewarding activity for gardeners. Remember to gather the necessary supplies and identify ripe seed pods for successful collection.
- Properly preparing and storing hibiscus seeds is crucial for successful germination. By following the right steps, you can preserve the viability of the seeds and enjoy growing beautiful hibiscus plants in your garden.
Read more: How To Get Seeds From Hibiscus
Gathering the Supplies
Before you venture out to collect hibiscus seeds, it’s essential to gather all the necessary supplies. Here’s a list of items you’ll need:
- Gloves: Protect your hands while handling the seed pods, as some hibiscus varieties have prickly seed coverings.
- Pruning shears or scissors: Use these to harvest seed pods without damaging the plant.
- Paper bags or envelopes: These will serve as containers to hold the seed pods and prevent them from getting lost or damaged.
- Marker or label: Use this to write down the hibiscus variety or any other relevant information for future reference.
- Small sieve or strainer: This will help remove unwanted debris from the harvested seeds.
- Seedling trays or pots: Once the seeds are prepared for planting, you’ll need containers to start the germination process.
- Quality potting soil: Ensure you have a suitable medium to provide the necessary nutrients for the growing seeds.
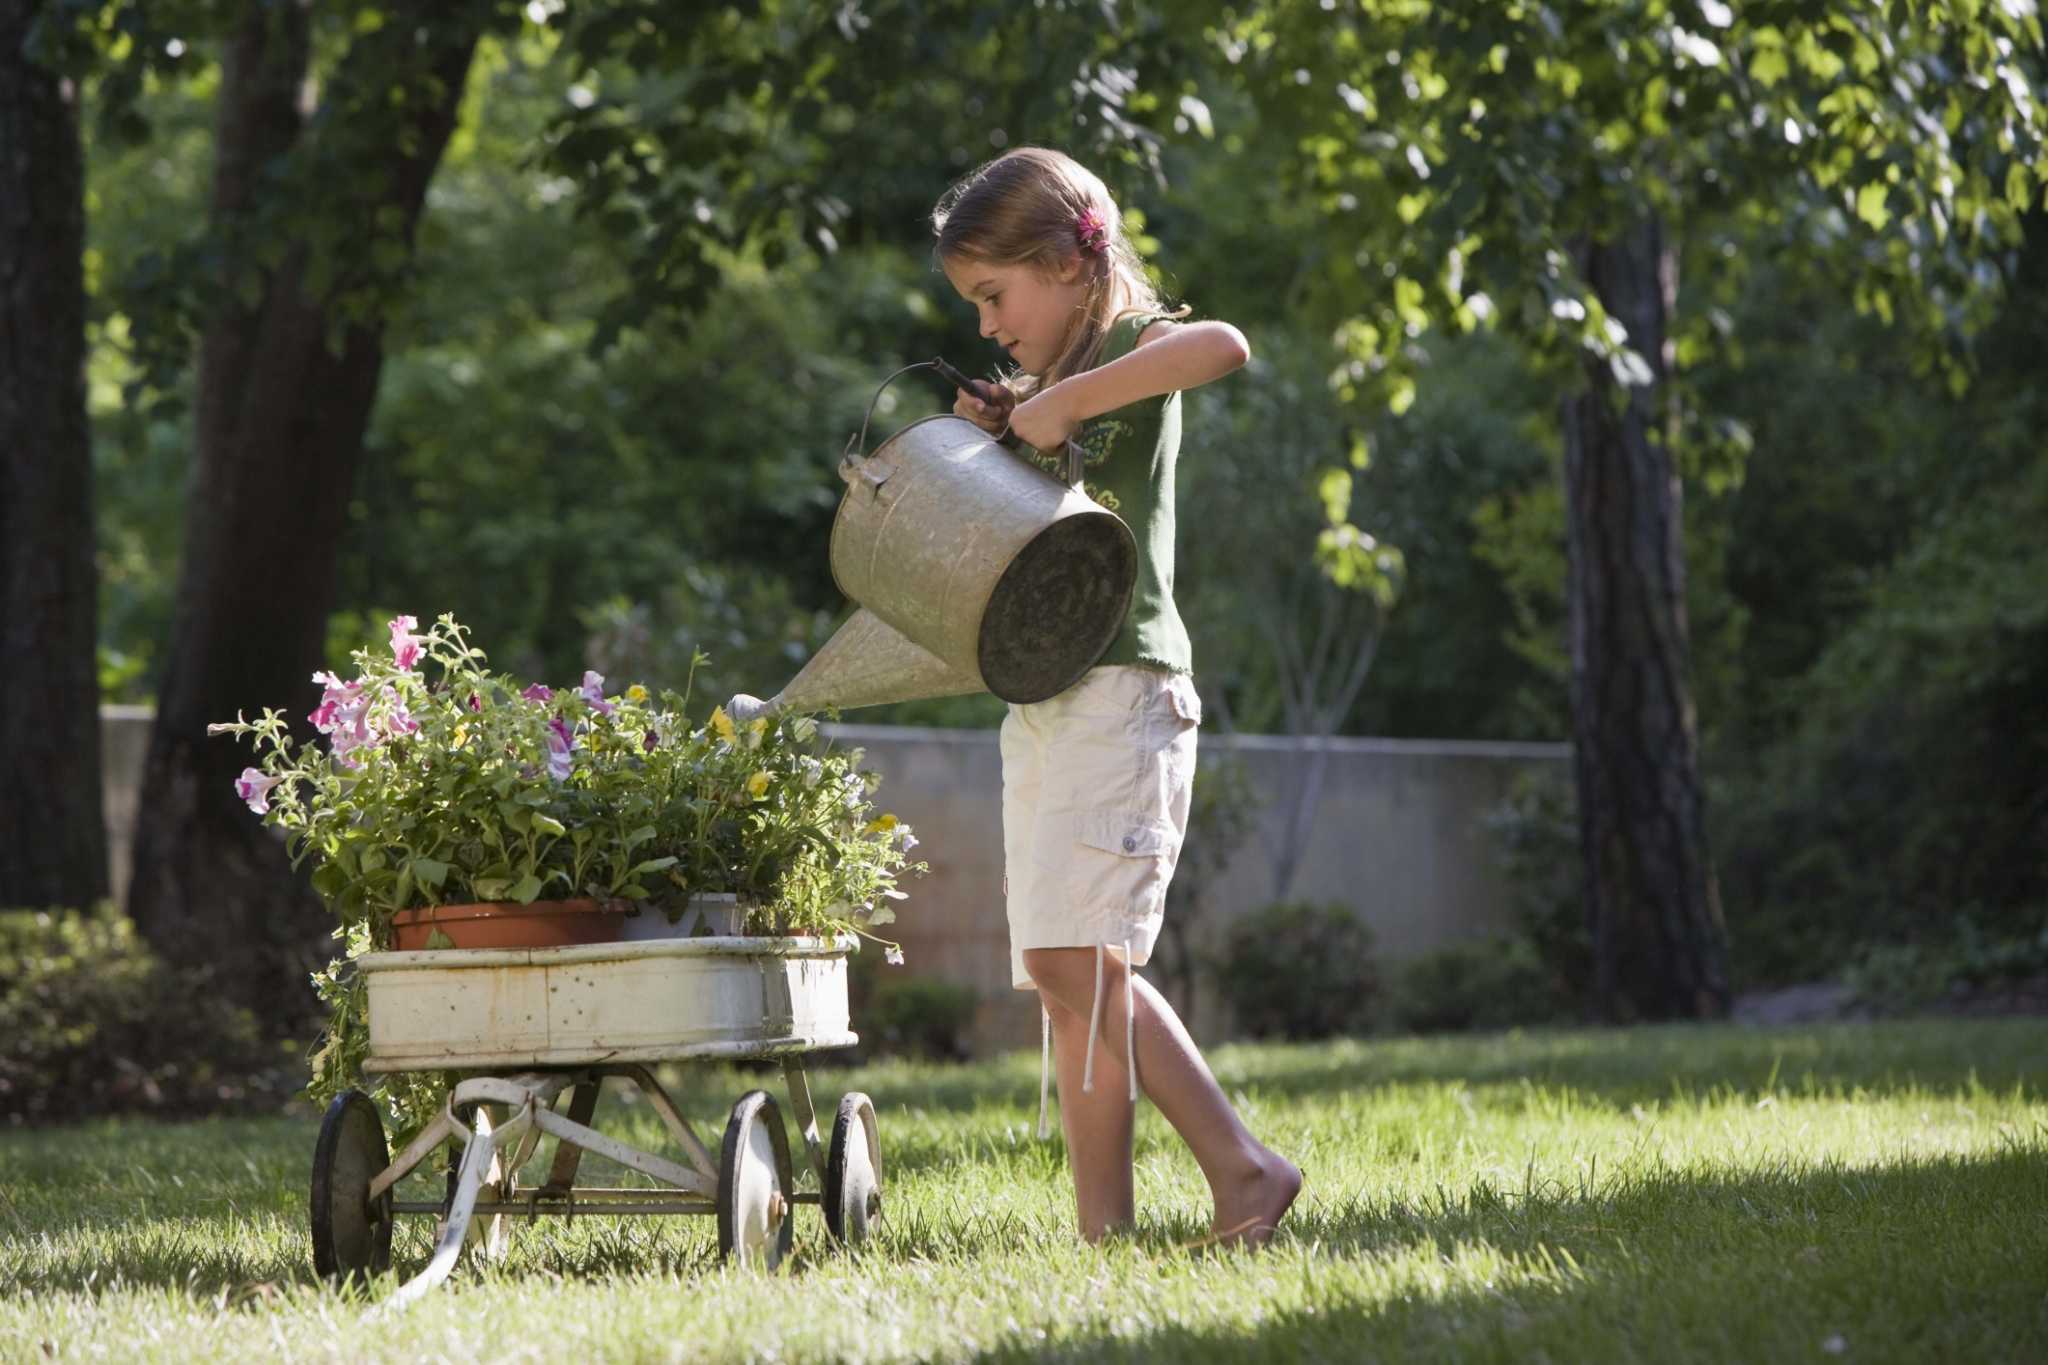
- Watering can or spray bottle: Use this to keep the soil moist during the germination period.
By gathering these supplies in advance, you’ll be fully equipped to collect and later plant the hibiscus seeds successfully.
Identifying the Ripe Seed Pods
Once you have your supplies ready, the next step is to identify the ripe seed pods from your hibiscus plants. Harvesting seeds from fully matured pods will greatly increase the chances of successful germination.
Here are some signs to look for when identifying ripe seed pods:
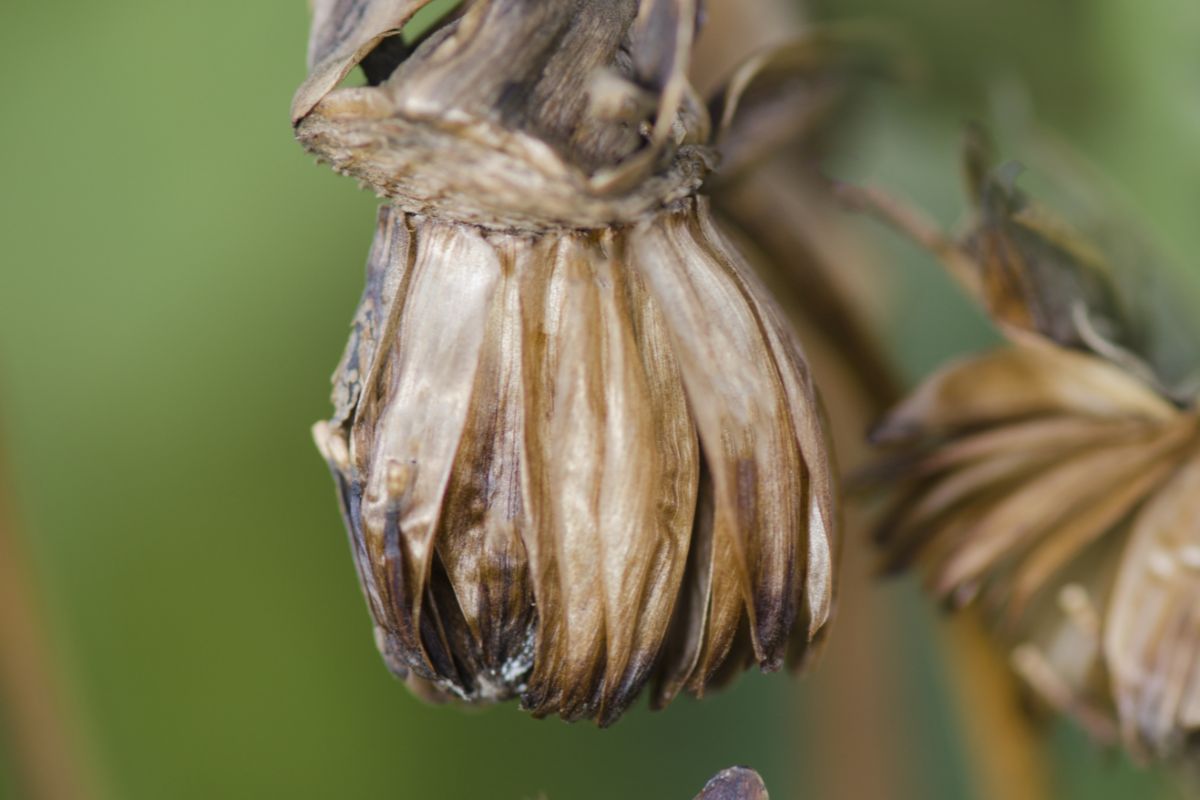
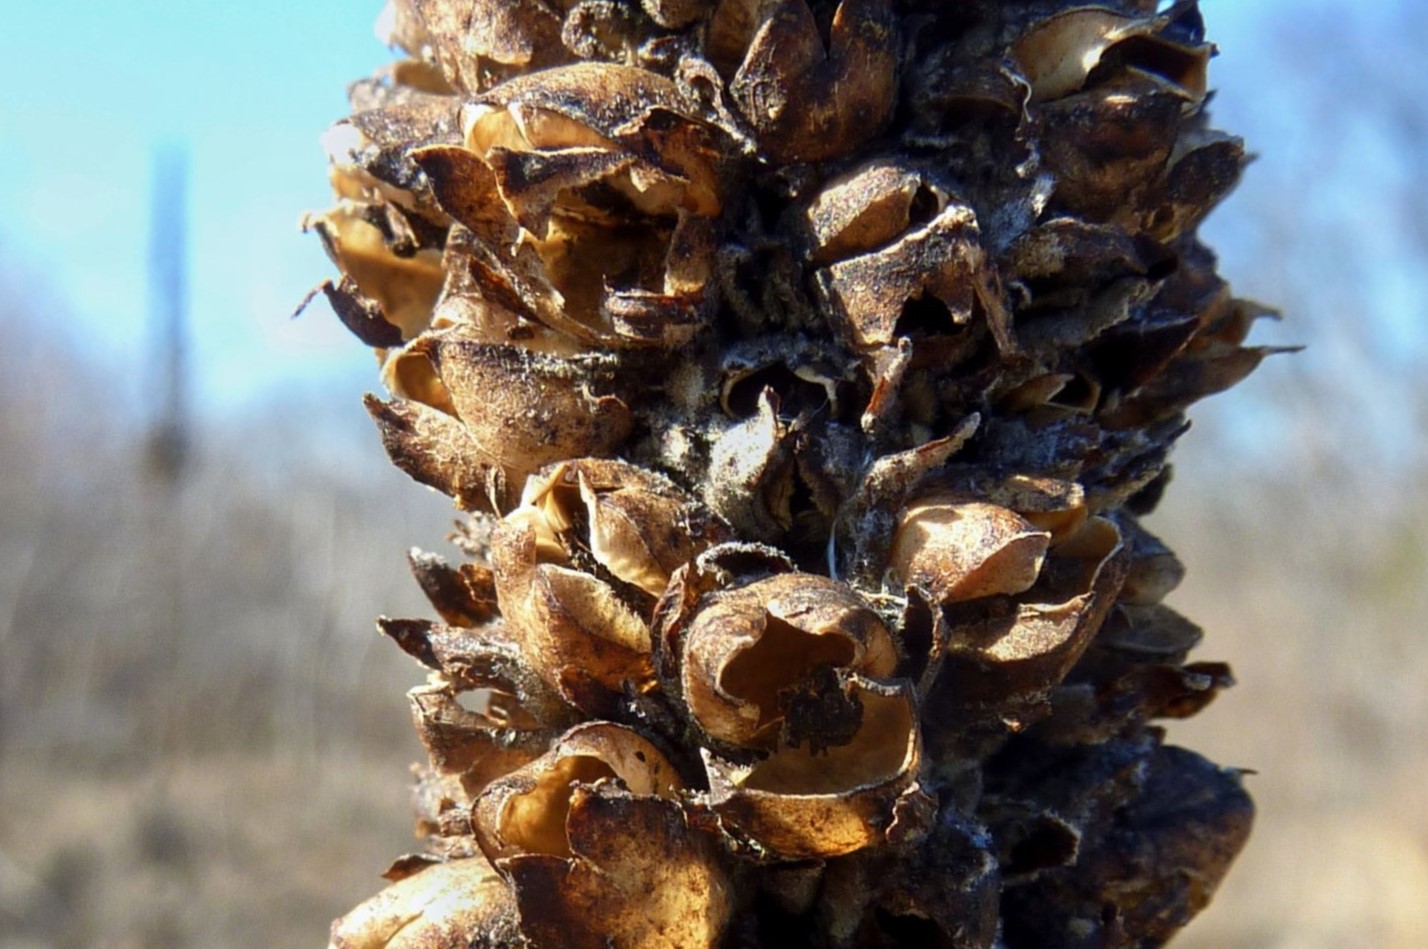
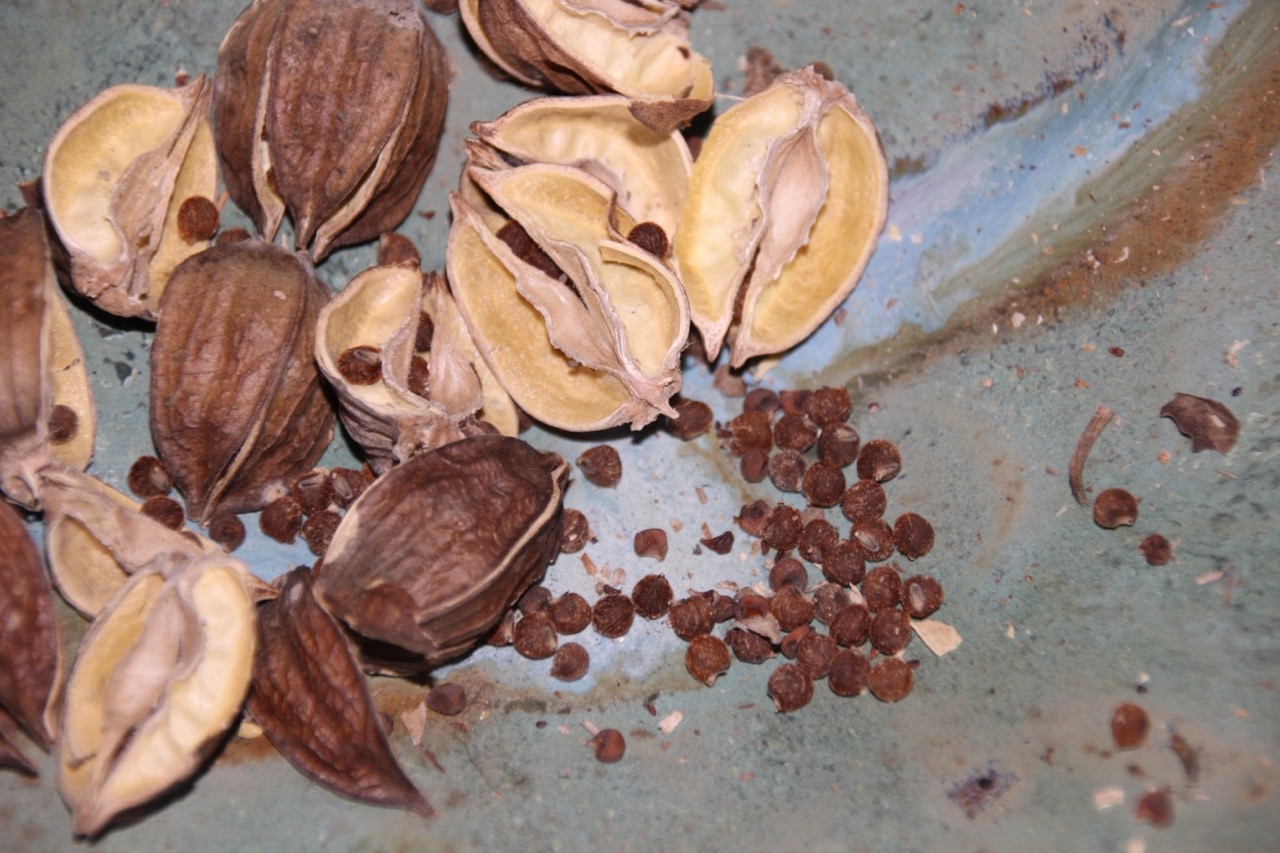
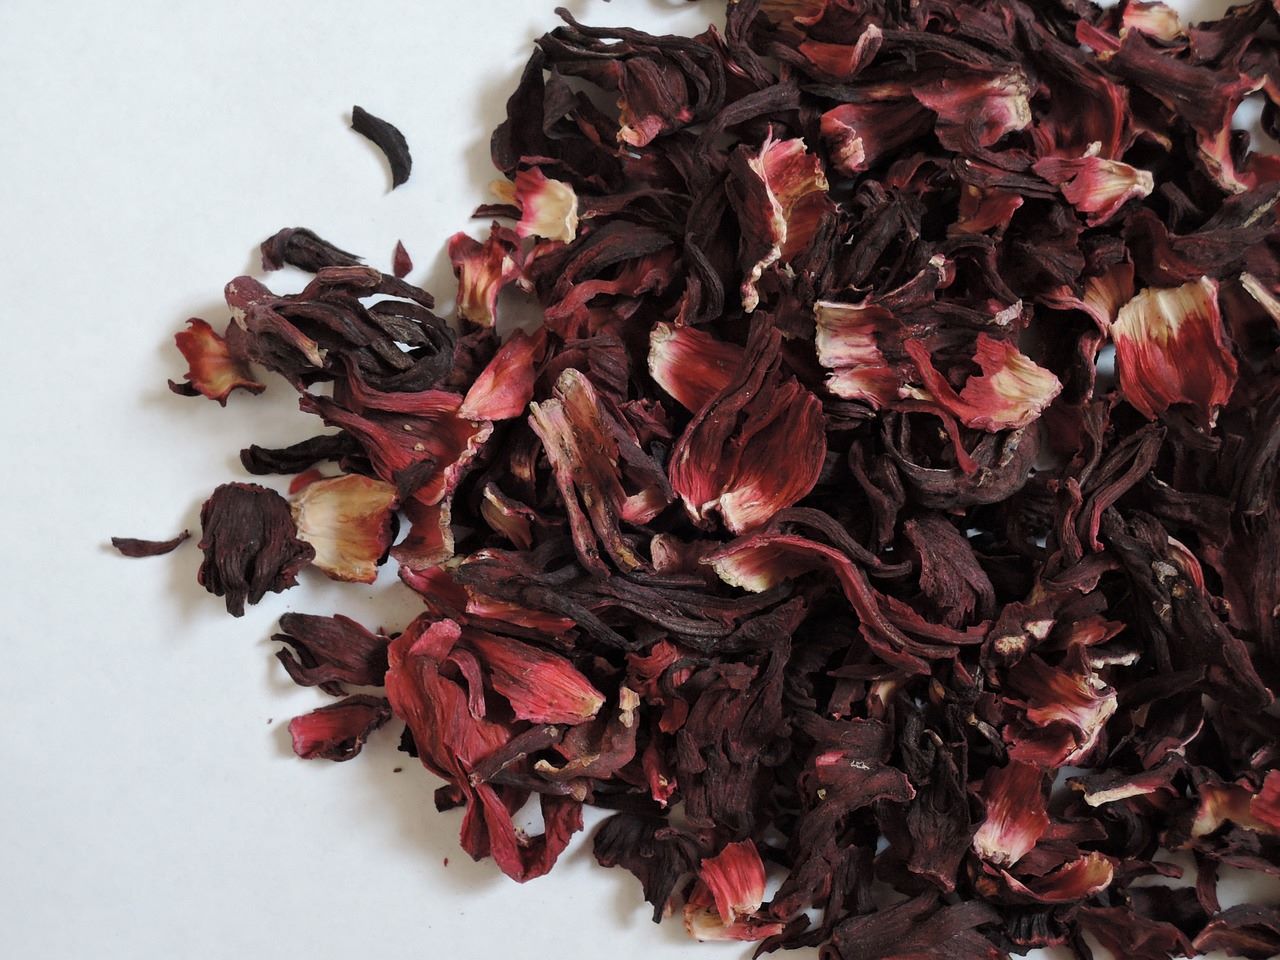
- Color: Ripe seed pods are often a dark brown or black color. They may also appear dry and brittle. Avoid collecting green or immature seed pods, as the seeds inside may not be fully developed.
- Size and shape: Most hibiscus seed pods are about the size of a golf ball and have a hard, woody texture. They may have a round or elongated shape depending on the hibiscus variety.
- Pod opening: Depending on the hibiscus variety, the pod may split open when fully ripe, revealing the seeds inside. Look for pods with visible openings.
- Seed rattling: Give the pod a gentle shake. If you hear a rattling sound, it’s a good indicator that the seeds are mature and ready for harvesting.
Remember, not all seed pods on your hibiscus plant will be ripe at the same time. It’s important to inspect each pod individually and harvest only the ones that meet the criteria mentioned above.
Once you have identified the ripe seed pods, it’s time to move on to the next step: harvesting the hibiscus seeds!
Harvesting the Hibiscus Seeds
Now that you have identified the ripe seed pods, it’s time to harvest the hibiscus seeds. Follow these steps to ensure a successful collection:
- Put on your gloves to protect your hands from any prickly seed coverings.
- Using pruning shears or scissors, carefully cut the ripe seed pods from the hibiscus plant, making sure to leave a short stem attached to the pod.
- Place the harvested seed pods into a paper bag or envelope. This will prevent the seeds from being lost or scattered during the process.
- Label the bag or envelope with the hibiscus variety or any other relevant information. This will help you identify the seeds later on.
- Continue harvesting the ripe seed pods from your hibiscus plants, repeating steps 2-4 until you have collected all the desired seeds.
It’s important to note that hibiscus seeds are small and may be encased in a protective covering. Some varieties have prickly seed coverings or hairs that can cause skin irritation, which is why wearing gloves is recommended during the harvesting process.
Once you have harvested all the seed pods, carefully remove them from the bag or envelope and proceed to the next step: preparing the seeds for planting.
After the hibiscus flower has wilted, wait for the seed pod to dry and turn brown. Then, carefully collect the seeds and store them in a cool, dry place until you are ready to plant them.
Preparing the Seeds for Planting
After harvesting the hibiscus seeds, it’s important to prepare them before planting to maximize their chances of germination. Follow these steps to properly prepare the seeds:
- Remove the seed pods from the paper bag or envelope.
- Inspect each seed pod and gently break it open to reveal the seeds inside. Be careful not to damage the seeds during this process.
- Once the seeds are exposed, check for any signs of mold or damage. Discard any seeds that appear discolored, shriveled, or have visible signs of decay. Only healthy seeds have a higher chance of successful germination.
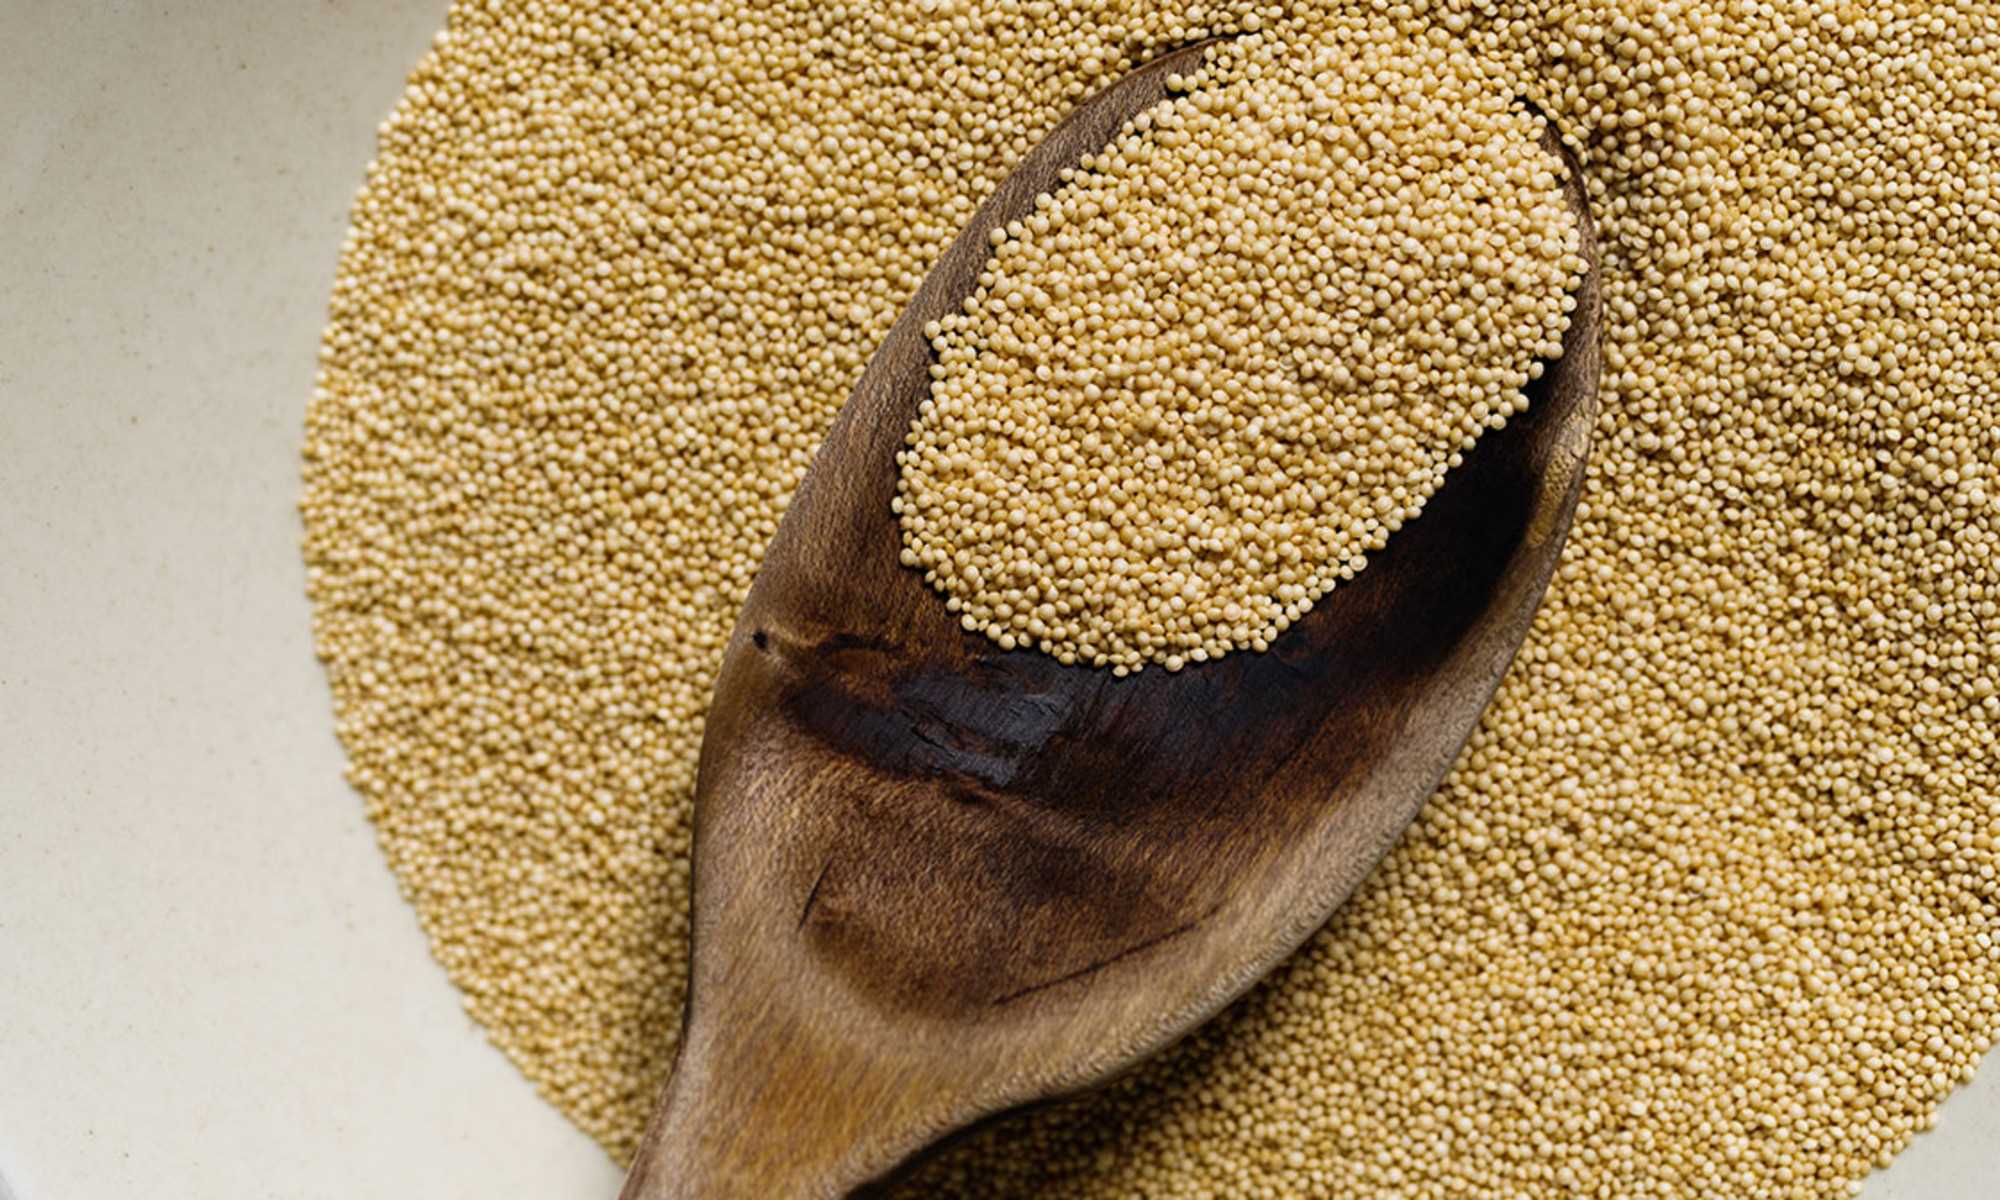
- Use a small sieve or strainer to separate the seeds from any debris or remaining seed pod fragments. This will help ensure that you have clean, viable seeds.
- If desired, you can soak the seeds in water for 24 hours before planting. This can help speed up the germination process.
Once the seeds are prepared, it’s time to move on to the next step: storing them properly for future use.
Note: It’s important to understand that not all hibiscus seeds will germinate, as germination rates can vary depending on factors such as seed age and quality. However, by properly preparing and storing the seeds, you can increase the chances of successful germination and grow beautiful hibiscus plants.
Read more: How To Plant Hibiscus Seeds
Storing the Seeds Properly
Once you have prepared the hibiscus seeds for planting, it’s crucial to store them properly to maintain their viability. Follow these guidelines to ensure the longevity of your hibiscus seeds:
- Place the cleaned and prepared seeds in a dry and cool environment. Excessive moisture and heat can damage the seeds.
- Choose a suitable storage container, such as a glass jar or airtight plastic bag. Make sure the container is clean and free from any contaminants.
- Add a desiccant packet or moisture-absorbing material, such as silica gel or rice, to the container. This helps to remove any excess moisture that may be present.
- Label the container with the hibiscus variety and the date of collection. This information will help you keep track of the seed’s age.
- Store the seed container in a dark and cool place, such as a pantry or refrigerator. Avoid exposing the seeds to direct sunlight or extreme temperature fluctuations.
By following these storage guidelines, you can preserve the viability of your hibiscus seeds for an extended period. It’s essential to periodically check on the seeds and inspect them for any signs of moisture or mold. If you notice any issues, remove the affected seeds to prevent further damage.
When you’re ready to plant the stored hibiscus seeds, make sure to follow the specific germination instructions for the particular hibiscus variety you are growing. Each variety may have unique requirements, including stratification or scarification techniques to enhance germination rates.
By properly storing your hibiscus seeds, you can have a constant supply of seeds for future plantings or share them with other gardening enthusiasts.
Conclusion
Congratulations! You have learned how to collect hibiscus seeds and take the first steps towards expanding your garden with these beautiful tropical plants. By following the steps outlined in this article, you can gather ripe seed pods, prepare the seeds for planting, and store them properly for future use.
Remember, not all hibiscus varieties produce viable seeds, so it’s essential to choose heirloom or non-hybrid varieties if you want to collect seeds. Additionally, maintaining proper storage conditions, such as a cool and dry environment, will help preserve the viability of your hibiscus seeds.
Whether you’re a passionate gardener looking to propagate hibiscus plants or simply want to share the joy of growing these stunning flowers with others, collecting hibiscus seeds is a rewarding and enjoyable process.
Now, armed with your newfound knowledge, go out and explore the world of hibiscus gardening. Experiment with different varieties, share seeds with fellow gardeners, and watch as your hibiscus plants bloom and bring vibrant colors to your outdoor space.
Happy gardening and may your hibiscus seeds bring you an abundance of joy and beauty!
Frequently Asked Questions about How To Collect Hibiscus Seeds
Was this page helpful?
At Storables.com, we guarantee accurate and reliable information. Our content, validated by Expert Board Contributors, is crafted following stringent Editorial Policies. We're committed to providing you with well-researched, expert-backed insights for all your informational needs.


0 thoughts on “How To Collect Hibiscus Seeds”