Home>Garden Essentials>How To Get Seeds From Hibiscus
Garden Essentials
How To Get Seeds From Hibiscus
Modified: March 16, 2024
Learn how to get seeds from hibiscus plants in your garden with our comprehensive guide. Discover expert tips and step-by-step instructions to ensure successful seed collection.
(Many of the links in this article redirect to a specific reviewed product. Your purchase of these products through affiliate links helps to generate commission for Storables.com, at no extra cost. Learn more)
Introduction
Welcome to the wonderful world of hibiscus gardening! If you’re passionate about the beauty and fragrance of these stunning flowers, then you might be interested in learning how to collect and save hibiscus seeds. By doing so, you can grow your own hibiscus plants, share them with friends, or even sell the seeds to fellow gardening enthusiasts.
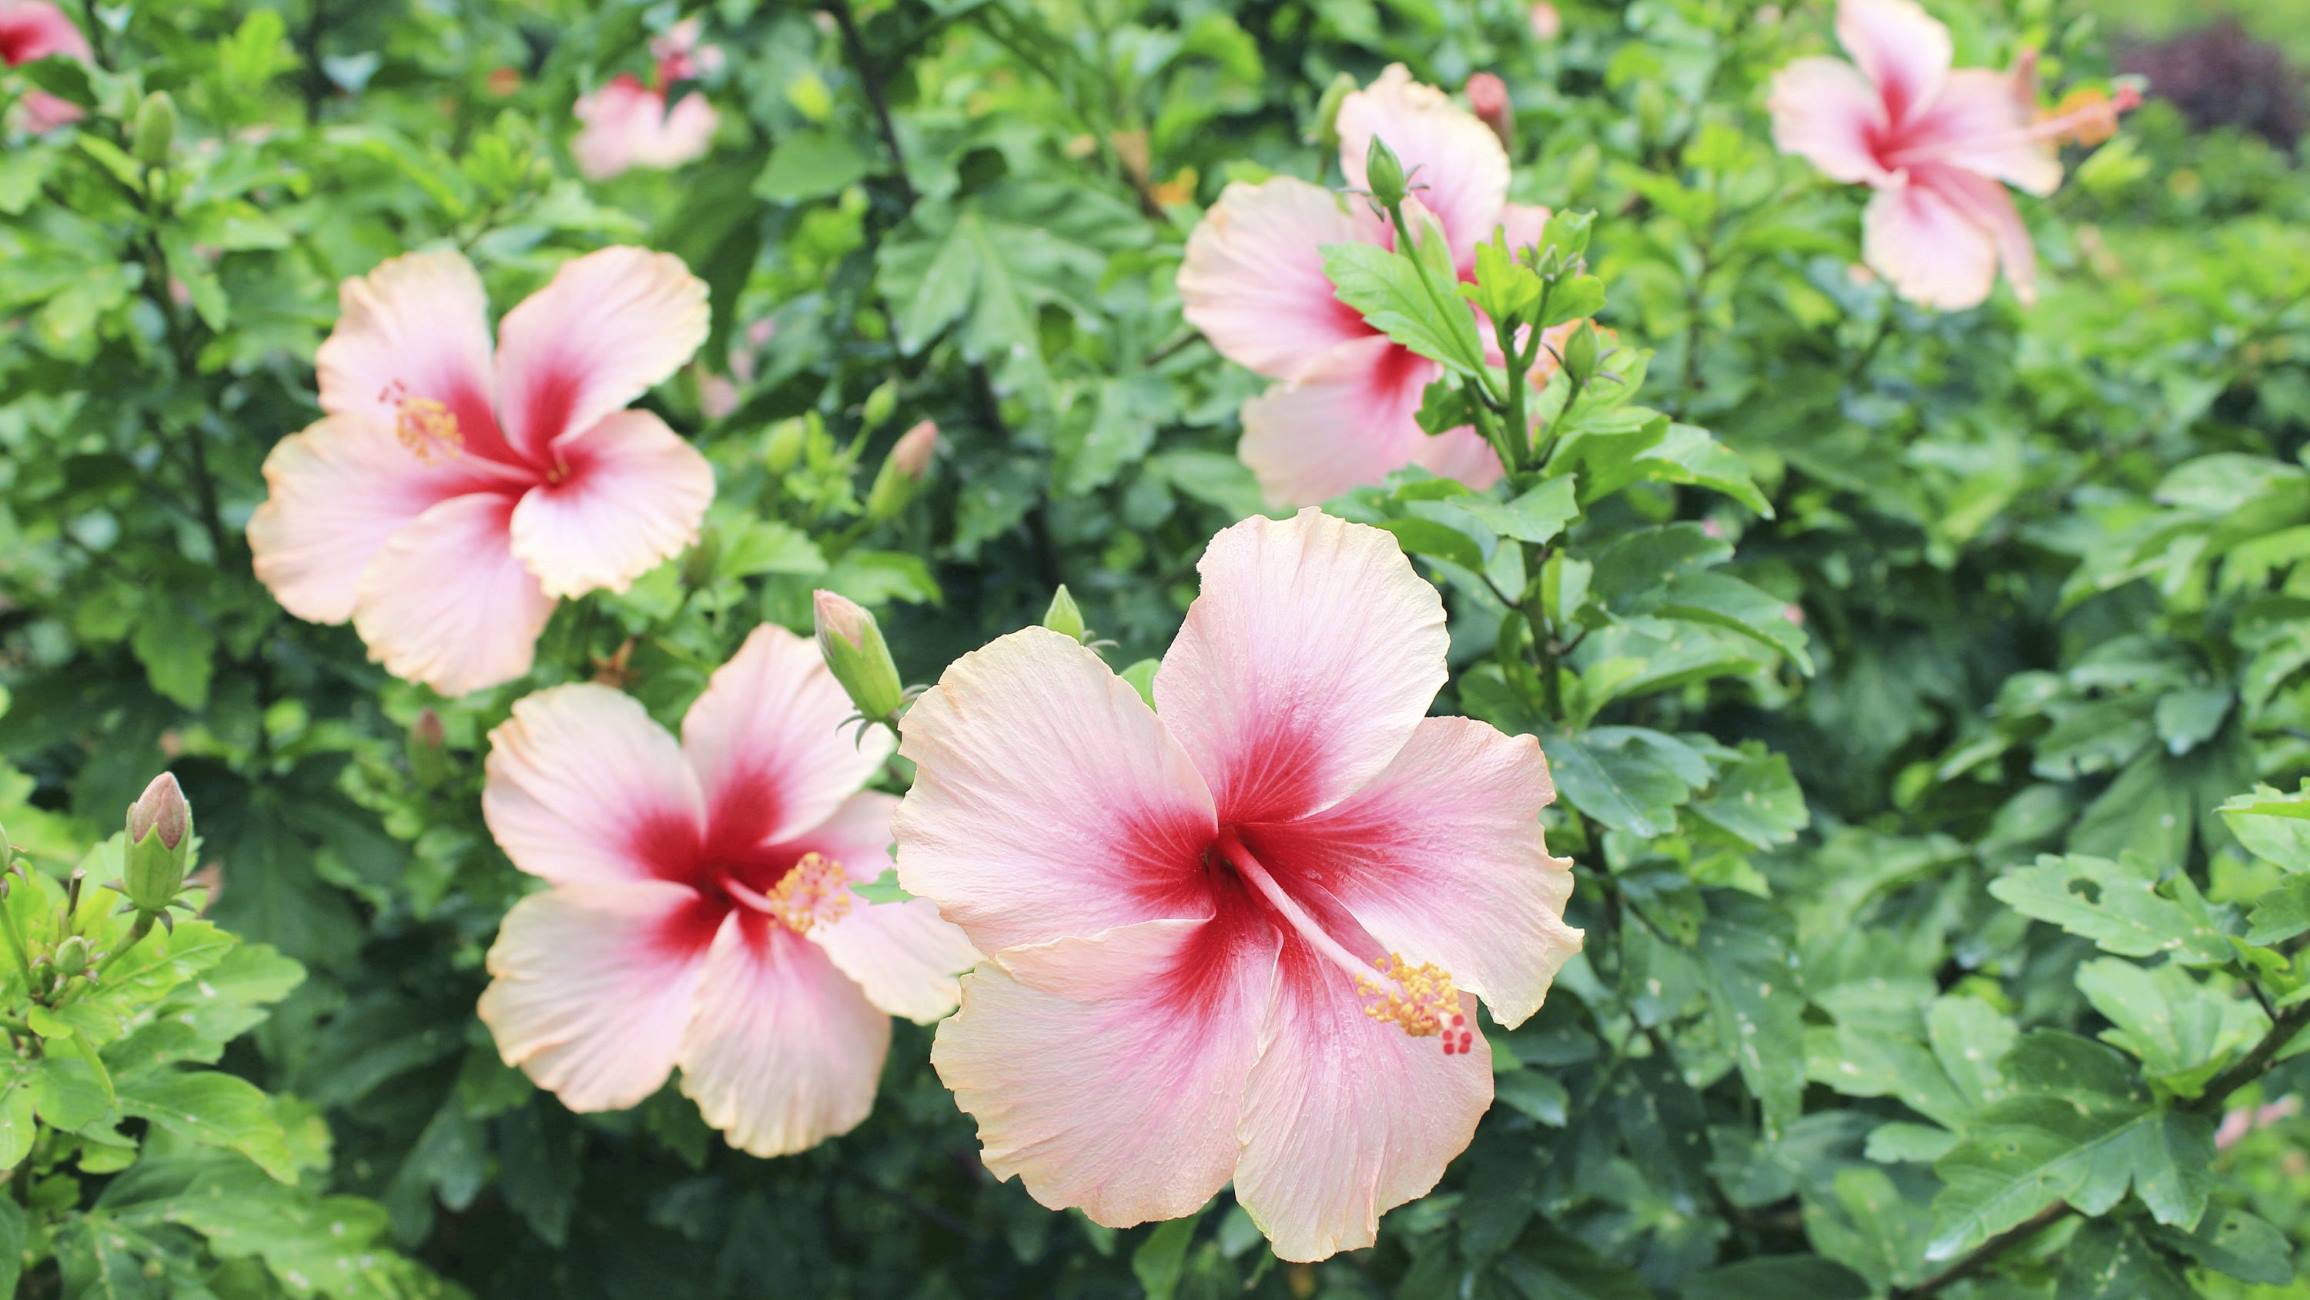
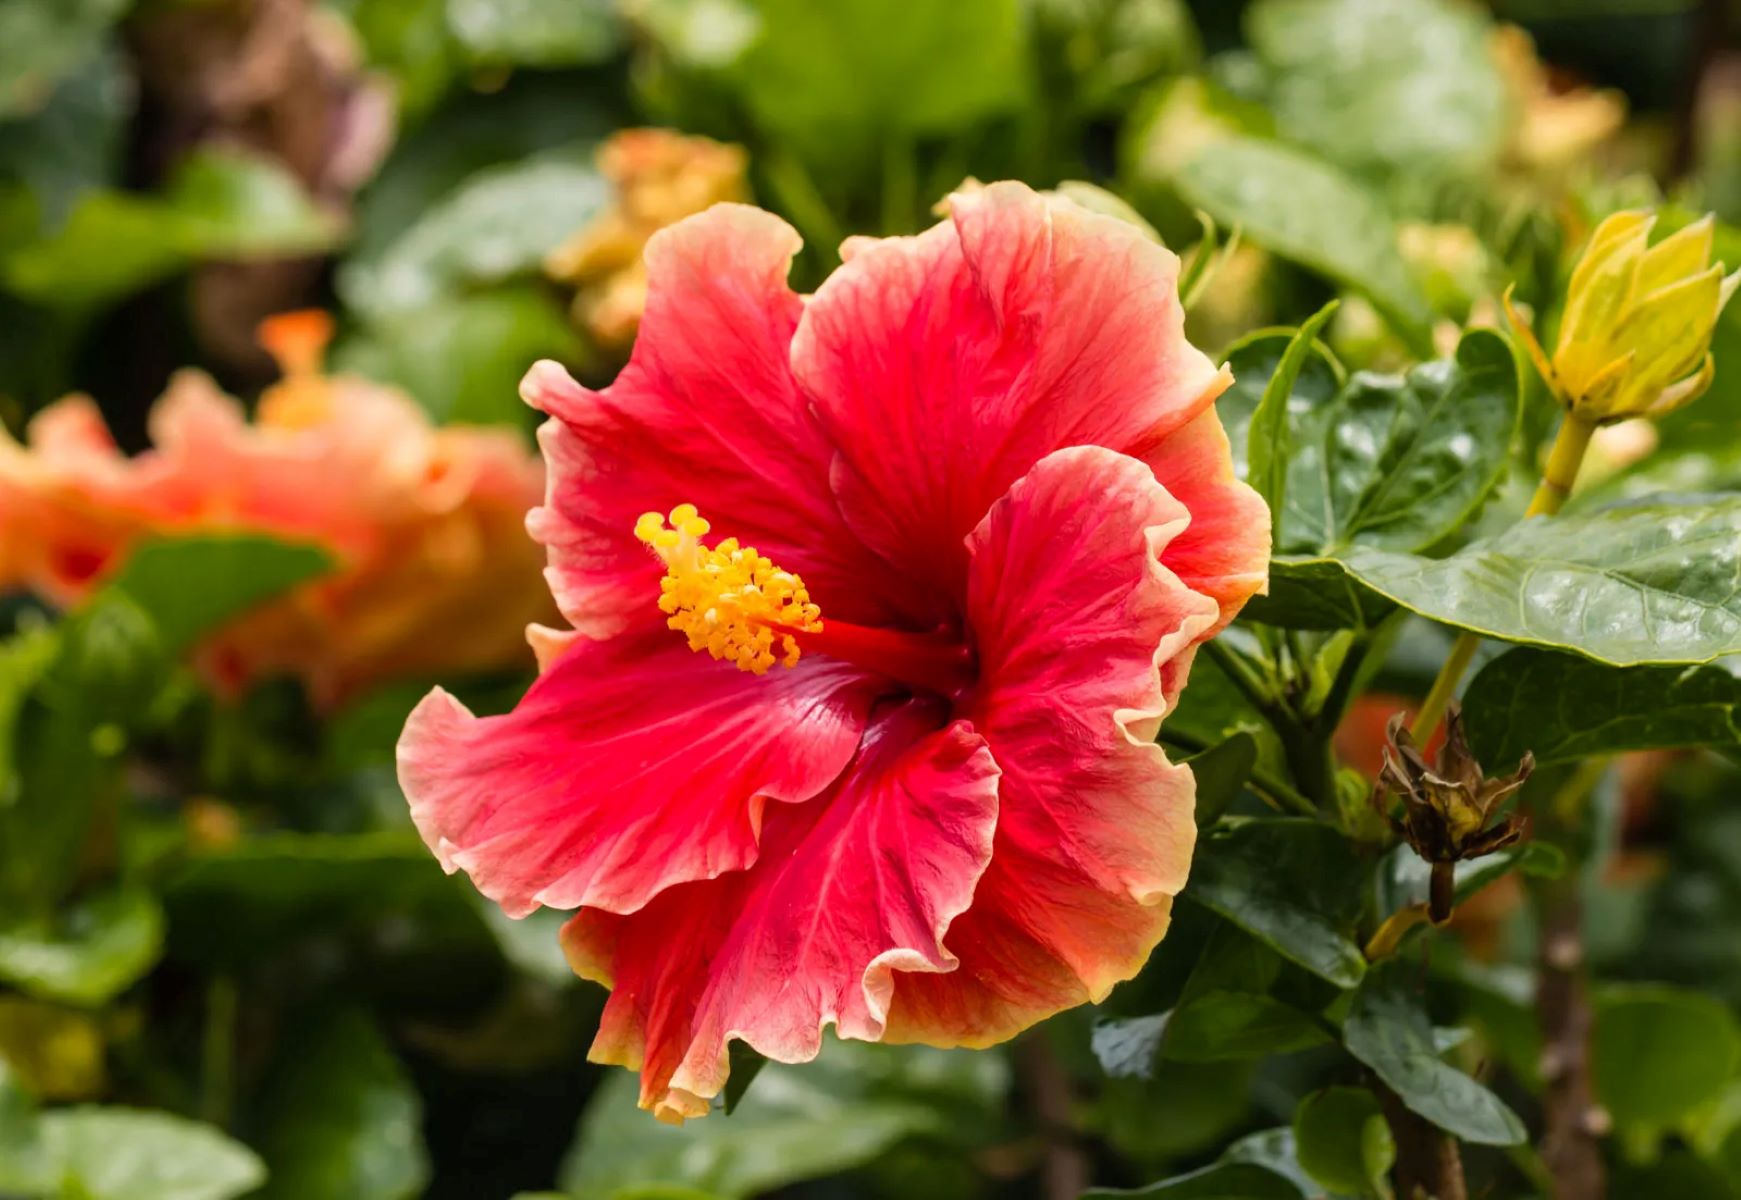
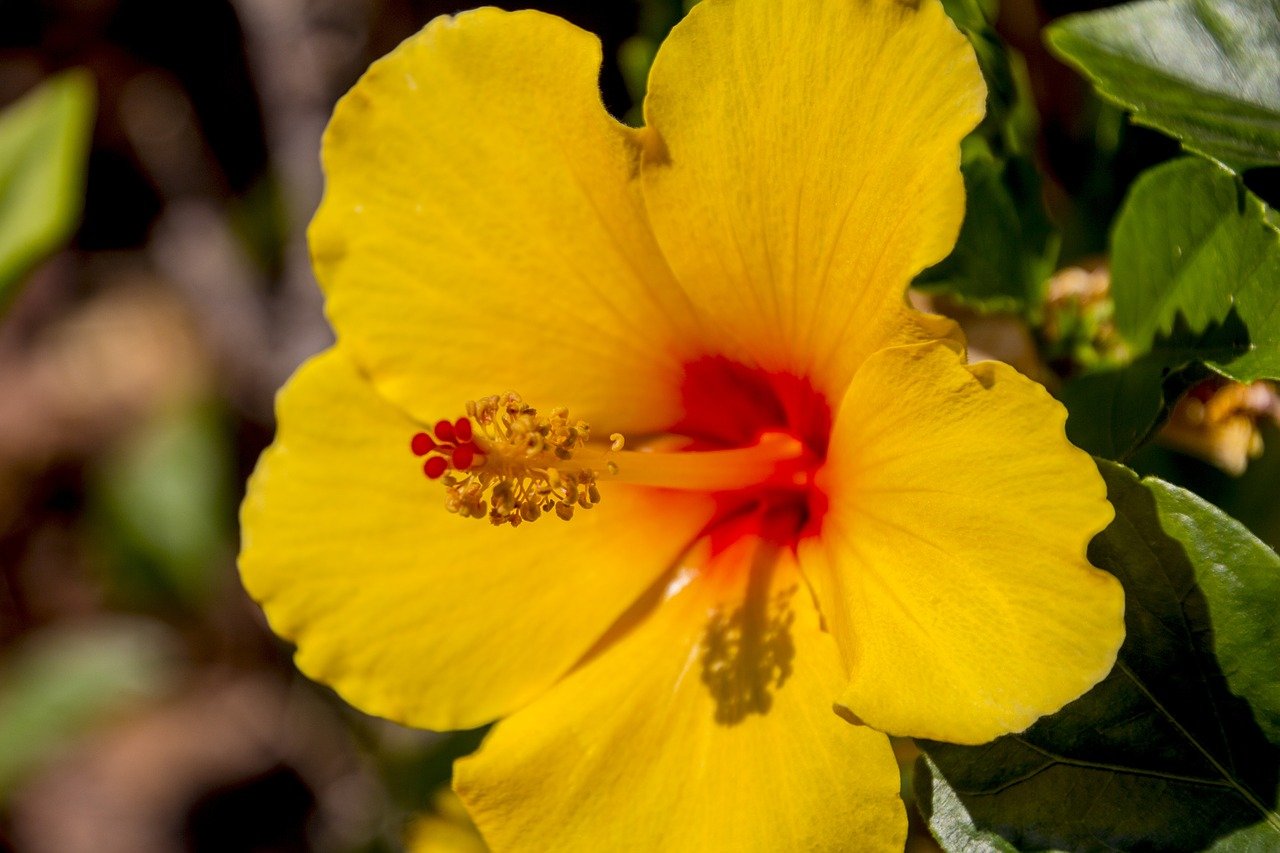
Hibiscus plants are known for their vibrant, trumpet-shaped flowers that come in a wide array of colors, such as red, pink, yellow, and white. Not only are they visually appealing, but they also attract pollinators like bees and butterflies, making them a wonderful addition to any garden or landscape.
Understanding the basics of hibiscus seeds, including when and how to harvest them, is key to successfully growing these plants from seed. In this article, we will guide you through the process of collecting hibiscus seeds, storing them properly, and offering tips and tricks for successful germination and growth.
So, let’s dive into the fascinating world of hibiscus seeds and discover how you can unleash your inner green thumb!
Key Takeaways:
- Hibiscus seeds are tiny capsules with the potential to grow into beautiful plants. Harvest them when the pods turn brown, and store them in a cool, dry place for future planting.
- Planting hibiscus seeds requires patience and care. Soak the seeds, provide warmth and sunlight, and be prepared to troubleshoot common issues for successful growth.
Read more: How To Grow Hibiscus From Seed
Understanding Hibiscus Seeds
Hibiscus seeds are the tiny, dormant capsules that contain the genetic material necessary for the growth and development of a new hibiscus plant. They are formed after the process of pollination, in which the male pollen from the stamen fertilizes the female ovary of the flower. Once fertilization occurs, the ovary transforms into a seed pod.
It’s important to note that not all hibiscus varieties produce viable seeds. Some hybrids or cultivars are sterile and do not produce seeds at all. However, many species of hibiscus, as well as certain hybrid varieties, produce seeds that can be collected and saved for future use.
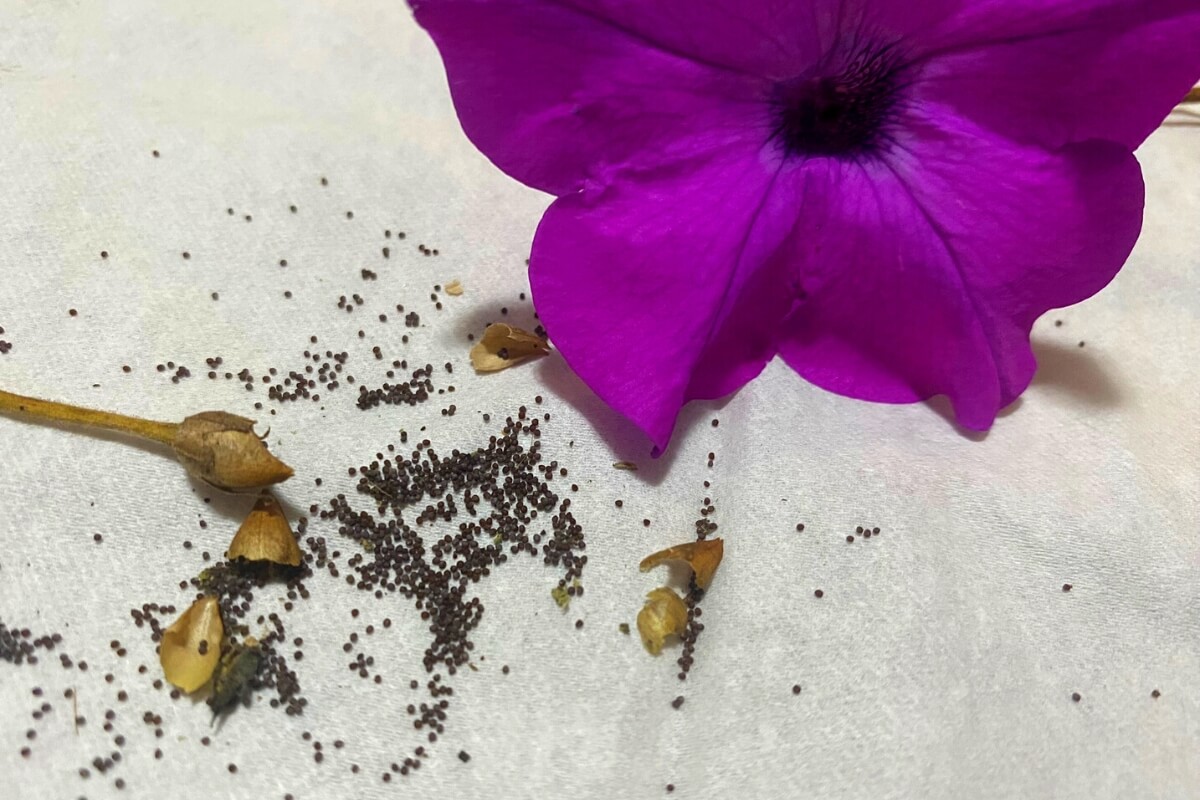
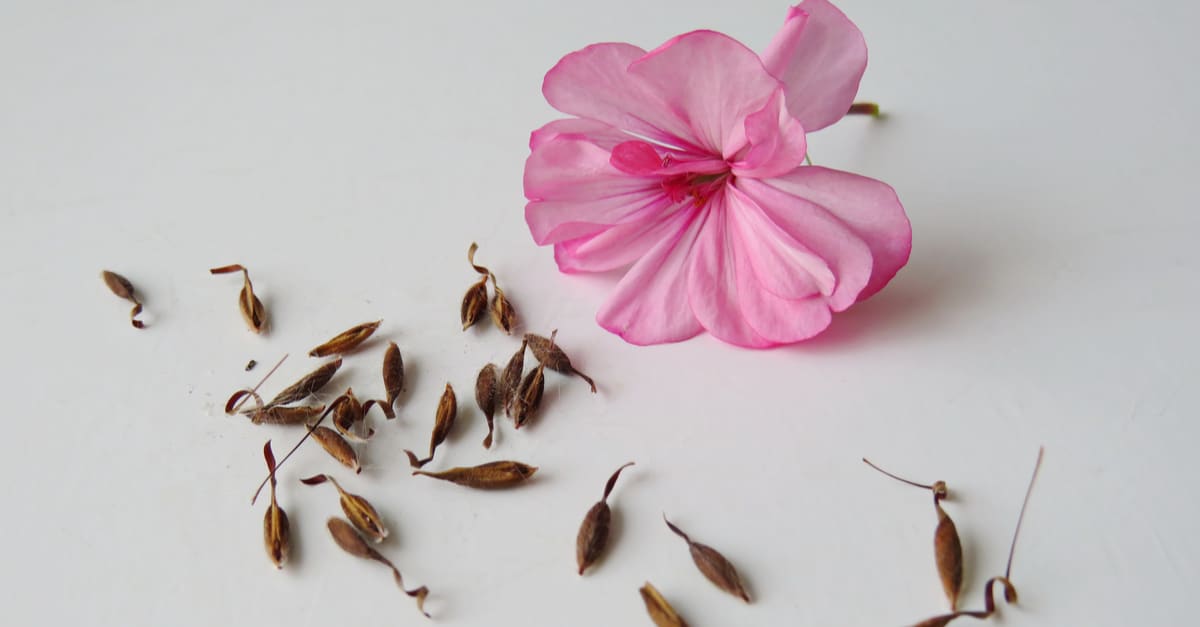
Hibiscus seeds can vary in size, shape, and color, depending on the specific hibiscus species or variety. They are typically small, ranging from 1 to 3 millimeters in diameter. The shape can be round, oval, or elongated, and the color can vary from black, brown, or tan.
One important characteristic of hibiscus seeds is their hard outer shell, or seed coat. This protective layer helps the seed withstand harsh environmental conditions and ensures that it remains dormant until favorable conditions for germination are present.
Another interesting fact about hibiscus seeds is their longevity. When stored properly, hibiscus seeds can remain viable for several years, allowing gardeners to save and use them at their convenience.
Now that we have a basic understanding of hibiscus seeds, let’s move on to the next step: when and how to harvest these precious seeds from your hibiscus plants.
When and How to Harvest Hibiscus Seeds
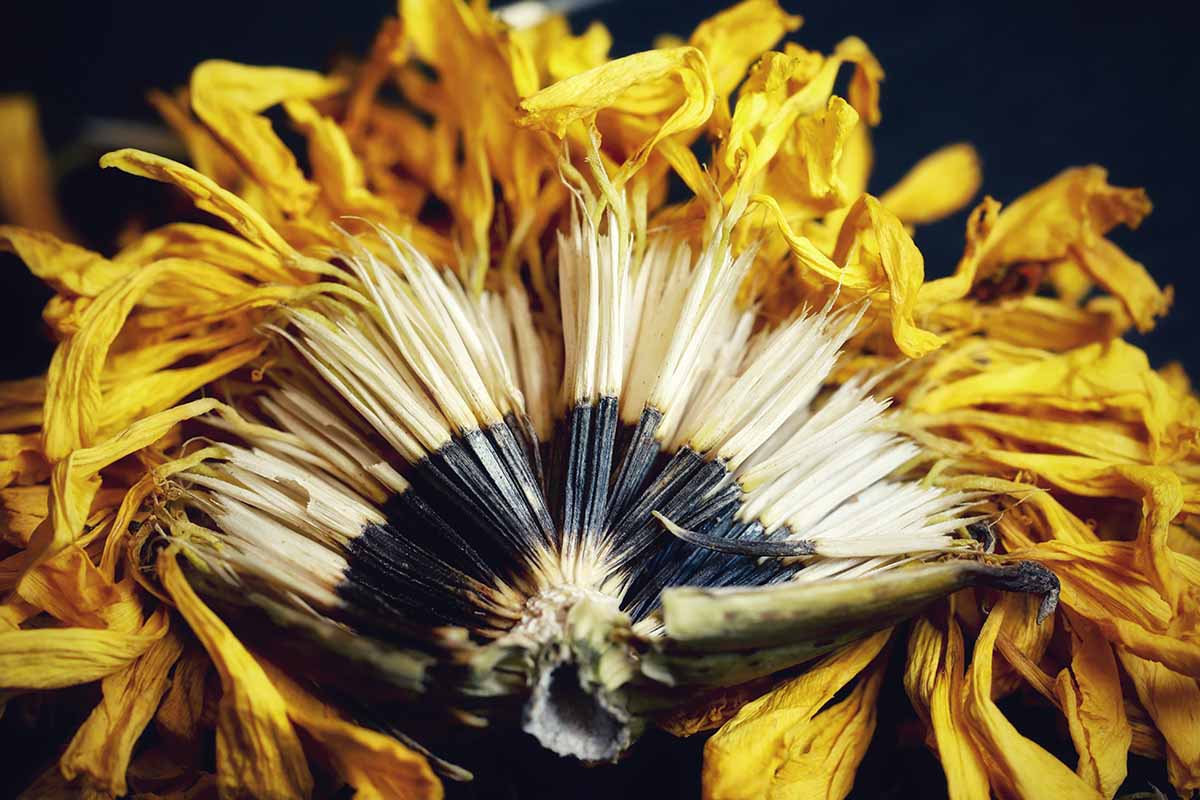
Harvesting hibiscus seeds requires careful timing and a keen eye for seed pod maturity. Typically, hibiscus seeds are ready for harvesting when the seed pods have turned brown and begin to crack open naturally. This usually occurs towards the end of the blooming season, usually in late summer or early fall.
To determine if the seed pods are ready for harvesting, gently squeeze the pods. If they are dry and brittle, with cracks appearing on the surface, it’s a good indication that the seeds are mature and can be collected. It’s important to note that if the seed pods are still green and pliable, they are not yet ready for harvesting, and you should wait for them to mature further.
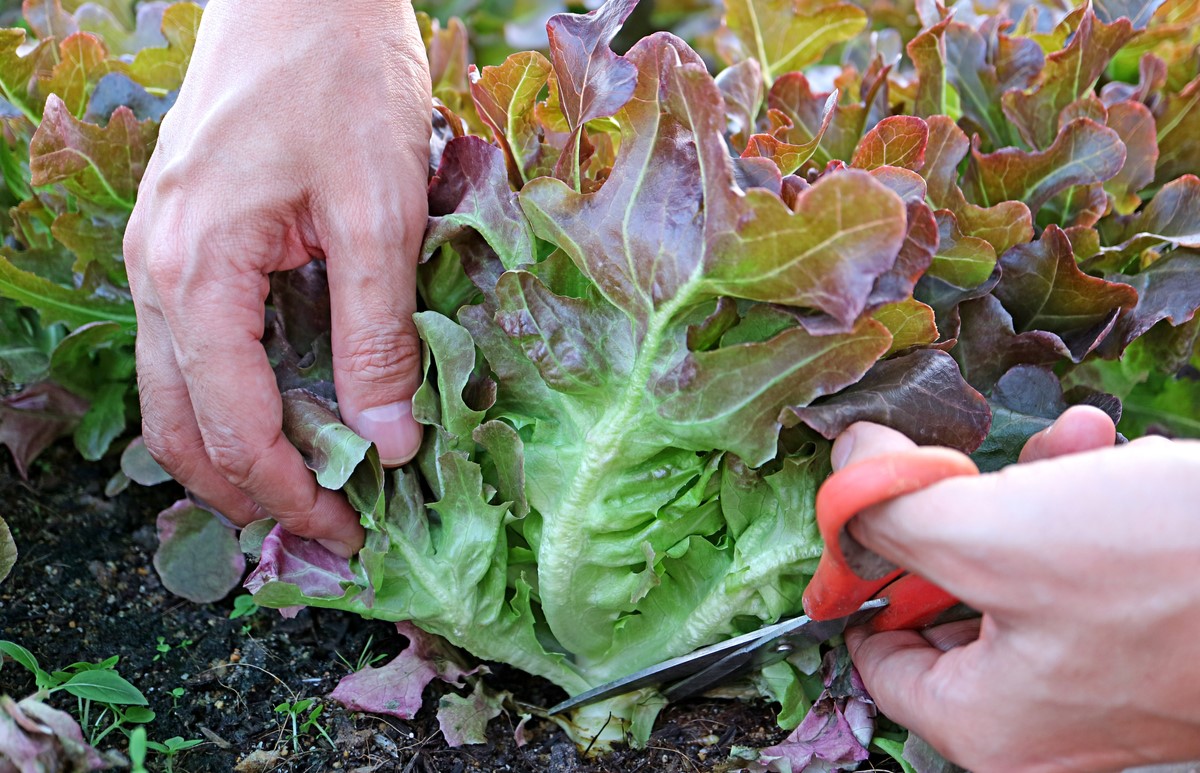
To begin the harvesting process, you’ll need a pair of clean and sharp gardening shears or scissors. Cut the seed pods from the plant, leaving a small section of the stem attached to the pod. This will make it easier to handle and store the seeds later on. Be careful not to damage the remaining flowers or buds on the plant.
After harvesting the seed pods, it’s time to extract the seeds from the pods. You can do this by gently breaking open the seed pods with your fingers or using a small knife. Carefully pry open the pod and collect the seeds that are nestled inside. Be cautious not to damage or crush the seeds during this process.
Once the seeds are collected, it’s essential to clean and remove any remaining debris or chaff. You can do this by gently blowing on the seeds or using a fine mesh sieve to separate the seeds from the unwanted materials.
Now that you have harvested and cleaned your hibiscus seeds, it’s time to learn how to store them properly to ensure their viability for future planting.
Step-by-Step Guide on Collecting Hibiscus Seeds
Collecting hibiscus seeds is a rewarding and straightforward process. Follow these step-by-step instructions to ensure you collect and save your hibiscus seeds successfully:
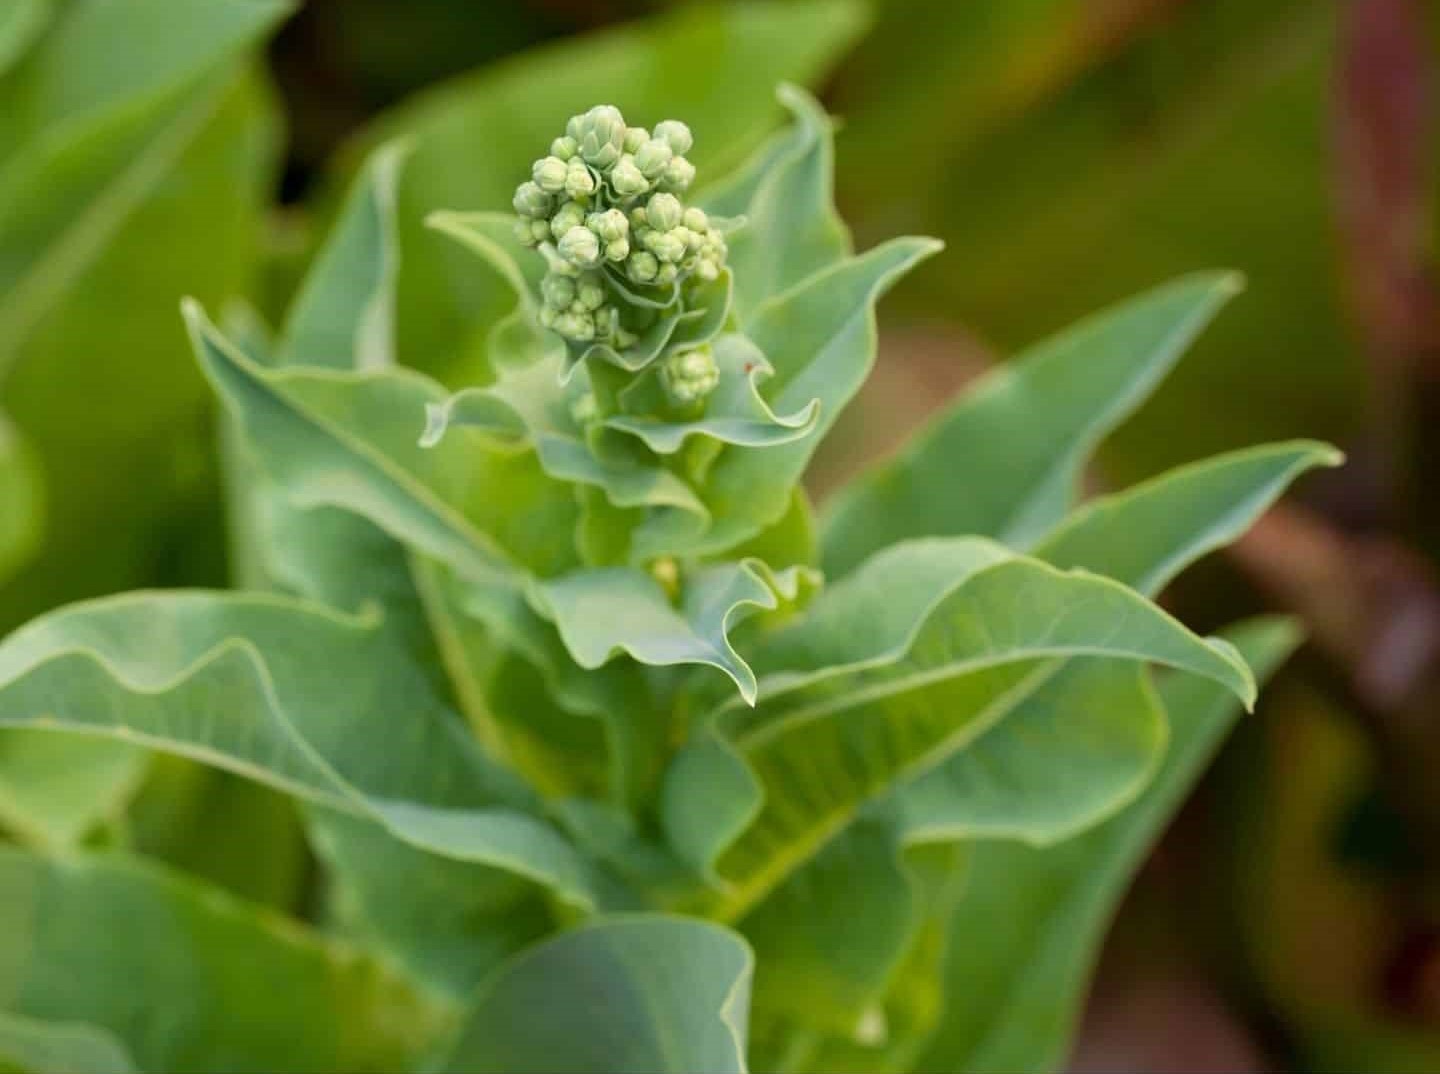
- Monitor the seed pods: Keep an eye on your hibiscus plant as it blooms. Watch for the formation of seed pods, which will develop after the flowers have been pollinated.
- Wait for maturity: Allow the seed pods to mature fully on the plant. They will typically turn brown and begin to crack open naturally. This is an indication that the seeds are ready for harvesting.
- Gather your tools: Prepare a pair of clean, sharp scissors or gardening shears for the harvest. Additionally, have small containers or envelopes ready to store the collected seeds.
- Harvest the seed pods: Carefully cut the mature seed pods from the plant, leaving a small section of the stem intact. This will make it easier to handle the pods and prevent damage to the seeds.
- Extract the seeds: Use your fingers or a small knife to gently open the seed pods. Collect the seeds that are nestled inside, being careful not to damage or crush them.
- Clean the seeds: Remove any debris or chaff from the seeds. You can gently blow on them or use a fine mesh sieve to separate the seeds from unwanted materials.
- Label and store: Place the clean seeds in labeled containers or envelopes. Include the date, hibiscus variety (if known), and any other relevant information. Store the seeds in a cool, dry place away from direct sunlight.
By following these steps, you can successfully collect and preserve your hibiscus seeds for future planting.
Now that you have harvested your hibiscus seeds, let’s move on to the next important step: storing them properly to maintain their viability.
To get seeds from hibiscus, wait for the flower to wilt and the seed pod to form. Once the pod turns brown and starts to split, collect the seeds and let them dry before planting.
Storing Hibiscus Seeds Properly
Proper storage is essential to maintain the viability of hibiscus seeds for future planting. Follow these guidelines to ensure that your collected seeds remain healthy and viable:
- Prepare your storage containers: Choose airtight containers such as glass jars or resealable plastic bags to keep the seeds dry and protected from moisture. Make sure the containers are clean and dry before use.
- Label your containers: Clearly label each container with the variety of hibiscus seeds and the date of collection. This will help you keep track of the different seeds and their viability over time.
- Dry the seeds: Before storing, ensure that the seeds are completely dry. Spread them out on a clean, dry surface and allow them to air dry for a few days. This will help prevent mold and rot during storage.
- Store in a cool, dark place: Find a cool and dark storage area, such as a pantry or a closet, where the temperature remains relatively stable. Avoid storing the seeds in areas where they may be exposed to extreme heat or fluctuations in temperature.
- Absorb moisture: To further protect your hibiscus seeds from moisture, you can add moisture-absorbing packets or silica gel packs to the storage containers. These will help prevent moisture buildup and maintain seed viability.
- Check periodically: Periodically check on your stored seeds to ensure they are still dry and free from any signs of mold or pests. If you notice any issues, remove and discard affected seeds immediately.
By following these storage guidelines, you can preserve the quality and viability of your hibiscus seeds for several years. Remember to label and organize your seeds to make it easier for future planting and sharing with fellow gardeners.
Now that you know how to collect and store hibiscus seeds properly, let’s move on to the exciting part: planting your hibiscus seeds and watching them grow!
Planting Hibiscus Seeds: Tips and Tricks
Planting hibiscus seeds allows you to see the magic of growth right before your eyes. Here are some helpful tips and tricks to increase your chances of successful germination and healthy seedling growth:
- Soak the seeds: Before planting, consider soaking the hibiscus seeds in lukewarm water for 24 hours. This can help soften the hard seed coat and encourage faster germination.
- Prepare the planting medium: Create a well-draining planting medium by mixing equal parts of peat moss and perlite or vermiculite. This will provide the right balance of moisture retention and aeration for the growing seeds.
- Sow the seeds: Plant the hibiscus seeds about 1/4 to 1/2 inch deep in the prepared planting medium. Space them at least 1 to 2 inches apart to allow room for growth.
- Maintain consistent moisture: Keep the planting medium evenly moist, but not waterlogged, throughout the germination process. Mist the surface with water or cover the containers with a plastic dome or wrap to help retain moisture.
- Provide warmth and sunlight: Place the seed containers in a warm location, at about 70 to 80°F (21 to 27°C). Hibiscus seeds require warmth to germinate successfully. Additionally, provide bright, indirect sunlight or use a grow light to ensure proper light exposure.
- Be patient: Germination can take anywhere from 1 to 4 weeks, depending on the hibiscus variety. Be patient and continue to provide proper care until you see the seedlings emerge.
- Transplanting seedlings: Once the seedlings develop their first true leaves, they can be gently transplanted into individual pots or a larger container. Use a well-draining potting mix and provide adequate sunlight or grow lights.
- Gradual acclimatization: Before planting the young hibiscus plants outdoors, gradually acclimate them to outdoor conditions by exposing them to increasing amounts of sunlight and outdoor temperatures over several weeks.
- Provide proper care: Keep your hibiscus plants well-watered, but avoid overwatering. Provide regular fertilization during the growing season using a balanced, slow-release fertilizer formulated for flowering plants.
- Enjoy the blooms: With patience and proper care, your hibiscus plants should reward you with beautiful blooms. Enjoy the vibrant colors and distinctive beauty that hibiscus flowers provide.
Remember that growing hibiscus from seeds may take some time and experimentation. Not all seeds may germinate, and the resulting plants may exhibit variations in color or other characteristics. Regardless, the process of growing hibiscus plants from seeds is an exciting and rewarding journey.
Now, armed with these tips and tricks, you’re ready to embark on your hibiscus gardening adventure!
Common Issues and Troubleshooting
While hibiscus plants are generally hardy and resilient, they can still face a few common issues. Here are some troubleshooting tips to help you address these problems:
- Poor germination: If your hibiscus seeds fail to germinate, it could be due to inadequate moisture or improper planting depth. Ensure that the planting medium stays consistently moist and adjust the planting depth to the recommended 1/4 to 1/2 inch.
- Disease and pests: Hibiscus plants can be susceptible to diseases like powdery mildew or pests like aphids and spider mites. Regularly inspect your plants for any signs of damage or infestation and take appropriate measures such as applying organic insecticides or fungicides.
- Yellowing leaves: Yellowing leaves can be a sign of several issues, including overwatering, nutrient deficiencies, or pests. Evaluate your watering practices, provide regular fertilization, and address any pest issues to help prevent yellowing leaves.
- Leggy or weak seedlings: If your seedlings are stretching or becoming weak, it may indicate a lack of adequate light. Ensure that your seedlings receive bright, indirect sunlight or use grow lights to promote sturdy growth.
- Lack of blooms: Several factors can contribute to a lack of blooms, including insufficient sunlight, excessive nitrogen fertilization, or plants that are too young. Provide adequate sunlight, use a balanced fertilizer, and allow your plants to reach maturity before expecting blooms.
- Leaf drop: Hibiscus plants may experience leaf drop due to stress, changes in environmental conditions, or insufficient watering. Ensure that you provide consistent moisture and avoid drastic temperature changes to help prevent leaf drop.
It’s important to note that hibiscus plants can be sensitive to environmental changes and may require some trial and error to find the optimal conditions for their growth. Pay attention to your plants and make adjustments as needed to address any issues that arise.
With proper care, attention to detail, and a little troubleshooting, you can overcome these common issues and enjoy healthy and vibrant hibiscus plants in your garden.
Now, armed with the knowledge of common issues and their solutions, you’re ready to tackle any hibiscus gardening challenges that come your way!
Conclusion
Congratulations! You have now learned the art of collecting and growing hibiscus plants from seeds. Armed with this knowledge, you can embark on your own hibiscus gardening journey and enjoy the beauty and charm of these magnificent flowers.
From understanding hibiscus seeds and knowing when and how to harvest them, to properly storing the seeds and successfully germinating them, you now have the tools and techniques to bring your hibiscus garden to life.
Remember to choose the right hibiscus varieties, follow proper harvesting techniques, and provide suitable growing conditions to maximize your chances of success. Experimentation may be necessary, as gardening is often a journey of learning and discovery.
Throughout the process, keep an eye out for common issues and troubleshoot them promptly to ensure the health and vitality of your hibiscus plants. With a little patience, care, and attention, you can overcome any obstacles and enjoy the rewards of blooming hibiscus flowers.
Whether you’re a seasoned gardener or a beginner, hibiscus gardening offers endless possibilities and opportunities for creativity. Experiment with different varieties, create beautiful hibiscus displays, and share your knowledge with fellow gardening enthusiasts.
So, go ahead and dive into the enchanting world of hibiscus gardening. Let the vibrant colors, captivating beauty, and intoxicating fragrance of hibiscus flowers bring joy and tranquility to your garden and your life!
Frequently Asked Questions about How To Get Seeds From Hibiscus
Was this page helpful?
At Storables.com, we guarantee accurate and reliable information. Our content, validated by Expert Board Contributors, is crafted following stringent Editorial Policies. We're committed to providing you with well-researched, expert-backed insights for all your informational needs.

0 thoughts on “How To Get Seeds From Hibiscus”