Articles
How To Store Homemade Muffins
Modified: January 7, 2024
Learn the best methods for storing homemade muffins to keep them fresh and delicious. Find helpful articles and tips on how to properly store muffins for maximum flavor and freshness.
(Many of the links in this article redirect to a specific reviewed product. Your purchase of these products through affiliate links helps to generate commission for Storables.com, at no extra cost. Learn more)
Introduction
Welcome to our article on how to store homemade muffins! Whether you’re a seasoned baker or just starting out, knowing how to properly store your freshly baked muffins is essential to preserving their taste and texture. Proper storage will help prevent them from drying out or becoming stale, ensuring that you can enjoy them at their best for days to come.
In this article, we will guide you through the steps of choosing the right storage container, cooling the muffins, wrapping them properly, and storing them at room temperature or in the freezer for long-term preservation. We will also provide tips on thawing and reheating your frozen muffins. So, let’s dive in and learn how to keep your homemade muffins moist and delicious!
Key Takeaways:
- Properly storing homemade muffins is essential for preserving their flavor and texture. Choose the right airtight container, wrap them tightly, and store at room temperature or freeze for long-term enjoyment.
- When storing muffins, ensure they are completely cool, wrapped tightly, and placed in airtight containers. Label with the date and follow proper thawing and reheating techniques for the best taste and texture.
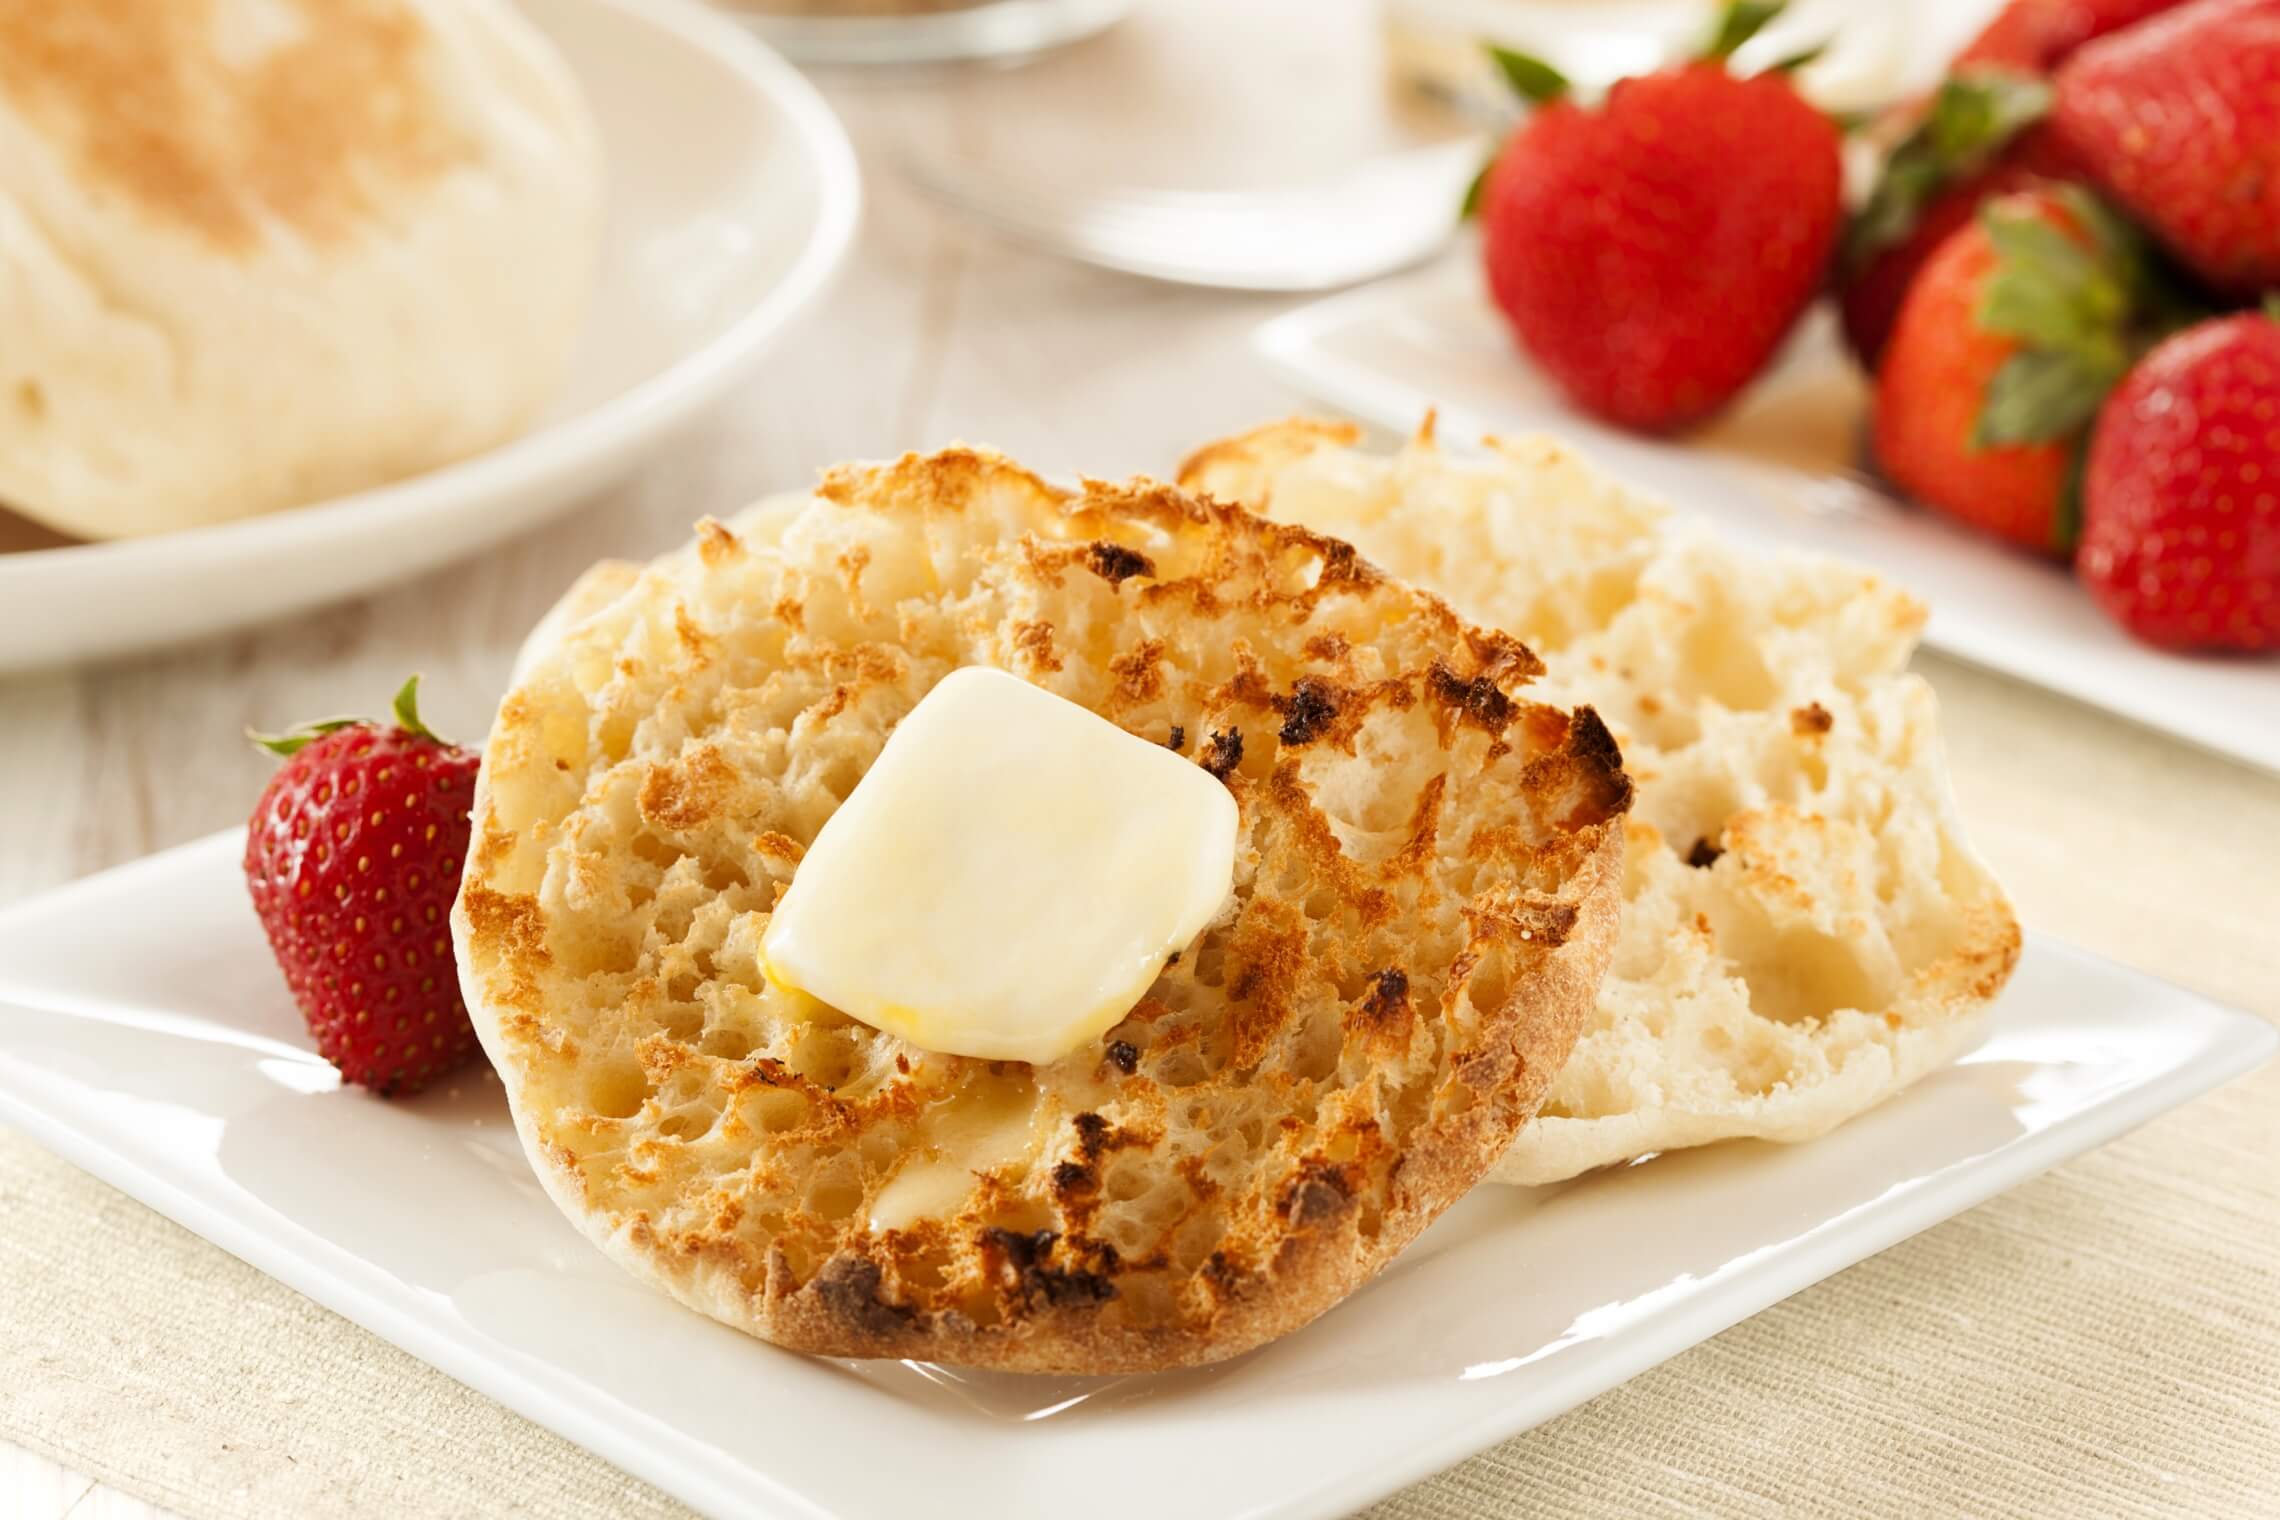
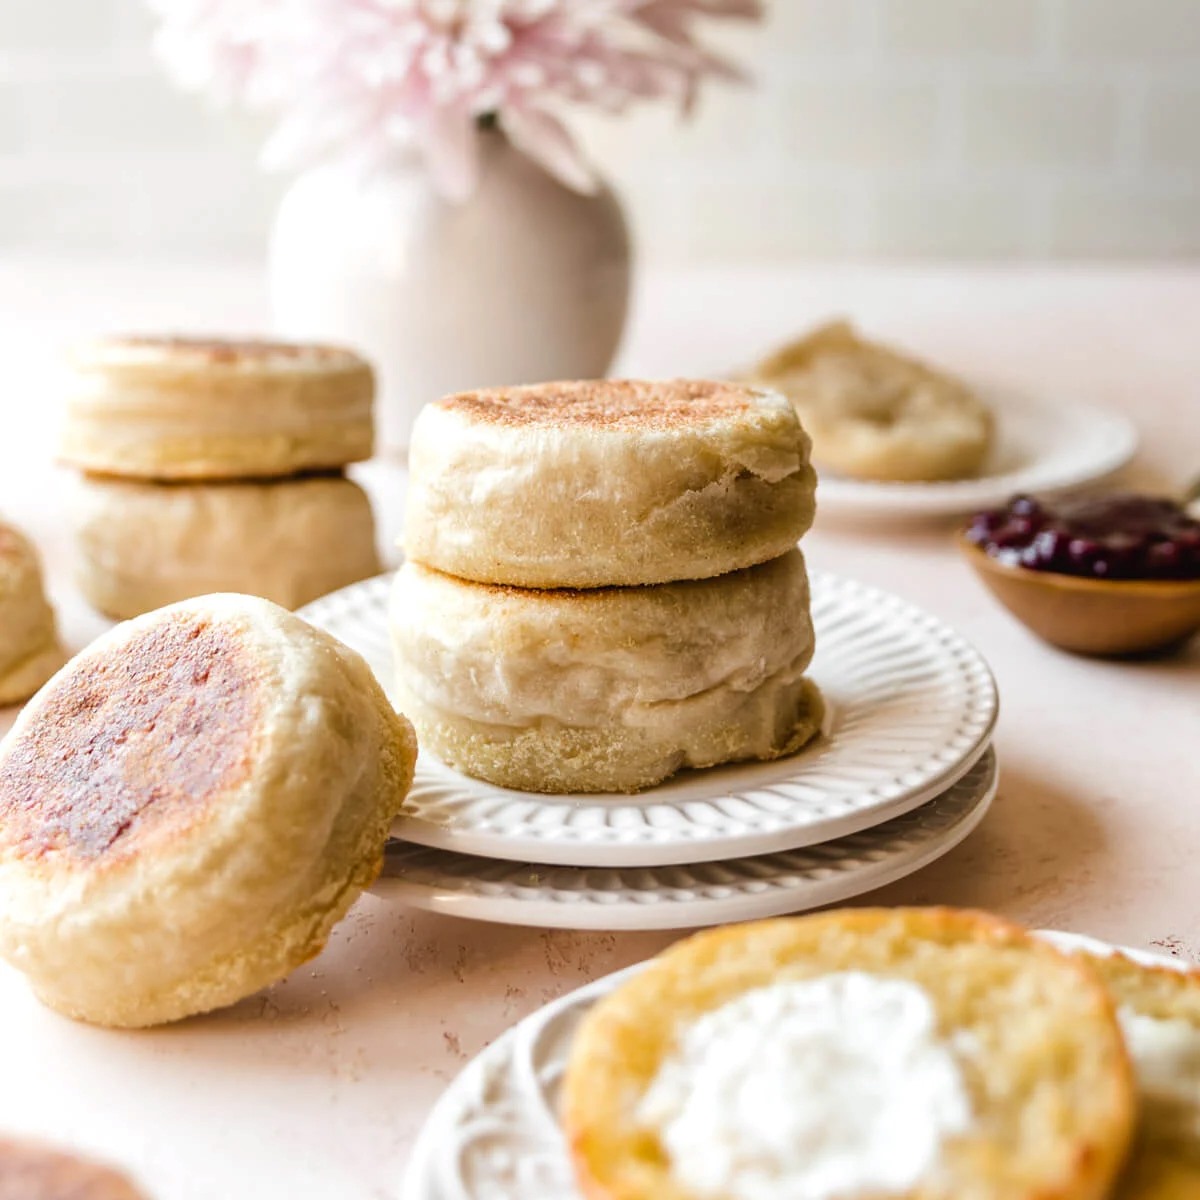
Read more: How To Store Homemade English Muffins
Choosing the Right Storage Container
When it comes to storing homemade muffins, selecting the right storage container is crucial to maintain their freshness. The container you choose should offer airtight protection and prevent moisture from seeping in, which can cause the muffins to become soggy.
One popular option for storing muffins is a plastic or glass airtight container. These containers provide a secure seal that keeps air out and helps to preserve the muffins’ texture and flavor. Look for containers with tight-fitting lids that lock in freshness.
If you prefer to use environmentally-friendly options, consider using reusable silicone food storage bags. These bags are easy to clean and can be sealed tightly, keeping your muffins fresh without the need for disposable plastic containers.
Another alternative is using plastic wrap or aluminum foil to individually wrap each muffin. This method allows for easy grab-and-go access and is ideal if you plan to enjoy your muffins over a few days. Just make sure to cover the muffins tightly to prevent air exposure.
Regardless of the storage container you choose, make sure it is clean and dry before placing your muffins inside. Any residual moisture can lead to mold growth or a compromised texture.
By selecting the right storage container, you can ensure that your homemade muffins stay fresh and delicious for an extended period of time.
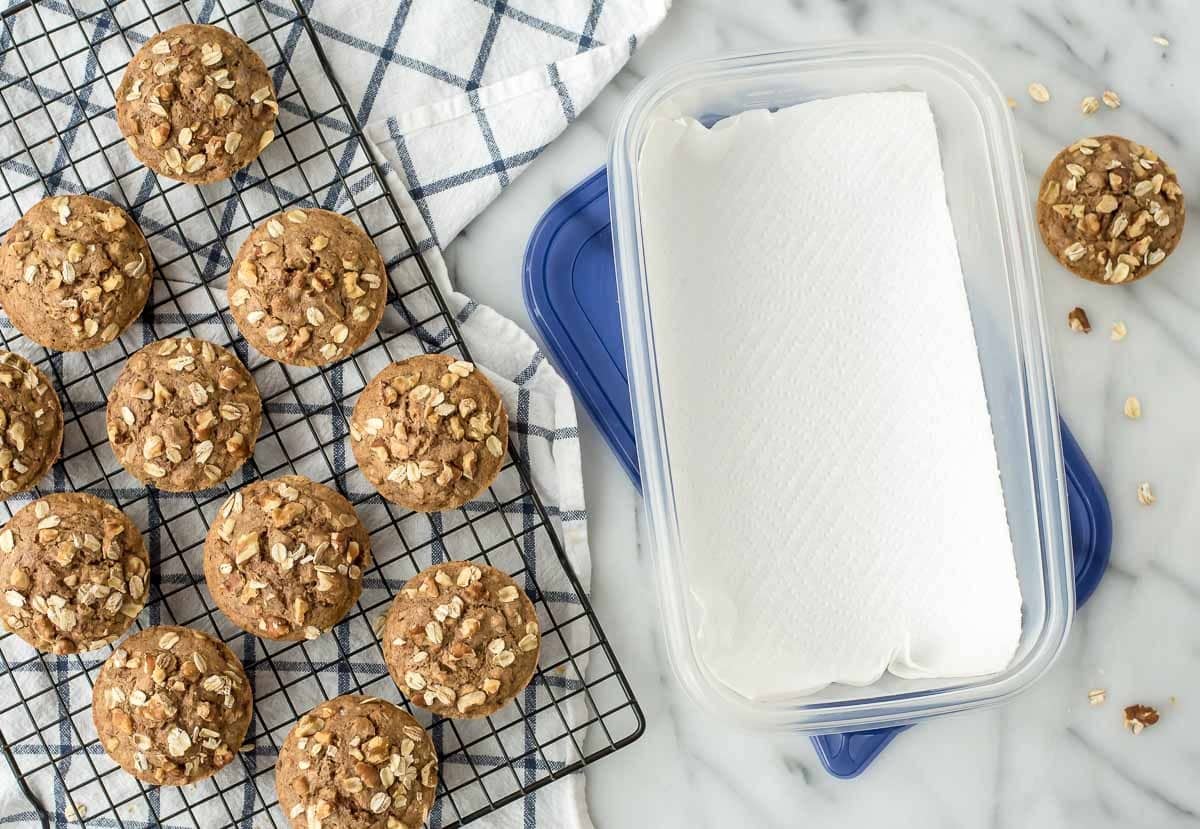
Cooling the Muffins
Properly cooling your muffins after baking is a crucial step in maintaining their moisture and texture. When muffins come out of the oven, they are still hot and continue to bake from residual heat. This can cause the moisture to evaporate quickly, resulting in dry muffins.
To prevent this, follow these steps to cool your muffins properly:
- Remove the muffin tin from the oven and place it on a heat-resistant surface.
- Allow the muffins to cool in the tin for 5-10 minutes. This allows them to set and become less fragile.
- Gently loosen the edges of the muffins from the tin using a spoon or offset spatula.
- Transfer the muffins to a wire rack to cool completely. This allows air to circulate around the muffins, preventing condensation and maintaining their texture.
It’s important not to leave the muffins in the tin after they’ve cooled for too long, as the residual heat can cause them to become moist and potentially stick to the tin. By transferring them to a wire rack, you encourage even cooling and prevent any moisture buildup.
Allow the muffins to cool completely before storing them to prevent condensation from forming in the storage container. Cooling them fully also allows the flavors to develop and the muffins to achieve their optimal taste.
Remember, patience is key when it comes to cooling your muffins. Taking the time to properly cool them will help maintain their moistness and ensure they taste their absolute best.
Wrapping the Muffins
Once your muffins have cooled completely, it’s time to wrap them properly to keep them fresh and protected. Proper wrapping is essential to prevent moisture loss and maintain the muffins’ texture and flavor.
There are a few options for wrapping your muffins:
- Plastic Wrap: One of the easiest and most common methods is to wrap each muffin individually with plastic wrap. This helps to seal in the moisture and protect the muffins from drying out. Wrap each muffin snugly, making sure to cover the top, sides, and bottom. For added protection, you can double-wrap them.
- Parchment Paper: If you prefer an eco-friendly option, you can wrap your muffins in parchment paper. Cut squares of parchment paper slightly larger than your muffins, place a muffin in the center, and fold the edges over to enclose it. Secure with a piece of tape or a small sticker.
- Foil: Aluminum foil can also be used to wrap your muffins. Similar to plastic wrap, wrap each muffin individually, ensuring they are fully covered. Foil provides a bit more protection from light and air, which can help extend the shelf life of your muffins.
Regardless of the wrapping method you choose, make sure it is tightly sealed to prevent any air or moisture from getting in. This will help maintain the freshness of your muffins for a longer period.
If you plan to store multiple wrapped muffins together in a container or bag, it’s a good idea to place a sheet of parchment paper or a muffin liner between each one. This will prevent them from sticking together and potentially damaging their appearance.
Remember to label your wrapped muffins with the date, especially if you plan to store them for an extended period. This will help you keep track of the freshness and ensure you consume them within a reasonable timeframe.
By wrapping your muffins properly, you can extend their shelf life and lock in their deliciousness for longer enjoyment.
Storing at Room Temperature
Storing your homemade muffins at room temperature is the most convenient option if you plan to consume them within a few days. However, it’s crucial to follow some guidelines to ensure they stay fresh and safe to eat.
Here are the steps to properly store your muffins at room temperature:
- Ensure the muffins are completely cool and wrapped tightly as mentioned in the previous section.
- Find a cool, dry place in your kitchen or pantry to keep them. Avoid areas with direct sunlight or high humidity, as these can cause the muffins to spoil more quickly.
- Place the wrapped muffins in an airtight container or zip-top bag. This additional layer of protection helps maintain their moisture and prevents them from going stale.
- Label the container or bag with the date to keep track of their freshness.
Room temperature storage is suitable for muffins that are consumed within 2 to 3 days. After this time, the muffins may start to dry out and lose their freshness. If you have a large batch of muffins or plan to store them for longer, it is best to consider freezing them, as we will discuss later in this article.
Remember to periodically check the muffins for any signs of spoilage, such as mold growth or an unpleasant odor. If you notice any of these signs, it’s best to discard the muffins to avoid any potential health risks.
By following these guidelines, you can enjoy your homemade muffins at room temperature while ensuring they remain fresh and delicious.
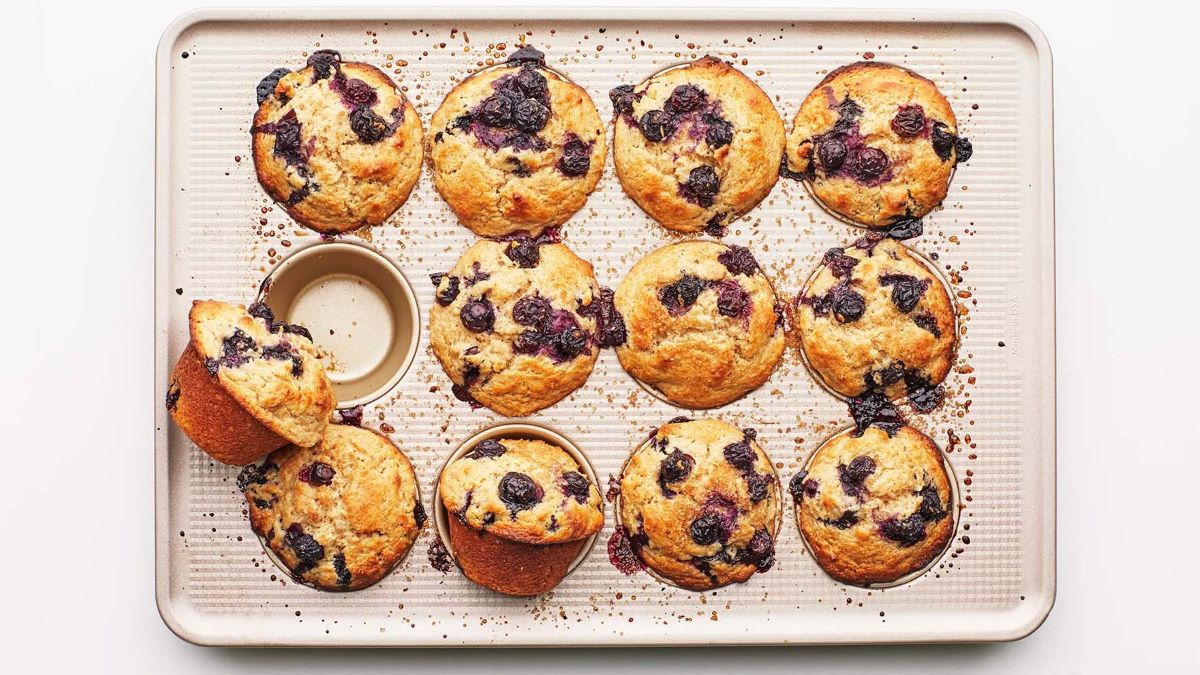
Read more: How To Store Homemade Blueberry Muffins
Freezing the Muffins
If you have a surplus of homemade muffins or want to prepare them in advance for future enjoyment, freezing is an excellent option. Freezing allows you to store muffins for an extended period while maintaining their taste and texture.
Here’s how you can freeze your muffins:
- Ensure the muffins are completely cool and wrapped tightly, as mentioned earlier in the article.
- If the muffins are already individually wrapped, you can place them directly in the freezer. If not, consider grouping them in a freezer-friendly container or bag, with layers of parchment paper or muffin liners between each muffin to prevent sticking.
- Remove any excess air from the container or bag and seal it tightly to prevent freezer burn.
- Label the container or bag with the date of freezing to keep track of their storage time.
When freezing muffins, it is essential to protect them from moisture and freezer odors, which can affect their quality. Proper packaging in airtight containers or bags will help preserve their freshness.
Frozen muffins can typically be stored for up to three months. Beyond this time, they may begin to develop freezer burn or lose their taste and texture. It’s advisable to consume them within this timeframe for the best experience.
Freezing muffins in individual servings allows for easy portion control. When you’re ready to enjoy a muffin, you can simply take out as many as you need and allow them to thaw.
Next, we’ll discuss the proper way to thaw and reheat your frozen muffins.
Remember, freezing is a great option for preserving your homemade muffins for a longer period, allowing you to enjoy them at your own pace without any compromise in taste or quality.
Thawing and Reheating the Muffins
When it’s time to enjoy your frozen muffins, proper thawing and reheating will help preserve their taste and texture. Here’s a step-by-step guide:
Thawing:
- Remove the desired number of muffins from the freezer.
- Place them on a plate or a wire rack at room temperature to thaw. This process typically takes 1-2 hours, depending on the size and density of the muffins.
- Alternatively, you can thaw the muffins in the microwave using the defrost setting. Be sure to follow the microwave instructions, as overheating can cause the muffins to become rubbery.
It’s important not to rush the thawing process by using direct heat, as this can cause uneven heating and result in dry or overcooked muffins. Patience is key to achieving the best results.
Reheating:
- If you prefer warm muffins, you can reheat them after thawing.
- Preheat your oven to 350°F (175°C).
- Place the muffins on a baking sheet and warm them in the oven for 5-10 minutes, or until heated through.
- You can also use a toaster oven or microwave to reheat individual muffins. Use the low setting to avoid drying them out.
It is important to note that reheating may not yield the exact same texture as freshly baked muffins. However, it will help restore some of the warmth and enhance their flavor. If you prefer to enjoy your muffins at room temperature, you can skip the reheating step after thawing.
Remember to let the muffins cool for a few minutes before enjoying, as they can be quite hot right out of the oven or microwave.
By following these steps, you can properly thaw and reheat your frozen muffins to enjoy them as if they were freshly baked.
To store homemade muffins, let them cool completely, then place them in an airtight container or resealable plastic bag. Store at room temperature for up to 2 days, or in the refrigerator for up to 1 week.
Read more: How To Store Pumpkin Muffins
Tips for Long-Term Storage
If you’re looking to store your homemade muffins for an extended period, whether it’s freezing them or keeping them at room temperature, here are some additional tips to ensure their long-term freshness:
Freezing Tips:
- Always label your muffins with the date of freezing. This will help you keep track of their storage time and ensure you consume them within the recommended timeframe.
- Consider freezing muffins individually to allow for easier portioning and thawing. This way, you can take out only what you need without having to thaw the entire batch.
- If using a freezer bag or container, try to remove as much air as possible before sealing. This will help prevent freezer burn and maintain the quality of the muffins.
- Alternatively, you can use a vacuum sealer to remove air completely and further prevent freezer burn.
Room Temperature Storage Tips:
- Store muffins in an airtight container to minimize air exposure and prevent them from becoming stale. This is especially important in areas with high humidity.
- Avoid storing muffins near sources of heat, such as the stove or direct sunlight, as this can accelerate moisture loss and deterioration.
- Check the muffins periodically for any signs of spoilage, such as mold growth or an off smell. If you notice any, discard the muffins immediately to avoid potential health risks.
General Storage Tips:
- When storing different flavors of muffins together, consider using separate containers or wrapping them tightly in individual packets. This will help prevent flavor transfer and preserve their distinct tastes.
- If you plan to store muffins for a longer period, periodically rotate them to ensure you consume the older ones first.
- Avoid using low-quality storage containers that may not provide a proper seal. Investing in high-quality airtight containers or reusable silicone bags will help extend the shelf life of your muffins.
- Take note of the recommended storage times for different types of muffins. While most muffins can be stored for a few days to several months, delicate varieties like cream-filled or custard-filled muffins may have shorter storage times.
By following these tips, you can maximize the longevity and quality of your homemade muffins, whether you choose to freeze them or store them at room temperature.
Read more: How To Store Muffins
Conclusion
Properly storing homemade muffins is essential to preserve their flavor, texture, and freshness. Whether you choose to store them at room temperature or freeze them for more extended periods, following the correct storage techniques will ensure you can enjoy your muffins at their best for longer.
Remember to choose the right storage container that offers airtight protection to prevent moisture loss or sogginess. Cooling the muffins before storage is crucial to retain their moisture and prevent them from drying out. Wrap the muffins tightly with plastic wrap, parchment paper, or aluminum foil to keep them fresh and protected.
If storing at room temperature, find a cool, dry area away from sunlight and high humidity. Label the container or bag with the date for reference. For long-term storage, freezing the muffins is an excellent option. Ensure proper packaging to prevent freezer burn and label them with the freezing date.
When it’s time to enjoy your stored muffins, allow them to thaw at room temperature or use the defrost setting in the microwave. Reheat if desired, but keep in mind that reheating may alter the texture slightly.
Lastly, consider these additional tips for long-term storage, such as labeling your muffins, freezing them individually, and using airtight containers. Regularly inspect the muffins for any signs of spoilage and consume them within the recommended storage times.
By following these guidelines, you can ensure that your homemade muffins stay moist, flavorful, and delicious for an extended period. So, go ahead and bake those muffins with confidence, knowing that you have the knowledge to store them properly and enjoy them whenever you crave a tasty treat!
Frequently Asked Questions about How To Store Homemade Muffins
Was this page helpful?
At Storables.com, we guarantee accurate and reliable information. Our content, validated by Expert Board Contributors, is crafted following stringent Editorial Policies. We're committed to providing you with well-researched, expert-backed insights for all your informational needs.


0 thoughts on “How To Store Homemade Muffins”