
Articles
How To Store Dough With Yeast
Modified: January 6, 2024
Learn how to store dough with yeast in this informative article. Find tips and tricks to keep your dough fresh and ready for delicious baking!
(Many of the links in this article redirect to a specific reviewed product. Your purchase of these products through affiliate links helps to generate commission for Storables.com, at no extra cost. Learn more)
Introduction:
Welcome to the world of baking! If you are someone who loves making homemade bread, pizza, or pastries, then you know how important yeast is in creating that perfect dough. But what happens when life gets busy and you can’t bake right away? That’s where proper dough storage comes in.
Storing dough with yeast requires some special attention to ensure that it maintains its quality and doesn’t lose its flavor or rise. In this article, we will explore the factors you need to consider when storing dough with yeast, the correct containers to use, and the best methods for refrigerating and freezing dough. By following these tips and techniques, you can be confident that your dough will be ready to use whenever you are.
Key Takeaways:
- Properly storing dough with yeast is crucial for maintaining freshness, flavor, and rise. Consider factors like temperature, time, and moisture content, and choose the correct container for optimal results.
- Experiment with refrigerating and freezing dough to have freshly baked goods at your convenience. Use fresh yeast, scale recipes accordingly, and follow proper thawing techniques for best results.
Read more: How To Store Yeast Dough
Understanding Yeast and Dough:
Before we dive into the specifics of storing dough with yeast, let’s take a moment to understand the role of yeast in the dough-making process. Yeast is a tiny organism that helps the dough rise by consuming the sugar present in it and producing carbon dioxide gas. This gas gets trapped in the dough, causing it to expand and become light and airy.
When yeast is mixed with flour, water, and other ingredients, it activates and starts the fermentation process. The fermentation process not only helps the dough rise but also develops complex flavors and textures. However, yeast is sensitive to temperature, and improper storage can lead to the loss of its activity and the eventual failure of your dough to rise.
Understanding the characteristics of dough is also crucial for proper storage. Doughs can vary in terms of their hydration level and the type of recipe you are using. For example, bread dough tends to have a lower hydration level and requires longer proofing times, while pizza dough might be higher in hydration and have a shorter proofing time. These variations can affect how you store the dough to maintain its integrity.
So, when it comes to storing dough with yeast, it’s essential to consider the factors that impact yeast activity, such as temperature, time, and moisture content.
Factors to Consider when Storing Dough with Yeast:
When it comes to storing dough with yeast, there are several factors that you should consider to ensure the best possible results. Let’s take a closer look at these factors:
- Temperature: Yeast is sensitive to temperature, and the ideal range for yeast activity is between 75°F and 85°F (24°C and 29°C). This temperature range provides the optimal conditions for yeast to metabolize and produce carbon dioxide gas. If the temperature is too low, the yeast will become dormant, resulting in a failed rise. If it’s too high, it can kill the yeast.
- Time: The longer you store dough with yeast, the more time it has to ferment and develop flavors. However, prolonged storage can also lead to over-fermentation and a strong yeasty taste. It’s important to find the right balance based on your recipe and desired flavor profile.
- Moisture Content: The moisture content in the dough affects its texture and overall quality. Properly sealed dough prevents moisture loss, which can result in dry and tough dough. On the other hand, excessive moisture can make the dough sticky and difficult to work with.
- Type of Dough: Different types of dough require different storage methods. For example, bread dough often benefits from a longer fermentation period, while pizza dough is typically used within a day or two. Consider the specific characteristics of your dough recipe to determine the best storage approach.
- Ingredients: It’s also important to take into account any ingredients or additives included in the dough. Some ingredients, such as fats or sugar, can impact dough storage and may require additional considerations for optimal results.
By considering these factors, you can tailor your dough storage methods to maintain yeast activity, preserve flavor, and ensure the best possible texture in your final baked goods.
Choosing the Correct Container for Dough Storage:
When it comes to storing dough with yeast, the container you choose plays a crucial role in maintaining its freshness and preventing unwanted moisture loss. Here are some considerations to keep in mind when selecting the correct container:
- Airtight: Opt for an airtight container that will prevent air from entering or escaping. This helps to maintain the ideal moisture level in the dough and prevents it from drying out.
- Size: Use a container that provides enough space for the dough to expand as it ferments. The dough should not be too crowded, as it can lead to uneven rise or stickiness. It’s recommended to choose a container that can accommodate the doubled size of the dough.
- Material: Consider using food-grade plastic containers or glass bowls with a tight-fitting lid. These materials are non-reactive and do not affect the flavor or texture of the dough.
- Transparency: Select a transparent or translucent container that allows you to monitor the dough’s rise without opening the lid. This reduces the risk of temperature fluctuations and ensures that the dough remains undisturbed.
- Labeling: To avoid confusion, label the container with the type of dough and the date it was prepared. This helps you keep track of storage time and ensures that you use the oldest dough first.
By choosing the correct container, you can create an optimal environment for your dough to maintain its freshness, rise properly, and be ready for future use.
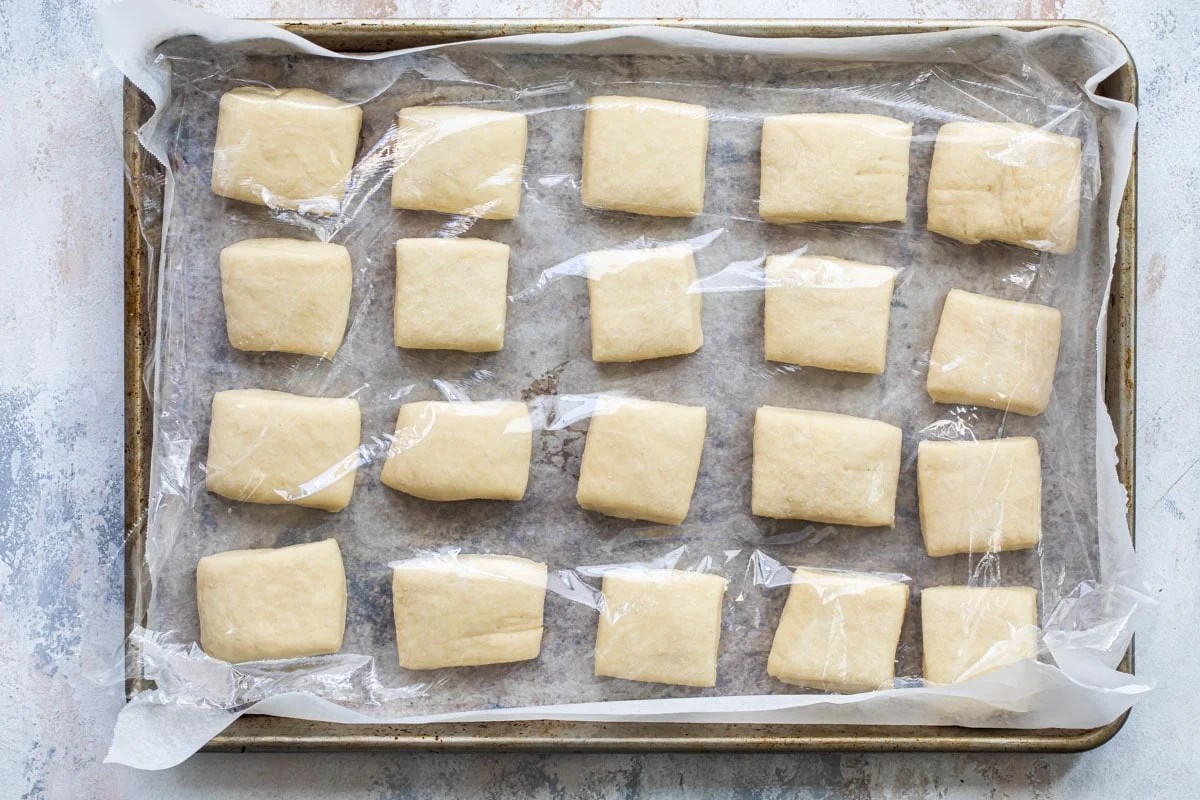
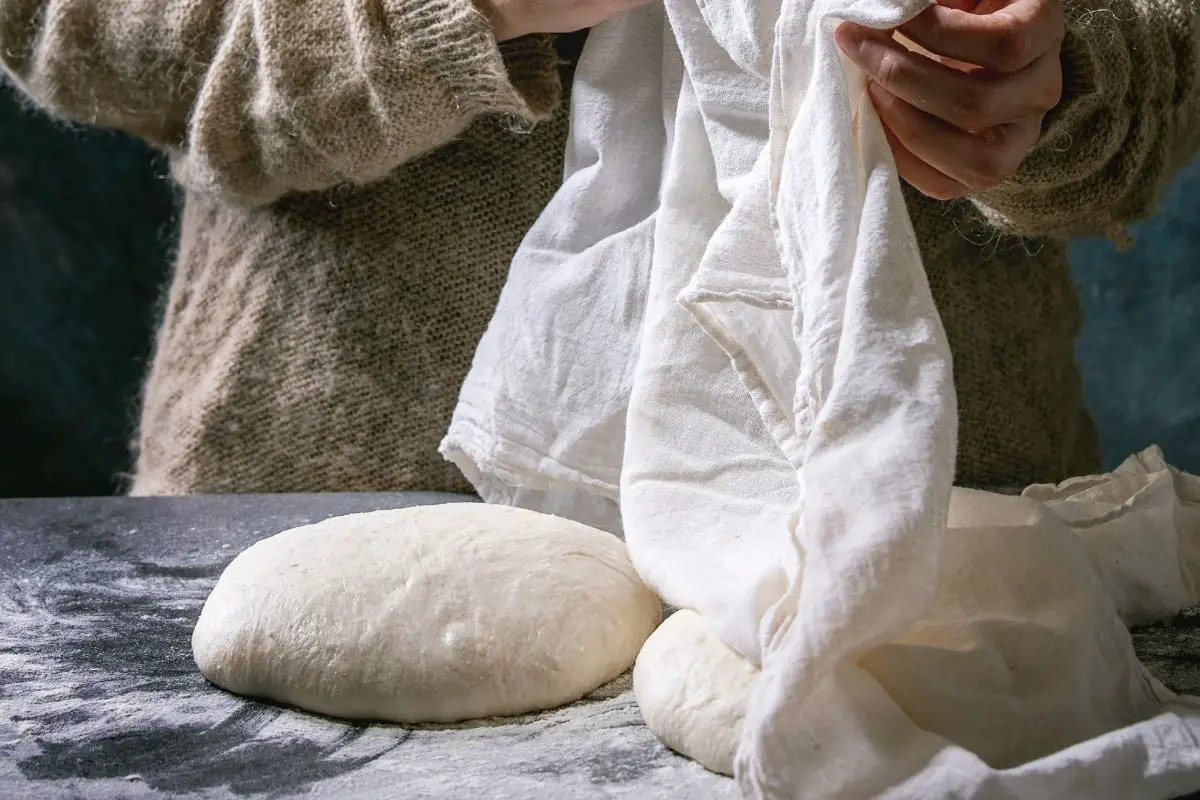
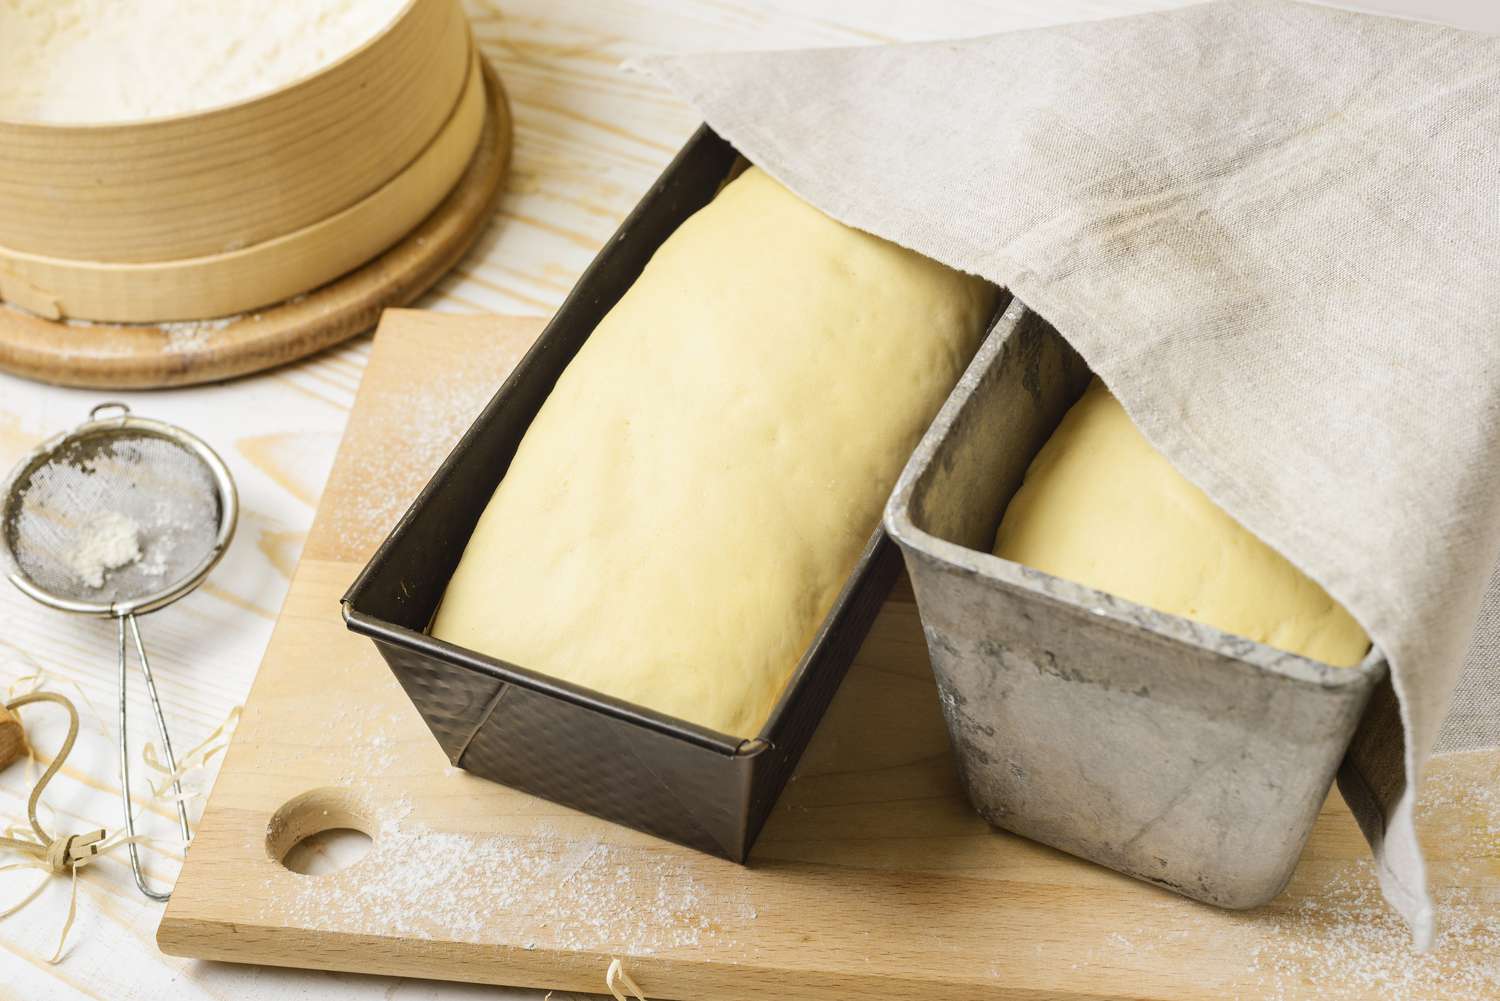
Properly Sealing and Wrapping the Dough:
Once you’ve chosen the right container for storing dough with yeast, it’s essential to properly seal and wrap the dough to protect it from air, moisture, and other external factors. Follow these steps for effective sealing and wrapping:
- Punch down the dough: Before sealing and wrapping, gently punch down the dough to release any excess gas and prevent it from overflowing in the container.
- Grease the container: Lightly grease the container with oil or cooking spray to prevent the dough from sticking to the walls. This also helps with easy removal of the dough once it’s time to bake.
- Place the dough in the container: Transfer the dough into the prepared container, making sure it is evenly shaped and does not have any air pockets.
- Seal the container: Secure the lid tightly to create an airtight seal. If using a bowl, cover it tightly with plastic wrap or a clean kitchen towel.
- Double wrap for added protection: To provide extra protection against freezer burn (if freezing) or to maintain freshness (if refrigerating), consider double wrapping the container. Wrap the container with plastic wrap, ensuring all sides are tightly sealed, and then cover it with aluminum foil or place it in a resealable plastic bag.
- Label the package: Use a marker to label the package with the type of dough and the date it was stored. This will help you keep track of its freshness and ensure you use it within the recommended timeframe.
By properly sealing and wrapping the dough, you create a barrier against moisture loss, air exposure, and potential contamination. This ensures that your dough retains its freshness, flavor, and quality until it’s time to bake.
After the dough has risen, punch it down and shape it into a ball. Place it in a lightly oiled bowl, cover with plastic wrap, and store in the refrigerator for up to 3 days.
Read more: How To Store Yeast
Refrigerating Dough with Yeast:
Refrigerating dough with yeast is a common method used to slow down the fermentation process while still keeping the dough ready for future use. Here are the steps to properly refrigerate dough:
- Prepare the dough: Follow your recipe and prepare the dough as usual, allowing it to rise for the initial proofing.
- Punch down the dough: After the initial rise, gently punch down the dough to release any excess gas and deflate it.
- Shape the dough: Shape the dough into a ball or the desired shape before placing it in the container for refrigeration.
- Grease the container: Lightly grease a container with oil or cooking spray to prevent the dough from sticking to the walls.
- Place the dough in the container: Transfer the shaped dough into the greased container and cover it tightly with a lid or plastic wrap.
- Refrigerate the dough: Place the container in the refrigerator and allow the dough to rest and ferment slowly. Refrigerate the dough for up to 72 hours, but keep in mind that the longer the dough is refrigerated, the more sour the flavor will become.
- Use within the recommended timeframe: Remove the dough from the refrigerator a few hours before you plan to use it, allowing it to come to room temperature and resume its rise. The dough will be slightly chilled but should still be pliable and easy to work with.
Refrigerating dough helps develop flavor and allows for a more flexible baking schedule. It’s ideal for those who want to have freshly baked goods without going through the entire preparation process in one day.
Note: Keep in mind that different dough recipes may have specific recommendations for refrigeration time, so always refer to the recipe instructions for the best results.
Freezing Dough with Yeast:
Freezing dough with yeast is a convenient option for those who want to have dough readily available for future use. Whether you want to make a large batch of dough or have some leftover, freezing can help extend its shelf life. Here’s how to freeze dough with yeast:
- Prepare the dough: Follow your recipe and prepare the dough, allowing it to rise for the initial proofing.
- Punch down the dough: After the initial rise, gently punch down the dough to release any excess gas and deflate it.
- Shape the dough: Shape the dough into a ball or the desired shape. If you have a specific recipe for freezing, follow its shaping instructions. Otherwise, a round ball or a flattened disc shape works well for freezing.
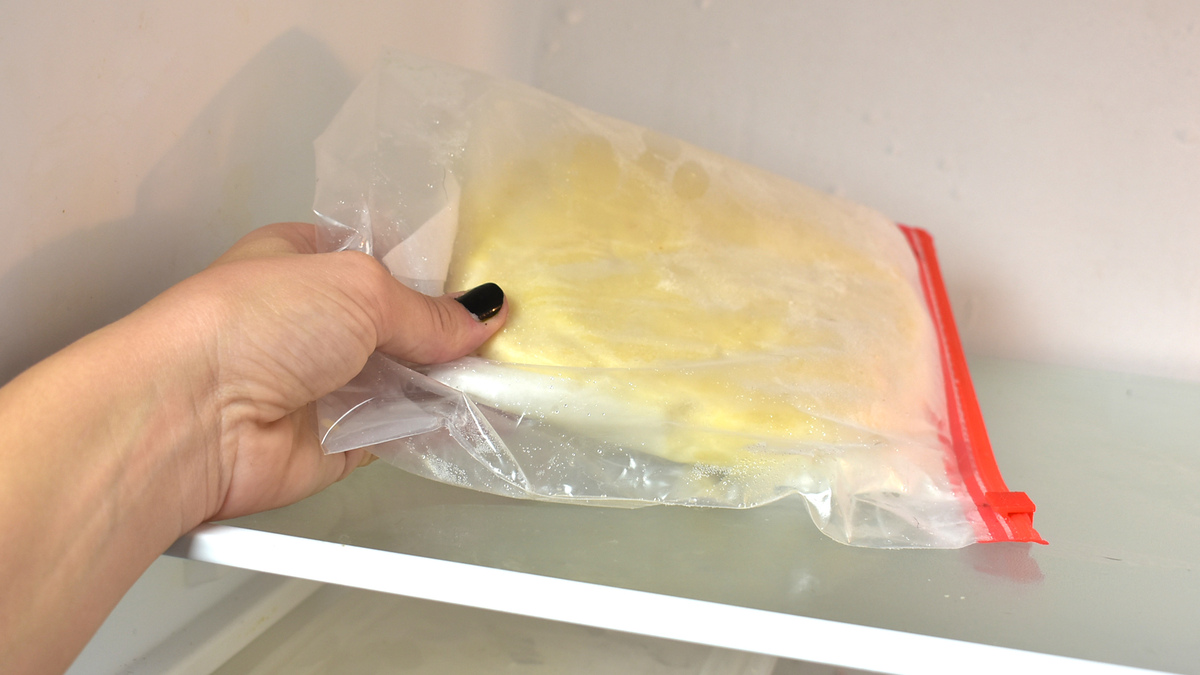
- Wrap the dough: Wrap the shaped dough tightly with plastic wrap, ensuring all sides are sealed to prevent air from entering.
- Double wrap for added protection: For extra protection against freezer burn, wrap the dough with aluminum foil or place it in a resealable plastic bag.
- Label the package: Use a marker to label the package with the type of dough and the date it was frozen. This will help you keep track of its freshness and ensure you use it within the recommended timeframe.
- Freeze the dough: Place the wrapped dough in the freezer and freeze it for up to 3 months. It’s essential to use a freezer-safe container or bag to prevent any freezer odors from seeping into the dough.
- Thawing the dough: When ready to use, remove the dough from the freezer and allow it to thaw in the refrigerator overnight. Once completely thawed, proceed with the recipe as usual.
Freezing dough provides the convenience of having dough on hand whenever you need it. Whether you’re craving fresh baked goods or want to save some time during busy days, frozen dough allows you to quickly whip up delicious treats.
Note: While freezing dough is a convenient method, it’s important to mention that the texture and rise may not be as perfect as freshly made dough. However, it still produces tasty results with a little planning and proper handling.
Thawing and Using Frozen Dough:
Once you have frozen dough and are ready to use it, proper thawing is crucial to ensure the best results. Here’s the recommended method for thawing and using frozen dough:
- Retrieve the dough from the freezer: Remove the frozen dough from the freezer and transfer it to the refrigerator. It’s essential to thaw the dough in the refrigerator to ensure slow, even thawing and to minimize the risk of bacterial growth.
- Allow for proper thawing: Leave the dough in the refrigerator to thaw overnight or for about 8 to 12 hours. The exact thawing time may vary depending on the size and thickness of the dough, so it’s important to be patient and allow enough time for complete thawing.
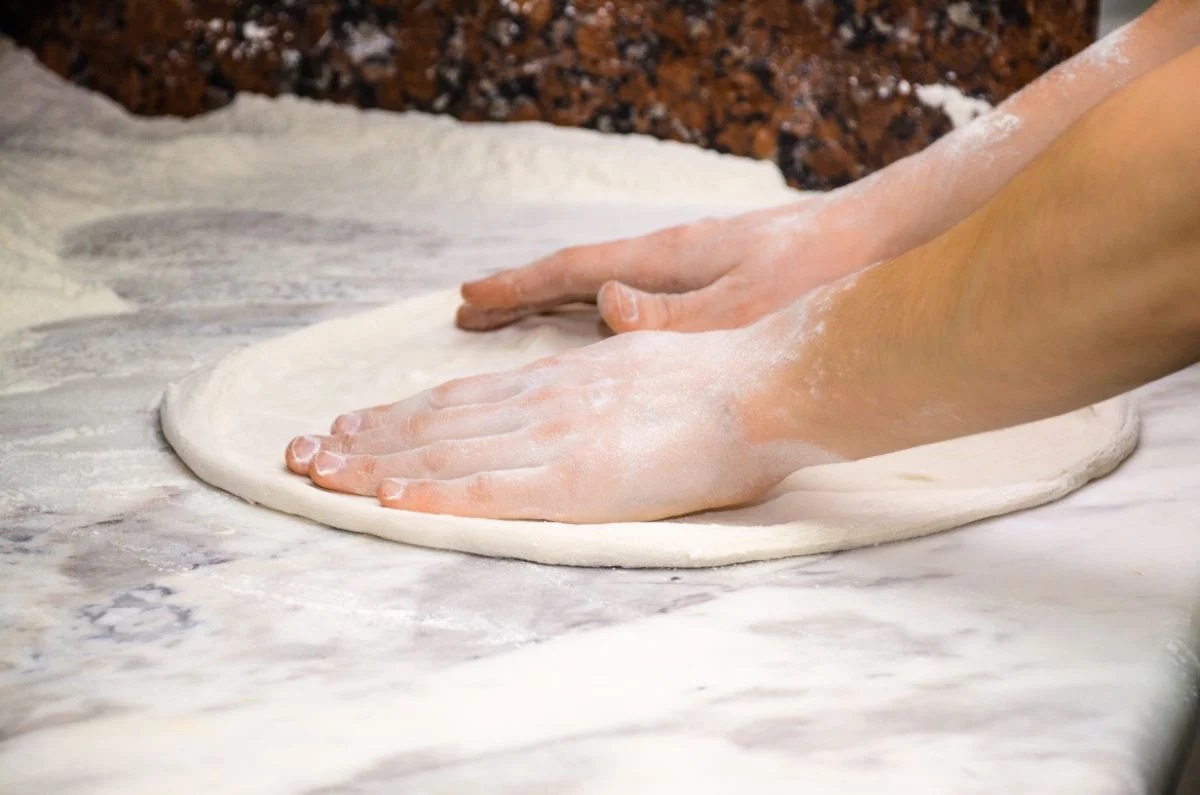
- Bring the dough to room temperature: After the dough has thawed in the refrigerator, let it rest at room temperature for about 30 minutes to 1 hour. This step helps the dough regain its elasticity and makes it easier to work with.
- Proceed with the recipe: Once the dough has reached room temperature, you can proceed with your recipe as usual. Shape, proof, and bake the dough according to the original instructions, making any necessary adjustments based on the thawed dough’s texture.
- Pay attention to rise and texture: Keep in mind that the texture and rise of the thawed dough may not be as perfect as freshly made dough. The freezing and thawing process can sometimes affect the dough’s structure, resulting in a slightly denser final product. However, the taste and overall quality should still be satisfactory.
- Store any leftover dough: If you have any leftover dough after using what you need, you can store it in the refrigerator for a few days or freeze it again following the previous freezing instructions.
Thawing frozen dough properly is essential to maintain its quality and ensure the best possible results. By following these steps, you can easily bring your frozen dough back to life and enjoy freshly baked goods any time you desire.
Tips for Storing Dough with Yeast:
When it comes to storing dough with yeast, a few additional tips can help ensure the best results. Consider these tips to maximize the quality and flavor of your stored dough:
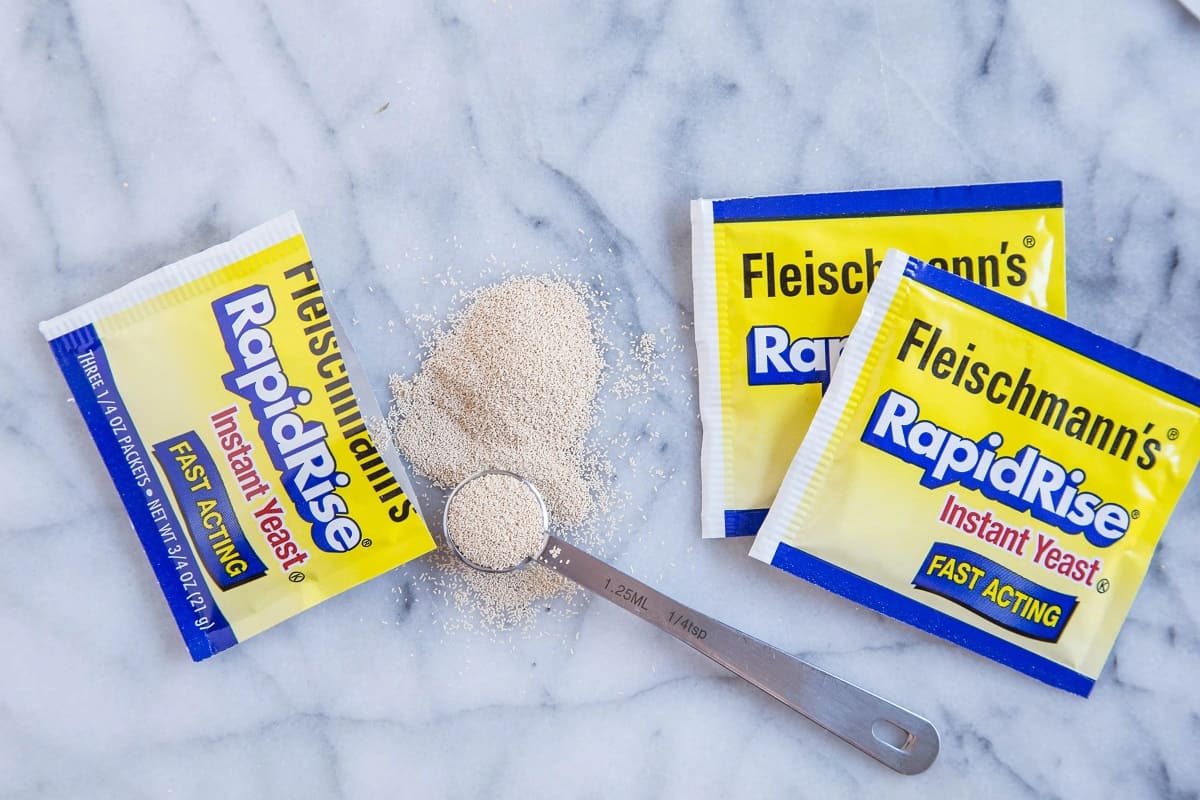
- Use fresh yeast: Always use fresh yeast for the best rise and flavor in your dough. Expired or inactive yeast can result in lackluster results, even with proper storage.
- Scale the recipe accordingly: If you know you’ll be storing the dough, consider making a larger batch and scaling the recipe accordingly. This way, you’ll have enough dough to meet your needs even after storage.
- Thoroughly clean and dry the storage container: Before using a container for dough storage, make sure it’s clean and dry to prevent any unwanted contamination or moisture build-up.
- Avoid storing dough with strong-smelling ingredients: If you plan to store dough with ingredients like garlic or onions, consider using a separate container to prevent the strong smells from permeating the dough and affecting its flavor.
- Plan ahead: If you know you’ll be using stored dough, plan your baking schedule accordingly. Thaw frozen dough or take refrigerated dough out of the fridge early enough to allow for proper rise and relaxation before baking.
- For refrigerated dough, use within 72 hours: Refrigerated dough is best used within 72 hours to ensure optimal rise and flavor. After this time, the yeast activity may decline, resulting in a less impressive rise.
- For frozen dough, label and date the packages: Properly label and date the frozen dough packages to help you keep track of their freshness and use them in the correct order.
- Experiment with different storage times: Depending on the recipe and your personal preferences, you can experiment with different storage times to achieve a desired flavor profile. Longer fermentations can enhance flavors, while shorter ones may offer a milder taste.
- Observe the dough closely: While the recommended storage times serve as a guideline, trust your senses when assessing the dough’s readiness. If it smells overly sour or has an off-putting appearance, it may be a sign of over-fermentation or spoilage.
- Enjoy the versatility: Stored dough allows you to have freshly baked goods at your convenience. Experiment with different shapes, toppings, and fillings to create a variety of delicious treats.
By following these tips, you can confidently store your dough with yeast and enjoy freshly baked goods whenever your cravings strike. With a little planning and proper storage techniques, your dough will be ready to rise and shine!
Read more: How To Store Instant Yeast
Conclusion:
Properly storing dough with yeast is essential for maintaining its freshness, maximizing flavor, and ensuring optimal rise in your baked goods. By considering factors such as temperature, time, moisture content, and the type of dough, you can tailor your storage methods to meet the specific needs of your recipes.
Choosing the correct container, whether it’s an airtight plastic or glass container, allows you to maintain optimal moisture levels and prevent the dough from drying out or becoming too sticky. Properly sealing and wrapping the dough with plastic wrap or double wrapping with aluminum foil adds an extra layer of protection from air exposure and freezer burn.
Refrigerating dough is a great option for those who want to slow down fermentation and have freshly baked goods within a few days. Freezing dough allows for even longer storage, giving you the flexibility to have dough on hand whenever you desire. Thawing frozen dough in the refrigerator ensures a proper and gradual thawing process that restores the dough’s texture and rise.
Following these storage tips, along with using fresh yeast and scaling recipes accordingly, will help you achieve the best possible results when storing dough with yeast. Experimenting with different storage times and enjoying the versatility of stored dough allows you to indulge in a variety of delicious baked treats at your convenience.
So, the next time life gets busy and you can’t bake right away, don’t worry! With proper storage techniques, you can always have dough ready to rise and create mouthwatering homemade bread, pizza, or pastries whenever you crave them.
Get ready to unlock the full potential of your dough and elevate your baking game by utilizing these tips and techniques for storing dough with yeast.
Frequently Asked Questions about How To Store Dough With Yeast
Was this page helpful?
At Storables.com, we guarantee accurate and reliable information. Our content, validated by Expert Board Contributors, is crafted following stringent Editorial Policies. We're committed to providing you with well-researched, expert-backed insights for all your informational needs.


0 thoughts on “How To Store Dough With Yeast”