Articles
How To Store Homemade English Muffins
Modified: February 22, 2024
Looking for articles on how to store homemade English muffins? Find tips and tricks to keep your muffins fresh and delicious for longer in this comprehensive guide.
(Many of the links in this article redirect to a specific reviewed product. Your purchase of these products through affiliate links helps to generate commission for Storables.com, at no extra cost. Learn more)
Introduction
Welcome to the delightful world of homemade English muffins! If you’ve never tasted a warm, freshly-baked muffin straight from your own oven, then you are in for a treat. Making your own English muffins is not only a satisfying and rewarding experience, but it also allows you to customize their flavors and textures to perfection.
Whether you prefer a classic plain muffin, or you fancy adding some extra pizzazz with herbs, cheese, or even chocolate chips, the possibilities are endless when it comes to creating your own unique twist on this beloved breakfast staple. But what about storing the homemade English muffins once you’ve made a batch?
In this article, we will guide you through the process of storing your freshly-made English muffins, ensuring that they stay fresh and delicious for as long as possible. With the right techniques and equipment, you’ll be able to enjoy your homemade muffins anytime you like, whether it’s for a quick breakfast on a busy morning or a leisurely brunch with friends and family.
Before we dive into the specifics of storing your muffins, let’s first take a look at the essential equipment you’ll need to have on hand.
Key Takeaways:
- Master the art of making and storing homemade English muffins to enjoy customizable flavors and textures. With proper equipment, ingredients, and storage techniques, savor the delightful results of your baking labor.
- Elevate your breakfast game by creating fluffy, flavorful homemade English muffins and storing them for long-lasting freshness. From mixing the dough to shaping and storing, enjoy the satisfying process and mouthwatering results.
Read more: How To Store English Muffins
Equipment Needed
Before you embark on your homemade English muffin journey, make sure you have the following equipment ready:
- Mixing Bowl: A large mixing bowl is essential for combining the ingredients and kneading the dough.
- Measuring Cups and Spoons: Accurate measurements are crucial for baking success, so make sure you have measuring cups and spoons to measure out the ingredients.
- Stand Mixer or Hand Mixer (optional): While not necessary, a stand mixer or hand mixer can make the mixing and kneading process easier and more efficient.
- Dough Scraper: A dough scraper will help you handle the sticky dough and shape the muffins.
- Griddle or Skillet: A flat, non-stick griddle or skillet is ideal for cooking the muffins.
- Cookie Cutter or Biscuit Cutter: To achieve that classic round shape, a cookie cutter or biscuit cutter of about 3 to 4 inches in diameter will come in handy.
- Cooling Rack: A cooling rack will allow the muffins to cool evenly and prevent them from becoming soggy on the bottom.
- Airtight Container or Freezer Bags: To store the muffins properly and prolong their freshness, you’ll need airtight containers or freezer bags.
With these essential tools, you’ll be well-prepared to tackle the task of making your own homemade English muffins. Now, let’s move on to the key ingredients you’ll need for the recipe.
Ingredients
To make a delicious batch of homemade English muffins, you’ll need the following ingredients:
- 3 cups of all-purpose flour
- 1 tablespoon of granulated sugar
- 1 teaspoon of salt
- 1 and 1/4 teaspoons of active dry yeast
- 1 cup of warm milk (around 110°F or 43°C)
- 2 tablespoons of unsalted butter, melted
- Cornmeal for dusting
These simple yet essential ingredients come together to create a soft and fluffy texture with a subtle hint of sweetness. Feel free to experiment with different types of flour, such as whole wheat or bread flour, to add more complexity to the flavor of your muffins.
Now that you have all the necessary equipment and ingredients, it’s time to dive into the step-by-step process of making and storing your delicious homemade English muffins. Let’s get started!
Step 1: Mixing the Dough
The first step in creating your homemade English muffins is to mix the dough. Follow these simple instructions:
- In a large mixing bowl, combine the all-purpose flour, granulated sugar, salt, and active dry yeast. Mix well to ensure that the dry ingredients are evenly distributed.
- Make a well in the center of the dry ingredients and pour in the warm milk and melted butter.
- Using a wooden spoon or your hands, mix the wet and dry ingredients together until a shaggy dough starts to form.
- If using a stand mixer or hand mixer, attach the dough hook and mix on low speed for about 5 minutes until the dough becomes smooth and elastic. If mixing by hand, knead the dough on a lightly floured surface for about 8-10 minutes.
- Transfer the dough to a lightly greased bowl and cover it with a clean kitchen towel or plastic wrap. Allow the dough to rise in a warm place for about 1 to 2 hours, or until it has doubled in size.
This initial mixing step helps to activate the yeast and develop the gluten in the dough, resulting in a light and airy texture for your English muffins. Once the dough has risen, it’s time to move on to the next step: kneading and rising the dough.
Step 2: Kneading and Rising the Dough
After the initial rise, it’s time to knead and further develop the dough. Follow these steps:
- Dust your work surface with flour and gently transfer the risen dough onto it.
- Knead the dough for about 5 minutes, using the heel of your hand to push the dough away from you, then fold it back towards you. Repeat this process until the dough becomes smooth and elastic.
- Shape the dough into a ball and place it back into the greased bowl.
- Cover the bowl with a kitchen towel or plastic wrap and let the dough rise again for about 1 to 2 hours, or until it has doubled in size.
The process of kneading helps to further develop the gluten in the dough, creating a more structured and elastic texture. The second rise allows the yeast to continue fermenting and producing carbon dioxide, which gives the muffins their signature airy and hole-filled structure. Once the dough has completed its second rise, it’s time to move on to shaping the muffins.
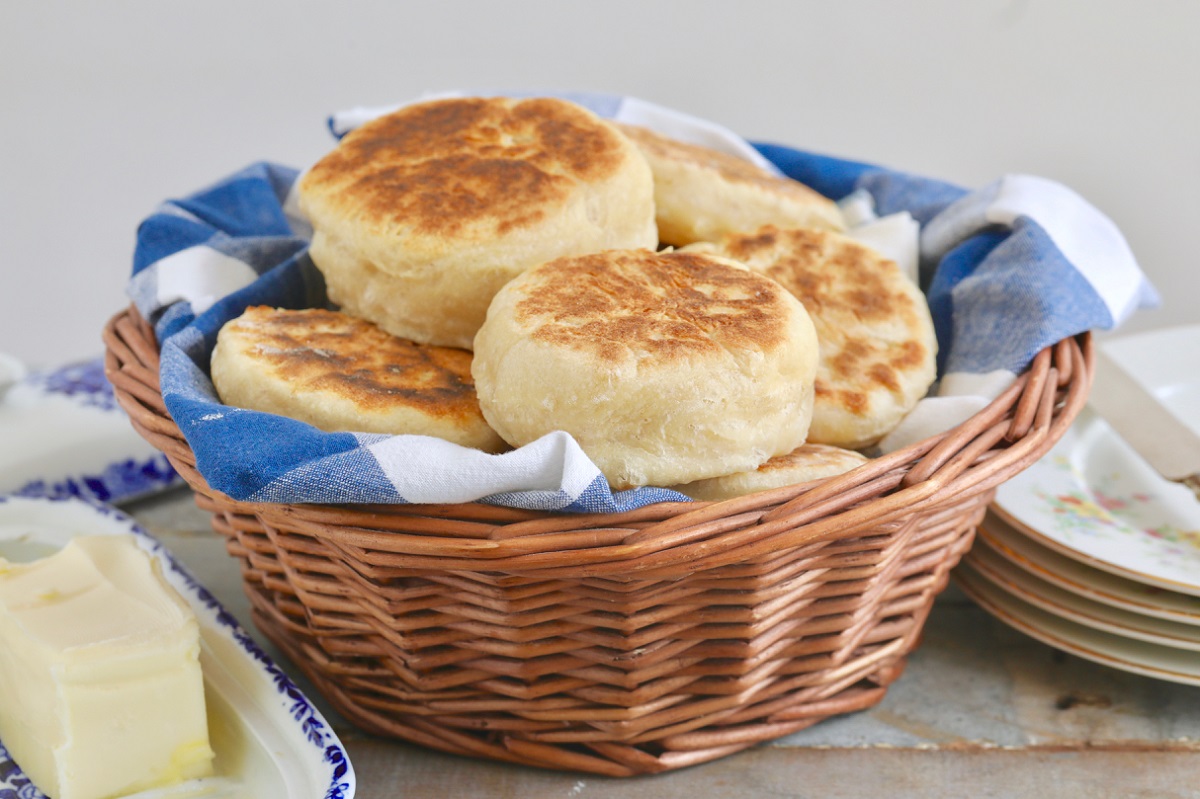
After allowing the homemade English muffins to cool completely, store them in an airtight container or resealable plastic bag at room temperature for up to 2 days. For longer storage, freeze the muffins in a freezer-safe bag for up to 3 months.
Read more: How To Store Homemade Muffins
Step 3: Shaping the Muffins
Now that your dough has risen and is ready to be transformed into delicious muffins, follow these steps to shape them:
- Gently punch down the dough to release any air bubbles.
- Transfer the dough onto a lightly floured surface and roll it out to a thickness of about 1/2 inch.
- Using a cookie cutter or biscuit cutter, cut out rounds of dough, approximately 3 to 4 inches in diameter. You should be able to get around 10 to 12 muffins.
- Place the cut-out rounds onto a baking sheet lined with parchment paper. Make sure to leave enough space between each muffin to allow for spreading.
- Sprinkle a generous amount of cornmeal onto both sides of each muffin, gently pressing it into the dough.
Shaping the muffins is not only about creating the desirable round shape, but also about enhancing their texture and flavor with the addition of the cornmeal. The cornmeal gives a slightly crunchy exterior while preventing sticking during the cooking process. After shaping, it’s time to let the muffins undergo their final rise.
Step 4: Final Rise
Once the muffins are shaped and coated with cornmeal, it’s time to give them a final rise before cooking. Follow these steps:
- Cover the baking sheet with a clean kitchen towel or plastic wrap.
- Allow the muffins to rise for about 30 to 45 minutes, or until they have puffed up and feel slightly springy to the touch.
This final rise helps to ensure that the muffins are light and airy when cooked. It allows the yeast to further ferment and produce gas, creating those signature nooks and crannies that are perfect for trapping butter, jam, or any other delicious toppings you desire. After the final rise, it’s time to move on to cooking the muffins.
Step 5: Cooking the Muffins
Now that your muffins have undergone their final rise, it’s time to cook them to perfection. Follow these steps:
- Heat a griddle or skillet over medium-low heat. Lightly grease the surface with butter or cooking spray.
- Carefully transfer the risen muffins onto the preheated griddle or skillet. Make sure to leave enough space between each muffin for easy flipping.
- Cook the muffins for about 6 to 8 minutes on each side, or until they are golden brown and cooked through. You can gently press down on the muffins with a spatula to ensure even browning.
- Once the muffins are cooked, transfer them to a cooling rack to cool completely.
Cooking the muffins on a griddle or skillet allows for even and controlled heat distribution, resulting in perfectly golden and crisp exteriors. The inside of the muffins should be soft, fluffy, and cooked through. Once the muffins have cooled, it’s time to move on to the final step: cooling and storing.
Step 6: Cooling and Storing
After cooking your mouthwatering homemade English muffins, it’s important to properly cool and store them to maintain their freshness. Follow these final steps:
- Allow the cooked muffins to cool completely on a cooling rack. This will prevent them from becoming soggy on the bottom.
- Once the muffins have cooled, it’s time to store them for future enjoyment. If you plan to consume them within the next few days, you can store them at room temperature in an airtight container. Make sure the container is large enough to accommodate the size of the muffins without squishing them.
- If you want to store the muffins for a longer period, you can freeze them. Wrap each muffin individually in plastic wrap or place them in freezer bags. Place the wrapped muffins in an airtight container or freezer bags to prevent freezer burn.
- When you’re ready to enjoy your homemade muffins, simply thaw them at room temperature or pop them in the toaster for a quick warm-up. They’ll taste just as delicious as the day you made them!
By properly cooling and storing your homemade English muffins, you can extend their shelf life and ensure that they remain flavorful and fresh. Whether you choose to enjoy them right away or save them for later, you’ll always have a delightful treat ready to satisfy your cravings.
Now that you’ve mastered the art of storing homemade English muffins, it’s time to grab your ingredients, equipment, and get baking! Enjoy the process and savor the mouthwatering results of your labor. Bon appétit!
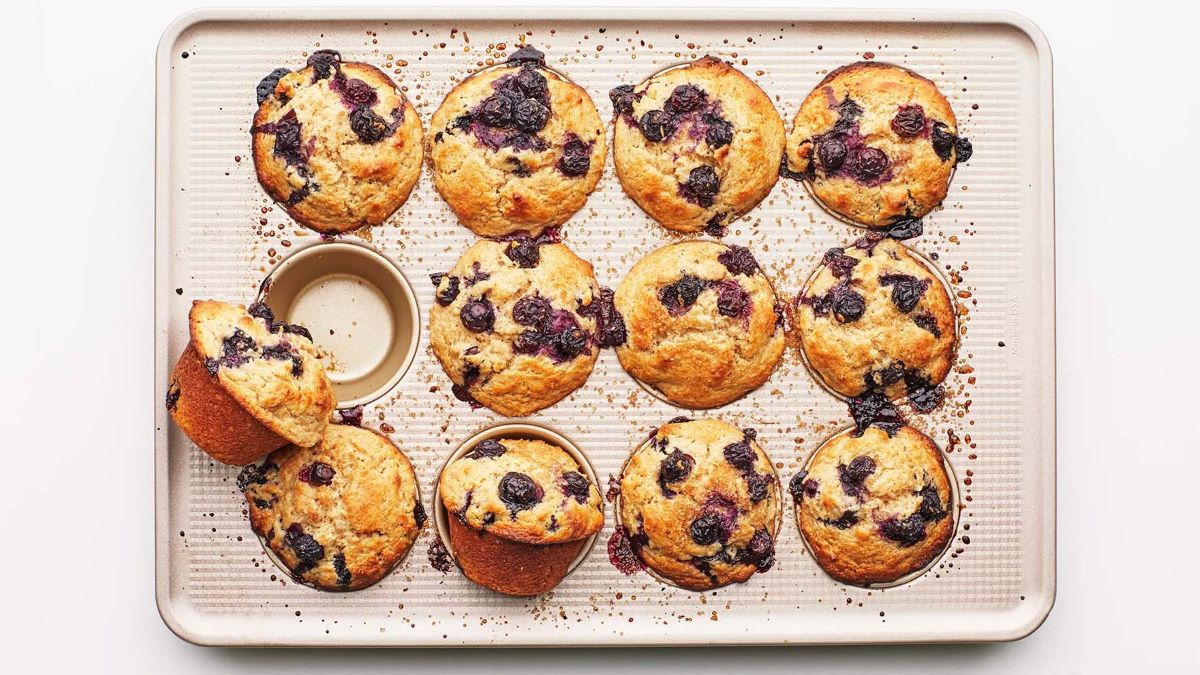
Read more: How To Store Homemade Blueberry Muffins
Conclusion
Congratulations! You have successfully learned how to make homemade English muffins and store them for long-lasting freshness. Making your own muffins allows you to experience the joy of baking and customize your flavors and textures to suit your preferences.
By following the step-by-step process outlined in this article, you can create delicious and fluffy English muffins that are perfect for breakfast or any time of the day. From mixing the dough to shaping, rising, cooking, and finally storing, each step contributes to the overall quality and taste of your homemade treats.
Remember, preparation is key. Ensure you have all the necessary equipment, including a mixing bowl, measuring cups, griddle, and airtight containers, to make the process smoother. The right ingredients, such as all-purpose flour, sugar, salt, yeast, milk, and butter, come together to create a delightful flavor combination.
The careful kneading, rising, and shaping of the dough play an important role in achieving the desired texture and structure of the muffins. The final rise allows the muffins to develop their signature nooks and crannies while the gentle cooking on a griddle or skillet ensures a crispy exterior and fluffy interior.
Once your homemade English muffins have cooled, proper storage is crucial to maintain their freshness and taste. Whether storing them at room temperature for a few days in an airtight container or freezing them for longer periods in individual wrappings, you can always have a batch of delicious muffins at your fingertips.
Now that you have mastered the art of making and storing homemade English muffins, it’s time to enjoy the fruits of your labor. Pair them with butter, jam, or your favorite toppings, and savor every bite. Share them with friends and family or indulge in a solo treat. The choice is yours!
Thank you for joining us on this culinary journey, and we hope you continue to explore the world of homemade delights. Happy baking!
Frequently Asked Questions about How To Store Homemade English Muffins
Was this page helpful?
At Storables.com, we guarantee accurate and reliable information. Our content, validated by Expert Board Contributors, is crafted following stringent Editorial Policies. We're committed to providing you with well-researched, expert-backed insights for all your informational needs.


0 thoughts on “How To Store Homemade English Muffins”