Articles
How To Store Homemade Hummus
Modified: December 7, 2023
Learn how to properly store homemade hummus in this informative article. Keep your hummus fresh and delicious with these helpful tips.
(Many of the links in this article redirect to a specific reviewed product. Your purchase of these products through affiliate links helps to generate commission for Storables.com, at no extra cost. Learn more)
Introduction
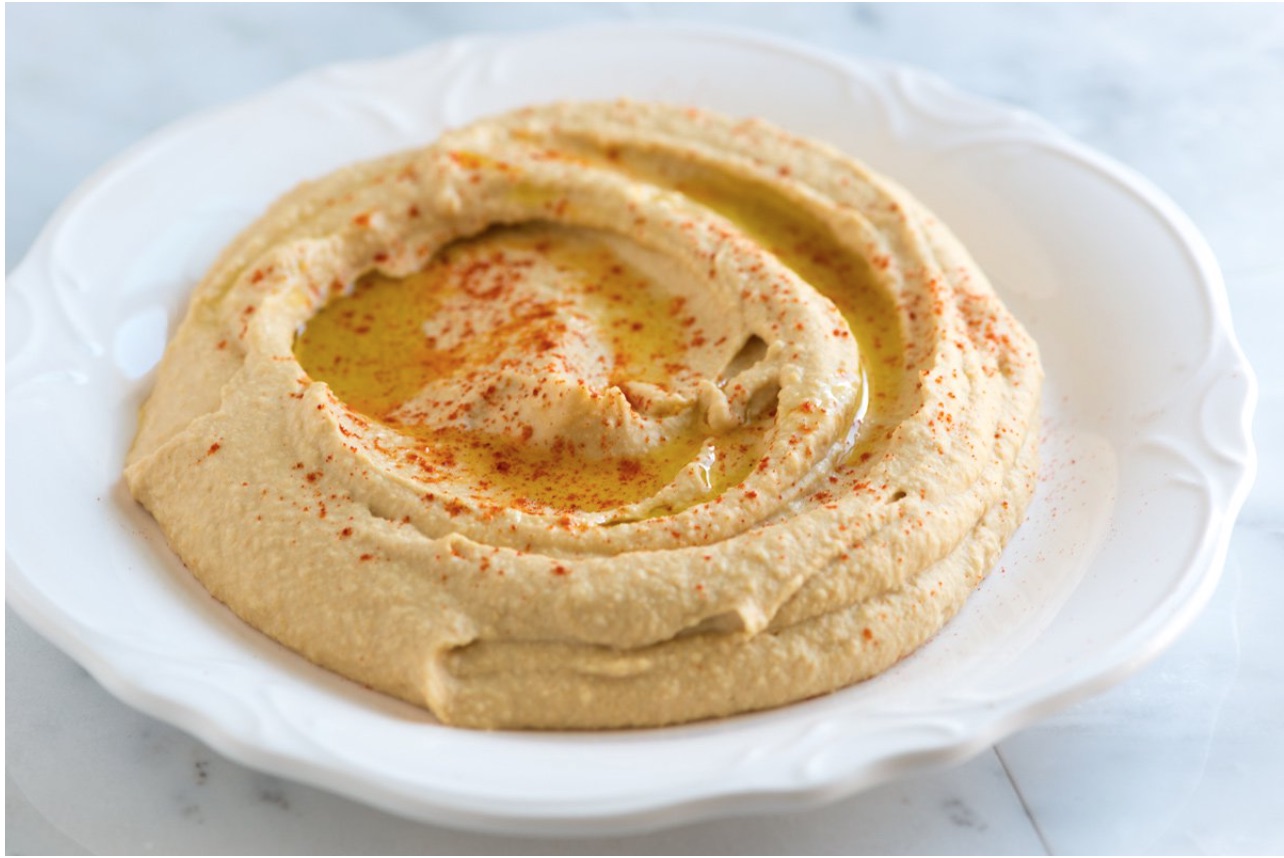
Making homemade hummus is a delicious and healthy way to enjoy this popular Middle Eastern dip. Whether you are whipping up a classic chickpea-based hummus or experimenting with unique flavors like roasted red pepper or spinach and feta, one question remains: How do you store your homemade hummus to keep it fresh and tasty?
Proper storage is essential to maintain the flavor and texture of your homemade hummus. In this article, we will walk you through a step-by-step guide on how to store homemade hummus, ensuring it stays fresh for an extended period.
We will discuss everything from choosing the right container to refrigeration and tracking the expiration date. By following these simple tips, you can enjoy your homemade hummus for several days without compromising its quality.
So, let’s dive into the details and find out how to properly store your delicious homemade hummus!
Key Takeaways:
- Properly storing homemade hummus is crucial for maintaining its freshness and flavor. Choose the right container, refrigerate at the ideal temperature, and track expiration dates to savor the creamy goodness for an extended period.
- Drain and rinse chickpeas, blend ingredients, and refrigerate in an airtight container to enjoy homemade hummus for up to one week. Be mindful of expiration dates and signs of spoilage for safe consumption.
Read more: How To Store Homemade Boba
Step 1: Choose the Right Container
When it comes to storing homemade hummus, choosing the right container is crucial to maintain its freshness and flavor. Opt for an airtight container that is made of glass or BPA-free plastic. These materials help prevent air from entering the container, which can lead to oxidation and spoilage.
Additionally, make sure the container is clean and free from any residue or lingering odors. If you are reusing a container, give it a thorough wash with hot, soapy water and rinse it well before use.
Consider using a container with a tight-fitting lid to ensure a proper seal. This helps to keep your hummus fresh and prevents any contamination from external sources.
When selecting the size of the container, it’s wise to choose one that is slightly larger than the amount of hummus you are storing. This allows for expansion, especially if you plan on freezing portions of the hummus.
So, remember to choose a clean, airtight container that is slightly larger than the amount of hummus you have prepared.
Step 2: Drain and Rinse the Chickpeas
Before you start storing your homemade hummus, it’s important to prepare the chickpeas properly. If you are using canned chickpeas, begin by draining and rinsing them under cold water. This step helps remove any excess salt and brine from the canned chickpeas.
If you prefer to cook chickpeas from scratch, ensure they are thoroughly soaked and cooked until they are soft and tender. Once cooked, drain the chickpeas and give them a quick rinse to remove any residual starch or cooking liquid.
Draining and rinsing the chickpeas is important because it helps improve the texture and flavor of your hummus. It removes any unwanted flavors and excess salt, allowing the other ingredients to shine through.
After draining and rinsing the chickpeas, you are ready to move on to the next step: blending the ingredients to create a smooth and creamy hummus.
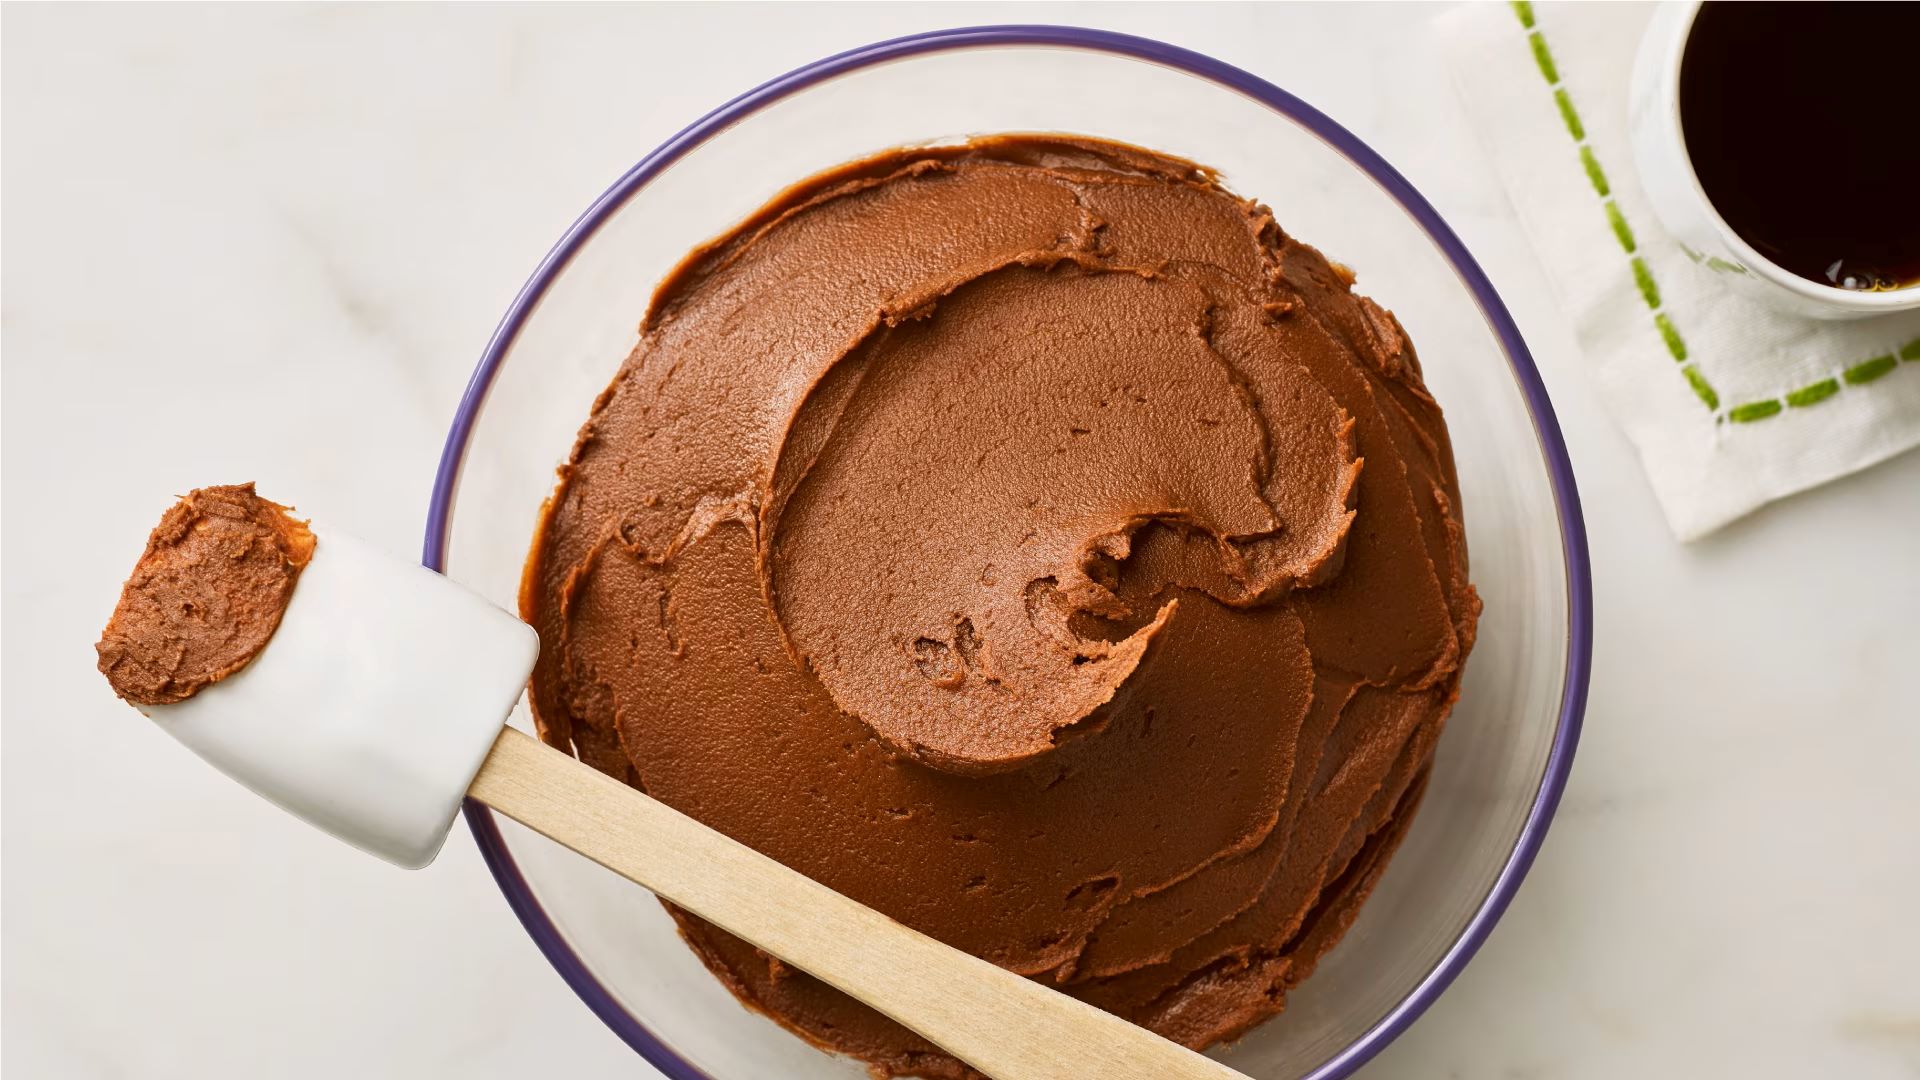
Step 3: Blend the Ingredients
Now that you have properly prepared the chickpeas, it’s time to blend all the ingredients together to create a delicious and creamy homemade hummus.
In addition to the chickpeas, you will need other key ingredients such as tahini (sesame paste), garlic, lemon juice, olive oil, and spices like cumin and paprika. These ingredients are essential for achieving the authentic flavor and smooth texture of hummus.
Start by adding the chickpeas to a food processor or blender. Next, add the tahini, garlic, lemon juice, olive oil, and any desired spices or seasonings. Secure the lid, and blend the mixture until it becomes thick and creamy.
If the consistency is too thick, you can add a little water or extra olive oil to achieve your desired texture. It’s all about personal preference, so feel free to adjust the ingredients and flavors according to your taste.
Continue blending until all the ingredients are well combined and the hummus reaches a smooth and velvety consistency. You may need to occasionally pause and scrape down the sides of the blender or food processor to ensure even blending.
Once the hummus is creamy and smooth, it’s time to move on to the next step: storing it in the appropriate container for long-lasting freshness.
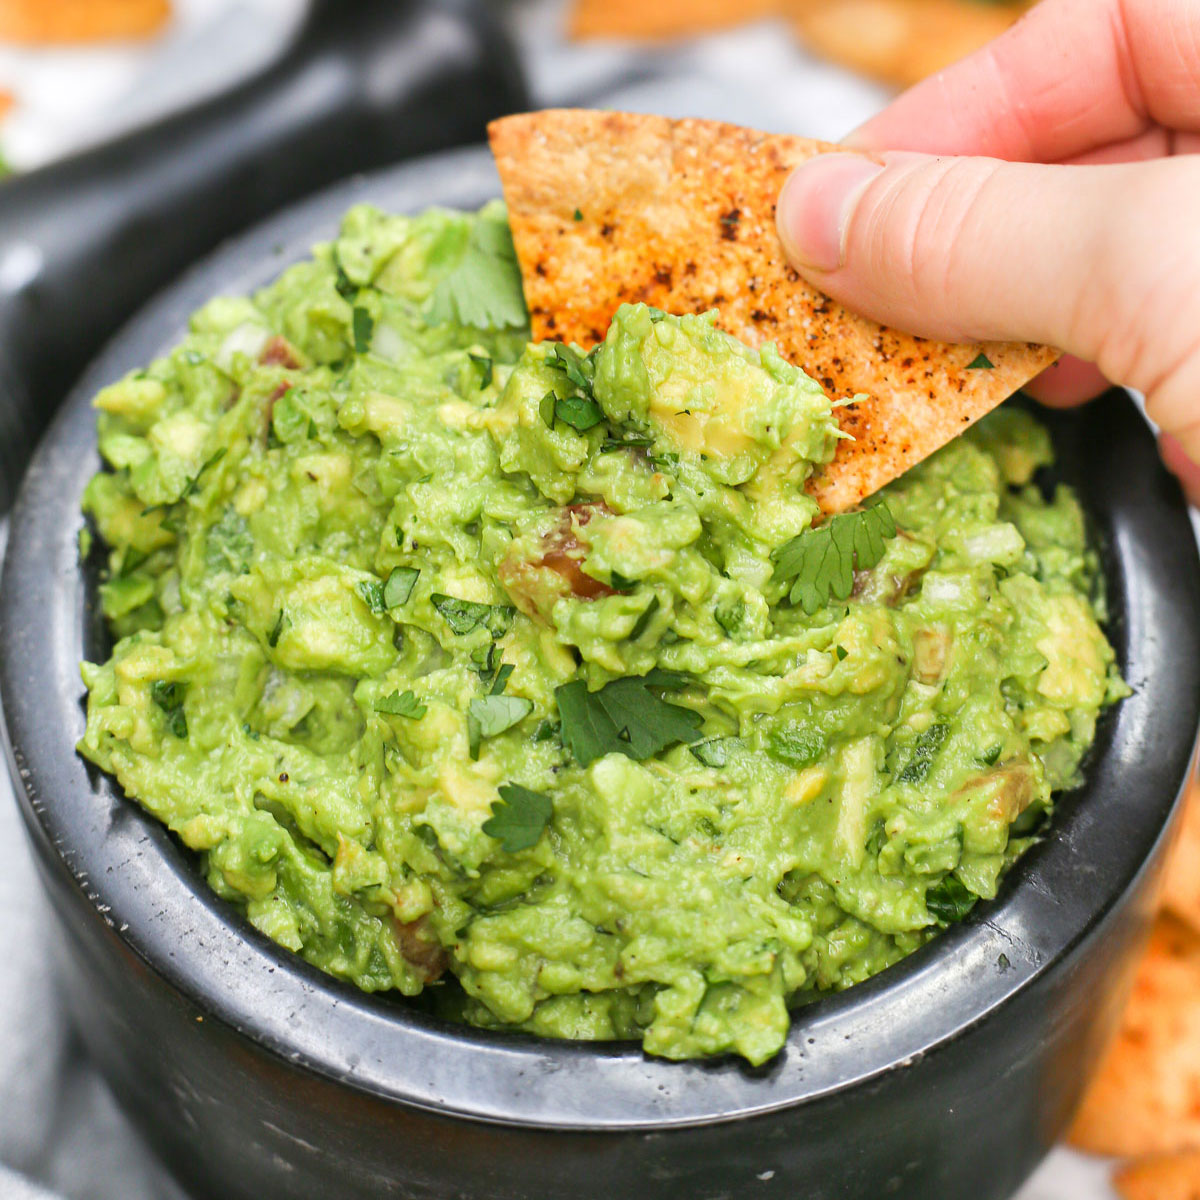
Store homemade hummus in an airtight container in the refrigerator for up to one week. Drizzle a thin layer of olive oil on top to help preserve freshness and prevent it from drying out.
Step 4: Store in an Airtight Container
After you have prepared your homemade hummus, it’s crucial to store it in an airtight container to maintain its freshness and prevent it from drying out.
Transfer the blended hummus into the chosen airtight container, ensuring you leave some space at the top to allow for expansion. Use a spatula to scrape every last bit of hummus from the blender or food processor.
Seal the container tightly to create an airtight environment. This will help prevent air from entering and causing oxidation, which can lead to a decrease in flavor and texture.
Remember to label the container with the preparation date if you are planning to store the hummus for more than a day or two. This will make it easier for you to track its freshness and ensure you consume it before it expires.
Now that your homemade hummus is securely stored in an airtight container, it’s time to move on to the next step: refrigerating it to extend its shelf life.
Read more: How To Store Homemade Pies
Step 5: Refrigerate the Hummus
Once you have transferred your homemade hummus to an airtight container, the next step is to refrigerate it. Refrigeration is essential for maintaining the freshness and quality of your hummus.
Place the sealed container of hummus in the refrigerator and ensure it is stored at a temperature between 35°F and 40°F (1.6°C to 4.4°C). This temperature range is ideal for keeping your hummus fresh and safe to consume.
Refrigeration helps slow down the growth of any bacteria or microorganisms that can cause spoilage. It also helps retain the flavors and textures of the ingredients, ensuring your hummus remains creamy and delicious.
Keep in mind that refrigerated homemade hummus can typically last for up to one week. However, it’s important to note any expiration date guidelines for the specific ingredients used in your recipe.
Remember to always use clean utensils when scooping out the desired amount of hummus to prevent any cross-contamination. This will help extend the shelf life of the remaining hummus in the container.
Now that your homemade hummus is properly refrigerated, you can enjoy it as a dip, spread, or addition to various dishes whenever you crave its delightful flavors.
Step 6: Track the Expiration Date
Tracking the expiration date of your homemade hummus is crucial to ensure its freshness and safety for consumption. While refrigerating your hummus can extend its shelf life, it’s still important to be mindful of the expiration date.
Many of the ingredients used in homemade hummus, such as tahini, lemon juice, and even the chickpeas themselves, may have their own expiration dates. It’s essential to consider the shortest expiration date among the ingredients used in your recipe.
Label your container with the preparation date and the earliest expiration date of any ingredient used. This will help remind you of when it’s time to consume the hummus before it goes bad.
As a general guideline, refrigerated homemade hummus typically stays fresh for up to one week. However, it’s always best to rely on the expiration dates of the individual ingredients as a determining factor.
When checking for freshness, look for any signs of spoilage, such as mold growth, off odors, or changes in appearance or texture. If you notice any of these signs, it’s best to discard the hummus to avoid the risk of foodborne illness.
Remember, homemade hummus does not contain any preservatives like store-bought versions, so it’s important to consume it within a reasonable time frame to ensure your safety and enjoyment.
By tracking the expiration date and consuming your homemade hummus before it goes bad, you can fully savor its flavors and benefit from its nutritious qualities.
Conclusion
Storing homemade hummus properly is the key to preserving its freshness and flavor. By following the steps outlined in this guide, you can ensure that your homemade hummus stays delicious for an extended period.
Start by choosing the right container – one that is clean, airtight, and slightly larger than the amount of hummus you plan to store. Remember to drain and rinse the chickpeas to remove any excess salt or brine, and blend the ingredients until you achieve a smooth and creamy texture.
After blending, transfer the hummus to an airtight container, leaving some space for expansion. Seal it tightly to prevent air from entering, which can cause oxidation and spoilage. Refrigerate the hummus at the ideal temperature and be mindful of the expiration dates of the ingredients used.
Lastly, track the expiration date and ensure you consume your homemade hummus within a week or according to the shortest expiration date of the ingredients. Pay attention to signs of spoilage and discard any hummus that shows signs of mold, off odors, or changes in texture.
Enjoy the delight of your homemade hummus as a dip, spread, or an accompaniment to your favorite dishes. With proper storage, you can continue to relish its flavors and reap the nutritional benefits for an extended period.
So go ahead and make a batch of homemade hummus, store it properly, and savor its creamy goodness as you dip your favorite vegetables or spread it on warm pita bread. Happy hummus making and storing!
Frequently Asked Questions about How To Store Homemade Hummus
Was this page helpful?
At Storables.com, we guarantee accurate and reliable information. Our content, validated by Expert Board Contributors, is crafted following stringent Editorial Policies. We're committed to providing you with well-researched, expert-backed insights for all your informational needs.


0 thoughts on “How To Store Homemade Hummus”