Articles
How To Store Washed Kale
Modified: December 7, 2023
Learn the best way to store washed kale to keep it fresh and crisp with these helpful articles.
(Many of the links in this article redirect to a specific reviewed product. Your purchase of these products through affiliate links helps to generate commission for Storables.com, at no extra cost. Learn more)
Introduction
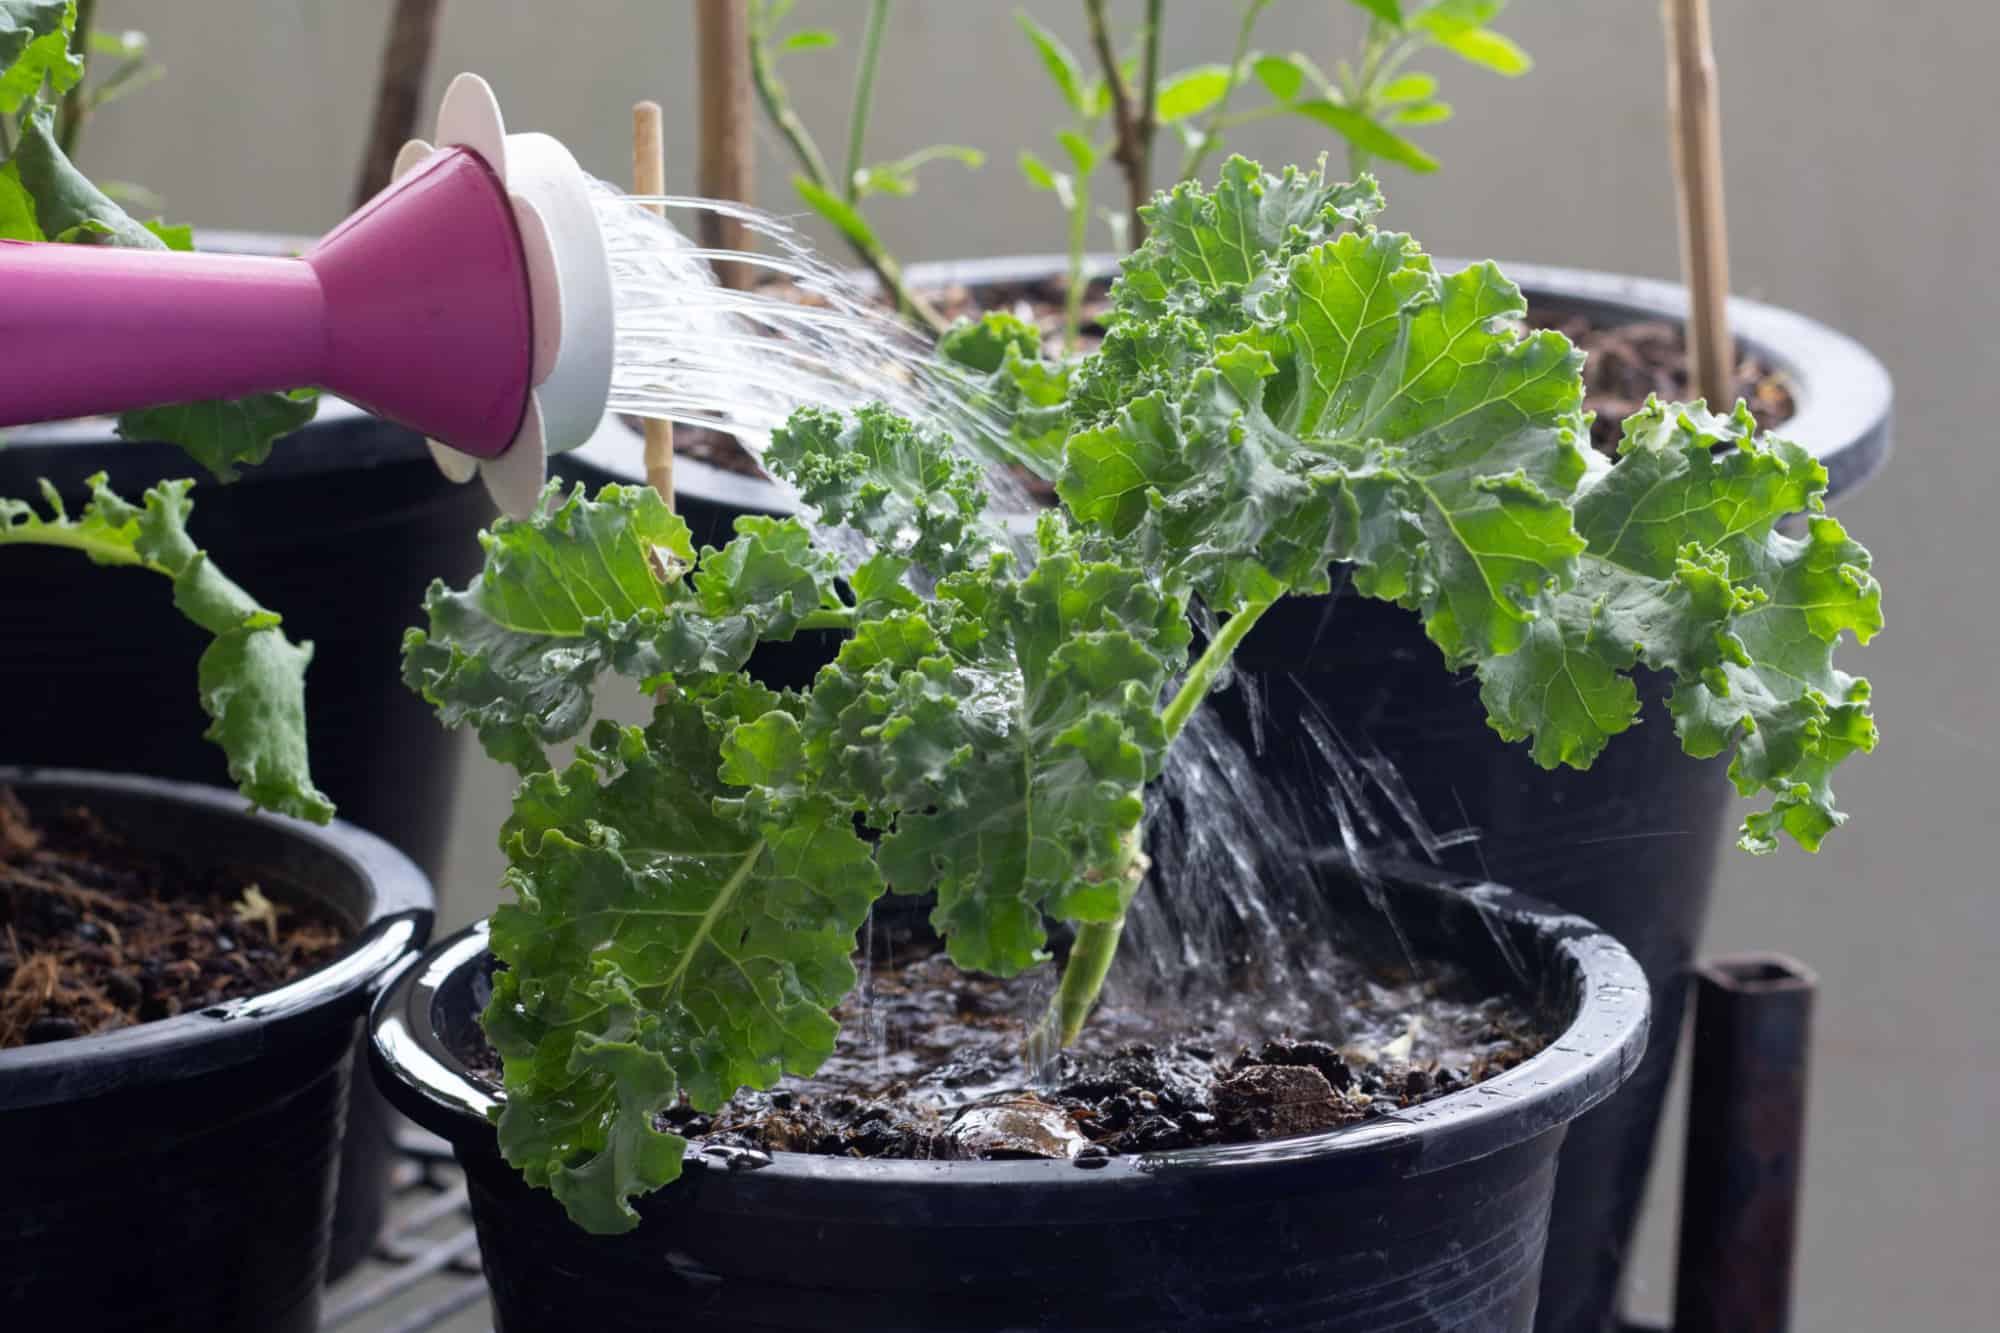
When it comes to incorporating healthy greens into our diets, kale is often at the top of the list. This nutrient-dense leafy green is packed with vitamins, minerals, and antioxidants that offer a wide array of health benefits. Whether you’ve grown your own kale or bought it from the store, it’s important to know how to store it properly to keep it fresh and flavorful.
In this article, we will share step-by-step instructions on how to store washed kale to maintain its quality and maximize its shelf life. By following these guidelines, you can ensure that your kale stays vibrant, crisp, and ready to enjoy for longer periods.
Key Takeaways:
- Properly storing washed kale involves thorough drying, choosing the right container, and refrigerating it promptly. Enjoy kale within a week to savor its freshness and nutritional benefits.
- Incorporate kale into salads, sautés, smoothies, and snacks within a week for optimal flavor and nutrition. Freezing excess kale allows for extended use in future recipes.
Read more: How To Store Kale In Freezer
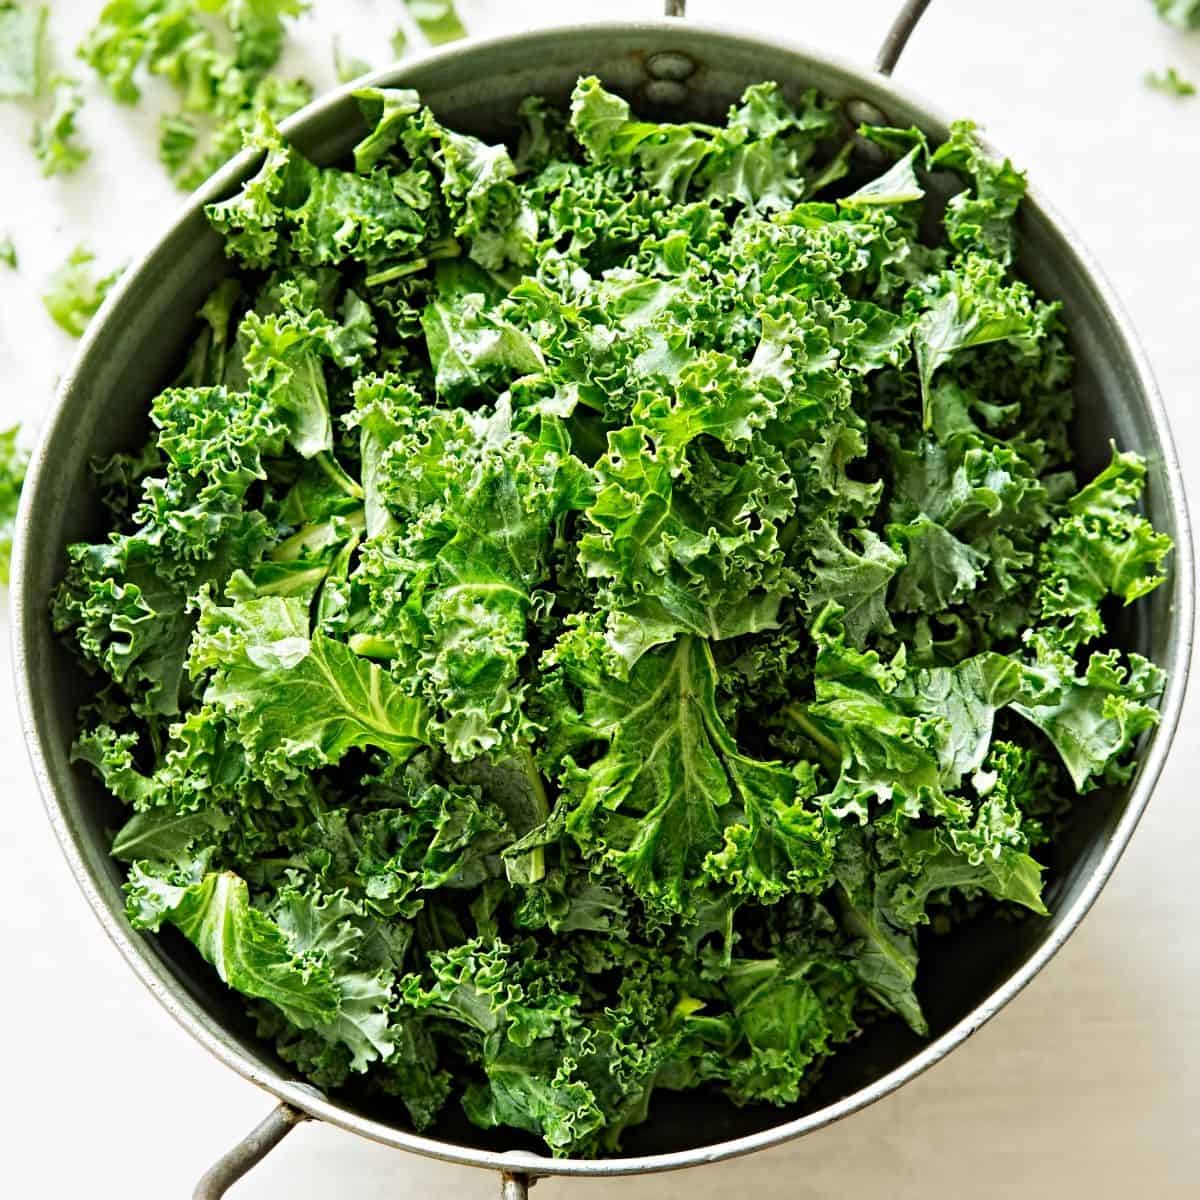
Step 1: Prepare the Washed Kale
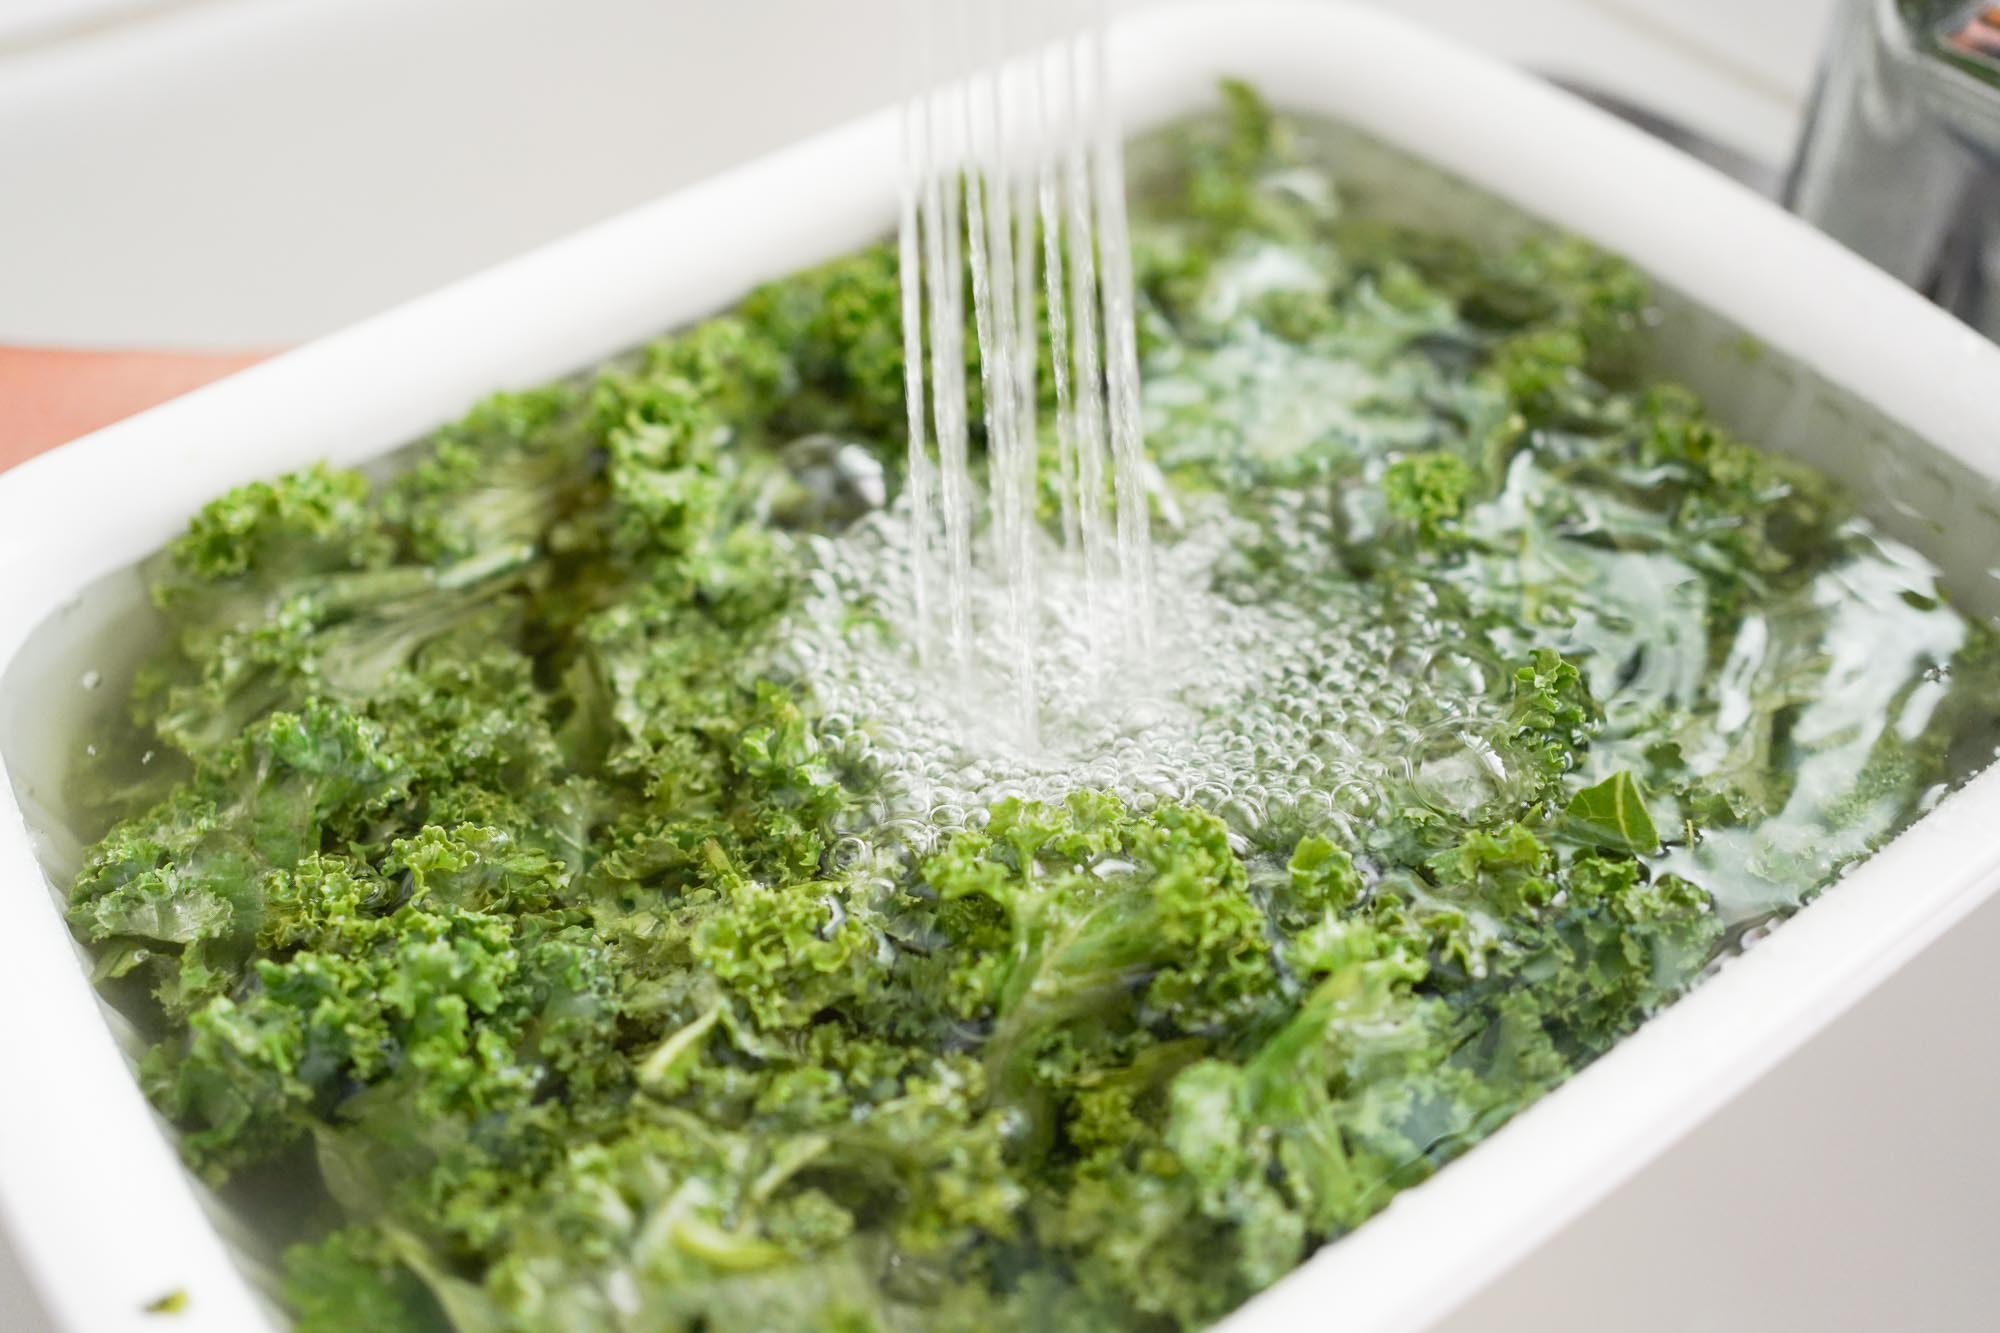
Before you can store washed kale, it’s essential to properly prepare it. Start by rinsing the kale leaves under cold running water to remove any dirt, debris, or pesticides. Hold each leaf by the stem and gently agitate it in the water to dislodge any residual particles.
After rinsing, fill a large bowl or sink with cold water and add a tablespoon of white vinegar. Submerge the kale leaves in the vinegar water solution and let them soak for about 10 minutes. The acidity of the vinegar helps to kill bacteria and preserve the freshness of the kale.
Once the soaking time is complete, give the kale leaves one final rinse under cold water to remove any vinegar taste. Be sure to shake off any excess water from the leaves, as residual moisture can promote spoilage during storage.
Now that your kale is properly washed and ready, it’s time to move on to the next step in storing it effectively.
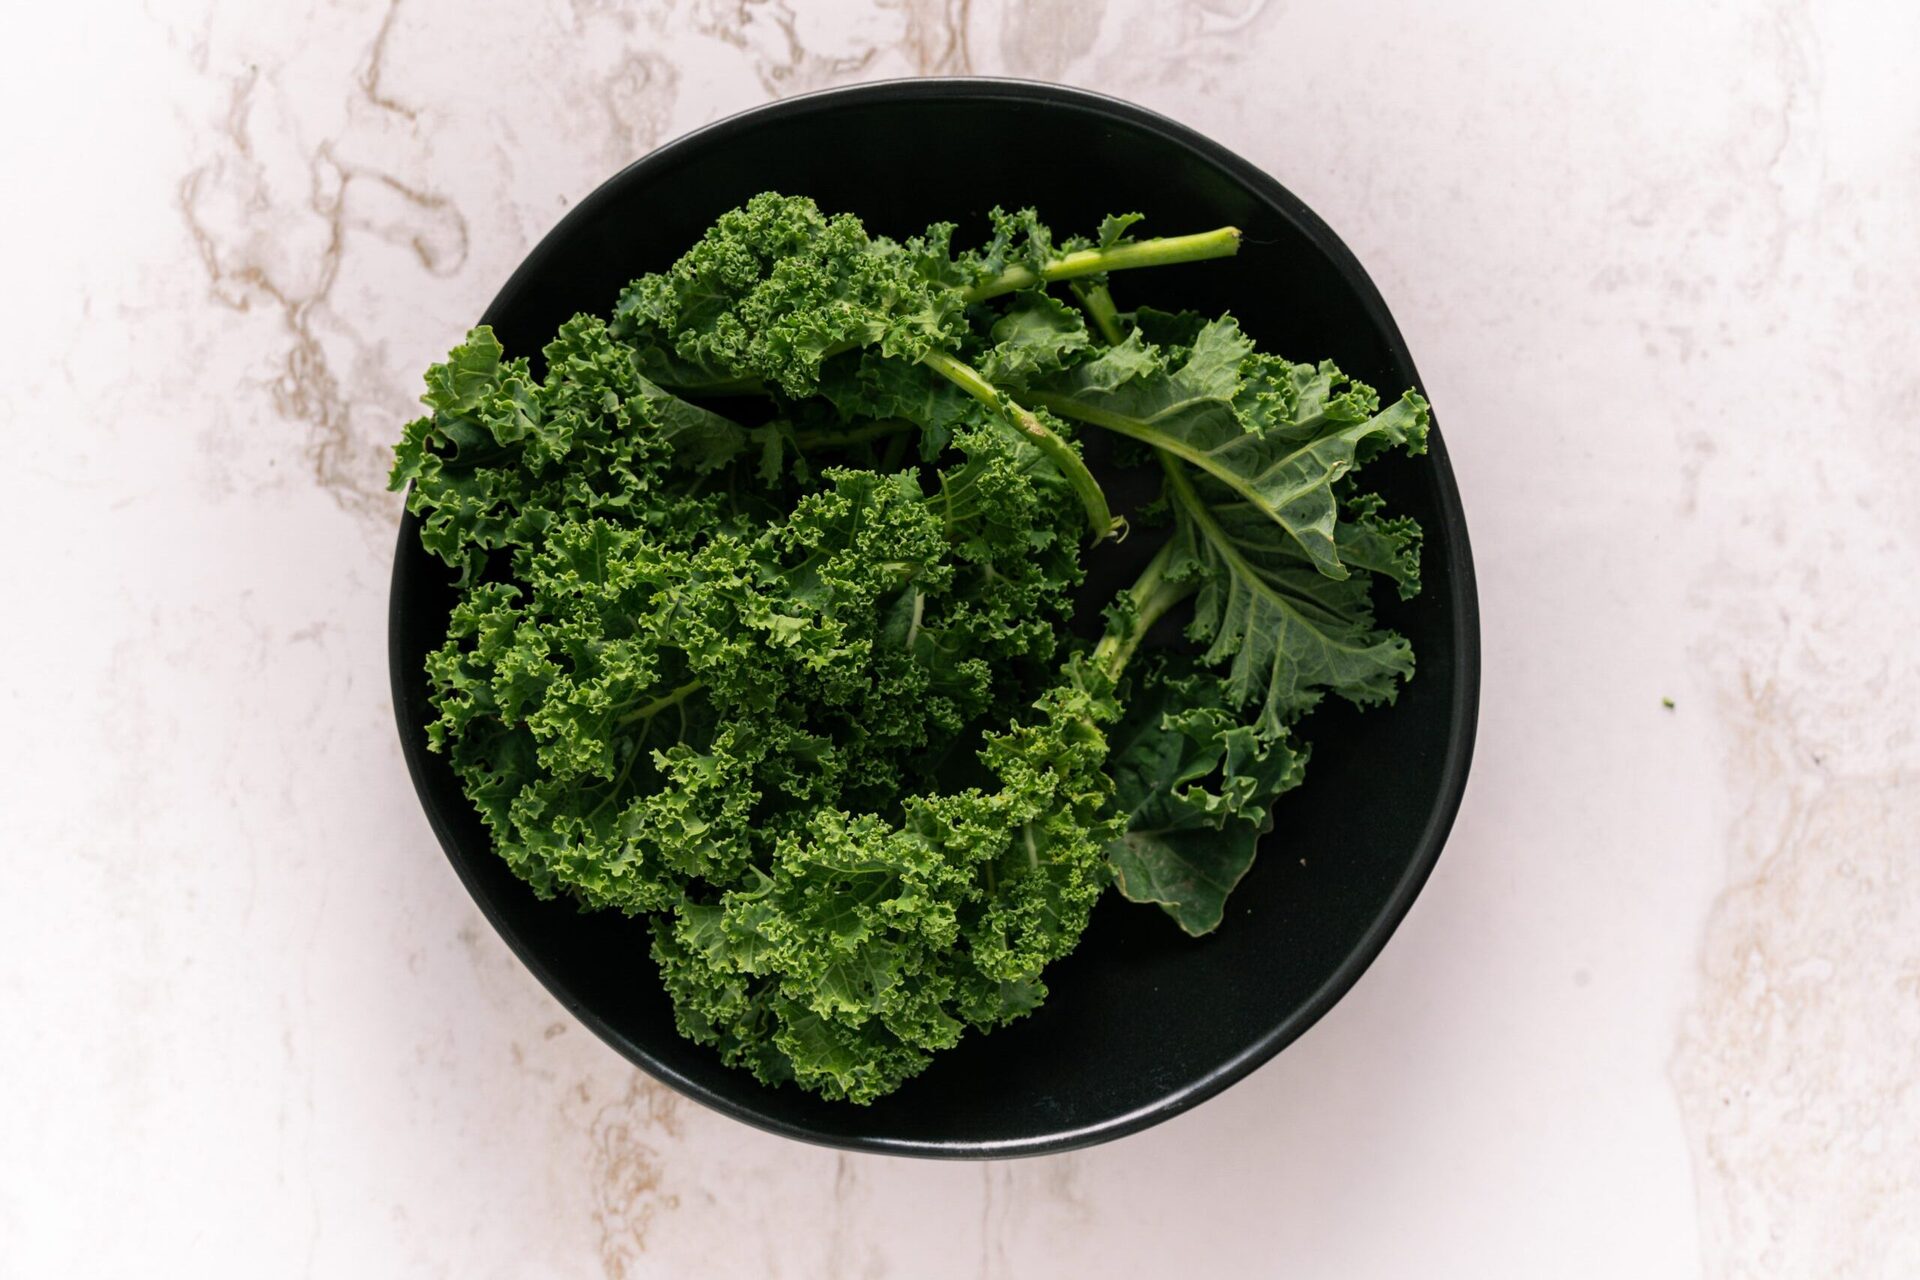
Step 2: Dry the Kale Thoroughly
After washing the kale, it’s crucial to dry it thoroughly before storing. Excess moisture can lead to spoilage and the growth of bacteria, resulting in wilted and soggy leaves. There are a few different methods you can use to dry kale:
- Shake off the excess water: Hold the kale leaves by the stem and gently shake them to remove as much water as possible. This simple technique can help eliminate a significant amount of moisture.
- Pat dry with a clean towel: Lay a clean kitchen towel on the counter and place the kale leaves on top. Gently pat the leaves dry using another towel or paper towels. Ensure that you cover each leaf and absorb any remaining water.
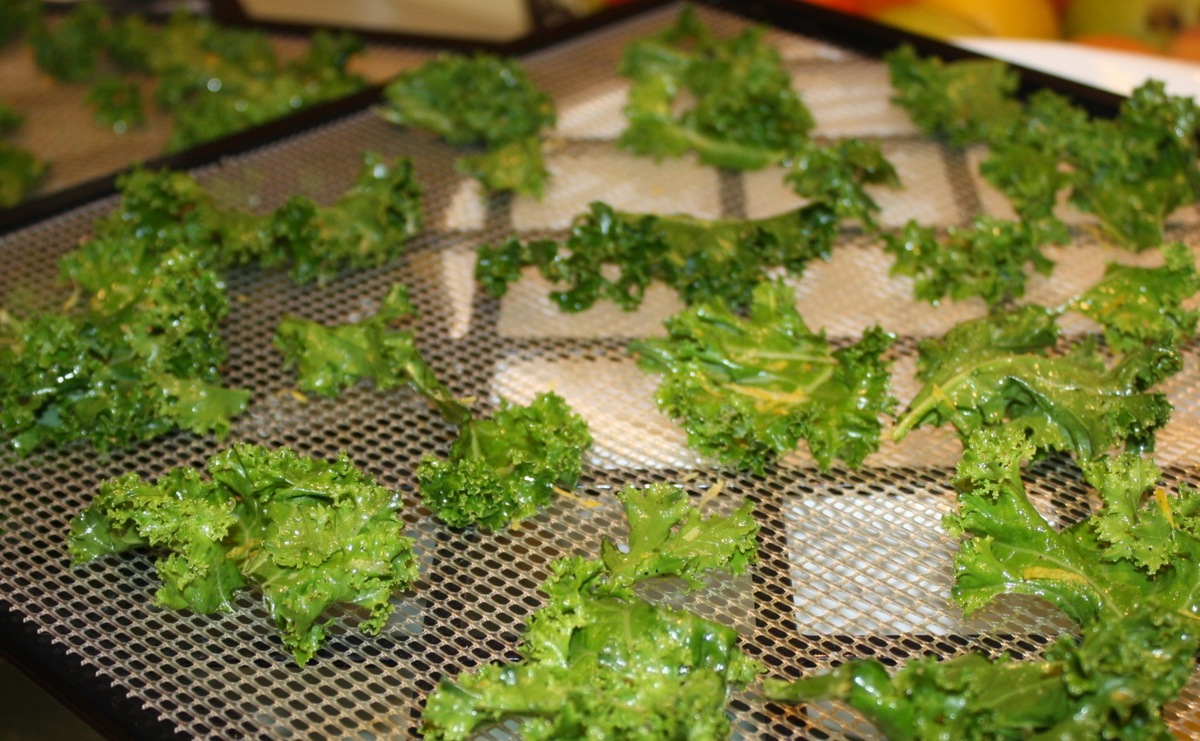
- Air dry: If time permits, you can let the kale air dry naturally. Lay the leaves on a wire rack or clean surface in a well-ventilated area. Make sure they are spread out and not overlapping to promote even drying. This method may take a bit longer, but it allows for the most thorough drying.
Regardless of the method you choose, it’s essential to ensure that the kale leaves are completely dry before moving on to the next step. Any residual moisture can lead to wilting and spoilage, compromising the quality of the kale during storage.
With your kale now thoroughly dried, it’s time to proceed to the next step of choosing a suitable storage container.
Step 3: Choose a Storage Container
When it comes to storing washed kale, selecting the right container is vital to maintain its freshness and prevent damage. Here are some considerations to keep in mind:
- Airtight container: Opt for a container with an airtight seal to minimize exposure to air. This helps prevent wilting and keeps the kale fresh.
- Size: Choose a container that can accommodate the amount of washed kale you have. Avoid overcrowding or squishing the leaves, as this can lead to bruising and hasten spoilage.
- BPA-free plastic or glass: Use food-grade containers that are free from harmful chemicals like BPA. Glass containers are an excellent option as they don’t retain odors and are easy to clean.
If you don’t have an airtight container, you can also use resealable plastic bags. However, make sure to squeeze out as much air as possible before sealing the bag to limit exposure to oxygen.
Remember to clean and sanitize the storage container before using it. This helps eliminate any potential bacteria or contaminants that may impact the kale’s freshness.
Now that you’ve chosen a suitable storage container, let’s move on to the next step, which involves lining the container with paper towels for added protection.
Step 4: Line the Container with Paper Towels
Lining the storage container with paper towels is a simple yet effective way to absorb excess moisture and maintain the crispness of the kale. Here’s how to do it:
- Take a few sheets of paper towels and fold them to fit the bottom of the container.
- Place the folded paper towels at the bottom of the container, ensuring they cover the entire surface area.
- If you have a large amount of washed kale, you can also layer additional paper towels between the kale leaves to absorb any excess moisture.
The paper towels act as a barrier between the kale and any residual moisture, preventing the leaves from becoming soggy and limp. This step is particularly important if you didn’t have enough time to dry the kale thoroughly or if you anticipate a higher moisture content in the leaves.
Make sure the paper towels are clean and dry to maintain the integrity of the kale and prevent any transfer of odors or contaminants.
Now that your container is lined with paper towels, it’s time to move on to the next step and place the kale inside.
After washing kale, make sure to thoroughly dry the leaves with a clean kitchen towel or salad spinner to remove excess moisture. Store the kale in a resealable plastic bag with a paper towel to absorb any remaining moisture, and keep it in the refrigerator for up to 5 days.
Read more: How To Store Lacinato Kale
Step 5: Place the Kale in the Container
Now that you have your storage container prepared, it’s time to place the kale inside. Here’s how to do it:
- Take the dried kale leaves and arrange them in the container. It’s best to lay them flat and avoid overlapping as much as possible.
- If you have a large quantity of kale, you can create layers with paper towels in between to minimize any potential bruising or wilting.
- Ensure that the kale is evenly distributed and there is enough space between the leaves to allow for proper airflow.
Remember, the key here is to handle the kale leaves with care to avoid damaging them. Gentle placement in the container helps maintain the crispness and overall quality of the kale during storage.
Once you’ve arranged the kale in the container, it’s time to move on to the next step of storing it in the refrigerator.
Step 6: Store in the Refrigerator
To keep your washed kale fresh and crisp, it’s essential to store it in the refrigerator. Follow these steps to ensure optimal storage conditions:
- Place the covered or sealed container of kale in the refrigerator as soon as possible.
- Position the container on a shelf that offers a consistent temperature and minimal exposure to direct light.
- Avoid storing the kale near fruits like apples or bananas, as they release ethylene gas, which can speed up the ripening process and lead to faster deterioration of the kale.
- Keep the refrigerator temperature set between 34-40°F (1-4°C) to maintain the freshness and crispness of the kale.
It’s important to note that while properly stored kale can last for up to a week in the refrigerator, it’s best to consume it within a few days for the best flavor and nutritional value.
Regularly check the kale for any signs of spoilage, such as wilting, discoloration, or a slimy texture. If you notice any of these signs, discard the affected leaves and use the remaining kale promptly.
Now that your kale is safely stored in the refrigerator, let’s move on to the final step, which involves using it within a week.
Step 7: Use Within a Week
When storing washed kale, it’s important to use it within a week to ensure its freshness and flavor. Here are some tips for incorporating kale into your meals within this timeframe:
- Plan your meals: Look for recipes that call for kale and include it in your meal planning for the week. This will help you make the most of the kale before it begins to lose its quality.
- Add kale to salads: Kale makes a nutritious and hearty addition to salads. Simply tear the leaves into bite-sized pieces and toss them with your favorite dressing and other salad ingredients.
- Sauté or stir-fry: Heat some olive oil or other cooking oil in a pan and sauté the kale until it becomes tender. Add garlic, salt, and pepper for extra flavor, or experiment with different spices and seasonings.
- Blend into smoothies: Kale is a fantastic addition to green smoothies. Blend it with fruits, yogurt, and a liquid of your choice to create a refreshing and nutritious beverage.
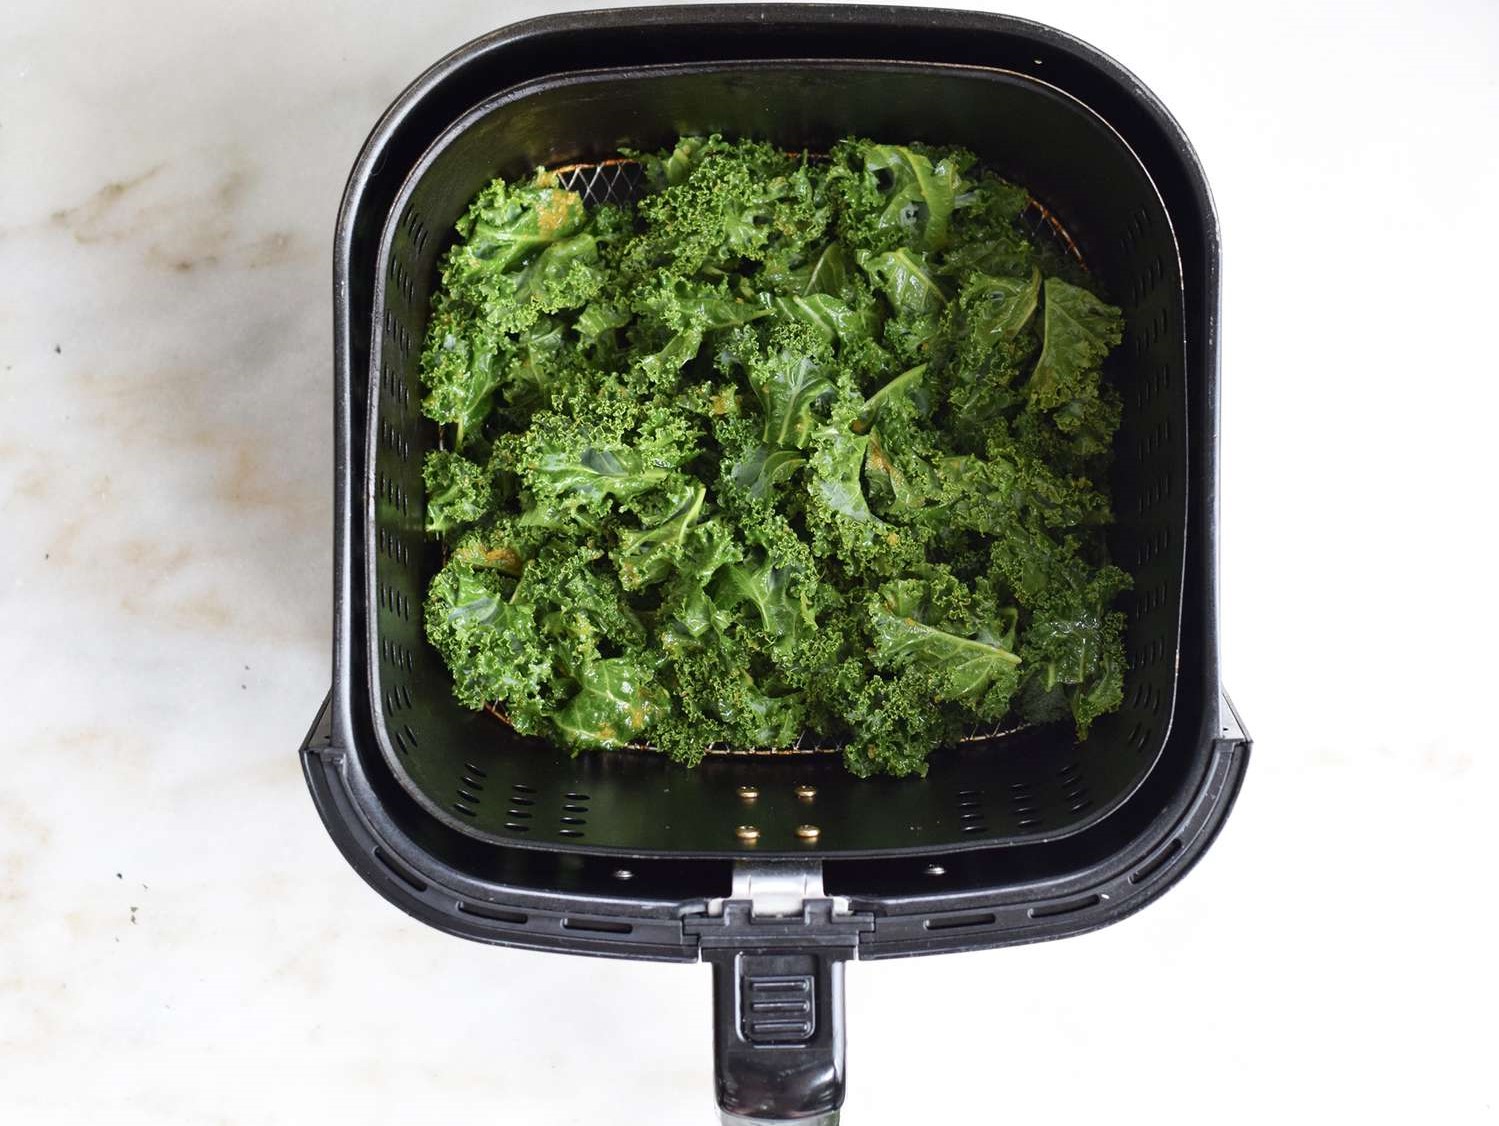
- Make kale chips: Preheat your oven to 350°F (175°C), toss kale leaves with olive oil and seasonings of your choice, then bake them until crispy. Enjoy them as a healthy snack.
- Freeze for later use: If you find that you won’t be able to use all of the kale within a week, consider freezing it. Blanch the kale in boiling water for a couple of minutes, then transfer it to an airtight freezer bag or container. It will keep for several months in the freezer.
Remember to wash the kale again before using it to remove any potential contaminants or residues that may have developed during storage. Enjoy the fresh taste and nutritional benefits of kale in your meals and snacks throughout the week.
With these guidelines in mind, you can make the most of your stored kale and ensure that it adds a vibrant and nutritious touch to your culinary creations.
By following these steps, you can effectively store washed kale, keeping it fresh and flavorful for enhanced enjoyment. Incorporating kale into your diet is a great way to boost your nutrient intake and support overall health. So, whether you’re growing kale in your garden or buying it from the store, you can now confidently store it and make the most of this nutritional powerhouse.
Conclusion
Storing washed kale properly is essential to preserving its freshness, flavor, and nutritional value. By following the steps outlined in this article, you can ensure that your kale stays vibrant, crisp, and ready to enjoy for longer periods.
From preparing the washed kale to selecting the right storage container, each step plays a crucial role in maintaining its quality. Thoroughly drying the kale and lining the storage container with paper towels help absorb excess moisture and prevent wilting. Storing the kale in an airtight container or resealable bag in the refrigerator further extends its shelf life.
Remember to use the kale within a week to achieve optimal taste and nutritional benefits. Whether you add it to salads, sauté it, blend it into smoothies, or make kale chips, there are countless ways to incorporate kale into your meals and snacks.
By storing kale properly, you can enjoy its numerous health benefits, including its rich content of vitamins, minerals, and antioxidants. Whether you’re a kale enthusiast or just starting to discover its potential, knowing how to store it will ensure that you always have fresh and flavorful kale at your fingertips.
So, the next time you have some washed kale on hand, use these steps to store it effectively. Not only will it save you money and reduce food waste, but it will also empower you to make healthier choices and enjoy the many culinary possibilities that kale has to offer.
Remember, a little care and attention in storing washed kale can go a long way in preserving its quality and maximizing your enjoyment of this nutritious leafy green.
Frequently Asked Questions about How To Store Washed Kale
Was this page helpful?
At Storables.com, we guarantee accurate and reliable information. Our content, validated by Expert Board Contributors, is crafted following stringent Editorial Policies. We're committed to providing you with well-researched, expert-backed insights for all your informational needs.


0 thoughts on “How To Store Washed Kale”