
Articles
How To Store Kale In Fridge
Modified: September 1, 2024
Learn the best way to store kale in the fridge to keep it fresh and crispy. Follow these simple steps and enjoy nutritious kale in your meals for longer.
(Many of the links in this article redirect to a specific reviewed product. Your purchase of these products through affiliate links helps to generate commission for Storables.com, at no extra cost. Learn more)
Introduction
Are you a fan of kale? This super nutritious leafy green is packed with vitamins, minerals, and antioxidants, making it a popular choice for health-conscious individuals. Whether you grow your kale in the garden or purchase it from the grocery store, properly storing it in the fridge is essential to maintain its freshness and extend its shelf life.
In this article, we will guide you through the step-by-step process of storing kale in the fridge. By following these simple tips, you can ensure that your kale stays crisp, vibrant, and ready to be enjoyed in your favorite recipes for an extended period.
So, let’s dive in and discover the best practices for storing kale in the fridge!
Key Takeaways:
- Keep kale fresh by removing stems, washing, and drying thoroughly before storing in the fridge. Use airtight containers and check regularly for optimal freshness and nutrition.
- Enjoy kale’s health benefits by using it within a week of storage. Incorporate it into various recipes and remember to wash before use for maximum flavor.
Read more: How To Store Kale In Freezer
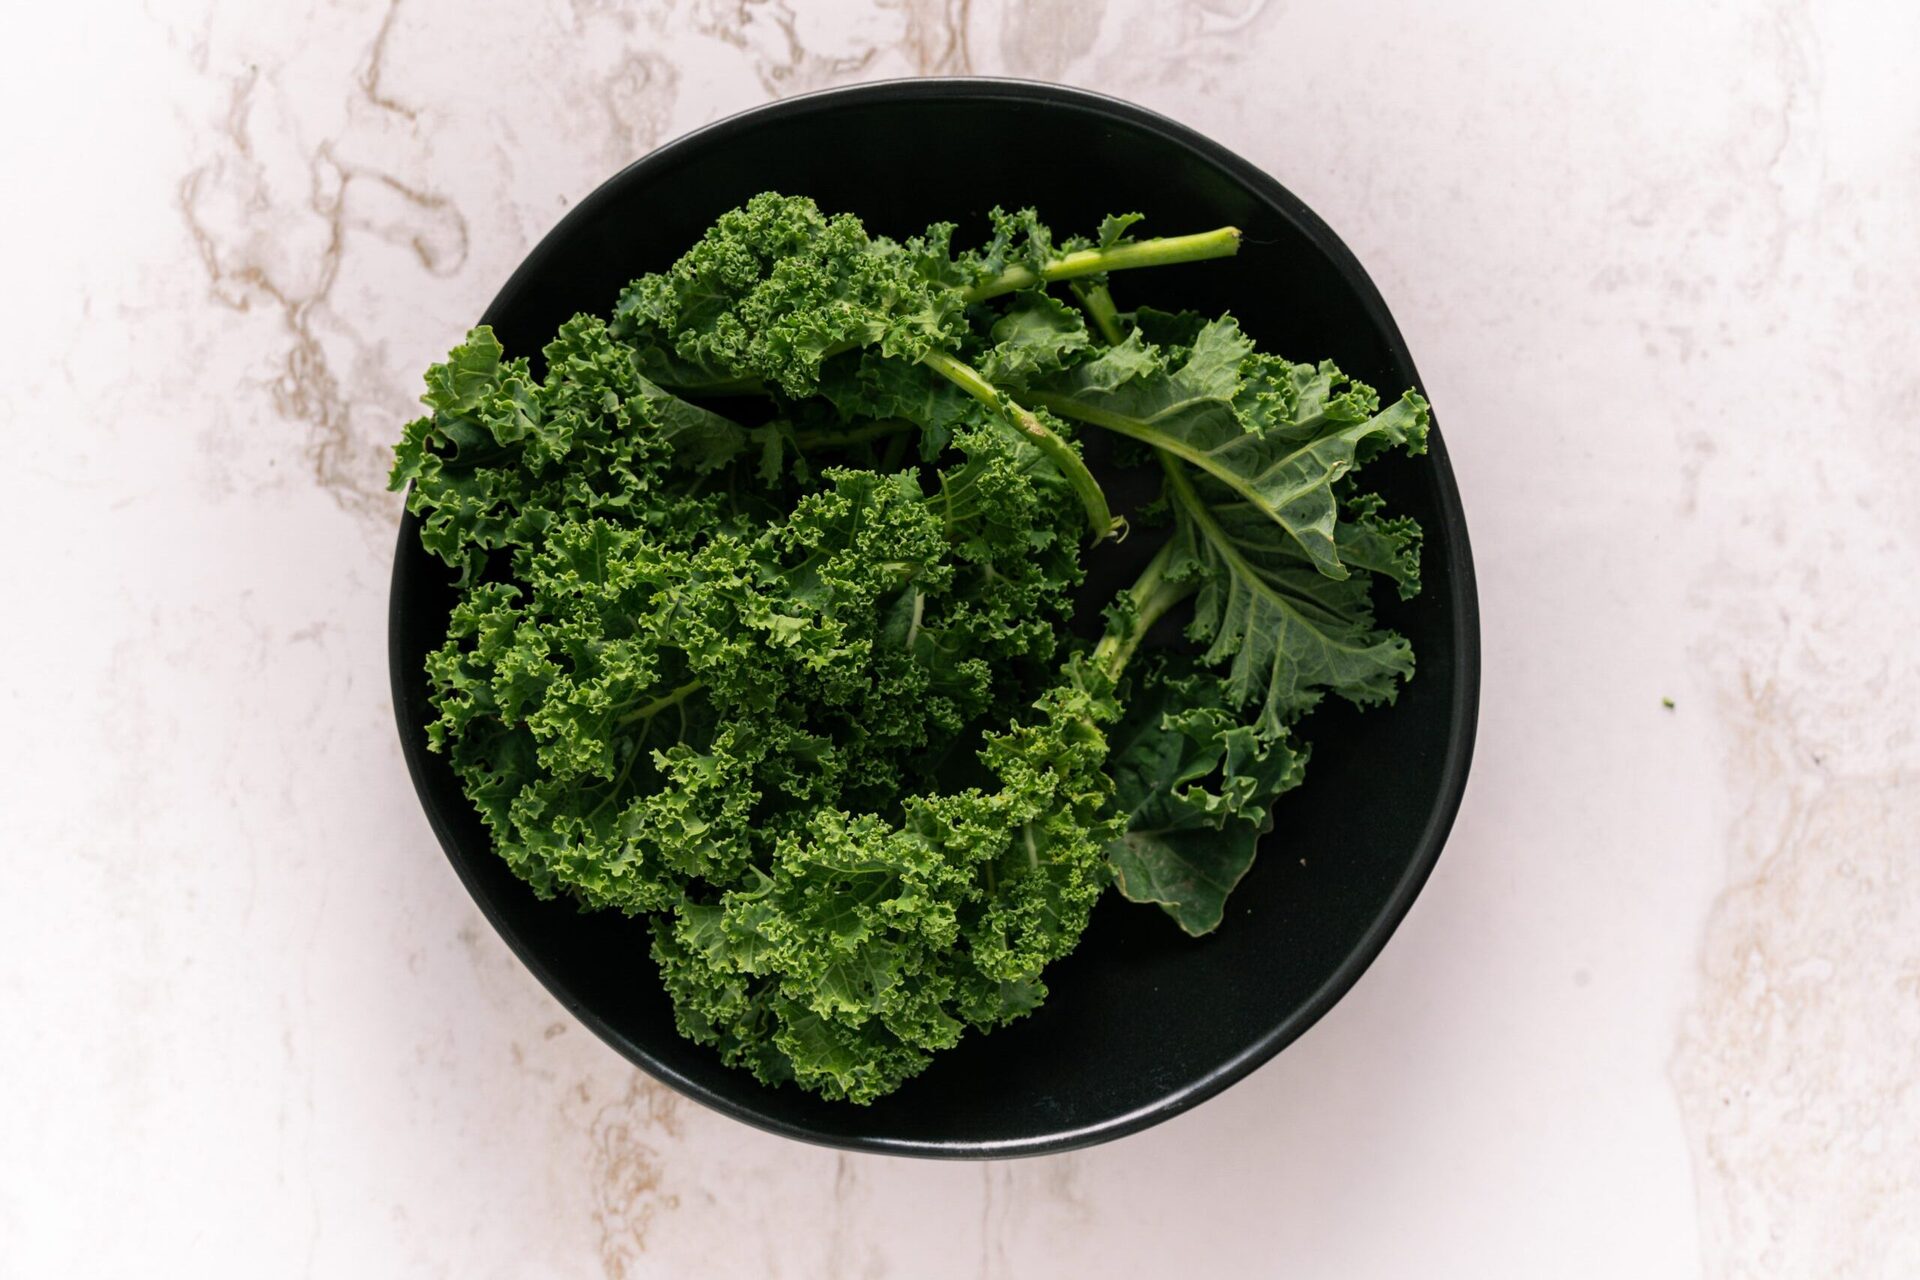
Step 1: Preparing the Kale
Before storing kale in the fridge, it’s important to properly prepare it. Start by removing the kale leaves from the stems. The stems are tough and fibrous, so it’s best to discard them.
Once you have separated the leaves, give them a quick inspection. Look for any yellow or wilted leaves and remove them, as they can affect the overall freshness of the kale.
Next, give the leaves a gentle rinse under cool running water. This will help remove any dirt, debris, or pesticides that may be present on the surface of the kale. You can also fill a bowl with water and let the leaves soak for a few minutes to ensure thorough cleaning.
After rinsing, pat the kale leaves dry using a clean kitchen towel or paper towels. Removing excess moisture will prevent the kale from becoming soggy or developing mold while in storage.
Once the kale is clean and dry, you are ready to move on to the next step: storing it in the fridge. Follow the subsequent steps to effectively store your kale and keep it fresh for as long as possible.
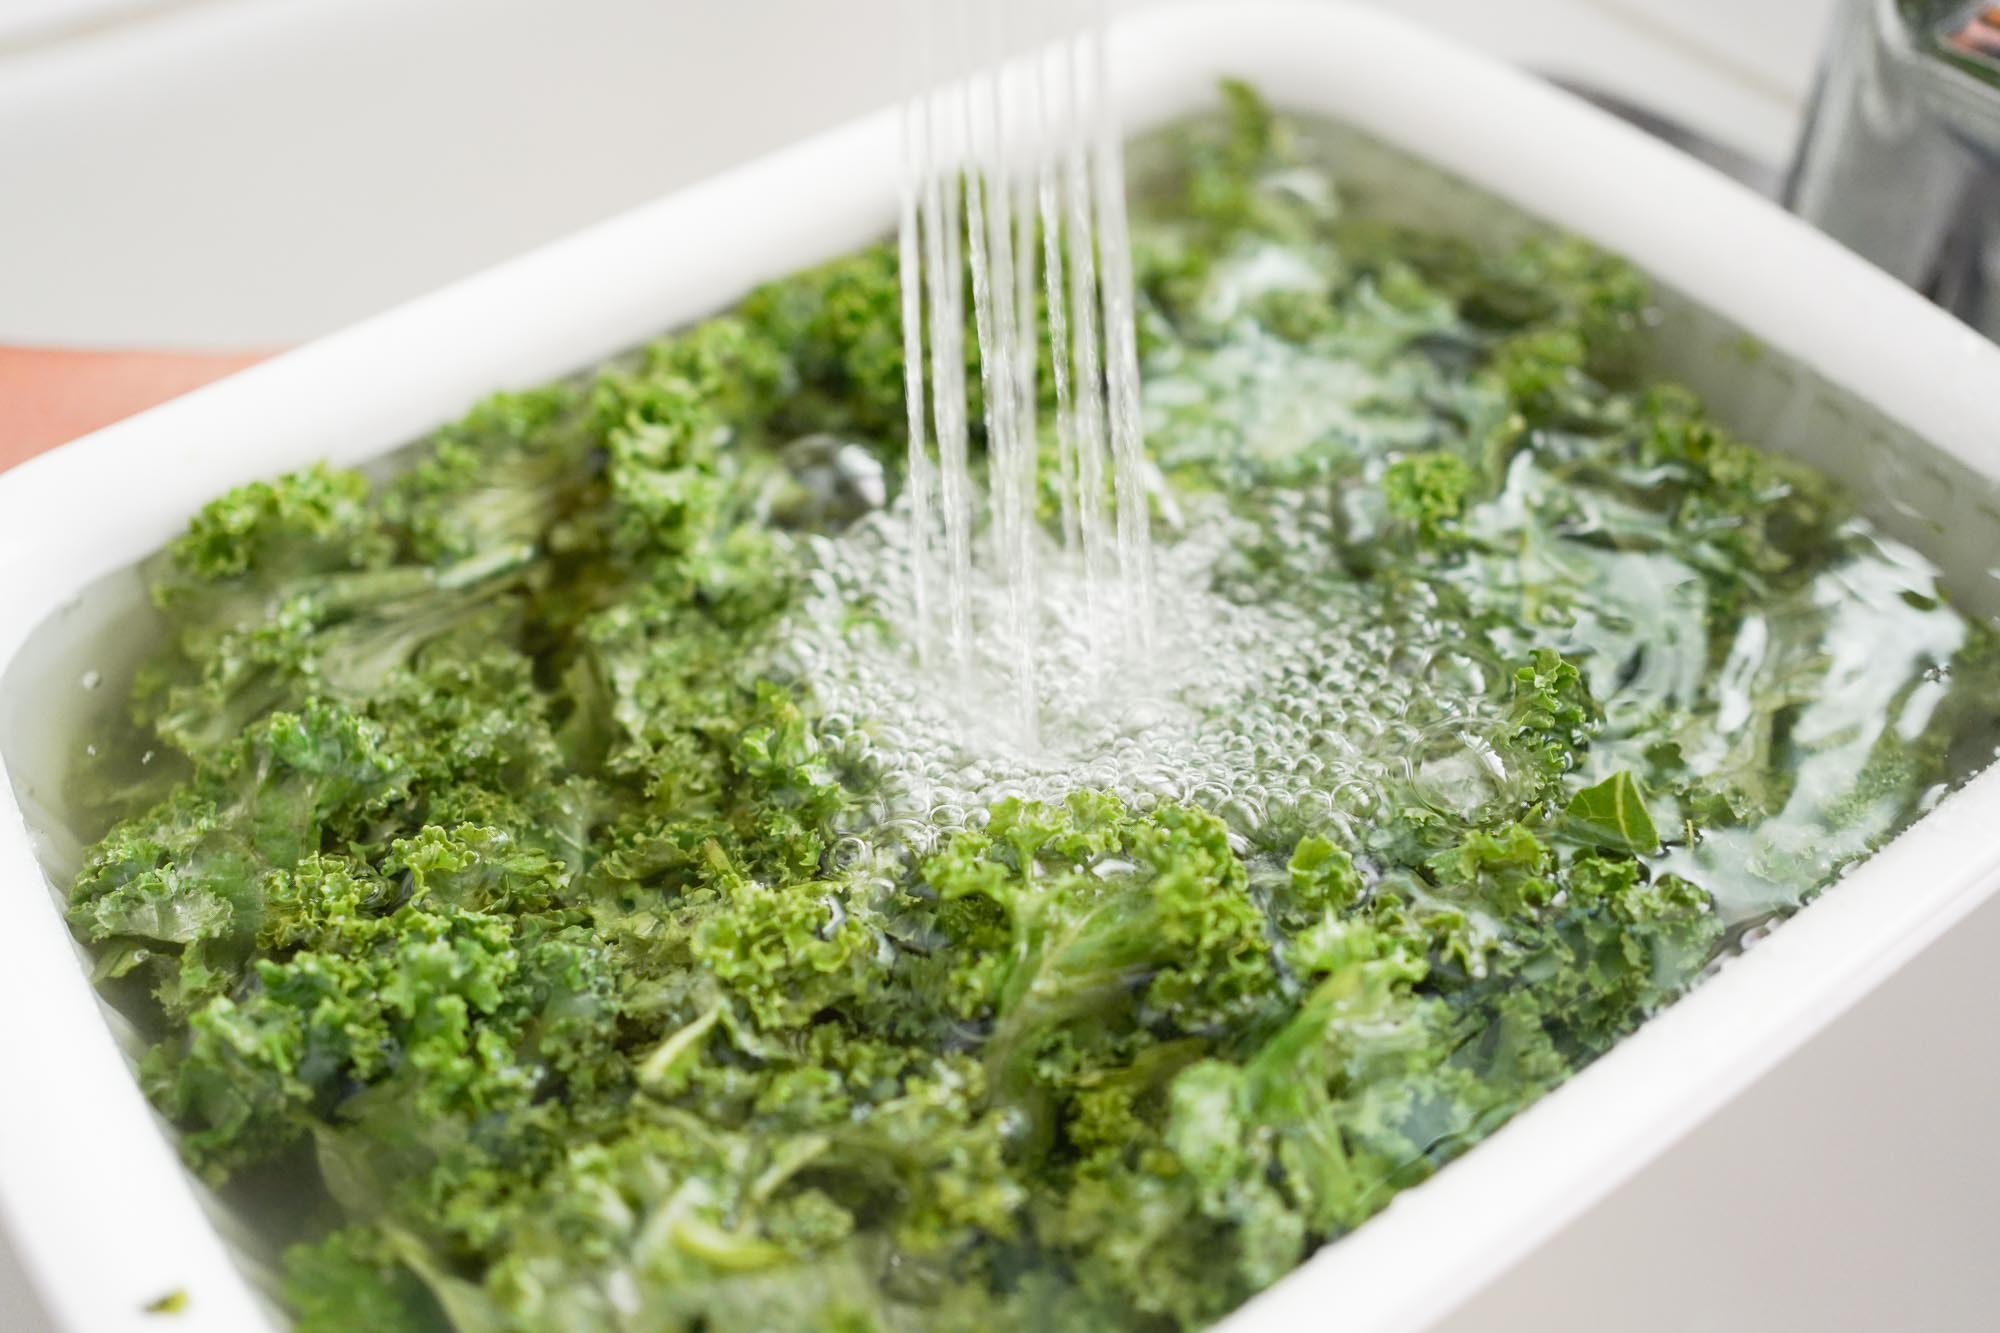
Step 2: Washing the Kale
Washing kale is an essential step to ensure that it is free from any dirt, pesticides, or other contaminants. Here’s how you can properly wash your kale:
- Fill a clean sink or a large bowl with cold water. Make sure there’s enough water to fully submerge the kale leaves.
- Place the kale leaves in the water and gently swish them around. This will help loosen any dirt or debris that may be on the leaves.
- Let the kale sit in the water for a few minutes to allow any dirt or grit to settle at the bottom.
- Using your hands, lift the kale leaves out of the water and transfer them to a colander or strainer to drain.
- Rinse the kale leaves under cold running water, gently rubbing them with your fingers to remove any remaining dirt.
Remember to be gentle while handling the kale leaves to avoid bruising or damaging them.
Once you have washed the kale thoroughly, you can move on to the next step to ensure that it is properly dried before storage.
Step 3: Drying the Kale
After washing the kale, it’s crucial to dry it thoroughly before storing it in the fridge. Excess moisture can lead to premature wilting and spoilage. Here’s a simple method to dry kale:
- Layout a clean kitchen towel or a few layers of paper towels on your countertop.
- Gently transfer the washed kale leaves onto the towels, spreading them out in a single layer.
- Place another kitchen towel or layer of paper towels on top of the leaves.
- Gently press down on the top layer to absorb any residual moisture. Avoid pressing too hard, as it may damage the delicate kale leaves.
- Leave the kale leaves undisturbed for about 15-20 minutes to air dry. This will help further remove any remaining moisture.
It’s important to note that kale leaves should be completely dry before proceeding to the next step. If the leaves still feel damp, you may need to repeat the drying process or use a salad spinner to remove any excess water.
Once your kale leaves are dry, it’s time to move on to selecting the right storage containers for optimal preservation.
To store kale in the fridge, first remove any bands or ties, then wrap the kale in a damp paper towel and place it in a plastic bag. Store it in the crisper drawer for up to 5 days.
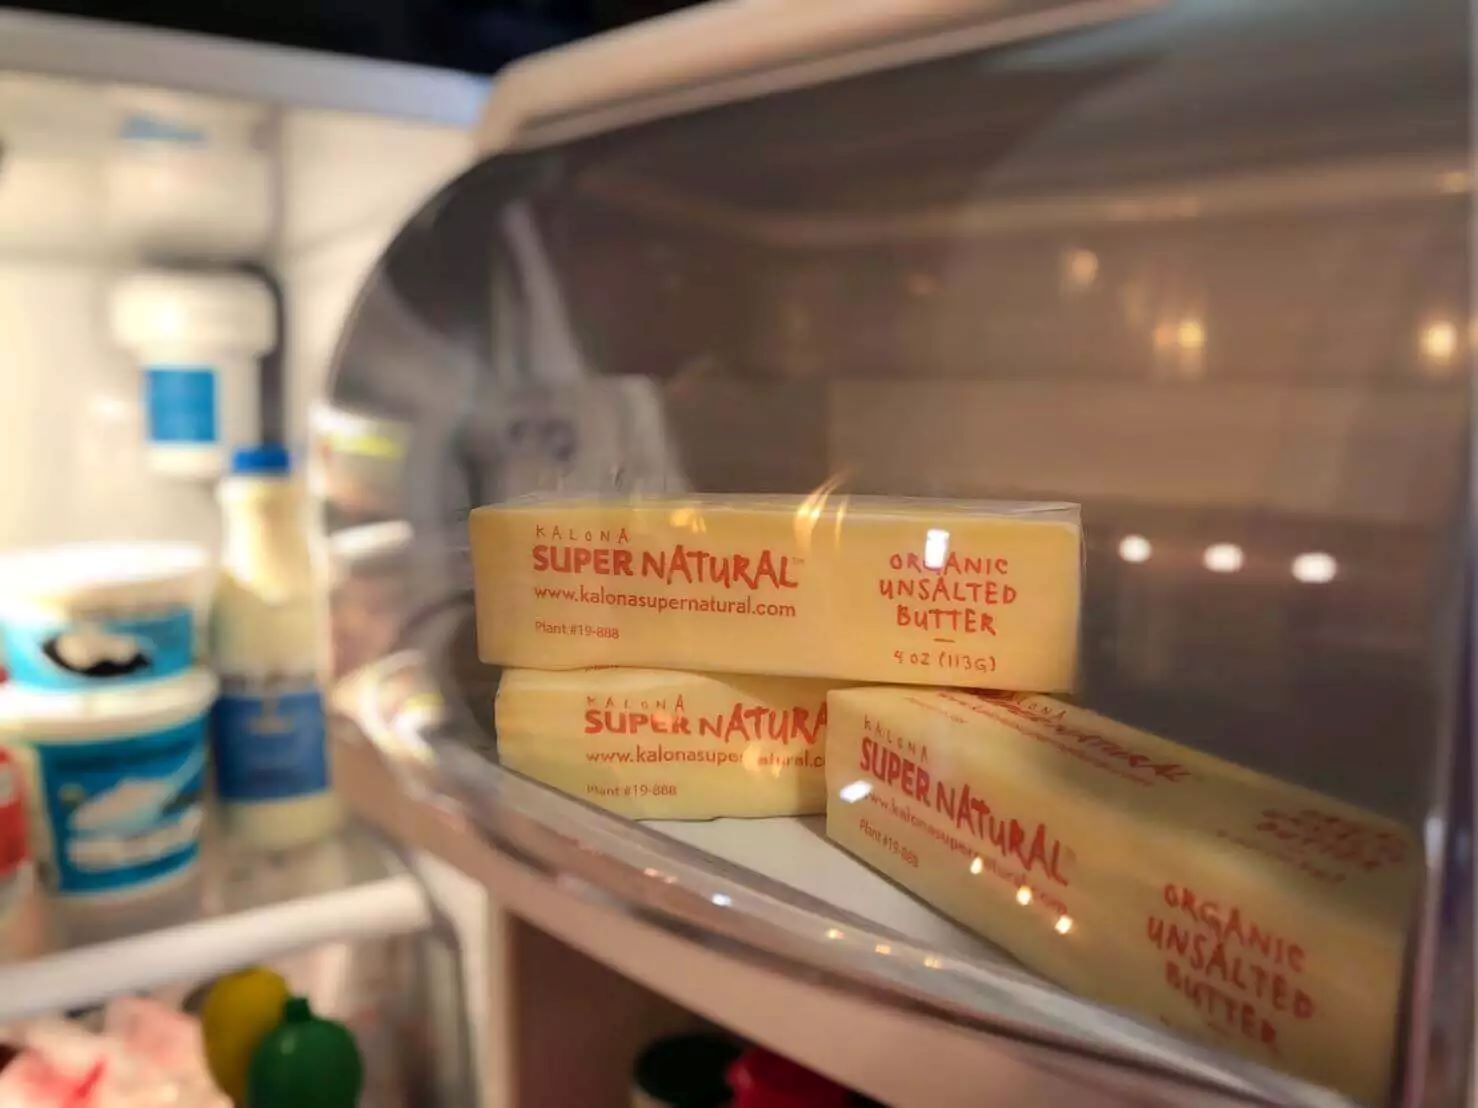
Step 4: Storage Containers
Choosing the right storage containers for your kale is crucial to maintain its freshness and prevent any moisture buildup. Here are some options for storing kale:
- Airtight containers: Opt for airtight containers, such as glass or plastic containers with locking lids. These containers help create a protective barrier against air and moisture, keeping the kale fresh for longer.
- Plastic bags with air vents: Another option is to use plastic bags specifically designed for storing produce. Look for bags with small air vents, which allow for proper airflow while reducing moisture buildup.
- Produce bags: If you prefer a more eco-friendly option, consider using reusable produce bags made of mesh or cloth. These bags allow the kale to breathe while still protecting it from drying out.
Whichever container option you choose, make sure it is clean and dry before adding the kale. Avoid overcrowding the container, as this can cause the leaves to become bruised or wilted. Instead, loosely pack the kale to allow for proper airflow.
Once you have selected the appropriate storage containers, it’s time to move on to the next step: storing the kale in the fridge.
Read more: How To Store Washed Kale
Step 5: Storing the Kale
Now that your kale is clean, dry, and you have chosen the right storage containers, it’s time to store it in the fridge. Follow these steps to ensure optimal storage:
- Line the bottom of your storage container with a dry paper towel or a clean kitchen towel. This will help absorb any excess moisture that may accumulate.
- Place the kale leaves in the container, making sure they are loosely packed. Avoid overcrowding to allow for proper airflow.
- Close the lid tightly or seal the bag, ensuring it is airtight and properly sealed.
- Label the container or bag with the date to keep track of its freshness.
- Store the kale in the crisper drawer or a lower shelf of your refrigerator, where the temperature is cooler and more consistent.
It’s important to note that kale is best stored in the refrigerator at a temperature between 32°F and 36°F (0°C to 2°C). This helps slow down the deterioration process and keeps the kale fresh for longer.
Now that your kale is properly stored, let’s move on to the next step: checking and using the stored kale when needed.
Step 6: Checking and Using Stored Kale
Checking on your stored kale regularly is essential to ensure its freshness and usability. Here are some tips for checking and using your stored kale:
- Inspect the kale: Every few days, open the storage container or bag and inspect the kale leaves. Remove any wilted or spoiled leaves to prevent them from affecting the rest of the batch.
- Use within a week: For the best flavor and quality, it’s recommended to use the stored kale within a week. As time passes, the nutritional value may decline, and the leaves may lose their crispness.
- Wash before use: Before using the stored kale, give it a quick rinse under cold water to freshen it up. Pat the leaves dry with a clean kitchen towel or paper towels to remove any excess moisture.
- Use in recipes: Stored kale can be used in a variety of recipes, such as salads, smoothies, stir-fries, soups, and sautés. Be creative and incorporate it into your favorite dishes.
Remember that during storage, some kale leaves may develop a slight yellow color, but they are still safe to eat as long as they don’t show signs of spoilage, such as mold or a foul odor. Simply remove any discolored leaves and use the rest.
Now that you know how to check and use your stored kale, you can enjoy its nutritional benefits even after it has been stored for a few days.
Conclusion
Properly storing kale in the fridge is crucial to maintain its freshness and maximize its shelf life. By following the steps outlined in this article, you can ensure that your kale remains crisp, vibrant, and ready to be used in a variety of delicious recipes.
Remember to start by preparing the kale, removing the stems and any wilted leaves. Then, give it a thorough wash to remove any dirt or pesticides. The next step is to ensure the kale is completely dry before storage to prevent moisture buildup.
Choosing the right storage containers, such as airtight containers, plastic bags with air vents, or reusable produce bags, will help maintain the kale’s freshness. Placing a dry paper towel or kitchen towel in the container can help absorb excess moisture.
Once the kale is stored, it’s important to periodically check on its condition, removing any spoiled leaves to preserve the quality of the rest. Within a week, it’s ideal to use the stored kale to enjoy its nutritious benefits and delicious flavor.
Whether you’re adding kale to salads, smoothies, stir-fries, soups, or sautés, incorporating this powerhouse vegetable into your meals is a great way to boost your overall health.
So, the next time you have fresh kale on hand, remember these steps to properly store it in the fridge. By following these practices, you can ensure that your kale remains in optimal condition, allowing you to enjoy its incredible benefits for longer.
Happy cooking and happy kale storage!
Frequently Asked Questions about How To Store Kale In Fridge
Was this page helpful?
At Storables.com, we guarantee accurate and reliable information. Our content, validated by Expert Board Contributors, is crafted following stringent Editorial Policies. We're committed to providing you with well-researched, expert-backed insights for all your informational needs.


0 thoughts on “How To Store Kale In Fridge”