Articles
How To Store Kale In The Freezer
Modified: February 27, 2024
Learn the best methods and tips for storing kale in the freezer in this informative article. Keep your kale fresh and ready to use for longer periods of time.
(Many of the links in this article redirect to a specific reviewed product. Your purchase of these products through affiliate links helps to generate commission for Storables.com, at no extra cost. Learn more)
Introduction
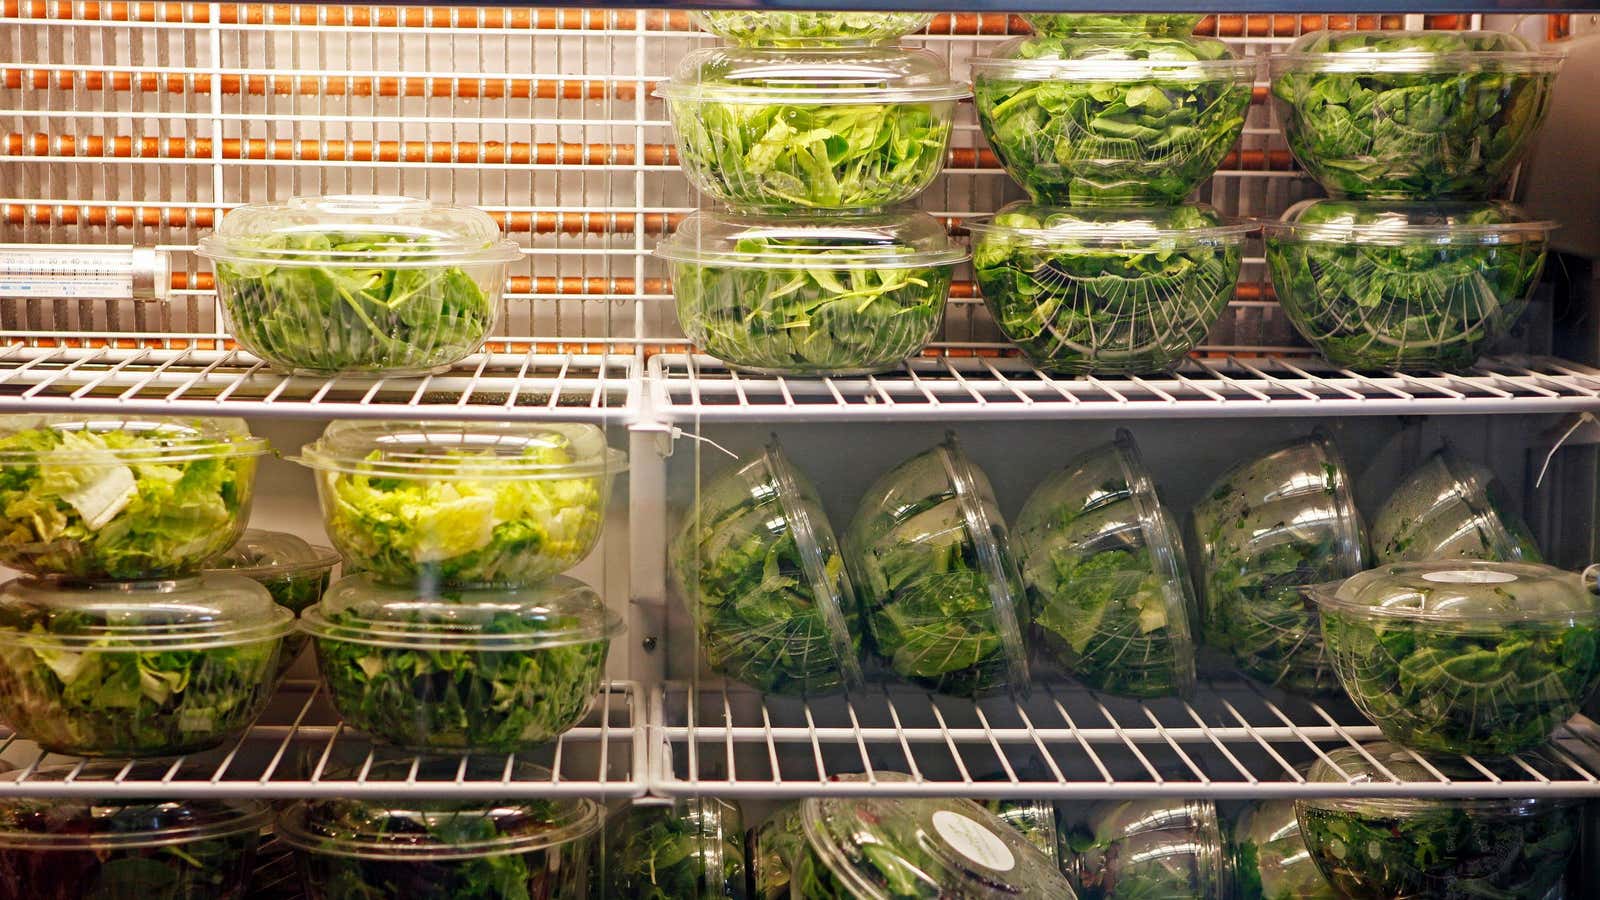
Kale is a popular leafy green vegetable known for its high nutritional value. It is loaded with vitamins, minerals, and antioxidants, making it a great addition to any diet. However, kale doesn’t have a long shelf life, and it can quickly wilt and spoil if not stored properly. That’s where the freezer comes in handy.
Freezing kale is a fantastic way to preserve its freshness and extend its usability. When done correctly, it can retain its nutrients and flavor, allowing you to enjoy kale all year round. Whether you have a surplus from your garden or you want to take advantage of a great sale at the grocery store, learning how to store kale in the freezer is a valuable skill.
In this article, we will explore the benefits of freezing kale, the steps involved in preparing kale for freezing, and the proper techniques for storing and using frozen kale. We will also provide some practical tips and tricks to ensure that your precious kale stays fresh and ready to use whenever you need it.
So, if you’re ready to embark on a journey of preserving kale’s goodness and having a convenient stash of this amazing vegetable, let’s dive right in!
Key Takeaways:
- Freeze kale to extend its shelf life, retain nutrients, and enjoy year-round availability. Proper preparation, blanching, packaging, and storage are key to preserving its freshness and flavor.
- Thaw frozen kale in the refrigerator for optimal texture and use in a variety of recipes. Implement tips like portioning, vacuum sealing, and labeling for a convenient and enjoyable kale freezing experience.
Read more: How To Store Kale In Freezer
Benefits of Freezing Kale
Freezing kale offers numerous benefits that make it an excellent option for long-term storage. Here are some of the key advantages:
- Extended Shelf Life: By freezing kale, you can significantly extend its shelf life. Instead of wilting and spoiling within a few days, frozen kale can last for several months, retaining its freshness and nutrients.
- Nutrient Retention: Kale is packed with essential vitamins, minerals, and antioxidants. Freezing kale helps to preserve these valuable nutrients, ensuring that you still reap the health benefits even after it has been stored for a while.
- Convenience and Versatility: Having frozen kale readily available in your freezer allows you to easily incorporate it into various recipes. Whether you want to add it to smoothies, soups, stews, or sautés, having pre-frozen kale on hand saves you time and effort in the kitchen.
- Budget-Friendly: Buying kale in bulk or taking advantage of sales and discounts becomes a viable option when you know how to freeze it. By freezing excess kale, you can avoid waste and enjoy cost savings in the long run.
- Year-Round Availability: With frozen kale, you can enjoy this nutritious green even when it’s out of season. Instead of relying on store-bought alternatives or compromising on freshness, you can have your own stash of frozen kale throughout the year.
Overall, freezing kale provides a convenient and effective method for preserving its goodness and ensuring that it remains accessible whenever you need it. Now that you know the benefits, let’s move on to the step-by-step process of preparing and freezing kale.
Preparing Kale for Freezing
Before you can freeze kale, it is important to properly prepare it to ensure optimal results. Follow these steps to get your kale ready for freezing:
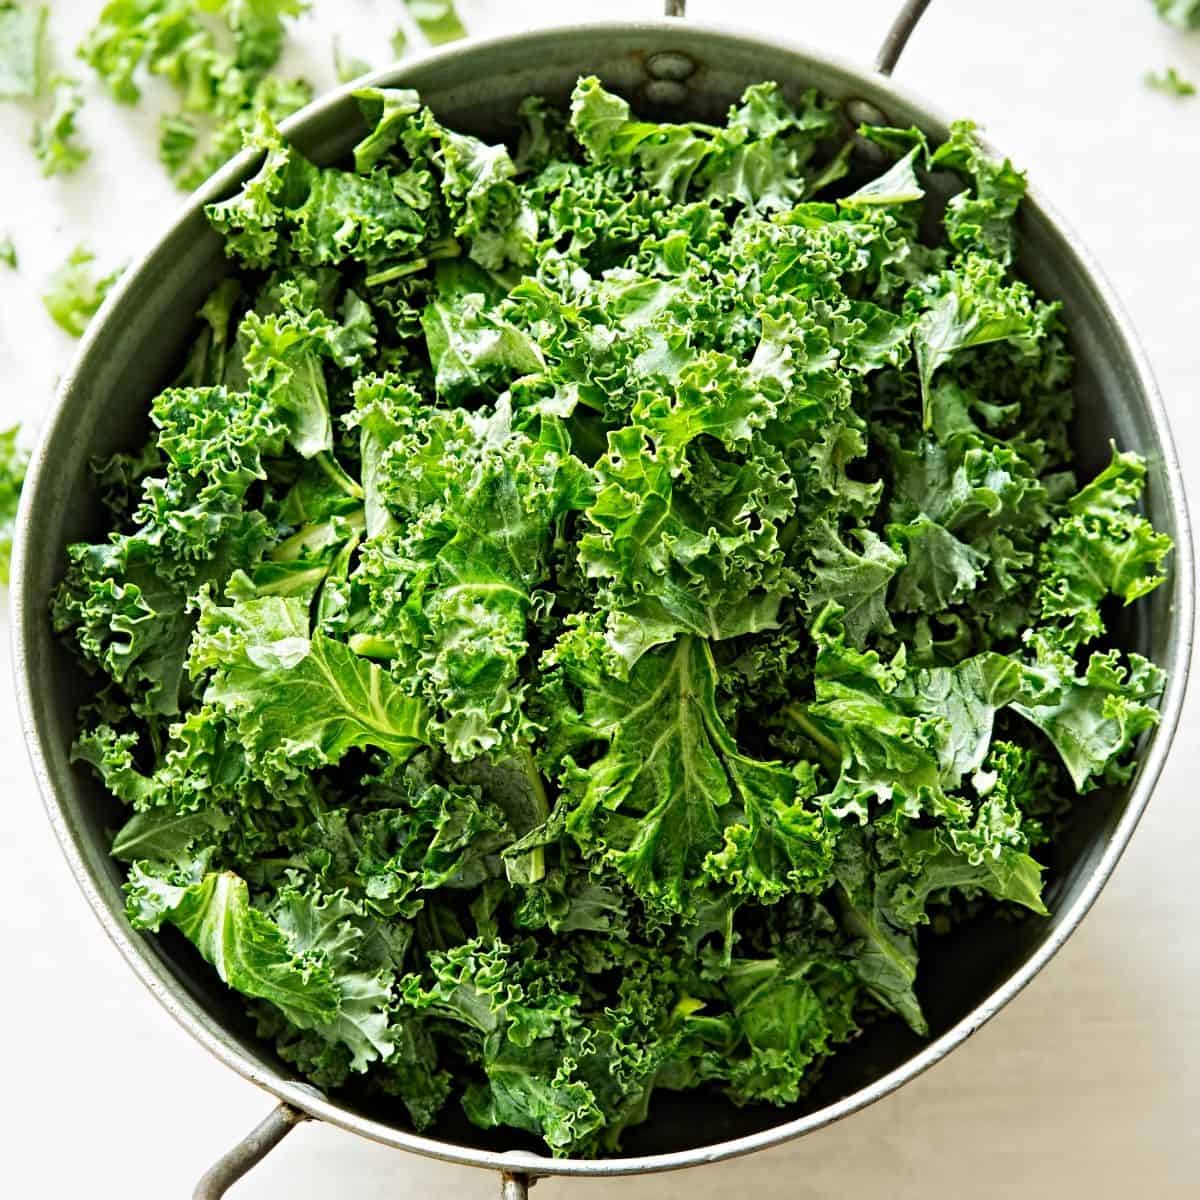
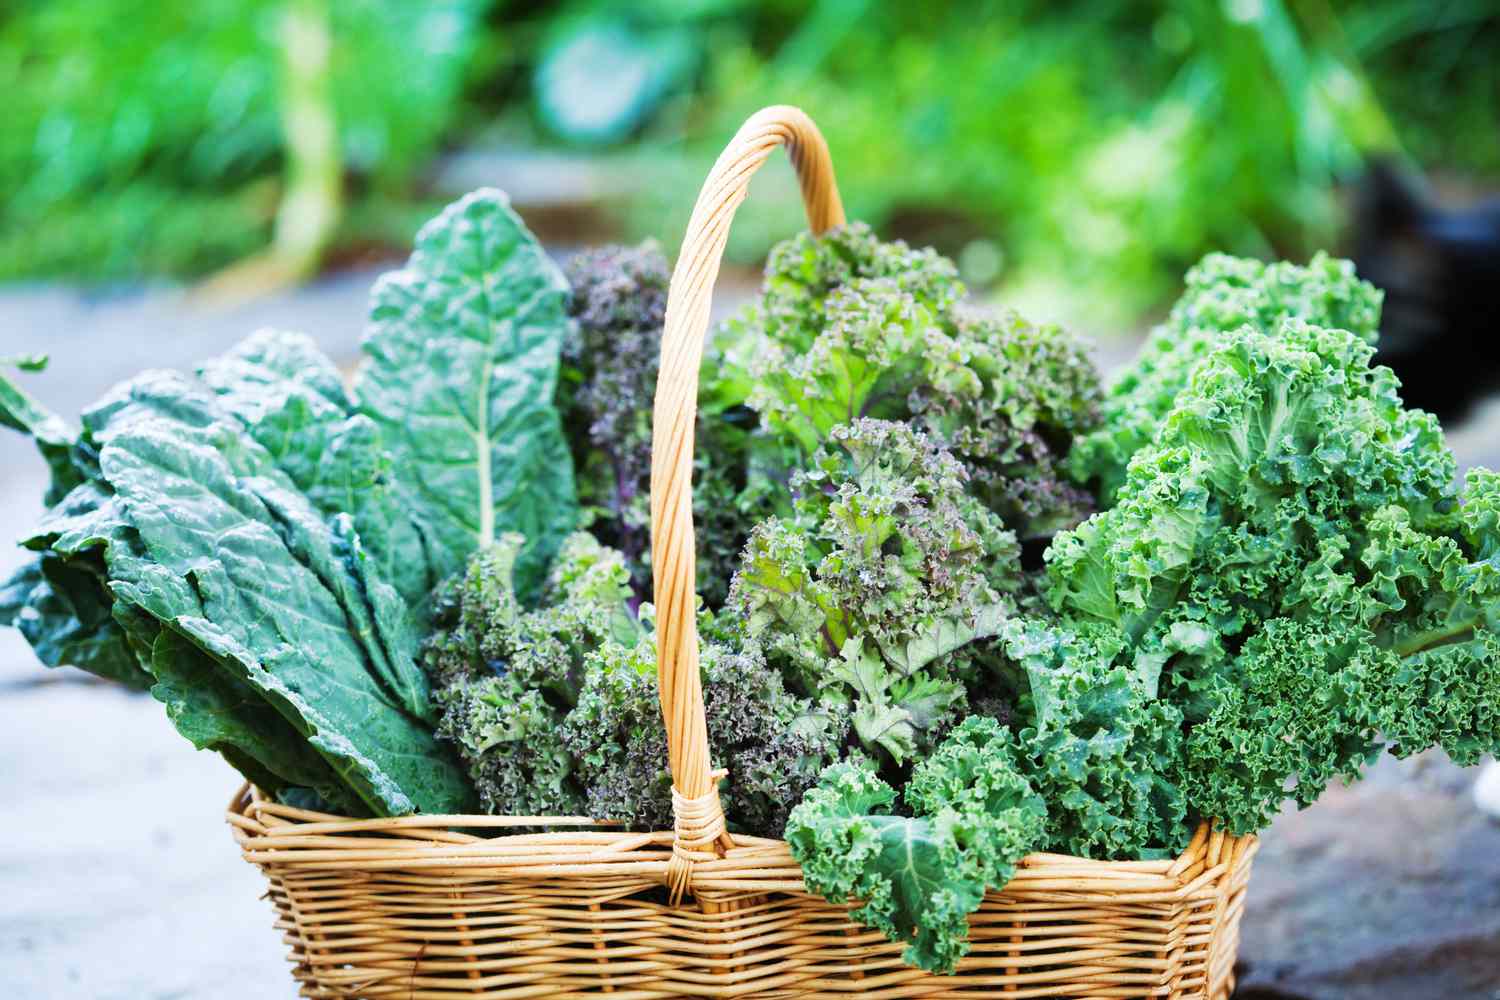
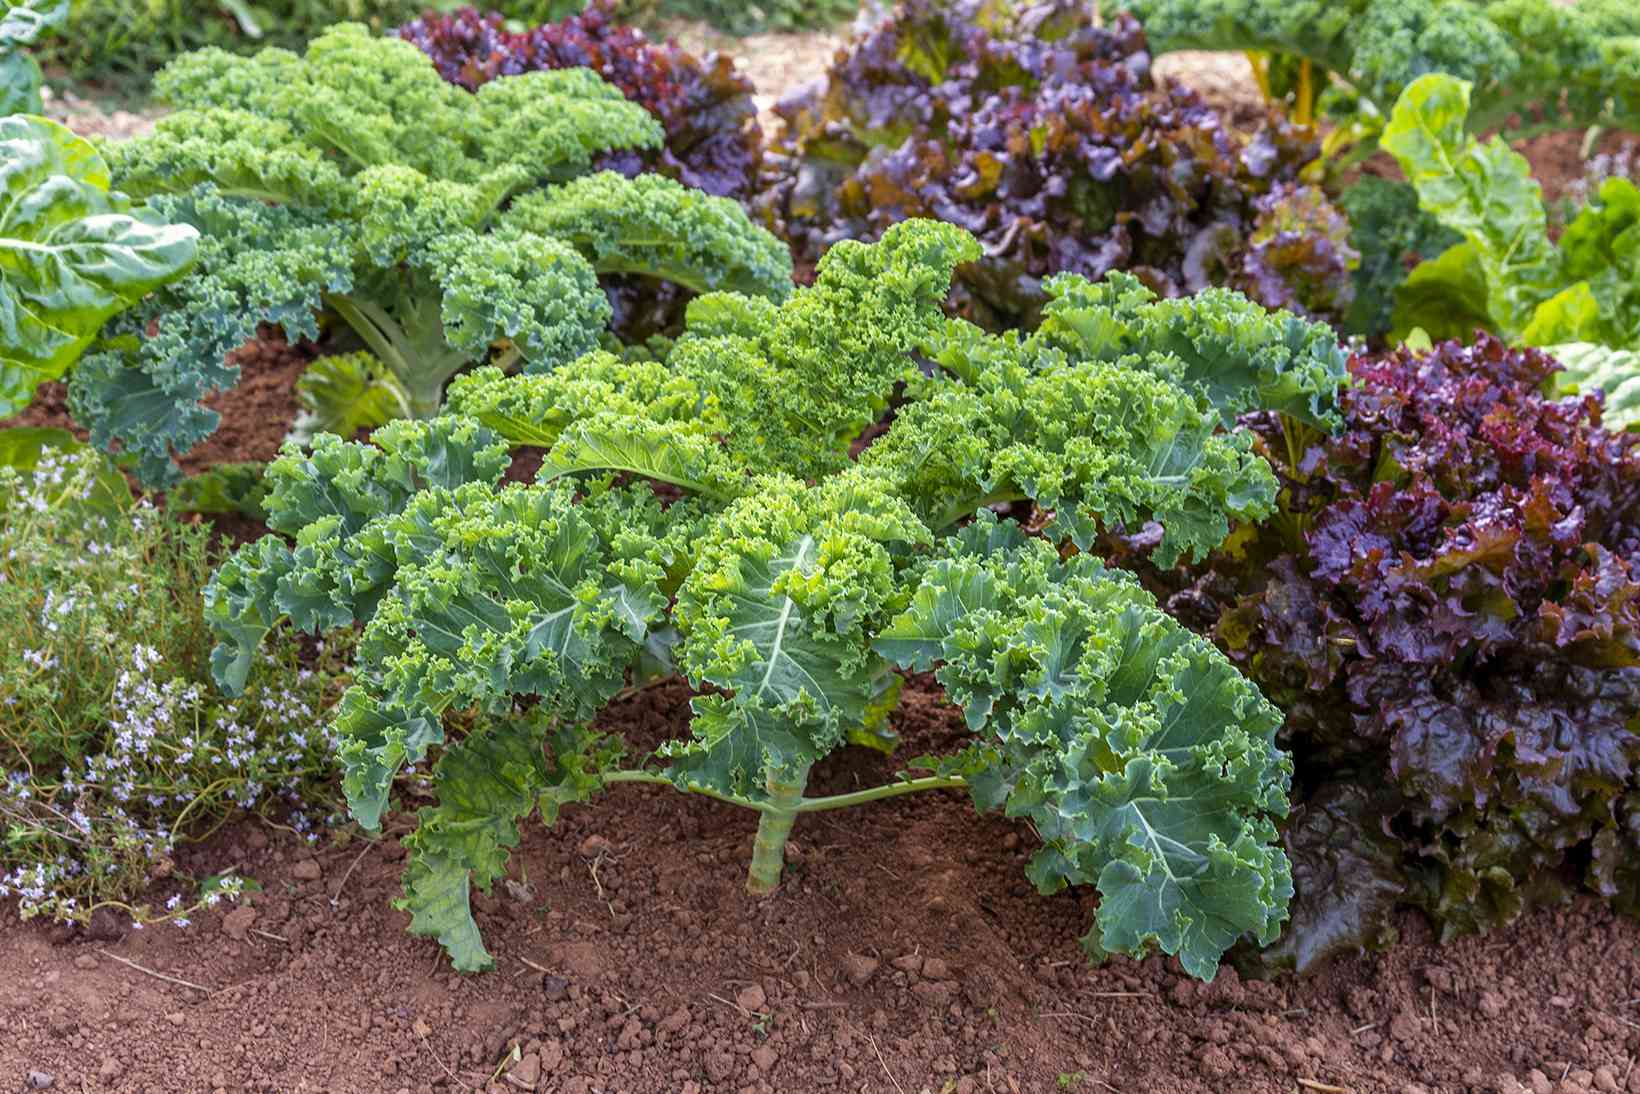
- Select Fresh Kale: Choose fresh, vibrant kale leaves for freezing. Look for leaves that are crisp and free from any signs of wilting or discoloration.
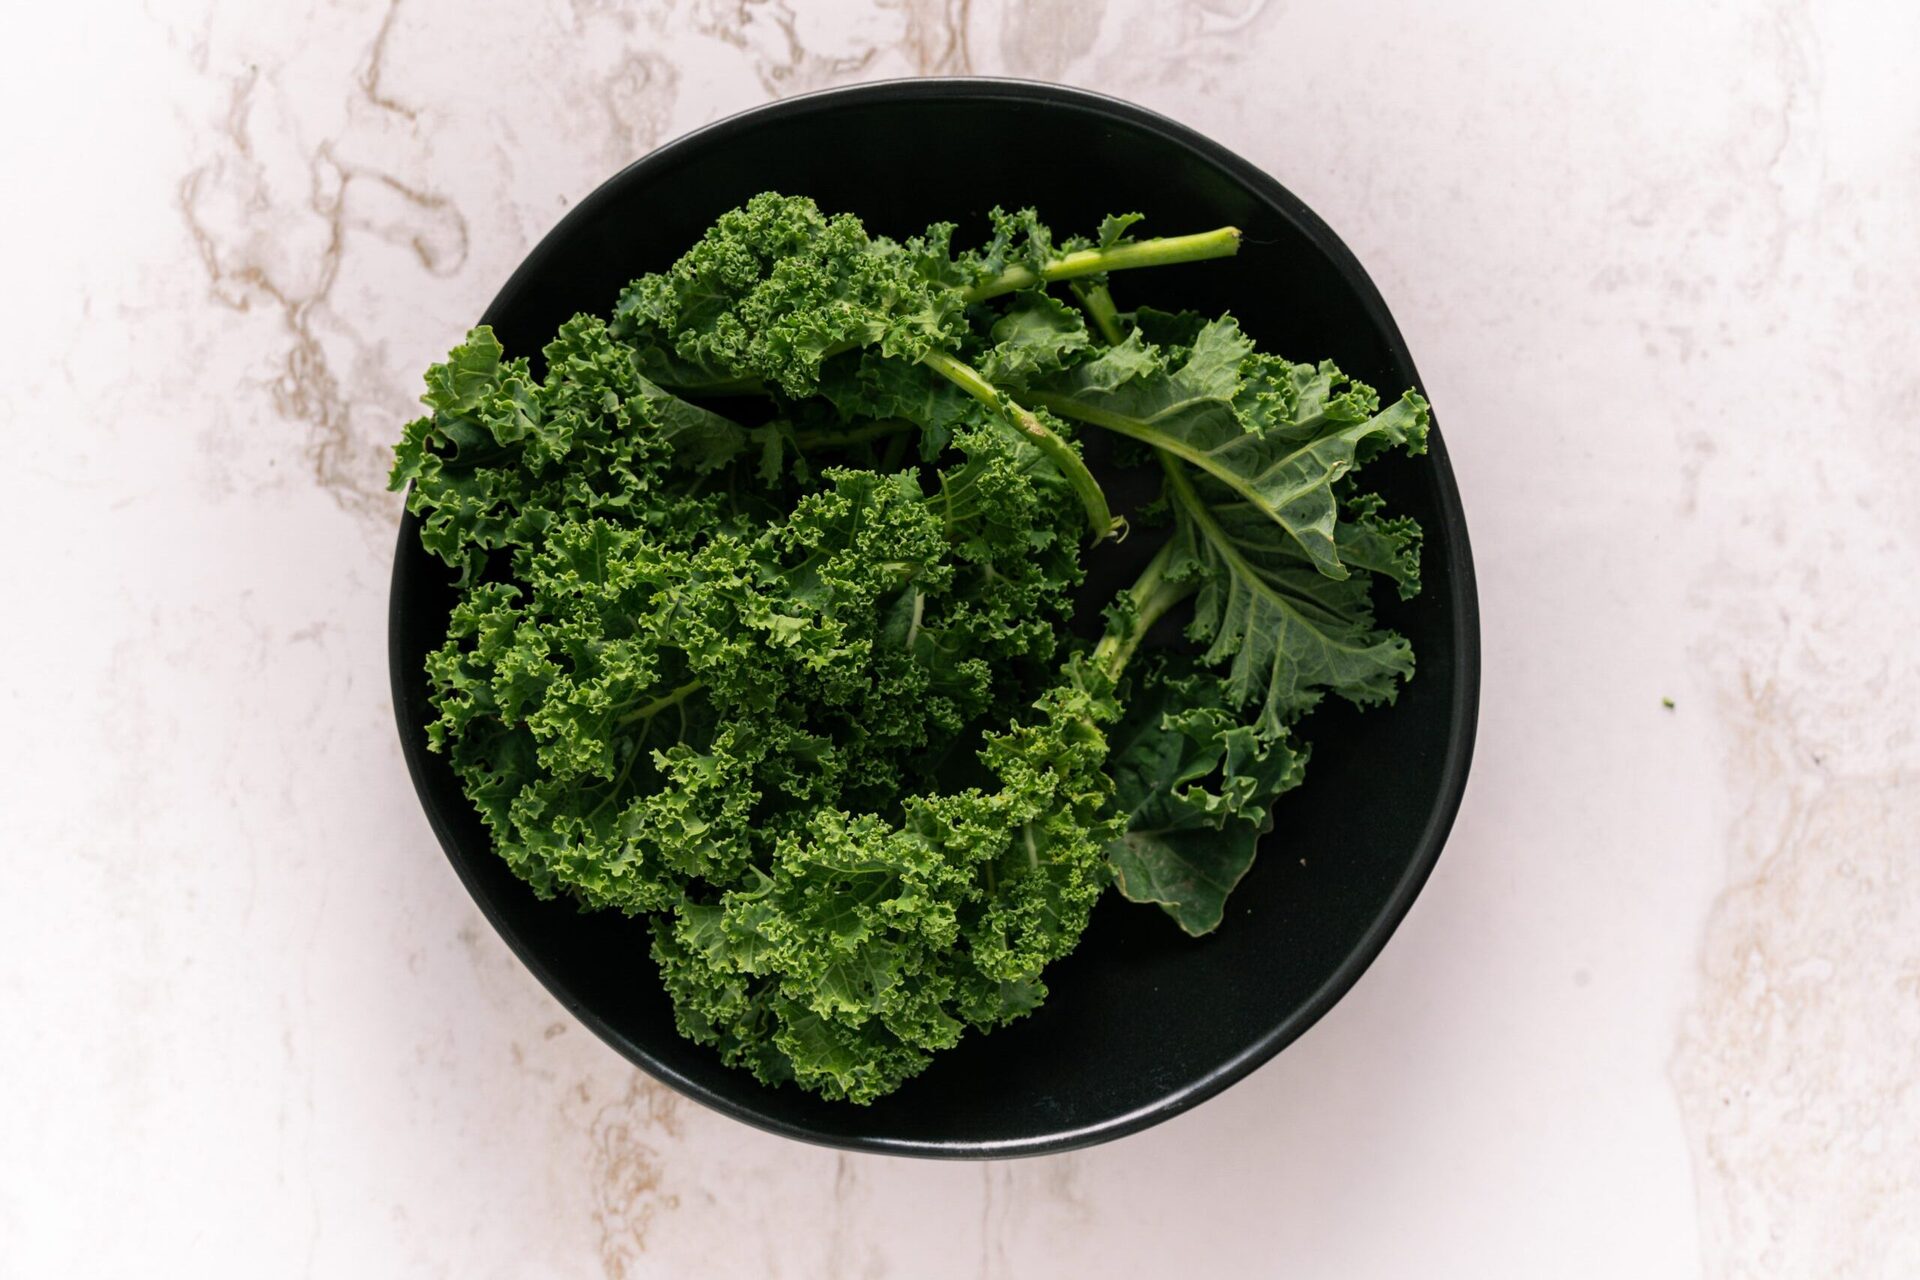
- Wash Thoroughly: Start by washing the kale leaves under cold running water. Remove any dirt, debris, or insects that may be present. Gently pat dry the leaves using a clean kitchen towel or paper towels.
- Remove Tough Stems: Take each kale leaf and strip off the tough stems. Hold the base of the stem with one hand and use your other hand to slide your fingers up the stem, separating it from the leaf. Discard the stems.
- Tear or Chop: Depending on your preferences, you can tear the kale leaves into smaller, bite-sized pieces or chop them into manageable pieces. This step makes it easier to handle and portion out the kale when you’re ready to use it later on.
- Sort and Discard Any Damaged Leaves: Thoroughly inspect the torn or chopped kale leaves and remove any damaged or wilted leaves. Discard them to ensure that only fresh, healthy leaves are included in the freezing process.
Once you have followed these preparation steps, your kale is now ready for the blanching process, which we will explore in the next section.
Blanching Kale
Blanching is a crucial step in the freezing process as it helps to preserve the color, texture, and nutrients of kale. Here’s how to blanch kale:
- Bring a Pot of Water to a Boil: Fill a large pot with water and bring it to a rolling boil over high heat. Make sure the pot is big enough to accommodate the amount of kale you’re blanching.
- Add Salt (Optional): If desired, you can add a teaspoon of salt to the boiling water. This step is optional but can help enhance the flavor of the kale.
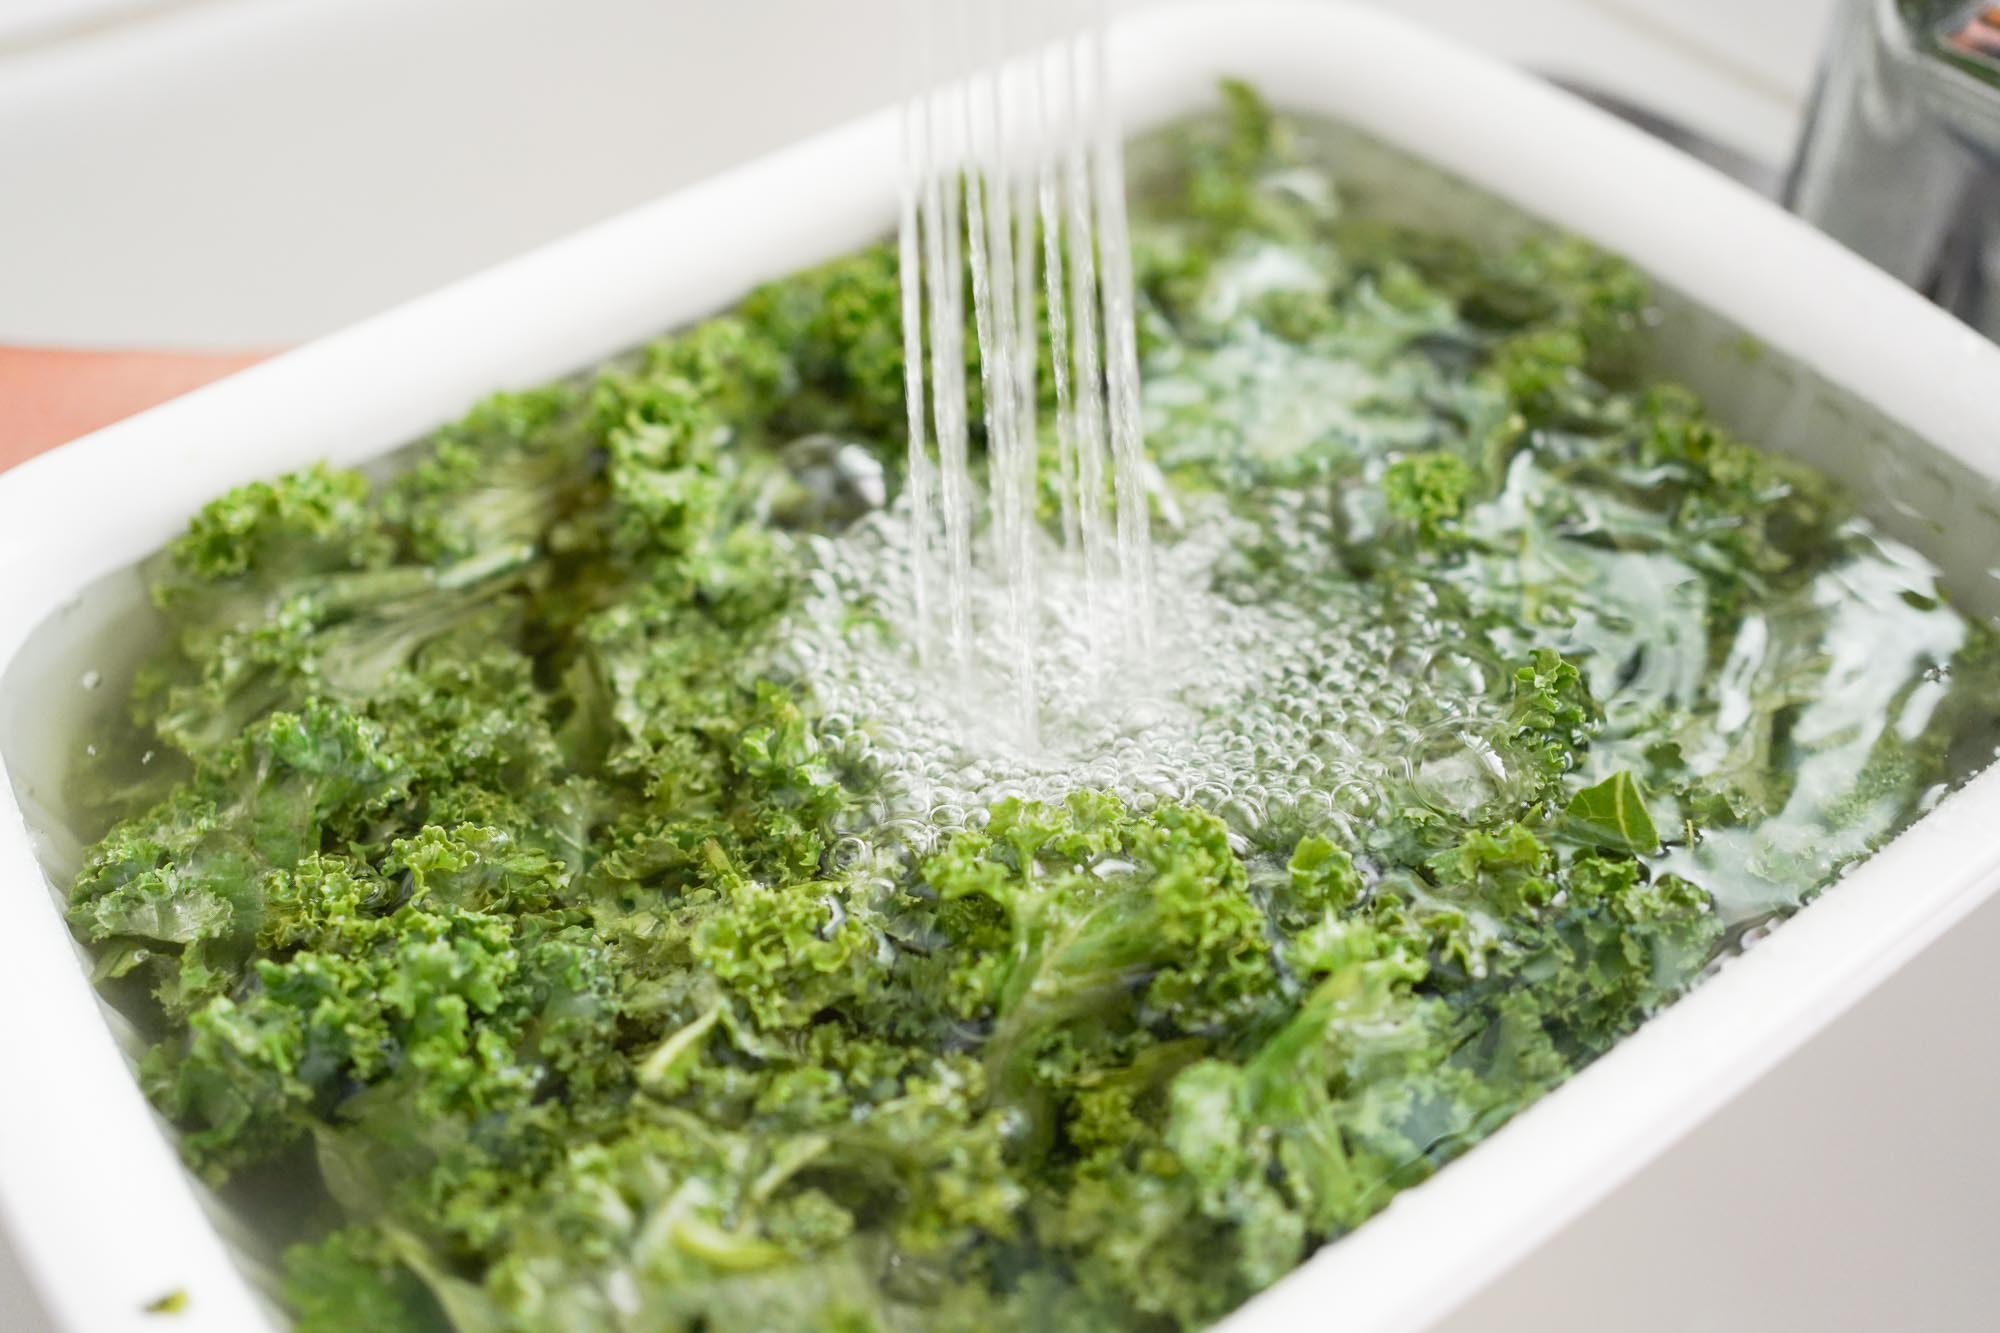
- Prepare an Ice Bath: While the water is boiling, fill a large bowl or sink with ice water. This will act as an ice bath for immediately cooling the kale after blanching.
- Blanch the Kale: Submerge the kale leaves into the boiling water and let them cook for about 2-3 minutes. Stir occasionally to ensure even blanching. The exact time may vary depending on the size and thickness of the kale leaves.
- Transfer to Ice Bath: Using a slotted spoon or tongs, carefully transfer the blanched kale from the boiling water to the ice bath. The ice water will quickly cool down the kale and stop the cooking process, preserving its color and nutrients.
- Let it Sit in the Ice Bath: Allow the kale to sit in the ice bath for about 2-3 minutes or until it is completely cooled. This step is crucial to halt the cooking process and maintain the vibrant green color.
Once the kale has been blanched and cooled, it is ready for the next steps of packaging and freezing, which we will cover in the following section.
Cooling and Packaging Kale
After blanching the kale, it is important to cool and package it properly to ensure optimal freezing. Follow these steps to cool and package your kale:
- Drain the Kale: Remove the blanched kale from the ice bath and gently shake off any excess water. You can also use a colander or a salad spinner to drain the kale more effectively.
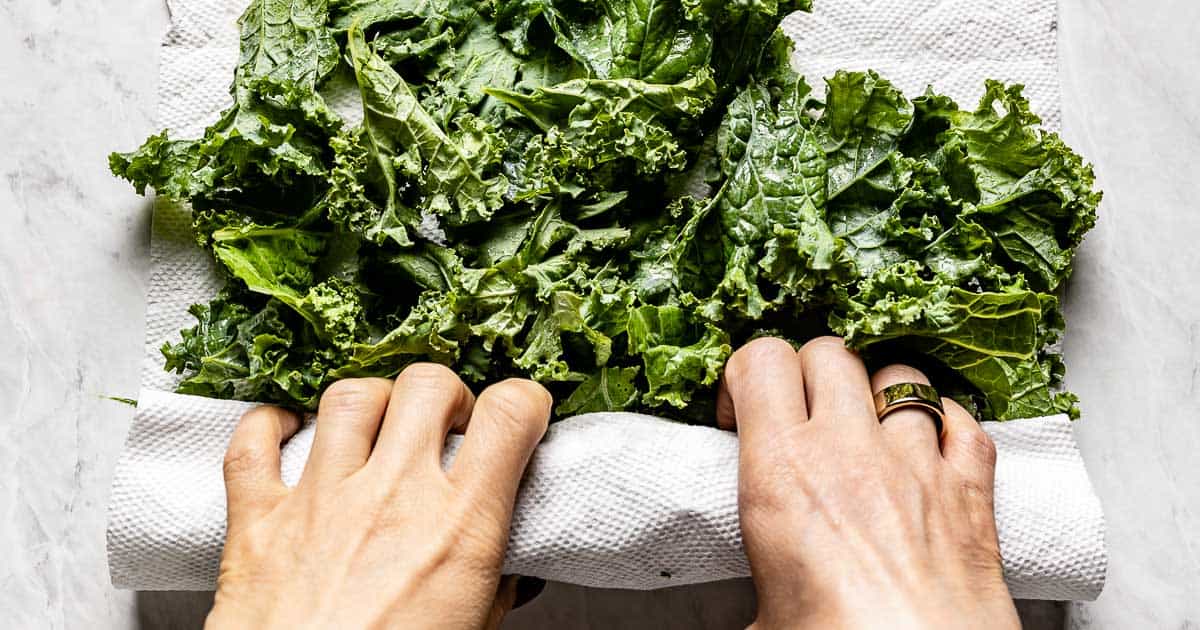
- Dry the Kale: Lay out a clean kitchen towel or paper towels on a flat surface. Carefully spread out the blanched kale on top of the towels, ensuring that it is in a single layer. Pat the kale dry with another towel to remove any remaining moisture.
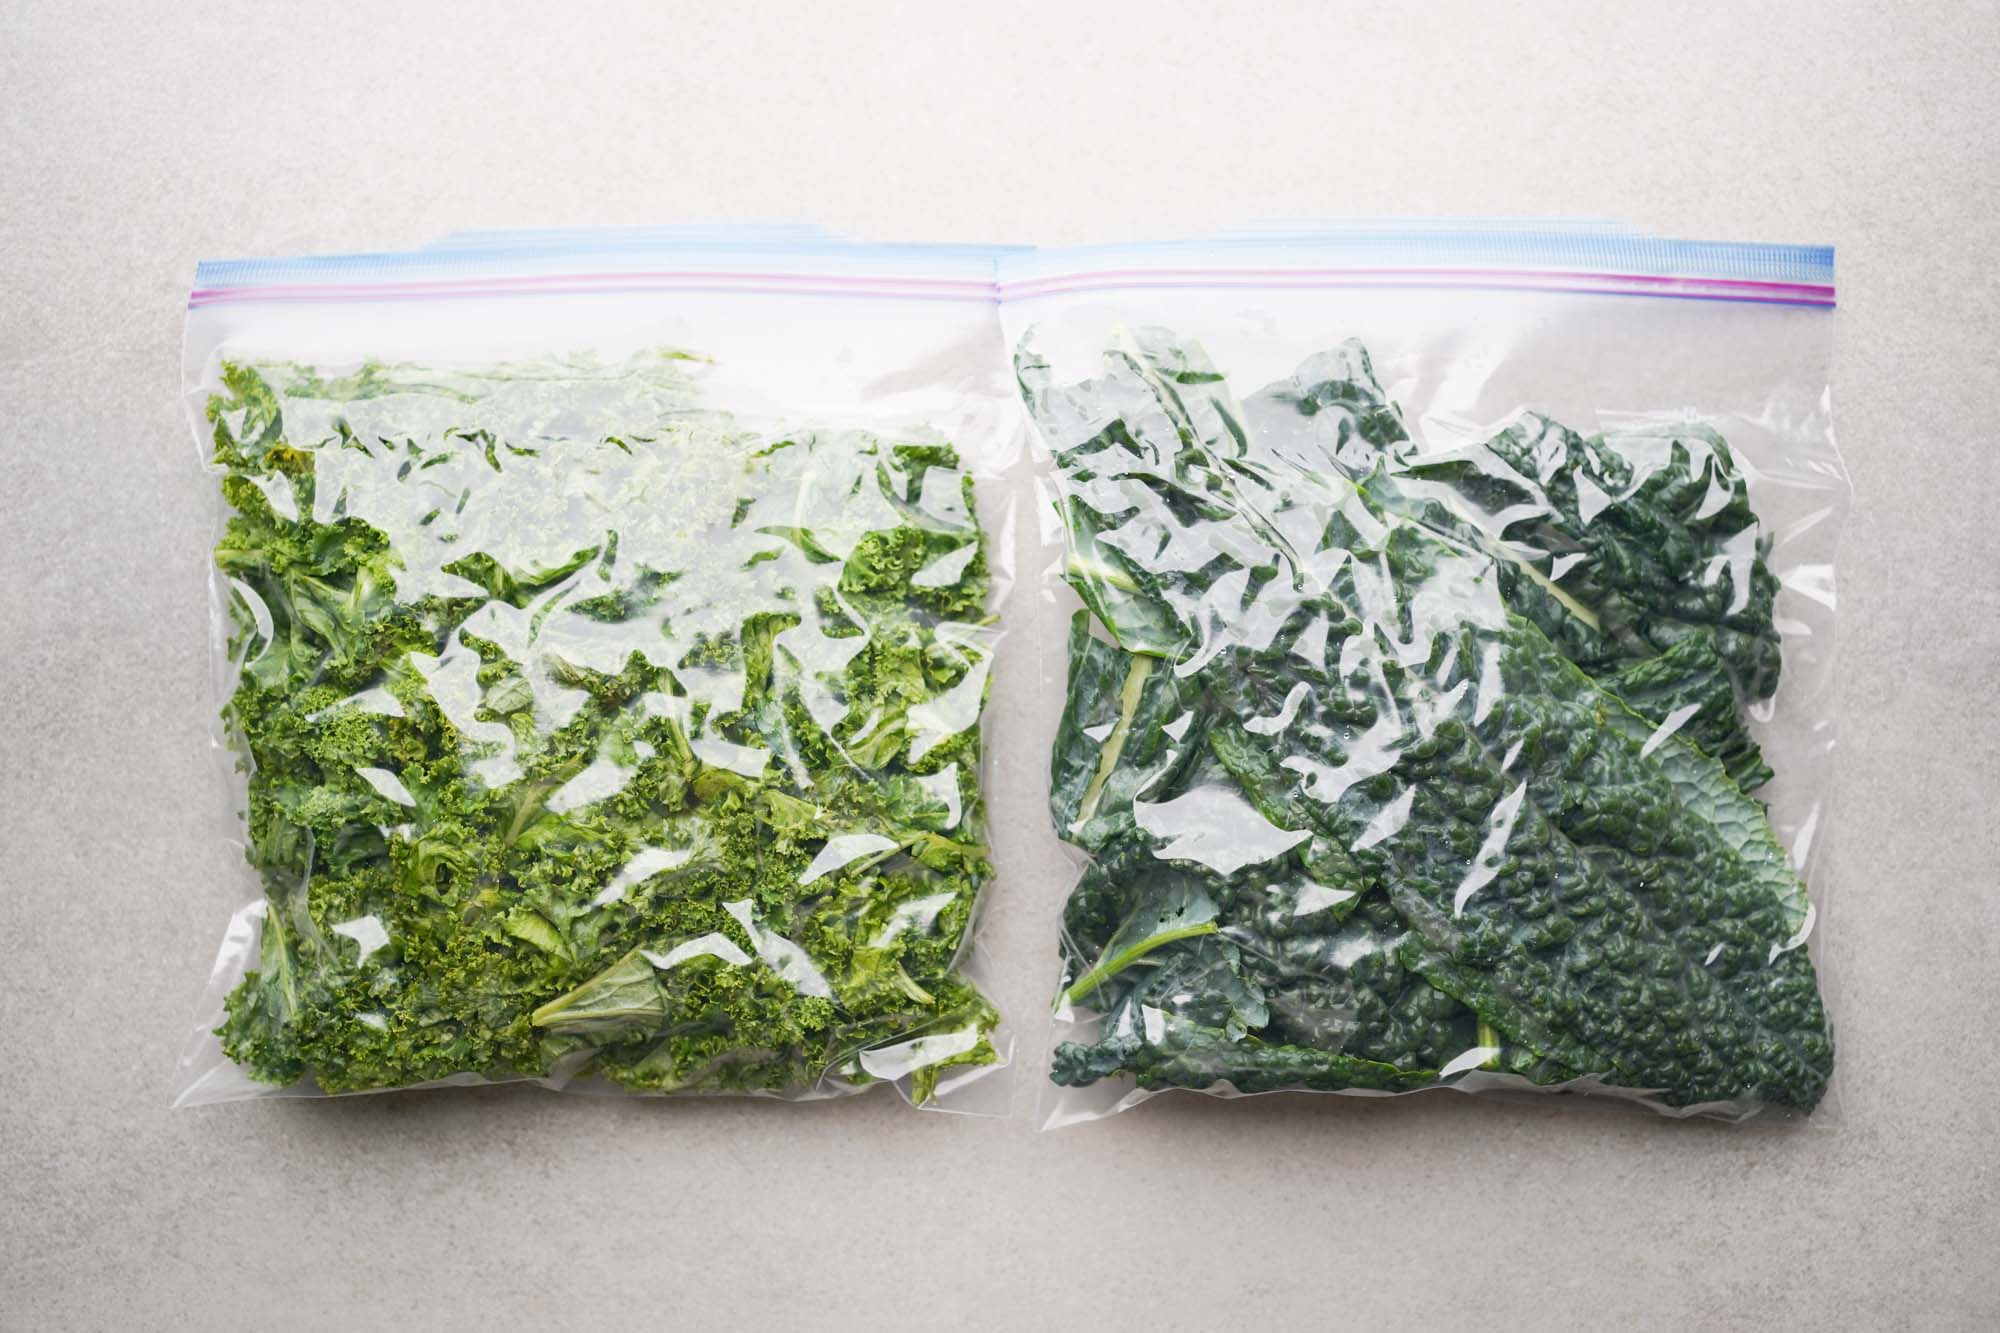
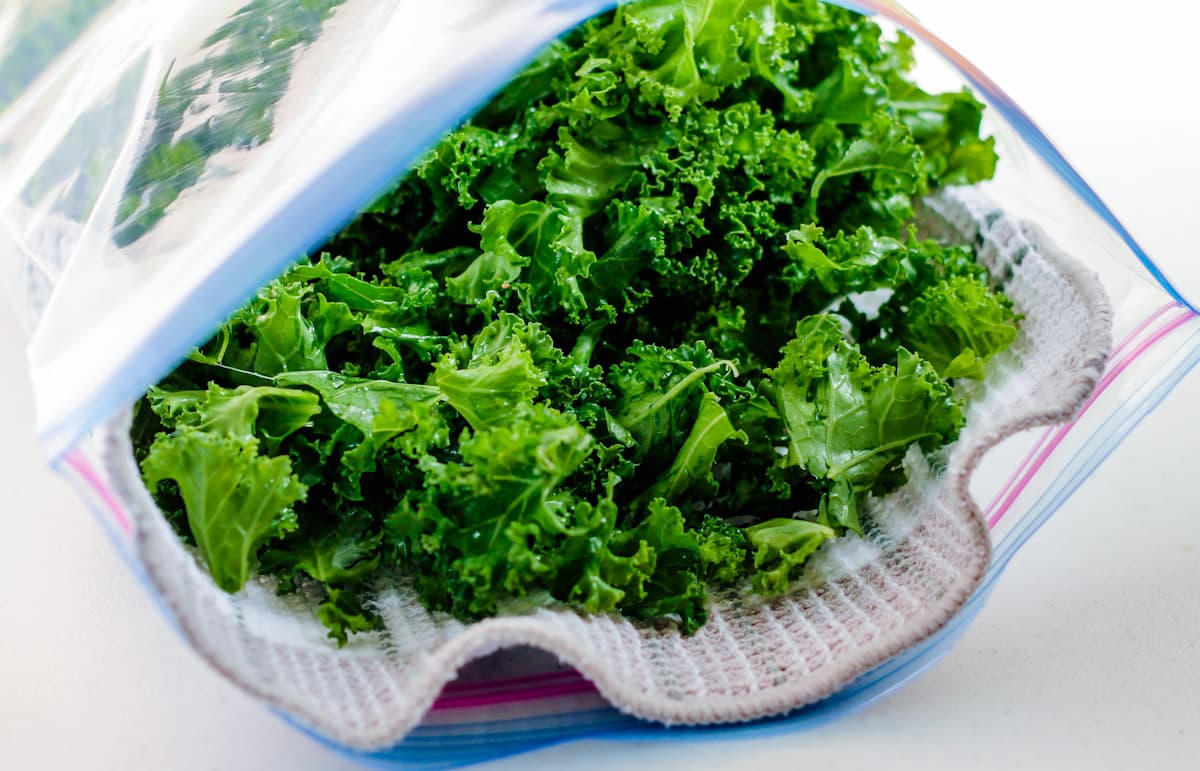
- Divide into Portions: Depending on your needs and preferences, divide the kale into portions. You can separate it into small freezer-safe bags or containers. Portioning the kale makes it easier to thaw and use only the amount you need without having to defrost the whole batch.
- Packing in Freezer Bags or Containers: Place the portions of kale into freezer-safe bags or containers. Squeeze out any excess air from the bags before sealing them to prevent freezer burn. Label each bag or container with the date and contents for easy identification later on.
- Alternate Method: Flash Freezing: If you prefer a more individualized approach, you can flash freeze the blanched kale. To do this, spread the kale in a single layer on a baking sheet lined with parchment paper and place it in the freezer for about an hour or until the leaves are frozen. Once frozen, transfer the kale into freezer-safe bags or containers.
By following these steps, you can ensure that your blanched kale is cooled, drained, and properly packaged for freezing. In the next section, we will explore the process of freezing kale.
To store kale in the freezer, wash and dry the leaves, then remove the stems and chop the leaves. Place them in a resealable bag, removing as much air as possible before sealing. Label the bag with the date and store in the freezer for up to 6 months.
Read more: How To Store Kale
Freezing Kale
Now that your kale is properly cooled and packaged, it’s time to freeze it. Freezing kale is a straightforward process, and here are the steps to follow:
- Ensure Freezer is Cold: Make sure your freezer is set to the appropriate temperature for freezing. The ideal temperature for freezing vegetables, including kale, is 0°F (-18°C) or below. Maintaining a consistent cold temperature will help preserve the quality of the frozen kale.
- Place Kale in Freezer: Carefully transfer the packaged kale portions or flash-frozen kale into the freezer. Try to arrange them in a single layer to allow for faster freezing and easier storage.
- Keep Kale Flat: If you’re using freezer bags, lay them flat in the freezer to prevent the kale from clumping together. For containers, make sure to leave some space at the top for expansion during freezing.
- Avoid Overstuffing: Avoid overstuffing the freezer with other items around the kale to maintain proper airflow. This helps in achieving faster and more consistent freezing.
- Maintain Frozen Temperature: Once the kale is in the freezer, ensure the temperature remains consistent. Avoid frequent opening of the freezer door, as this can cause temperature fluctuations that may affect the quality of the frozen kale.
- Freeze for at Least 24 Hours: Allow the kale to freeze for at least 24 hours or until it is completely frozen. This duration ensures that the kale is properly frozen and can be safely stored for an extended period.
By following these steps, your kale will be successfully frozen and ready to be stored. In the next section, we will discuss the proper storage of frozen kale to maintain its quality and taste.
Proper Storage of Frozen Kale
Proper storage is crucial to maintain the quality and longevity of frozen kale. Here are some guidelines to adhere to when storing your frozen kale:
- Use Freezer-Safe Containers: Make sure to use freezer-safe bags or containers to store the frozen kale. These are specifically designed to withstand the low temperatures of the freezer and prevent freezer burn.
- Label and Date: Label each bag or container with the date and contents of the frozen kale. This helps you keep track of the storage duration and easily identify the kale when needed.
- Store in the Back of the Freezer: Place the frozen kale towards the back of the freezer where the temperature is the coldest and most consistent. This area ensures that the kale remains at the optimal freezing temperature.
- Stack or Organize Neatly: If using bags, stack them neatly in a single layer to maximize freezer space. If using containers, arrange them in an organized manner for easy access when needed.
- Keep Away from Odorous Foods: Store the frozen kale away from strong-smelling foods in the freezer. Kale easily absorbs odors, so it’s best to keep it separate to maintain its freshness and flavor.
- Maintain Consistent Freezer Temperature: Regularly check and maintain the temperature of your freezer to ensure it remains at or below 0°F (-18°C). Fluctuations in temperature can affect the quality and taste of the kale.
By following these storage guidelines, you can keep your frozen kale in optimal condition for an extended period. Now that you know how to properly store frozen kale, let’s move on to the thawing and using process in the next section.
Thawing and Using Frozen Kale
When it comes time to use your frozen kale, proper thawing techniques are essential to maintain its texture and flavor. Here’s how to thaw and use frozen kale:
- Thaw in the Refrigerator: The safest method for thawing frozen kale is to transfer the desired amount from the freezer to the refrigerator. Place the frozen kale in a bowl or on a plate, cover it, and let it thaw in the refrigerator overnight or for at least 6-8 hours. Thawing in the refrigerator allows for a slow and even thaw, preserving the texture and taste of the kale.
- Quick Thawing Method: If you’re short on time and need to thaw the kale quickly, you can use the microwave or stovetop method. Place the frozen kale in a microwave-safe bowl and defrost it using the microwave’s defrost setting or at a low power level in short bursts, stirring occasionally. Alternatively, you can thaw the kale in a pot of gently simmering water on the stovetop, making sure to stir frequently.
- Drain Excess Liquid: After thawing, the kale may release some excess liquid. Ensure you drain and squeeze out any excess moisture from the thawed kale to prevent it from being too watery when used in recipes.
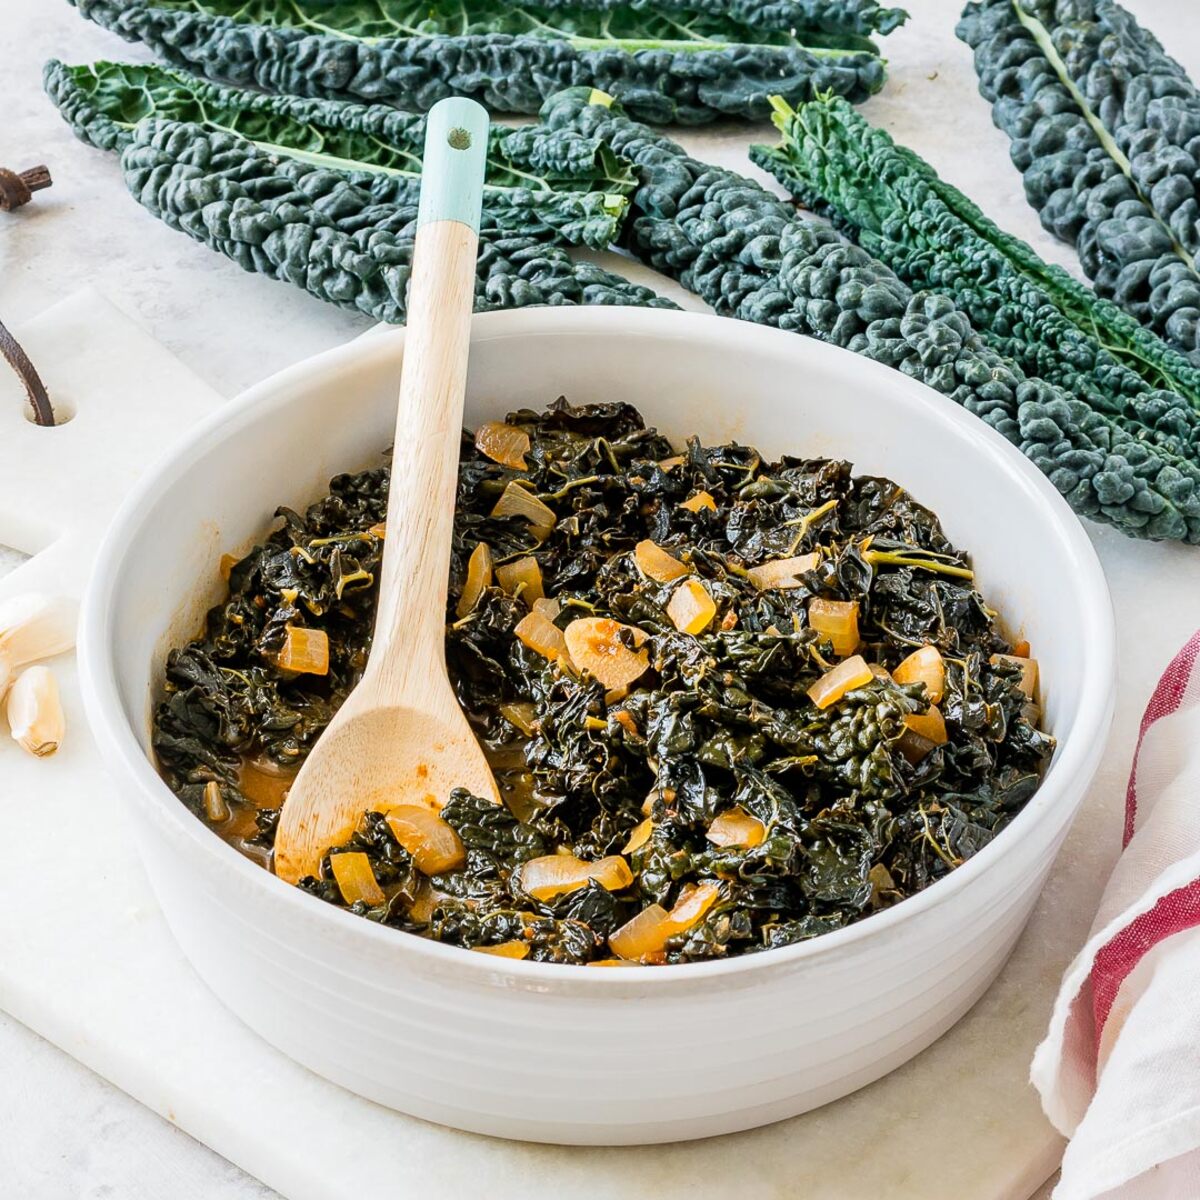
- Use in a Variety of Recipes: Thawed kale can be used in a wide range of recipes, just like fresh kale. Add it to smoothies, soups, stews, stir-fries, pasta dishes, or even use it as a topping for pizzas and flatbreads. Thawed kale is versatile and can be incorporated into your favorite recipes without compromising on taste or nutritional value.
- Cooking Methods: When using thawed kale in recipes, it is necessary to cook it thoroughly. Whether sautéing, steaming, or baking, ensure that the kale reaches a safe internal temperature of 165°F (74°C) to eliminate any potential bacteria.
By following these thawing and usage tips, you can make the most of your frozen kale while maintaining its quality and taste. Now that you have the knowledge to freeze, store, thaw, and use kale, let’s explore some additional tips and tricks to enhance your kale freezing experience.
Tips and Tricks for Freezing Kale
Here are some additional tips and tricks to help you make the most out of freezing kale:
- Blanch in Small Batches: If you have a large amount of kale to freeze, blanch it in small batches rather than overcrowding the pot. This ensures that each batch gets properly blanched and cooled, preserving the quality of the kale.
- Use a Vacuum Sealer: If you have a vacuum sealer, consider using it to remove excess air and increase the shelf life of your frozen kale. Vacuum sealing helps prevent freezer burn and keeps the kale fresher for a longer period.
- Label Portions: Portioning the kale before freezing makes it easier to thaw and use only the amount you need. Label each portion with the quantity, making it convenient to grab the desired amount without defrosting the entire batch.
- Consider Pre-Blanch Refrigeration: To save time and energy, you can blanch the kale, cool it in the refrigerator, and then proceed with packaging and freezing. This method eliminates the need for an ice bath and allows you to batch-process larger quantities.
- Freeze in Recipe-Sized Portions: If you have specific recipes in mind that call for a specific amount of kale, consider freezing the kale in portions pre-measured for those recipes. This way, you can conveniently grab the right amount without having to measure each time.
- Label with Date and Use-By: Along with labeling the contents of each package, include the date of freezing and a use-by date as a helpful reminder of how long the kale can be stored in the freezer.
- Rotate Stock: To ensure that you use your frozen kale before it gets too old, practice the “first in, first out” rule. Keep your freezer organized and rotate the stock so that older packages are used before newer ones.
- Experiment with Blanched Kale: Experiment with different blanching times to find the texture of kale that suits your taste. Some people prefer a slightly crisper texture, while others prefer a softer texture.
By incorporating these tips and tricks, you can enhance your kale freezing experience and enjoy the benefits of having easily accessible frozen kale all year round. With proper preparation, storage, and thawing, you can enjoy the freshness and nutritional value of kale in various recipes. Now that you’re equipped with comprehensive knowledge on freezing kale, it’s time to stock up, freeze, and savor this incredible leafy green vegetable.
Read more: How To Store Kale In Fridge
Conclusion
Freezing kale is a fantastic way to preserve its freshness, nutritional value, and vibrant green color. By following the proper steps of preparing, blanching, cooling, packaging, and freezing kale, you can enjoy this nutritious leafy green vegetable all year round.
Through the blanching process, kale retains its nutrients and texture, making it perfect for a variety of recipes. Whether you prefer adding kale to smoothies, soups, stews, or sautés, having frozen kale on hand ensures you’ll never run out of this versatile ingredient.
Proper storage, including using freezer-safe containers, labeling portions, and maintaining a consistent freezer temperature, is key to preserving the quality of frozen kale. By following these storage guidelines, you can ensure that your frozen kale remains fresh and flavorful for months to come.
Thawing frozen kale properly is crucial to maintain its texture and taste. Whether you choose the refrigerator, microwave, or stovetop method, thawing allows you to easily incorporate the kale into your favorite recipes without compromising its quality.
By implementing the tips and tricks mentioned, such as blanching in small batches, portioning, and using vacuum sealers, you can enhance your kale freezing experience and optimize the usage of frozen kale in your culinary endeavors.
So, whether you have an abundance of kale from your garden or want to take advantage of a great deal at the grocery store, freeze your kale and enjoy its goodness all year long. Freezing kale not only helps to reduce food waste but also allows you to reap the nutritional benefits of this superfood even when it’s out of season.
Now that you have a comprehensive understanding of how to freeze kale, it’s time to embark on your freezing journey. Stock up, prepare, and freeze your kale to have a convenient stash of this nutritious vegetable at your fingertips whenever you need it!
Frequently Asked Questions about How To Store Kale In The Freezer
Was this page helpful?
At Storables.com, we guarantee accurate and reliable information. Our content, validated by Expert Board Contributors, is crafted following stringent Editorial Policies. We're committed to providing you with well-researched, expert-backed insights for all your informational needs.

0 thoughts on “How To Store Kale In The Freezer”