Articles
How To Store Melt And Pour Soap
Modified: January 5, 2024
Discover expert articles on how to store melt and pour soap for long-lasting freshness. Proper storage techniques ensure your soap stays in perfect condition.
(Many of the links in this article redirect to a specific reviewed product. Your purchase of these products through affiliate links helps to generate commission for Storables.com, at no extra cost. Learn more)
Introduction
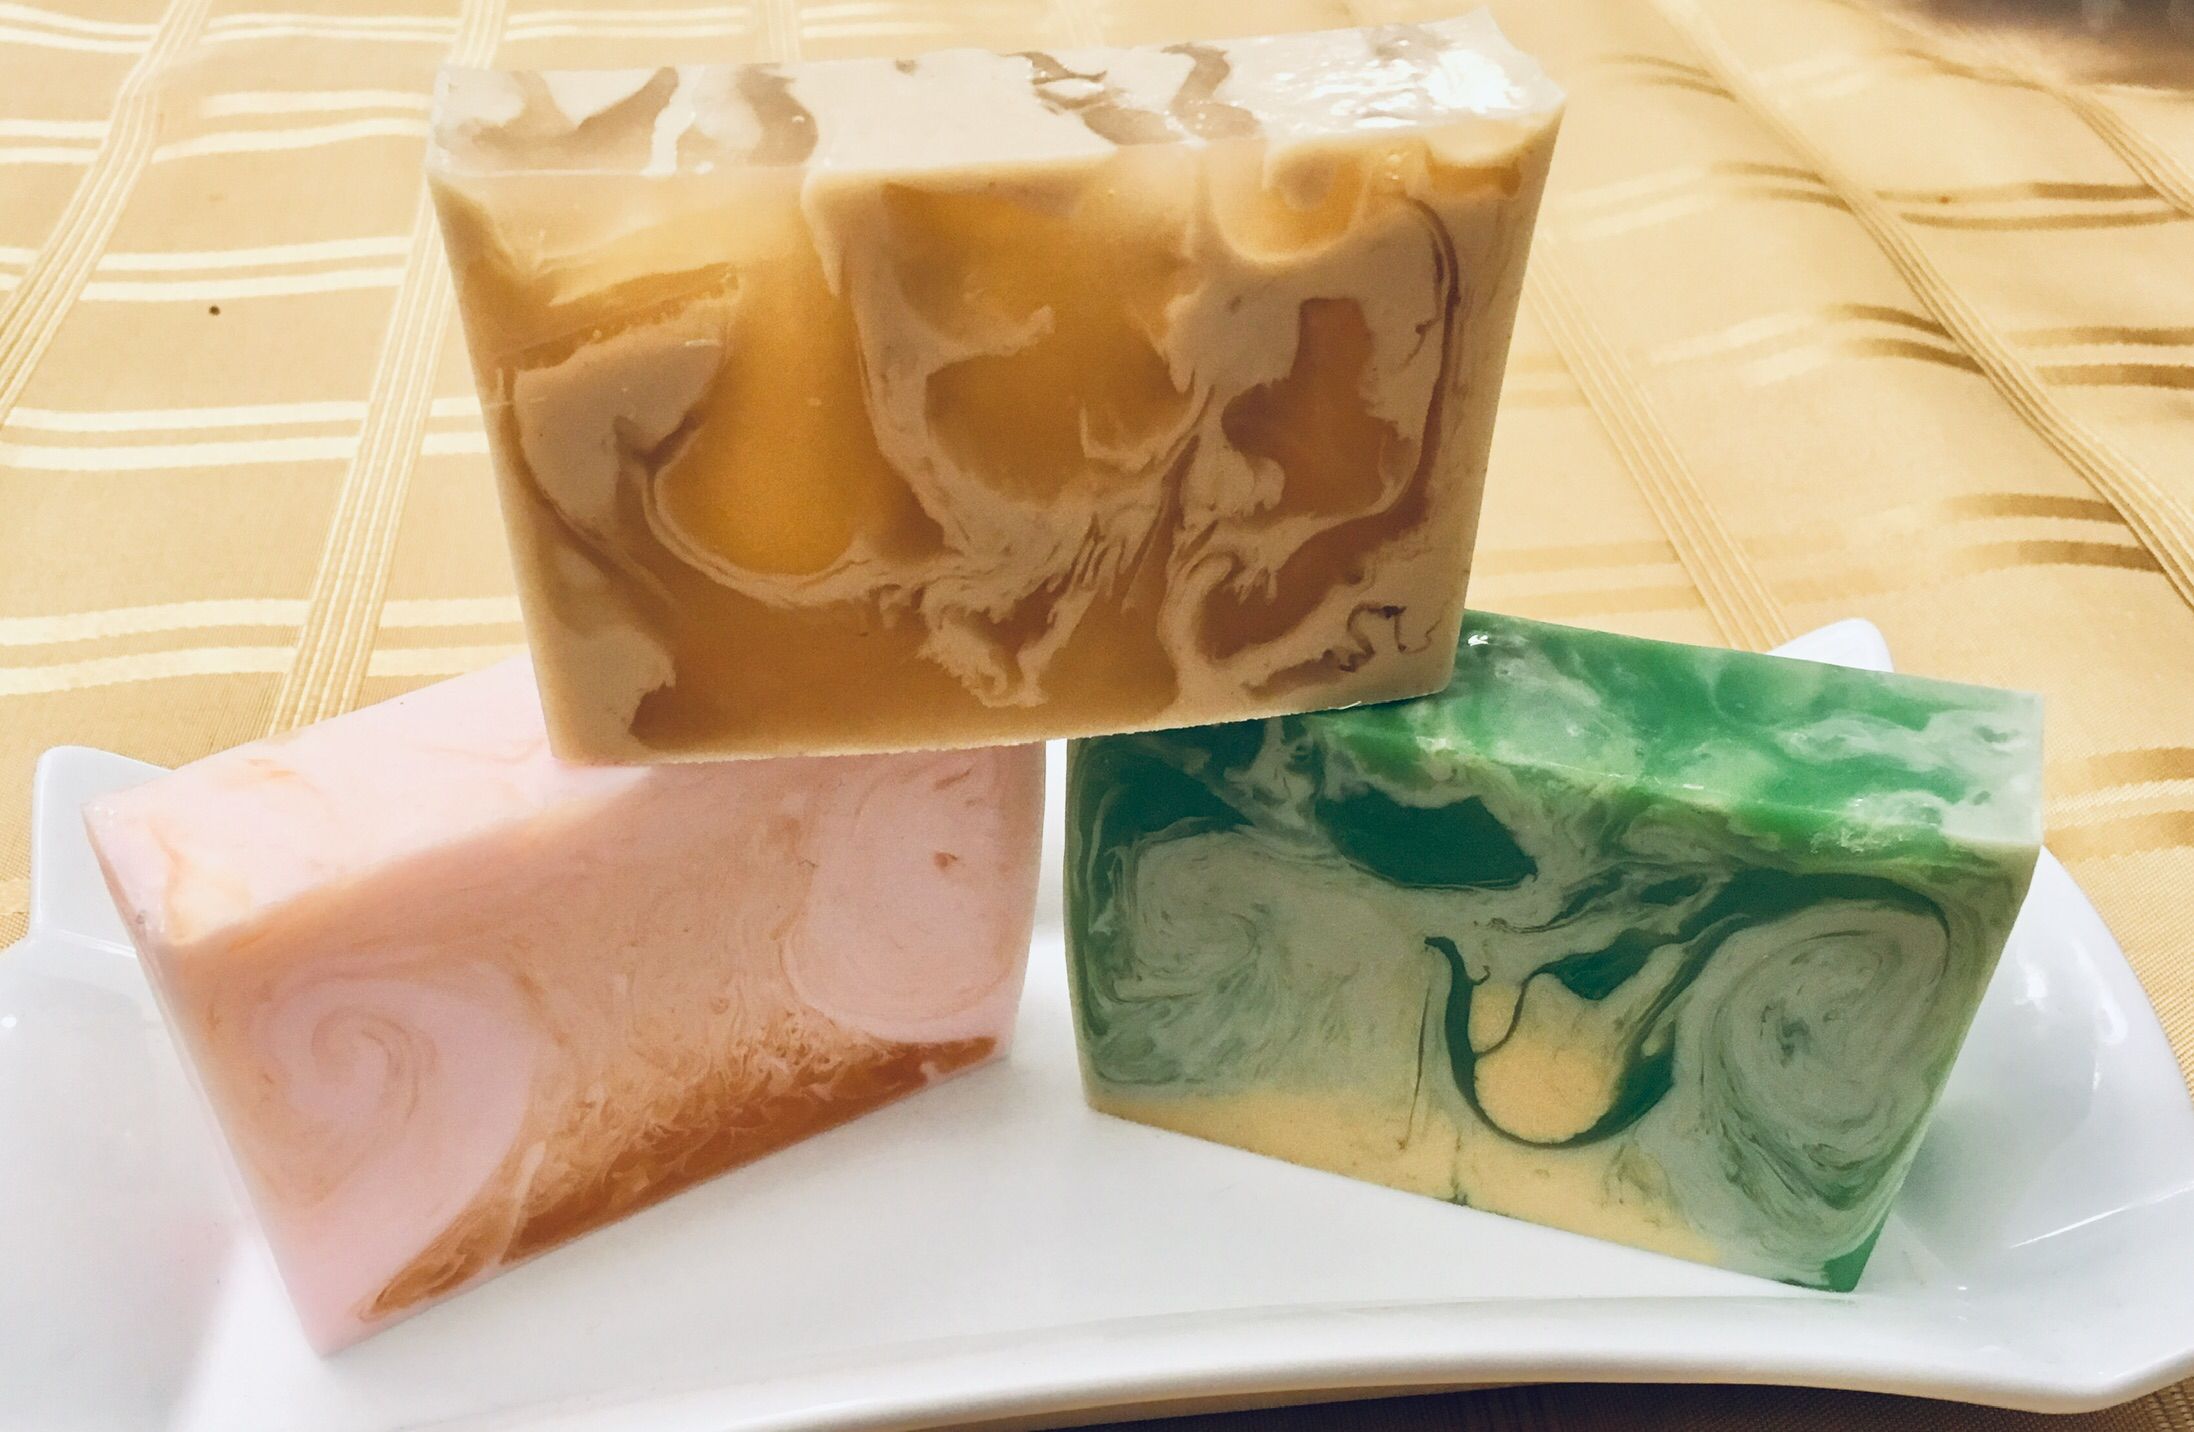
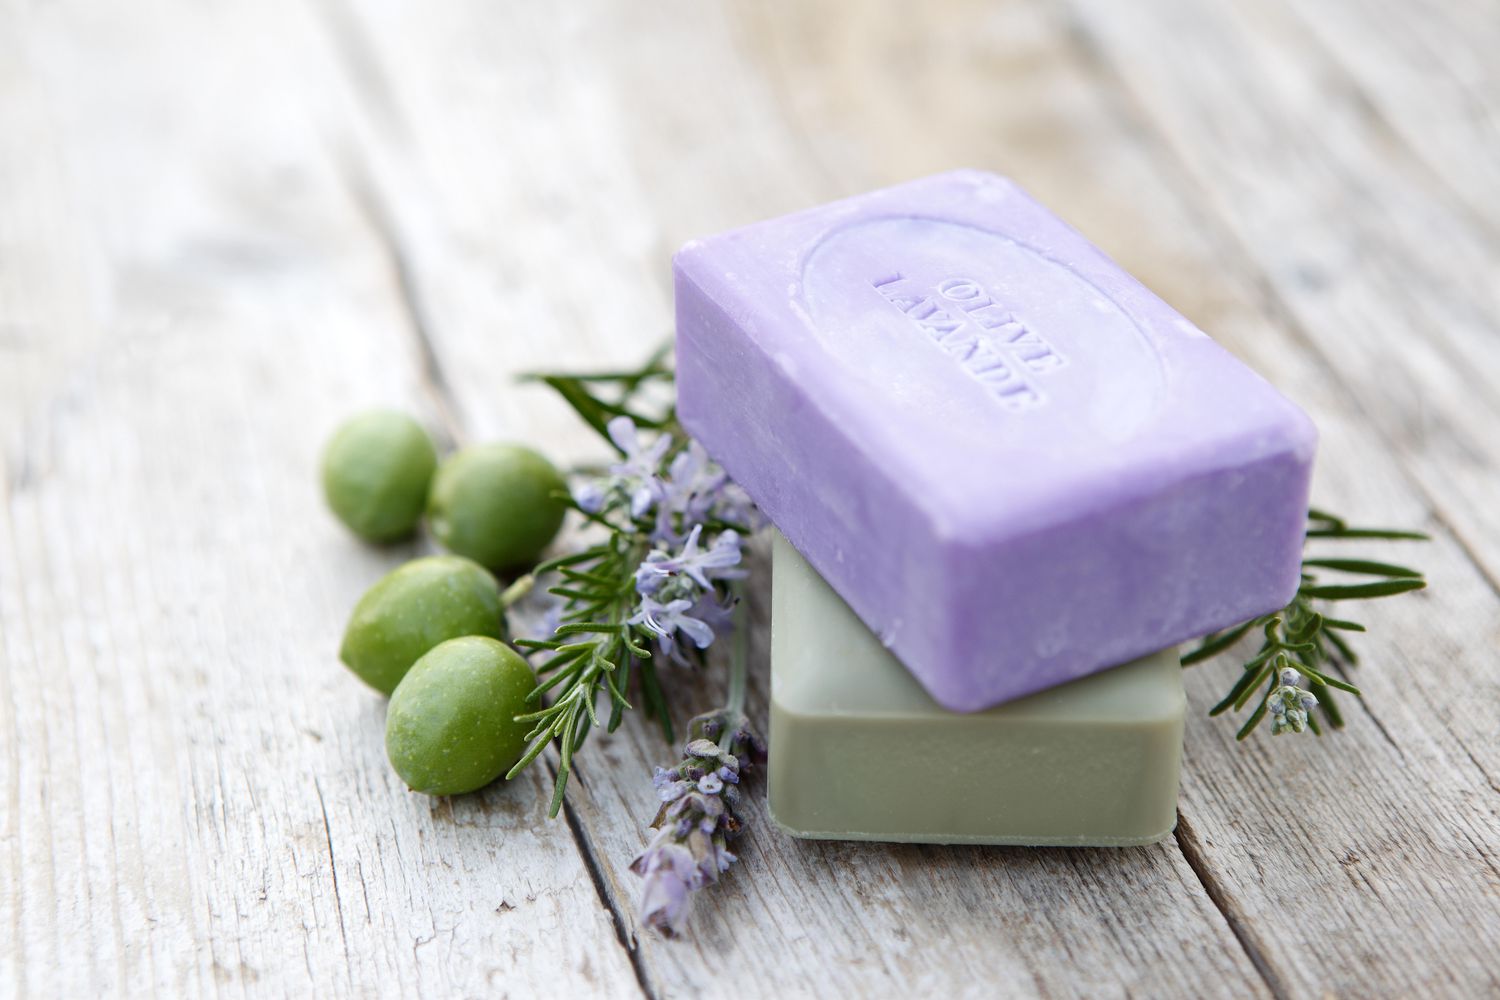
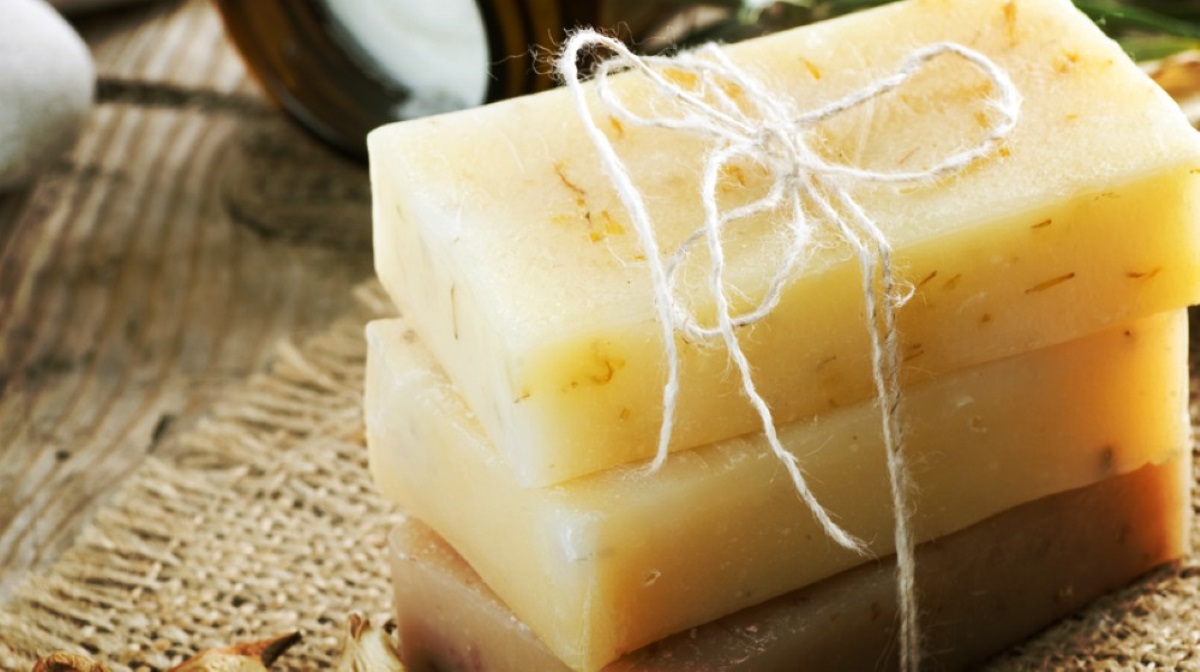
Melt and pour soap is a popular choice for those who want to create their own handmade soaps. Whether you’re a beginner or an experienced soap maker, this method offers a simple and convenient way to craft unique and beautiful bars of soap. But once you’ve made your soap, how do you store it to ensure its longevity and quality? In this article, we will guide you through the steps of properly storing your melt and pour soap.
Before we delve into the details of storing melt and pour soap, let’s take a moment to appreciate the benefits of this particular soap-making technique.
Melt and pour soap is an excellent option for those who are new to soap making. Unlike cold process or hot process soap making, melt and pour soap does not require any dangerous chemicals or specialized equipment. The process is as simple as melting a pre-made soap base and adding your desired colors, fragrances, and other additives. This makes it a safe and fun activity for individuals of all ages and skill levels.
Furthermore, melt and pour soap allows you to unleash your creativity. With a wide variety of soap bases available on the market, you can experiment with different colors, scents, and textures. You can also add various natural ingredients, such as essential oils, exfoliants, and botanical extracts, to customize your soap and make it truly unique.
Now that we’ve explored the benefits of melt and pour soap, let’s move on to the crucial step of choosing the right soap base for your creations.
Key Takeaways:
- Embrace your creativity and enjoy the process of making and storing melt and pour soap. Proper storage preserves the beauty, scent, and quality for lasting enjoyment, whether for personal use or gifting.
- Keep your melt and pour soap fresh and delightful by storing it in a cool, dry place, away from humidity and direct sunlight. Label, date, and rotate your stock to ensure continuous freshness and quality.
Read more: How To Store Melted Butter
Benefits of Melt and Pour Soap
Melt and pour soap offers a wide range of benefits, making it a popular choice among DIY enthusiasts and soap lovers alike.
- Easy and Convenient: One of the major advantages of melt and pour soap is its simplicity. The process of making melt and pour soap involves melting a pre-made soap base, which eliminates the need for complex procedures like measuring and mixing various ingredients. This makes it an ideal option for beginners or those who prefer a hassle-free soap making experience. Additionally, the soap base is readily available, making it convenient to create your own soap bars whenever you desire.
- Versatility in Designs: Melt and pour soap offers endless opportunities for creative expression. With a wide variety of soap bases available, you can choose from different textures, colors, and fragrances to suit your preferences. The soap can be easily customized by adding natural ingredients like herbs, petals, and exfoliants. This versatility allows you to create eye-catching designs and unique soap bars that reflect your personal style.
- Gentle on the Skin: Melt and pour soap is generally made from high-quality ingredients, including natural oils like coconut and olive oil. These oils help to provide a moisturizing and nourishing lather that is gentle on the skin. Unlike some commercially produced soaps that may contain harsh chemicals, melt and pour soap is free from sulfates, parabens, and other potential irritants. This makes it an excellent choice for individuals with sensitive skin or those seeking a milder soap option.
- Fast and Immediate Results: Unlike traditional soap-making methods that require weeks of curing time, melt and pour soap allows for instant gratification. Once you have melted and poured the soap into your desired molds, it quickly solidifies, allowing for immediate use or gifting. The fast turnaround time makes it a popular choice for last-minute handmade presents or personal use.
- Cost-Effective: Making melt and pour soap can be a budget-friendly alternative to purchasing expensive artisan soaps. By buying a soap base in bulk, you can create multiple bars of soap at a fraction of the cost. Furthermore, since you have control over the ingredients, you can choose to omit or include specific additives, allowing you to tailor the soap to your desired price range and quality.
Overall, melt and pour soap offers a simple, versatile, and skin-friendly option for creating your own handmade soap. Its ease of use, customizability, and immediate results make it an enticing choice for both beginners and experienced soap makers.
Next, let’s explore the crucial step of choosing the right soap base for your melt and pour soap creations.
Choosing the Right Soap Base
When it comes to melt and pour soap, choosing the right soap base is essential to ensure a successful and enjoyable soap-making experience. The soap base serves as the foundation of your soap, providing its texture, lather, and moisturizing properties. Here are some factors to consider when selecting a soap base:
- Ingredients: Pay attention to the ingredients used in the soap base. Look for natural and high-quality ingredients, such as vegetable oils like olive oil, coconut oil, or shea butter. Avoid soap bases that contain potentially irritating or harsh chemicals, as these may not be suitable for individuals with sensitive skin.
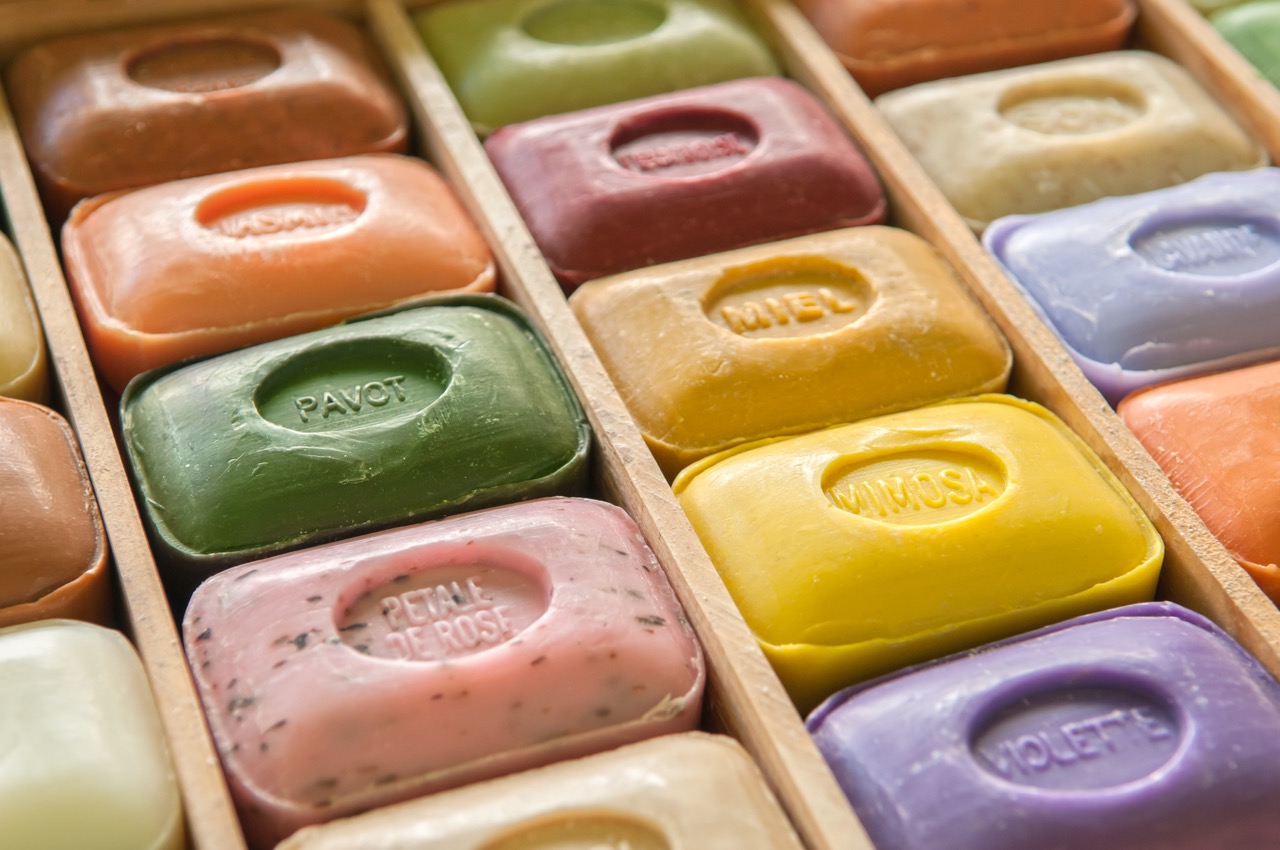
- Transparency: Soap bases are available in various levels of transparency, ranging from clear to opaque. Clear soap bases are ideal for showcasing vibrant colors or embedments, while opaque bases can provide a more luxurious and classic appearance. Consider the final look you want to achieve when choosing the transparency of your soap base.
- Moisturizing Properties: Different soap bases offer varying levels of moisturizing properties. If you have dry or sensitive skin, opt for soap bases that include moisturizing ingredients like shea butter or glycerin, as they can help hydrate and nourish the skin.
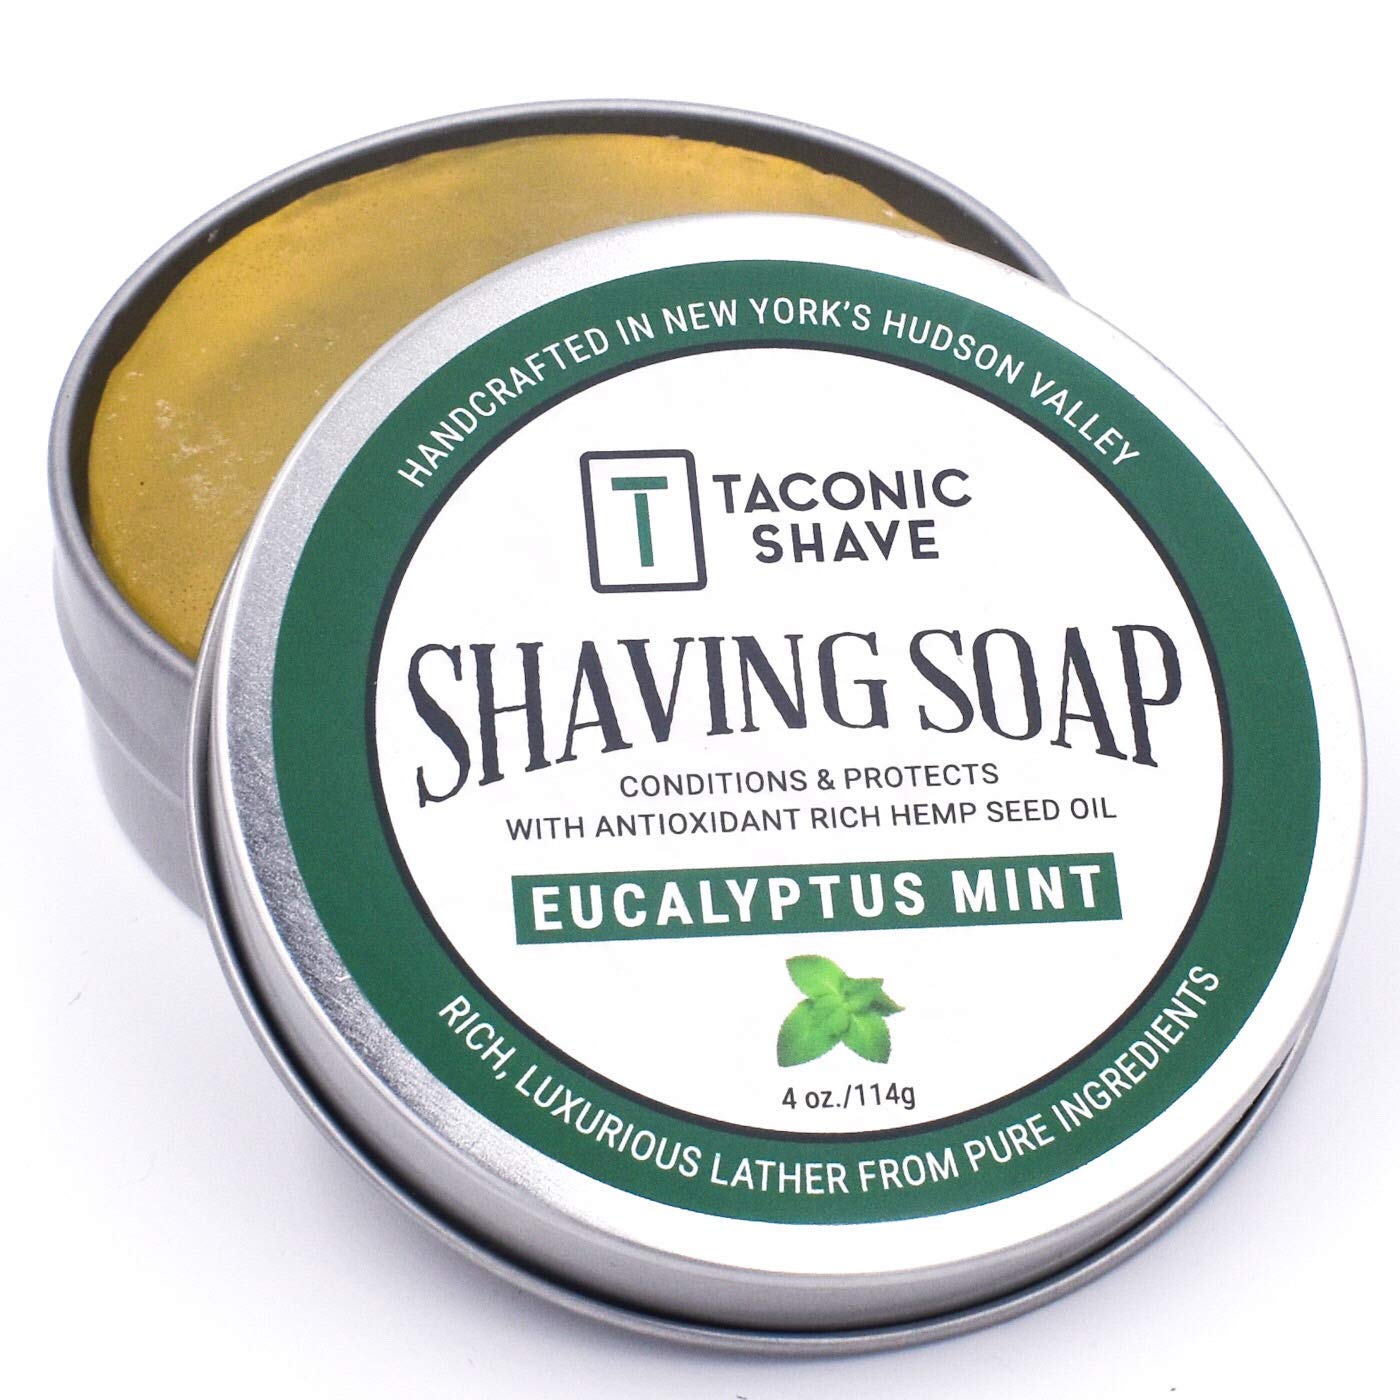
- Fragrance: Some soap bases come pre-scented, while others are unscented, allowing you to add your own fragrance oils. Consider whether you prefer a scented soap base or if you want the flexibility to customize the scent. If you choose a scented base, make sure the fragrance is from natural sources to avoid synthetic or artificial scents.
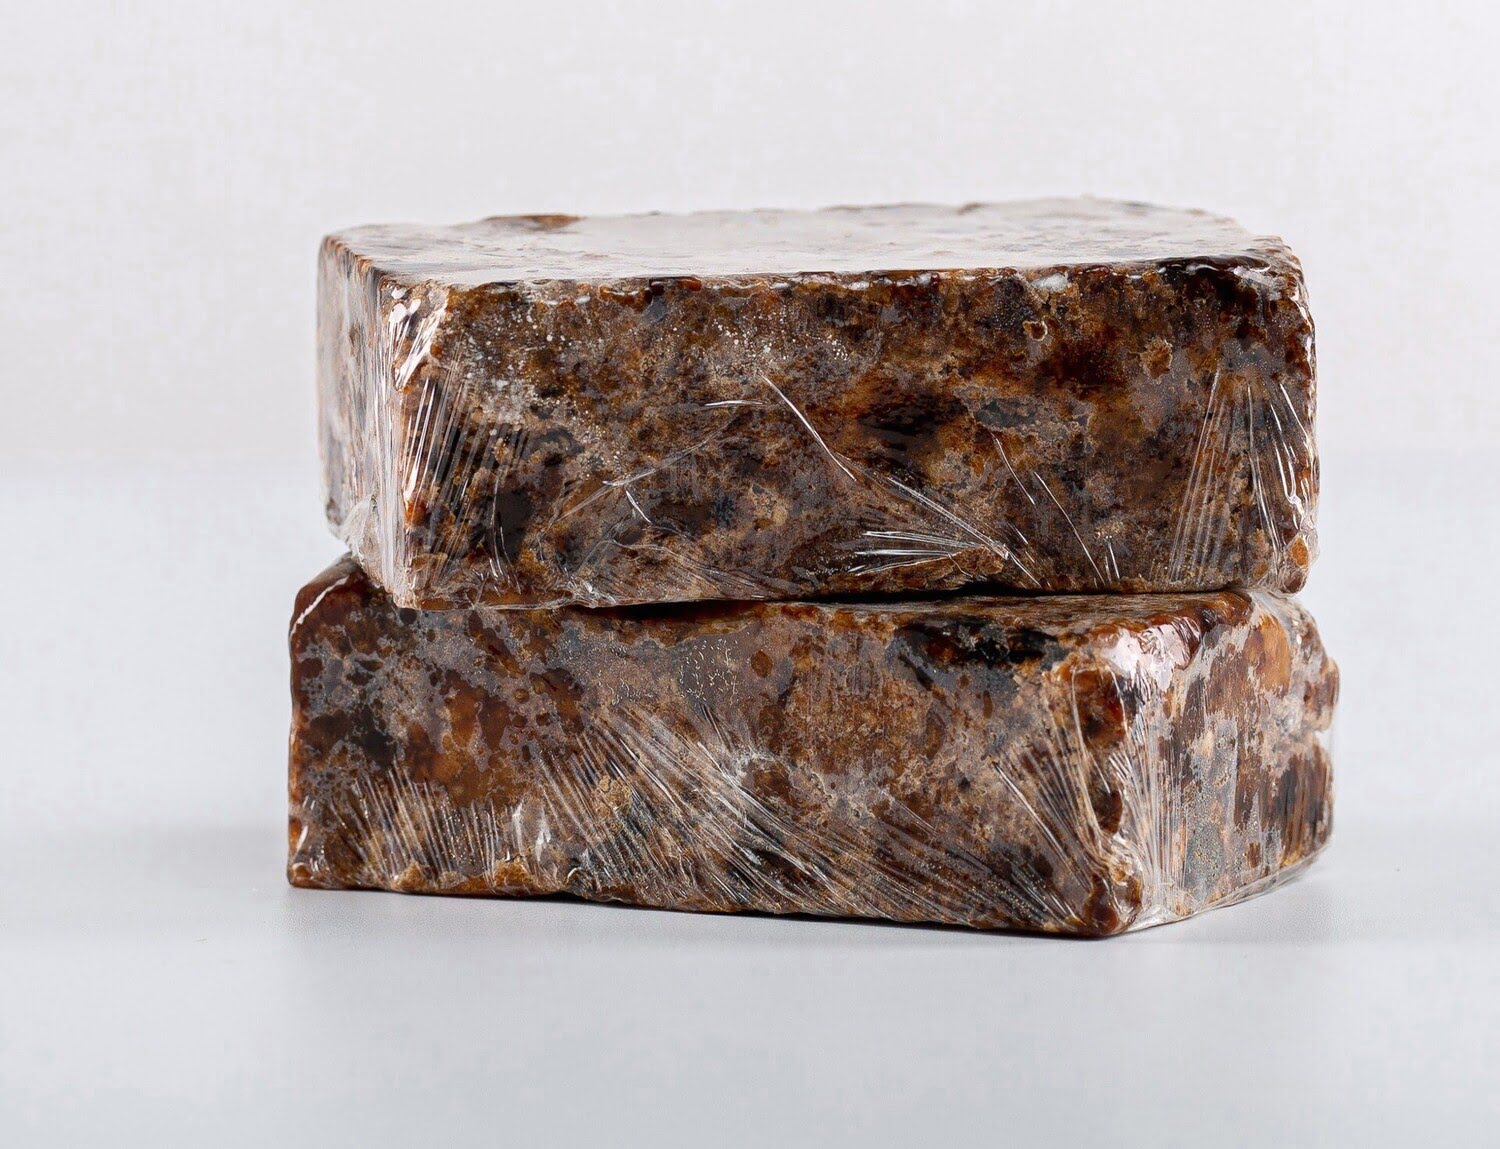
- Specialty Bases: In addition to the standard soap bases, there are several specialty bases available in the market. These include goat’s milk soap base, honey soap base, and exfoliating soap base, among others. These specialty bases can add unique properties and benefits to your soap, so consider exploring them for a more distinctive soap-making experience.
Once you have considered these factors, you can choose a soap base that aligns with your preferences and requirements. It’s also worth experimenting with different soap bases to discover your favorites and to offer a variety of options for your soap creations.
Now that you’ve chosen the soap base, it’s time to move on to the next step: preparing your soap molds.
Preparing Your Soap Molds
Preparing your soap molds is a crucial step in the melt and pour soap-making process. Well-prepared molds ensure that your soap sets properly and maintains its desired shape. Follow these steps to ensure your soap molds are ready:
- Clean and Dry: Before using your soap molds, make sure they are clean and free from any residue or dust. Wash the molds with warm soapy water and rinse them thoroughly. Dry the molds completely to remove any moisture, as water can interfere with the soap-setting process.
- Apply a Release Agent: To prevent the soap from sticking to the molds, it’s recommended to apply a release agent. This can be done by lightly spraying the molds with a non-stick cooking spray or rubbing a small amount of oil, such as coconut or olive oil, into the molds.
- Consider the Mold Material: Soap molds come in various materials, such as silicone, plastic, or metal. Each material has its advantages and considerations. Silicone molds are flexible and easy to remove the soap from, while plastic molds are durable and usually available in a wide range of shapes and sizes. Metal molds can provide a professional finish to your soap bars but may require lining with parchment paper or freezer paper to release the soap easily.
- Choose the Mold Shape and Size: Select the mold shape and size that best suits your soap design and personal preferences. Consider whether you want rectangular bars, round bars, or intricate shapes. Ensure that the mold is the correct size to accommodate the desired amount of soap base.
- Optional: Enhance the Molds: If you want to add extra touches to your soap bars, consider using decorative elements in the molds. This can include embedding dried flowers, adding botanicals like lavender buds or rose petals, or placing small embeds such as toys or beads. Be mindful of the size and weight of the embeds to ensure they don’t affect the soap’s overall structure.
By following these steps, you can properly prepare your soap molds and ensure that your soap sets and releases from them without any issues. Now that your molds are ready, let’s move on to the exciting step of melting and pouring your soap!
Melting and Pouring Your Soap
The process of melting and pouring your soap is the heart of making melt and pour soap. With a few simple steps, you can transform the soap base into a molten liquid and pour it into your prepared molds. Follow these guidelines to ensure a smooth and successful melting and pouring process:
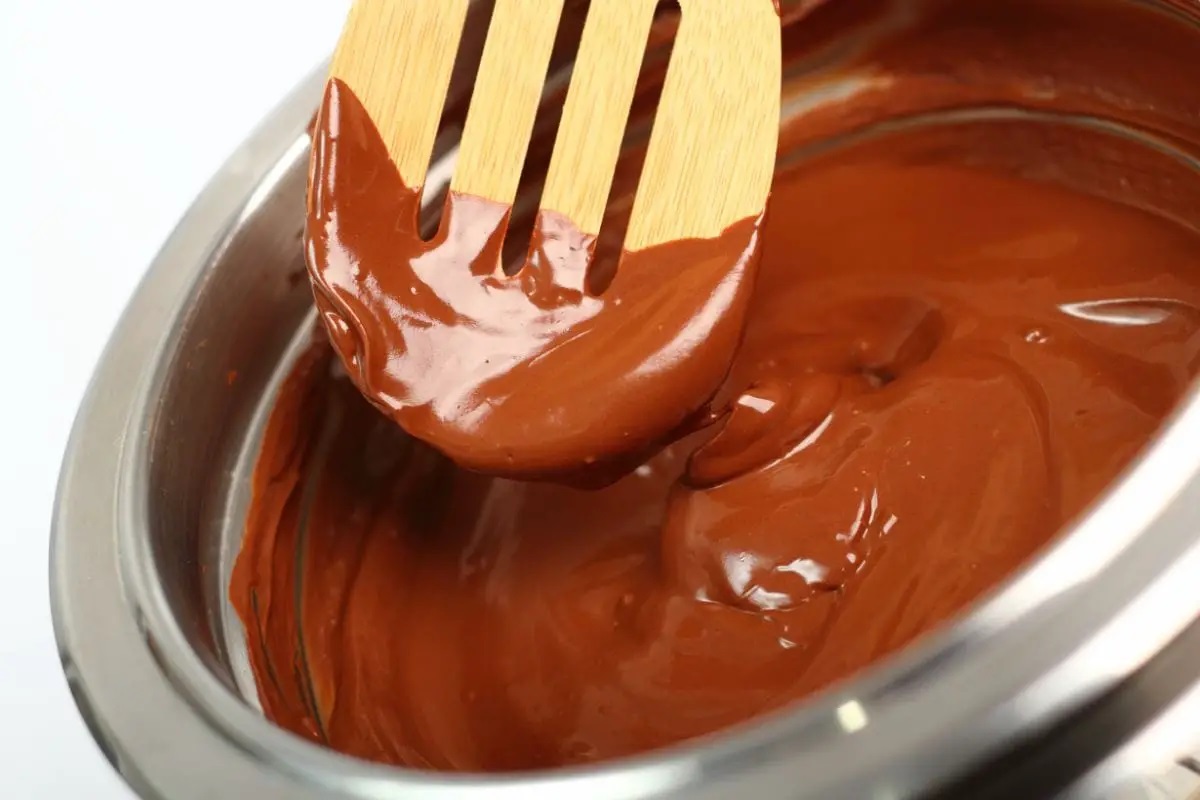
- Cut the Soap Base: Start by cutting the soap base into small, uniform pieces. This helps the soap melt more evenly and quickly. A sharp knife or soap cutter can be used for this task.
- Melt the Soap: There are several methods to melt the soap base, including using a double boiler, microwave, or melting pot. If using a double boiler, fill the bottom pot with water and place it on the stove over low heat. Put the soap pieces in the top pot and allow them to gradually melt. Stir occasionally to ensure even melting. If using a microwave or melting pot, follow the manufacturer’s instructions for melting times and settings. Be cautious not to overheat the soap, as it can scorch or become too hot to handle.
- Add Color and Fragrance: Once the soap base has melted completely, it’s time to add color and fragrance. You can use soap-safe colorants, such as mica powders or liquid soap dyes, to add vibrant hues to your soap. Start with a small amount and gradually add more until you achieve your desired color. For fragrance, use skin-safe essential oils or fragrance oils designed for soap making. Add a few drops at a time and stir well to evenly distribute the scent. Be careful not to add too much fragrance, as it could affect the soap’s performance.
- Pour into Molds: With the soap base melted, colored, and scented, carefully pour it into your prepared soap molds. Pour the soap slowly and steadily to avoid air bubbles. Fill the molds to the desired level, leaving a small gap at the top. Gently tap the molds on a flat surface to release any trapped air bubbles.
- Let it Set: Allow the soap to cool and set in the molds. The time required for the soap to solidify varies depending on factors such as the size and shape of the molds, as well as the room temperature. Typically, it takes a few hours for the soap to harden completely. You can leave the molds at room temperature or place them in the refrigerator for a faster setting process.
By following these steps, you can successfully melt and pour your soap, infusing it with color and fragrance to create stunning and aromatic bars. Now that your soap has set, let’s move on to the next steps of adding color and fragrance.
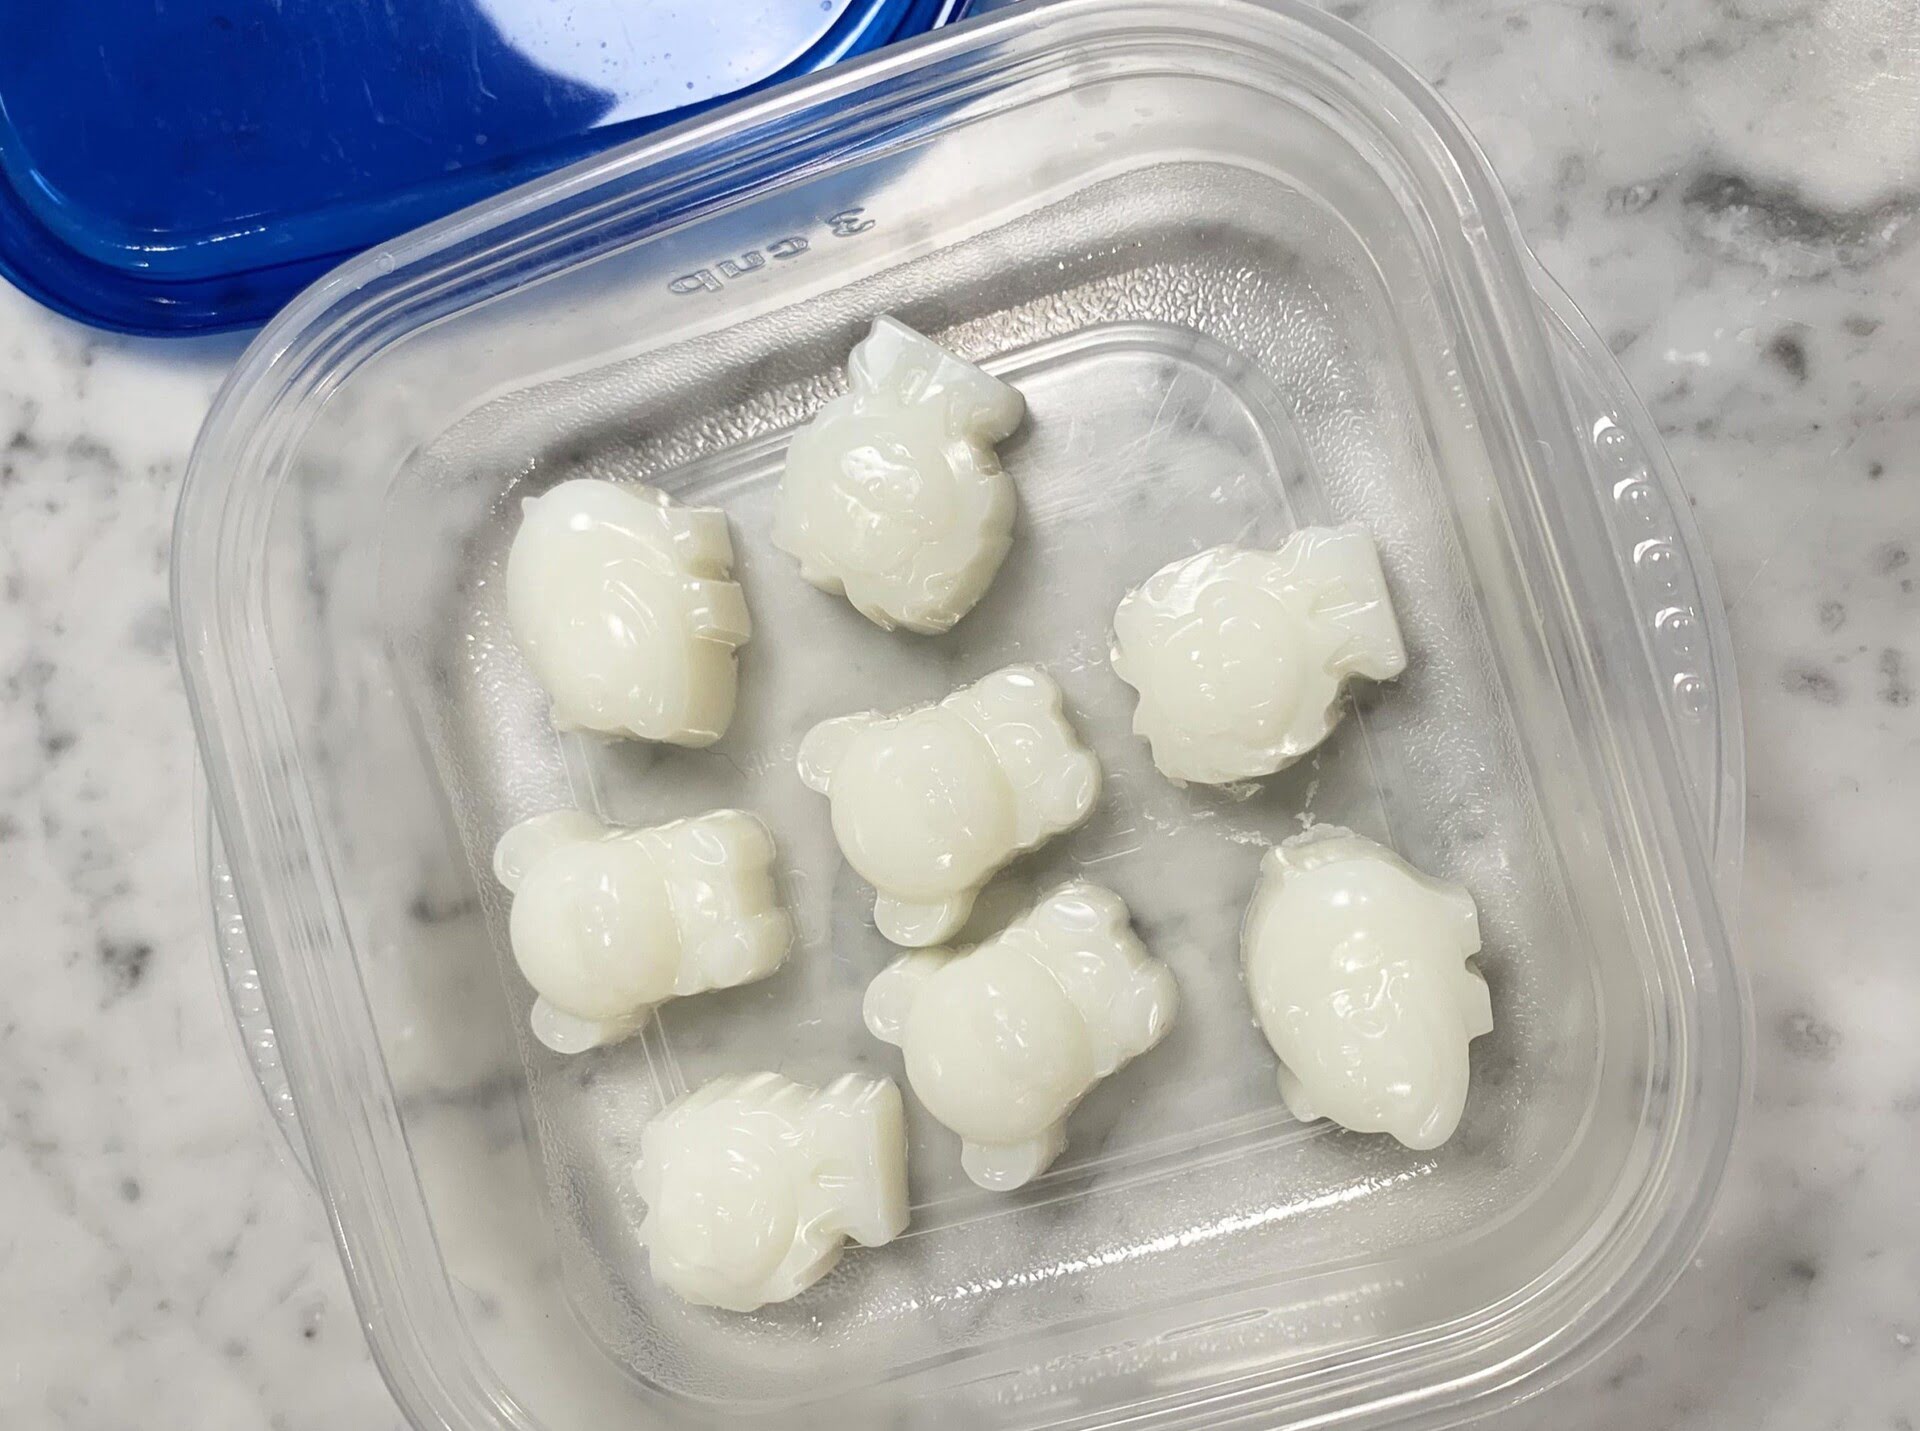
After cutting your melt and pour soap into desired shapes, store them in a cool, dry place away from direct sunlight and moisture to prevent them from sweating or losing their fragrance.
Read more: How To Store Wax Melts
Adding Color and Fragrance
Adding color and fragrance to your melt and pour soap is a creative and enjoyable step that allows you to customize your soap bars. Whether you prefer vibrant hues or subtle scents, this is your opportunity to make your soap truly unique. Follow these guidelines to add color and fragrance effectively:
- Colorants: There are various colorants available specifically for soap making, such as mica powders, liquid soap dyes, and natural colorants like clays or herbs. Start by selecting the type of colorant that suits your preferences and soap design. Remember, a little goes a long way, so begin with a small amount and gradually add more until you achieve the desired color intensity. Stir well to ensure the colorant is evenly distributed throughout the soap base.
- Fragrance Oils: Choose skin-safe essential oils or fragrance oils specifically formulated for soap making. When adding fragrance, start with a few drops and gradually increase if desired. Be mindful of the recommended usage rates provided by the manufacturer to avoid overpowering or affecting the soap’s integrity. Stir the fragrance oil gently into the melted soap base to ensure even distribution.
- Combining Color and Fragrance: If you want to create scented color combinations, you can mix the colorant and fragrance oil before adding them to the melted soap base. Simply add a few drops of colorant and fragrance oil into a small bowl and mix them together. Then, pour the mixture into the melted soap base and stir well to evenly incorporate the color and scent.
- Layering and Swirling: To create visually appealing effects, you can experiment with layering different colored soap bases or swirling them together. Pour one color of melted soap base into the mold, allow it to partly set, and then pour another color on top. Use a skewer or a chopstick to gently swirl the colors together for a marbled effect. Get creative with your designs and have fun experimenting with different techniques.
- Additives: If you want to enhance your soap with additional skincare benefits, you can incorporate additives like dried flowers, herbs, exfoliants, or moisturizing ingredients. For example, you can add lavender buds for a gentle exfoliation or oatmeal for soothing properties. Keep in mind that some additives may affect the clarity or texture of the soap, so test small batches first to ensure the desired results.
Remember to be mindful of any allergies or sensitivities when selecting fragrance oils or additives. It’s always a good idea to conduct a small patch test on your skin before using the soap to ensure there are no adverse reactions.
With the color and fragrance added, your soap is now infused with visual beauty and enticing scents. The next step is to wait patiently for the soap to set before proceeding to cut and package it.
Waiting for the Soap to Set
After pouring your melted soap into the molds and adding color and fragrance, it’s important to exercise patience and allow the soap to properly set. The setting process is crucial for the soap to solidify and maintain its shape and integrity. Here are some guidelines for waiting for the soap to set:
- Room Temperature Setting: The time required for the soap to set depends on various factors such as the size and shape of the molds, as well as the room temperature. In general, it takes several hours for the soap to harden completely. It’s important to leave the molds undisturbed during this time to ensure the soap properly solidifies.
- Refrigerator Setting: If you’re eager to speed up the setting process, you can place the soap molds in the refrigerator. The cooler temperature helps accelerate the hardening of the soap. Keep in mind that when removing the molds from the refrigerator, allow them to come to room temperature before unmolding to prevent condensation from forming on the soap’s surface.
- Testing for Set: To determine if the soap has set, gently press the surface of the soap with your finger. If it feels firm and doesn’t leave an indentation, the soap is likely ready to be unmolded. However, if it still feels soft or gives under pressure, allow it more time to set.
- Additional Curing Time: While the soap may be firm enough to be unmolded after the initial setting period, it’s beneficial to give it some additional curing time. Curing allows excess moisture to evaporate from the soap, resulting in a harder, longer-lasting bar. It’s recommended to let the soap cure for at least 24 to 48 hours before using or packaging.
During the waiting period, it can be tempting to check on the soap frequently or attempt to speed up the process. However, it’s essential to exercise patience and allow the soap to set naturally. Prematurely unmolding the soap or disturbing it before it’s fully hardened can lead to deformation or crumbling.
Once the soap has properly set and cured, you’re ready for the exciting final steps of cutting and packaging your handmade soap.
Cutting and Packaging Your Soap
After your melt and pour soap has fully set and cured, it’s time to prepare it for use or gifting. Cutting and packaging your soap not only enhances its appearance, but also ensures its longevity and keeps it clean and protected. Follow these guidelines for cutting and packaging your soap:
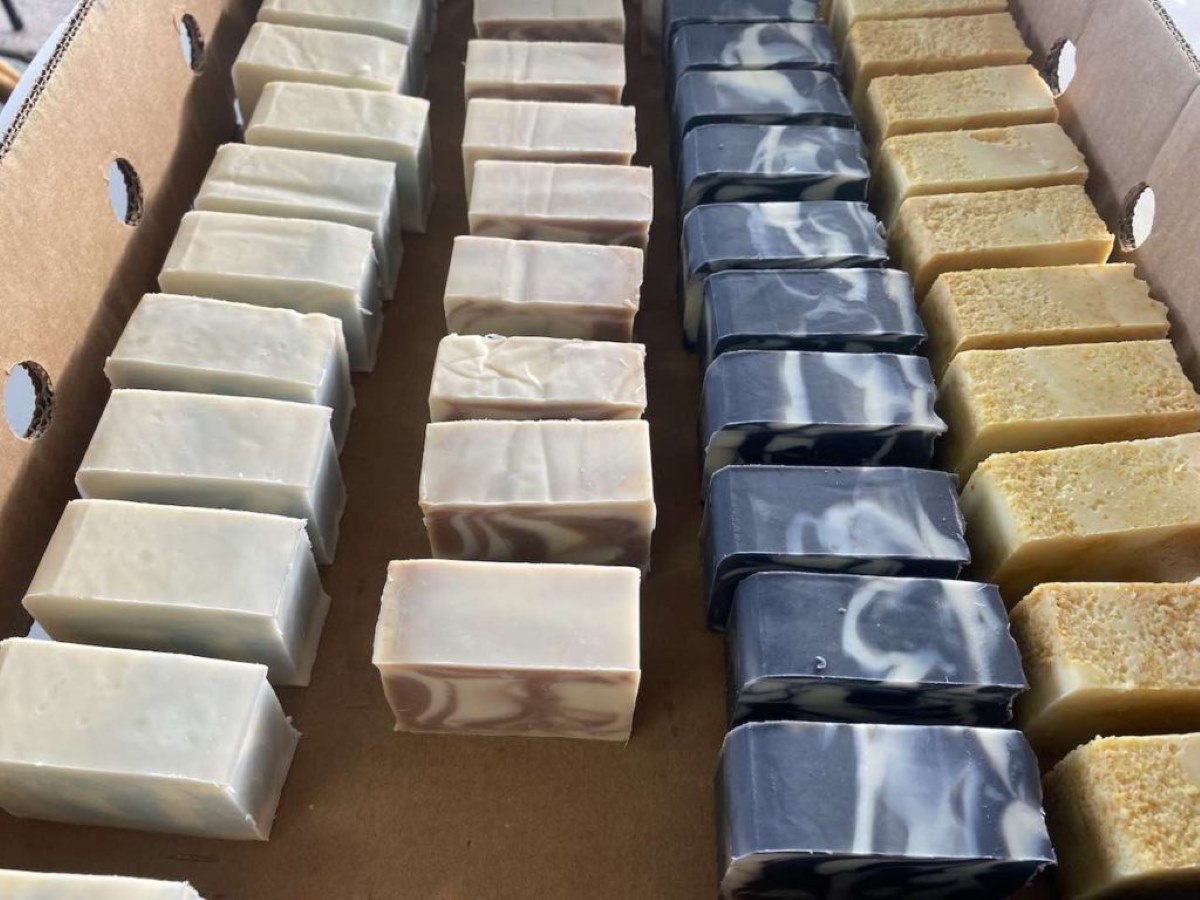
- Cut into Bars: Start by removing the soap from the molds. Depending on the type of mold used, this can be as simple as gently pushing the soap out or flexing a silicone mold to release the soap. If necessary, moisten the bottom of the molds with a little water to aid in the release. Once the soap is out of the mold, use a sharp knife or soap cutter to cut it into individual bars. Ensure that each bar is of a uniform size to maintain visual appeal.
- Trimming and Shaping: If desired, you can trim any rough edges or uneven surfaces of the soap using a knife or a vegetable peeler. Additionally, you can shape the soap bars by rounding the corners or creating unique contours. This step adds a professional and polished finish to your handmade soap.
-
Packaging: To preserve the quality and appearance of your soap, it’s important to package it properly. There are several packaging options to consider, depending on your preferences and the overall aesthetic you want to achieve. Some popular packaging choices for melt and pour soap include:
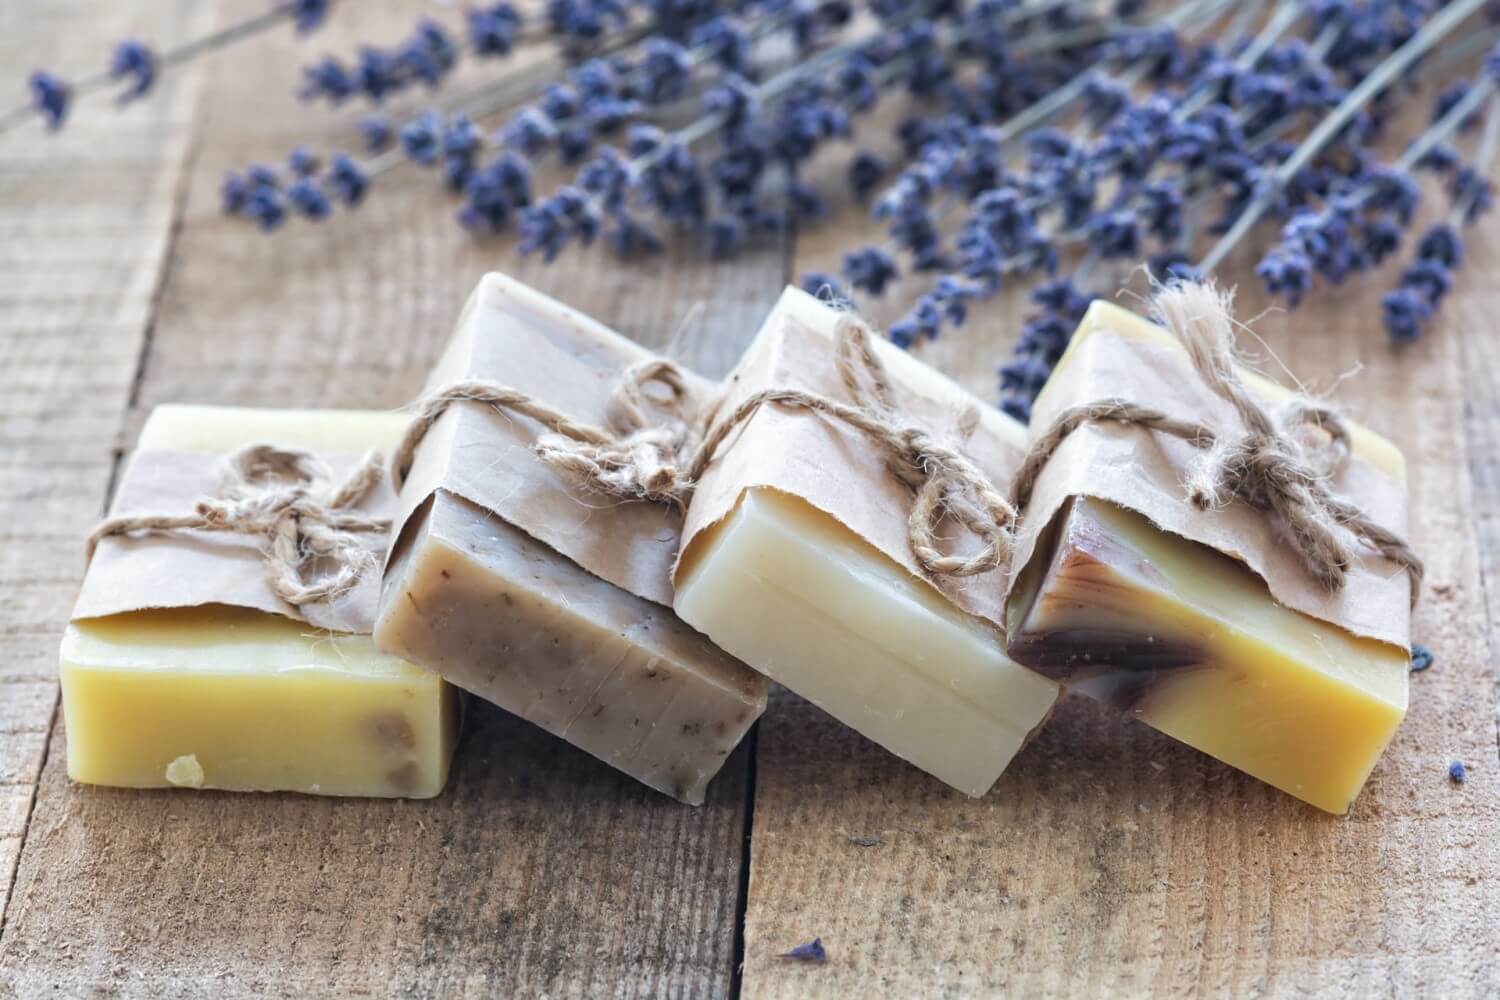
- Individual Wrappers: Wrap each soap bar with decorative paper or plastic wraps. This not only protects the soap but also adds a touch of elegance. You can secure the wrappers with adhesive or decorative stickers.
- Cellophane Bags: Place the soap bars in clear cellophane bags, tying them with ribbons or twist ties. This allows the beauty of the soap to shine through while keeping it clean and presentable.
- Soap Boxes: If you prefer a more traditional option, consider placing the soap bars in individual soap boxes. These can be customized with labels or designs to reflect your brand or personal style.
- Gift Sets: Arrange a few bars of soap together with complementary items like bath salts, loofahs, or handmade washcloths in a gift box or basket. This creates a delightful and luxurious gift set for special occasions.
- Labeling: Don’t forget to label your soap! Include important details such as the name of the soap, ingredients used, fragrance, and your brand or contact information. This not only provides vital information to the user but also adds a professional touch to your product.
Properly cutting and packaging your soap not only enhances its visual appeal but also protects its integrity. It allows the soap to be easily stored, gifted, or displayed, making it more enticing to potential users or customers.
With your soap now beautifully cut, wrapped, or boxed, you are ready to share and enjoy the delights of your handmade melt and pour soap. In the next section, we will discuss the best practices for storing your soap to ensure its longevity and quality.
Storing Melt and Pour Soap
Properly storing your melt and pour soap is essential for preserving its quality and longevity. Follow these guidelines to ensure your soap stays fresh and ready for use:
- Avoid Humidity: Moisture is the enemy of melt and pour soap. Store your soap in a cool, dry place away from humidity. Excessive moisture can cause the soap to soften or develop a layer of moisture on the surface, which can affect its texture and appearance.
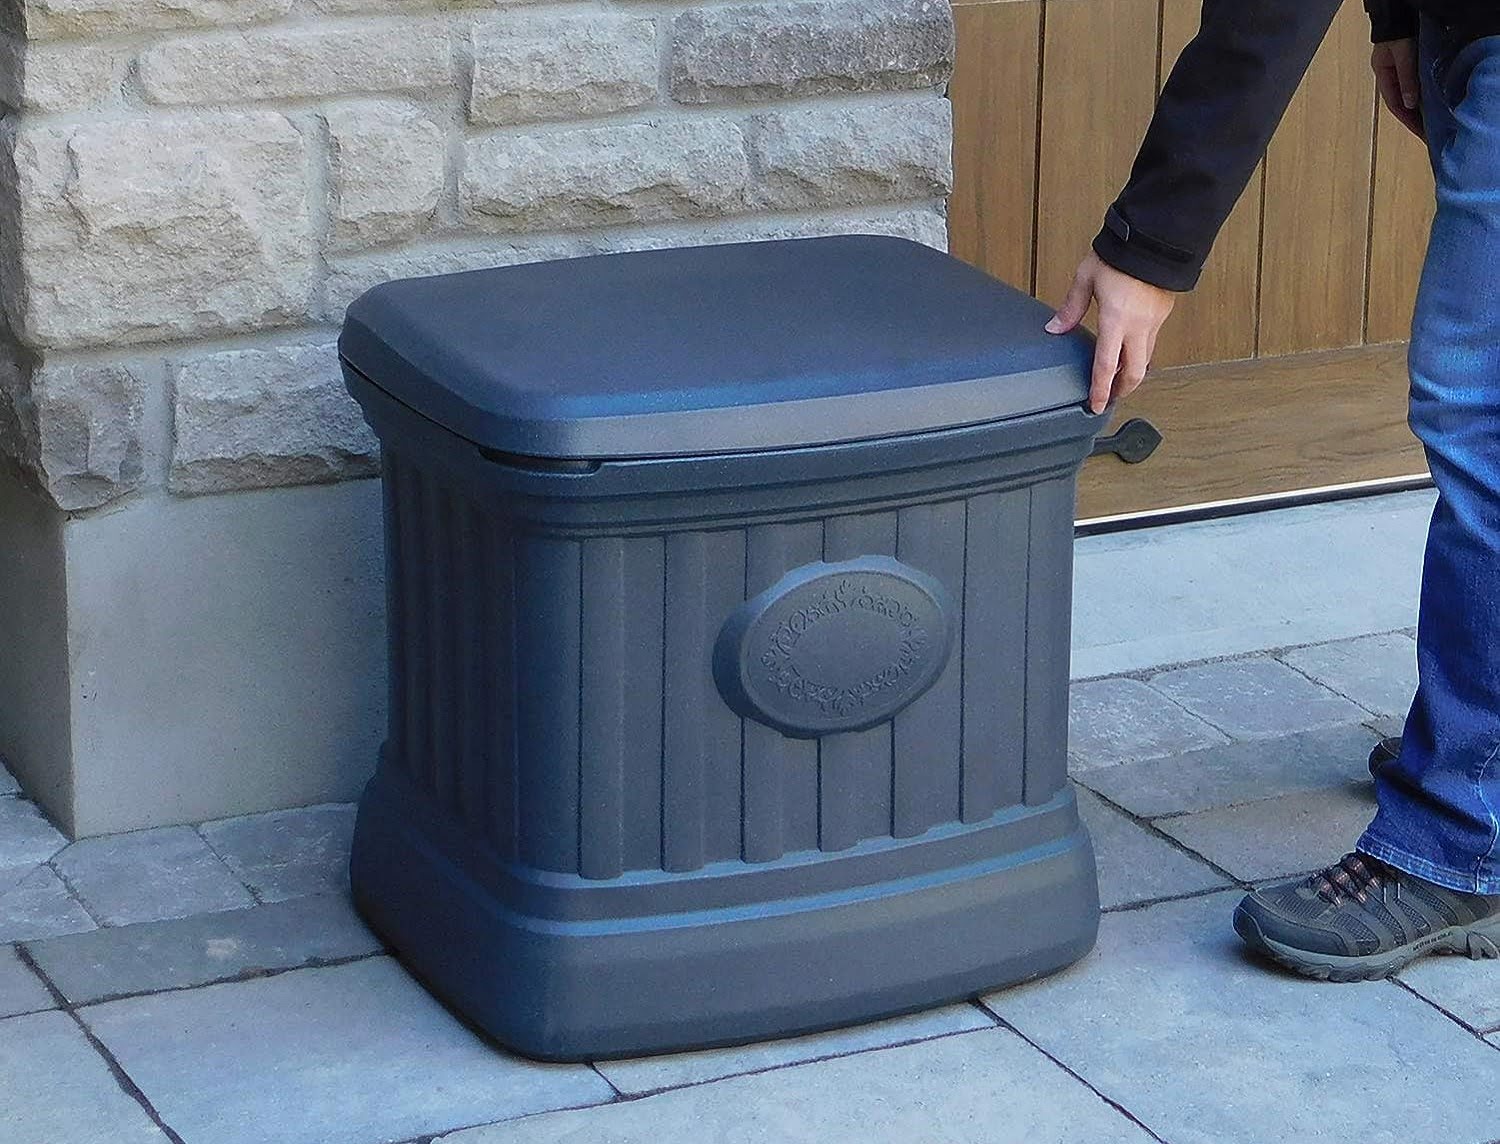
- Use Airtight Containers: To further protect your soap from moisture, consider storing it in airtight containers, such as plastic tubs or glass jars with tight-fitting lids. This helps prevent exposure to air and humidity, keeping the soap fresh and prolonging its shelf life.
- Avoid Sunlight: Ultraviolet (UV) rays from direct sunlight can cause the colors of your soap to fade over time. To preserve the vibrancy of your soap, store it in a location where it is shielded from direct sunlight or use opaque containers that offer UV protection.
- Separate Fragrances: If you have different scented soaps, it’s advisable to store them separately to prevent the fragrances from mixing. Scents can easily transfer between soaps if stored together, altering their intended aromas.
- Label and Date: Properly label your soap containers with the name of the soap, the date it was made, and any specific instructions or ingredients. This helps you keep track of your inventory and ensures you use the oldest soap first.
- Rotate Stock: To maintain the freshness of your soap, adopt a “first in, first out” policy. Use the oldest soaps first and regularly rotate your stock to prevent any bars from sitting for too long without being used.
- Avoid Extreme Temperatures: Melting and pouring soap is prone to melting under high temperatures. Avoid storing your soap in areas that are excessively hot, such as near heaters or stoves. Extreme heat can cause the soap to soften, warp, or lose its shape.
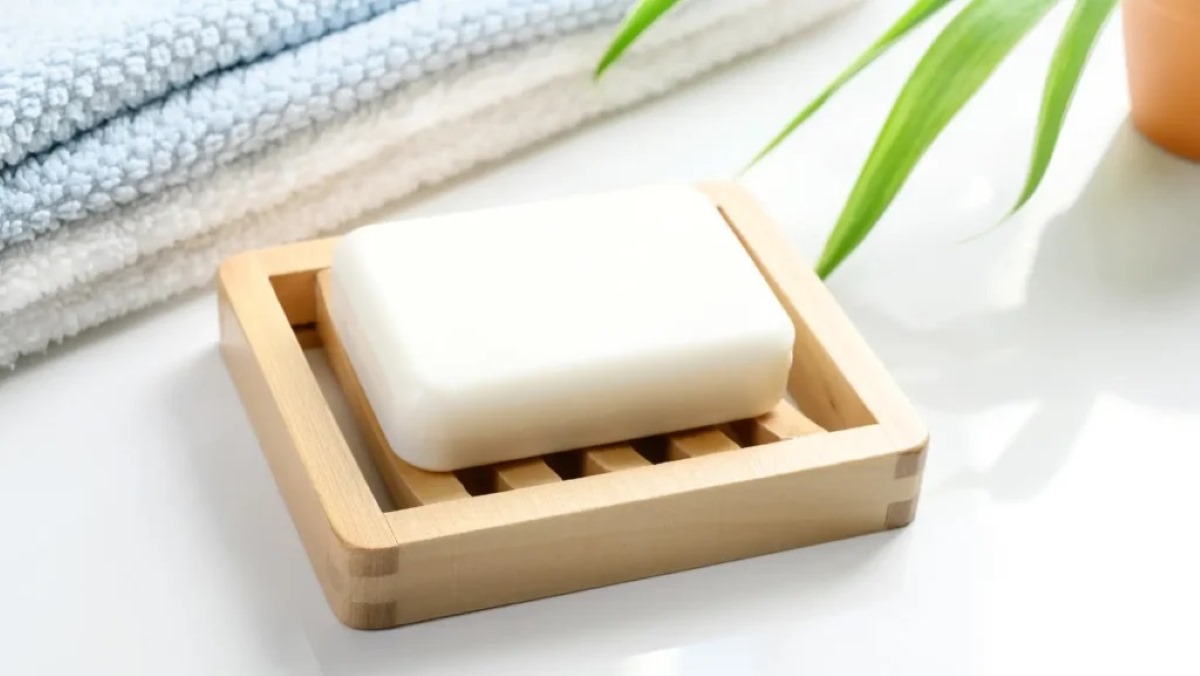
- Showcase and Share: If you have a collection of beautifully crafted soaps, consider displaying them in a decorative soap dish or tray in a guest bathroom or on a vanity. Not only does this add a touch of elegance to the space, but it also encourages guests to use and appreciate your handmade creations.
By following these storage guidelines, you can ensure that your melt and pour soap remains in optimal condition, maintaining its shape, color, and fragrance. Proper storage helps preserve the freshness and quality of your soap, making each use as enjoyable as the first.
Now that you have learned the importance of storing melt and pour soap, let’s conclude our article with a recap of the key points.
Read more: How To Store Ice Melt
Conclusion
Creating your own melt and pour soap is a rewarding and enjoyable experience. By following the steps outlined in this article, you can make beautiful, custom soap bars that are gentle on the skin and cater to your personal preferences. However, the journey doesn’t end with crafting the soap – proper storage is essential to maintain its quality and longevity.
Storing melt and pour soap requires a few considerations. Keep your soap away from humidity and store it in a cool, dry place. Airtight containers can further protect it from moisture, ensuring it stays fresh and free from any softening or surface moisture. Avoid exposing the soap to direct sunlight to prevent color fading, and store different scented soaps separately to preserve their individual fragrances.
Label and date your soap containers to keep track of inventory and rotation. Ensure you use the oldest soap first, allowing for a continuous cycle of fresh bars. Avoid keeping the soap in extreme temperatures and showcase your creations in decorative soap dishes to add elegance and encourage its use.
Taking these steps will help you preserve the beauty, scent, and quality of your melt and pour soap, ensuring each use is as delightful as the first. From choosing the right soap base to cutting, packaging, and storing, every aspect of the process contributes to the overall success and enjoyment of your handmade soap creations.
So, embrace your creativity, experiment with different colors and fragrances, and enjoy the process of making and storing melt and pour soap. Whether it’s for personal use or gifting to loved ones, your homemade soap bars will bring a touch of luxury and self-care to your everyday routine.
Now, go forth and create beautiful bars of melt and pour soap, knowing that you have the knowledge to store them properly and preserve their quality for lasting enjoyment. Happy soap making!
Frequently Asked Questions about How To Store Melt And Pour Soap
Was this page helpful?
At Storables.com, we guarantee accurate and reliable information. Our content, validated by Expert Board Contributors, is crafted following stringent Editorial Policies. We're committed to providing you with well-researched, expert-backed insights for all your informational needs.


0 thoughts on “How To Store Melt And Pour Soap”