Articles
How To Store Homemade Soap
Modified: December 7, 2023
Learn the best methods and tips for storing homemade soap with our informative articles. Ensure long-lasting freshness and quality for your handmade creations.
(Many of the links in this article redirect to a specific reviewed product. Your purchase of these products through affiliate links helps to generate commission for Storables.com, at no extra cost. Learn more)
Introduction
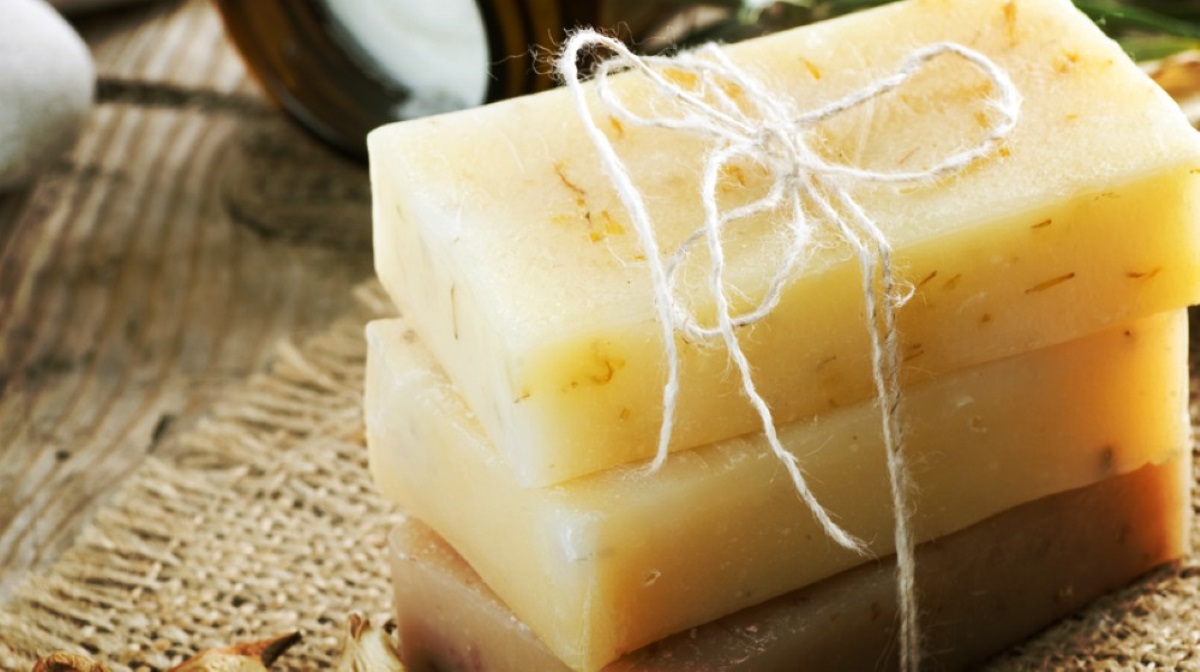
So you’ve successfully made your own homemade soap and now you’re wondering how to store it to ensure its longevity and quality. Proper storage is essential for preserving the integrity of your handmade soap, allowing you to enjoy its benefits for an extended period of time.
In this article, we will guide you through the process of storing your homemade soap effectively. From choosing the right storage container to controlling temperature and humidity, we will cover all the essential aspects to keep your handmade creation in pristine condition.
By following these tips and techniques, you can maintain the freshness, scent, and effectiveness of your handmade soap for as long as possible.
Key Takeaways:
- Proper storage of homemade soap is crucial for maintaining its quality and effectiveness. Choosing the right container, ideal location, and controlling temperature and humidity are key factors in preserving the freshness and longevity of your handmade soap.
- Organizing and labeling your homemade soap not only adds a personal touch but also helps maintain its overall quality and appearance. By following proper storage techniques, you can enjoy your handmade soap for an extended period, ensuring a delightful bathing experience each time.
Read more: How To Make Homemade Dishwasher Soap
Choosing the Right Storage Container
When it comes to storing your homemade soap, selecting the right container is key. The container should be able to protect the soap from moisture, dust, and other external factors that could affect its quality. Here are some factors to consider when choosing a storage container:
- Airtightness: Look for containers that provide a tight seal to keep air and moisture out. This helps to prevent the soap from becoming soft or mushy over time.
- Material: Opt for containers made of non-reactive materials such as glass, stainless steel, or BPA-free plastic. These materials are less likely to interact with the soap and alter its properties.
- Size: Choose a container that fits your soap bars comfortably without excess space. This helps to prevent the soap from drying out or absorbing any odors from its surroundings.
Additionally, consider using individual containers for each soap bar. This helps to prevent any cross-contamination of scents and colors between the different varieties of soap you may have made.
Remember that clear or tinted containers may allow light to penetrate, which could fade the colors and affect the scent of your soap. If using transparent containers, consider storing them in a cool, dark place or wrapping them in opaque paper or cloth to protect them from light exposure.
By opting for the right storage container, you can ensure that your homemade soap remains in excellent condition for a long period of time.
Selecting the Ideal Location
After choosing the right storage container for your homemade soap, it’s important to find an ideal location to store it. The location should provide suitable conditions that promote the longevity and quality of the soap. Consider the following factors when selecting a location:
- Cool and dry: Soap does best when stored in a cool, dry environment. Avoid areas of high humidity, such as the bathroom, as excess moisture can cause the soap to soften or become mushy.
- Avoid extremes: Steer clear of locations that are prone to extreme temperatures, whether hot or cold. Extreme heat can cause the soap to melt, while extreme cold can cause it to become hard and brittle.
- Away from direct heat sources: Keep the soap away from direct heat sources, such as radiators or sunlight streaming through windows. Heat can degrade the soap’s quality and cause it to sweat or lose its scent.
- Out of reach of children and pets: Store your soap in a location that is inaccessible to children and pets. This ensures the soap is protected and safe from any unintended handling or consumption.
Consider dedicating a specific area or shelf for your homemade soap. This helps to keep it organized and easily visible, so you can keep track of the different types and scents of soap you have on hand.
Remember, the ideal location for storing your homemade soap should be cool, dry, and away from direct heat sources. By providing the right environment, you can maintain the quality and effectiveness of your handmade soap for a longer duration.
Ensuring Proper Ventilation
Proper ventilation is an important factor to consider when storing homemade soap. Adequate airflow helps to prevent excess moisture buildup and allows the soap to cure properly. Here are some tips to ensure proper ventilation for your stored soap:
- Choose a container with ventilation holes: Look for storage containers that have small ventilation holes or slats. These allow air to circulate around the soap, preventing any trapped moisture that could lead to mold or mildew growth.
- Allow space between soap bars: When storing multiple soap bars, make sure there is enough space between them to allow air circulation. Avoid tightly packing the soap, as this can hinder airflow and promote moisture retention.
- Use breathable materials: If you prefer using bags or pouches to store your soap, opt for breathable materials such as cotton or muslin. These fabrics allow air to pass through, preventing the soap from becoming damp or sticky.
Remember to periodically check on your stored soap and inspect for any signs of moisture buildup or mold growth. If you notice any issues, take steps to improve ventilation by adjusting the container or moving the soap to a more suitable location.
By ensuring proper ventilation, you can maintain the freshness and quality of your homemade soap, making it last longer and avoiding any potential issues that may arise from excess moisture.
Protecting from Direct Sunlight
One of the key factors in storing homemade soap is protecting it from direct sunlight. Exposure to sunlight can cause the soap to fade in color, lose its scent, and degrade in quality. To safeguard your soap from the damaging effects of sunlight, follow these tips:
- Choose an opaque or tinted container: When selecting a storage container, opt for one that is opaque or tinted. This helps to block out sunlight and prevent UV rays from penetrating and degrading the soap.
- Store in a cool, dark place: Find a location for your soap storage that is away from direct sunlight. A cool, dark place such as a pantry, cupboard, or closet is ideal. This will help to maintain the soap’s quality and prolong its shelf life.
- Use UV protective materials: If you prefer to display your soap, consider using UV protective materials to cover or wrap the soap. This will shield it from sunlight exposure while still allowing it to be seen.
Additionally, be mindful of any windows or areas where sunlight may enter the storage area. If possible, position the soap away from these sources to minimize the risk of sun damage.
By protecting your homemade soap from direct sunlight, you can preserve its color, scent, and overall quality, ensuring a delightful and effective bathing experience each time.
After curing, store homemade soap in a cool, dry place with good air circulation. Use a breathable container, such as a cardboard box or paper bag, to prevent moisture buildup. Avoid storing in airtight containers, as this can cause sweating and affect the quality of the soap.
Read more: How To Store Soap
Controlling Temperature and Humidity
Controlling the temperature and humidity levels is crucial when it comes to storing homemade soap. Extreme temperatures and high humidity can impact the texture, scent, and overall quality of the soap. Follow these guidelines to maintain optimal conditions:
- Avoid extreme temperatures: Keep your soap away from areas that experience extreme temperature fluctuations. Avoid storing it in places like attics, garages, or near heating or cooling vents.
- Optimal temperature: Aim to store your soap in an environment with a moderate, consistent temperature between 50 and 70 degrees Fahrenheit (10-21 degrees Celsius).
- Keep humidity in check: High humidity can cause homemade soap to absorb moisture from the air, leading to softening, sweating, or even mold growth. Find a storage location with low humidity levels, ideally below 60% relative humidity.
- Use silica gel packets: To combat humidity, consider placing silica gel packets in the storage container with your soap. These packets help to absorb excess moisture and maintain a drier environment.
It’s important to note that while curing, soap benefits from a slightly elevated humidity level to prevent it from drying out too quickly. However, once fully cured, it should be stored in a low humidity environment to maintain its freshness and longevity.
By controlling temperature and humidity, you can ensure the stability and quality of your homemade soap, allowing you to enjoy its benefits for an extended period of time.
Tips for Organizing Homemade Soap
Keeping your homemade soap organized not only makes it easier to find the soap you want to use but also helps maintain its overall quality and appearance. Here are some helpful tips for organizing your homemade soap:
- Separate by scent or type: If you have made different scents or types of soap, consider separating them into different groups. This makes it easier to find the specific soap you’re looking for and avoids any potential cross-contamination of scents.
- Label your soap: Labeling your soap bars is a great way to keep track of their ingredients, scent, and date of creation. You can use decorative stickers, tags, or even create custom labels to add a personal touch to your soap.
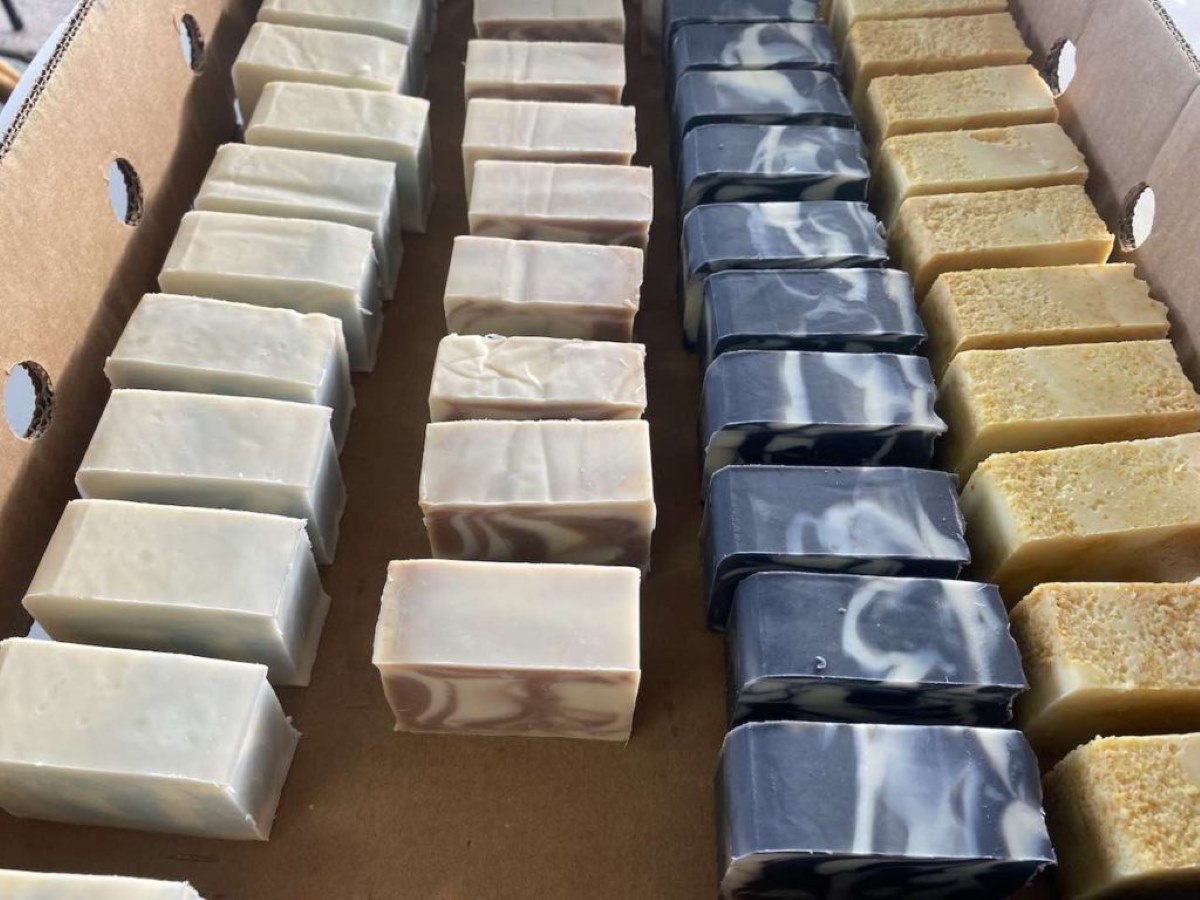
- Use dividers or trays: Place dividers or trays in your storage container to keep the soap bars separate and organized. This prevents them from sticking together or becoming misshapen, especially if they are still curing.
- Arrange by size or shape: Arrange your soap bars by size or shape to create a visually appealing display. You can stack them in neat rows, line them up from largest to smallest, or even use a tiered rack for different-sized bars.
- Rotate your stock: To ensure that all your soap bars get used in a timely manner, practice rotation. Place newly made soaps at the back of the storage area and move older ones to the front. This way, you’ll enjoy your soap before it reaches its expiration date.
Creating an organized system for your homemade soap not only looks appealing but also helps maintain its quality and maximizes its shelf life. With these tips, you can easily locate the soap you desire while ensuring each bar remains in its best condition.
Importance of Labeling
Labeling your homemade soap is essential for several reasons. It not only adds a personal touch to your creations but also provides important information for both yourself and others who may use your soap. Here are some reasons why labeling is important:
- Ingredient transparency: Labels allow you to list the ingredients used in your soap, providing transparency to users about what they are putting on their skin. This is especially important for individuals with specific allergies or sensitivities.
- Scent identification: Some people may have a preference for specific scents or may be sensitive to certain fragrances. By labeling your soap, users can easily identify the scent and choose the one that suits their preferences.
- Identification of specialty soaps: If you offer specialty soaps with unique properties, such as exfoliating or moisturizing ingredients, labeling helps potential users identify the specific benefits and choose accordingly.
- Storage and shelf life information: Labels can provide instructions for proper storage, including temperature and humidity recommendations. They can also indicate the estimated shelf life of the soap, ensuring that it is used before its quality deteriorates.
- Brand promotion and recognition: Labels can feature your brand name or logo, helping to promote your homemade soap and establish brand recognition among users. This is particularly important if you plan to sell your soap or give it as gifts.
When designing labels for your homemade soap, consider using waterproof and durable materials to ensure they withstand exposure to moisture and handling. Include clear and legible fonts, along with any relevant symbols or icons that highlight important information.
Labeling your homemade soap adds a professional touch and provides users with essential information. By doing so, you enhance the overall experience and ensure that your soap is used and enjoyed to its fullest potential.
Storing Homemade Soap for Long-Term Use
If you want to store your homemade soap for long-term use, there are some additional considerations to keep in mind. Proper storage techniques can help maintain the quality, scent, and effectiveness of your soap over an extended period of time. Here’s what you need to know:
- Curing period: Before storing your soap long-term, allow it to cure for at least four to six weeks. This allows excess moisture to evaporate, resulting in a harder and longer-lasting bar of soap.
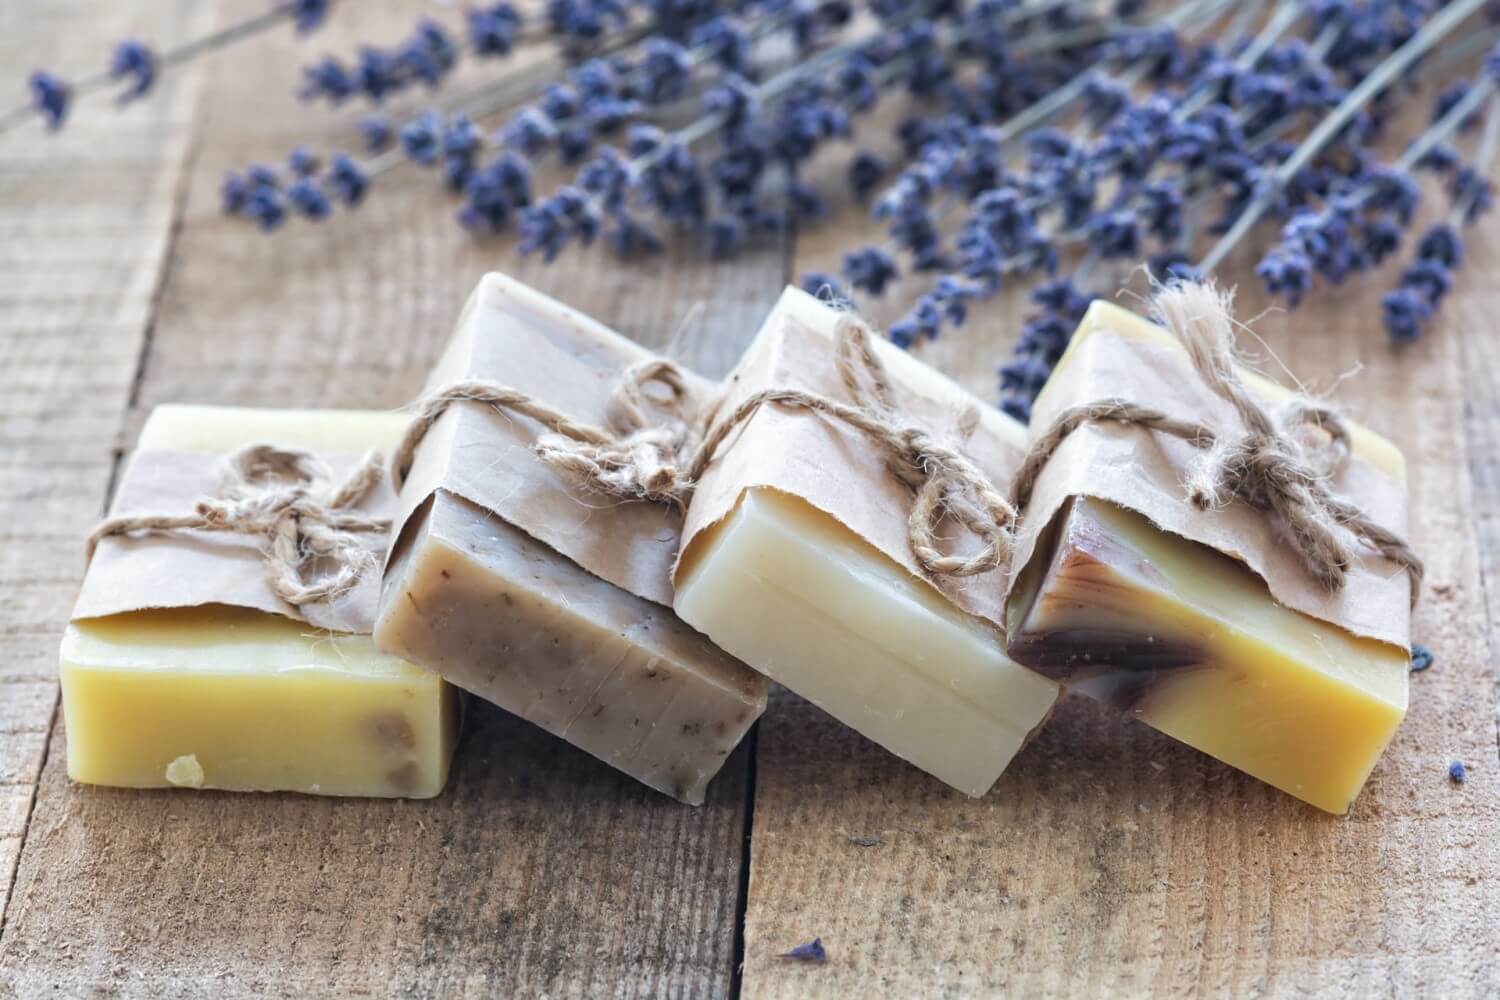
- Wrap in breathable material: Once your soap has cured, wrap each individual bar in breathable materials such as wax paper or unbleached parchment paper. These materials prevent the soap from sticking to each other while still allowing it to breathe.
- Store in a cool, dark place: Find a cool area, away from direct sunlight, to store your wrapped soap bars. Ideally, the temperature should remain consistent between 50 and 70 degrees Fahrenheit (10-21 degrees Celsius).
- Consider vacuum sealing: For long-term storage, you can opt to vacuum seal your wrapped soap bars. This helps to further protect the soap from excess moisture and extends its shelf life.
- Check periodically: Even when properly stored, it’s important to periodically check your soap for any signs of deterioration, mold, or changes in scent. This allows you to identify any issues early on and take appropriate actions.
Remember that while homemade soap can last a long time, it is still a natural product and may eventually lose its scent or color over time. It’s best to use your stored soap within one to two years for the best quality and effectiveness.
By following these guidelines for long-term storage, you can enjoy your homemade soap for an extended period, ensuring that each bar retains its quality and delivers a luxurious bathing experience.
Read more: How To Store Shaving Soap
Conclusion
Storing homemade soap properly is essential for preserving its quality and ensuring long-term use. By considering factors such as the storage container, location, ventilation, sunlight exposure, and temperature and humidity control, you can effectively maintain the freshness, scent, and effectiveness of your handmade soap.
Choosing the right storage container that is airtight and made of non-reactive materials, along with selecting an ideal location that is cool, dark, and away from direct heat sources, plays a significant role in preserving your soap’s integrity. Ensuring proper ventilation prevents moisture buildup, while protecting your soap from direct sunlight helps maintain its color and scent.
Controlling temperature and humidity levels is crucial in storing homemade soap. Avoid extreme temperatures, strive for moderate and consistent temperatures, and keep humidity in check to prevent moisture-related issues. Additionally, organizing your soap with labels, dividers, and rotation helps maintain order and enables easy identification of scents and types.
For long-term storage of homemade soap, allow for proper curing, wrap in breathable materials, and store in a cool and dark place. Consider vacuum sealing for extended shelf life and periodically check for any changes or deterioration.
By following these guidelines, you can ensure that your homemade soap stays fresh, aromatic, and effective for an extended period, bringing joy and nourishment to your bathing rituals. So go ahead, store your homemade soap with care and enjoy the benefits of your crafting endeavors!
Frequently Asked Questions about How To Store Homemade Soap
Was this page helpful?
At Storables.com, we guarantee accurate and reliable information. Our content, validated by Expert Board Contributors, is crafted following stringent Editorial Policies. We're committed to providing you with well-researched, expert-backed insights for all your informational needs.


0 thoughts on “How To Store Homemade Soap”