Home>Gardening & Outdoor>Outdoor Structures>How To Pour A Concrete Slab For A Shed

Outdoor Structures
How To Pour A Concrete Slab For A Shed
Modified: May 6, 2024
Learn how to pour a sturdy concrete slab for your outdoor structures with our step-by-step guide. Ensure a solid foundation for your shed.
(Many of the links in this article redirect to a specific reviewed product. Your purchase of these products through affiliate links helps to generate commission for Storables.com, at no extra cost. Learn more)
Introduction
When it comes to creating a sturdy foundation for your shed, pouring a concrete slab is an excellent choice. A well-constructed concrete slab provides a level and durable base for your shed, ensuring its stability and longevity. Whether you are a seasoned DIY enthusiast or a novice looking to tackle a new project, pouring a concrete slab for your shed is a manageable task that can be accomplished with the right guidance and preparation.
In this comprehensive guide, we will walk you through the step-by-step process of pouring a concrete slab for your shed. From preparing the site to finishing the slab, we will cover everything you need to know to complete this project successfully. By following these instructions and tips, you can ensure that your shed will have a solid and reliable foundation that will withstand the test of time.
So, roll up your sleeves, gather your materials, and let's dive into the exciting world of concrete pouring. Whether you're envisioning a cozy garden retreat or a practical storage space, mastering the art of pouring a concrete slab will bring you one step closer to realizing your shed-building dreams.
Key Takeaways:
- Preparing the site, building the formwork, mixing the concrete, pouring, and finishing the slab are crucial steps in creating a strong foundation for a shed. Attention to detail and precision are key for success.
- By following the step-by-step instructions, anyone can pour a concrete slab for a shed. The satisfaction of completing this foundational phase is a testament to dedication and craftsmanship.
Read more: How To Build A Shed On A Concrete Slab
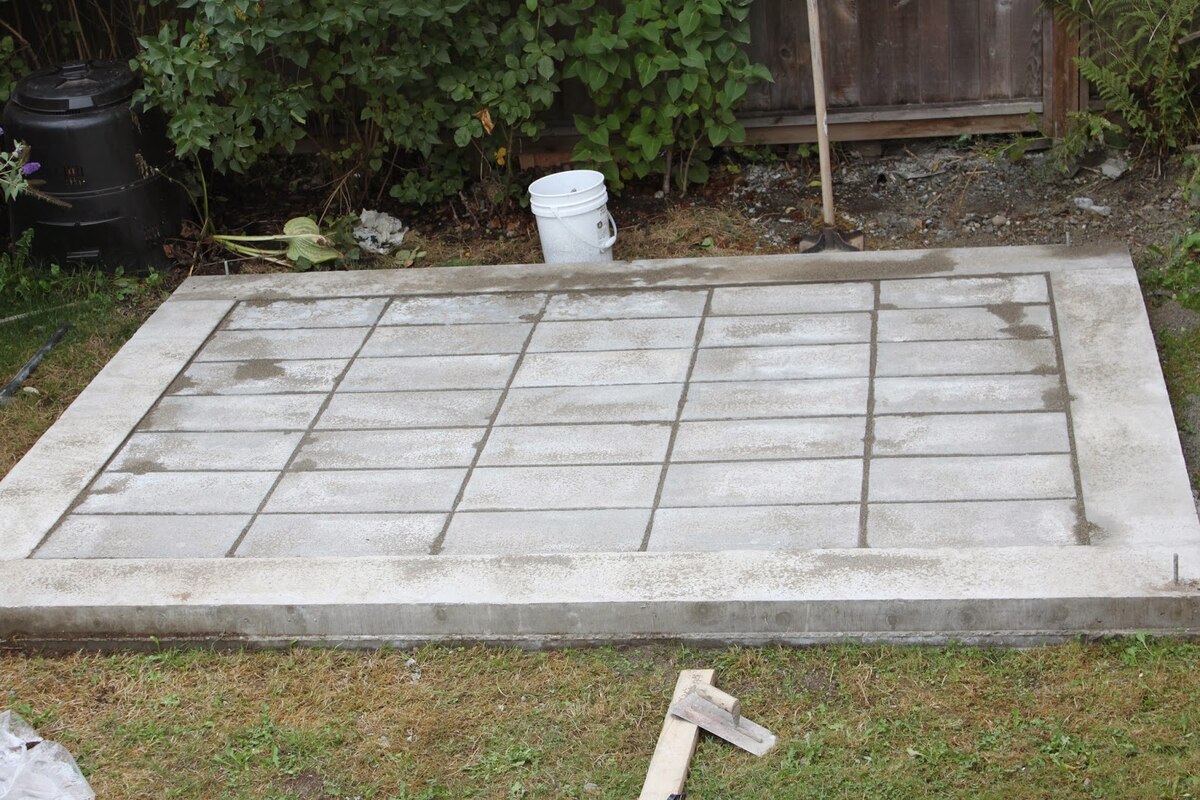
Step 1: Preparing the Site
Before you begin pouring the concrete for your shed slab, it’s crucial to prepare the site properly. This initial step sets the stage for a successful and long-lasting foundation. Here’s what you need to do:
- Clear the Area: Start by clearing the area where the slab will be poured. Remove any debris, rocks, or vegetation to create a clean and level surface. It’s essential to ensure that the ground is free of any obstructions that could compromise the integrity of the slab.
- Mark the Perimeter: Use stakes and string to mark the perimeter of the slab. This will provide a visual guide for the dimensions of the slab and help you ensure that the site is properly aligned and squared.
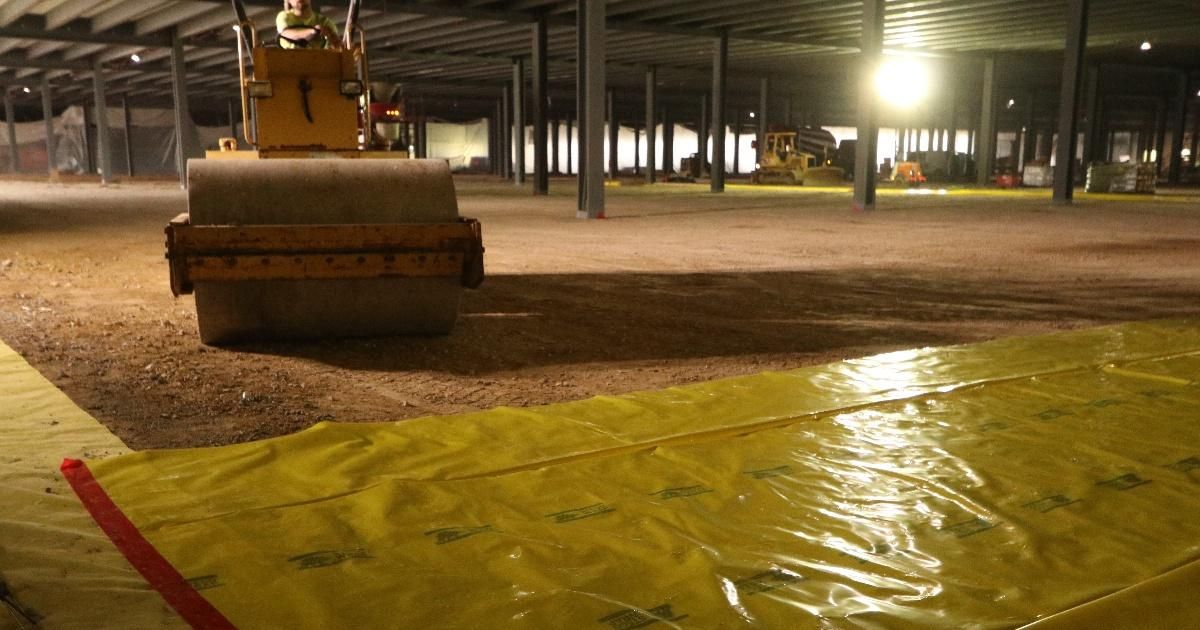
- Excavate the Area: Once the perimeter is marked, excavate the area to the required depth for the concrete slab. Typically, a depth of 4-6 inches is suitable, but this may vary based on the specific requirements of your shed and local building codes.
- Compact the Soil: After excavation, use a compactor to firmly compact the soil at the bottom of the site. This will create a stable base and minimize the risk of settling or shifting after the concrete is poured.
- Install Gravel Base: To further enhance the stability and drainage of the slab, consider adding a layer of gravel to the excavated area. This will promote proper water drainage and prevent the accumulation of moisture beneath the slab.
By meticulously preparing the site before pouring the concrete, you can ensure that your shed slab will have a solid and reliable foundation. Taking the time to complete this step with precision will set the stage for a successful and durable structure.
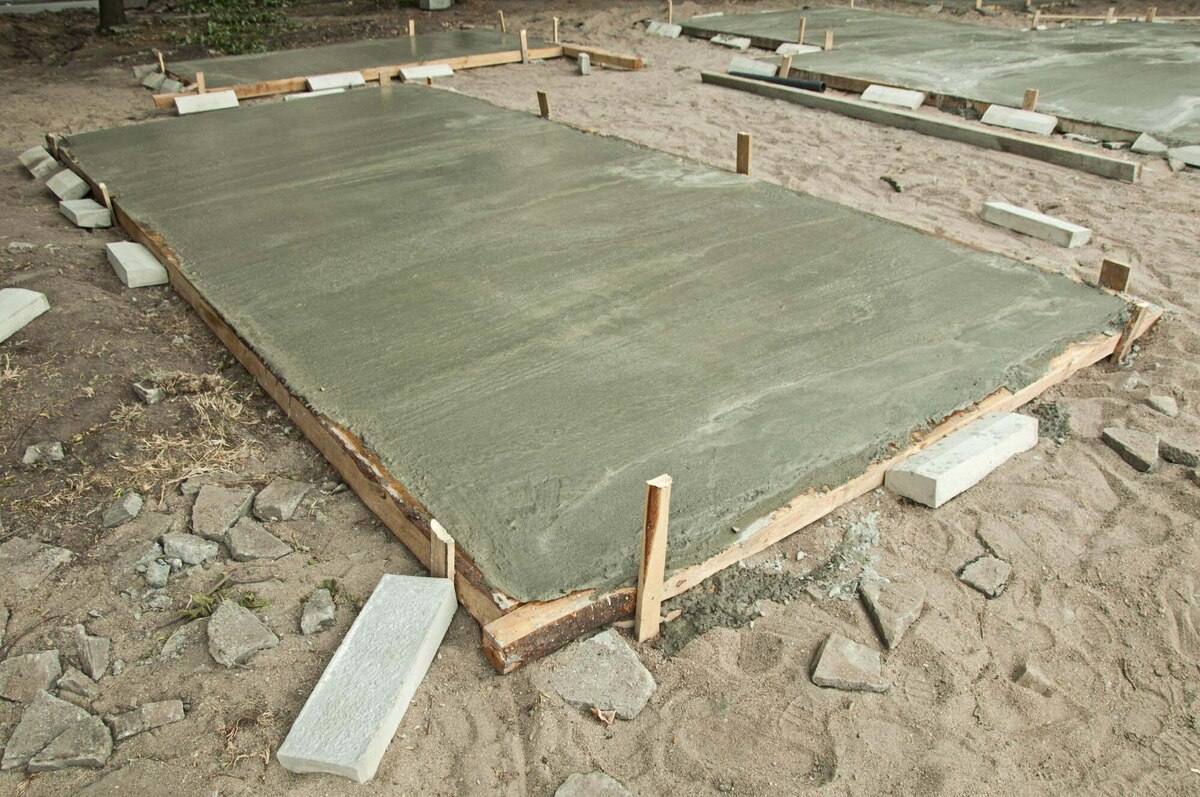
Step 2: Building the Formwork
Building the formwork is a crucial step in the process of pouring a concrete slab for your shed. The formwork serves as a mold that contains the concrete while it sets, shaping it into the desired dimensions and providing support during the pouring and curing stages. Here’s how to build the formwork:
- Measure and Cut the Lumber: Begin by measuring and cutting the lumber to create the formwork for the slab. Use a saw to cut the boards to the appropriate lengths, ensuring that they fit together securely to form the perimeter of the slab.
- Assemble the Formwork: Once the lumber is cut, assemble it to create the outer perimeter of the slab. Use sturdy stakes to secure the formwork in place, ensuring that it is level and properly aligned with the markings on the site.
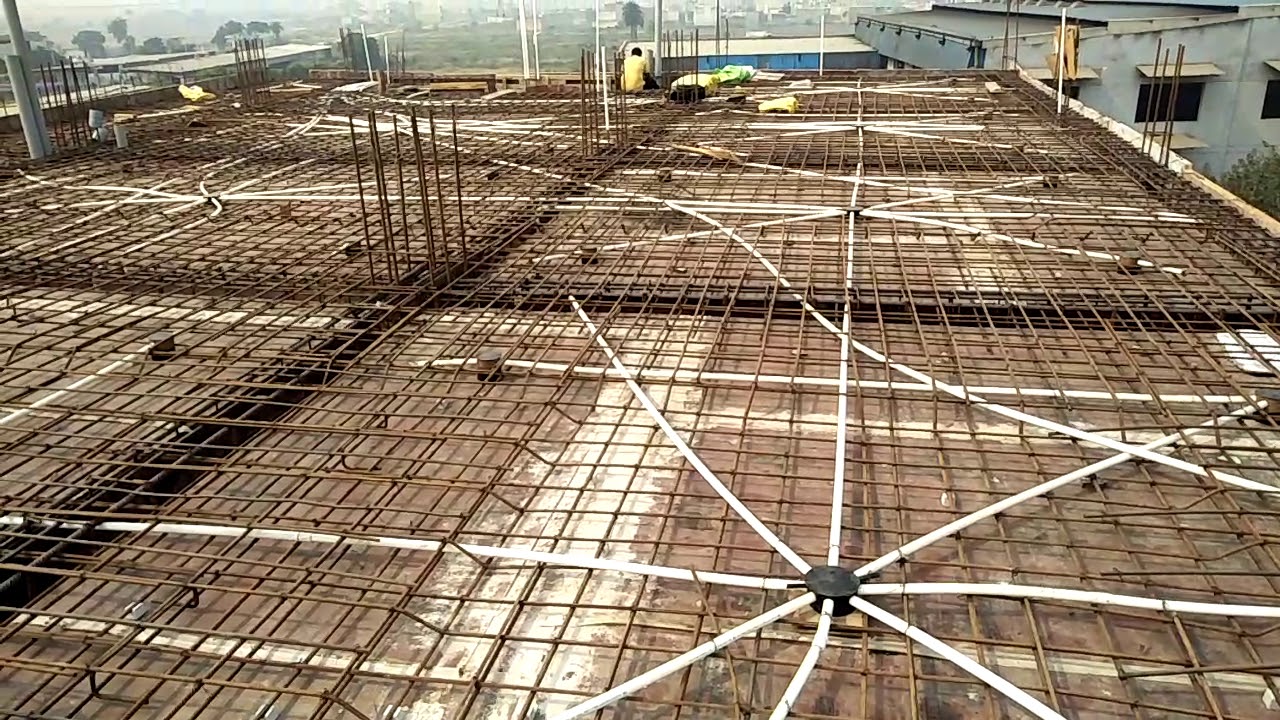
- Add Reinforcement: Depending on the size and intended use of your shed, you may need to add reinforcement within the formwork to enhance the strength of the slab. This can include installing rebar or wire mesh to provide additional support and prevent cracking.
- Seal Gaps and Joints: To prevent the concrete from leaking out of the formwork, seal any gaps or joints with caulk or specialized formwork sealant. This will ensure that the concrete is contained within the formwork, resulting in a clean and uniform slab surface.
- Double-Check the Dimensions: Before proceeding to the next step, double-check the dimensions and alignment of the formwork to confirm that it matches the intended size and shape of the shed slab. Making any necessary adjustments at this stage will save time and prevent issues during the concrete pouring process.
Building the formwork with precision and attention to detail is essential for creating a well-defined and structurally sound concrete slab. By following these steps, you can establish a solid foundation for the pouring and curing of the concrete, bringing you one step closer to completing your shed project.
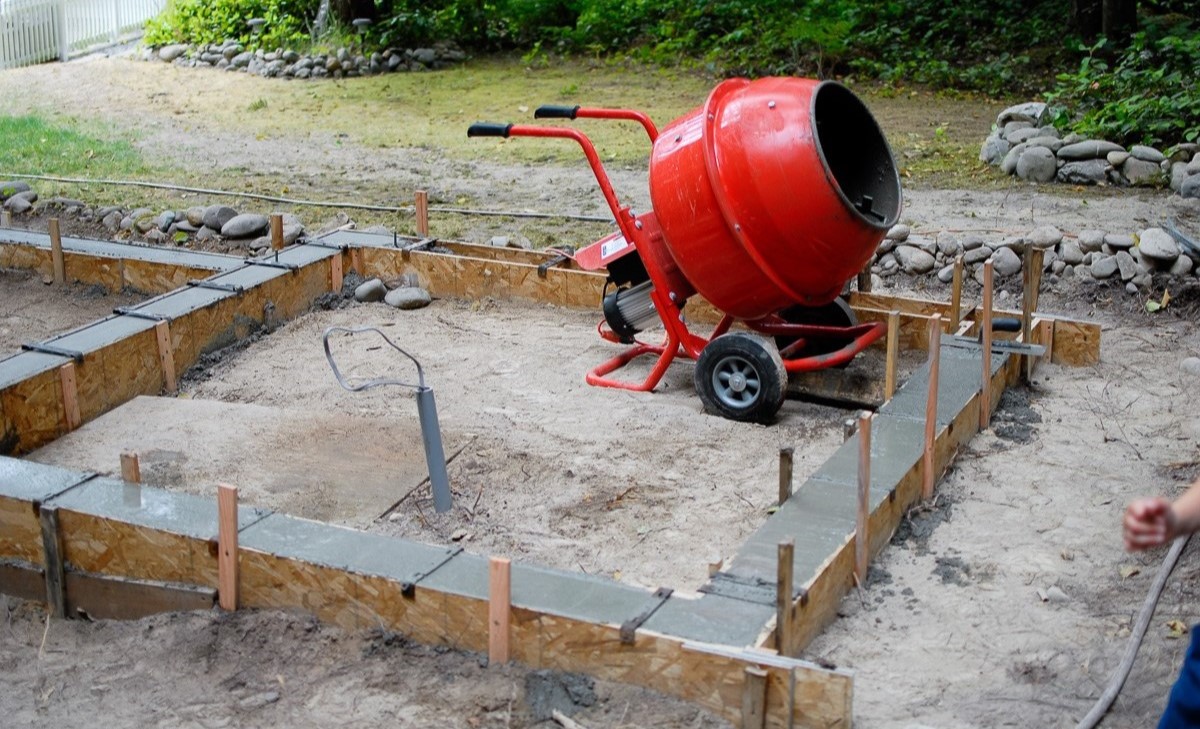
Step 3: Mixing the Concrete
As you prepare to pour the concrete for your shed slab, properly mixing the concrete is a critical step that directly influences the strength and integrity of the finished product. Here’s how to mix the concrete for your project:
- Gather the Materials: Before you begin mixing the concrete, gather all the necessary materials, including cement, sand, gravel, and water. Ensure that you have the appropriate proportions of each component based on the requirements of your specific project.
- Use a Concrete Mixer: If you have access to a concrete mixer, it can greatly simplify the mixing process and ensure a consistent blend of materials. Follow the manufacturer’s instructions for operating the mixer and gradually add the components while it is in motion.
- Manual Mixing: If a concrete mixer is not available, you can mix the concrete manually using a sturdy wheelbarrow or mixing trough. Start by combining the dry materials, such as cement, sand, and gravel, and gradually add water while continuously mixing to achieve a uniform consistency.
- Check the Consistency: As you mix the concrete, pay close attention to its consistency. The ideal concrete mix should be workable and cohesive, allowing it to be poured and spread easily while maintaining its structural integrity.
- Avoid Over-Mixing: It’s important to avoid over-mixing the concrete, as this can lead to a decrease in its strength and durability. Once the concrete is thoroughly blended and free of lumps, it is ready to be poured onto the prepared site.
By carefully mixing the concrete according to these guidelines, you can ensure that your shed slab will have a solid and uniform composition, setting the stage for a reliable and long-lasting foundation. With the concrete prepared, you are now ready to move on to the exciting stage of pouring it onto the formwork.
Before pouring concrete, make sure the ground is level and compacted. Use wooden forms to create a perimeter for the slab. Add a layer of gravel for drainage and reinforcement. Finally, mix and pour the concrete evenly.
Step 4: Pouring the Concrete
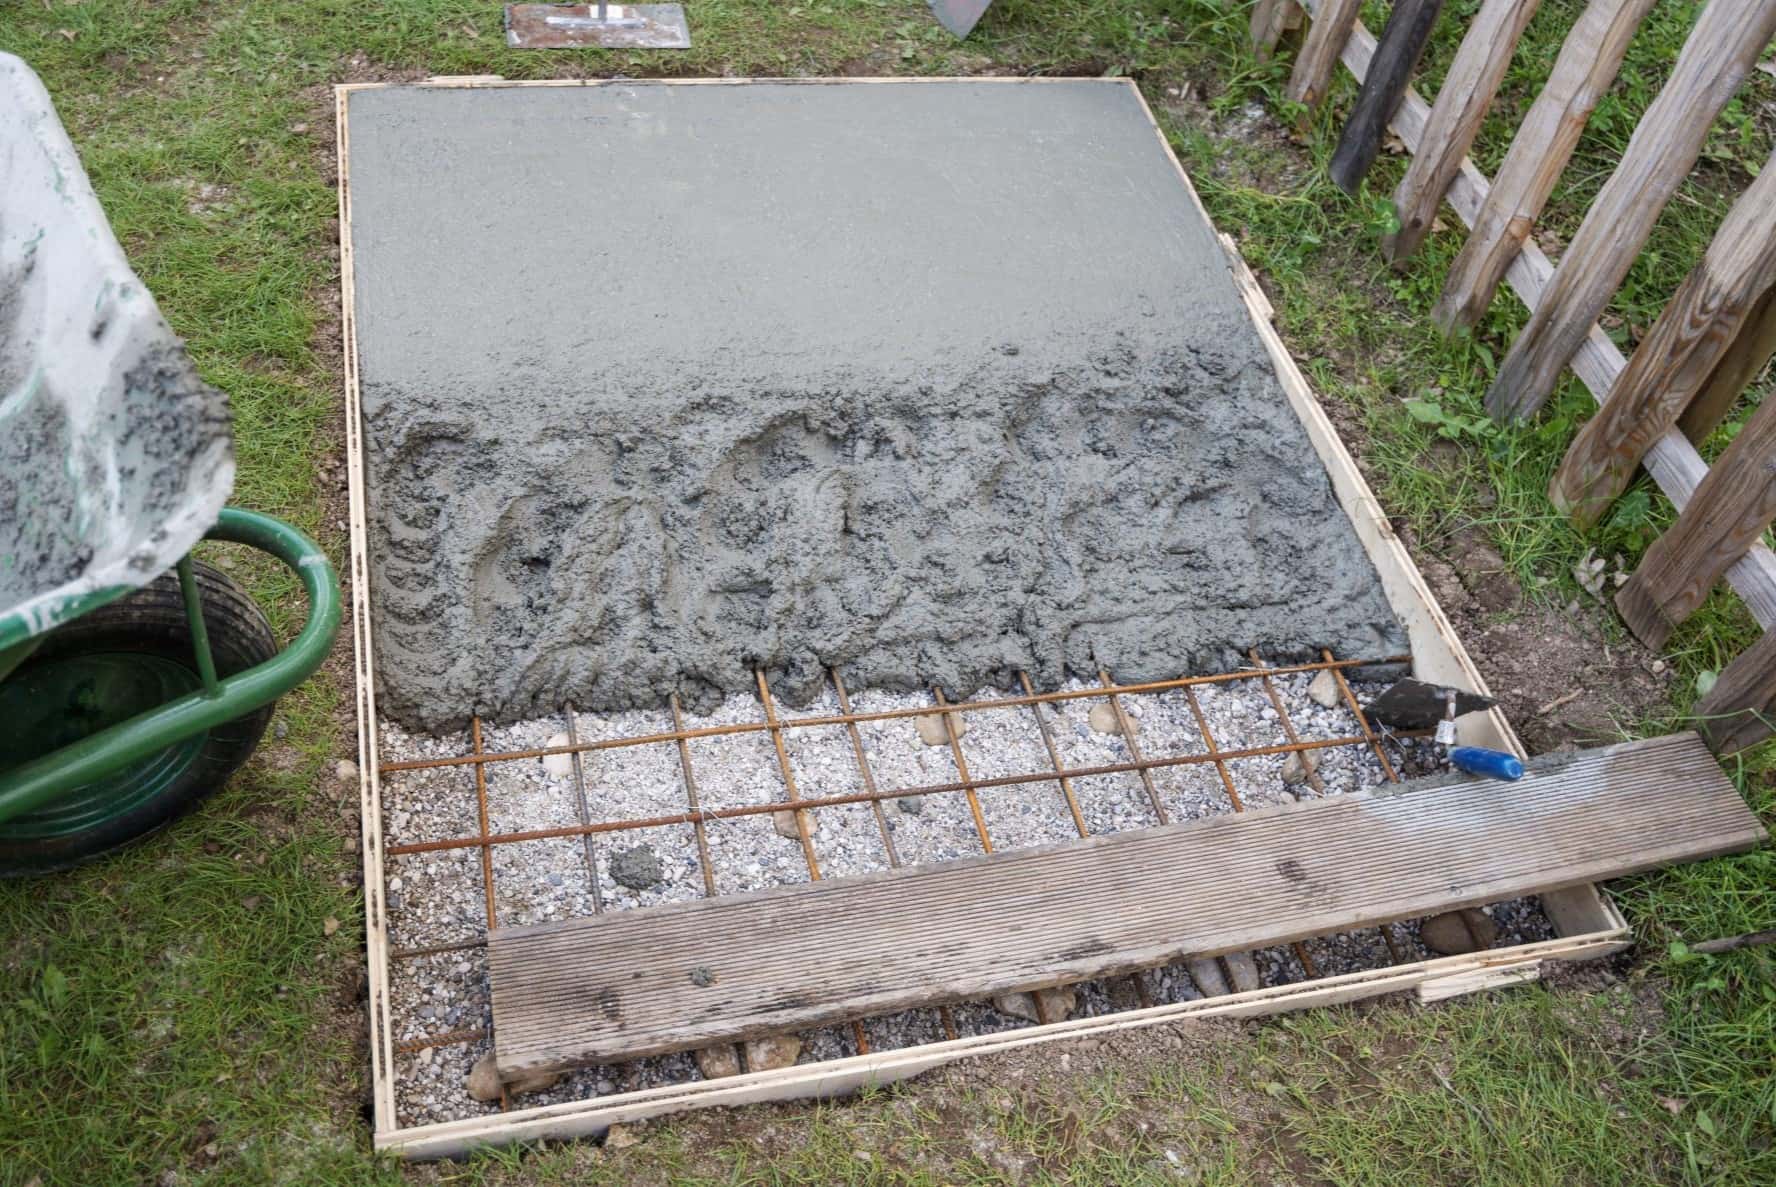
With the site prepared, the formwork in place, and the concrete mixed to perfection, it’s time to pour the concrete for your shed slab. This pivotal step requires precision and care to ensure that the concrete is distributed evenly and sets properly. Here’s how to pour the concrete:
- Start at One End: Begin pouring the concrete at one end of the formwork, working methodically to cover the entire area. Use a shovel or concrete rake to spread the concrete evenly, filling the formwork to the desired depth.
- Avoid Interruptions: Once you start pouring the concrete, strive to complete the entire process without interruptions. This will help maintain a consistent texture and appearance across the entire slab, minimizing the risk of visible seams or inconsistencies.
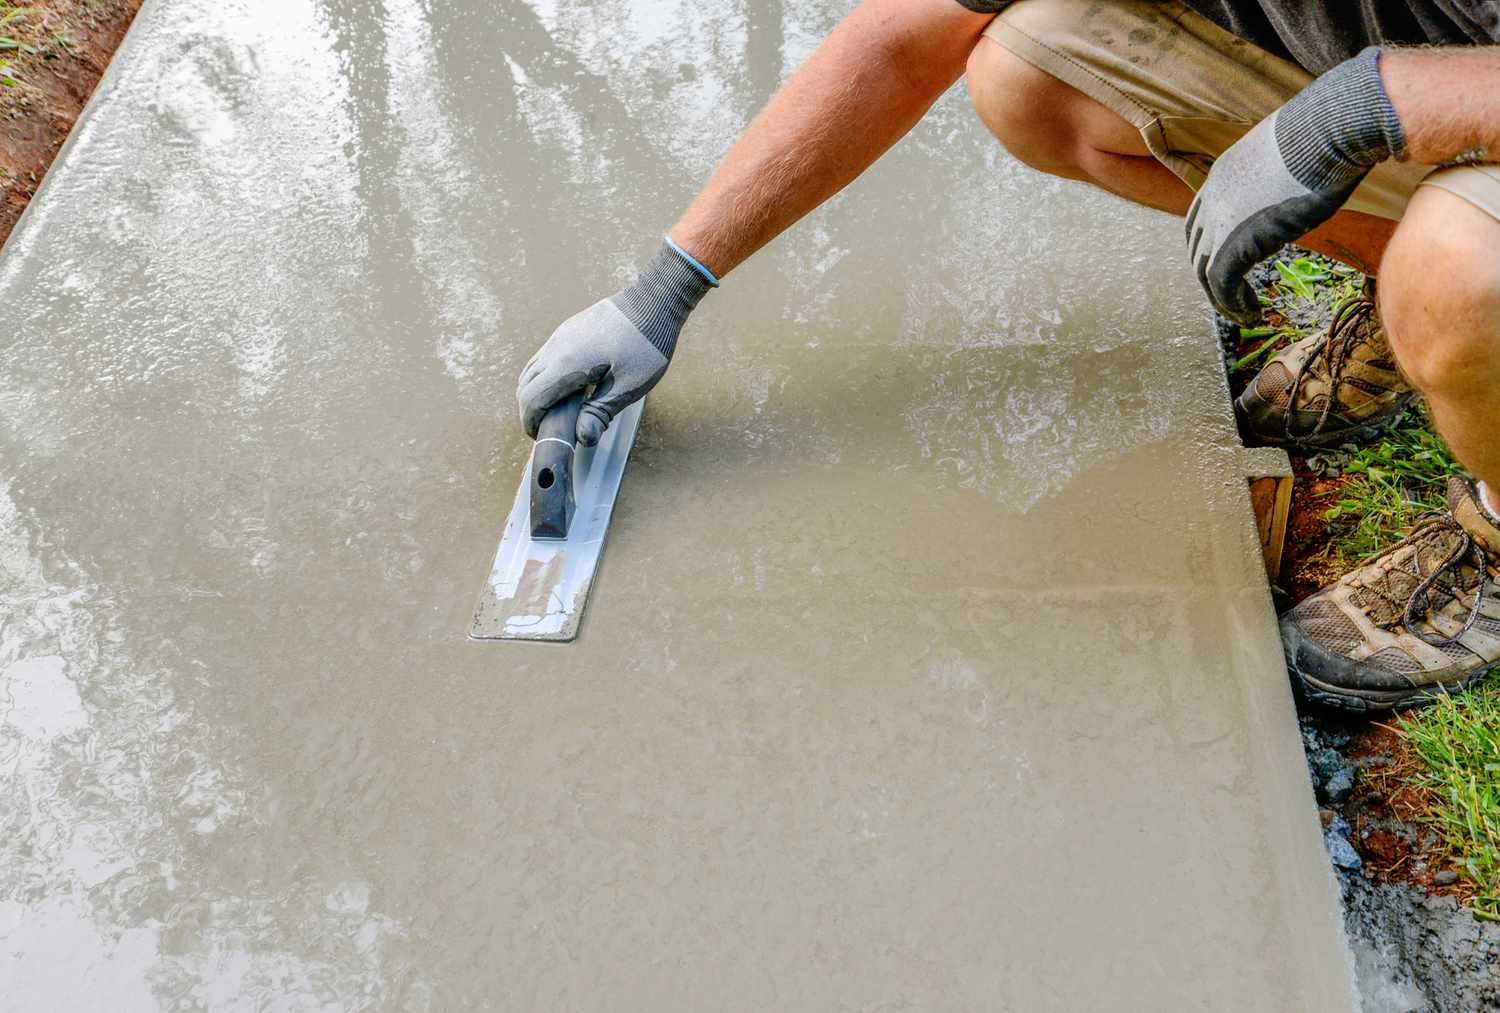
- Use a Screed Board: After the concrete is poured, use a screed board to level the surface and remove excess concrete. This tool allows you to create a smooth and even finish, ensuring that the slab is uniform and free of bumps or depressions.
- Work Efficiently: As the concrete sets relatively quickly, work efficiently to spread and level it before it begins to harden. This will help you achieve the desired texture and appearance while the concrete is still in its optimal state for manipulation.
- Check for Air Pockets: Throughout the pouring process, be mindful of air pockets that may form within the concrete. Use a concrete vibrator to gently agitate the concrete and release any trapped air, promoting a denser and more structurally sound slab.
By following these steps and exercising care during the pouring process, you can ensure that your shed slab will have a smooth, level, and uniform surface. With the concrete poured and distributed, you are now ready to move on to the final stage of finishing the slab to perfection.
Read more: How To Anchor A Shed To A Concrete Slab
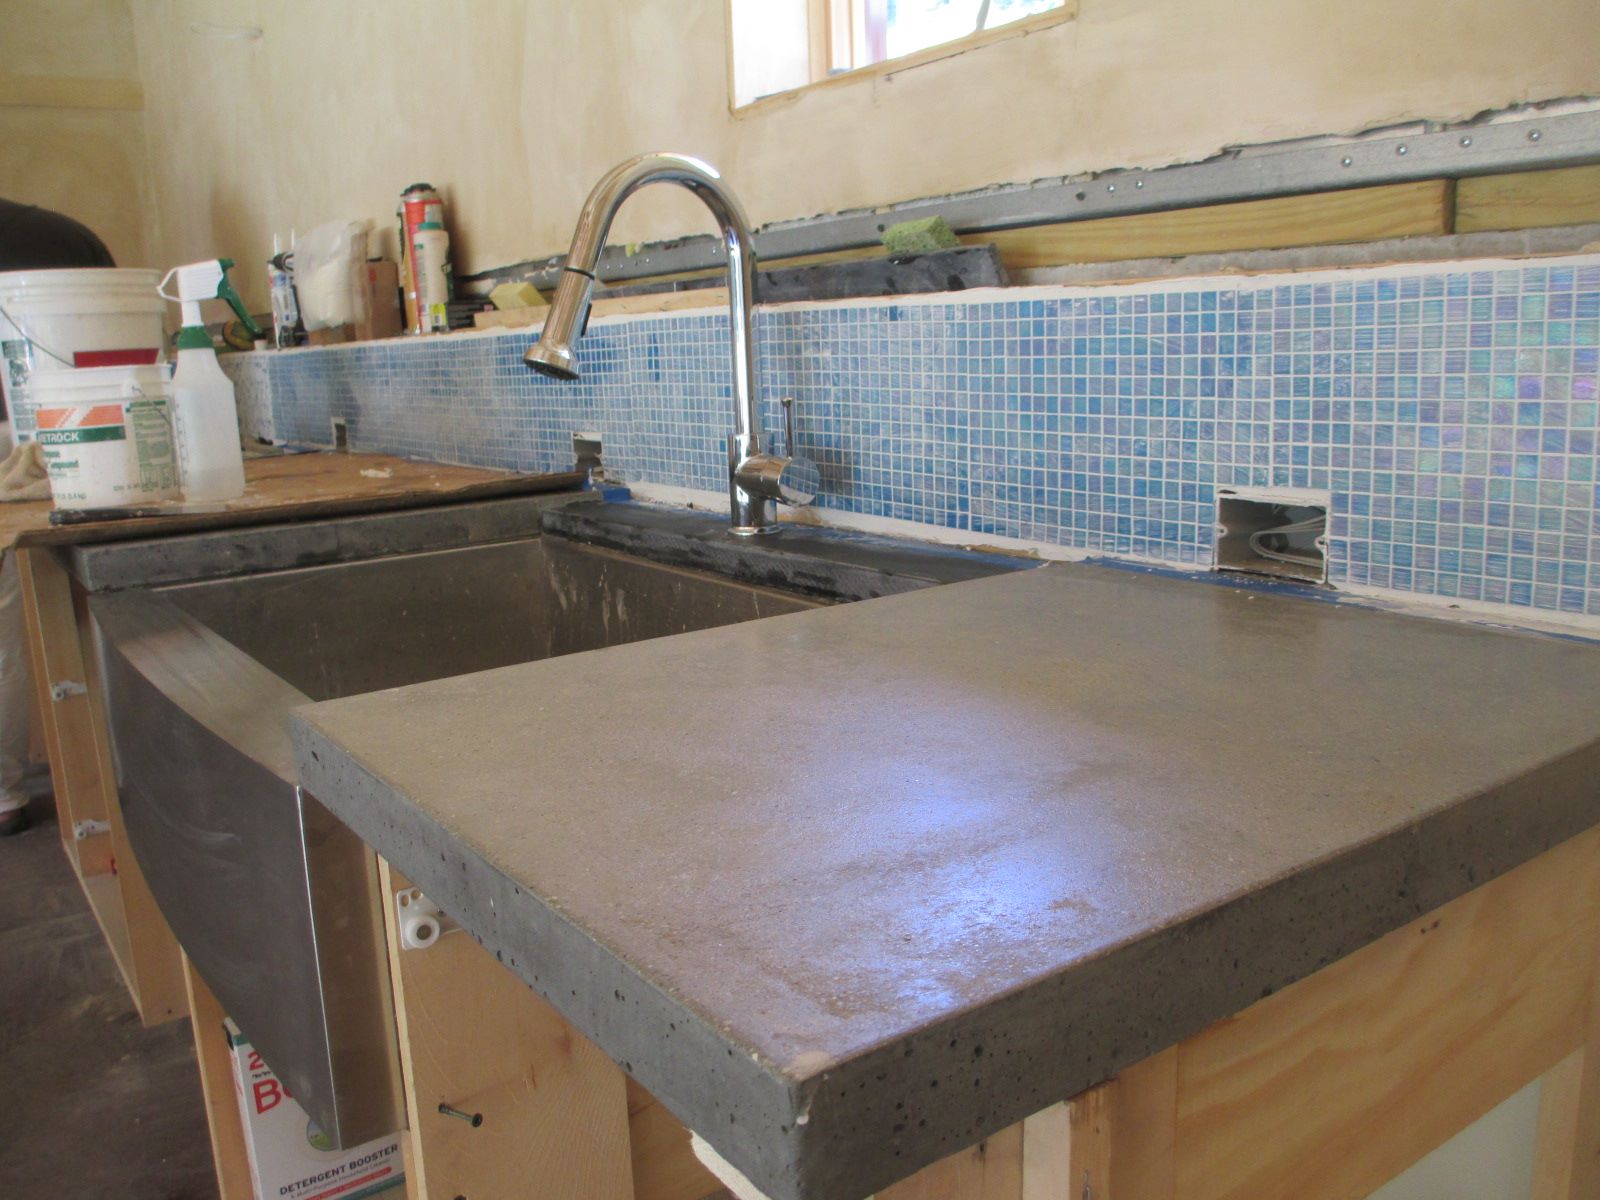
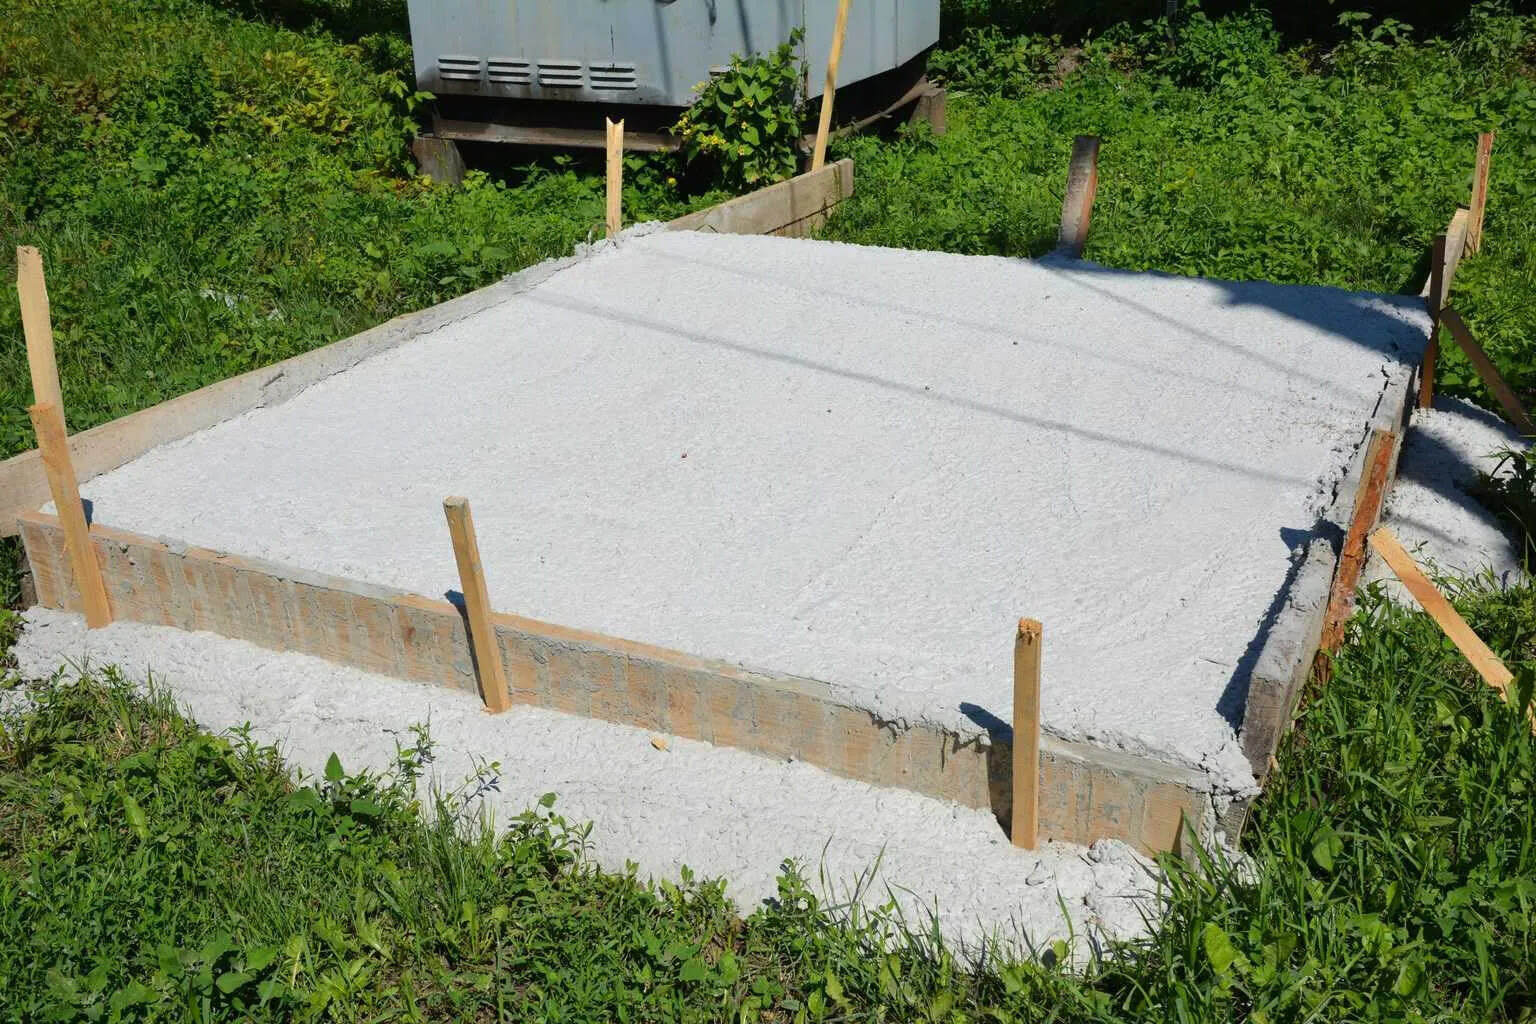
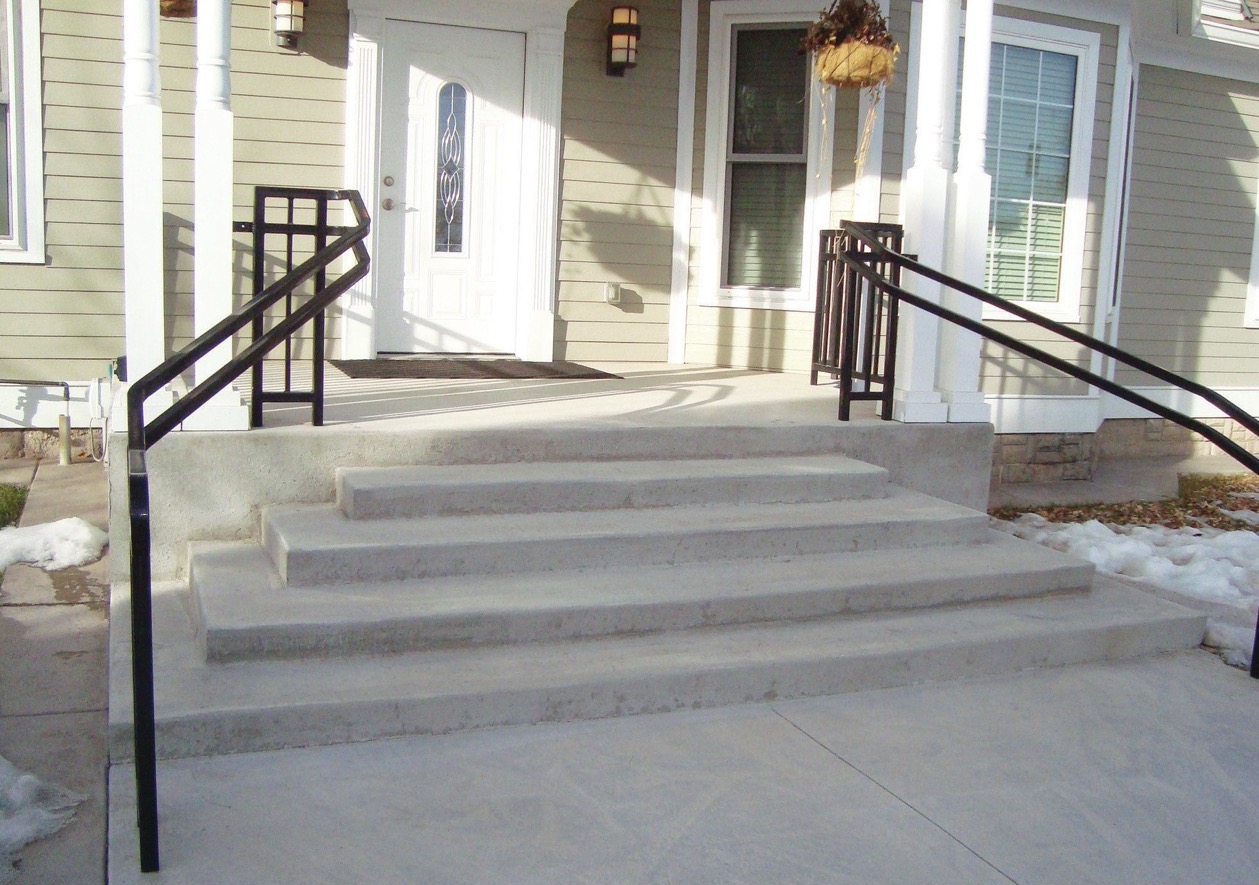
Step 5: Finishing the Slab
As the concrete is poured and begins to set, the final step in creating a flawless shed slab involves finishing the surface to achieve the desired texture and appearance. This stage requires attention to detail and the use of specialized tools to ensure that the slab is smooth, level, and visually appealing. Here’s how to finish the slab:
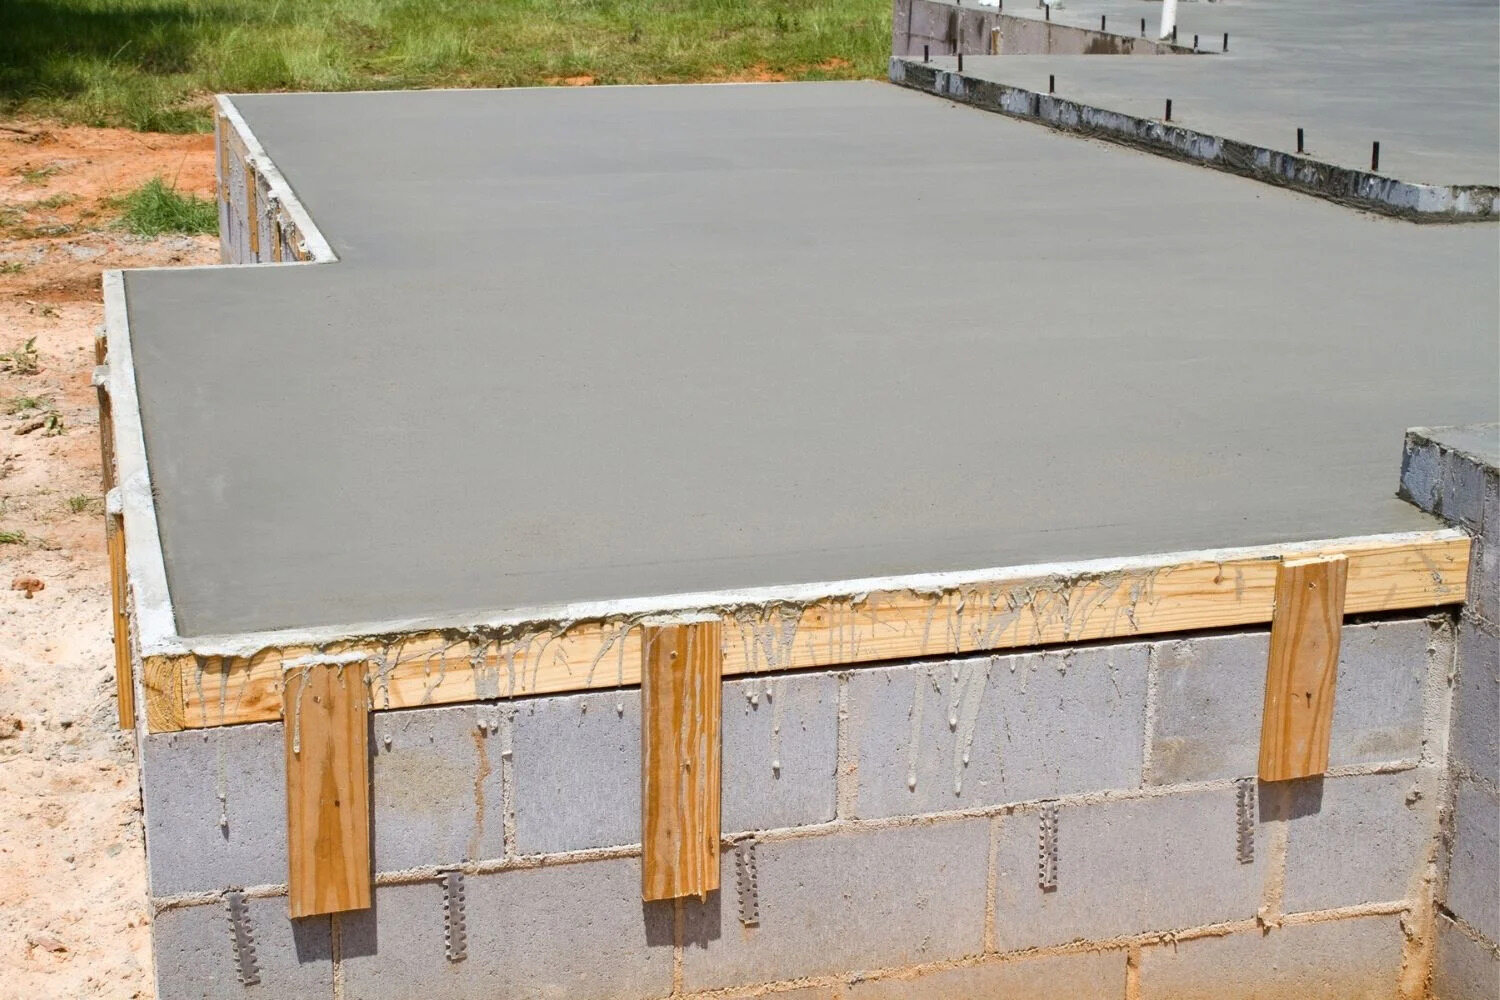
- Use a Bull Float: Once the concrete is poured, use a bull float to smooth the surface and eliminate any imperfections. This large, flat tool is designed to level the concrete and push aggregate down, resulting in a uniform and even texture.
- Edge the Perimeter: After using the bull float, edge the perimeter of the slab using an edging tool. This step creates a clean and defined edge, enhancing the visual appeal of the slab and preventing chipping or crumbling along the edges.
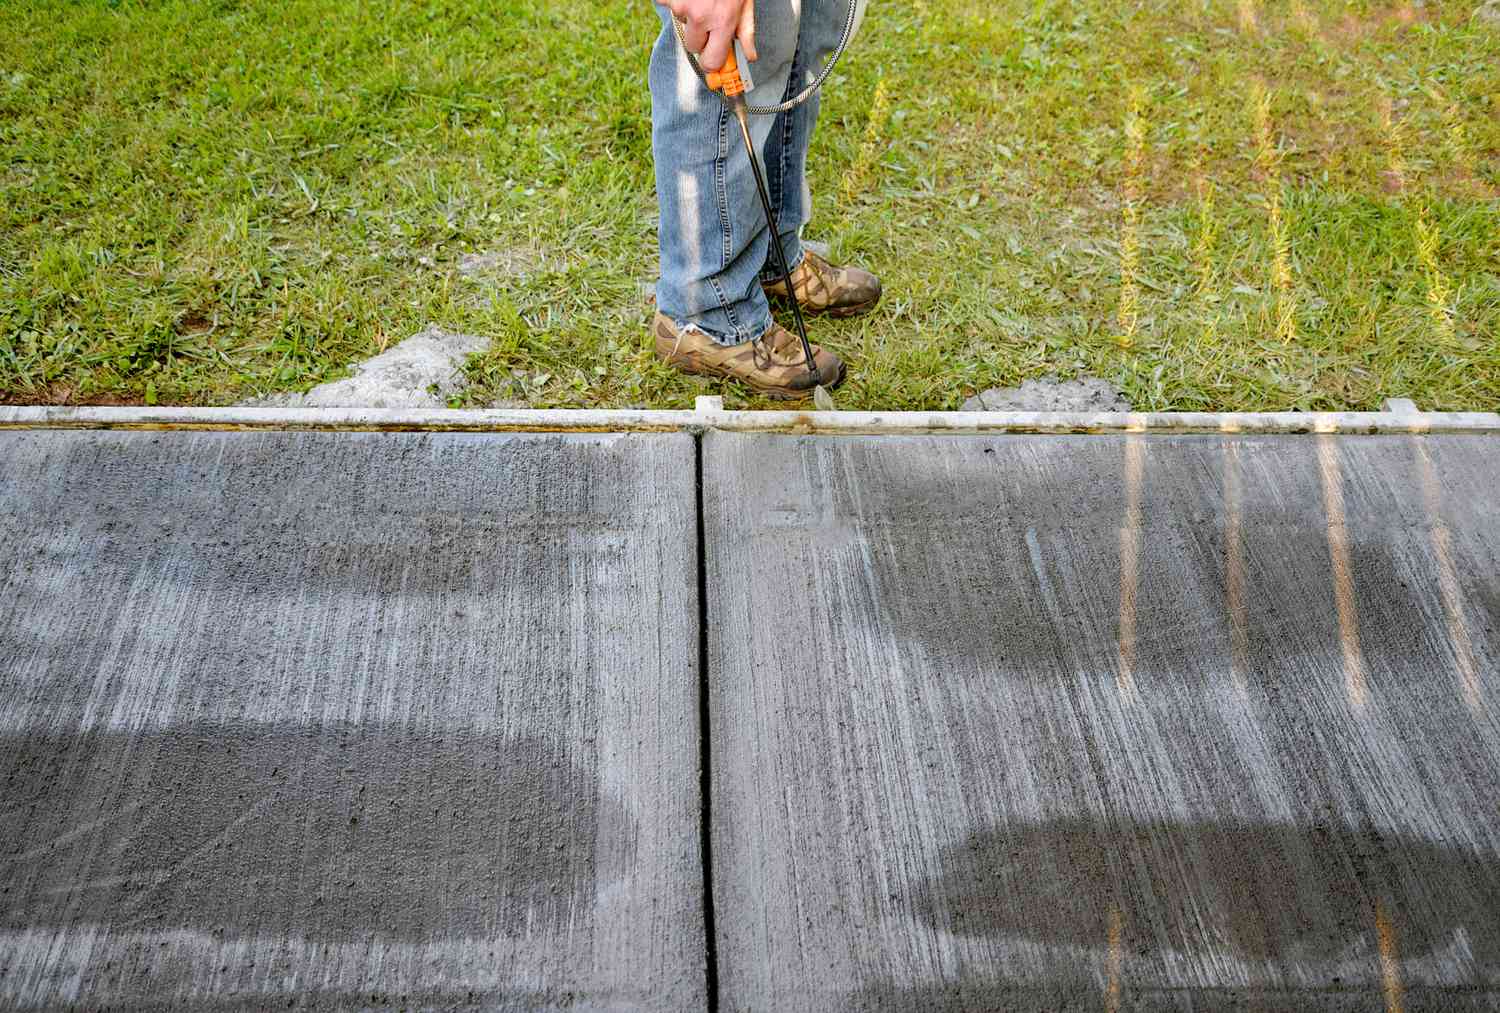
- Add Control Joints: To minimize the risk of cracking as the concrete cures and expands, consider adding control joints to the slab. These joints are carefully placed to create weakened areas that allow the concrete to expand and contract without causing unsightly cracks.
- Apply a Broom Finish: For sheds requiring a non-slip surface, consider applying a broom finish to the concrete. This involves dragging a broom over the surface of the slab to create texture and improve traction, making it suitable for areas where slip resistance is a priority.
- Cure the Concrete: Once the finishing touches are complete, it’s essential to cure the concrete properly to promote strength and durability. This typically involves covering the slab with a curing compound or moistening it regularly to prevent rapid evaporation and ensure optimal curing.
By meticulously finishing the slab according to these guidelines, you can achieve a professional-quality surface that enhances the overall appearance and functionality of your shed. With the concrete slab now poured, leveled, and finished to perfection, you are one step closer to bringing your shed project to fruition.
Conclusion
Congratulations! You have successfully navigated the process of pouring a concrete slab for your shed, laying the groundwork for a sturdy and long-lasting foundation. By following the step-by-step instructions outlined in this guide, you have acquired the knowledge and skills necessary to tackle this essential aspect of shed construction. As you reflect on the journey from preparing the site to finishing the slab, it’s evident that attention to detail and careful execution are key elements in achieving a high-quality result.
As you stand back and admire the freshly poured and meticulously finished concrete slab, envision the endless possibilities that lie ahead. Whether your shed will serve as a workshop, storage space, or a tranquil retreat, the solid foundation you have created will support its purpose for years to come. The satisfaction of completing this foundational phase of your project is a testament to your dedication and craftsmanship.
As you move forward with your shed construction, remember that the concrete slab is more than just a base; it is a testament to your commitment to quality and durability. With this solid foundation in place, you can proceed with confidence, knowing that your shed will stand the test of time and provide a reliable space for your needs.
Now, armed with the knowledge and expertise gained from this guide, you are ready to embark on the next stages of your shed construction journey. Whether it’s framing the walls, installing the roof, or adding personalized touches, the solid foundation you have poured will serve as the cornerstone of your project.
As you move forward, may the lessons learned and the skills honed in this process continue to inspire and guide you in your shed-building endeavors. With each step, you are bringing your vision to life, creating a space that embodies your creativity, purpose, and practicality.
So, take pride in the concrete slab you have poured, and let it stand as a testament to your dedication and craftsmanship. As you move forward with your shed project, may the foundation you have laid serve as a solid base for the memories, experiences, and accomplishments that will unfold within its walls.
Now that you've mastered pouring a concrete slab, why not tackle more outdoor projects? Our guide on creative and practical ideas will fuel your enthusiasm for transforming your backyard. Whether you're looking to build a garden bench or set up a new fire pit, these projects will keep your hands busy and your outdoor space vibrant. Dive into our comprehensive list for inspiration and step-by-step instructions that make each project accessible.
Frequently Asked Questions about How To Pour A Concrete Slab For A Shed
Was this page helpful?
At Storables.com, we guarantee accurate and reliable information. Our content, validated by Expert Board Contributors, is crafted following stringent Editorial Policies. We're committed to providing you with well-researched, expert-backed insights for all your informational needs.

0 thoughts on “How To Pour A Concrete Slab For A Shed”