Articles
How To Pour A Concrete Chimney Cap
Modified: February 24, 2024
Learn the step-by-step process of pouring a concrete chimney cap with our informative articles. Improve the functionality and aesthetics of your chimney today.
(Many of the links in this article redirect to a specific reviewed product. Your purchase of these products through affiliate links helps to generate commission for Storables.com, at no extra cost. Learn more)
Introduction
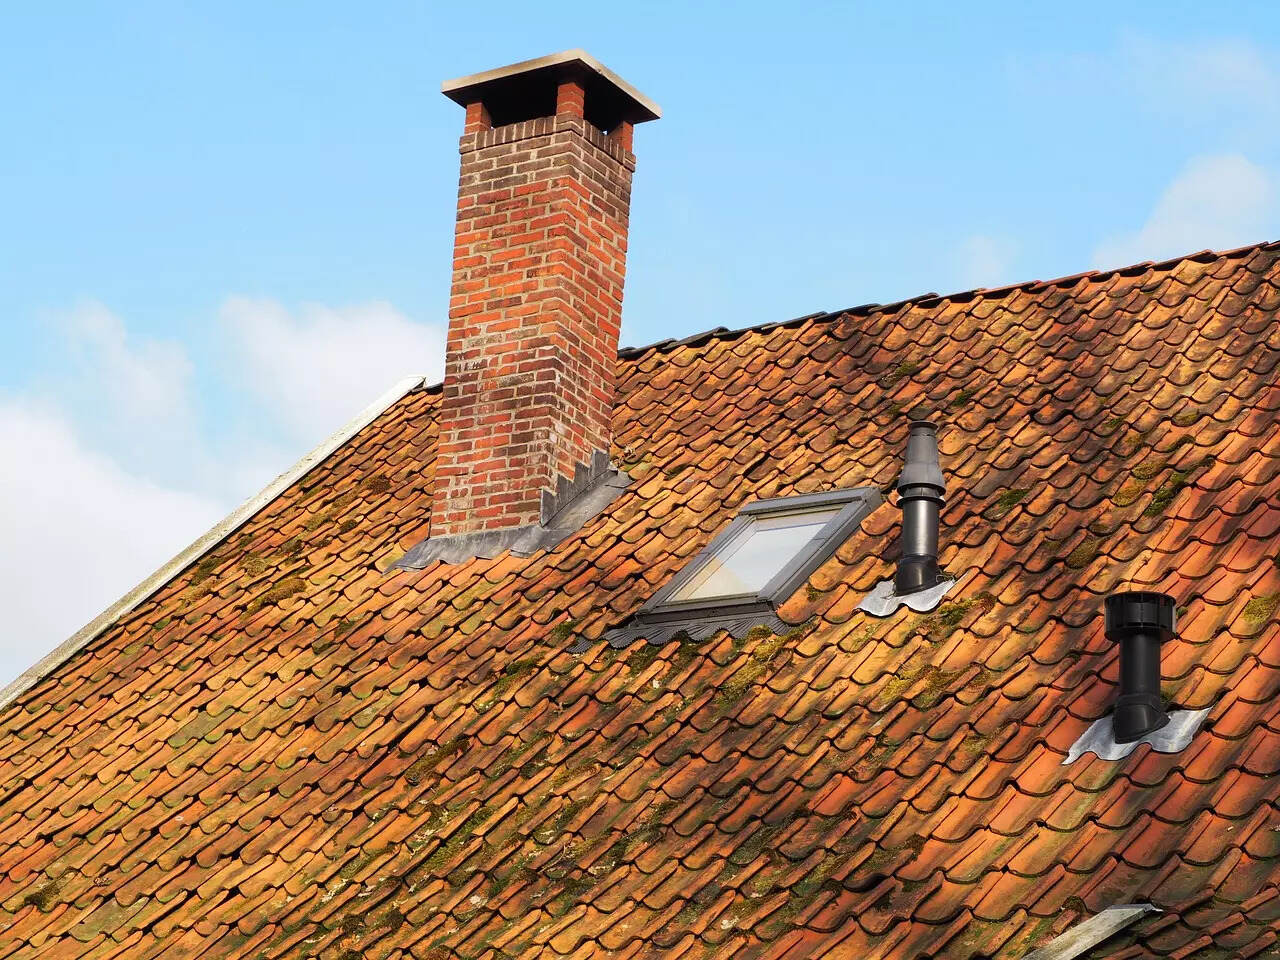
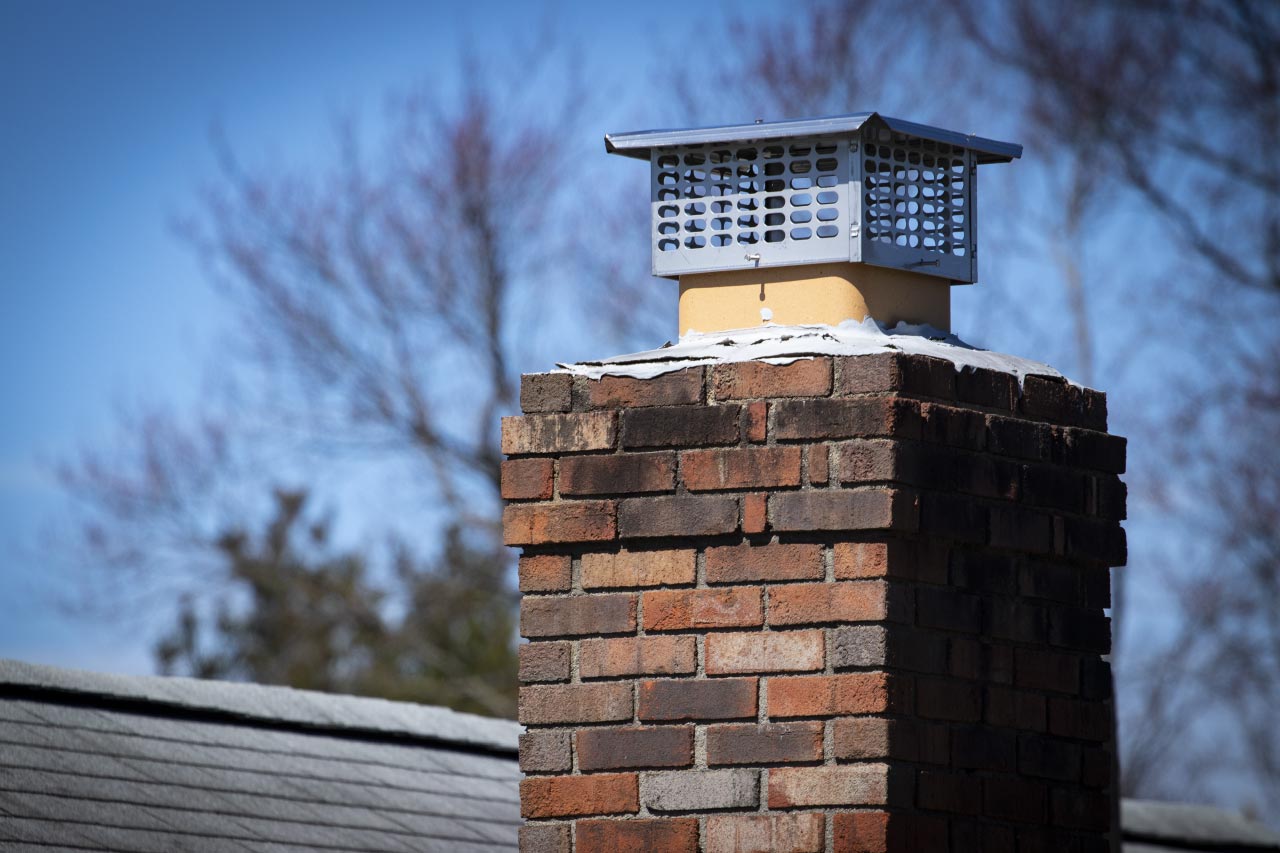
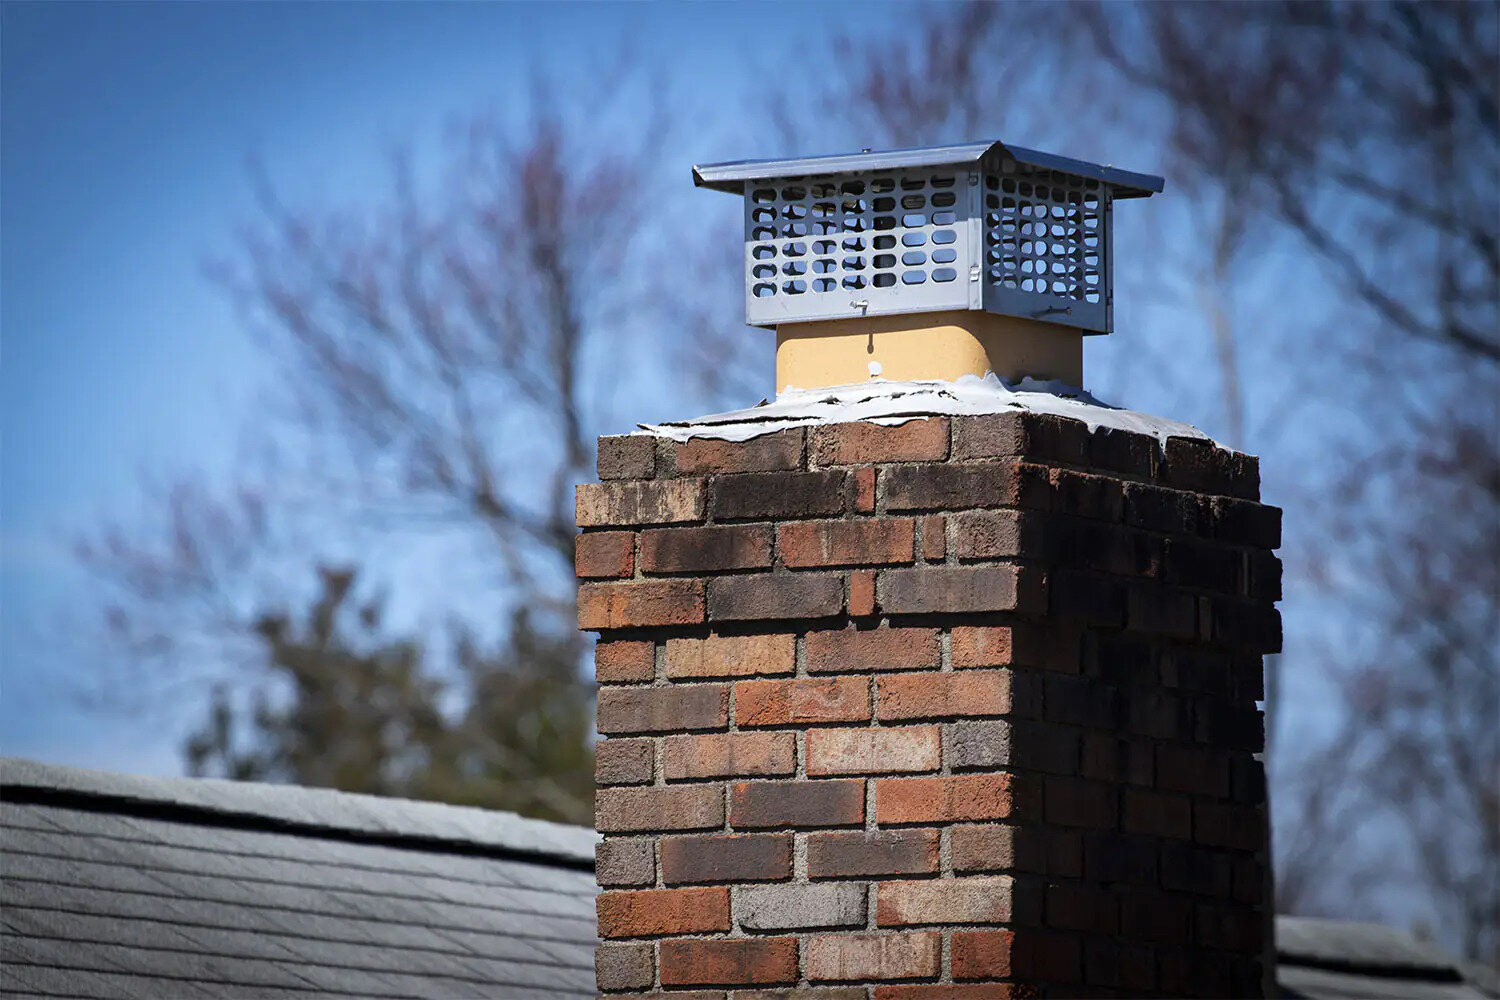
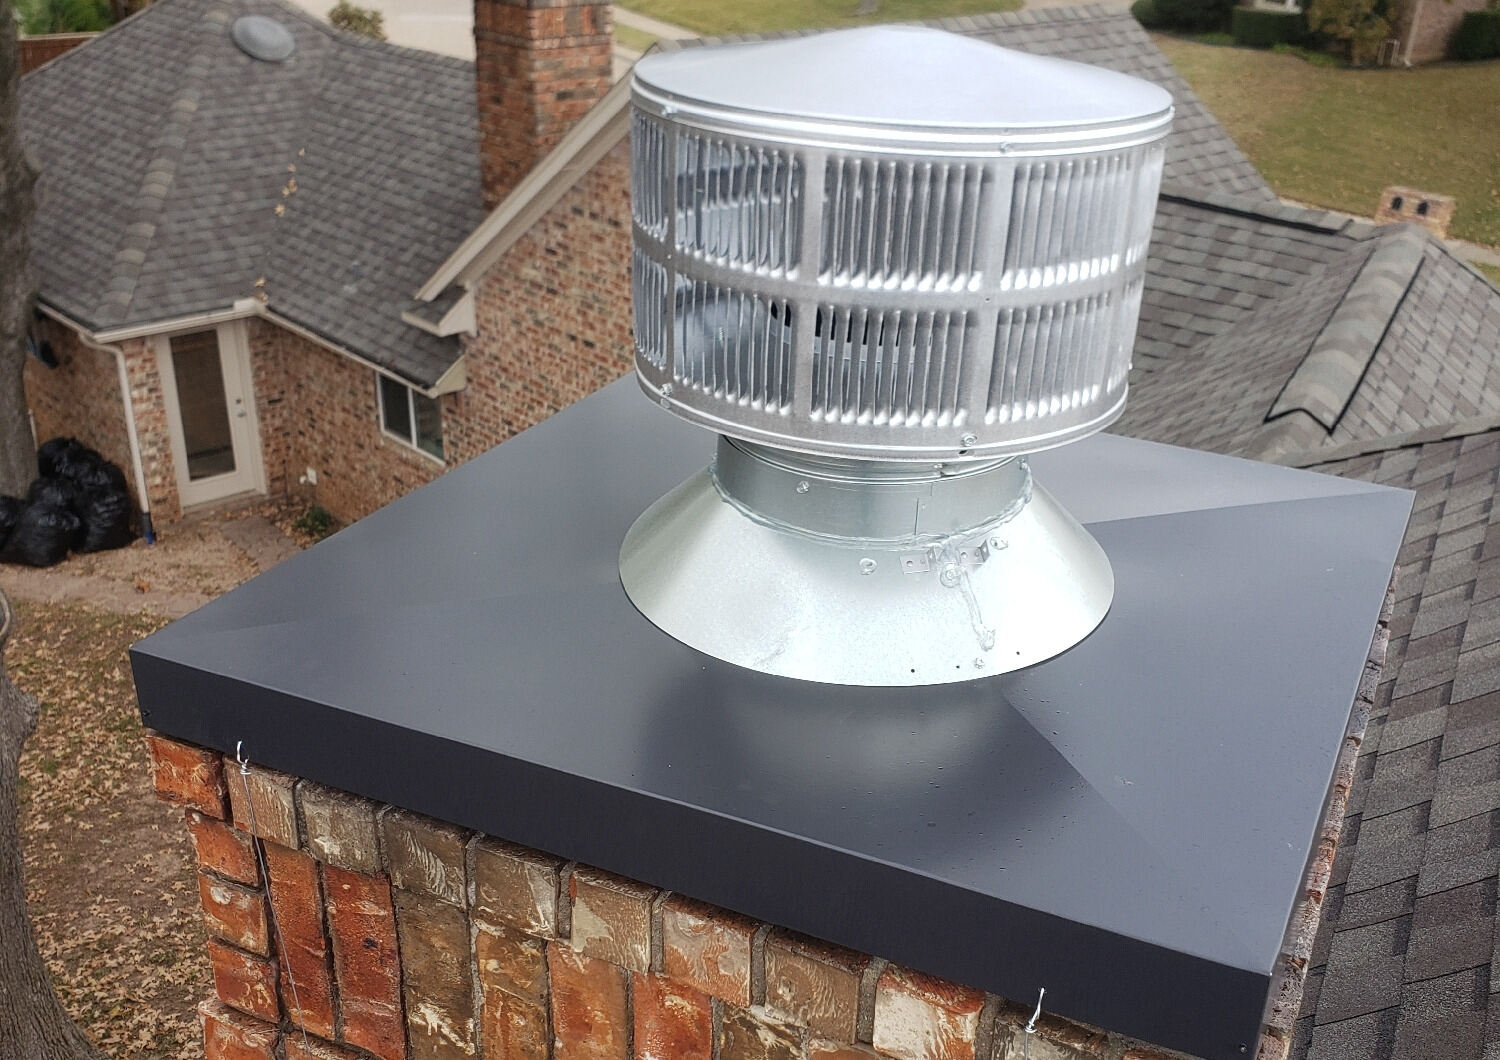
Building a chimney cap is an essential step in constructing a safe and functional chimney. The chimney cap serves as a protective cover that prevents debris, animals, and rainwater from entering the chimney while allowing smoke and gases to escape. One popular method of constructing a chimney cap is through pouring concrete.
While it may seem like a daunting task, pouring a concrete chimney cap can be done with the right materials, tools, and techniques. In this article, we will guide you through the step-by-step process of pouring a concrete chimney cap.
Before you begin, it’s crucial to gather all the necessary materials and ensure you have a clear understanding of the process. By following these instructions and taking the time to properly pour your concrete chimney cap, you will improve the longevity and functionality of your chimney.
So, let’s get started and create a sturdy and durable concrete chimney cap that will protect your chimney for years to come!
Key Takeaways:
- Building a concrete chimney cap is a manageable project with the right materials and steps. Protect your chimney from debris and water while enhancing its longevity and functionality.
- Prioritize safety, gather materials, prepare the flue, build the formwork, mix and pour concrete, and add finishing touches. Enjoy a rewarding and practical project that improves your chimney’s performance and durability.
Read more: How To Pour A Concrete Patio
Step 1: Gather the Required Materials
Before you begin pouring the concrete chimney cap, it’s essential to gather all the necessary materials. Here is a list of the items you will need:
- Concrete mix: Choose a high-quality concrete mix specifically designed for structural applications.
- Rebar: Reinforcing steel bars will provide strength and durability to the concrete cap. Make sure to use the appropriate thickness based on the size and weight requirements.
- Formwork materials: You will need plywood or melamine boards to create the formwork for the chimney cap. Ensure that the material is rigid and can withstand the pressure and weight of the poured concrete.
- Tools: Gather a range of tools including a circular saw, power drill, screws, measuring tape, level, hammer, and nails. These tools will aid in the construction and assembly of the formwork.
- Release agent: To ensure easy removal of the formwork after the concrete has cured, use a form release agent or a non-stick spray.
- Protective gear: Safety should be a priority during this project. Wear gloves, safety glasses, and a dust mask to protect yourself from any potential hazards.
Once you have all the necessary materials, you can proceed to the next step of preparing the chimney flue.
Step 2: Prepare the Chimney Flue
Before pouring the concrete chimney cap, it’s important to properly prepare the chimney flue to ensure a secure and stable foundation. Follow these steps to prepare the chimney flue:
- Clean the chimney flue: Remove any debris, creosote buildup, or obstructions from the chimney flue. Use a chimney brush to sweep away any loose material.
- Inspect the flue liner: Examine the flue liner for any cracks or damage. It’s crucial to repair any defects before proceeding with the chimney cap installation.
- Measure the dimensions: Measure the dimensions of the chimney flue accurately. This will determine the size of the formwork and the amount of concrete needed for the chimney cap.
- Mark the center point: Use a pencil or marker to mark the center point of the chimney flue. This will help in aligning the formwork properly.
By properly preparing the chimney flue, you lay the foundation for a structurally sound concrete chimney cap. Once the chimney flue is prepared, you can proceed to the next step, which is building the formwork.
Step 3: Build the Formwork
Building the formwork is an integral part of pouring a concrete chimney cap. The formwork acts as a mold, shaping the concrete into the desired shape and providing support during the pouring process. Follow these steps to build the formwork:
- Cut the formwork material: Using a circular saw, cut the plywood or melamine boards into the desired dimensions for the chimney cap. Ensure that the formwork is strong and sturdy enough to withstand the weight of the concrete.
- Assemble the formwork: Place the cut pieces of the formwork material around the marked center point of the chimney flue. Use screws, nails, or clamps to secure the formwork in place. Make sure the formwork is level and accurately aligned with the chimney flue.
- Install reinforcing steel: Before pouring the concrete, insert rebar into the formwork. Space the rebar evenly throughout the formwork to provide reinforcement and strength to the chimney cap.
- Apply form release agent: To ensure the formwork can be easily removed once the concrete has cured, apply a form release agent or a non-stick spray on the inside of the formwork. This will prevent the concrete from sticking to the formwork.
Building a solid and well-constructed formwork is crucial for a successful concrete chimney cap. Once the formwork is built, you can move on to the next step, which is mixing the concrete.
When pouring a concrete chimney cap, make sure to use a high-quality concrete mix with proper reinforcement to ensure durability and longevity. Additionally, ensure that the cap is sloped to allow for proper water drainage.
Step 4: Mix the Concrete
Now that the formwork is in place, it’s time to mix the concrete for your chimney cap. Follow these steps to achieve the right consistency and strength:
- Wear safety gear: Before handling any concrete materials, make sure to wear gloves, safety glasses, and a dust mask to protect yourself from any potential hazards.
- Measure the concrete mix: Follow the instructions provided on the concrete mix packaging to determine the correct water-to-concrete ratio. Use a measuring container to measure out the appropriate amount of concrete mix.
- Add water gradually: Slowly add water to the concrete mix while continuously mixing it with a shovel or a mixing drill. Aim for a consistency that is not too dry or too wet, but rather a workable consistency that holds its shape.
- Continue mixing: Mix the concrete thoroughly, ensuring that there are no lumps or dry pockets. Use a mixing drill or a concrete mixer for larger quantities to ensure an even mix.
Remember, it is important to follow the instructions provided by the concrete mix manufacturer for the best results. Once the concrete is mixed to the desired consistency, you are ready to move on to the next step, which is pouring the concrete chimney cap.
Read more: How To Measure A Chimney Cap
Step 5: Pour the Concrete Chimney Cap
With the formwork prepared and the concrete mixed, it’s time to pour the concrete chimney cap. Follow these steps to ensure a smooth and successful pouring process:
- Prepare the work area: Clear any obstacles or debris around the formwork to create a clean and accessible work area.
- Begin pouring: Carefully pour the mixed concrete into the formwork, starting from one end and working your way across the entire chimney cap area. Avoid pouring too quickly to prevent air pockets or voids from forming.
- Distribute the concrete: Use a trowel or a shovel to evenly spread the concrete within the formwork. Ensure that the concrete fills all corners and reaches the desired thickness.
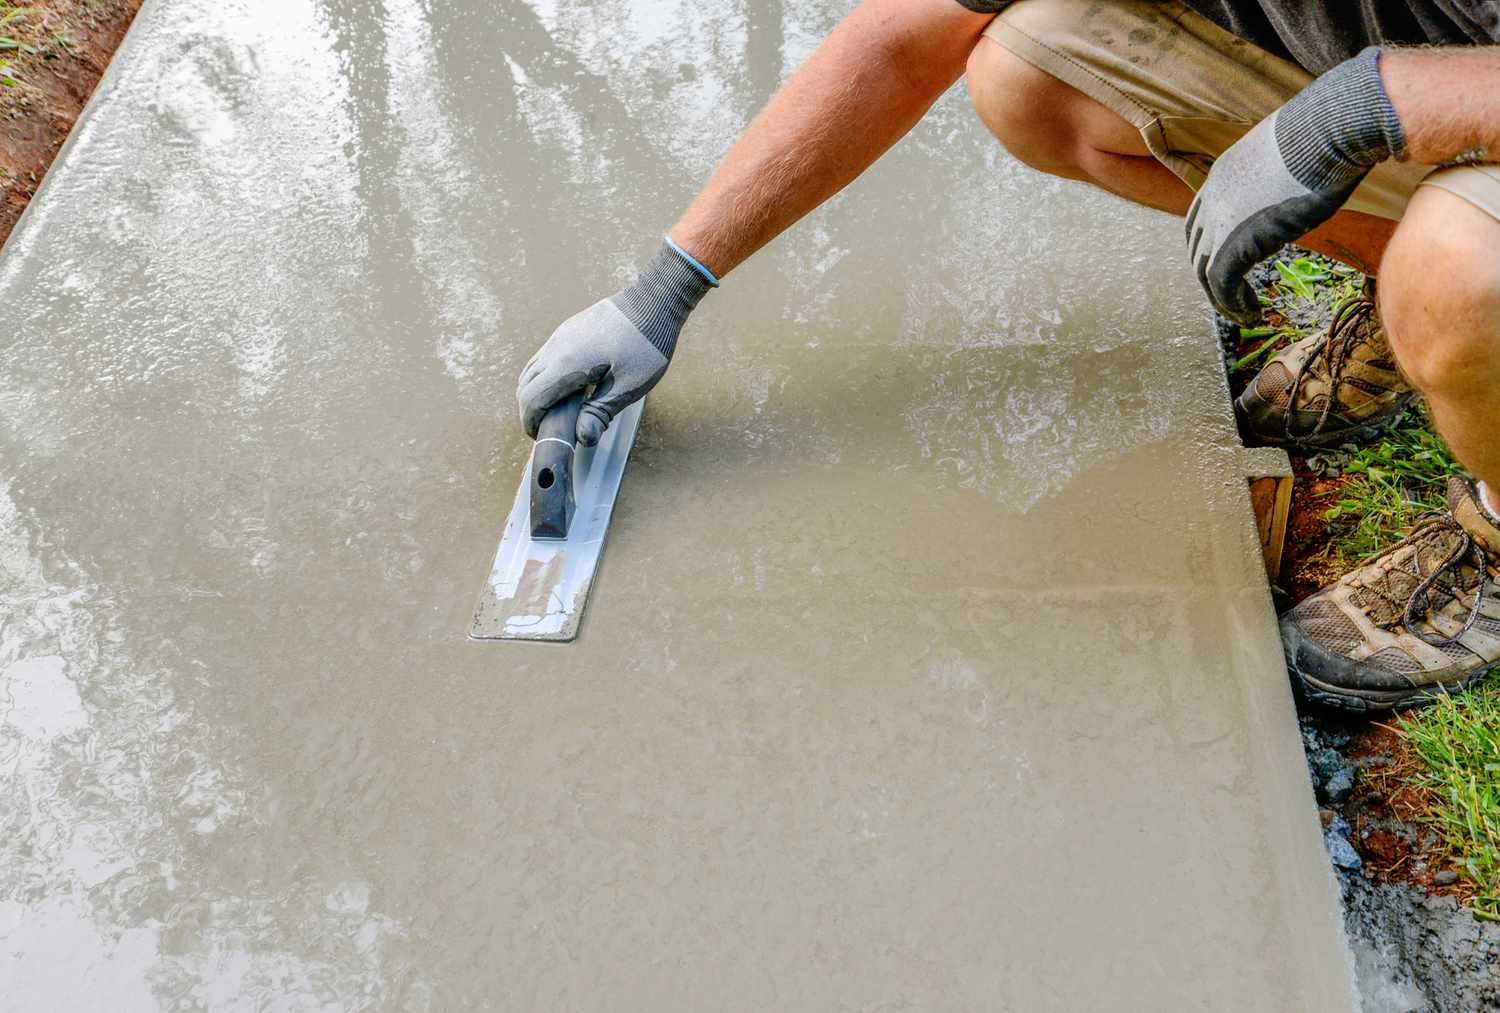
- Smooth the surface: Use a trowel or a float to smoothen the surface of the poured concrete, ensuring a flat and even finish.
- Remove excess air: To eliminate any trapped air bubbles, gently tap the sides of the formwork with a hammer or use a vibrating tool on the outside of the formwork.
Allow the poured concrete to cure according to the instructions provided by the concrete mix manufacturer. This typically takes several days, during which you should protect the chimney cap from any disturbances or external pressures.
Once the concrete is fully cured, you can move on to the final step to add the finishing touches to your concrete chimney cap.
Step 6: Finishing Touches
After the concrete chimney cap has cured, it’s time to add the finishing touches to complete the project. Follow these steps to ensure a polished and visually appealing chimney cap:
- Remove the formwork: Carefully remove the formwork from the concrete chimney cap. If necessary, use a pry bar or a rubber mallet to gently loosen any stuck sections of the formwork.
- Inspect for imperfections: Once the formwork is removed, inspect the surface of the chimney cap for any imperfections such as rough edges or uneven areas.
- Smooth rough edges: Use a sanding block or a concrete-finishing tool to gently smooth out any rough edges or uneven surfaces on the chimney cap.
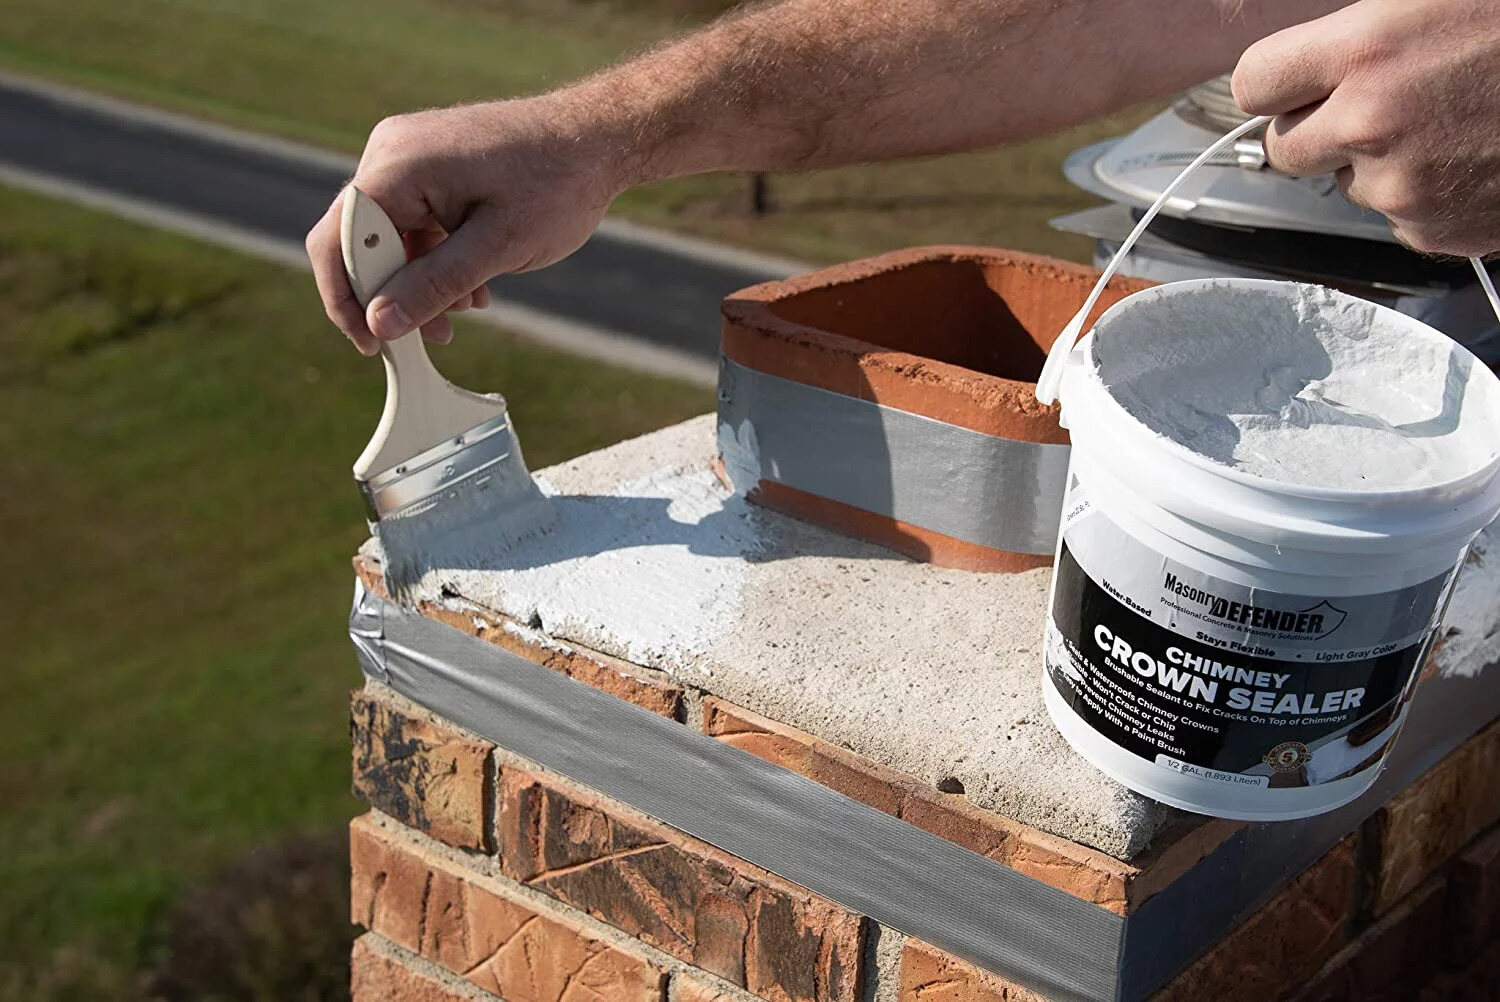
- Apply a sealant (optional): For added protection and longevity, you may choose to apply a sealant to the concrete surface. This will help prevent water penetration and protect the chimney cap from weathering.
- Clean up the work area: Dispose of any leftover materials, clean up the work area, and return any tools to their proper storage.
With the finishing touches complete, you have successfully poured and finished your concrete chimney cap. This sturdy and durable cap will protect your chimney from debris, animals, and water, ensuring its longevity and functionality.
Remember to regularly inspect and maintain your chimney cap to ensure it continues to serve its purpose effectively. Annual inspections and cleaning will help extend the lifespan of your chimney cap and maintain the safety and efficiency of your chimney system.
Congratulations on completing this project and enhancing the functionality and aesthetics of your chimney!
Conclusion
Pouring a concrete chimney cap is a rewarding and practical project that enhances the functionality and longevity of your chimney. By following the step-by-step process outlined in this article, you can confidently create a sturdy and durable chimney cap that protects your chimney from debris, animals, and water damage.
Remember to gather all the necessary materials, prepare the chimney flue, build the formwork, mix the concrete to the right consistency, and pour it carefully into the formwork. Once the concrete has cured, add the finishing touches and perform regular maintenance to ensure the chimney cap remains in optimal condition.
By investing time and effort into building a concrete chimney cap, you can enjoy the benefits of improved chimney functionality and protection for years to come. Additionally, a well-maintained chimney cap can contribute to the overall safety and efficiency of your home’s heating system.
Always prioritize safety when working on any construction project. Wear appropriate protective gear, follow manufacturer instructions, and take necessary precautions to prevent accidents or injuries.
Now that you have the knowledge and guidance on pouring a concrete chimney cap, it’s time to put it into action. Enjoy the satisfaction of completing a practical and valuable addition to your chimney system.
Happy building!
Frequently Asked Questions about How To Pour A Concrete Chimney Cap
Was this page helpful?
At Storables.com, we guarantee accurate and reliable information. Our content, validated by Expert Board Contributors, is crafted following stringent Editorial Policies. We're committed to providing you with well-researched, expert-backed insights for all your informational needs.


0 thoughts on “How To Pour A Concrete Chimney Cap”