
Articles
How To Cook Muffins In An Electric Skillet
Modified: August 19, 2024
Looking for articles on how to cook muffins in an electric skillet? Discover expert tips and delicious recipes for baking perfect muffins with our informative guides.
(Many of the links in this article redirect to a specific reviewed product. Your purchase of these products through affiliate links helps to generate commission for Storables.com, at no extra cost. Learn more)
Introduction
When it comes to cooking muffins, most people think of using an oven. However, did you know that you can also make delicious muffins using an electric skillet? This versatile appliance not only allows for even cooking but also provides greater control over the temperature, resulting in perfectly baked muffins every time.
In this article, we will guide you through the process of cooking muffins in an electric skillet. From choosing the right skillet to testing for doneness, we will cover everything you need to know to make mouthwatering muffins using this unconventional method. So, let’s dive in and discover how to turn your electric skillet into a muffin-making powerhouse.
Key Takeaways:
- Turn your electric skillet into a muffin-making powerhouse with the right size, temperature control, and non-stick surface for perfectly baked muffins every time.
- Enjoy the convenience and creativity of cooking muffins in an electric skillet, from preparing the batter to testing for doneness, and savoring the delicious results.
Read more: How To Cook On Electric Skillet
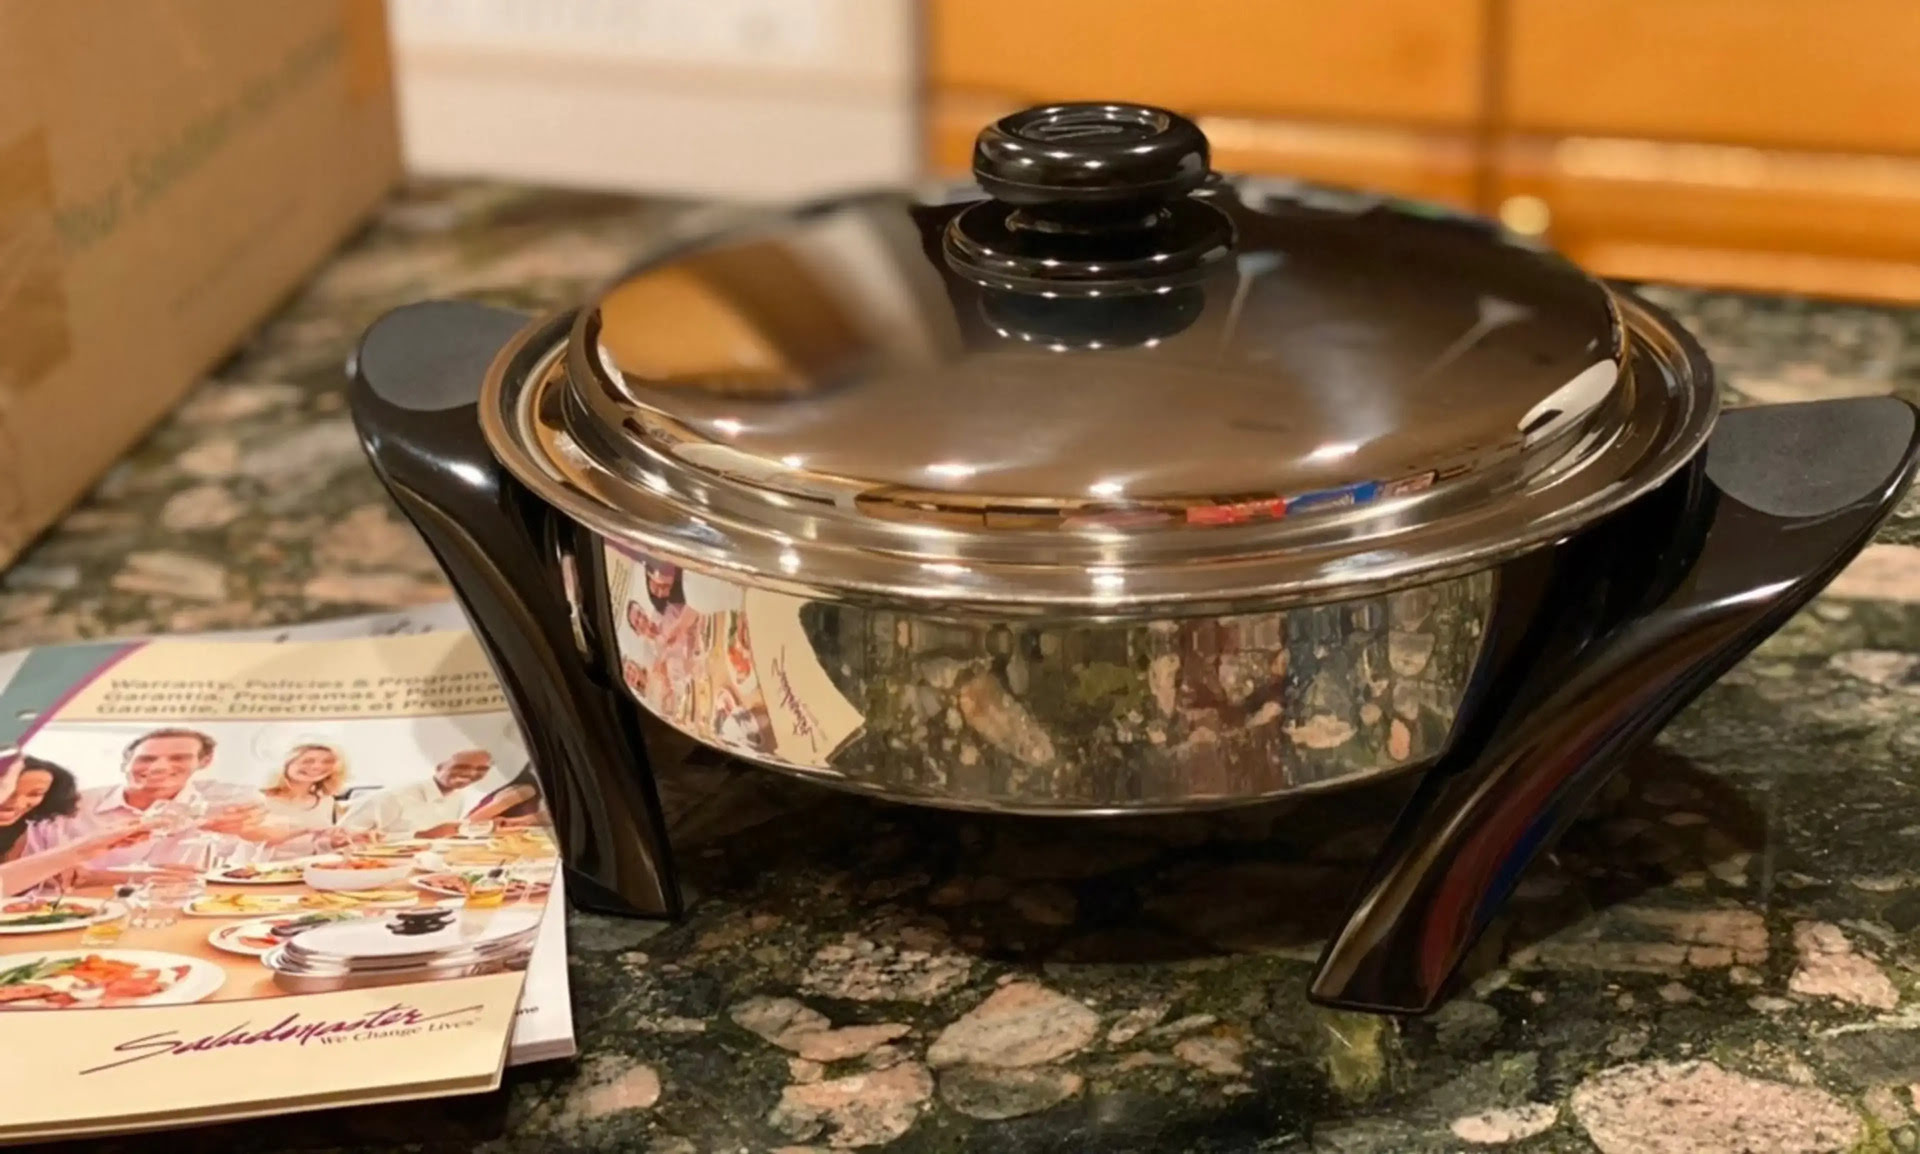
Choosing the Right Electric Skillet
Before you start cooking muffins in an electric skillet, it’s important to choose the right skillet for the job. Here are a few factors to consider when making your selection:
- Size: The size of the electric skillet will determine how many muffins you can cook at once. Consider the number of servings you typically make and choose a skillet that can accommodate that quantity.
- Temperature control: Look for an electric skillet with precise temperature control, allowing you to adjust the heat according to the muffin recipe’s requirements. This will ensure even baking and prevent burning.
- Non-stick surface: Opt for a skillet with a non-stick surface to prevent the muffins from sticking and make clean-up easier.
- Depth: A deeper skillet will prevent overflowing of the muffin batter and ensure that the muffins bake evenly.
- Durability: Choose a skillet made from high-quality materials that can withstand repeated use and heat.
Take these factors into account when selecting an electric skillet for your muffin-making adventures. Once you have chosen the perfect skillet, you are ready to move on to the next step: preparing the muffin batter.
Preparing the Muffin Batter
Now that you have your electric skillet ready, it’s time to prepare the muffin batter. Here’s how:
- Gather the ingredients: Check your muffin recipe for the specific ingredients required. Typically, you will need flour, sugar, baking powder, salt, liquid (such as milk or buttermilk), eggs, and any additional flavorings or mix-ins.
- Measure the ingredients: Use measuring cups and spoons to accurately measure each ingredient. Precise measurements will ensure the right balance of flavors and textures in your muffins.
- Combine the dry ingredients: In a mixing bowl, whisk together the flour, sugar, baking powder, and salt. This step helps to evenly distribute the leavening agents and sugar throughout the batter.
- Mix in the wet ingredients: In a separate bowl, whisk together the liquid ingredients (such as milk or buttermilk) and eggs. Gradually pour this mixture into the dry ingredients, stirring gently until just combined. Be careful not to overmix, as this can result in tough muffins.
- Add any flavorings or mix-ins: If your muffin recipe calls for any additional flavorings, such as vanilla extract or spices, or mix-ins, like chocolate chips or berries, fold them into the batter at this stage. Again, be gentle to avoid overmixing.
Once your muffin batter is ready, it’s time to heat up your electric skillet and get ready for the cooking process. In the next section, we’ll discuss how to properly heat the skillet to ensure even baking of the muffins.
Heating the Electric Skillet
Before you start cooking the muffins in the electric skillet, it’s essential to heat it properly. Follow these steps to ensure even heat distribution:
- Plug in the skillet: Start by plugging in the electric skillet and placing it on a flat, heat-resistant surface.
- Set the temperature: Most electric skillets have a temperature dial or digital control. Set the desired temperature as per your muffin recipe. Aim for a medium heat setting, around 325-350°F (163-177°C).
- Preheat the skillet: Allow the skillet to preheat for a few minutes, typically 5-10 minutes. During this time, the skillet will gradually reach the set temperature.
- Check the temperature: To ensure the skillet has reached the desired temperature, you can use an infrared thermometer or a heatproof kitchen thermometer. Simply hold the thermometer above the skillet’s surface to get an accurate reading.
Heating the electric skillet properly is crucial to achieving evenly cooked muffins. Once you’ve confirmed that the skillet has reached the desired temperature, it’s time to move on to greasing the skillet to prevent the muffins from sticking.
Greasing the Skillet
Greasing the skillet is an important step to ensure that your muffins release easily after they’re cooked. Follow these steps to grease the skillet properly:
- Select the right grease: Choose a grease that can withstand high heat. Options include vegetable oil, melted butter, or cooking spray. Avoid using low heat oils as they may burn.
- Apply the grease: Using a pastry brush or a paper towel, apply a thin layer of the chosen grease to the entire cooking surface of the electric skillet. Make sure to coat the sides as well.
- Remove the excess: After applying the grease, use a clean paper towel to carefully wipe away any excess that may have pooled or gathered in certain areas. You want a thin, even layer of grease.
Properly greasing the skillet will create a barrier between the muffin batter and the cooking surface, ensuring that your muffins easily slide out once they’re cooked. Now that the skillet is greased, it’s time to pour in the muffin batter and start cooking!
Read more: How To Cook Pasta In Electric Skillet
Pouring the Muffin Batter
With your greased skillet ready, it’s time to pour in the muffin batter. Follow these steps to ensure even distribution of the batter:
- Mix the batter: Give the muffin batter a gentle stir to ensure that any ingredients or mix-ins are well incorporated.
- Use a ladle or scoop: To make pouring the batter easier and more accurate, use a ladle or a scoop with a spout. This will help you control the amount of batter poured into each muffin well.
- Divide the batter: Distribute the batter evenly among the muffin wells in the electric skillet. Aim to fill each well about two-thirds full, leaving some space for the muffins to rise.
- Smooth the tops: If needed, use the back of a spoon or an offset spatula to gently smooth the tops of the batter in each well. This will help the muffins bake evenly and create a more aesthetically pleasing appearance.
Take your time to pour the batter into each well, ensuring that they are filled evenly. Remember that the muffins will rise during baking, so do not overfill the wells. Now that the muffin batter is in the skillet, it’s time to cook the muffins to perfection in the electric skillet. Let’s dive into the next section to find out how!
Preheat the electric skillet to 350°F and lightly grease the surface. Place the muffin batter in silicone muffin cups or directly on the skillet. Cook for 10-15 minutes, flipping halfway through, until the muffins are golden brown and cooked through. Enjoy!
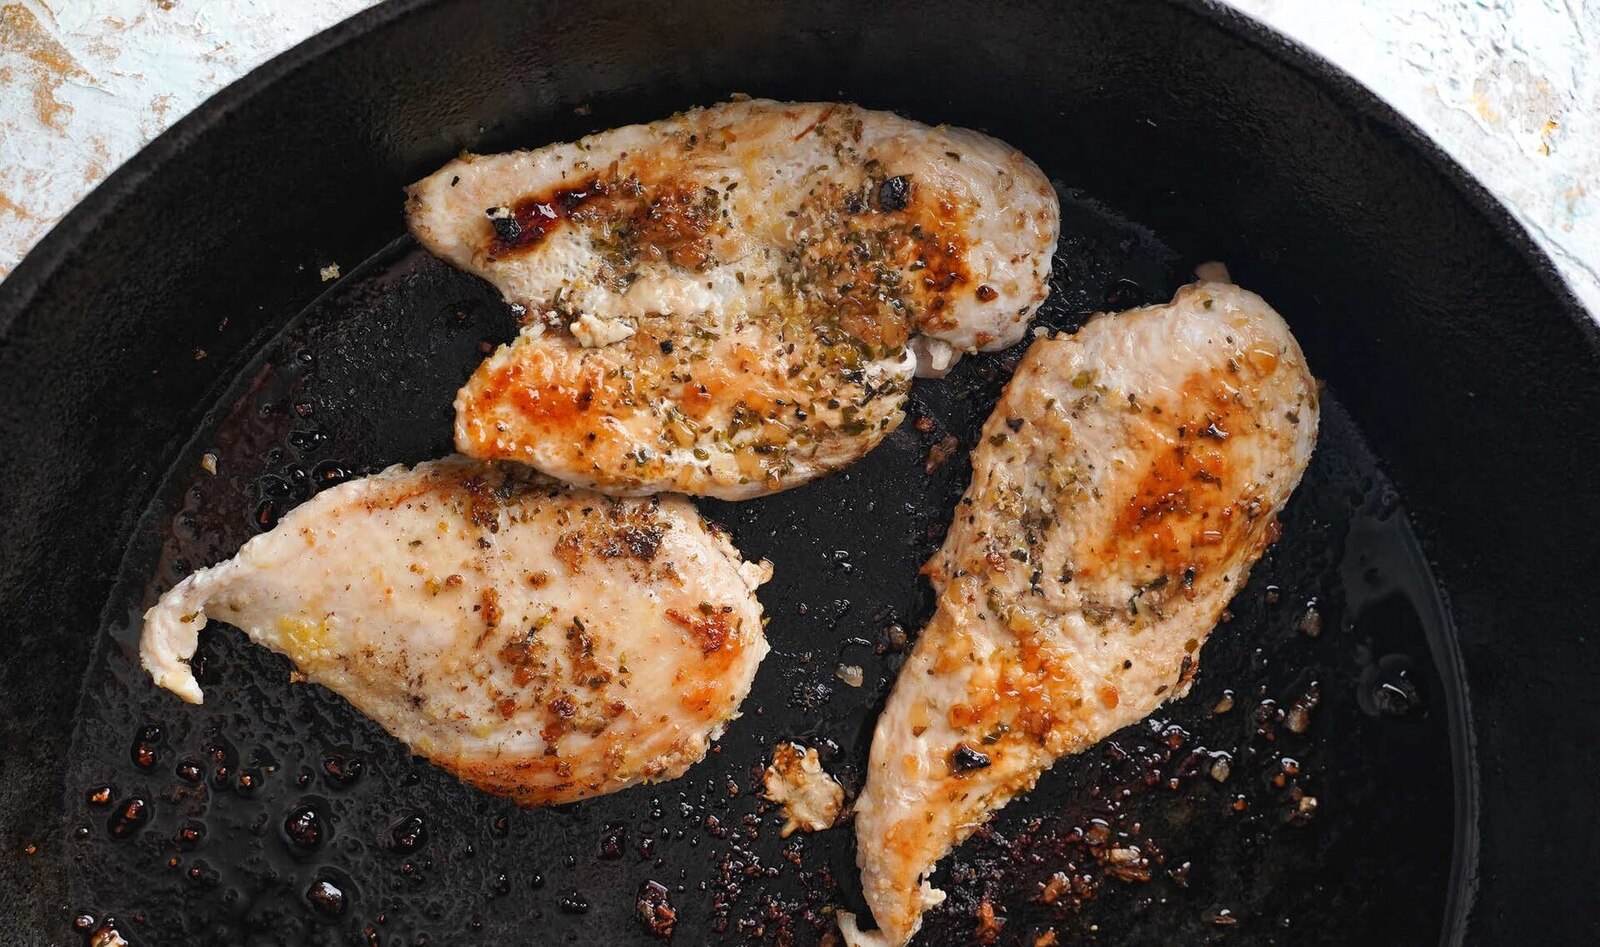
Cooking the Muffins in the Skillet
Now that the muffin batter is in the skillet, it’s time to cook the muffins to perfection. Follow these steps to ensure even cooking:
- Cover the skillet: Place the lid on the electric skillet to create a controlled cooking environment. This will help the muffins bake evenly and retain moisture.
- Set the timer: Depending on your muffin recipe, set a timer for the suggested baking time. This will give you an idea of when to start checking for doneness. Keep in mind that cooking time may vary depending on the size and thickness of the muffins.
- Avoid opening the lid: While it may be tempting to check on the progress of the muffins, try to resist the urge to open the lid frequently. Opening the lid can cause fluctuations in temperature and affect the overall baking process.
- Rotate the skillet: To ensure even cooking, rotate the skillet halfway through the baking process. This will help compensate for any uneven heat distribution within the skillet.
During the cooking process, you may notice steam escaping from the sides of the skillet. This is normal and helps to create a moist environment for the muffins. As the muffins cook, the aroma of freshly baked goodness will fill your kitchen, building anticipation for the final product.
Now that the muffins are baking away, it’s important to know how to test them for doneness. We’ll explore this in the next section.
Testing for Doneness
As the cooking time approaches the recommended baking time, it’s important to test the muffins for doneness to ensure they are cooked all the way through. Here are a few methods to determine if the muffins are ready:
- Insert a toothpick: Insert a toothpick into the center of a muffin. If it comes out clean or with a few moist crumbs clinging to it, the muffins are done. If the toothpick comes out with wet batter, they need more time to bake.
- Press lightly on the tops: Gently press the top of a muffin with your finger. If it springs back and feels firm, the muffins are cooked. If it leaves an indentation or feels mushy, they need more time in the skillet.
- Check the color: The tops of the muffins should be golden brown in color. If they look pale or undercooked, they need more time in the skillet.
Keep in mind that the cooking time can vary depending on the size and thickness of the muffins, as well as the specific recipe. It’s always better to slightly undercook the muffins rather than overcook them, as they will continue to cook slightly even after being removed from the skillet.
Once you have determined that the muffins are cooked to perfection, it’s time to remove them from the skillet and get ready to enjoy your delightful creations. Let’s move on to the next section to learn how to do that.
Removing the Muffins from the Skillet
Once your muffins are cooked and have passed the doneness test, it’s time to remove them from the electric skillet. Follow these steps to safely and easily remove the muffins:
- Turn off the heat: Before handling the skillet, make sure to turn off the heat source and unplug the skillet to prevent any accidents.
- Use oven mitts or heat-resistant gloves: The skillet will be hot, so protect your hands by wearing oven mitts or heat-resistant gloves.
- Use a spatula or tongs: Gently slide a spatula or use tongs to lift and remove the muffins from the skillet. Be careful not to break or damage the muffins as you lift them out.
- Place muffins on a wire rack: Transfer the muffins to a wire rack to cool. This will help prevent them from becoming soggy on the bottom as they cool down.
Allow the muffins to cool completely on the wire rack before serving. This will give them time to set and firm up, making them easier to handle and enhancing their texture. Once cooled, it’s time to indulge in the deliciousness of your homemade muffins.
Now that you know how to remove the muffins from the skillet, it’s time to serve and enjoy them. We’ll explore some serving suggestions in the next section.
Read more: What Is An Electric Skillet
Serving and Enjoying the Muffins
Now that your muffins are cooled and ready to be enjoyed, it’s time to think about serving them. Here are some ideas to enhance your muffin experience:
- Pair with a hot beverage: Serve your muffins alongside a steaming cup of coffee, tea, or hot chocolate for the perfect breakfast or snack combination.
- Add a spread or topping: Enhance the flavor of your muffins by adding a dollop of butter, a drizzle of honey, or a spoonful of your favorite jam or preserves.
- Serve with fresh fruit: Accompany your muffins with a side of fresh fruit, such as sliced berries or a fruit salad, to add a refreshing and healthy element to your meal.
- Get creative with mix-ins: Experiment with different mix-ins to add variety and excitement to your muffins. Consider adding chocolate chips, nuts, dried fruits, or even shredded coconut for some extra texture and flavor.
- Try different flavors: Don’t be afraid to explore different muffin flavors, such as blueberry, banana, apple cinnamon, or lemon poppy seed, to cater to your personal preferences and keep things interesting.
- Share with others: Muffins are great for sharing! Wrap some muffins in individual packages or place them on a pretty serving platter to share with friends, family, or coworkers.
Whether you enjoy your muffins warm or at room temperature, savor each bite and take pleasure in the homemade goodness. You’ve successfully cooked muffins using an electric skillet, and now it’s time to indulge in the fruits of your labor.
After enjoying your delicious muffins, don’t forget about cleaning the electric skillet. We’ll cover some tips in the next section on how to keep your skillet in top shape.
Cleaning the Electric Skillet
After you’ve finished enjoying your delicious muffins, it’s important to properly clean your electric skillet to maintain its longevity and functionality. Follow these steps to clean your skillet:
- Unplug and cool down: Before cleaning, make sure the electric skillet is unplugged and has cooled down completely to avoid any accidents.
- Remove the power cord if detachable: If your electric skillet has a detachable power cord, remove it before cleaning.
- Let it soak: Fill the skillet with warm soapy water and let it soak for a few minutes. This will help loosen any stubborn food particles or residue.
- Scrub gently: Use a non-abrasive sponge or cloth to scrub the cooking surface of the skillet. Avoid using harsh scrub brushes or scouring pads that can damage the non-stick coating.
- Rinse thoroughly: Rinse the skillet with clean water to remove any leftover soap or residue.
- Dry completely: Once cleaned, dry the skillet thoroughly with a clean towel or air-dry it before storing. This prevents moisture buildup and potential damage.
- Remove stubborn stains or residue: If you encounter stubborn stains or residue that won’t come off with regular cleaning, try using a mixture of baking soda and water or a non-abrasive cleaner specifically designed for non-stick surfaces. Follow the directions on the cleaner and rinse thoroughly afterward.
- Store properly: Once the skillet is dry, store it in a clean and dry place, preferably with the lid off to allow for proper ventilation.
Regular cleaning and proper maintenance of your electric skillet will ensure its longevity and optimal performance. By following these steps, you’ll be able to enjoy many more delicious muffins and recipes using your trusty skillet.
Now that you know how to clean your electric skillet, let’s summarize everything we’ve covered in this article.
Conclusion
In conclusion, cooking muffins in an electric skillet can be a fun and convenient alternative to using an oven. With the right skillet, a delicious muffin batter, and proper cooking techniques, you can enjoy perfectly baked muffins in no time.
We started by discussing the importance of choosing the right electric skillet based on size, temperature control, non-stick surface, depth, and durability. Then, we walked through the steps of preparing the muffin batter and properly heating the electric skillet. Greasing the skillet ensures easy removal of the muffins once they are cooked.
We covered the process of pouring the muffin batter into the skillet, cooking the muffins with a covered skillet, and testing for doneness using various methods. Removing the muffins from the skillet and allowing them to cool on a wire rack ensures the best texture and flavor.
When it comes to serving and enjoying your muffins, you can get creative with toppings, spreads, and pairing them with hot beverages or fresh fruit. Cleaning the electric skillet is essential for maintaining its condition and functionality, and following the proper steps will ensure its longevity.
By following these steps and techniques, you can confidently cook muffins in your electric skillet and enjoy homemade goodness whenever you crave it. Whether you’re baking for yourself, your family, or friends, the versatility of an electric skillet opens up a whole world of muffin possibilities.
So, next time you want to satisfy your muffin cravings, give your electric skillet a try. Get creative with flavors, toppings, and mix-ins, and enjoy the convenience and deliciousness that cooking muffins in an electric skillet brings.
Happy cooking and happy muffin-making!
Frequently Asked Questions about How To Cook Muffins In An Electric Skillet
Was this page helpful?
At Storables.com, we guarantee accurate and reliable information. Our content, validated by Expert Board Contributors, is crafted following stringent Editorial Policies. We're committed to providing you with well-researched, expert-backed insights for all your informational needs.


0 thoughts on “How To Cook Muffins In An Electric Skillet”