
Articles
How To Store Okra Seeds
Modified: September 1, 2024
Learn how to properly store okra seeds with this informative article. Discover tips and techniques to ensure your seeds remain viable for future planting.
(Many of the links in this article redirect to a specific reviewed product. Your purchase of these products through affiliate links helps to generate commission for Storables.com, at no extra cost. Learn more)
Introduction
Welcome to our guide on storing okra seeds! Whether you are a seasoned gardener or just starting out, understanding how to properly store and preserve your okra seeds is essential for a successful harvest season after season. Okra seeds are the key to growing delicious okra plants with bountiful yields, and by following the right techniques, you can ensure their viability for years to come.
Okra, also known as lady’s finger, is a warm-season vegetable that is popular in many cuisines around the world. It is not only valued for its unique flavor and texture but also for its numerous health benefits. Growing your own okra can be a rewarding experience, and storing the seeds properly is an important step in maintaining the quality and viability of your harvest.
In this article, we will walk you through the process of storing okra seeds. We will cover everything from harvesting the seeds to choosing the right storage container and maintaining the seed viability. By following these guidelines, you can ensure that your okra seeds remain healthy and viable, ready to be planted when the time is right.
So, let’s dive in and discover the secrets of successfully storing okra seeds!
Key Takeaways:
- Properly storing okra seeds involves harvesting at the right time, drying thoroughly, and choosing the right storage container to maintain viability for successful future plantings.
- Regular monitoring, germination testing, and maintaining optimal storage conditions are key to extending the viability of stored okra seeds and ensuring successful future harvests.
Read more: How To Plant Okra From Seeds
Understanding Okra Seeds
Before we delve into the intricacies of storing okra seeds, it’s important to have a basic understanding of what they are. Okra seeds are the small, oval-shaped structures found inside the woody pods of the okra plant. These seeds are responsible for producing new okra plants in the next growing season.
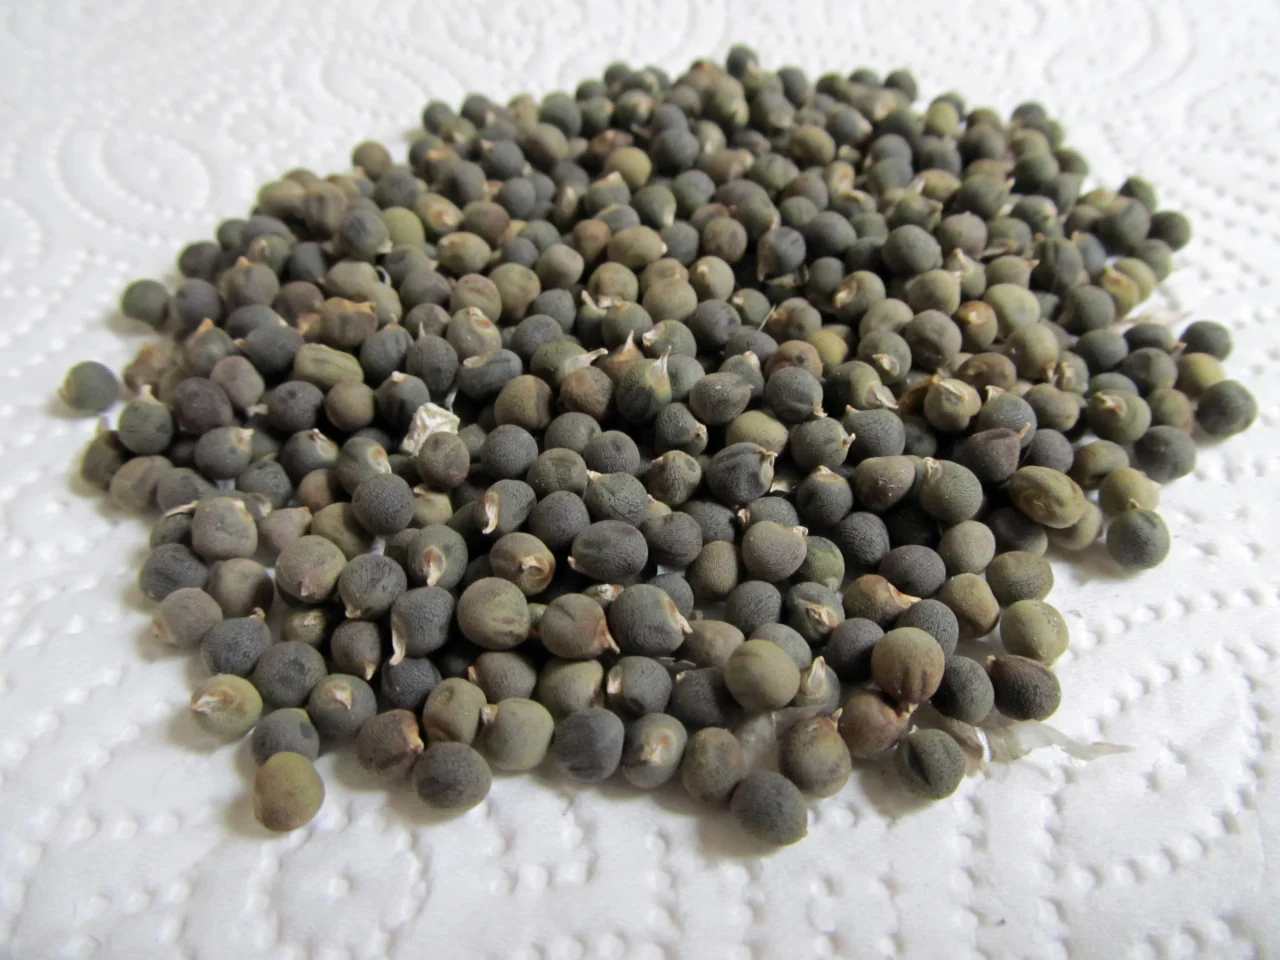
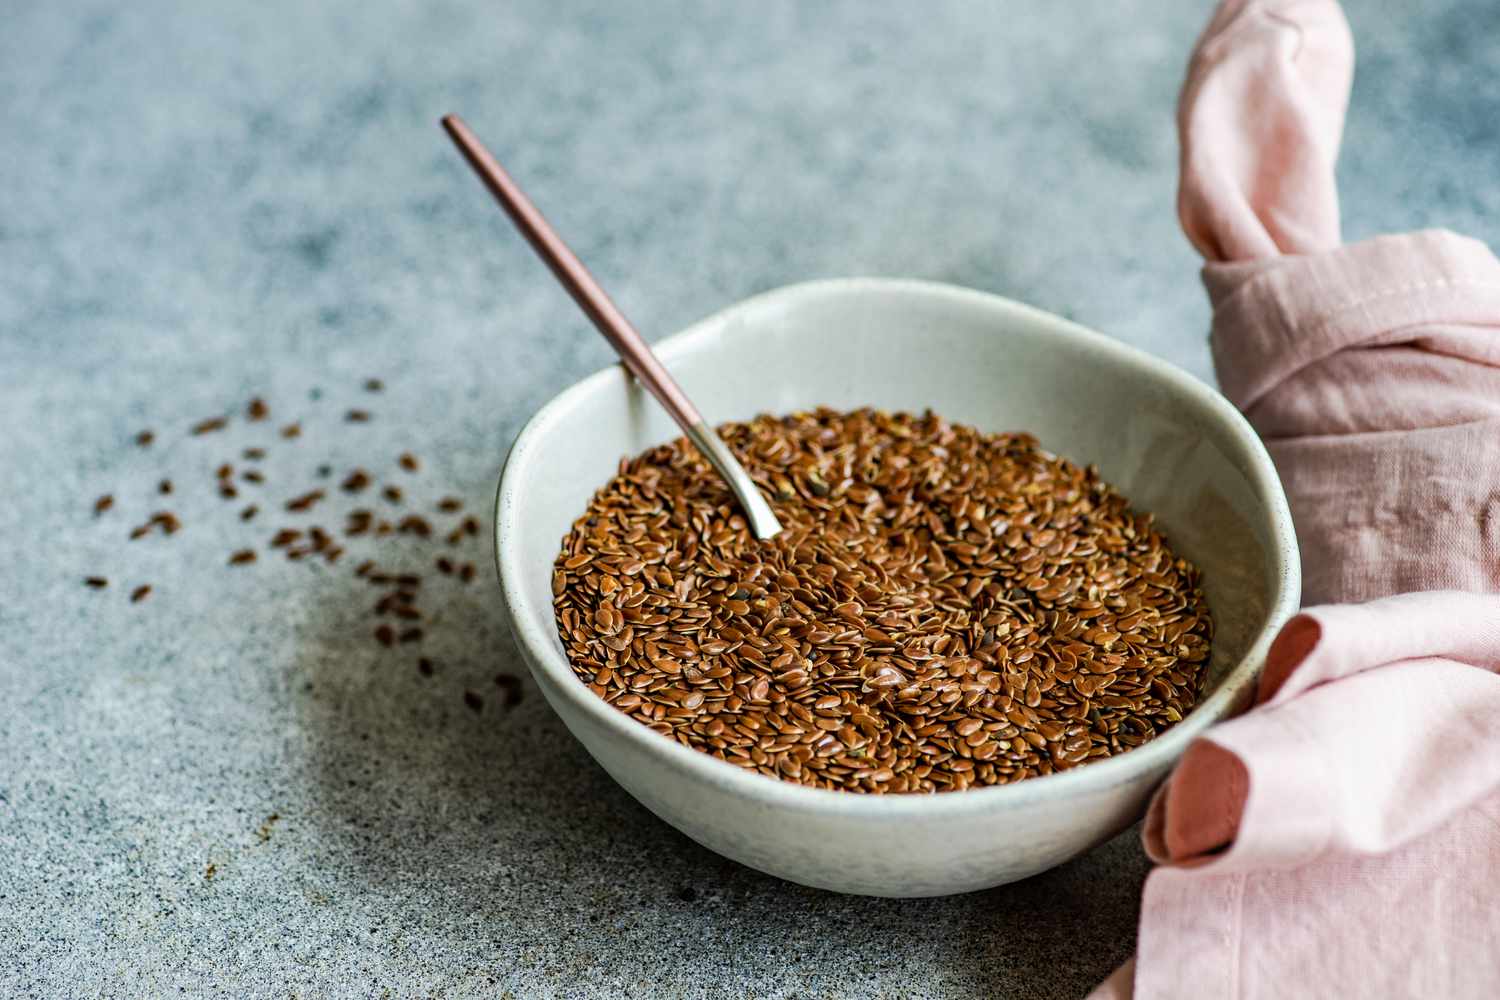
Okra seeds are typically brown or black in color and have a hard outer shell. They contain all the genetic information needed to grow an okra plant, including its characteristics and traits. When planted in the ground or in a pot, these seeds germinate and develop into seedlings, eventually growing into mature okra plants that produce pods.
The quality and viability of okra seeds are crucial for successful germination and healthy plant growth. It’s important to harvest and store the seeds properly to ensure their longevity and the continuation of a productive okra crop.
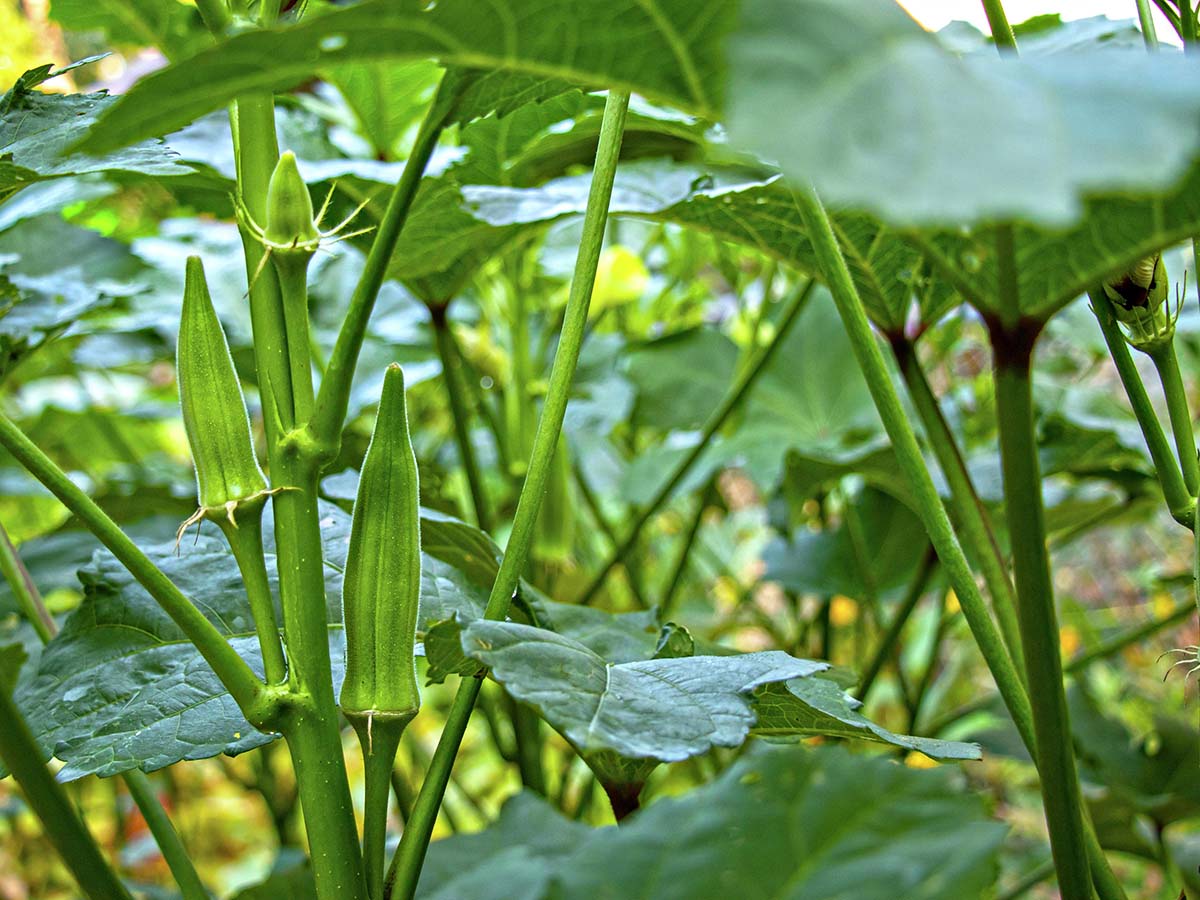
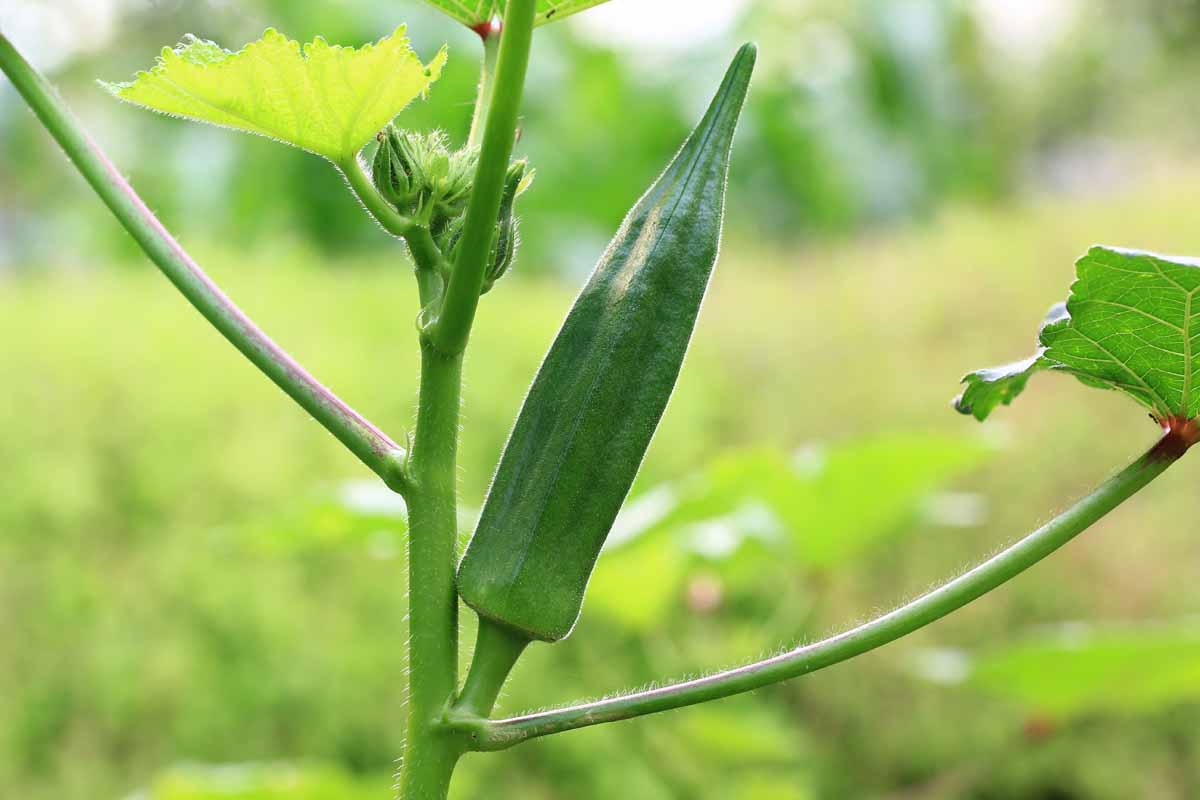
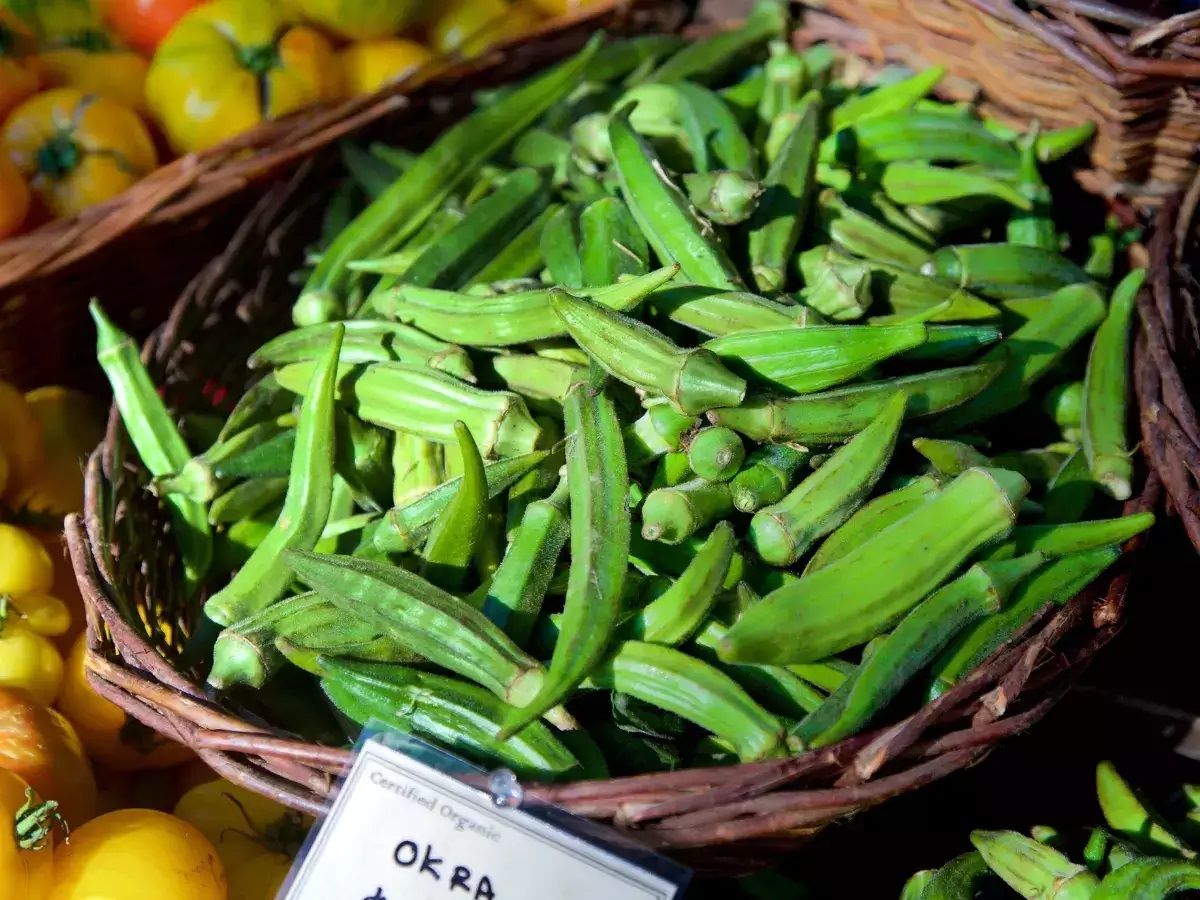
When it comes to collecting okra seeds, timing is essential. You want to allow the pod to fully mature on the plant before removing it. The size of the pod will increase, and the color will change from green to a pale yellow or brownish hue. The pod should feel dry and brittle to the touch before harvesting. If the pod is still soft or pliable, the seeds inside may not be fully developed.
Once you have harvested the mature okra pods, it’s time to extract the seeds. Gently open the pod and you will find the seeds nestled inside. The number of seeds per pod may vary, but you can expect an average of 10-12 seeds per pod.
Understanding the life cycle of okra seeds is crucial for successful storage. Okra seeds have a dormant period during which they remain inactive until conditions are favorable for germination. This dormancy helps protect the seeds from germinating prematurely and ensures that they remain viable until the next growing season.
Now that we have a good understanding of okra seeds, let’s move on to the next step – harvesting the seeds and preparing them for storage.
Harvesting Okra Seeds
Harvesting okra seeds is an important step in the process of storing them for future planting. To ensure the best quality seeds, it’s crucial to harvest them at the right time and handle them with care.
When it comes to harvesting okra seeds, timing is key. You want to wait until the pods are fully mature before collecting the seeds. Mature okra pods are dry, hard, and have turned a pale yellow or brown color. They should feel brittle to the touch.
Begin by inspecting your okra plants regularly. Look for pods that have reached their full size and have started to change color. Avoid harvesting pods that are still small or green, as the seeds inside may not be fully developed.
Once you have identified mature pods, carefully remove them from the plant. Use garden shears or a sharp knife to cut the pod from the stem, ensuring that you leave a small portion of the stem intact. This helps maintain the integrity of the pod and prevents damage to the seeds inside.
Gently handle the pods to avoid crushing or damaging them. Place the harvested pods in a clean, dry container. It’s a good idea to label the container with the variety and the date of harvesting for future reference.
Once you have collected all the mature pods, it’s time to extract the seeds. Begin by gently opening each pod. You will find the seeds nestled inside, arranged in rows. Carefully separate the seeds from the pod, taking care not to damage or crush them.
After extracting the seeds from the pods, it’s important to remove any remaining plant material or debris. You can do this by gently blowing on the seeds or using a fine sieve to sift through them. This helps ensure that only clean and viable seeds are stored.
Now that you have harvested and extracted the okra seeds, it’s time to prepare them for storage. In the next section, we will discuss the proper techniques for preparing okra seeds before storing them.
Preparing Okra Seeds for Storage
Properly preparing okra seeds for storage is crucial to maintain their viability and ensure successful germination in the future. By following a few simple steps, you can ensure that your okra seeds remain healthy and ready for planting when the time comes.
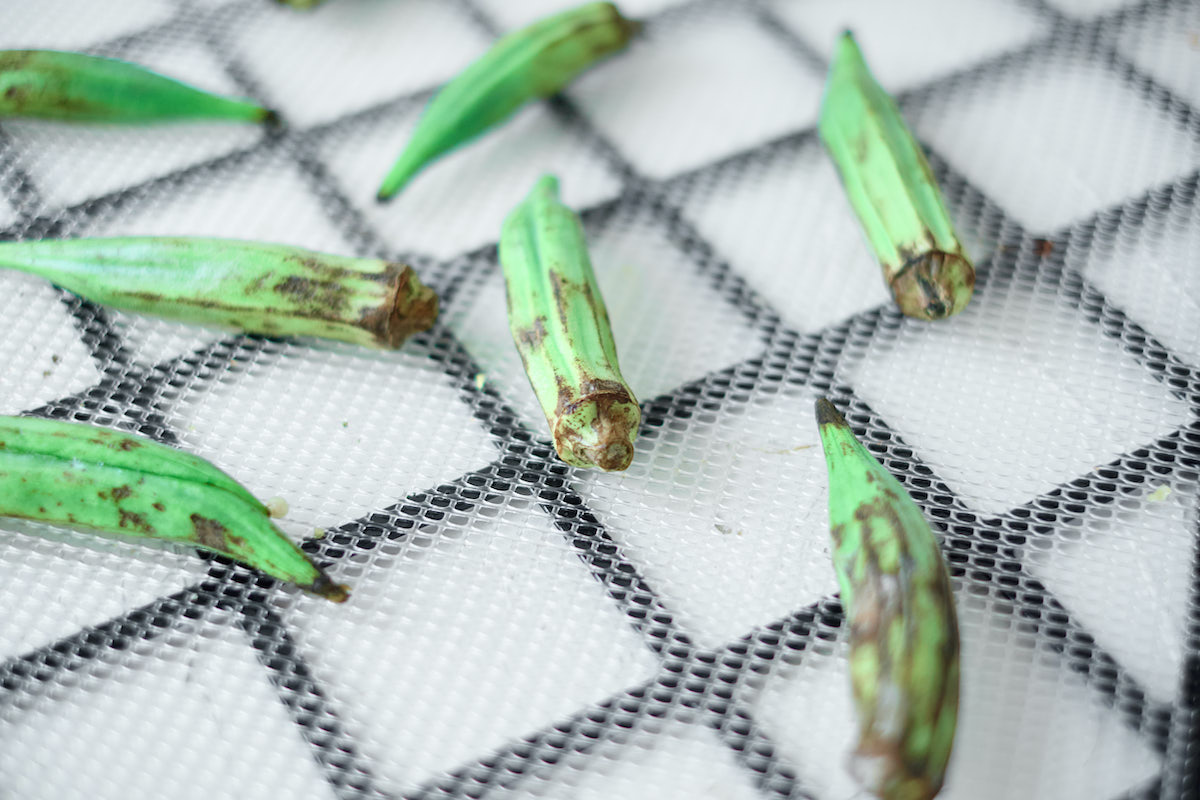
The first step in preparing okra seeds for storage is to allow them to fully dry. After harvesting the seeds from the pods, spread them out in a single layer on a clean, dry surface. Avoid using paper towels or any other material that may absorb moisture. Instead, choose a surface that allows for good airflow.
Leave the seeds to air dry naturally for about two to three weeks. During this time, the seeds will lose any remaining moisture and become fully dried. Drying the seeds thoroughly is important because moisture can lead to the growth of mold or fungi, which can damage or destroy the seeds.
Once the seeds are completely dry, you can perform a simple test to check their viability. Take a few seeds and place them in a glass of water. If the seeds sink to the bottom, they are most likely viable. If they float to the top, they may not be viable and should be discarded.
After conducting the viability test, remove any non-viable seeds and discard them. This ensures that only viable seeds are stored, increasing the chances of successful germination in the future.
If you plan to store your okra seeds for an extended period, consider treating them with a fungicide. This helps protect the seeds against fungal infections and increases their chances of remaining viable. Follow the instructions provided with the fungicide product carefully and apply it to the seeds as directed.
Once you have dried and tested the seeds, it’s time to store them properly to maintain their quality and viability. In the next section, we will discuss the best storage containers and conditions for okra seeds.
Choosing the Right Storage Container
Choosing the right storage container is essential for preserving the quality and viability of your okra seeds. The container you use should provide protection against moisture, pests, and excessive temperature fluctuations. Here are a few factors to consider when selecting a storage container for your okra seeds:
Airtight: Opt for a container that is airtight or can be sealed tightly to prevent moisture from entering. Moisture can lead to mold growth and decrease the viability of the seeds. Look for containers with secure lids or consider using airtight plastic bags, glass jars with rubber seals, or metal tins with tight-fitting lids.
Durable: Choose a container that is durable and resistant to breakage or damage. Avoid flimsy containers that may crack or allow pests to enter. Opt for sturdy materials like glass, plastic, or metal that can withstand handling and provide adequate protection for the seeds.
Opaque: Opt for a container that is opaque or made from a material that blocks out light. Exposure to light can lead to seed deterioration over time. Light-proof containers help preserve the viability and quality of the seeds. If you choose a transparent container, store it in a dark and cool area to minimize light exposure.
Size: Consider the size of your seed collection when choosing a storage container. Ensure that it is large enough to accommodate all the seeds with some extra space for airflow. However, avoid using containers that are too large, as excess air can lead to moisture buildup. A medium-sized container with a little extra room is usually sufficient for storing okra seeds.
Labeling: It’s essential to label your storage container with the variety of okra seeds, the date of storage, and any other relevant information. This will help you keep track of the seeds and ensure that you use them in a timely manner.
When it comes to storing okra seeds, remember that maintaining a cool, dry, and dark environment is key. In the next section, we will discuss the ideal storage conditions for okra seeds to maximize their longevity and viability.
Store okra seeds in a cool, dry place in an airtight container, such as a glass jar or a sealed plastic bag. Make sure to label the container with the date of harvest. This will help maintain the seeds’ viability for future planting.
Read more: How To Sow Okra Seeds
Storing Okra Seeds in a Cool and Dry Place
To maximize the longevity and viability of your okra seeds, it is crucial to store them in a cool and dry place. Proper storage conditions help prevent the seeds from deteriorating and ensure that they remain healthy and viable for future planting. Here are some guidelines for storing okra seeds:
Temperature: Okra seeds should be stored in a cool and consistent temperature environment. Aim for a temperature range between 35°F (2°C) and 50°F (10°C). Avoid storing the seeds in areas prone to temperature fluctuations, such as attics or basements, as this can negatively impact their viability.
Humidity: Be mindful of the humidity levels when storing okra seeds. Excessive moisture can lead to mold growth and seed damage. Aim for a humidity level of around 35% to 50%. If the environment is too humid, consider using moisture-absorbing packets or desiccant packs in the storage container to help maintain dry conditions.
Avoid Sunlight: Direct sunlight can speed up seed deterioration, so it is important to store okra seeds in a dark or opaque container. Keep the container away from windows or areas that receive direct sunlight. If you are using a transparent container, store it in a dark place or cover it with a cloth or paper bag to block out light.
Pest Control: Take measures to prevent pests from accessing your stored okra seeds. Ensure that the storage container is properly sealed and free from any gaps or openings that can allow insects or rodents to enter. Adding a few bay leaves or dried chili peppers to the container can act as natural deterrents to pests.
Regular Monitoring: It is important to periodically check on your stored okra seeds. Inspect them for any signs of mold, pests, or moisture. If you notice any issues, take immediate action to address the problem. Remove any damaged or moldy seeds and adjust the storage conditions if necessary.
By following these storage guidelines, you can help ensure the longevity and viability of your okra seeds. Properly stored seeds can remain viable for at least two to three years, allowing you to enjoy successful plantings in the future.
In the next section, we will discuss how to monitor and maintain the viability of stored okra seeds.
Monitoring and Maintaining Seed Viability
Monitoring and maintaining the viability of your stored okra seeds is essential for successful future plantings. Over time, seed viability can naturally decrease, but by taking proper precautions, you can extend their shelf life and increase the chances of successful germination. Here are some tips for monitoring and maintaining seed viability:
Regular Inspections: Periodically check on your stored okra seeds to ensure they are still in good condition. Look for any signs of mold, discoloration, or insect infestation. Remove any damaged or compromised seeds immediately to prevent them from affecting the rest of the batch.
Germination Testing: Conduct germination tests to assess the viability of your stored okra seeds. Take a small sample of seeds and place them in a damp paper towel or seedling trays filled with seed-starting mix. Keep them in a warm and well-lit area. Monitor the seeds for germination, noting the percentage of seeds that successfully sprout. If the germination rate drops significantly, it’s a sign that the stored seeds may be losing viability.
Seed Viability Chart: Keep a record of the germination rates and viability of your okra seeds. Create a seed viability chart where you can track the results of your germination tests over time. This will help you determine the lifespan of your stored seeds and plan ahead for future seed-saving activities or fresh seed purchases.
Seed Saving Cycle: To ensure a constant supply of viable okra seeds, practice a seed-saving cycle. Save seeds from healthy and vigorous plants, as they are more likely to produce high-quality seeds. Rotate your seed stock every few years by saving seeds from the most recent harvest and gradually phasing out older seeds.
Optimal Storage Conditions: Regularly monitor the storage conditions of your okra seeds. Check the temperature, humidity levels, and light exposure to ensure they remain within the recommended range. Make any necessary adjustments to maintain the best conditions for seed viability.
Seed Packaging: Consider using smaller, airtight containers for seed storage. Dividing your seeds into smaller batches helps minimize exposure to air and moisture when accessing specific amounts. This reduces the risk of contaminating the entire seed stock if one batch becomes compromised.
By following these monitoring techniques and maintaining optimal storage conditions, you can extend the viability of your okra seeds and set yourself up for successful future plantings.
In the next section, we will explore how to use okra seeds for future planting and what steps to follow when sowing them.
Using Okra Seeds for Future Planting
Now that you have successfully stored and maintained the viability of your okra seeds, it’s time to put them to use for future plantings. Using okra seeds is a straightforward process, and with a little care and attention, you can grow healthy and productive okra plants. Here are some steps to follow when using okra seeds for future planting:
Seed Selection: Start by selecting the best seeds from your stored stock. Choose seeds that are plump, firm, and show no signs of damage or mold. By selecting the healthiest seeds, you increase the chances of successful germination and vigorous plant growth.
Pre-Planting Preparation: Before sowing the okra seeds, prepare the planting area. Select a well-draining site that receives full sun, as okra thrives in warm and sunny conditions. Loosen the soil and remove any weeds, rocks, or debris. Consider enriching the soil with compost or organic matter to provide the plants with essential nutrients.
Sowing the Seeds: Plant the okra seeds directly into the prepared soil. Make a small hole about 1 inch (2.5 cm) deep and place a seed inside. Cover it with soil and gently press it down. Space the seeds at least 12 to 18 inches (30 to 45 cm) apart to allow room for the plants to grow. Water the soil gently after planting to ensure good seed-to-soil contact.
Watering: Keep the soil consistently moist but not overly saturated during the germination and early growth stages. Once the okra plants have established themselves, they are relatively drought-tolerant and require less frequent watering. Aim to provide about 1 inch (2.5 cm) of water per week, either through rainfall or irrigation.
Thinning and Transplanting: If multiple seeds sprout in the same spot, thin them out once they have grown a few inches tall. Choose the strongest seedling and remove the others to provide ample space for the selected plant to grow. If you started your seeds indoors or in seedling trays, transplant the seedlings into the garden once they are around 4 to 6 inches (10 to 15 cm) tall.
Care and Maintenance: Throughout the growing season, provide proper care for your okra plants. Keep the area weed-free by regular cultivation or mulching. Apply organic fertilizer or compost as needed to supply nutrients to the plants. Monitor for pests and diseases, and take appropriate measures to control and prevent any issues that may arise.
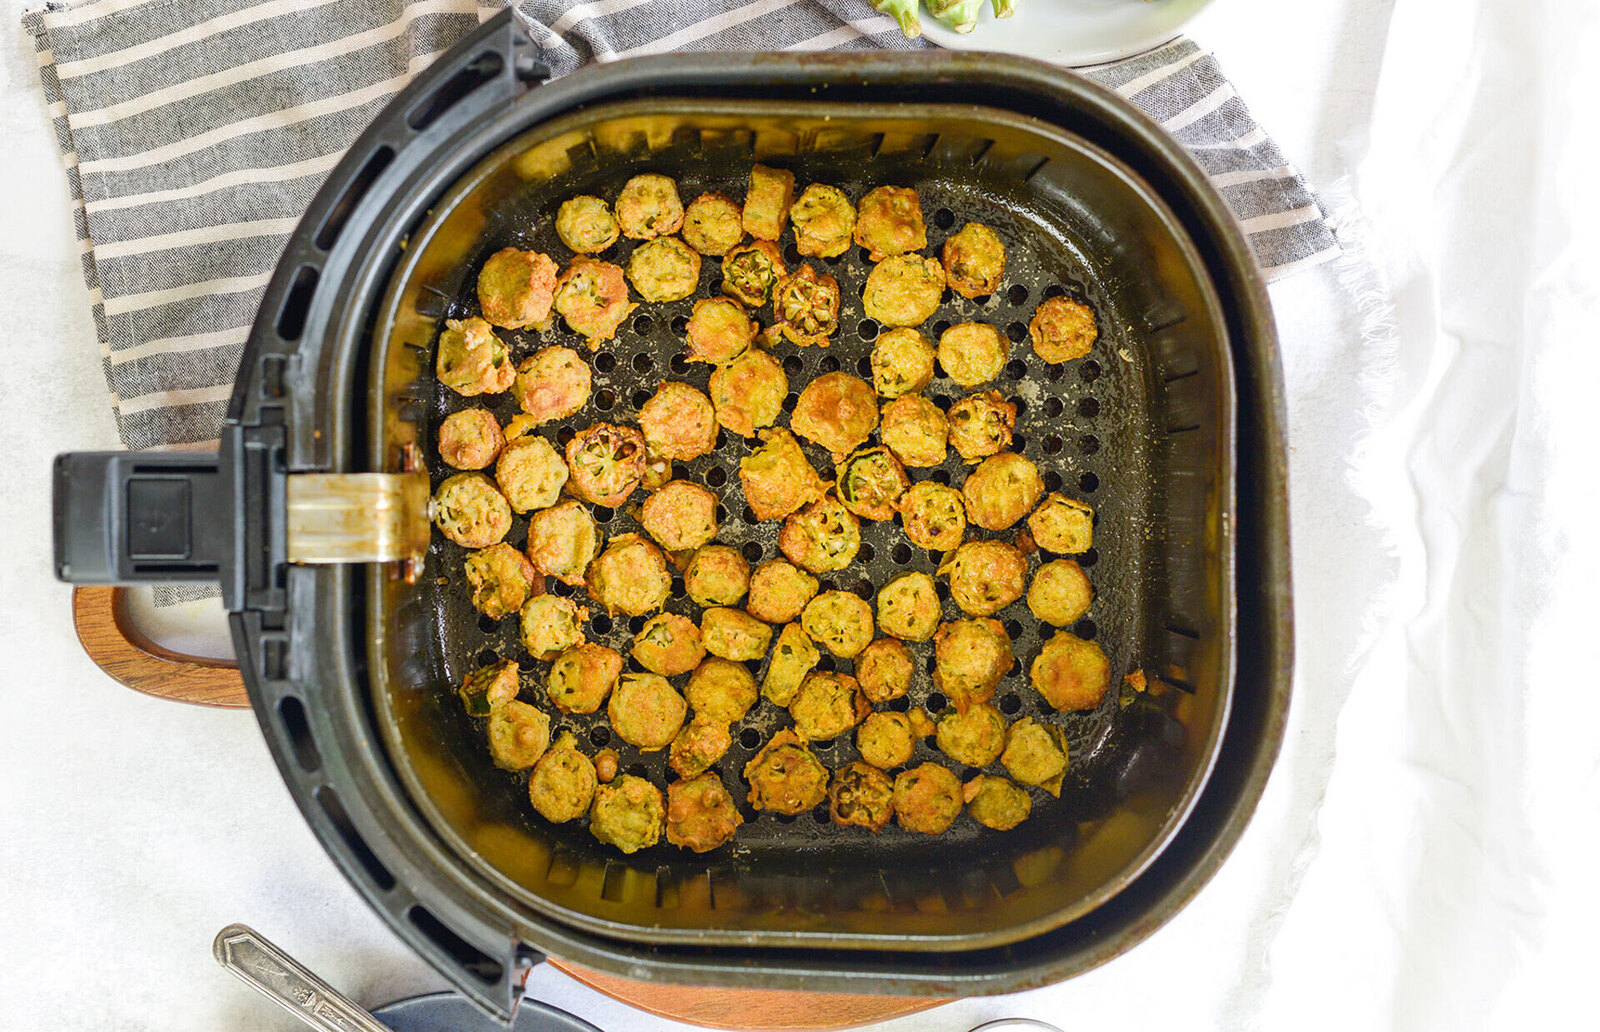
Harvesting: As the okra plants mature, you can start harvesting the pods. Harvest them once they reach a size of about 3 to 4 inches (7.5 to 10 cm) in length. Use a sharp knife or garden shears to cut the pods from the plant, being careful not to damage the stem or neighboring pods. Harvest regularly to encourage continuous pod production.
By following these steps, you can successfully utilize your stored okra seeds for future plantings. With proper care and attention to the growing process, you can enjoy a bountiful harvest of fresh and delicious okra.
Now that you have a complete understanding of storing and using okra seeds, you are ready to embark on your journey of growing this wonderful vegetable in your garden!
Remember to enjoy the process and be patient, as gardening is a rewarding and fulfilling experience.
Conclusion
Congratulations! You have reached the end of our comprehensive guide on storing okra seeds. By following the techniques and guidelines outlined in this article, you are now equipped with the knowledge and tools to successfully store and utilize okra seeds for future planting.
Understanding the life cycle and characteristics of okra seeds is crucial for proper harvesting and storage. Remember to wait for the pods to fully mature before harvesting the seeds and handle them with care to prevent damage. Extract the seeds from the pods, remove any debris, and allow them to dry thoroughly before storing.
Choosing the right storage container is essential to protect your okra seeds from moisture, pests, and light exposure. Opt for airtight, opaque, and durable containers that maintain a cool and consistent temperature. Regularly monitor the storage conditions and perform germination tests to ensure the viability of your seeds.
When it’s time to use your stored okra seeds, carefully select the healthiest ones for planting. Prepare the soil, sow the seeds, and provide proper care and maintenance to your growing okra plants. Thinning, transplanting, and regular watering are essential steps in cultivating a successful okra crop.
Through the growing season, continue to monitor your plants for pests and diseases. Harvest the mature okra pods regularly to encourage continuous production. Enjoy the rewards of your hard work by savoring the fresh and flavorful okra from your garden.
Remember, gardening is a journey of learning and experimentation. Each season presents new opportunities to refine your techniques and expand your knowledge. Keep track of your seed viability, adjust your storage practices if needed, and continue to improve your skills as a gardener.
Thank you for joining us on this journey of storing okra seeds. We hope this guide has been helpful and that you feel confident in your ability to preserve okra seeds for future growth. Happy gardening!
Frequently Asked Questions about How To Store Okra Seeds
Was this page helpful?
At Storables.com, we guarantee accurate and reliable information. Our content, validated by Expert Board Contributors, is crafted following stringent Editorial Policies. We're committed to providing you with well-researched, expert-backed insights for all your informational needs.


0 thoughts on “How To Store Okra Seeds”