Home>Garden Essentials>How To Seed A Tomato
Garden Essentials
How To Seed A Tomato
Modified: April 29, 2024
Learn how to seed a tomato in your garden with our helpful guide. Find step-by-step instructions and helpful tips to ensure a successful harvest.
(Many of the links in this article redirect to a specific reviewed product. Your purchase of these products through affiliate links helps to generate commission for Storables.com, at no extra cost. Learn more)
Introduction
Welcome to the wonderful world of gardening, where you can bring nature’s beauty right into your backyard. Gardening offers a multitude of benefits, from providing fresh produce to enhancing the aesthetics of your outdoor space. Among the many delightful plants you can grow, tomatoes hold a special place in every gardener’s heart. Whether you’re a beginner or an experienced gardener, properly seeding a tomato is an essential skill that will help you yield a bountiful harvest.
Seeding a tomato refers to the process of carefully extracting the seeds from a ripe tomato and preparing them for future planting. This method allows you to save money by growing your own tomatoes from seeds, ensuring you have a sustainable supply of this versatile and delicious fruit.
In this article, we will guide you through the process of seeding a tomato, providing step-by-step instructions and valuable tips along the way. By following these simple steps, you’ll be able to collect and store tomato seeds efficiently, giving your garden a head start on the growing season.
So put on your gardening gloves and let’s dig in!
Key Takeaways:
- Seeding a tomato lets you grow unique varieties, save money, and learn about plant growth. It’s a fun and sustainable way to connect with nature and enjoy delicious homegrown tomatoes.
- To seed a tomato, select ripe tomatoes, remove and clean the seeds, then store them properly. It’s a rewarding journey that allows you to experiment with different tomato varieties and experience the joy of growing your own flavorful tomatoes.
Read more: How Much Are Tomato Seeds
Why Seed a Tomato?
You might be wondering why it’s necessary to seed a tomato when you can simply purchase tomato plants from a nursery. While buying tomato plants is a convenient option, there are several compelling reasons to consider seeding your own tomatoes:
- Cost Effectiveness: Seeding a tomato allows you to grow multiple plants from a single fruit, saving you money in the long run. Instead of purchasing several tomato plants, you can harvest and sow seeds from the tomatoes you already have.
- Varied Tomato Varieties: Seed saving gives you the opportunity to grow a wide variety of tomatoes that may not be readily available at nurseries. By preserving and planting the seeds of heirloom or unique tomato cultivars, you can cultivate a diverse and interesting tomato garden.
- Customization and Control: Seed saving enables you to have complete control over the growing process. From choosing the healthiest, most flavorful tomatoes for seed extraction to nurturing the plants under ideal conditions, you can ensure the best possible outcome for your tomato harvest.
- Learning Opportunity: Seeding a tomato allows you to gain gardening knowledge and skills. It provides a hands-on experience that deepens your understanding of plant growth, seed saving, and the overall lifecycle of a tomato plant.
- Sustainable Gardening: By saving and reusing tomato seeds, you promote sustainable gardening practices. You reduce waste and reliance on commercial seed sources, contributing to a more environmentally friendly approach to growing your own food.
Seeding a tomato is not only a practical and economical choice; it also adds an exciting element to your gardening journey. By incorporating seed saving into your gardening repertoire, you can experiment with different tomato varieties, develop your own unique strains, and truly connect with the fascinating world of plant reproduction.
Now that you understand the benefits of seeding a tomato, let’s dive into the tools and materials you’ll need to get started.
Tools and Materials Needed
Before you begin seeding a tomato, it’s important to gather all the necessary tools and materials. Having everything prepared in advance will ensure a smooth and efficient process. Here’s what you’ll need:
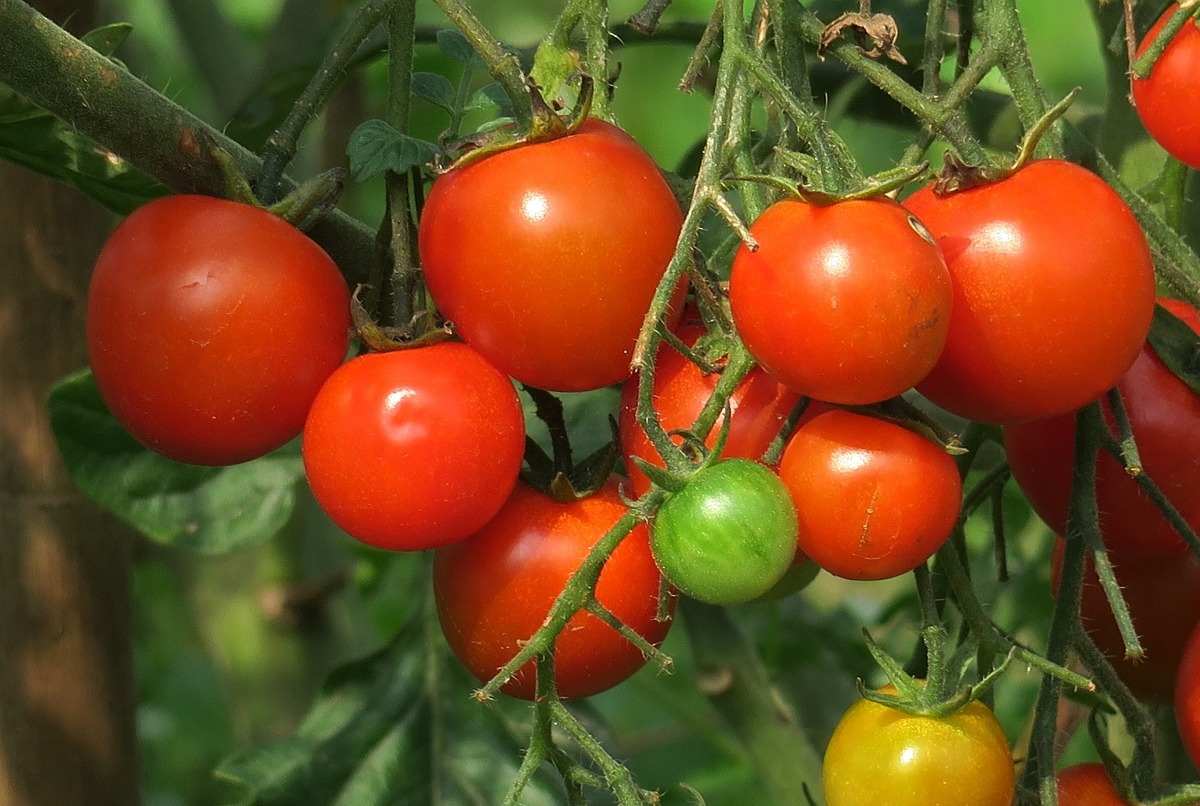
- Ripe Tomatoes: Choose fully ripe, healthy tomatoes for seed extraction. Look for tomatoes that are firm, plump, and free from any signs of rot or disease.
- Sharp Knife or Tomato Corer: A sharp knife or a tomato corer will be essential for cutting the tomatoes and removing the seeds. Ensure that the knife is clean and sharp to make clean cuts.
- Bowl or Container: You will need a bowl or container to hold the tomato halves and collect the seeds. Make sure it is clean and large enough to accommodate the tomatoes you’ll be working with.
- Strainer or Sieve: A strainer or sieve with small holes will be useful for separating the seeds from the tomato pulp and juice. Choose a strainer with fine mesh to capture small seeds effectively.
- Paper Towels or Coffee Filters: These will be used for cleaning and drying the extracted tomato seeds. Opt for unbleached paper towels or coffee filters to avoid any potential chemical residues.
- Labels or Seed Envelopes: It’s essential to label and store the seeds properly, so you’ll need labels or seed envelopes to keep track of the tomato variety, date, and any other relevant information.
- Marker or Pen: To write on the labels or seed envelopes, have a permanent marker or pen ready.
- Storage Container: Finally, you’ll need a suitable storage container to keep the dried tomato seeds until you’re ready to plant them. Choose a clean, airtight container that will protect the seeds from moisture and pests.
Now that you have all the necessary tools and materials, it’s time to move on to the step-by-step process of seeding a tomato. In the next section, we will guide you through selecting ripe tomatoes and preparing them for seed extraction.
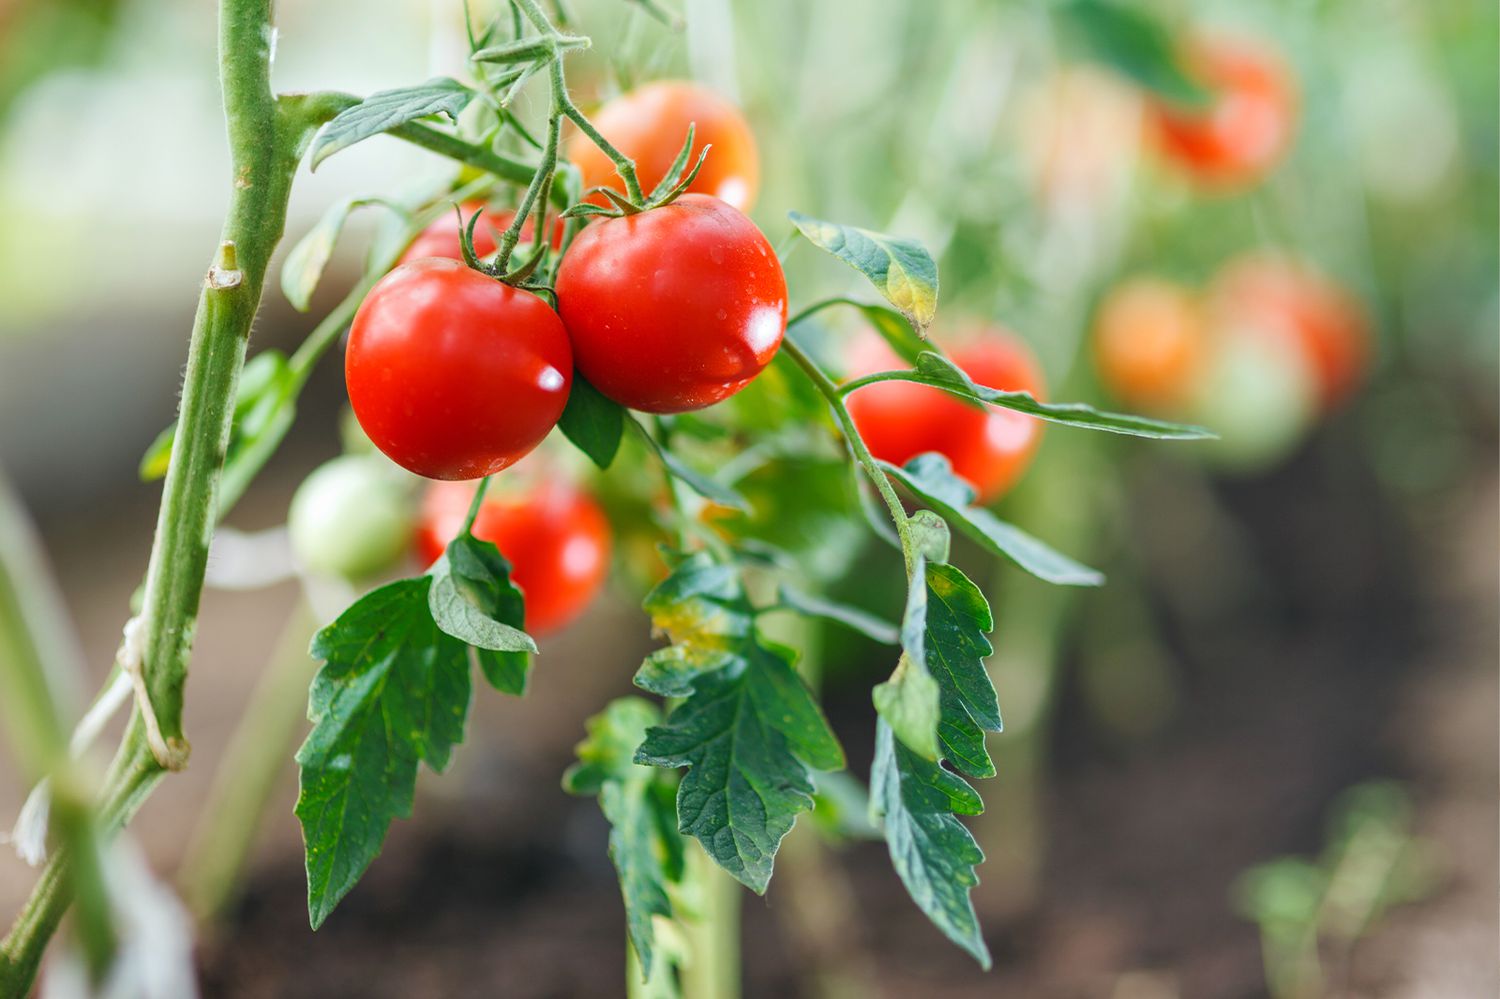
Step 1: Selecting Ripe Tomatoes
The first step in seeding a tomato is selecting the right tomatoes for seed extraction. Choose tomatoes that are fully ripe and in optimal condition. Follow these guidelines to ensure you pick the best tomatoes for seed saving:
- Ripe and Healthy: Look for tomatoes that are fully ripe, meaning they have reached their maximum color and have a slightly soft texture. Avoid tomatoes that are underripe or overripe, as they may not have viable seeds.
- Non-Hybrid or Open-Pollinated Varieties: If you’re planning to save seeds for future planting, it’s important to select non-hybrid or open-pollinated tomato varieties. Hybrid tomatoes may not produce seeds that grow true to the parent plant.
- Preferred Characteristics: Consider the characteristics you desire in the tomatoes you plan to grow. Choose tomatoes with attributes like flavor, size, color, or disease resistance. This will ensure that the seeds you collect will yield plants that meet your preferences.
- Organic Tomatoes: Whenever possible, select organic tomatoes for seed extraction. Organic tomatoes are grown without the use of synthetic pesticides and chemicals, ensuring that the seeds are free from any potential contaminants.
Once you have identified the tomatoes you want to save seeds from, gently handle them to avoid bruising or damaging the fruit. Remember, the quality of the tomatoes you select will directly impact the quality of the seeds you harvest.
Now that you have chosen your ripe tomatoes, it’s time to move on to the next step: preparing the tomatoes for seed extraction. This will be covered in detail in the following section.
Step 2: Preparing the Tomatoes
Once you have selected the ripe tomatoes, it’s time to prepare them for seed extraction. Properly preparing the tomatoes will make it easier to remove the seeds and ensure that they are clean and ready for drying. Follow these steps to prepare the tomatoes:
- Wash the Tomatoes: Start by washing the tomatoes thoroughly under cool running water. This will remove any dirt, debris, or surface contaminants from the skin.
- Dry the Tomatoes: After washing, gently pat the tomatoes dry with a clean kitchen towel or paper towels. It’s important to ensure that the tomatoes are completely dry before cutting them, as excess moisture can affect the seed quality.
- Remove the Stem: Use a sharp knife or your fingers to remove the stem from the top of each tomato. Discard the stems or compost them if possible.
- Optional: Sanitize the Knife: If you are concerned about cross-contamination or fungal or bacterial growth, you can sanitize the knife by wiping it with a cloth soaked in rubbing alcohol or a food-safe sanitizing solution.
By following these simple preparation steps, you ensure that the tomatoes are clean and ready for the next stage of seed extraction. Now that the tomatoes are prepared, it’s time to move on to the next step: cutting the tomatoes in half.
Read more: How Many Seeds Are In A Tomato
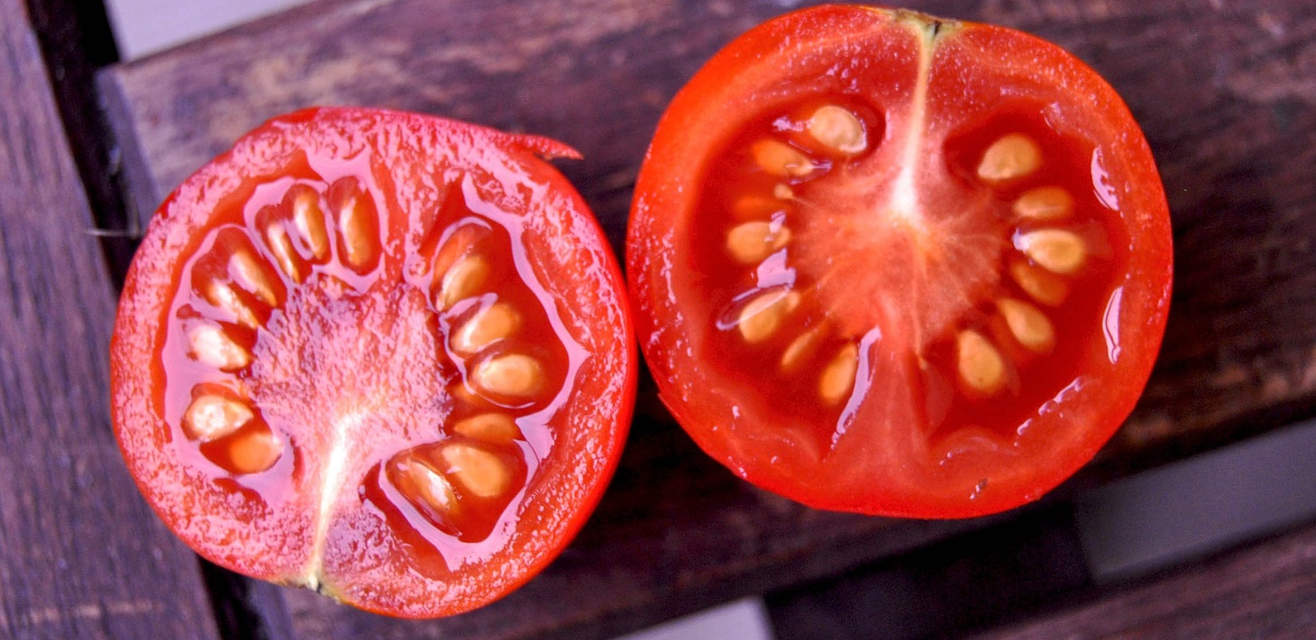
Step 3: Cutting the Tomato in Half
With the tomatoes prepared, it’s time to cut them in half. Cutting the tomatoes in half exposes the seed chambers, making it easier to extract the seeds. Follow these steps to cut the tomatoes:
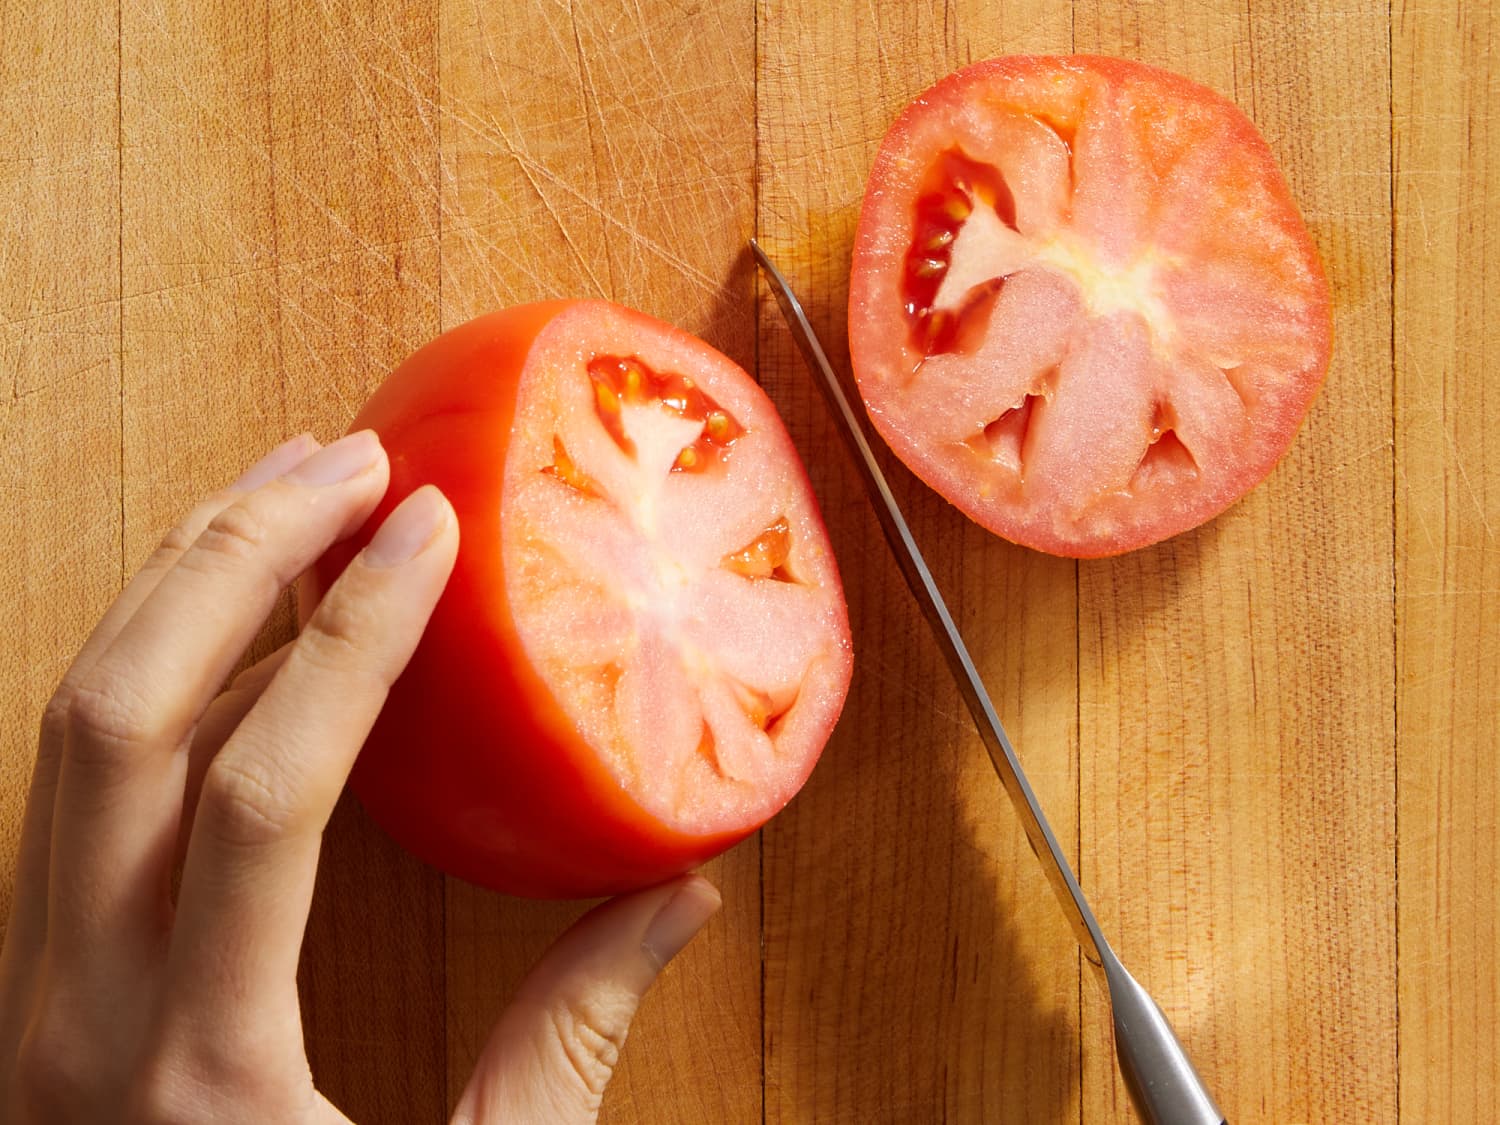
- Place the Tomato on a Cutting Board: Select a stable cutting board and place the tomato on it with the stem end facing up.
- Hold the Tomato Firmly: With one hand, hold the tomato firmly to prevent it from rolling or slipping while cutting.
- Insert the Knife: Using a sharp knife, insert the blade into the tomato near the stem end, aiming to cut the tomato into two equal halves.
- Cut Through the Tomato: Apply gentle downward pressure on the knife and cut through the tomato, keeping the blade straight and even.
- Repeat the Process: Repeat the process with each tomato until you have all the tomatoes cut into halves.
It’s important to make clean cuts to ensure that the tomato halves are intact and the seed chambers are exposed. Avoid using a serrated knife, as it may crush the tomato and make seed extraction more challenging.
Once you have cut all the tomatoes in half, you’re ready for the next step: removing the tomato seeds. We’ll cover this step in detail in the following section.
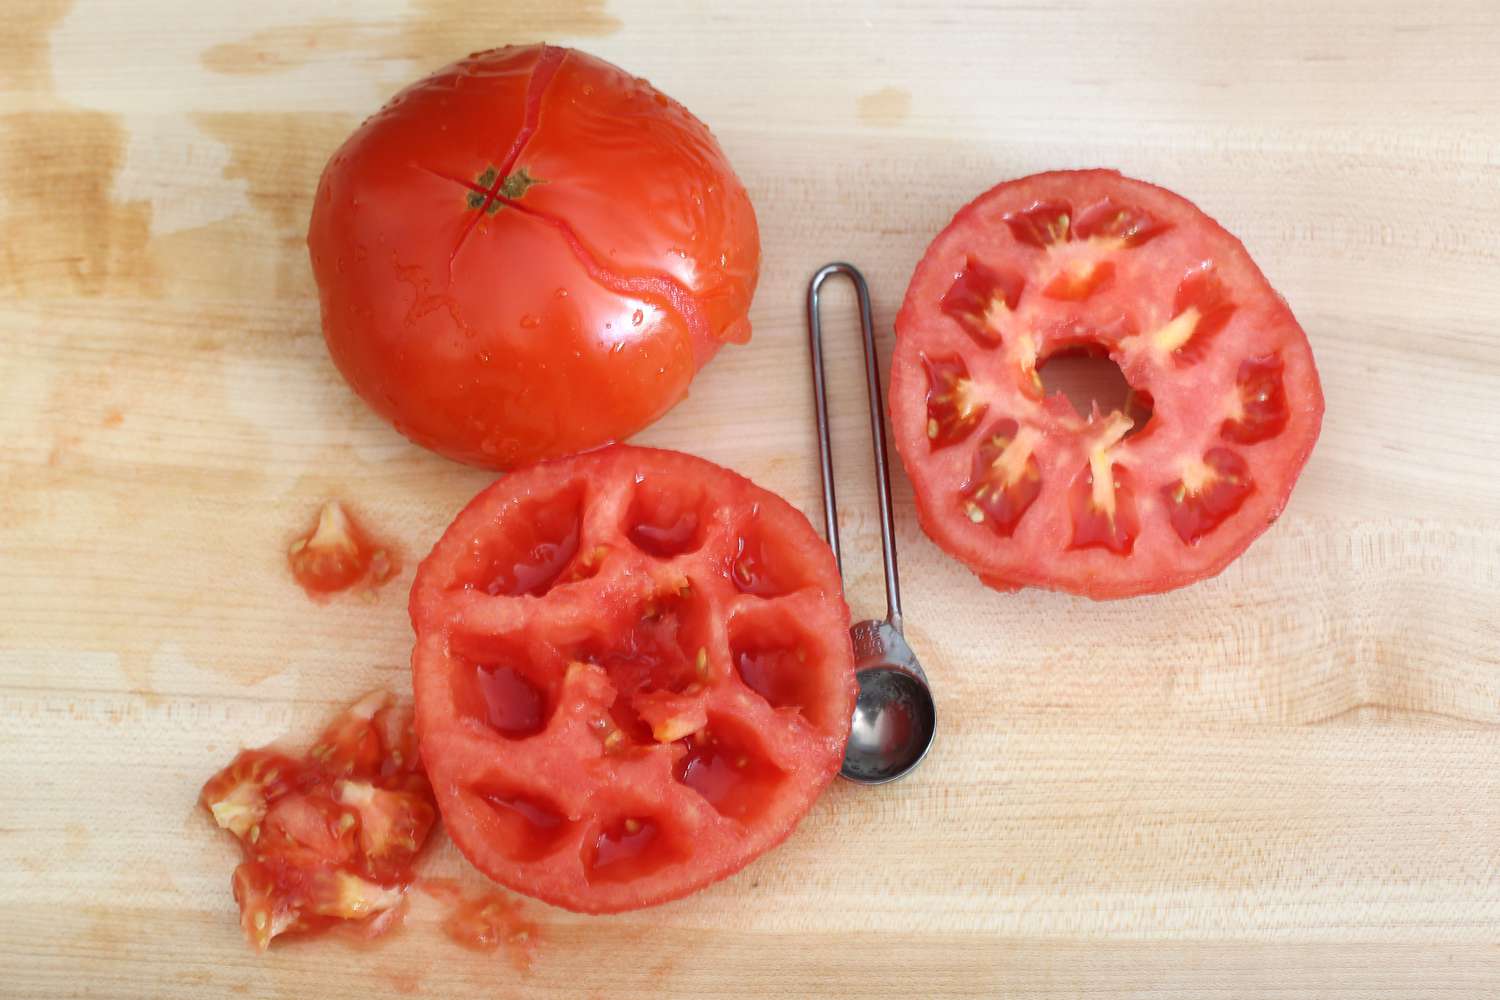
To seed a tomato, cut it in half and gently squeeze out the seeds and excess juice. Use a spoon to scoop out any remaining seeds. This will prevent the seeds from making your dish too watery.
Step 4: Removing the Tomato Seeds
Now that you have the tomatoes cut in half, it’s time to extract the seeds from the seed chambers. This step requires careful handling to ensure the seeds are not damaged or contaminated. Follow these steps to remove the tomato seeds:
- Gently Squeeze the Tomato Halves: Take one tomato half at a time and gently squeeze it over a bowl or container. Apply light pressure to release the seeds from the pulp into the container. Continue this process with each tomato half.
- Scrape the Seeds: Once you have squeezed out most of the seeds, use a spoon or your finger to gently scrape along the seed chambers to loosen any remaining seeds. Be careful not to damage the seeds or the tomato flesh.
- Collect the Seeds: As you scrape the tomato halves, the seeds will be dislodged and fall into the container. Ensure that all the seeds are collected and separated from the pulp and juice.
- Repeat the Process: Repeat the process with the remaining tomato halves until all the seeds are extracted.
It’s important to work delicately while removing the seeds to prevent damage or contamination. Avoid using excessive force, as crushing the seeds may render them unviable for planting.
Once you have successfully removed all the tomato seeds, it’s time to move on to the next step: cleaning the seeds. We’ll explore this step in more detail in the following section.
Step 5: Cleaning the Seeds
After extracting the tomato seeds, it’s important to clean them to remove any remaining pulp or residue. Cleaning the seeds ensures that they are free from debris and contaminants, improving their viability for future planting. Follow these steps to clean the tomato seeds:
- Transfer the Seeds: Carefully transfer the extracted tomato seeds from the container into a strainer or sieve with small holes. Ensure that the strainer or sieve is clean and free from any contaminants.
- Rinse the Seeds: Hold the strainer or sieve under cool running water and gently rinse the seeds. Use your fingers to agitate the seeds, allowing the water to wash away any remaining pulp or residue.
- Inspect the Seeds: While rinsing the seeds, visually inspect them to ensure that they are clean and free from any debris or damaged seeds. Remove any seeds that are discolored or show signs of mold or disease.
- Allow the Seeds to Dry: After rinsing, gently shake the strainer or sieve to remove excess water from the seeds. Place the cleaned seeds on a paper towel or coffee filter in a single layer, allowing them to air dry completely. Ensure that the seeds are not exposed to direct sunlight or excessive heat during the drying process.
Properly cleaning the tomato seeds removes any potential barriers that may inhibit germination. By taking the time to clean the seeds, you improve their chances of successful growth when it’s time to plant them.
Now that the tomato seeds are clean and dry, it’s time to move on to the next step: drying the seeds. We’ll cover this step in detail in the following section.
Step 6: Drying the Seeds
Once the tomato seeds have been cleaned, it’s important to dry them thoroughly before storing them. Drying the seeds removes any residual moisture, preventing the growth of mold or fungi and enhancing their longevity. Follow these steps to properly dry the tomato seeds:
- Transfer the Seeds: Carefully transfer the cleaned and rinsed tomato seeds from the paper towel or coffee filter to a new, clean, and dry paper towel or a plate.
- Spread the Seeds: Spread the tomato seeds evenly in a single layer on the paper towel or plate, ensuring that they are not touching or overlapping. This allows for good airflow and even drying.
- Choose a Suitable Location: Place the plate or paper towel with the seeds in a well-ventilated area where they can dry undisturbed. Avoid exposing the seeds to direct sunlight or excessive heat, as this can impact their viability.
- Allow the Seeds to Air Dry: Leave the tomato seeds to air dry completely for about one to two weeks. During this time, periodically check the seeds to ensure they are drying properly and that there are no signs of mold or moisture.
- Test for Dryness: To check if the seeds are fully dried, press a seed lightly between your fingernails. If it is hard and does not dent or feel soft or pliable, it is likely dry and ready for storage.
It’s essential to ensure that the tomato seeds are completely dry before moving on to the next step. Proper drying not only increases the seeds’ longevity but also makes them easier to store and handle without clumping together.
Now that the tomato seeds are thoroughly dried, it’s time to move on to the final step: storing the seeds for future use. We’ll explore this step in the following section.
Read more: How To Peel And Seed A Tomato
Step 7: Storing the Seeds
Properly storing the tomato seeds is crucial to maintain their viability and ensure successful germination when it’s time to plant them. Follow these steps to effectively store the dried tomato seeds:
- Label the Storage Container: Before transferring the seeds, label the storage container or seed envelope with the tomato variety, date of seed collection, and any other relevant information. This will help you keep track of the seeds and their specifics.
- Transfer the Seeds: Carefully transfer the fully dried tomato seeds into the labeled storage container or seed envelope. Ensure that the container is clean, airtight, and moisture-proof, preserving the seeds’ quality and protecting them from pests.
- Store in a Cool, Dry Location: Find a cool and dry location to store the seeds, such as a pantry or refrigerator. Aim for a temperature range of around 40 to 50 degrees Fahrenheit (4 to 10 degrees Celsius) to maintain seed viability.
- Avoid Temperature Fluctuations: It’s important to store the seeds away from temperature fluctuations and direct sunlight, as these can degrade the seeds and reduce germination rates. Keep them in a stable environment that remains relatively constant throughout the year.
- Periodically Check the Seeds: Regularly check the stored seeds for signs of moisture, mold, or pests. If you notice any issues, discard the affected seeds and take necessary measures to prevent further contamination.
By following these storage guidelines, you can ensure that the tomato seeds remain viable for future planting. With proper storage, the seeds can be stored for months or even years, offering you plenty of time to plan and prepare for the next growing season.
Congratulations! You have successfully completed all the steps involved in seeding a tomato, from selecting the ripe tomatoes to storing the dried seeds. With your newly acquired knowledge, you can continue to enjoy the process of seed saving and experience the joy of growing your own delicious tomatoes year after year.
Remember, as you become more experienced in seed saving, you can experiment with different tomato varieties, adapt the process to suit your gardening preferences, and even share seeds with fellow gardeners. Happy growing!
Conclusion
Seeding a tomato is a rewarding and practical skill that allows you to grow your own tomatoes from saved seeds. With the right tools, techniques, and a little patience, you can successfully collect and store tomato seeds for future planting. The process of seeding a tomato offers numerous benefits, including cost-effectiveness, the ability to grow unique tomato varieties, and the opportunity to customize and control your garden.
By following the step-by-step guide in this article, you learned how to select ripe tomatoes, prepare them for seed extraction, cut them in half, remove the seeds, clean and dry them, and finally, store them properly. Each step is crucial in ensuring the viability and success of the tomato seeds.
Remember, when seeding a tomato, it’s essential to choose fully ripe tomatoes, handle them carefully, and use clean tools and containers throughout the process. Cleaning and drying the seeds thoroughly, as well as storing them in suitable conditions, will help preserve their viability and increase their chances of successful germination.
Seeding a tomato is not just about saving seeds; it’s a journey of learning, discovery, and connection with nature. As you continue to experiment with different tomato varieties and fine-tune your seed saving techniques, you’ll gain a deeper understanding of the fascinating world of plants and their reproduction.
So, whether you’re a beginner gardener or a seasoned green thumb, why not try seeding a tomato and embrace the joy of growing your own flavorful tomatoes? From seed to harvest, you’ll witness the remarkable cycle of growth and enjoy the fruits of your labor in the form of delectable, homegrown tomatoes.
Start your seed saving adventure today and reap the rewards in your garden tomorrow. Happy seeding!
Frequently Asked Questions about How To Seed A Tomato
Was this page helpful?
At Storables.com, we guarantee accurate and reliable information. Our content, validated by Expert Board Contributors, is crafted following stringent Editorial Policies. We're committed to providing you with well-researched, expert-backed insights for all your informational needs.


0 thoughts on “How To Seed A Tomato”