Articles
How To Store Paint When Can Is Rusted
Modified: August 17, 2024
Learn effective ways to store articles, including paint cans with rust, to prolong their shelf life and avoid unnecessary waste.
(Many of the links in this article redirect to a specific reviewed product. Your purchase of these products through affiliate links helps to generate commission for Storables.com, at no extra cost. Learn more)
Introduction
Welcome to our guide on how to store paint when the can is rusted! Many homeowners and DIY enthusiasts face the challenge of storing leftover paint properly. However, when the paint can is rusted, it can introduce additional risks and concerns. In this article, we will discuss the importance of understanding the risks associated with rusted paint cans and provide you with step-by-step instructions on how to store paint safely and effectively.
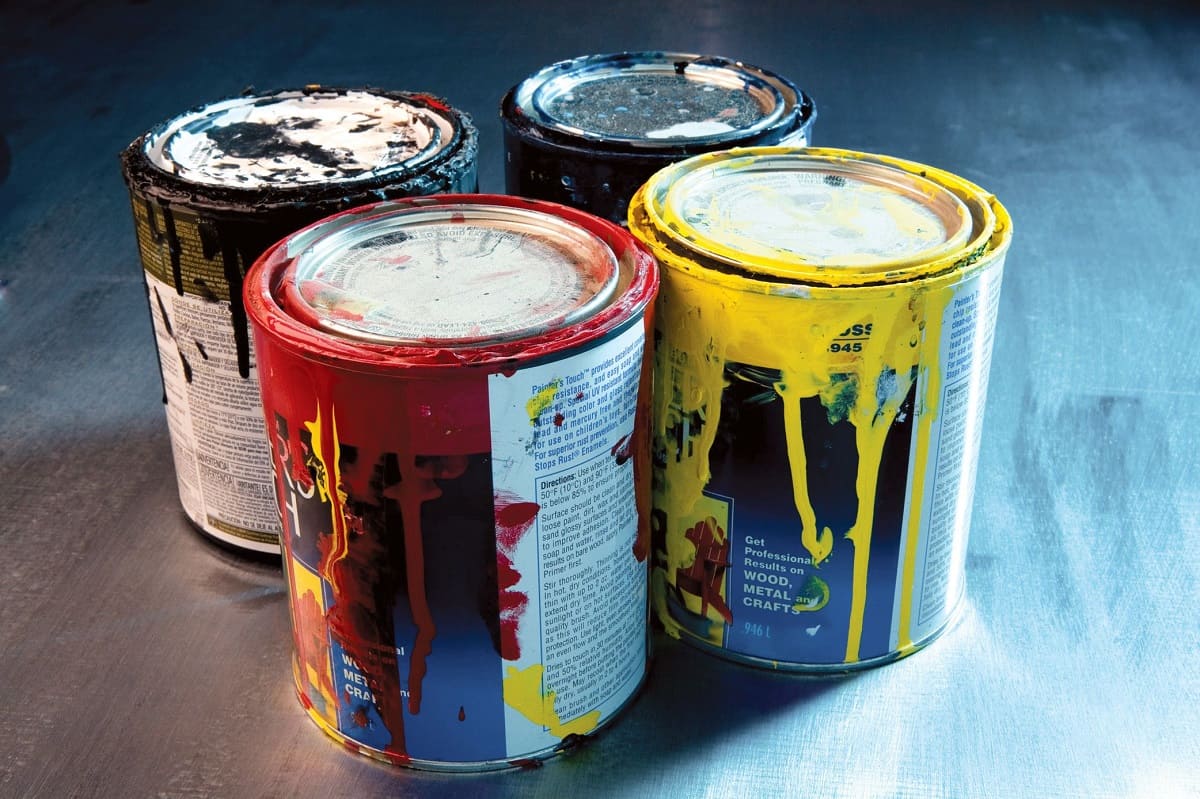
Paint is an essential item for any home improvement project. Whether you’re touching up a wall or repainting an entire room, having some extra paint on hand can be helpful. However, improper storage techniques can lead to the paint becoming dried out, contaminated, or even pose a safety hazard.
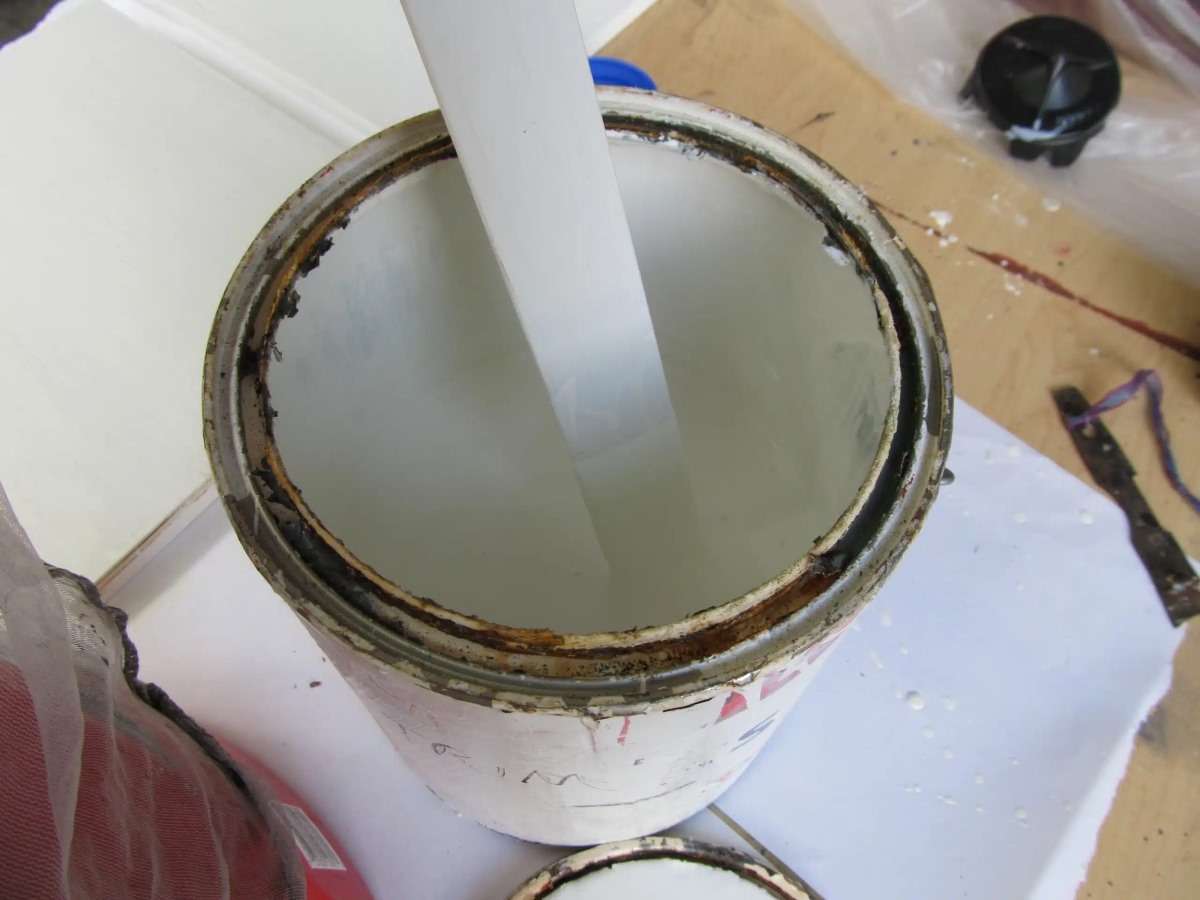
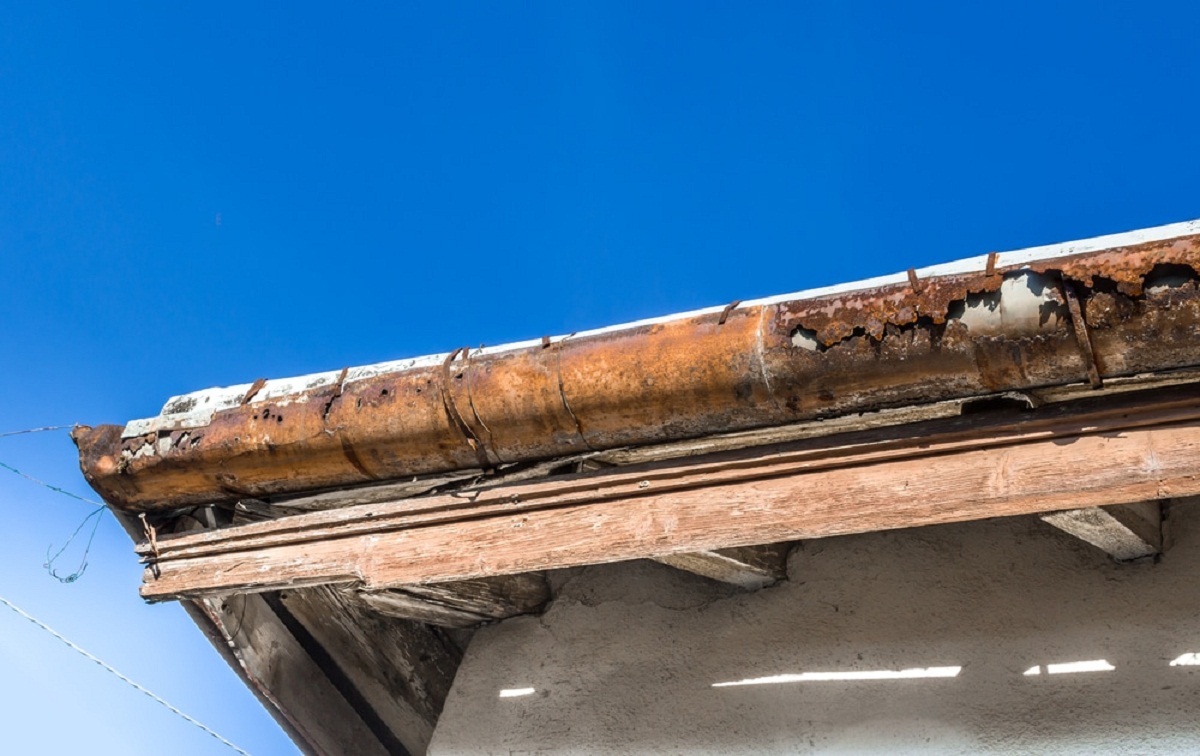
When a paint can becomes rusted, it compromises the integrity of the container. This rust can seep into the paint, affecting its quality and potentially causing damage when applied to surfaces. Additionally, rust can also create leaks, leading to a messy and wasteful situation.
Before you begin storing paint in a rusted can, it’s important to assess the condition of the can and determine if it’s suitable for safe storage. If the rust is minimal and the can is still intact, you may be able to salvage it with proper preparation and maintenance. However, if the rust is extensive or the can is severely damaged, it’s best to transfer the paint to a new container.
In this guide, we will cover the steps you need to take to assess the condition of a rusted paint can, prepare it for storage, and choose the right storage container. We will also discuss the importance of cleaning and organizing your storage space, as well as how to properly seal and label the containers to ensure easy identification and maintenance.
Lastly, we will delve into the ideal storage environment for paint, including temperature and humidity considerations. Regular inspection and maintenance are also crucial to ensure the stored paint remains usable and in good condition.
By following the steps outlined in this guide, you can store paint safely and effectively, even when dealing with a rusted can. Let’s dive into the details and ensure your leftover paint remains viable for future use.
Key Takeaways:
- Properly storing paint in rusted cans is crucial to prevent contamination, leaks, and compromised seals. Assess, prepare, transfer, seal, label, and maintain to ensure viability for future projects.
- Choosing the right storage container, cleaning and organizing the storage space, and storing the paint in the right environment are essential for preserving its quality and usability. Regular inspection and maintenance are key to ensuring the viability of stored paint.
Read more: How To Store Paint Without A Can
Understanding the Risks of Storing Paint in Rusted Cans
When it comes to storing paint, using a rusted can poses several risks that can compromise the quality and usability of the paint. It’s crucial to understand these risks to ensure you make informed decisions regarding storage and prevent any potential problems down the line.
One of the main risks of storing paint in a rusted can is the potential for rust particles to contaminate the paint. When the paint can is rusty, the rust can flake off and mix with the paint, leading to lumps, clumps, or an uneven texture when applied to surfaces. This not only affects the appearance of the finished project but can also make the paint difficult to work with.
Furthermore, rust can introduce impurities into the paint, affecting its chemical composition. This can lead to color changes, reduced bonding capabilities, and decreased durability. In some cases, the paint may even become unusable due to these alterations caused by the rust.
Another risk associated with storing paint in rusted cans is the potential for leaks. Rust weakens the integrity of the can, creating small holes or cracks that allow paint to seep out. This can be messy and wasteful, and it can also damage surrounding items or surfaces if the leaking paint goes unnoticed.
In addition to the risks of contamination and leaks, storing paint in rusted cans can make it challenging to properly seal the container. A rusted can may not provide a tight seal, which can hasten the drying out of the paint. This can result in wasted paint and the need for additional touch-ups when the paint is finally used.
By understanding these risks, you can make informed decisions about how to handle and store paint in rusted cans. In some cases, it may be possible to salvage the paint by properly preparing the can and taking extra precautions. However, it’s important to remember that extensive rust or severe damage to the can may require transferring the paint to a new container for optimal storage.
In the next section, we will discuss how to assess the condition of a rusted paint can to determine whether it can be salvaged or if the paint needs to be transferred. By evaluating the extent of the rust and the overall condition of the can, you can make the best choice for storing your paint and ensuring its usability in the future.
Assessing the Condition of the Rusted Paint Can
Before deciding whether to store paint in a rusted can or transfer it to a new container, it’s essential to assess the condition of the can. This evaluation will help determine whether the can is still usable or if it poses a risk to the quality of the paint.
Start by examining the extent of the rust on the can. If the rust is localized to just a few spots and the rest of the can is in good condition, you may be able to salvage it for storage. However, if the rust covers a significant portion of the can or there are signs of severe corrosion, it’s best to opt for a new container.
Next, check the structural integrity of the can. Look for any dents, dings, or fractures that could affect its ability to securely hold the paint. Pay attention to the lid or cap as well, as it needs to form a tight seal to prevent air and moisture from entering the container.
To determine if the can is still usable, carefully inspect the interior for any rust particles or discoloration. It’s important to note that the presence of rust on the inside of the can can indicate that the rust has penetrated the paint. If you notice any significant rust or paint contamination, it’s a clear sign that the paint should be transferred to a new container.
Additionally, check for any signs of leaks or paint residue on the exterior of the can. Leaks can signify weak spots or cracks in the can where paint can escape. If you find any leaks or evidence of past leaks, it’s safest to transfer the paint to a new container to prevent further mess or waste.
Remember, the goal is to ensure the stored paint remains in optimal condition for future use. If the can is compromised due to rust or damage, it’s best to err on the side of caution and transfer the paint to a new container. This will eliminate any risks of contamination or leaks and provide a fresh start for storing the paint.
Once you have assessed the condition of the rusted can and made a decision on whether to salvage or transfer the paint, you can move on to the next steps of preparing the can or selecting the appropriate storage container. By taking these initial precautions, you can ensure the longevity and quality of your stored paint.
Preparing the Rusted Paint Can for Storage
If you’ve decided to store paint in a rusted can after assessing its condition, it’s important to take the necessary steps to prepare the can for storage. Proper preparation will help minimize the risks associated with rust and ensure the longevity of the stored paint.
The first step in preparing the rusted paint can is to remove any loose rust or debris. Use a wire brush or sandpaper to gently scrub away the loose particles, ensuring a smoother surface. Pay close attention to the areas where the rust is most prominent. This step will help prevent further rusting and reduce the risk of contamination when storing the paint.
After removing loose rust, thoroughly clean the can with soap and water to eliminate any remaining dirt or debris. Rinse it well and allow it to dry completely before proceeding. This cleaning process will help eliminate any potential contaminants that could affect the quality of the stored paint.
Once the can is clean and dry, it’s a good practice to apply a rust converter or primer to further protect the can and prevent any future rusting. These products work by chemically changing the rust into a more stable compound, stopping it from spreading. Follow the instructions on the packaging carefully when applying the rust converter or primer.
Allow the rust converter or primer to dry completely before continuing. This may take several hours or more, depending on the product used. It’s essential to ensure the converter or primer is fully dry to prevent any chemical reactions that could affect the paint and compromise its quality.
If the interior of the rusted can shows signs of significant rust or paint contamination, it’s best to line the can with a plastic liner or bag before pouring the paint back in. This barrier will help isolate the paint from the rust, preventing any further contamination. Ensure the liner is secure and covers the entire interior surface of the can.
Before pouring the paint into the can, inspect it one final time to ensure there are no sharp edges or rough areas that could puncture the plastic liner or bag. Smooth out any rough spots with sandpaper if necessary.
With the rusted can now prepared for storage, it’s time to decide on the appropriate storage container. In the next section, we will discuss the factors to consider when choosing the right container to ensure the paint remains in optimal condition.
Choosing the Right Storage Container for Paint
Now that you have prepared the rusted can for storage, it’s important to choose the right container to ensure the paint remains well-protected and in optimal condition. Here are a few factors to consider when selecting a storage container for your paint:
1. Container Size and Shape: Choose a container that is appropriate for the amount of paint you need to store. If you have a small amount of leftover paint, a smaller container will be sufficient. However, if you have a larger quantity, opt for a larger container to accommodate it. Additionally, consider the shape of the container. A rectangular or square-shaped container may be more space-efficient and easier to stack.
2. Material: The material of the container should be compatible with the type of paint you are storing. For water-based paints, plastic containers are generally a safe choice. Metal cans can be used for oil-based paints, but make sure they have a rust-resistant lining to prevent any potential rusting. Glass containers can also be used for storing paint, but ensure they are thick and durable to prevent breakage.
3. Air-Tight Seal: Look for a container that provides an air-tight seal to prevent air from entering and drying out the paint. This is important for the longevity and usability of the paint. Check that the lid or cap fits securely and forms a tight seal when closed.
4. Translucent or Clear: If possible, choose a container that is translucent or clear. This allows you to easily see the color and consistency of the paint without having to open the container. It can be helpful for quick identification when selecting paint for future projects.
5. Easy Labeling: Ensure the container has a smooth surface that is suitable for labeling. This will allow you to easily identify the paint color, brand, and any other pertinent information. Use a permanent marker or label maker to clearly mark the container for effortless identification.
When selecting a storage container, it’s important to prioritize functionality and protection for the paint. Consider the size, material, air-tight seal, transparency, and labeling capabilities to make the best choice for your specific paint storage needs.
Once you have chosen the right storage container, it’s time to clean and organize the storage space where the paint will be stored. In the next section, we will discuss the steps to ensure a clean and organized environment for storing your paint.
Read more: How To Store Paint Cans In Garage
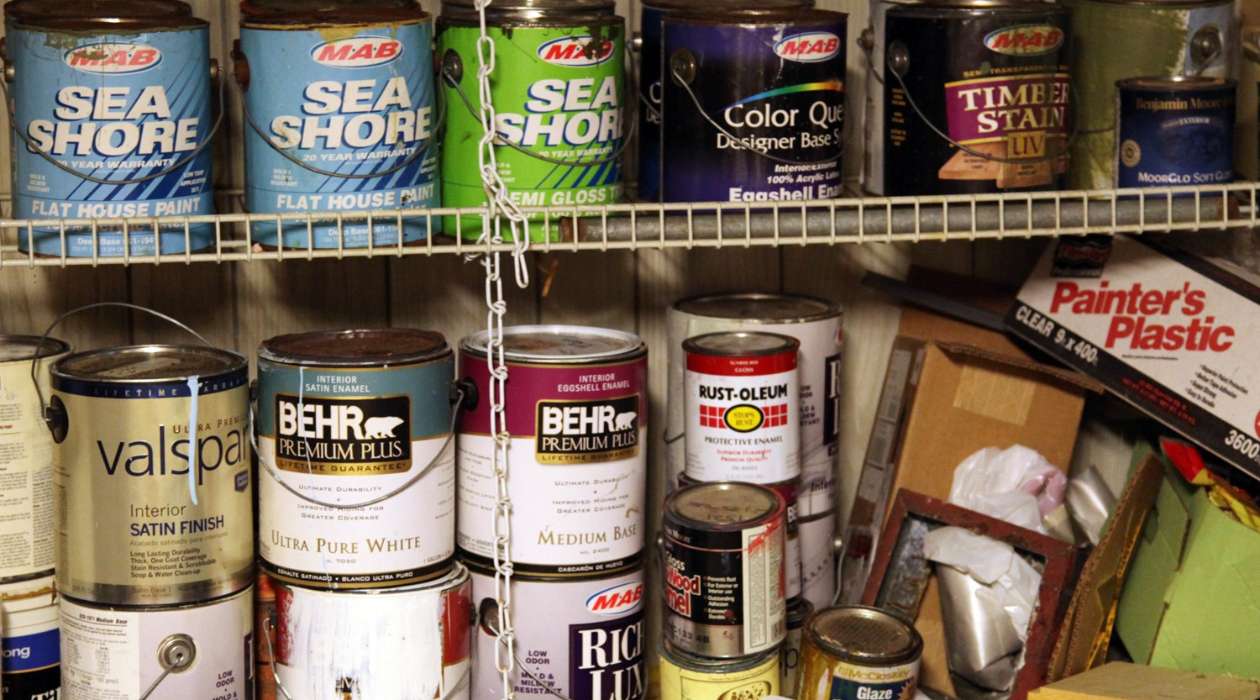
Cleaning and Organizing the Storage Space
Creating a clean and organized storage space for your paint is essential for maintaining its quality and usability. When storing paint, it’s important to keep it in a controlled and clutter-free environment to prevent damage and ensure easy access when needed. Here are the steps to follow when cleaning and organizing the storage space:
1. Clear Out the Area: Begin by removing any items or debris from the designated storage space. This will give you a clean slate to work with and ensure there are no hazards or obstructions that could affect the paint containers. Additionally, check for any signs of pest infestation and address the issue if necessary.
2. Clean the Storage Space: Before placing the paint containers in the storage area, thoroughly clean the space. Vacuum or sweep the floors, wipe down shelves or surfaces, and remove any dust or cobwebs. Ensure the area is free from moisture and humidity, as these can negatively impact the quality of the paint.
3. Organize the Storage Shelves or Racks: If you have storage shelves or racks, take the time to organize them in a logical manner. Group the paint containers by color, finish, or project type for easy identification and retrieval. Use dividers or bins to keep the containers tidy and prevent them from tipping over or getting mixed up.
4. Consider Temperature and Humidity: Paint is sensitive to temperature and humidity fluctuations. Ideally, the storage space should be cool and dry, with temperatures between 60-75°F (15-24°C) and humidity levels around 40-50%. Avoid areas with extreme temperature changes or high humidity, such as basements or attics, as these can accelerate paint deterioration.
5. Adequate Ventilation: Ensure the storage area has proper ventilation to prevent the buildup of fumes from the paint containers. Good airflow will help maintain the integrity of the paint and minimize any potential chemical reactions or odors.
6. Keep Paint Away from Direct Sunlight: Exposure to direct sunlight can cause color fading and expedite the breakdown of the paint. Store the paint containers away from windows or any other sources of direct sunlight to maintain their color and consistency over time.
7. Childproof the Storage Space: If you have young children or pets, it’s vital to childproof the storage area to prevent any accidents or spills. Consider installing cabinet locks or placing the paint containers out of reach to ensure the safety of your loved ones.
By following these steps, you can create a clean and well-organized storage space for your paint. This will not only protect the quality of the paint but also make it easier to locate and access when you need it for future projects. In the next section, we will discuss the process of transferring paint from a rusted can to a new storage container.
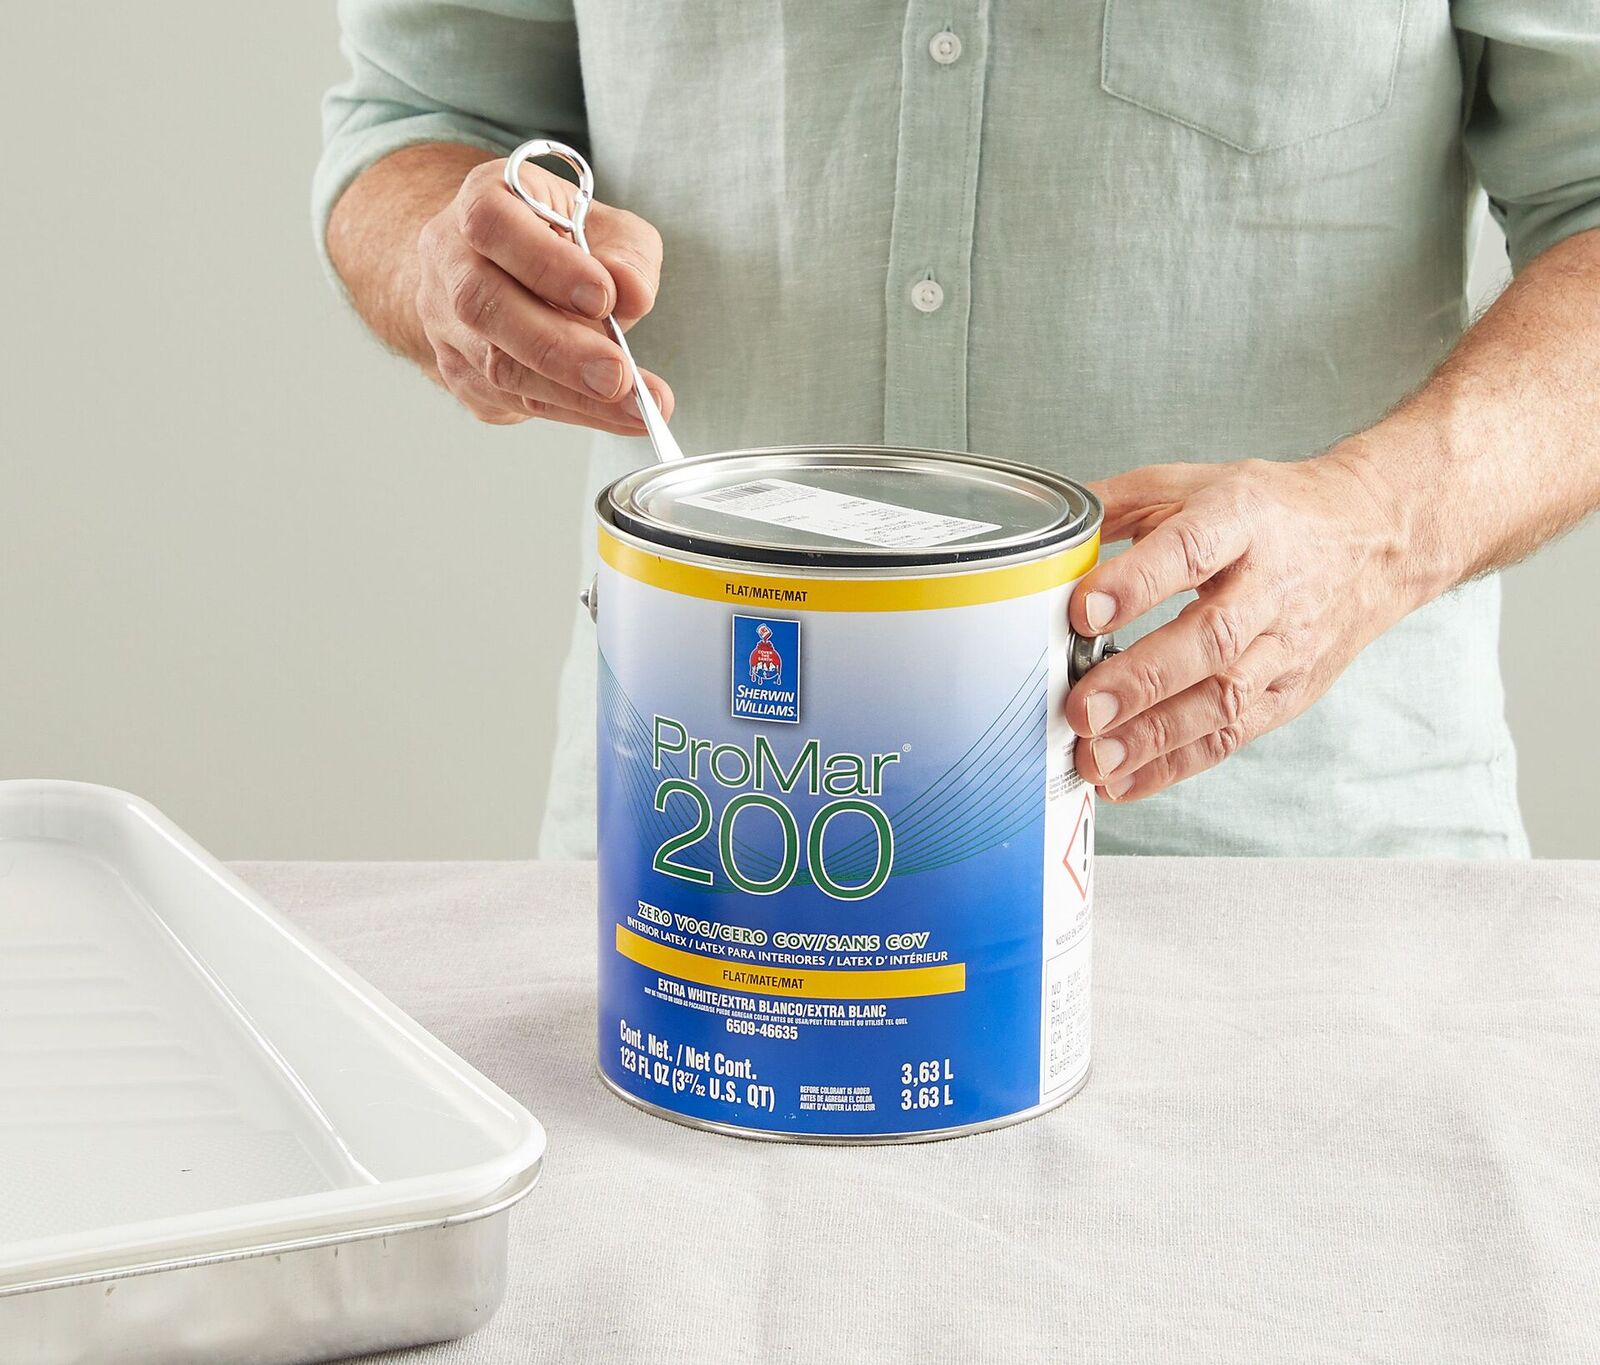
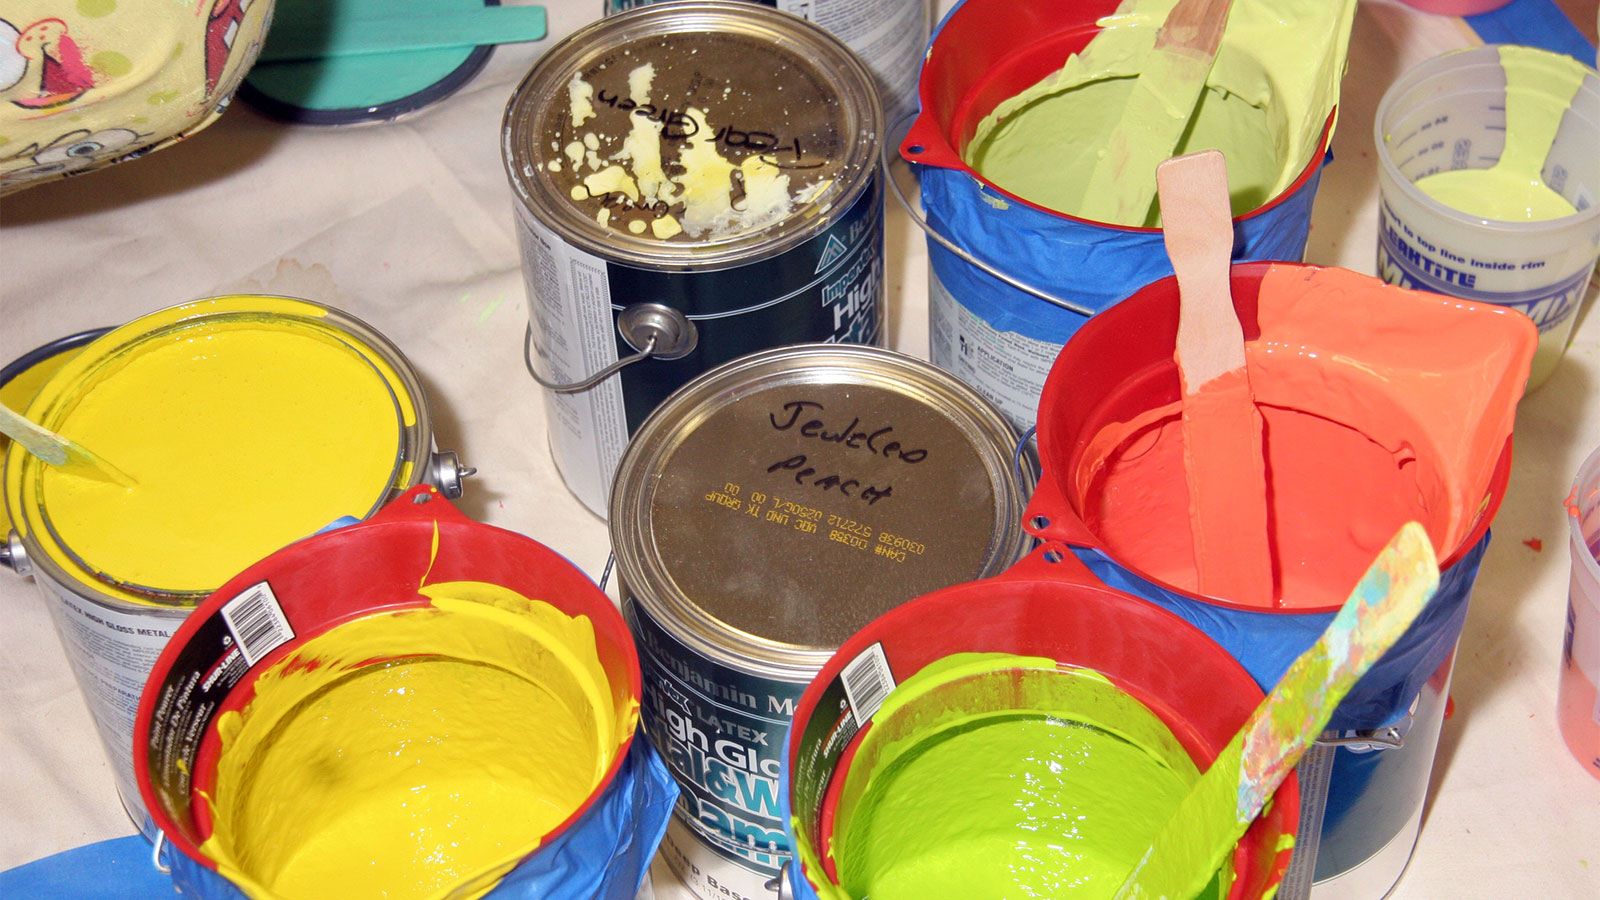
If the paint can is rusted, transfer the paint to a clean, airtight plastic container to prevent further rust contamination. Label the container with the paint color and date.
Transferring Paint to the New Storage Container
If you’ve determined that a rusted can is not suitable for storing your paint, it’s crucial to transfer the paint to a new container to ensure its longevity and usability. Follow these steps to safely and effectively transfer paint:
1. Gather Your Supplies: Before you begin the transfer process, gather the necessary supplies. This includes the new storage container, a funnel (if needed), a paint stirrer or mixing stick, and a cloth or paper towels for any spills or drips.
2. Prepare the New Container: Clean the new storage container to ensure it is free from dust or debris. If the container is reusable, sanitize it with mild soap and water and allow it to dry completely. Make sure the container is the appropriate size for the amount of paint you will be transferring.
3. Stir the Paint: Before transferring the paint, give it a good stir to ensure it is well-mixed. This will help achieve a consistent color and texture throughout the paint. Use a paint stirrer or mixing stick to gently stir the paint, being careful not to introduce air bubbles.
4. Place the Funnel: If the opening of the new container is narrow, use a funnel to prevent spills and make the transfer process easier. Insert the funnel into the opening of the container securely.
5. Pour the Paint: Carefully pour the paint from the rusted can into the new container, using the funnel if necessary. Take your time and pour slowly to avoid splashing or overfilling. If any paint splatters occur, wipe them up immediately with a cloth or paper towels.
6. Seal the New Container: Once the paint has been transferred, securely seal the new container to prevent air and moisture from entering. Ensure the lid or cap is tightly closed to maintain the paint’s freshness and quality. If the new container has a seal, check that it is intact and functioning properly.
7. Clean Up and Label: Dispose of the rusted can properly and clean up any paint spills or drips. Wipe down the new container if needed. Finally, label the new container with the paint color, brand, and any other relevant information. This will make it easier to identify the paint for future use.
By following these steps, you can effectively transfer paint from a rusted can to a new storage container. This ensures the longevity and usability of the paint while minimizing the risks associated with storing paint in a compromised container. In the next section, we will discuss the importance of properly sealing the storage container to maintain the paint’s freshness.
Properly Sealing the Storage Container
Once you have transferred the paint to a new container, it is essential to properly seal the container to maintain the paint’s freshness and quality. Proper sealing prevents air and moisture from entering the container, which can lead to drying, clumping, or other issues. Use the following steps to ensure a secure seal:
1. Clean the Container’s Rim: Before sealing the container, wipe the rim or lip of the container clean and free from any paint residue. This helps create a clean surface for the lid or cap to form a tight seal.
2. Check the Lid or Cap: Examine the lid or cap of the container to ensure it is in good condition and fits securely. If the lid or cap is damaged or doesn’t fit properly, it can compromise the seal and allow air or moisture to enter.
3. Apply Pressure: Press down firmly on the lid or cap while closing it to create a secure seal. If the container has a threaded lid, turn it clockwise until it is tightly closed. For containers with snap-on lids, make sure all the sides are securely snapped into place.
4. Double Check the Seal: Once the lid or cap is closed, give the container a gentle shake to check for any signs of looseness or leaks. If you hear or feel any movement or notice any leaks, reopen the container and adjust the lid or cap until it forms a tight seal.
5. Store the Container Upright: To prevent any accidental spills or leaks, it’s crucial to store the container upright. This helps maintain the seal and prevents the paint from settling or accumulating in one spot, which can lead to uneven consistency.
6. Avoid Extreme Temperatures: Store the sealed container in a location where it is protected from extreme temperatures, such as direct sunlight or freezing temperatures. Extreme temperatures can affect the paint’s quality, consistency, and longevity, even within a sealed container.
By properly sealing the storage container, you can help ensure the paint remains fresh and usable for future projects. A secure seal minimizes the risk of air and moisture exposure, which can impact the paint’s performance and longevity. Remember to always double-check the seal before storing the container, and when in doubt, transfer the paint to a new container with a reliable seal.
In the next section, we will discuss the importance of labeling and identifying stored paint for easy retrieval and maintenance.
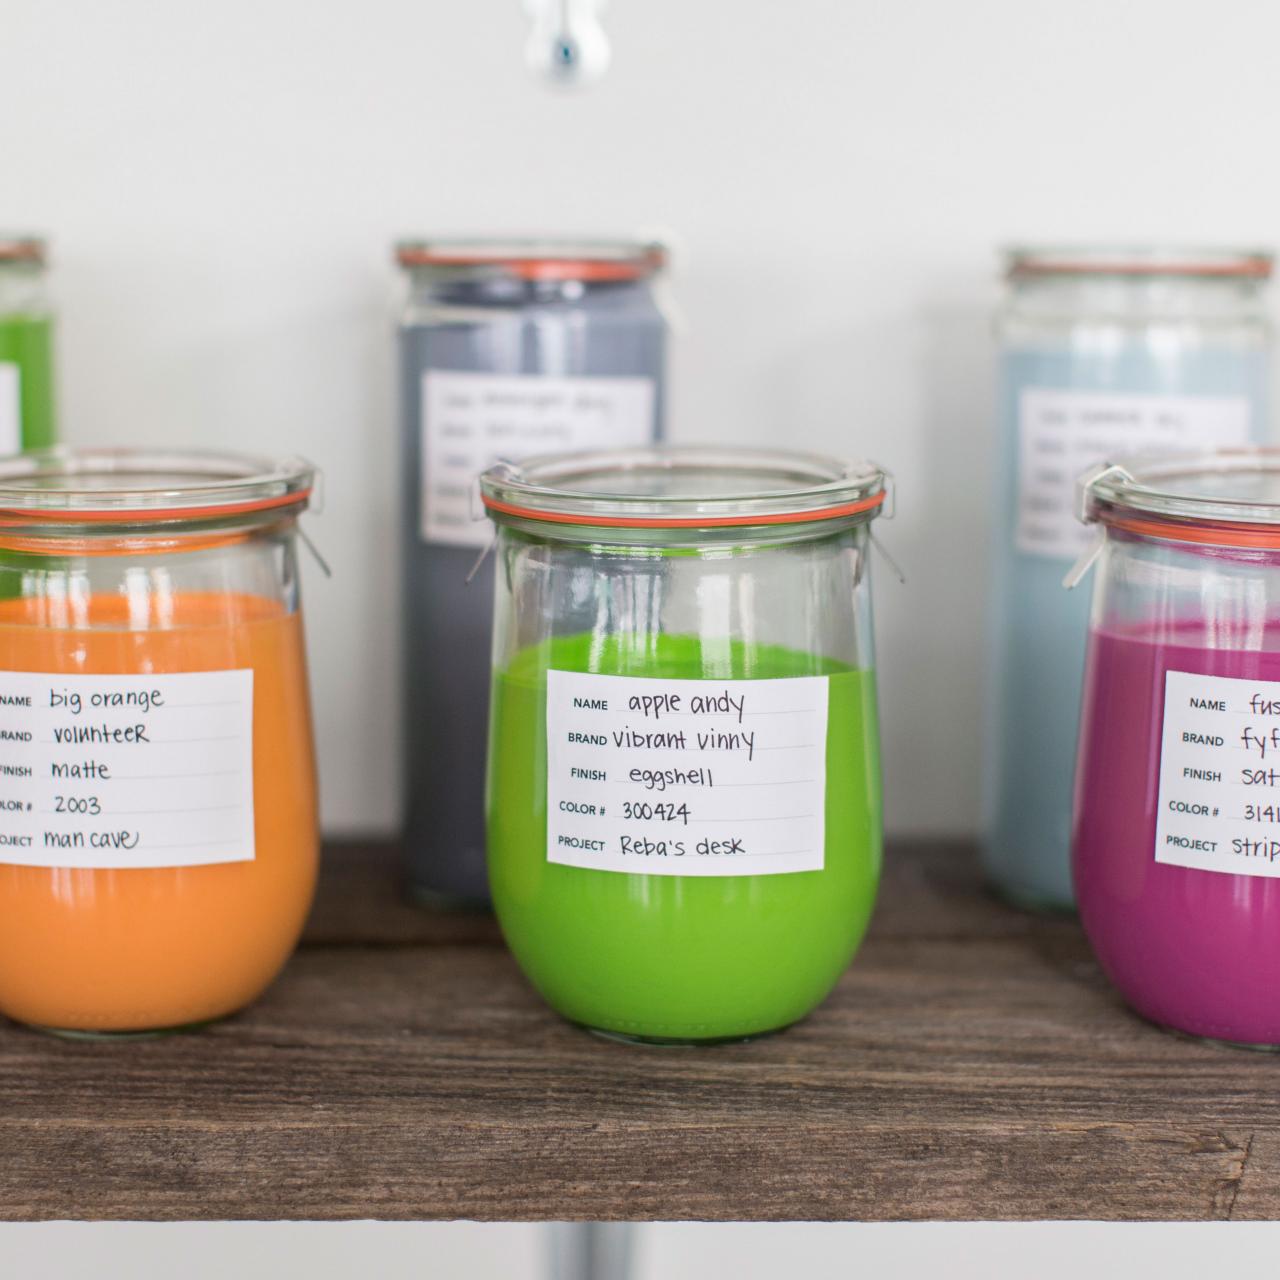
Labeling and Identifying Stored Paint
Labeling and identifying stored paint is essential for easy retrieval, organization, and maintenance. By clearly labeling each container, you can quickly identify the paint color, brand, and other important details without the need to open the container. Use the following steps to effectively label and identify your stored paint:
1. Use a Permanent Marker: Use a permanent marker or a label maker to write the necessary information directly on the container. Ensure the marker or label is waterproof and won’t smudge or fade over time. Write the paint color, brand, and any other relevant details that would assist in easy identification.
2. Include the Paint Formula or Code: If you have a specific paint formula or code, consider including it on the label. This information can be helpful if you need to match or replicate the paint color for future touch-ups or additional projects.
3. Add a Swatch: To make identification even more convenient, consider adding a small paint swatch to the label. This can be a small section of the actual paint applied to a portion of the label or a separate swatch attached to the container. This visual reference will make it easier to identify the paint color at a glance.
4. Organize by Color or Project: Group the labeled paint containers by color or project for easy organization. If you have a dedicated storage area or shelf, consider arranging the containers in a way that is visually appealing and helps you easily locate the desired paint.
5. Create an Inventory List: For larger paint collections, consider creating an inventory list that includes details such as the paint color, brand, quantity, and location. This list can be digital or written and will serve as a reference for all the stored paint you have, making it easier to keep track of your inventory.
6. Periodically Review and Update: Regularly review your stored paint labels and inventory list to ensure they are accurate and up to date. As you use or add new paint, make the necessary updates to maintain an organized and efficient system.
By properly labeling and identifying your stored paint, you can save valuable time and effort when searching for the right color or brand. This level of organization also ensures that your paint remains well-maintained and usable for future projects. Be diligent in labeling and updating as needed to optimize your paint storage system.
In the next section, we will discuss the importance of storing the paint container in the right environment to ensure its longevity and usability.
Read more: Can You Paint Interior Walls When Raining
Storing the Paint Container in the Right Environment
Properly storing the paint container in the right environment is crucial for preserving its quality and usability. Factors such as temperature, humidity, and exposure to light can all affect the paint’s longevity and performance. Follow these guidelines to ensure you are storing the paint in the optimal environment:
1. Temperature: Paint is sensitive to temperature fluctuations. It is best to store paint in a cool and dry environment with temperatures between 60-75°F (15-24°C). Avoid storing paint in areas prone to extreme temperature changes, such as garages, attics, or basements, as these environments can accelerate paint deterioration.
2. Humidity: High humidity can cause paint to spoil or deteriorate. Aim for a humidity level between 40-50% in the storage area. Excessive moisture can lead to mold or mildew growth in the paint, making it unusable. If you live in an area with high humidity, consider using dehumidifiers or moisture-absorbing products in the storage space.
3. Light Exposure: Exposure to direct sunlight can cause paint to fade or change in color over time. Store paint containers in a location where they will be shielded from direct sunlight. Cabinets or closets that block out light are ideal for maintaining the vibrancy and consistency of the paint.
4. Stability: Ensure that the storage area or shelves where paint containers are placed are stable and secure. Avoid storing paint containers in areas where they may be prone to falling or tipping over, as this can lead to spills or accidents.
5. Accessibility: While it’s important to store paint properly, it’s also necessary to ensure it is accessible when you need it. Organize your stored paint in a way that allows easy access so you can quickly locate the desired color or brand for your next project.
6. Avoid Freezing: Freezing temperatures can damage paint, causing it to separate or deteriorate. If you live in a region with cold winters, make sure to store paint in a frost-free area, such as a heated room or basement. It’s particularly important to protect water-based paints from freezing as they are more susceptible to damage.
7. Keep Containers Upright: To prevent accidental spills or leaks, store paint containers upright. Keeping them in an upright position reduces the risk of the paint settling or accumulating at the bottom of the container, leading to an uneven consistency.
By following these guidelines and storing the paint container in the right environment, you can maximize the shelf life and maintain the quality of your stored paint. Taking these precautions will ensure that the paint remains usable and ready for your next home improvement project.
In the next section, we will discuss the importance of regularly inspecting and maintaining the stored paint to ensure its viability.
Regularly Inspecting and Maintaining Stored Paint
Regular inspection and maintenance of stored paint are important to ensure its viability and usability for future projects. By periodically checking on the paint containers and taking proper maintenance measures, you can extend the shelf life and preserve the quality of the stored paint. Here are some essential steps to follow:
1. Visual Inspection: Conduct regular visual inspections of the paint containers. Look for any signs of rust, leaks, or damage to the containers. If you notice any deterioration or damage, it may be necessary to transfer the paint to a new container to prevent further issues.
2. Check the Seal: Inspect the seal or lid of the container to ensure it is still creating a tight and secure seal. If you notice any gaps or looseness, it may be necessary to replace the lid or apply a new seal to maintain the integrity of the container.
3. Stir the Paint: Over time, paint may settle or separate in the container. If you notice any separation or changes in consistency, use a paint stirrer or mixing stick to gently stir the paint. This will help restore the paint to its original consistency and ensure an even color when it is used.
4. Address Mold or Mildew: If you notice any signs of mold or mildew growth on the paint container or paint surface, it is crucial to address it promptly. Carefully remove any affected areas or transfer the paint to a new container if necessary. Take preventative measures to control humidity and moisture in the storage area to prevent future mold growth.
5. Prevent Freezing: If you live in a region with freezing temperatures, take extra precautions to prevent paint from freezing. Ensure the storage area remains above freezing temperatures, and consider using insulation or heaters if necessary. Freezing can damage the paint’s texture and consistency, rendering it unusable.
6. Rotate Stock: If you have multiple containers of the same paint color or brand, consider rotating the stock. Use the oldest paint containers first to prevent them from sitting unused for long periods. This practice helps ensure that the stored paint remains fresh and suitable for future projects.
7. Maintain a Clean Storage Area: Regularly clean the storage area and shelves where the paint containers are stored. Dust, dirt, and debris can accumulate over time and affect the integrity and quality of the stored paint. Keeping the storage area clean and well-maintained will help prolong the lifespan of the paint.
By regularly inspecting and maintaining the stored paint, you can identify and address any issues before they become problematic. This proactive approach ensures that your paint remains viable, saves you from potential disappointments during future projects, and can save you money by preserving valuable paint supplies.
With these strategies in mind, you are well-equipped to store paint properly when the can is rusted. By understanding the risks, assessing the condition of the can, preparing it for storage, choosing the right container, cleaning and organizing the storage space, transferring the paint to a new container, sealing it correctly, labeling and identifying the stored paint, and storing it in the right environment while regularly inspecting and maintaining it, you can ensure that your leftover paint remains usable and of high quality for your future home improvement projects. Happy painting!
Conclusion
Properly storing paint when the can is rusted is essential for preserving its quality and usability. By understanding the risks associated with storing paint in rusted cans and taking the necessary steps to assess the condition of the can, prepare it for storage, choose the right container, clean and organize the storage space, transfer the paint, seal the container, label and identify the paint, store it in the right environment, and regularly inspect and maintain it, you can ensure that your leftover paint remains viable for future use.
Storing paint in a rusted can can introduce risks such as contamination, leaks, and compromised seals. Assessing the condition of the can allows you to determine whether it can be salvaged or if the paint needs to be transferred to a new container. Properly preparing the can involves removing loose rust, cleaning it thoroughly, applying a rust converter or primer if necessary, and utilizing a plastic liner or bag if the interior shows signs of significant rust or paint contamination.
Choosing the right storage container involves considering factors such as size, material, air-tight seal, transparency, and ease of labeling. Cleaning and organizing the storage space help create a clean and accessible environment for the paint. Transferring the paint to a new container ensures a fresh start and prevents further contamination or leaks.
Properly sealing the storage container is crucial for maintaining the paint’s freshness and quality. Double-checking the seal before storing the container will minimize the risk of air and moisture exposure. Labeling and identifying the stored paint allow for easy retrieval and organization, ensuring the right paint is readily accessible for future projects.
Storing the paint container in the right environment involves maintaining suitable temperature, humidity, and light exposure. Regularly inspecting and maintaining the stored paint involves visual inspections, checking the seal, stirring the paint if needed, addressing mold or mildew growth, preventing freezing, and rotating stock to ensure the paint remains usable and of high quality.
By implementing these steps and best practices, you can confidently store paint even when the can is rusted, preserving its quality and ensuring that it remains viable for your future home improvement projects. Take the time to properly store and maintain your paint supplies, and you’ll be able to enjoy the convenience and cost savings of having usable leftover paint readily available. Happy painting!
Frequently Asked Questions about How To Store Paint When Can Is Rusted
Was this page helpful?
At Storables.com, we guarantee accurate and reliable information. Our content, validated by Expert Board Contributors, is crafted following stringent Editorial Policies. We're committed to providing you with well-researched, expert-backed insights for all your informational needs.


0 thoughts on “How To Store Paint When Can Is Rusted”